
J’ai eu le plaisir d’avoir entre les mains la Q1 Pro du constructeur Qidi Tech. Il s’agit d’une imprimante 3D CoreXY avec un caisson fermé et des éléments et capteurs qui lui permettent, rapidement et sans ajustement, en sortie de carton, de faire de parfaites couches initiale et d’imprimer des filaments abrasifs et haute température. Voici donc mon test de Qidi Q1 Pro, une imprimante 3D compatible haute température et affichée à un prix abordable vis-à-vis de la concurrence.
Comme à mon habitude, cet article de test synthétise mon sujet de découverte de la Qidi Tech Q1 Pro sur le forum, que je vous invite à parcourir pour plus de détails et de photos.
Fiche technique de la Qidi Tech Q1 Pro
| Imprimante | Qidi Tech Q1 Pro |
| Structure | |
| Volume impression (L*P*H) | 245 x 245 x 245 mm |
| Dimensions | 47.7 x 46.7 x 48.9 cm |
| Poids brut | 20.3 kg |
| Poids net | 17 kg |
| Cinématique | CoreXY |
| Axe X/Y | Tiges linéaire évidées, en acier haute dureté de 10 mm de diamètre Courroies tendues automatiquement |
| Axe Z | Deux moteurs à vis indépendants Sans courroie Mise à niveau automatique de l’inclinaison. (“Bed Tilt”) |
| Coque | Plastique et plexiglas (porte avant et capot supérieur) |
| Châssis | Acier |
| Moteurs | 42-48, hautes vitesses |
| Tête d’impression | |
| Température | ⩽ 350°C (hotend tri-métallique) |
| Engrenage de l’extrudeur | Acier renforcé |
| Ratio de transmission | 8.9:1 |
| Corps de chauffe | Céramique (52 secondes de 20°C à 220°C) |
| Mesure de la température | Thermocouple |
| Buse | Bimétallique |
| Diamètre de la buse | 0.4 mm (0.2, 0.6 et 0.8 mm en option) |
| Diamètre du filament | 1.75 mm |
| Lit chauffant | |
| Plateau d’impression | Substrat en aluminium |
| Plaque d’impression | Flexible magnétique, revêtement PEI texturé sur les deux faces |
| Température | ⩽120°C |
| Vitesses | |
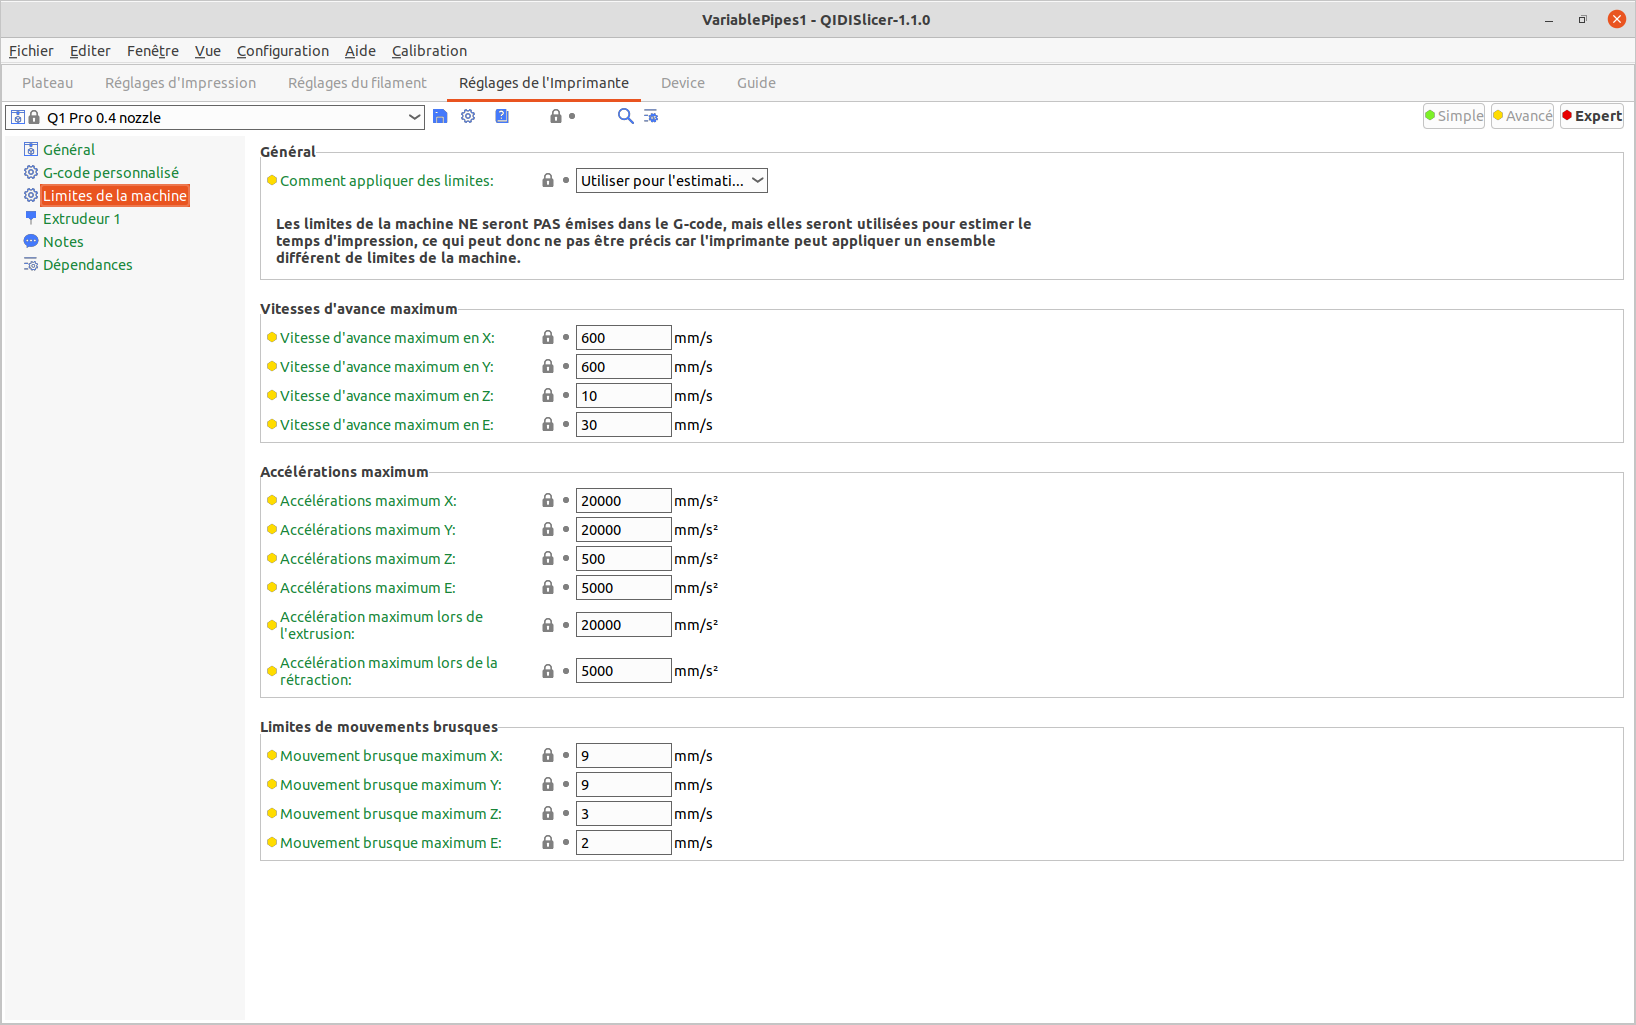
| Impression | 250-600 mm/s |
| Accélérations max | 20 000 mm/s² |
| Ventilateurs | |
| Refroidissement radiateur Hotend | Contrôle en boucle fermée |
| Refroidissement filament | Contrôle en boucle fermée |
| Refroidissement auxiliaire filament | Contrôle en boucle fermée |
| Refroidissement carte-mère | Contrôle en boucle fermée |
| Circulation / extraction enceinte | Contrôle en boucle fermée (il n’y a pas de filtration mais on peut en faire une soi-même, voir ici) |
| Chauffage chambre | ⩽ 60°C Chauffage de chambre indépendant |
| Filament | |
| Recommandé | PLA, ABS, ASA, PETG |
| Compatibles | TPU, PA, PC, Polymère renforcé de fibre de carbone et de verre |
| Protection humidité | Non mais compatible (pneu-fit sur l’entrée du filament, possibilité d’y connecter un tube PTFE sortant d’un séchoir de bobine de filament) |
| Senseurs | |
| Détection d’enchevêtrement filament | Oui |
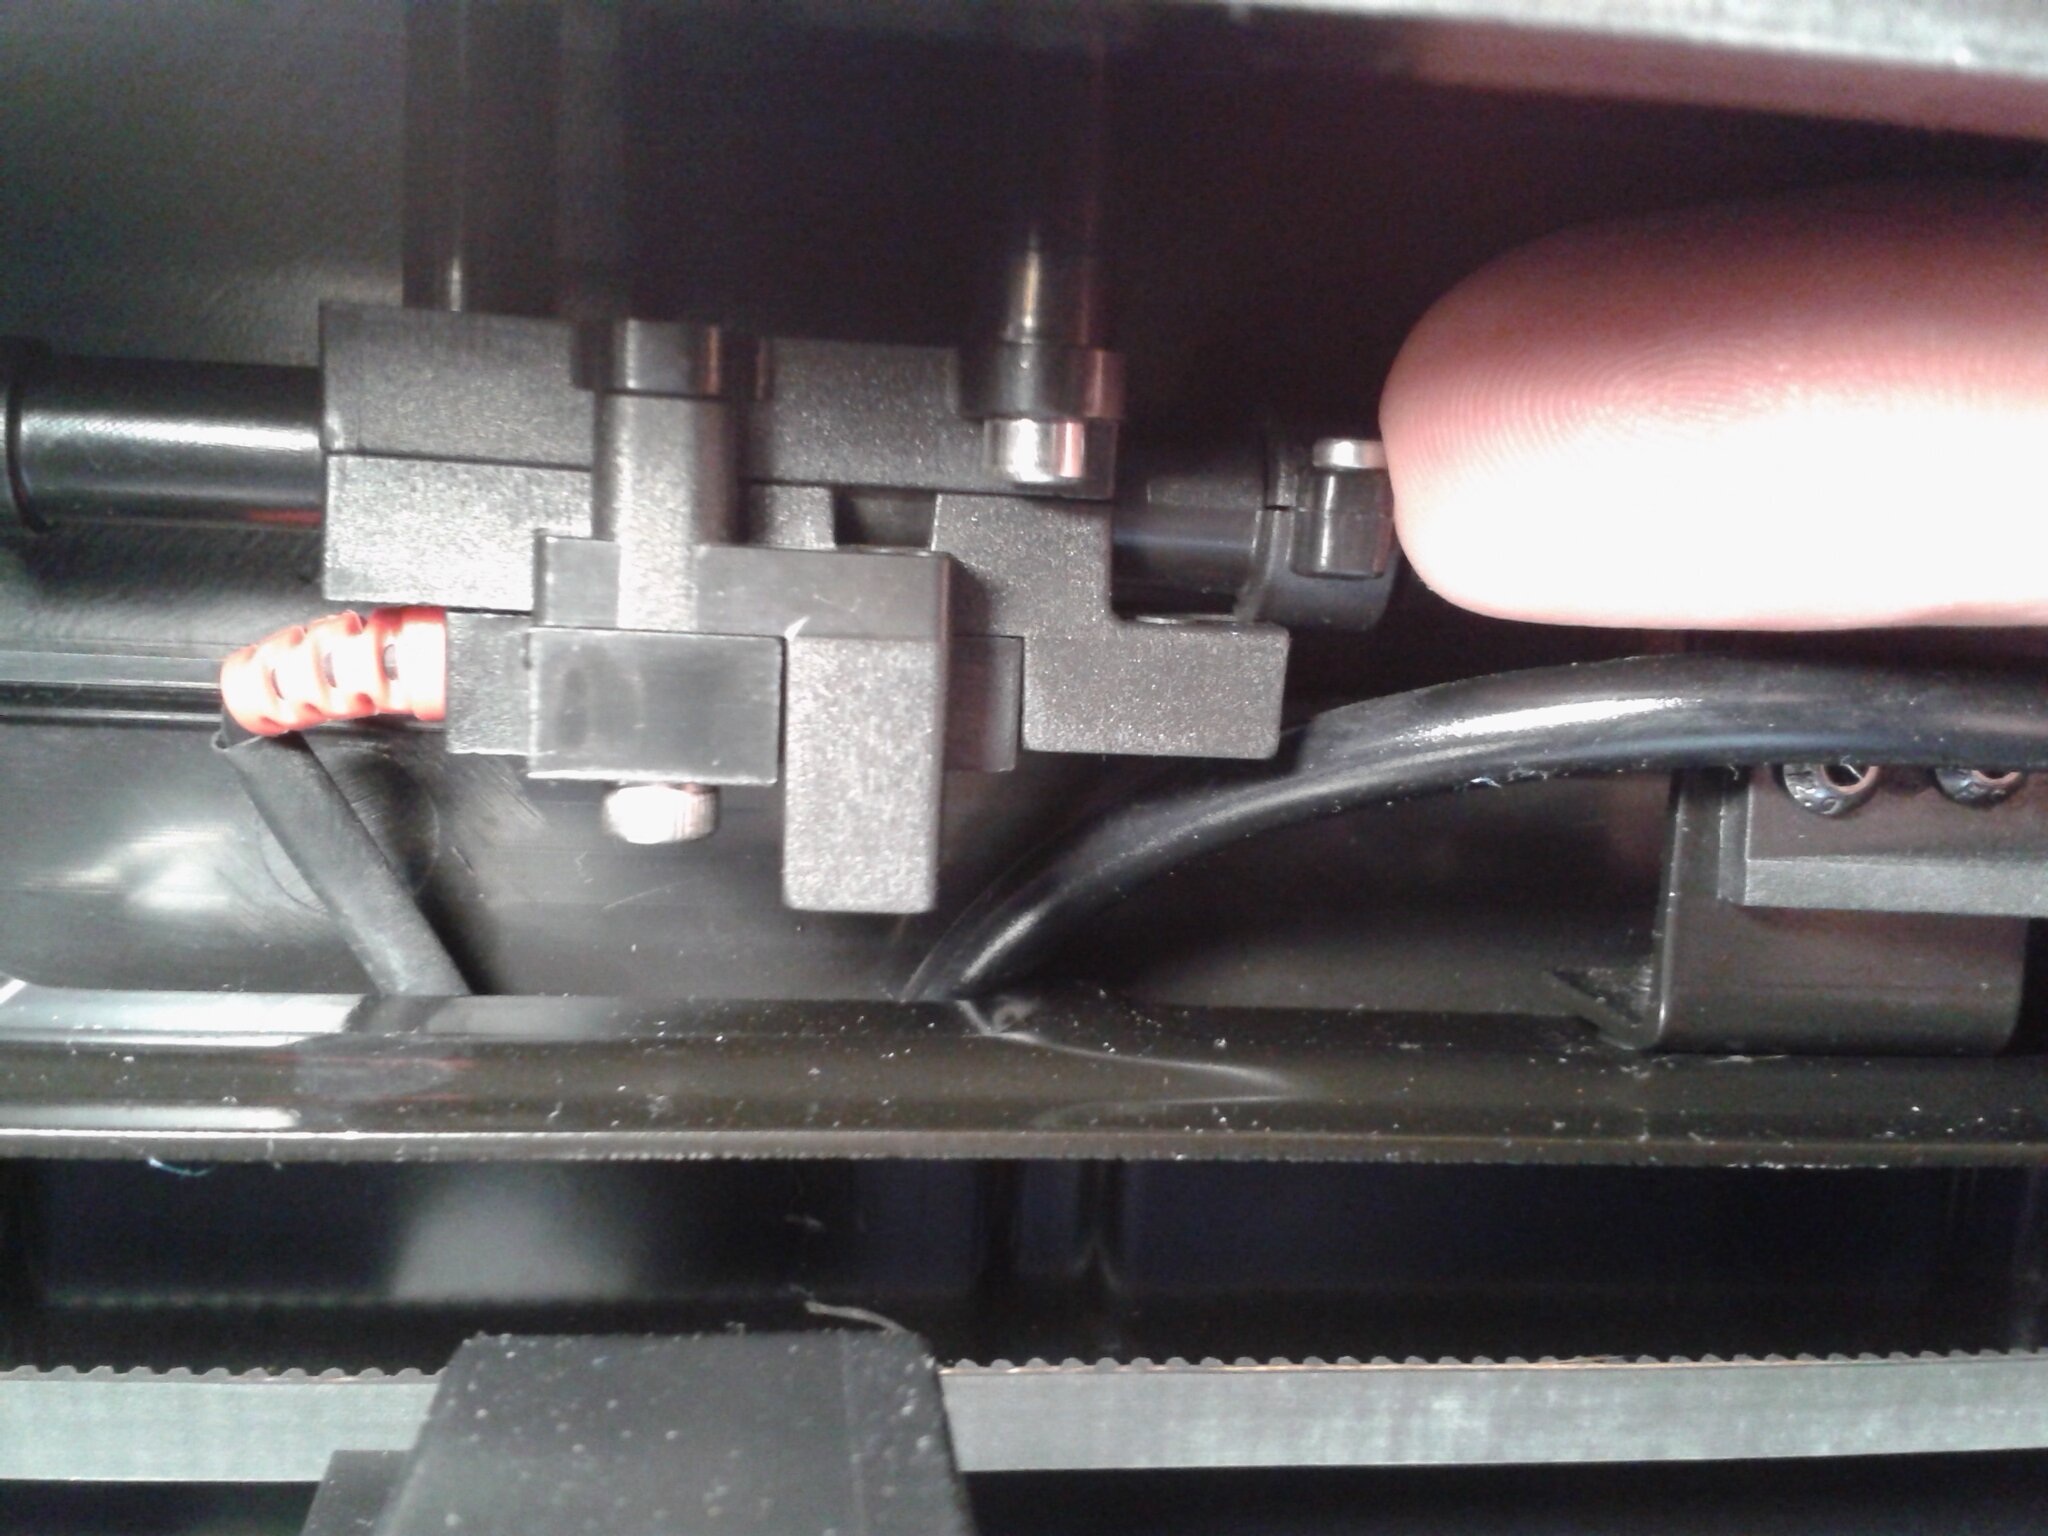
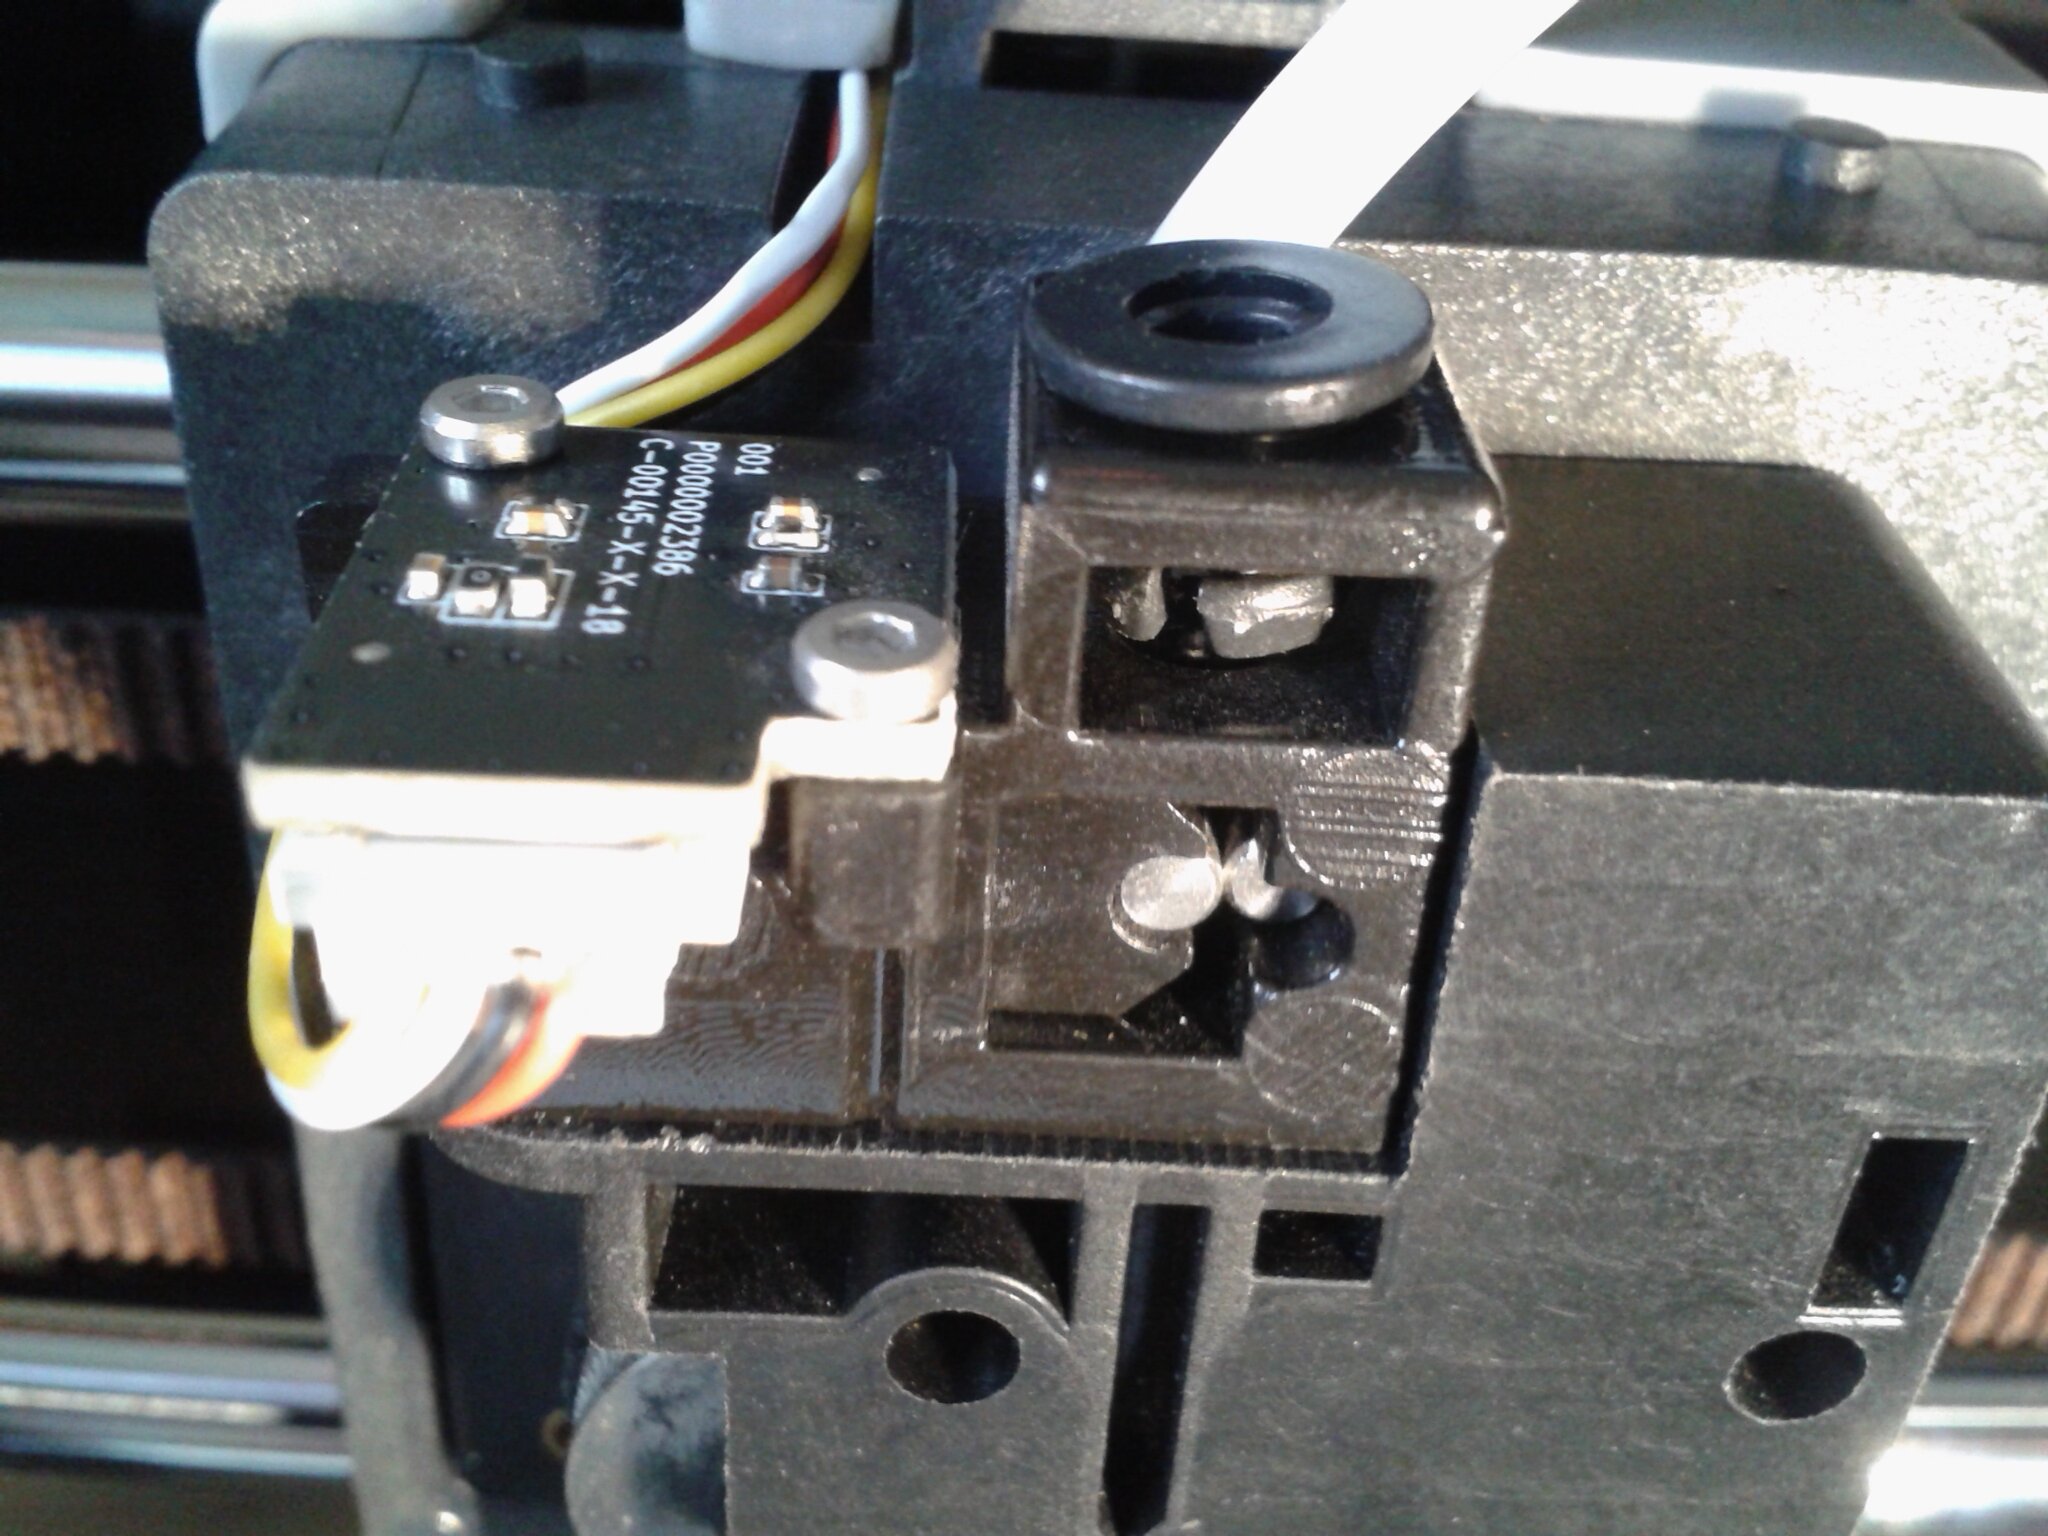
| Détection fin filament | Oui (capteur de diamètre de filament à l’entrée de la tête d’impression) |
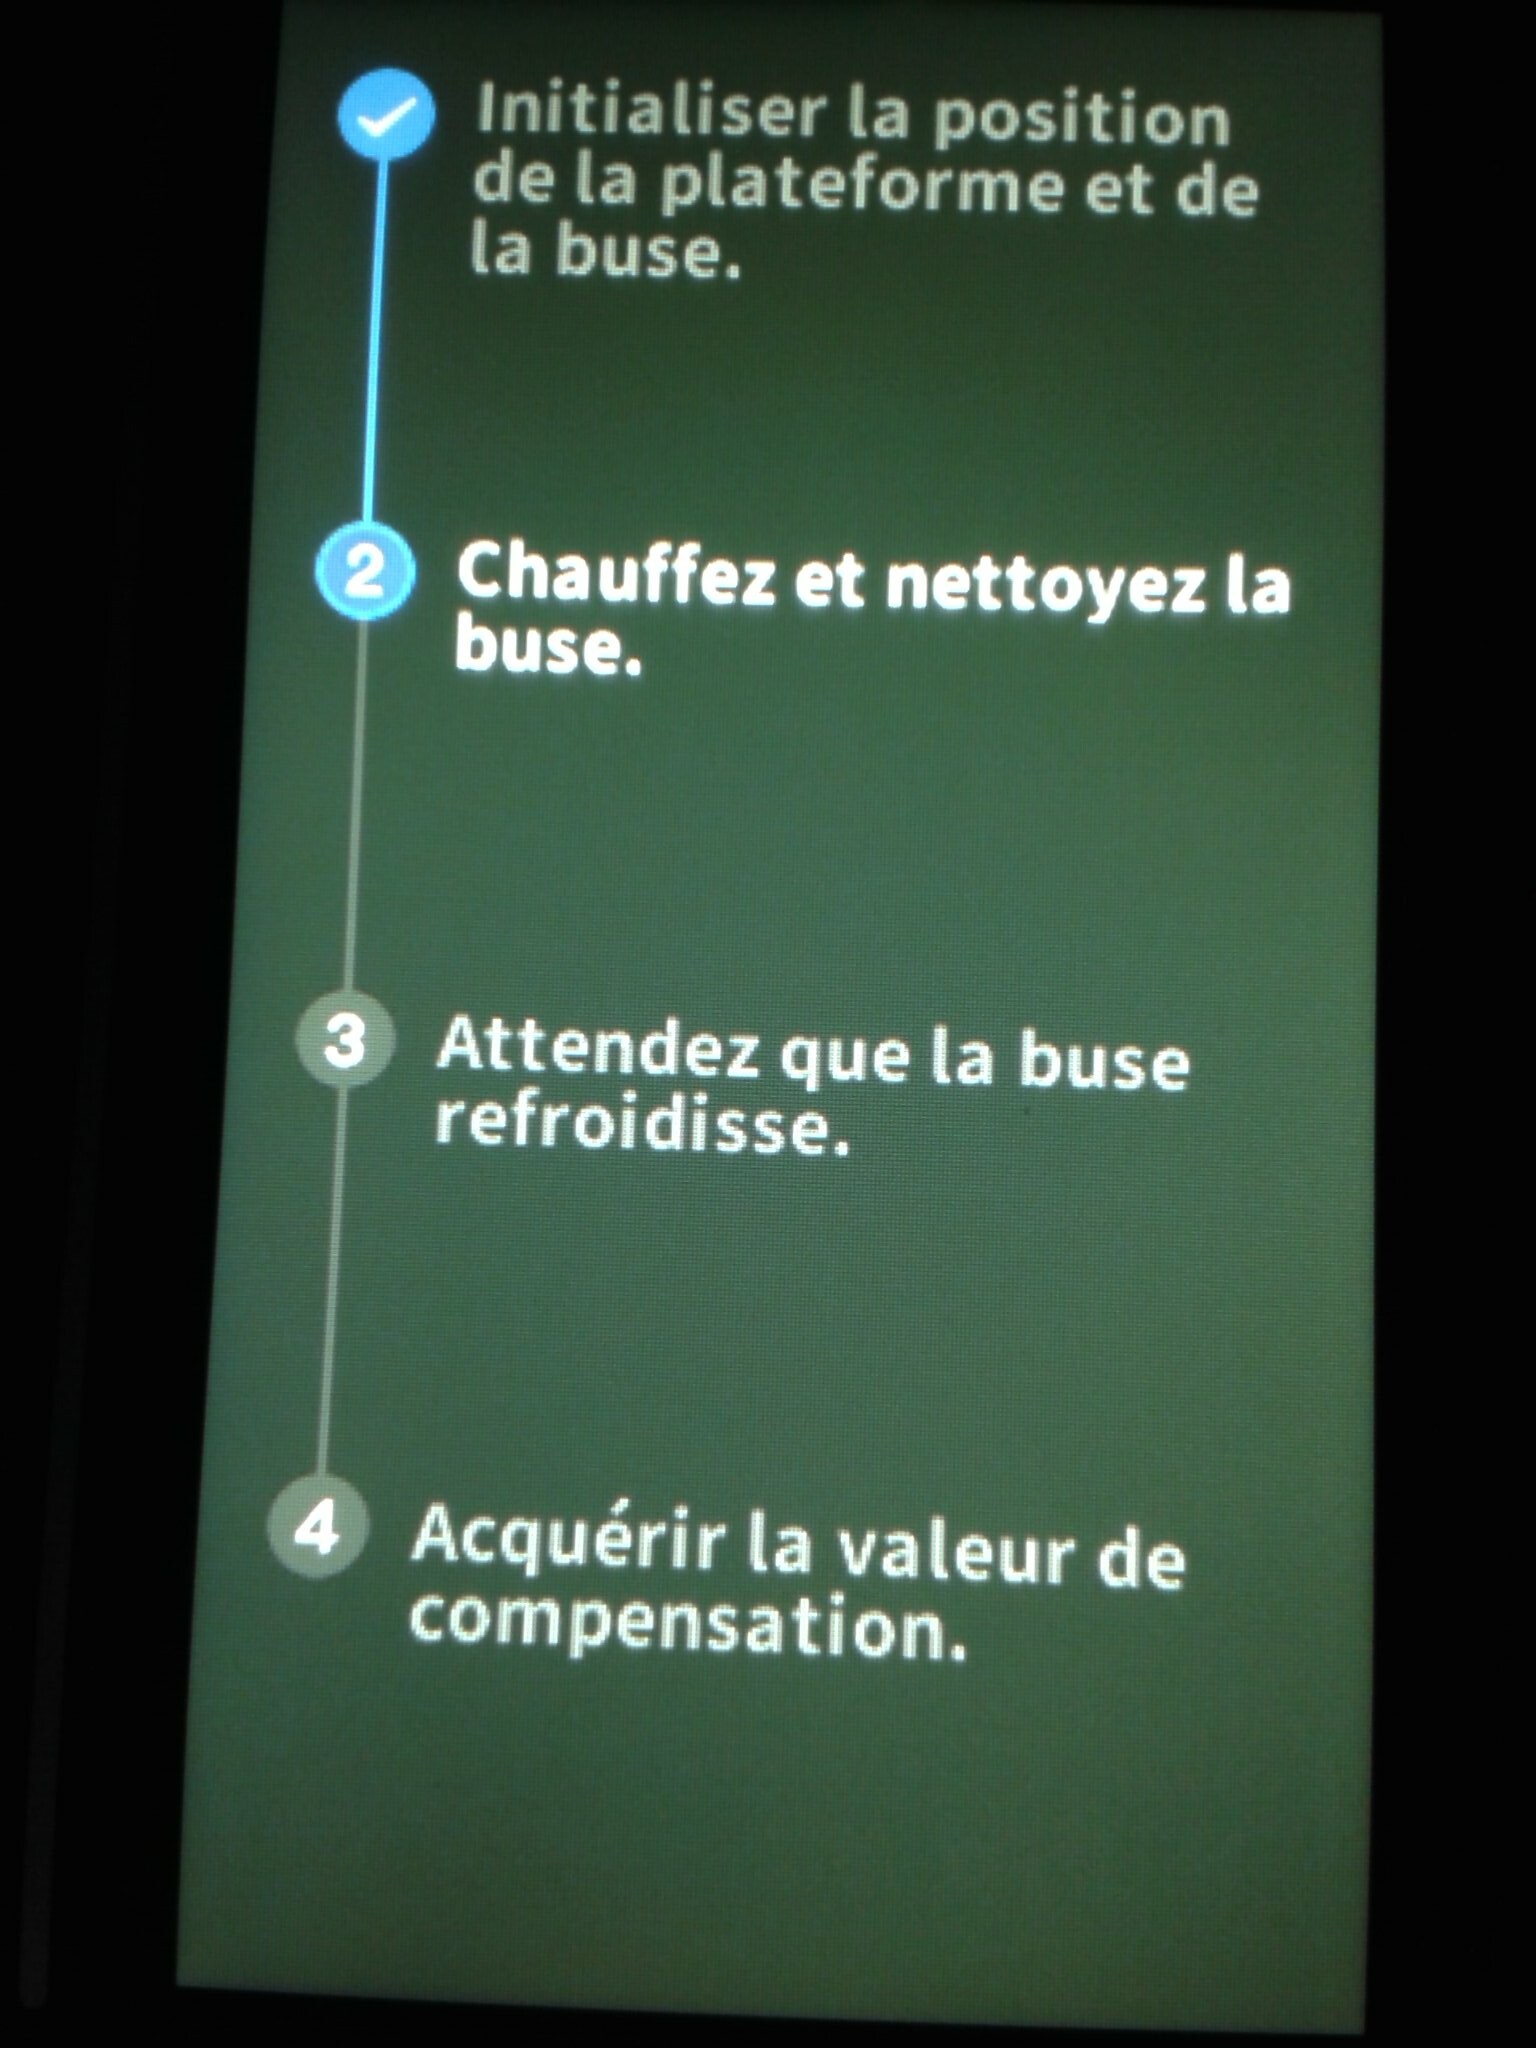
| Nivelage automatique | Oui (calibration automatique du Z-Offset par un système avec trois capteurs piézoélectrique sous le plateau et leveling automatique par sonde inductive sur la tête d’impression) |
| Compensation de résonances | Oui (ADXL345) |
| Alimentation | |
| Tension | 100-240 V ; 50/60Hz |
| Puissance | 350W + 300W (chauffage de la chambre) |
| Électronique | |
| Écran | 4.3 pouces, 272×480 pixels, tactile |
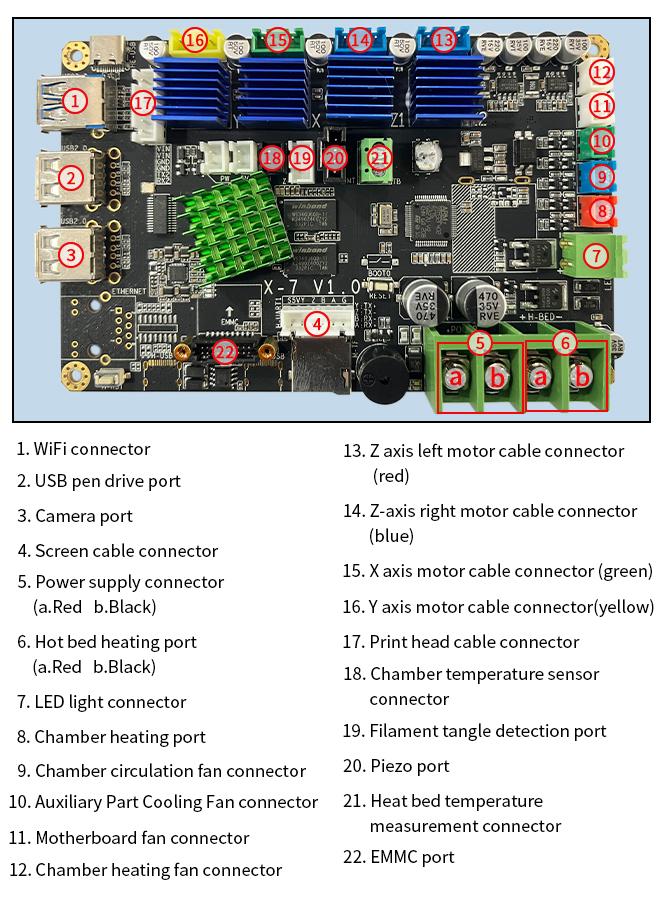
| Stockage | 32 Go eMMC, clé USB 2.0 |
| Caméra | Oui (jusqu’à 1080p) et timelapes supportés |
| Contrôleur | Dual-core Cortex-M4 (STM32F402) |
| Processeur | Quad-core Cortex-A53 |
| Contrôleur indépendant extrudeur | Dual-core Cortex-M0+ |
| Pilotes des moteurs | TMC2240 pour le contrôle des moteurs du CoreXY TMC2209 pour le contrôle des moteurs de l’axe Z TMC2209 pour le contrôle du moteur de l’extrudeur |
| Wi-Fi | |
| Bande | 2.4 GHz |
| Puissance émission (EIRP) | 18 dBm (max) |
| Protocoles | IEEE 802.11 b/g/n |
| Logiciel | |
| Trancheur | Qidi Slicer (et autres trancheurs comme Ultimaker Cura, Simplify3D, PrusaSlicer, Orca…) |
| Système | Windows, macOS, Linux |
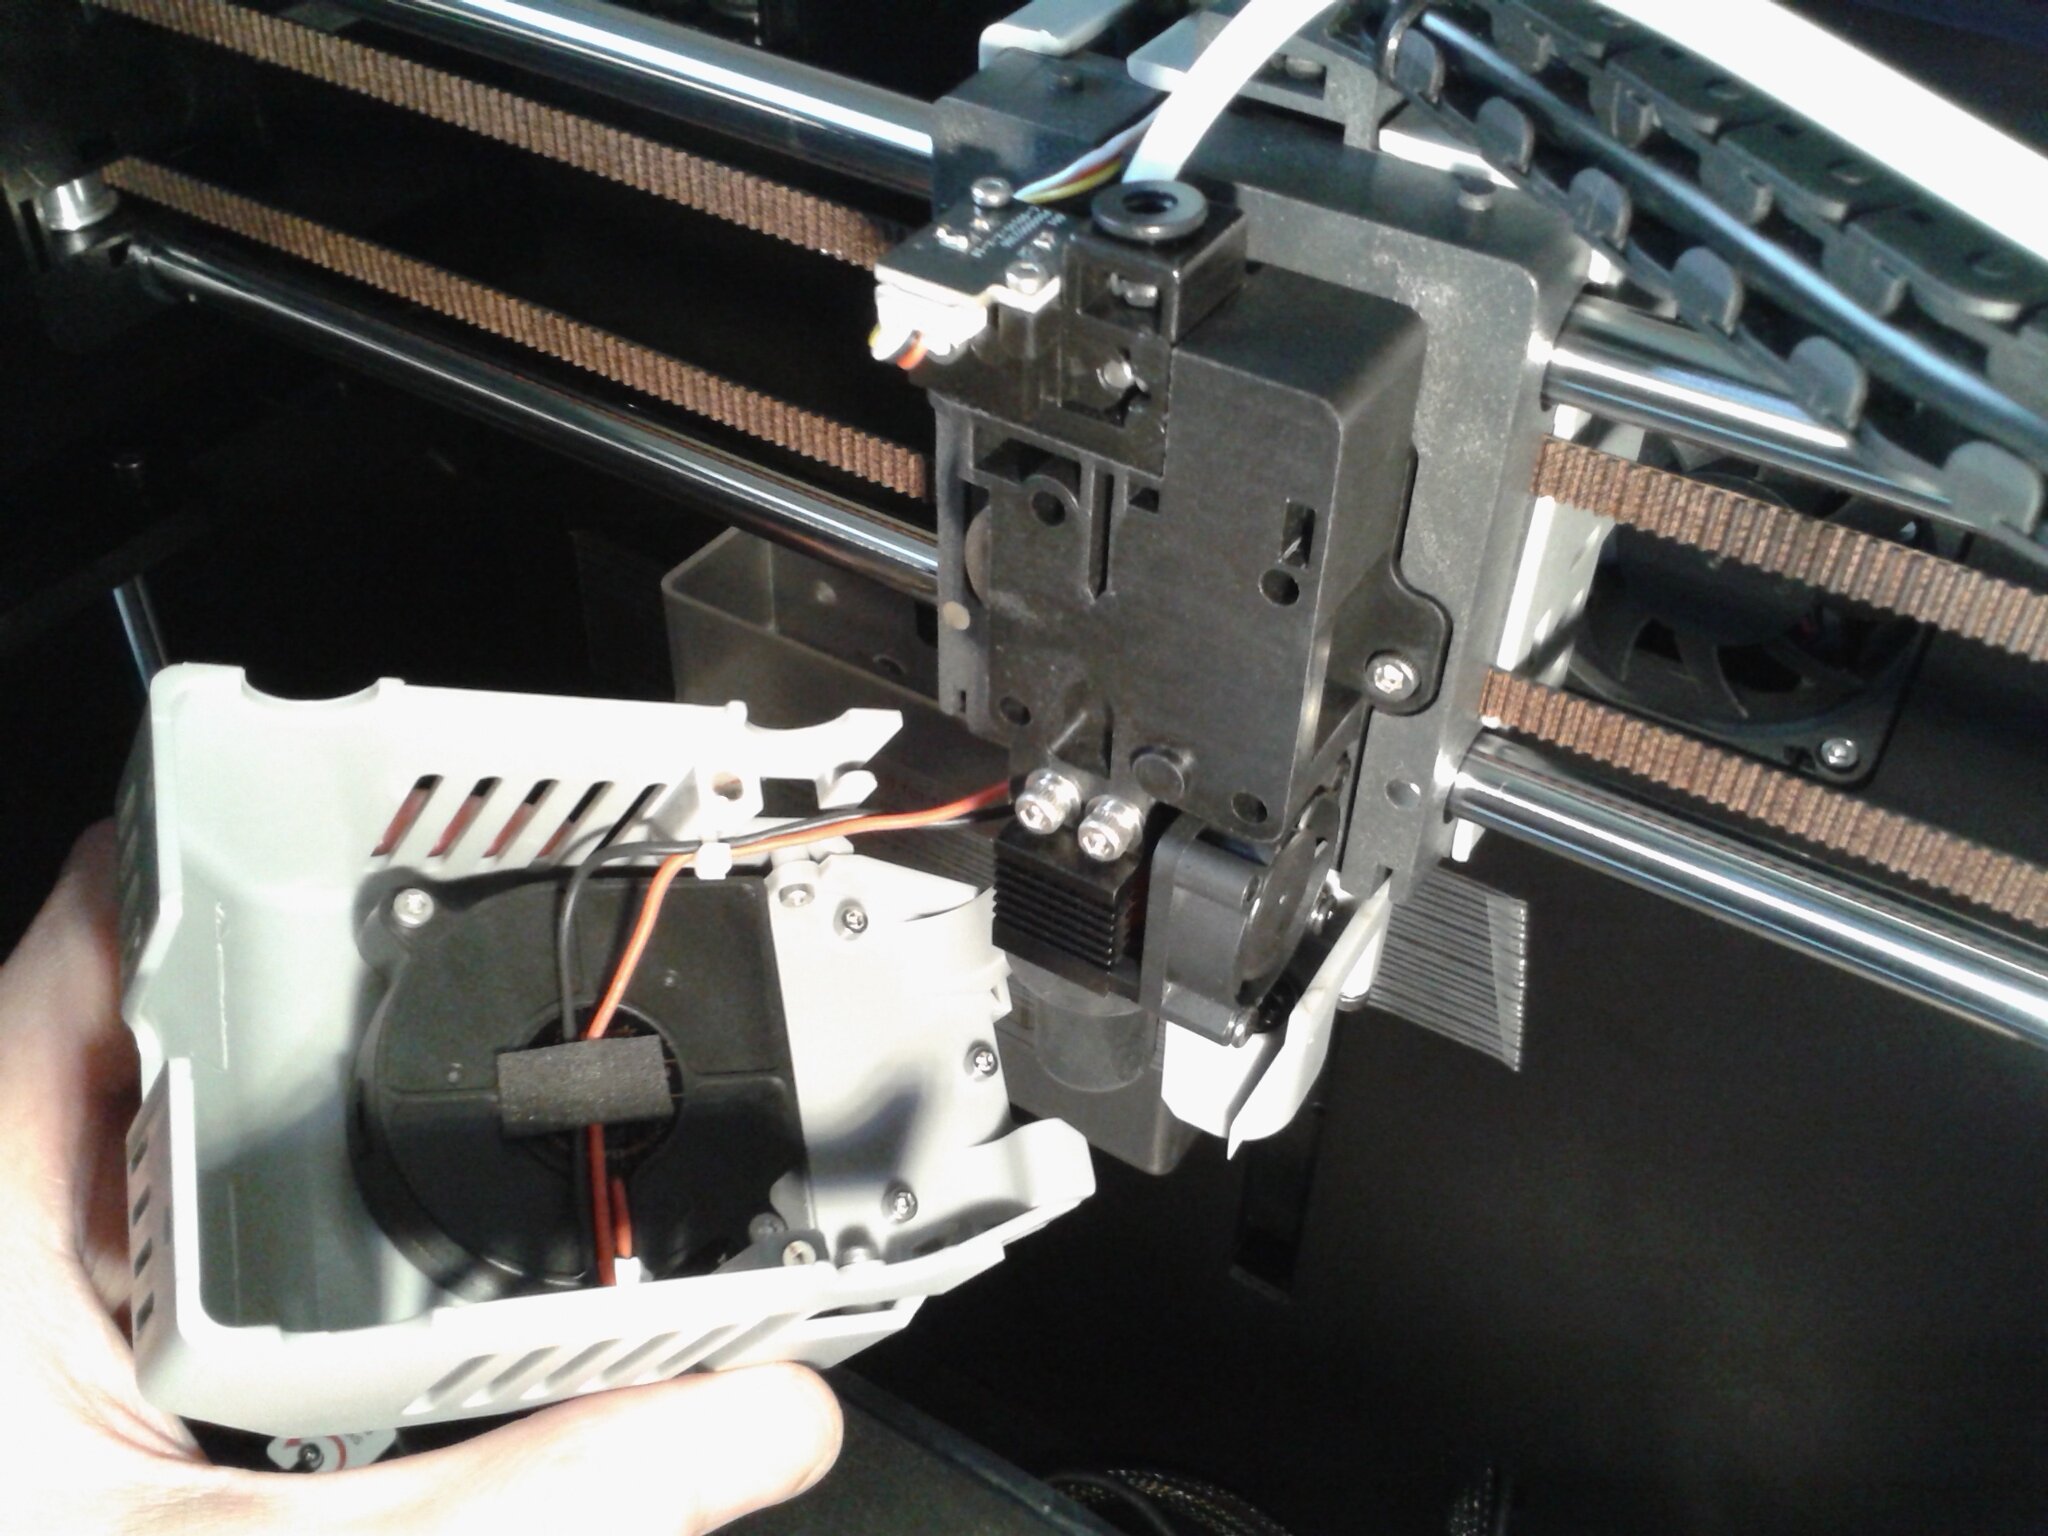
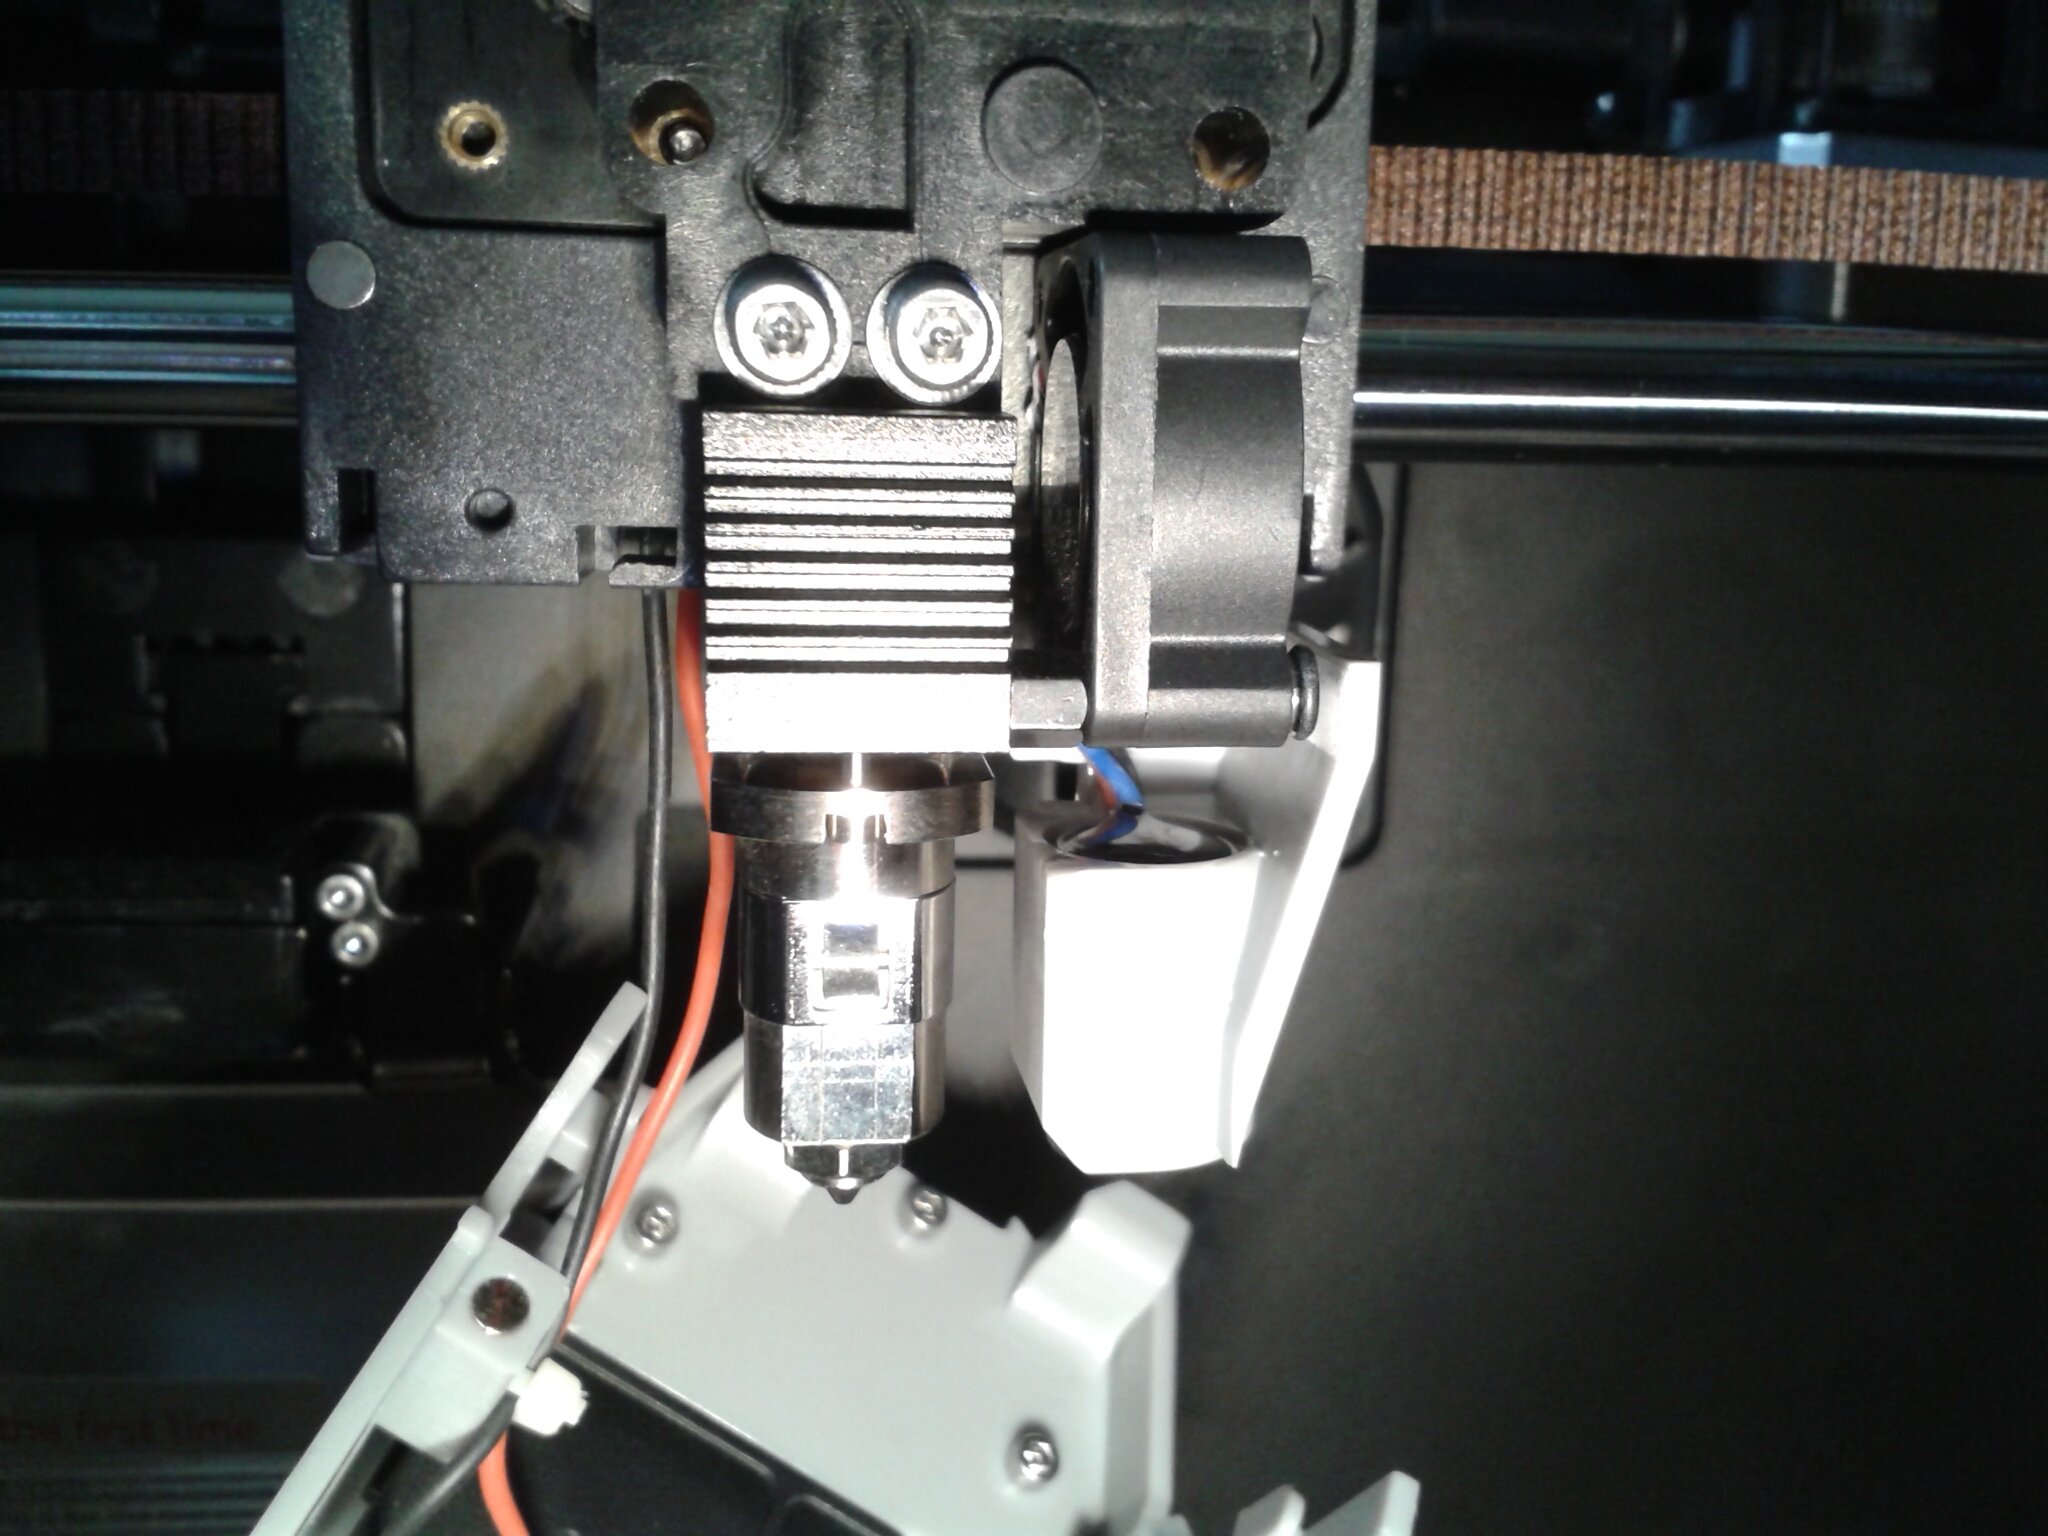
Un extrudeur “direct-drive” sur une tête d’impression prévue pour imprimer des filaments jusqu’à une température de 350°C, avec une buse de 0.4 mm bi-métal et un capteur de nivellement inductif.
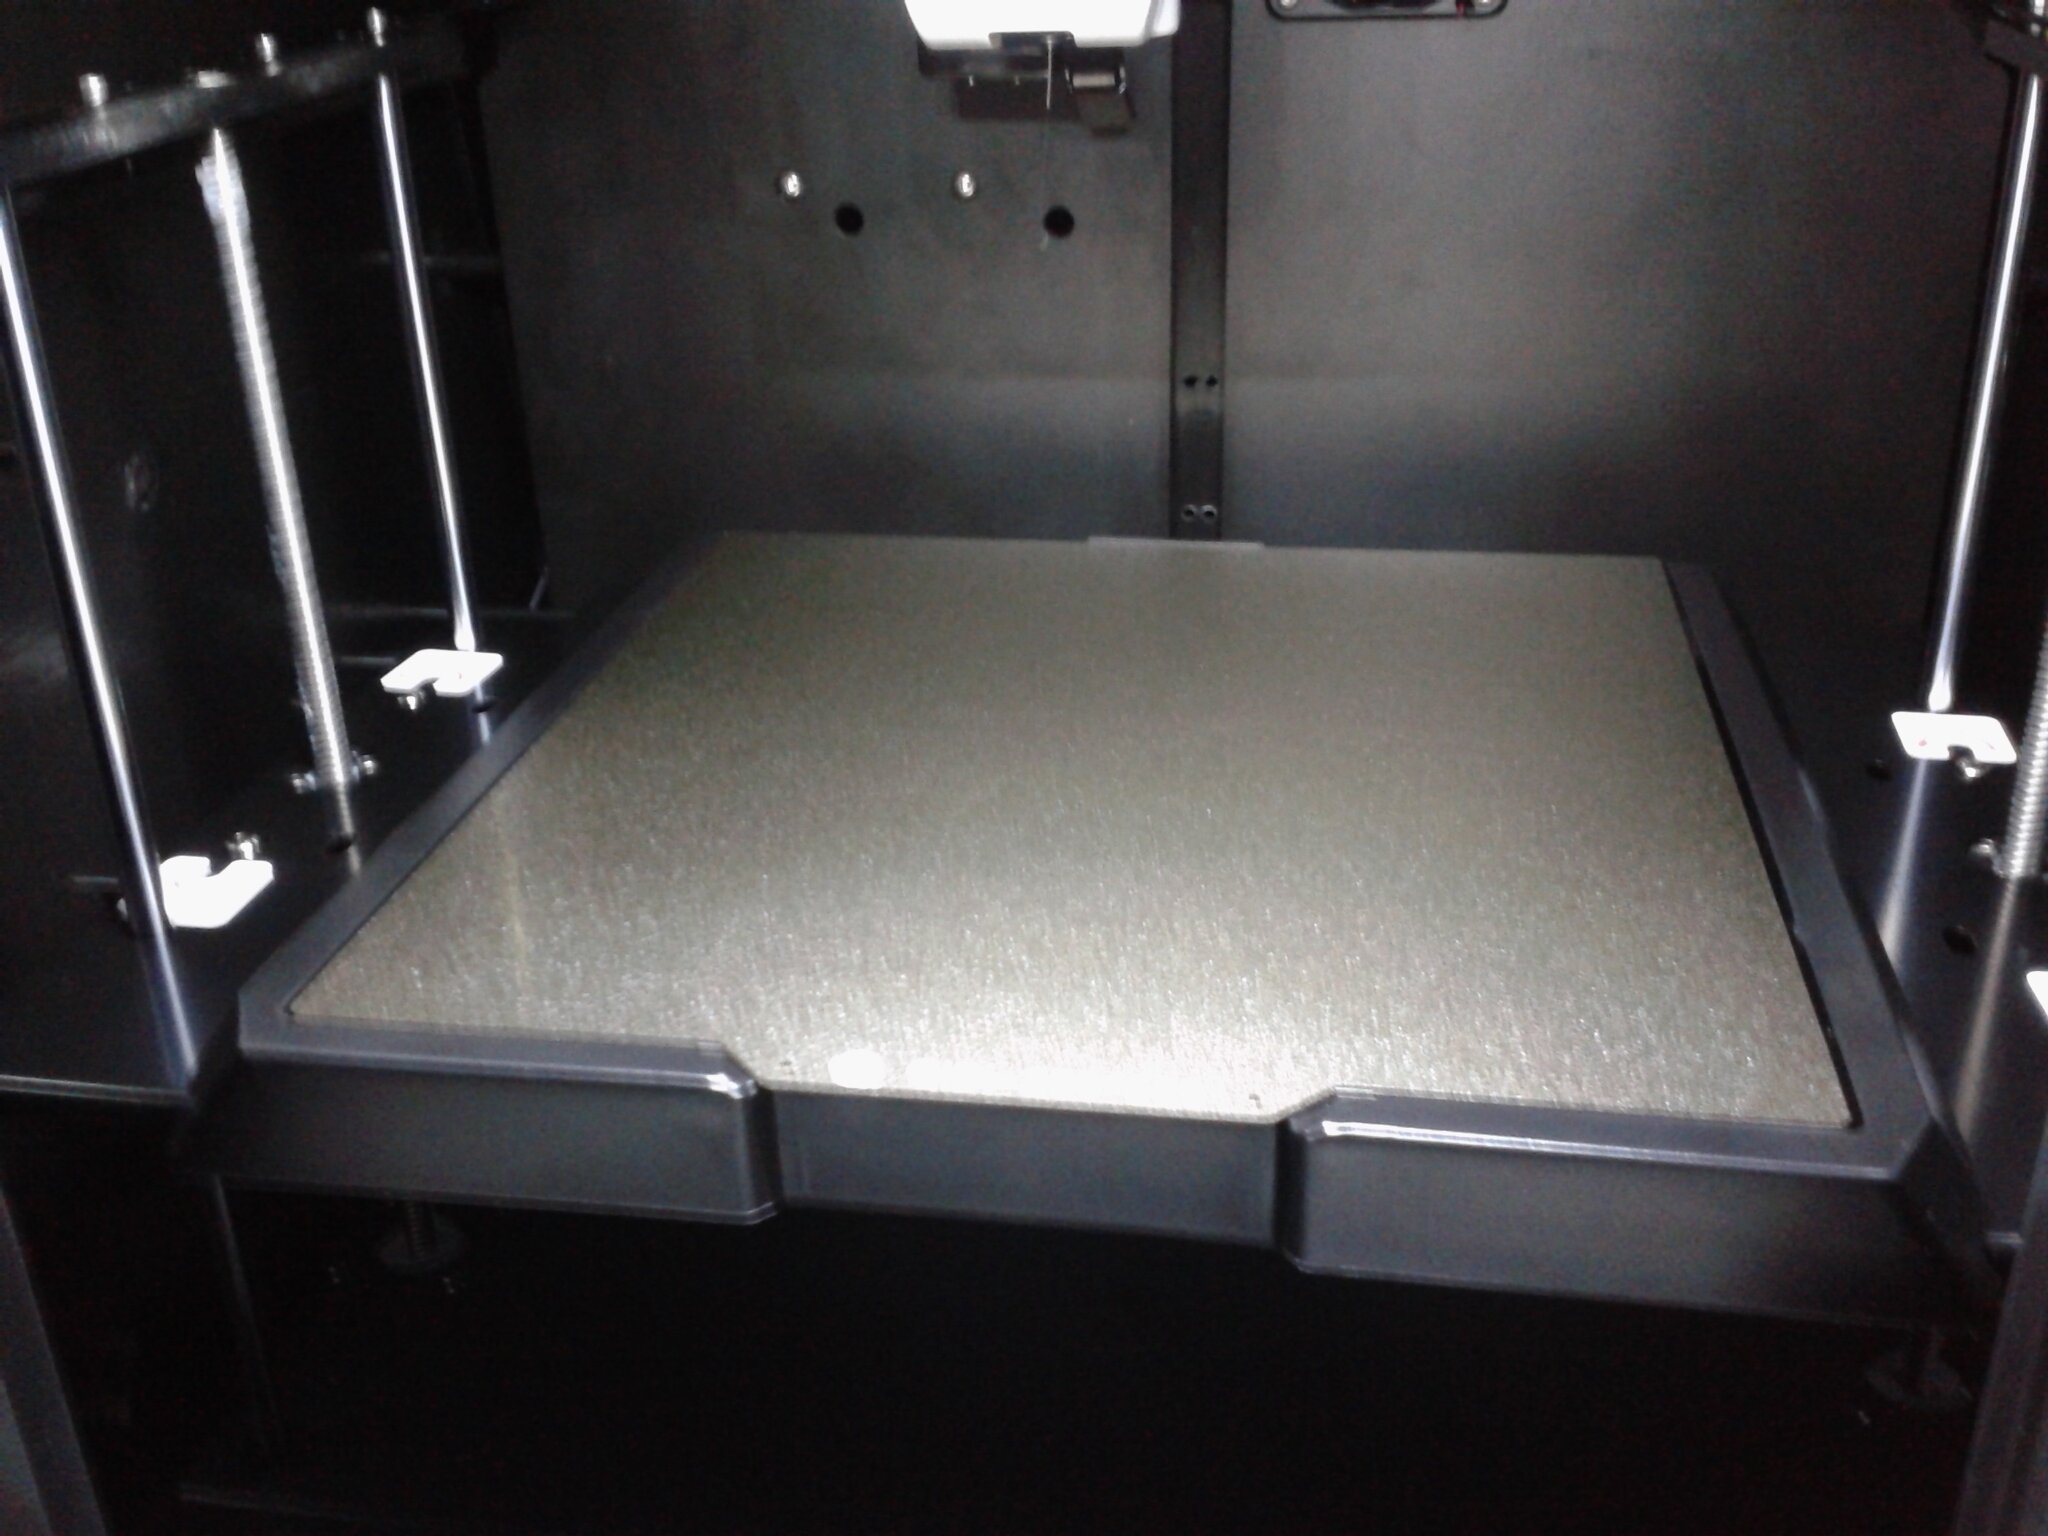
Une enceinte fermée qui dispose d’une ventilation latéral de l’impression et d’un chauffage ventilé de l’enceinte. Volume d’impression de 245 x 245 x 245 mm. Un plateau chauffant qui peut monter jusqu’à 120°C et disposant d’une plaque flexible magnétique avec un revêtement PEI texturé sur les deux faces.
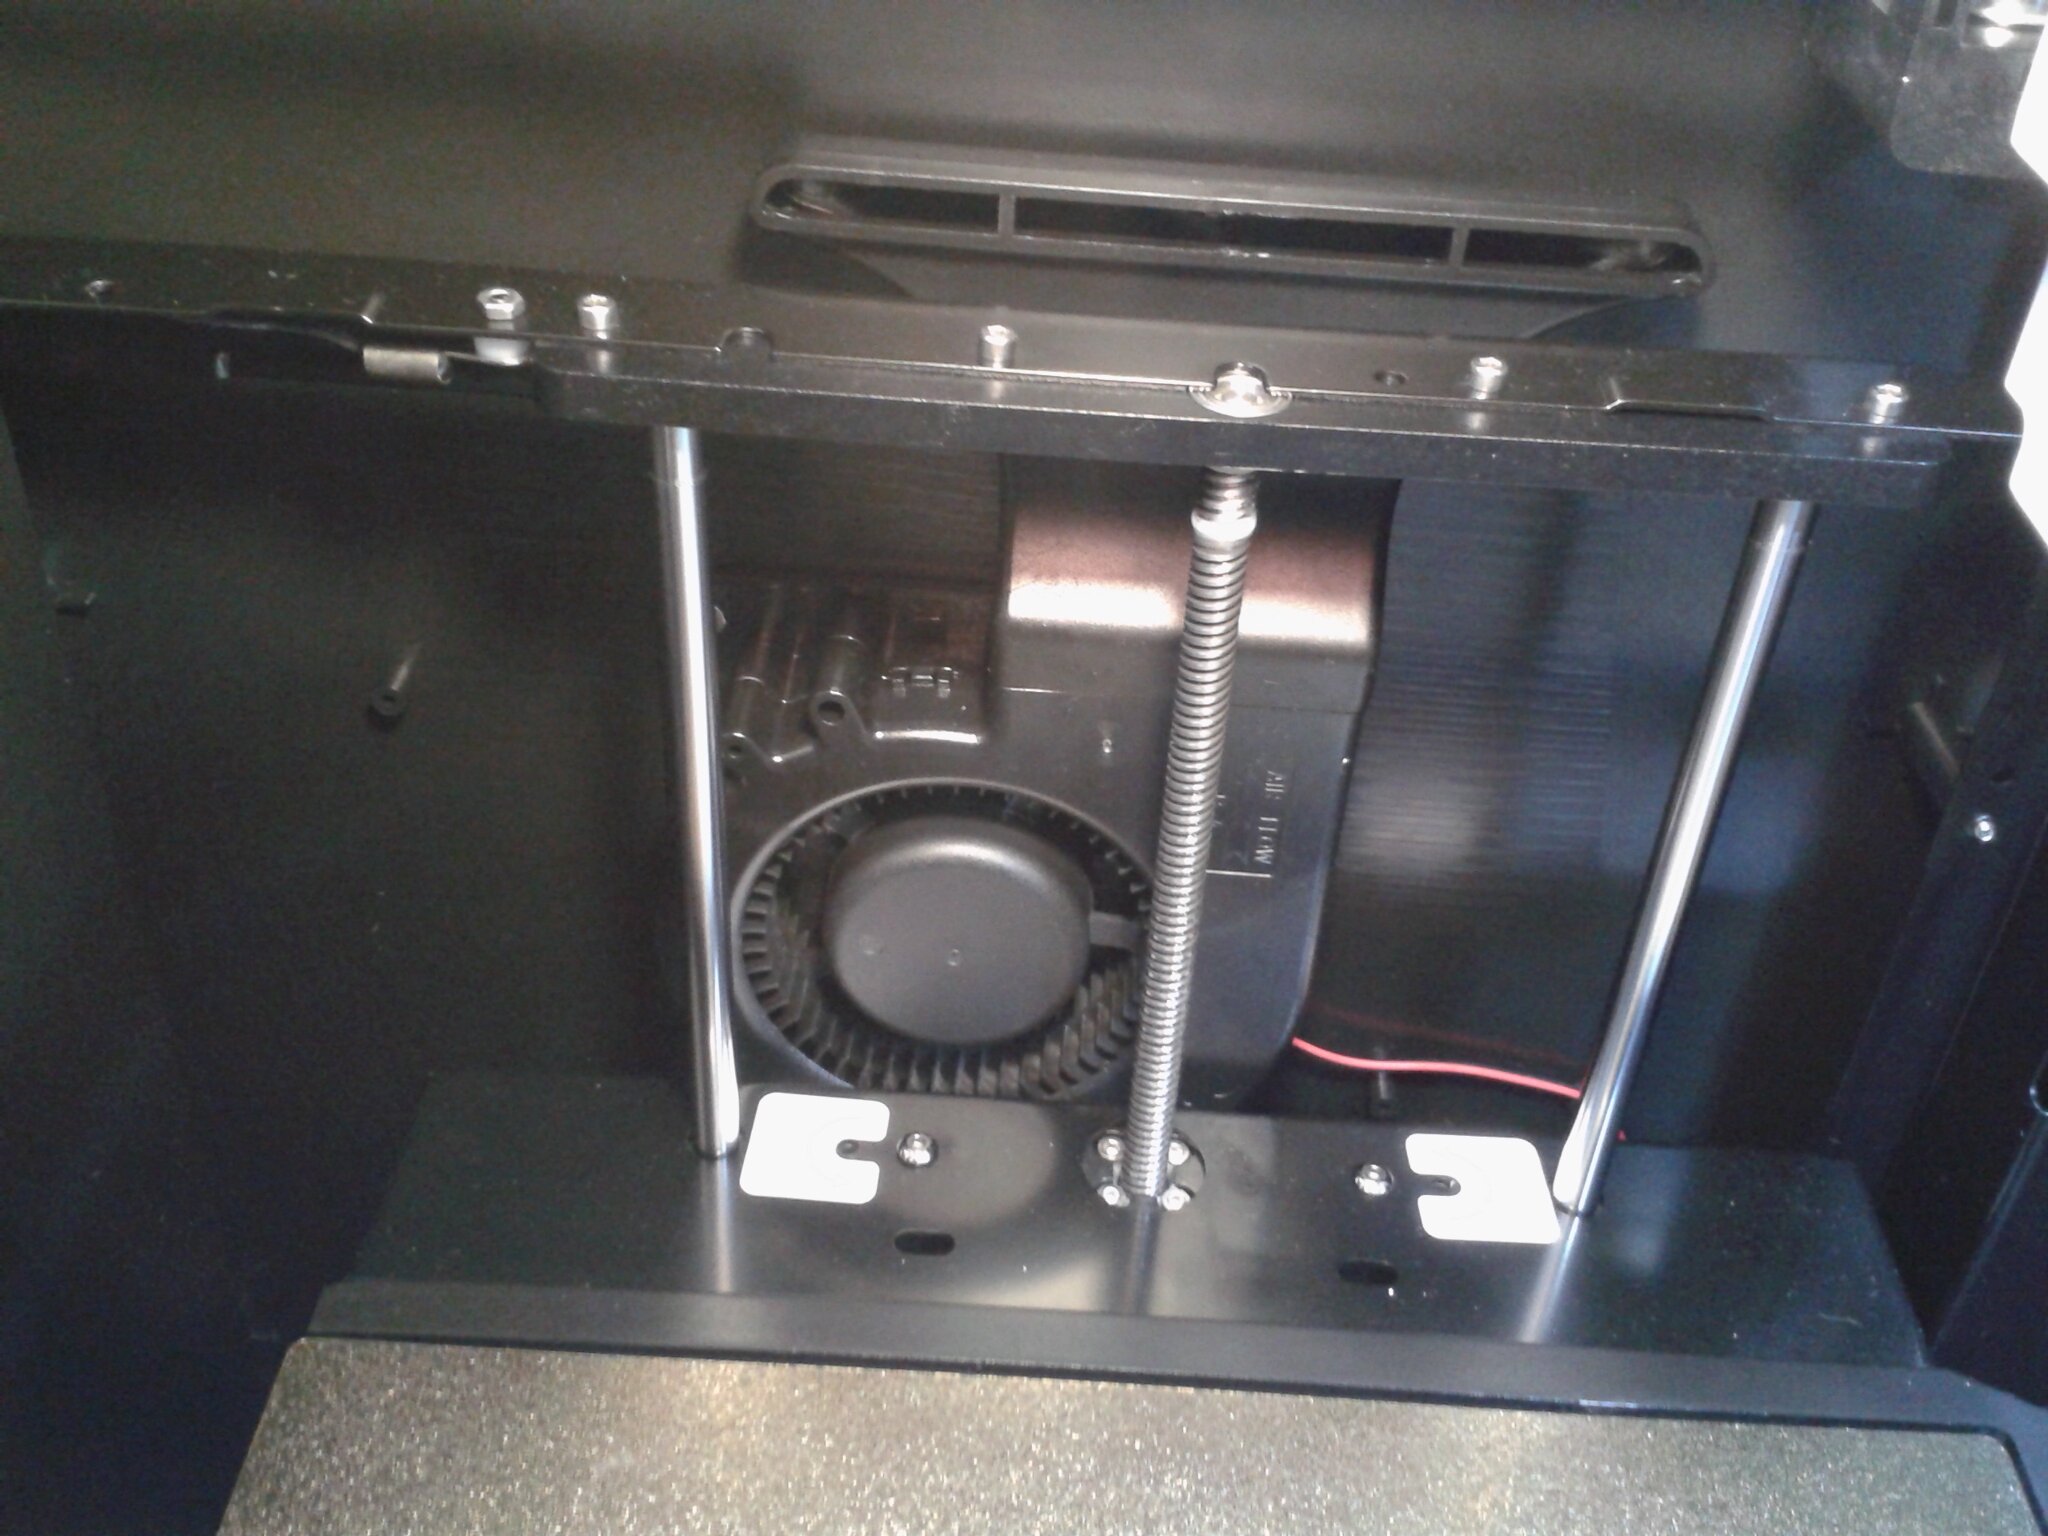

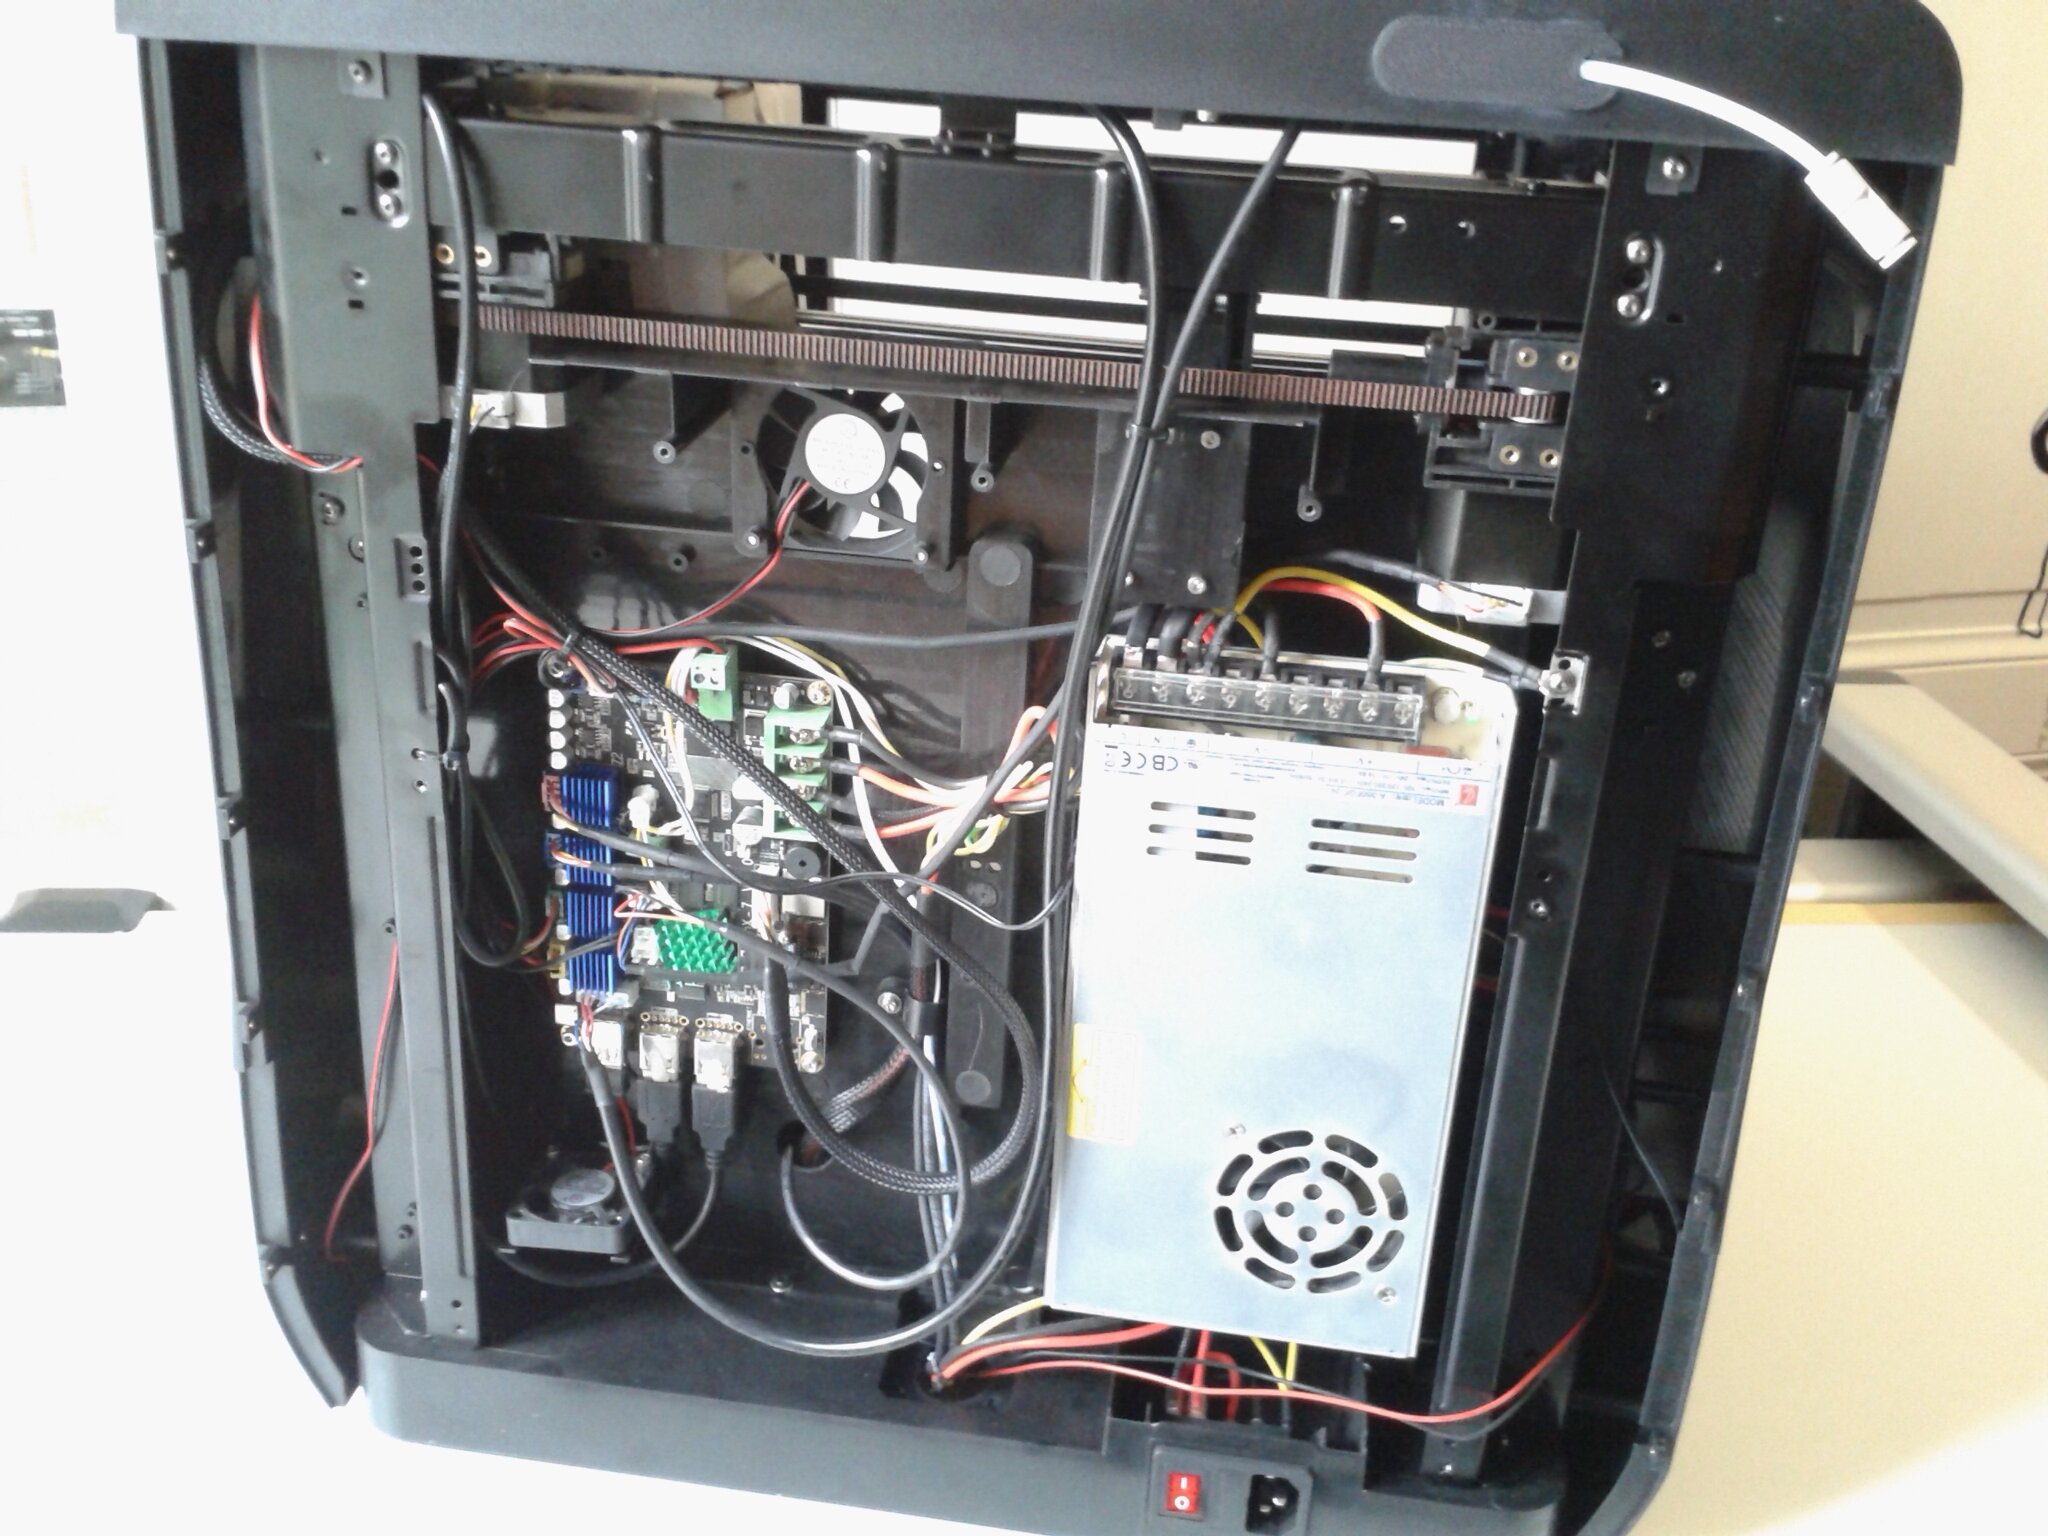
Sous l’imprimante, il y a un module SSR alimenté par le secteur (220V) qui s’occupe du chauffage de la chambre de 300W. Donc attention à bien débrancher la machine du secteur avant toute intervention sur le système de chauffage et lors de l’utilisation de l’imprimante, faire très attention de ne pas le toucher non plus car il est alimenté en 220V. Regarder dans la fin du dernier chapitre “Améliorations et upgrades” pour voir un cache de protection supplémentaire à imprimer.

Les filaments PLA et PETG, ainsi que les filament plus difficiles comme l’ABS qui nécessite un plateau et une chambre chauffée, ou encore certain filaments de matériau plus exotique ou abrasifs comme ceux chargés en fibre de carbone, sont utilisables sans modification ou changement de la partie chaude de la machine. C’est un avantage non négligeable lorsque l’on change souvent de matériau d’impression, par rapport aux Qidi X-Plus 3 et X-Max 3.
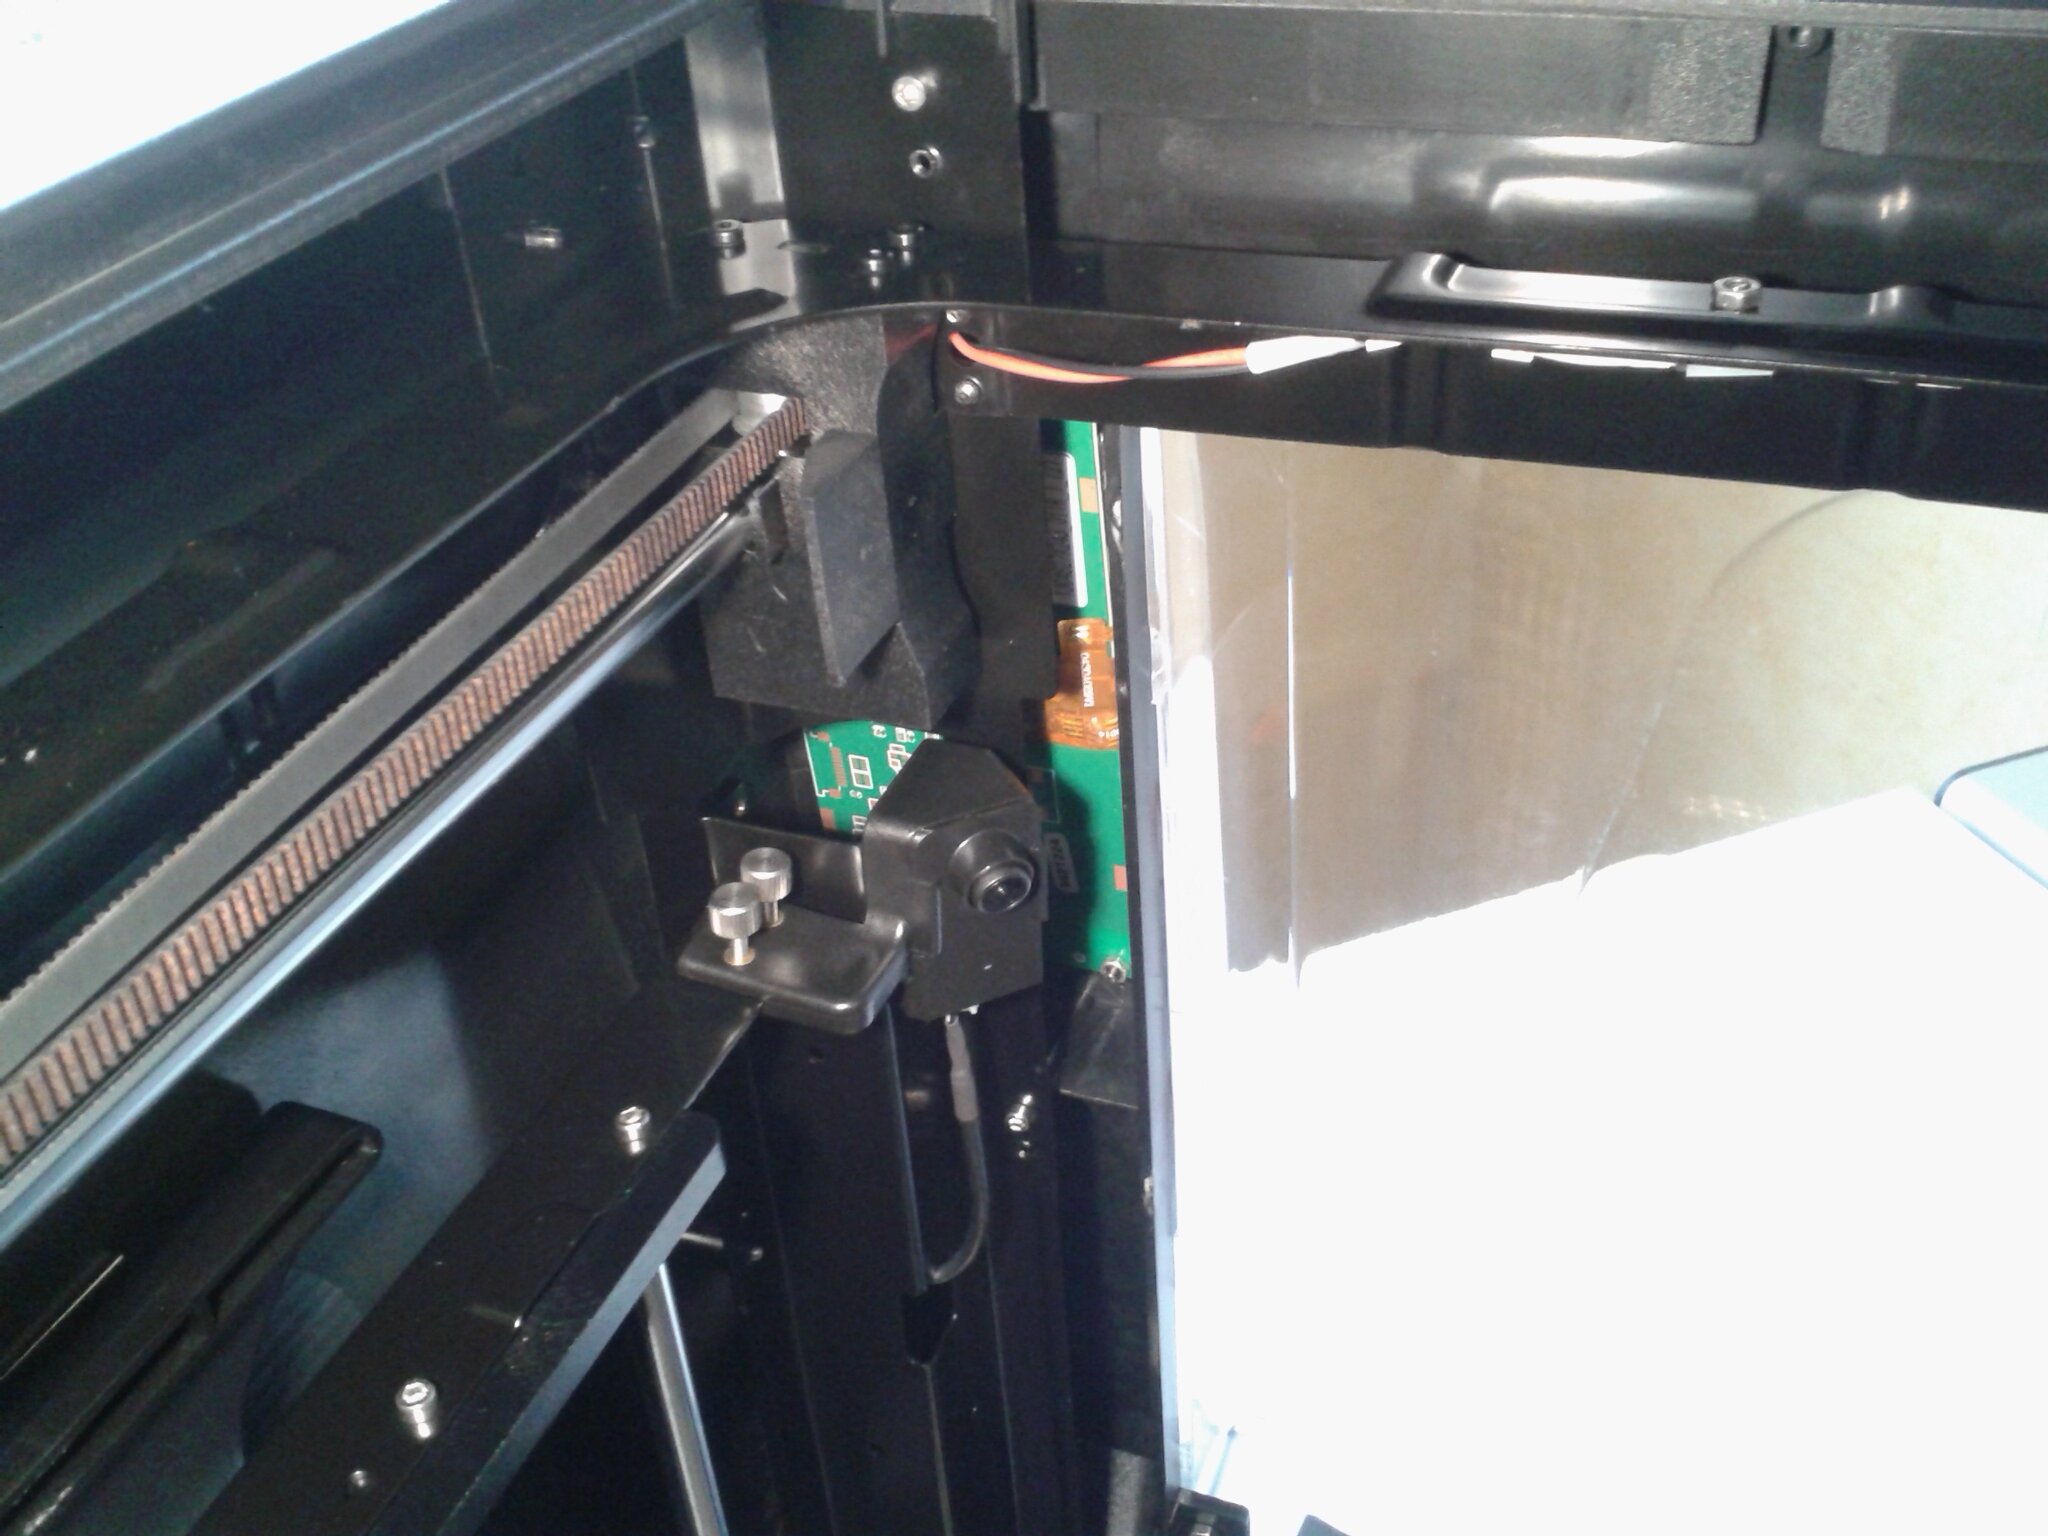
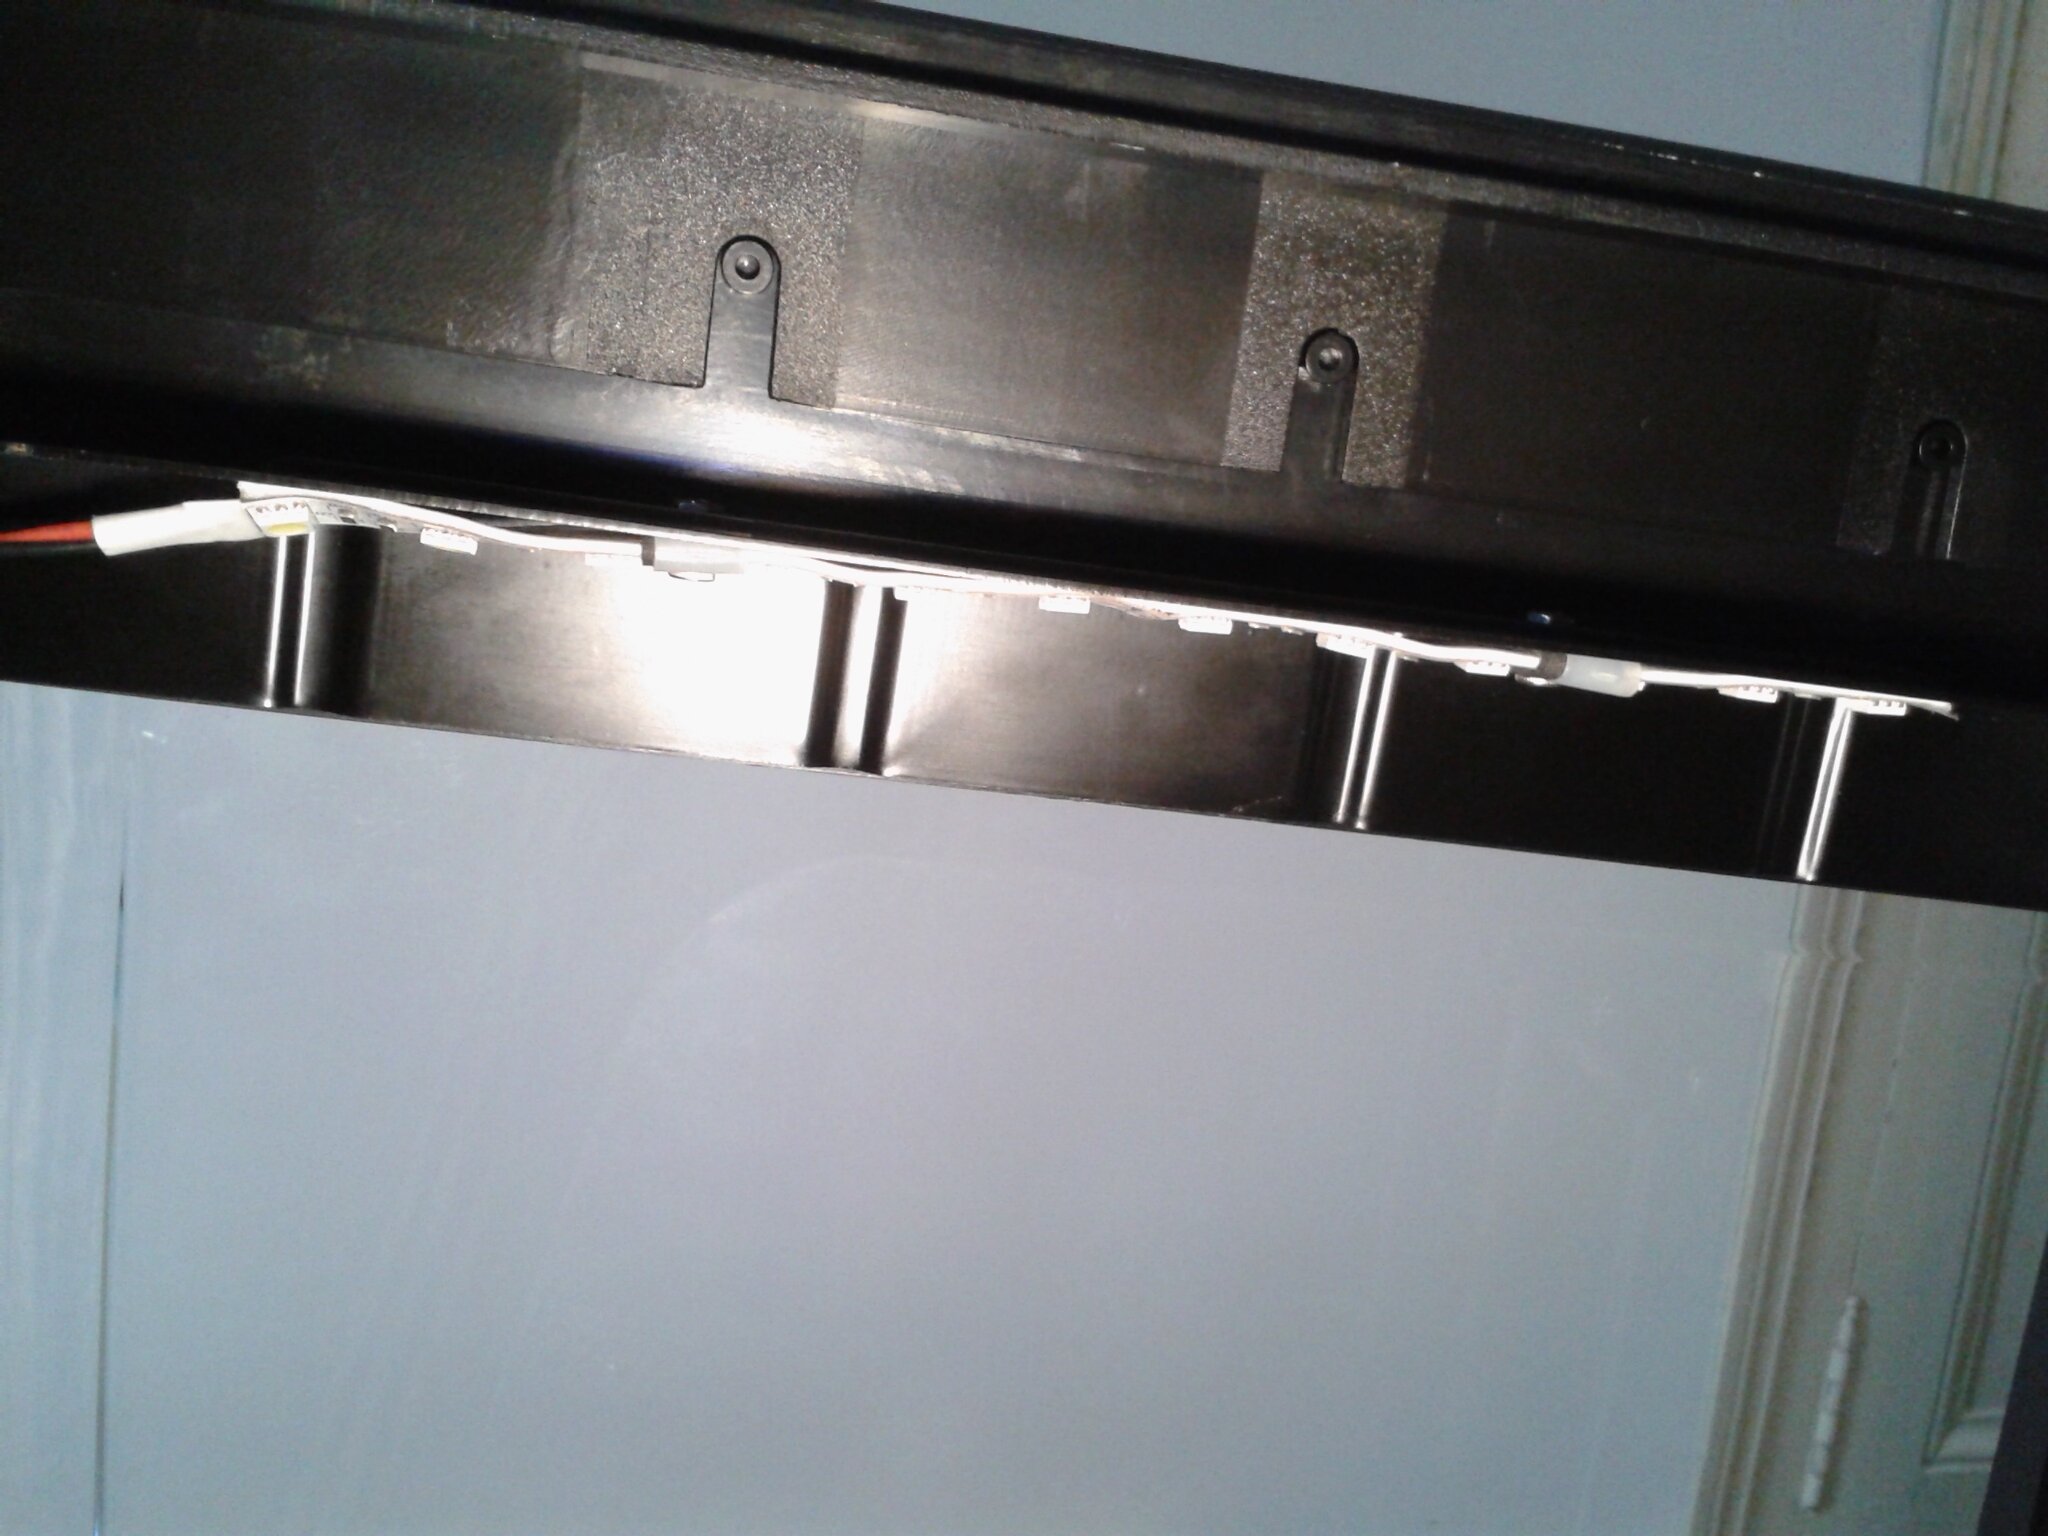
Une caméra d’origine, un ruban LED au-dessus de la porte, la possibilité de la contrôler par Wi-Fi ou via son écran tactile de 4.3 pouces, un capteur d’enchevêtrement et un capteur de de fin de filaments, le nivellement automatique et ajustement automatique du Z-Offset, une mémoire interne eMMC de 32 Go.
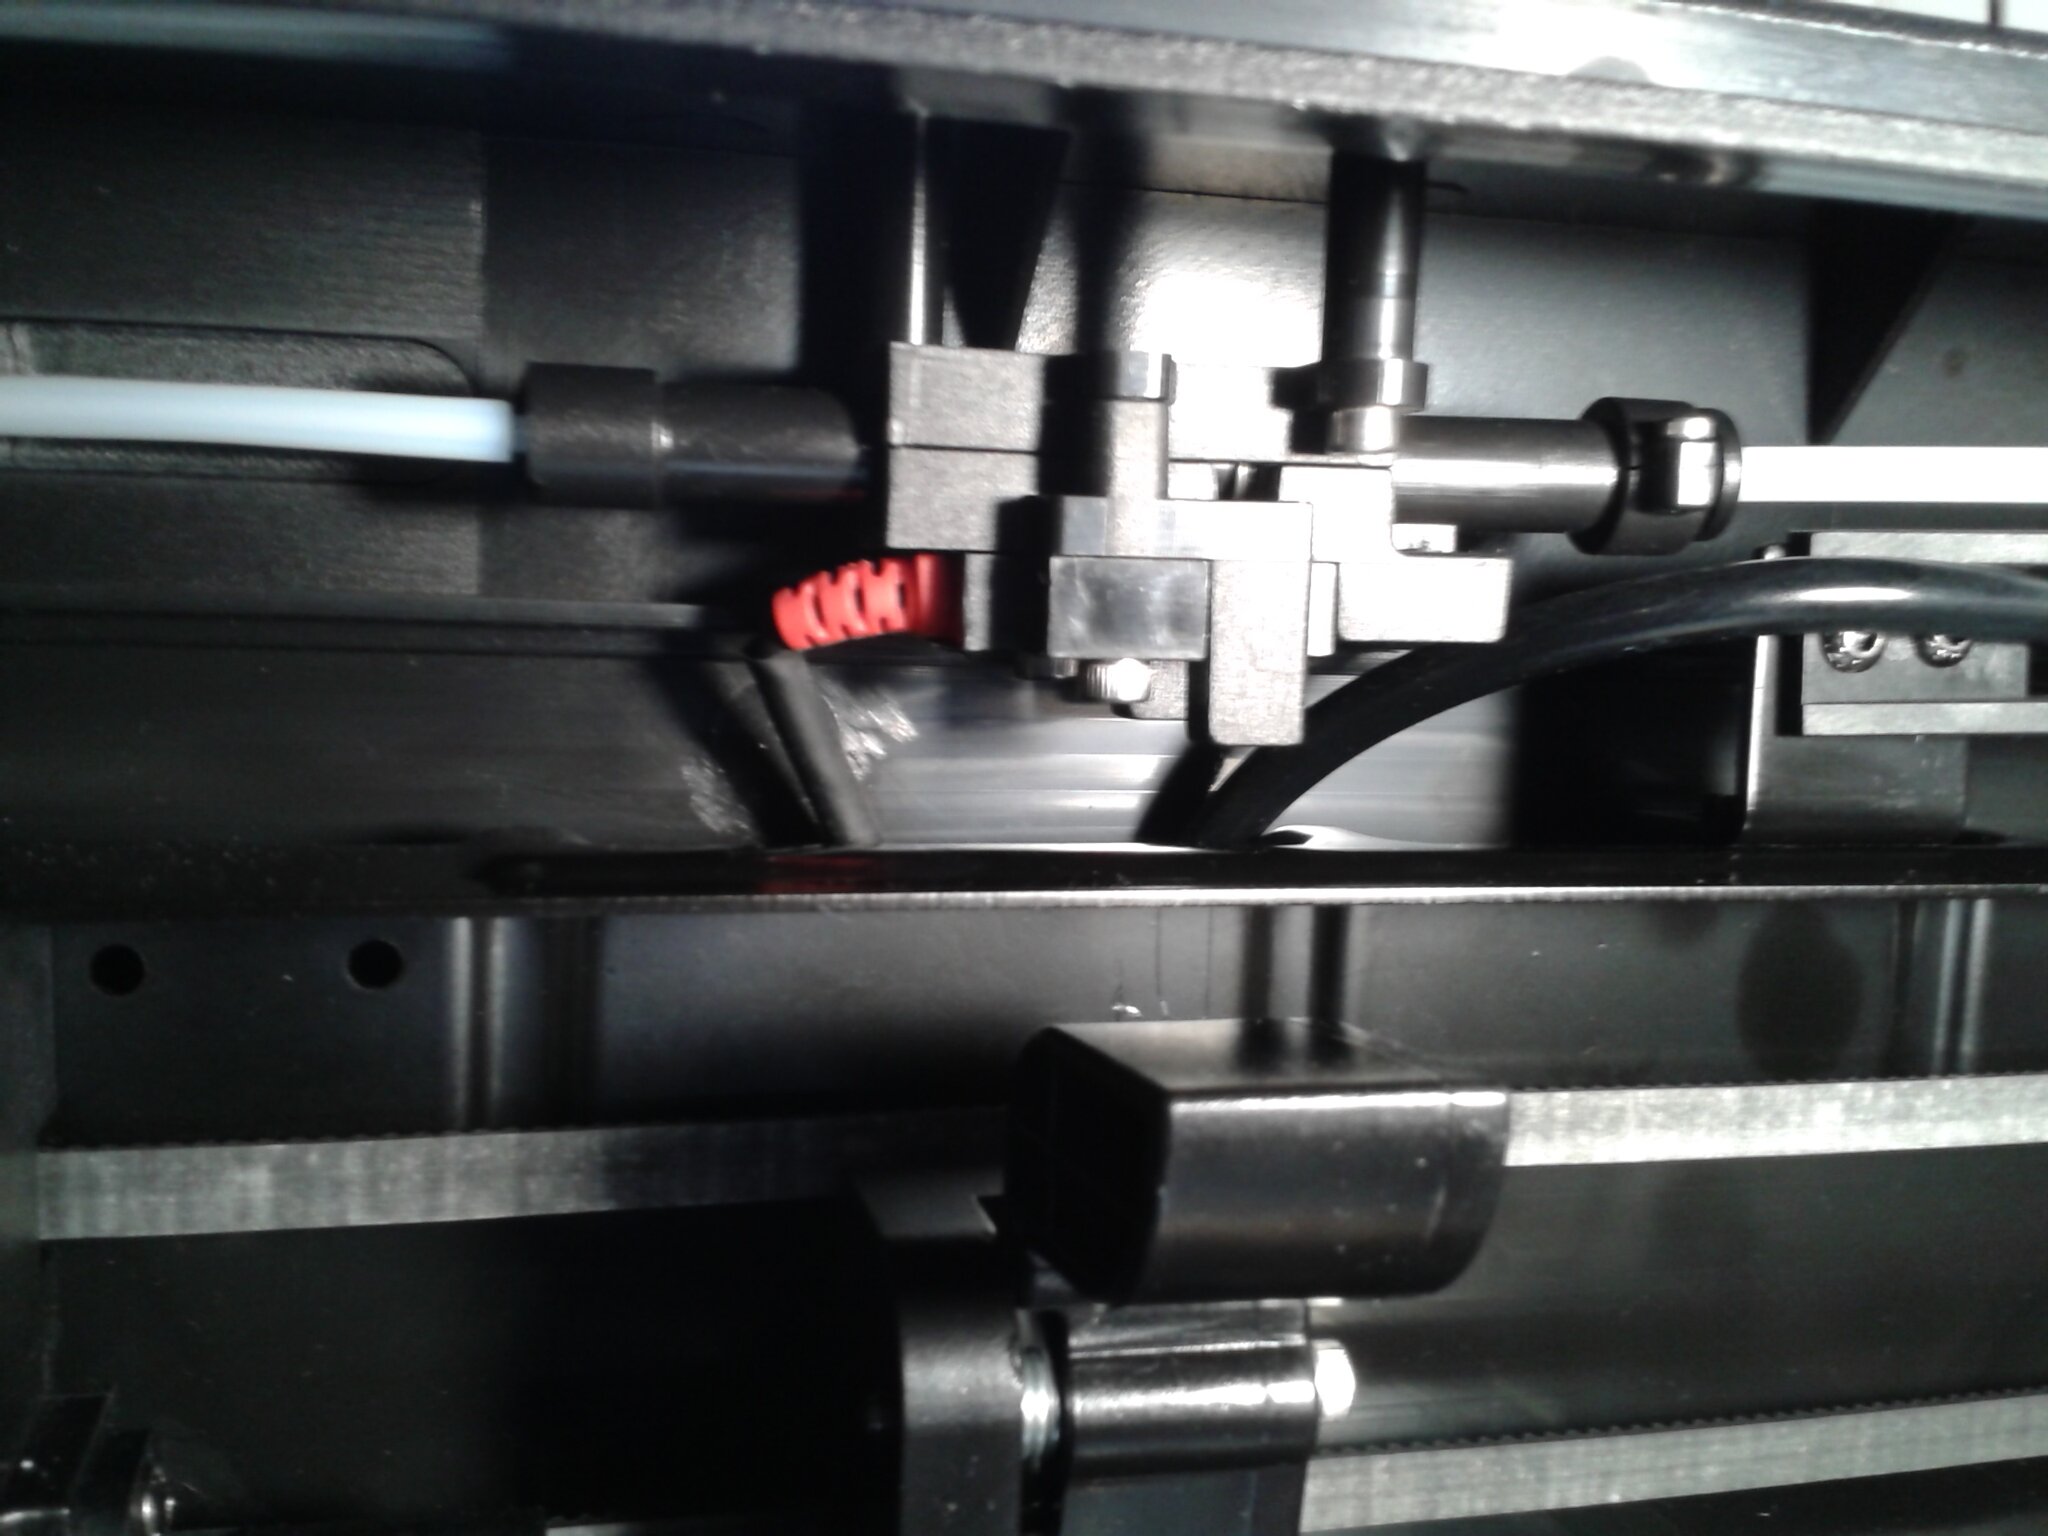
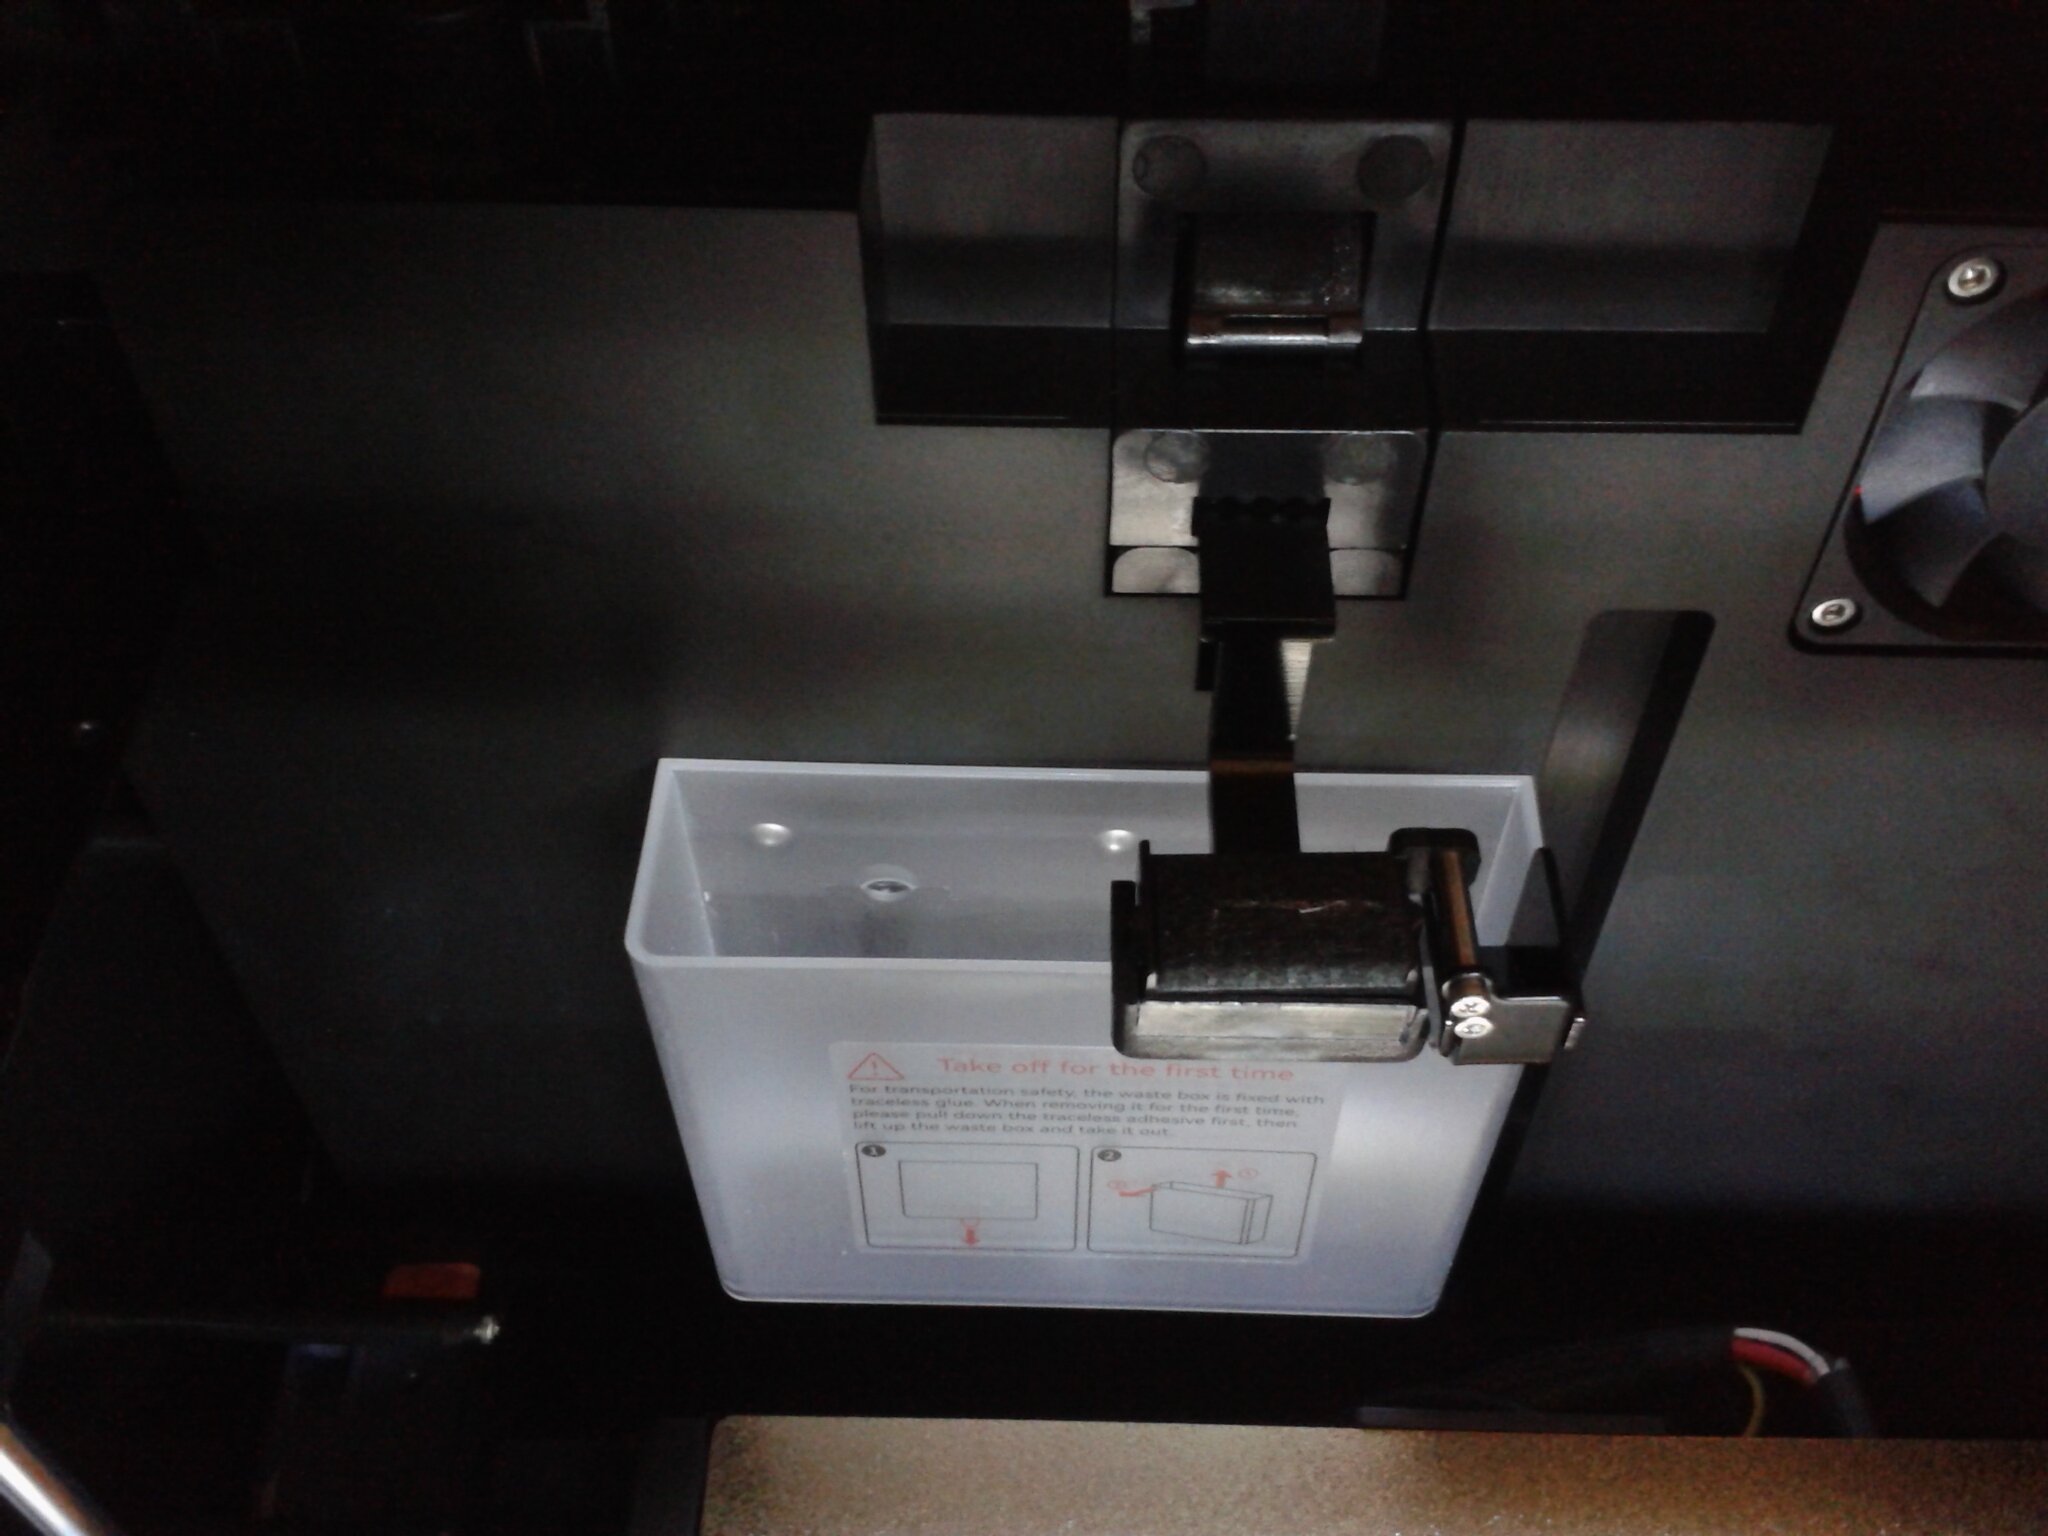
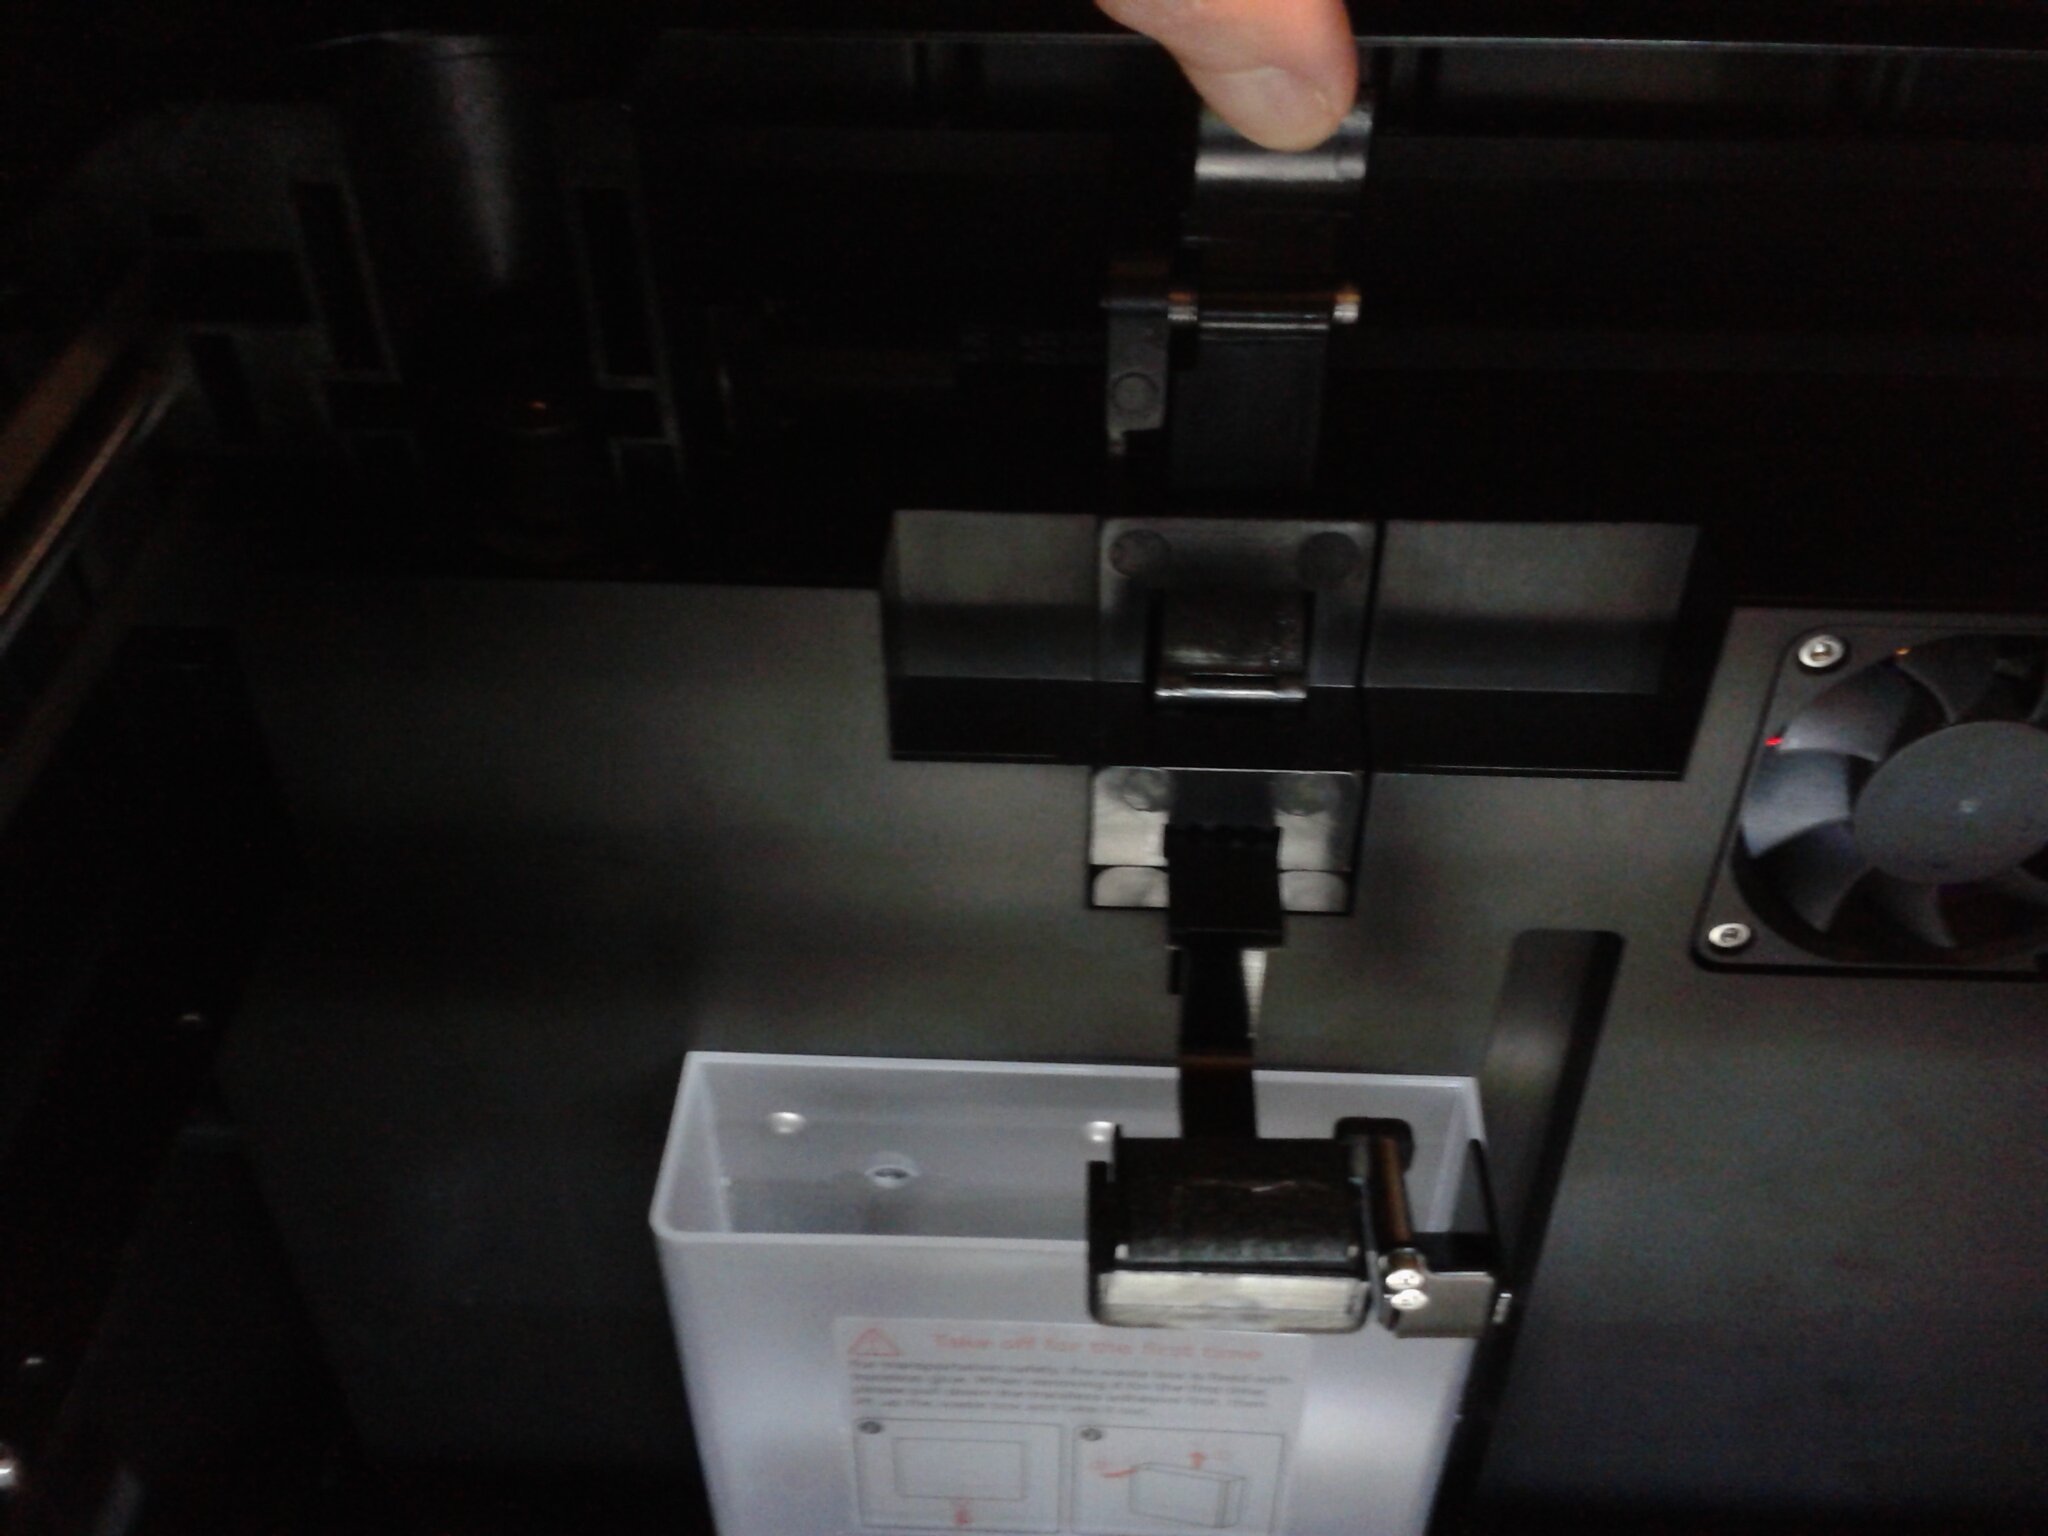
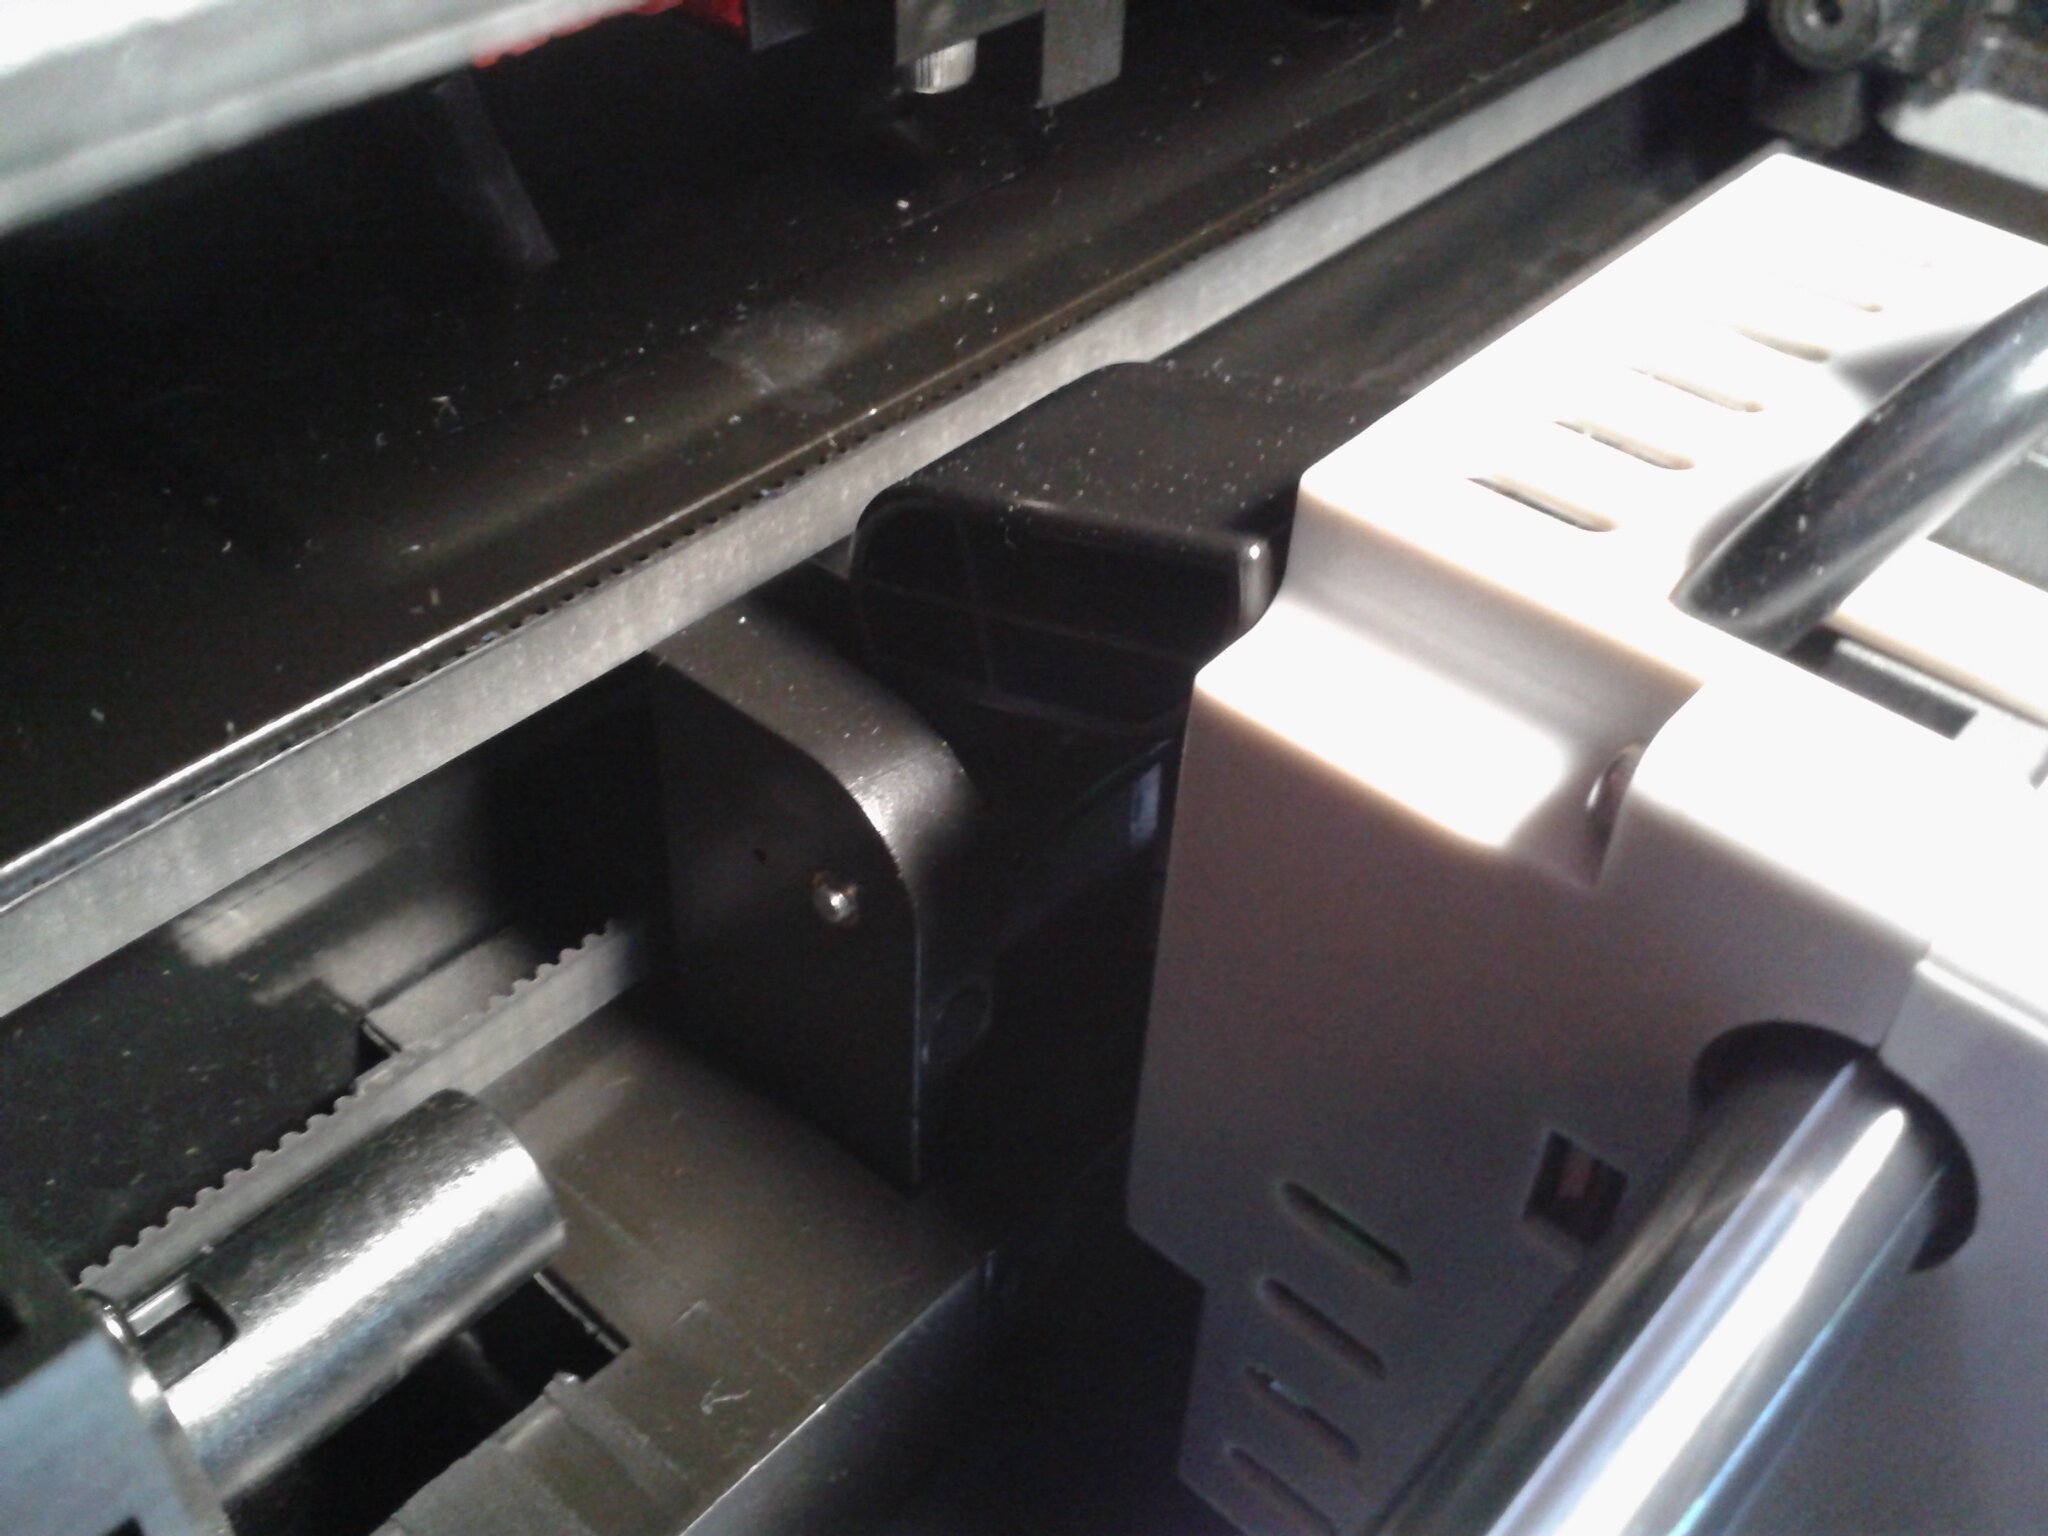
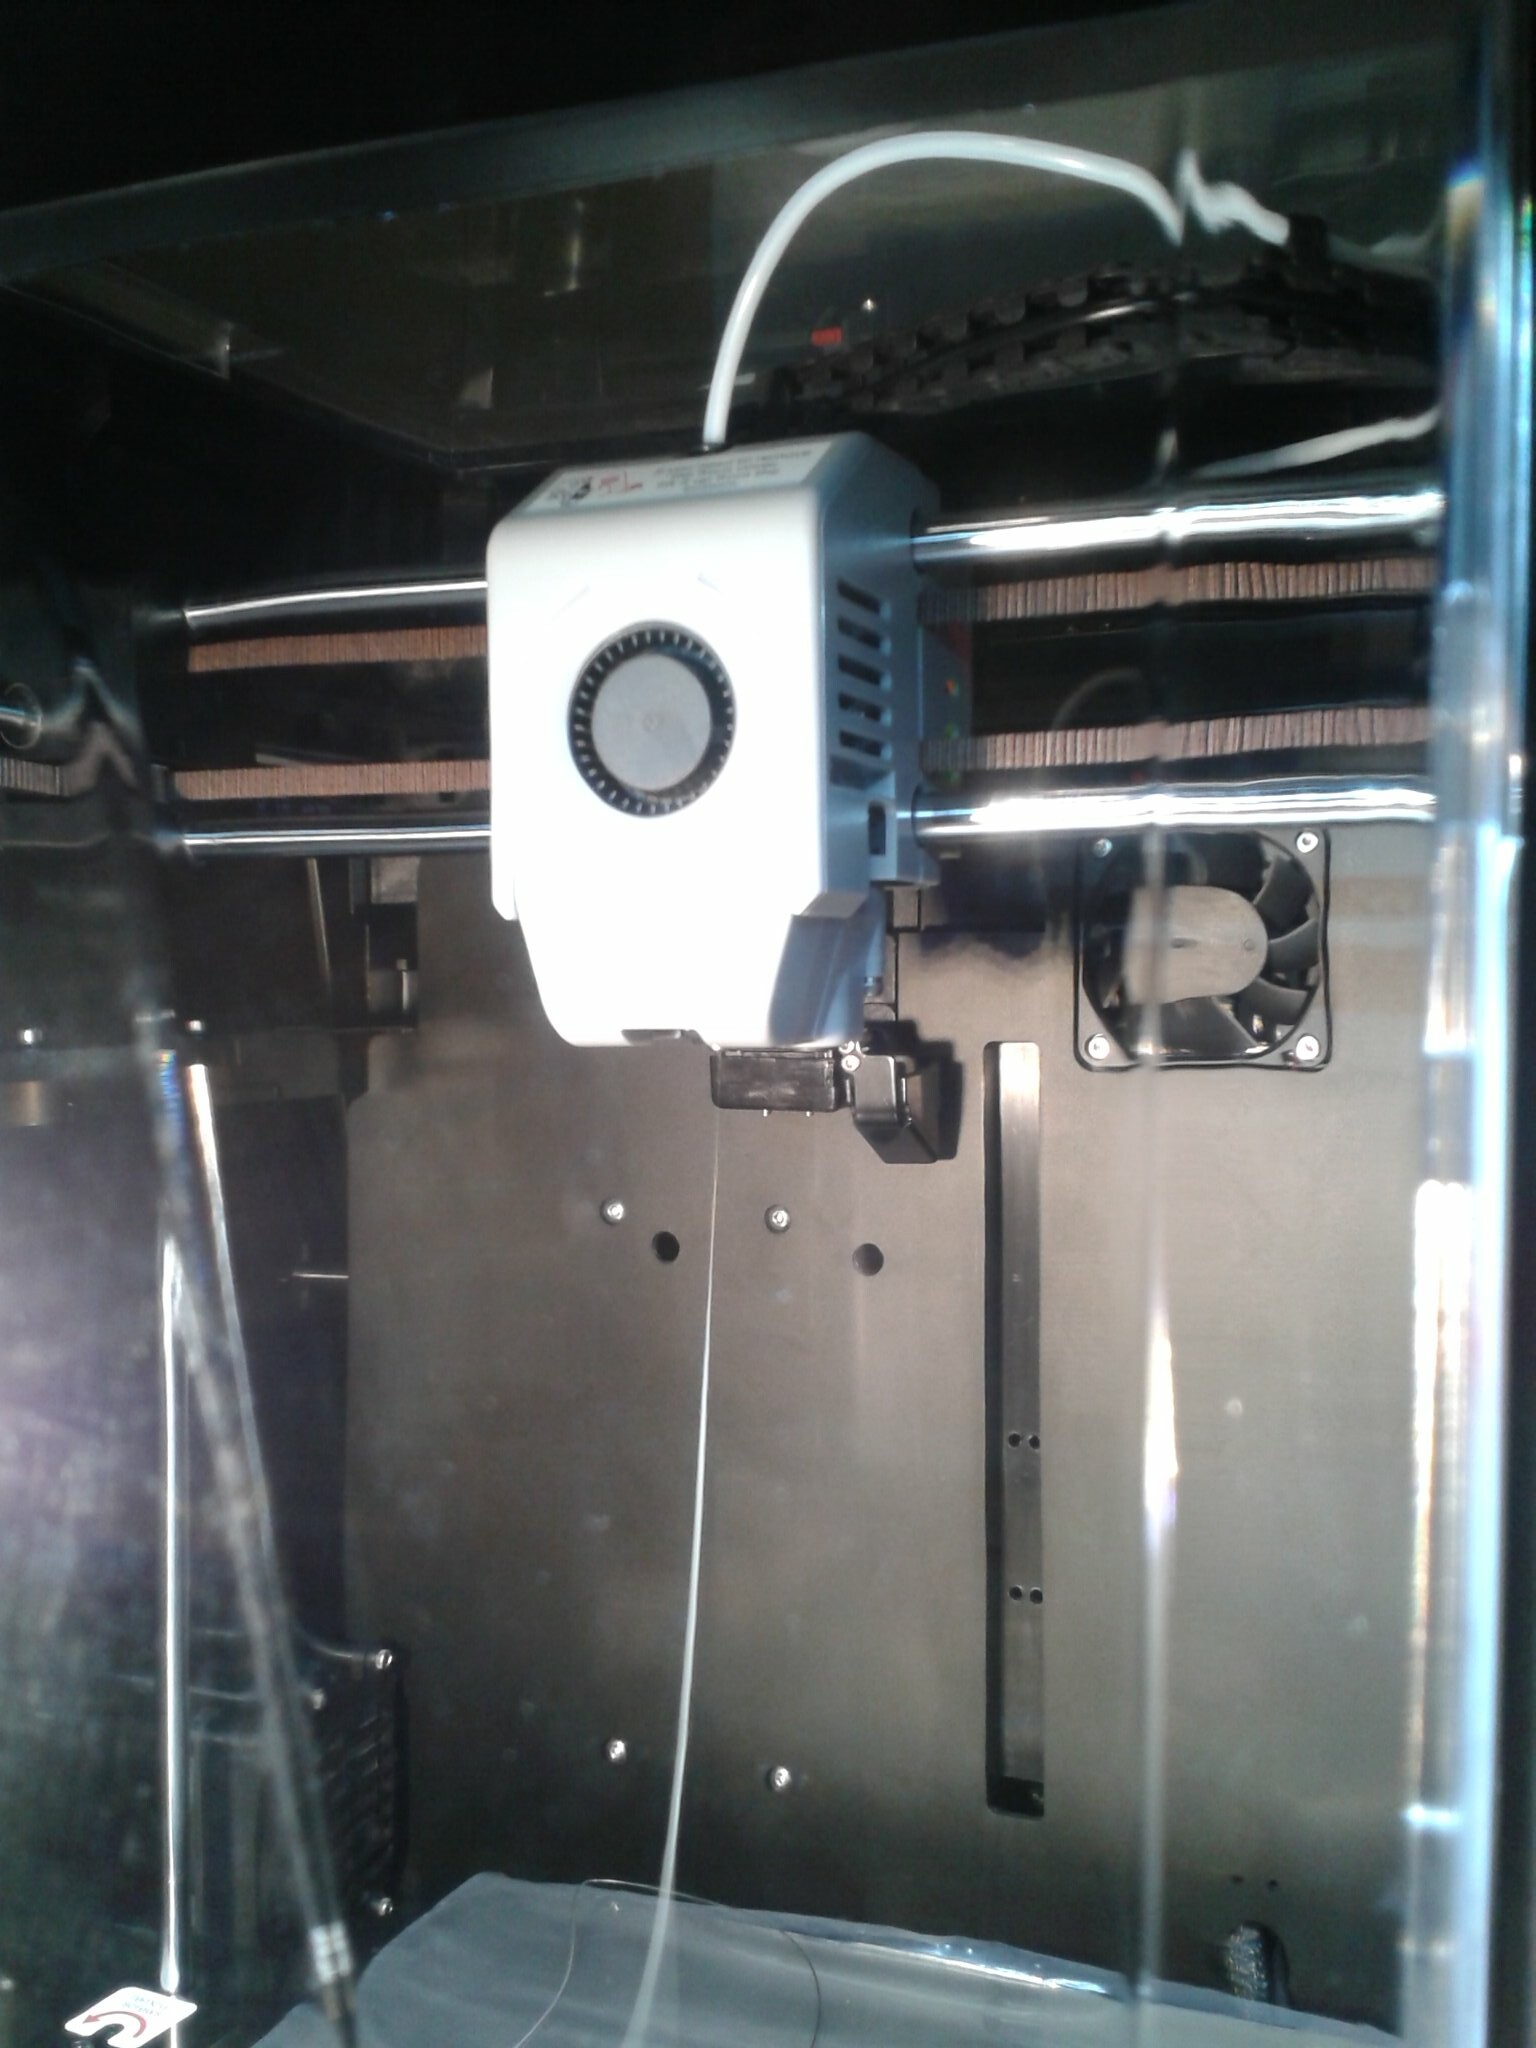
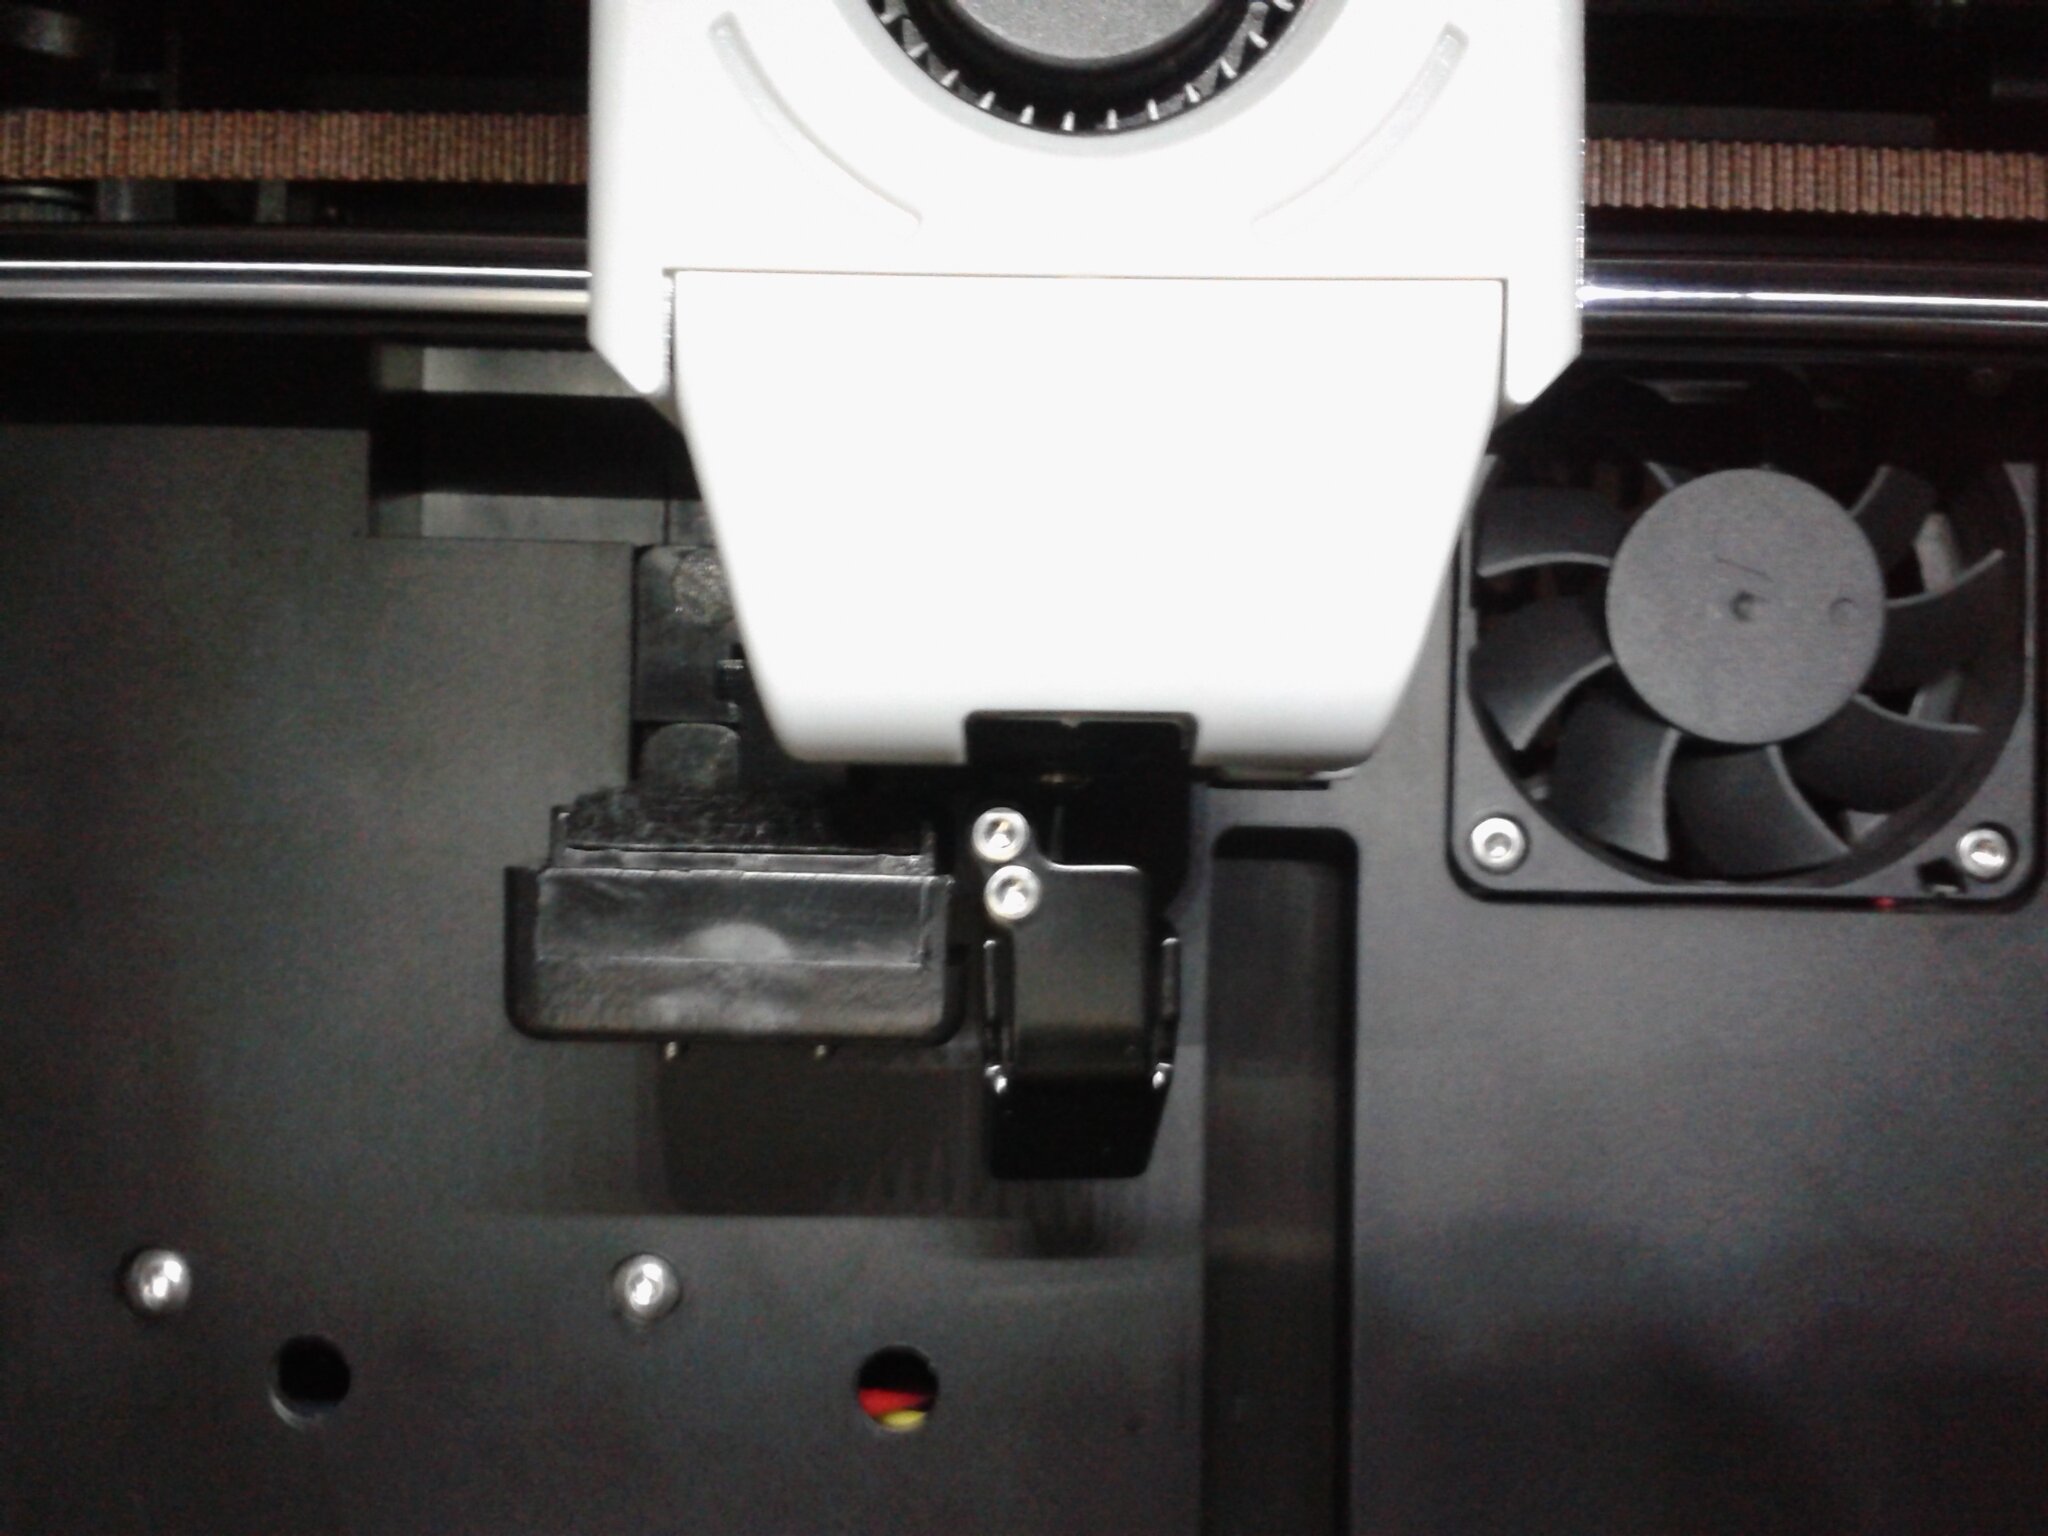
Sans oublier son système de nettoyage de buse, avec un bac amovible de récupération des déchets de nettoyage et de purge de filament. La tête d’impression vient pousser le levier pour que le guide des purges et le patin de nettoyage se retrouvent sous le nez de la buse.
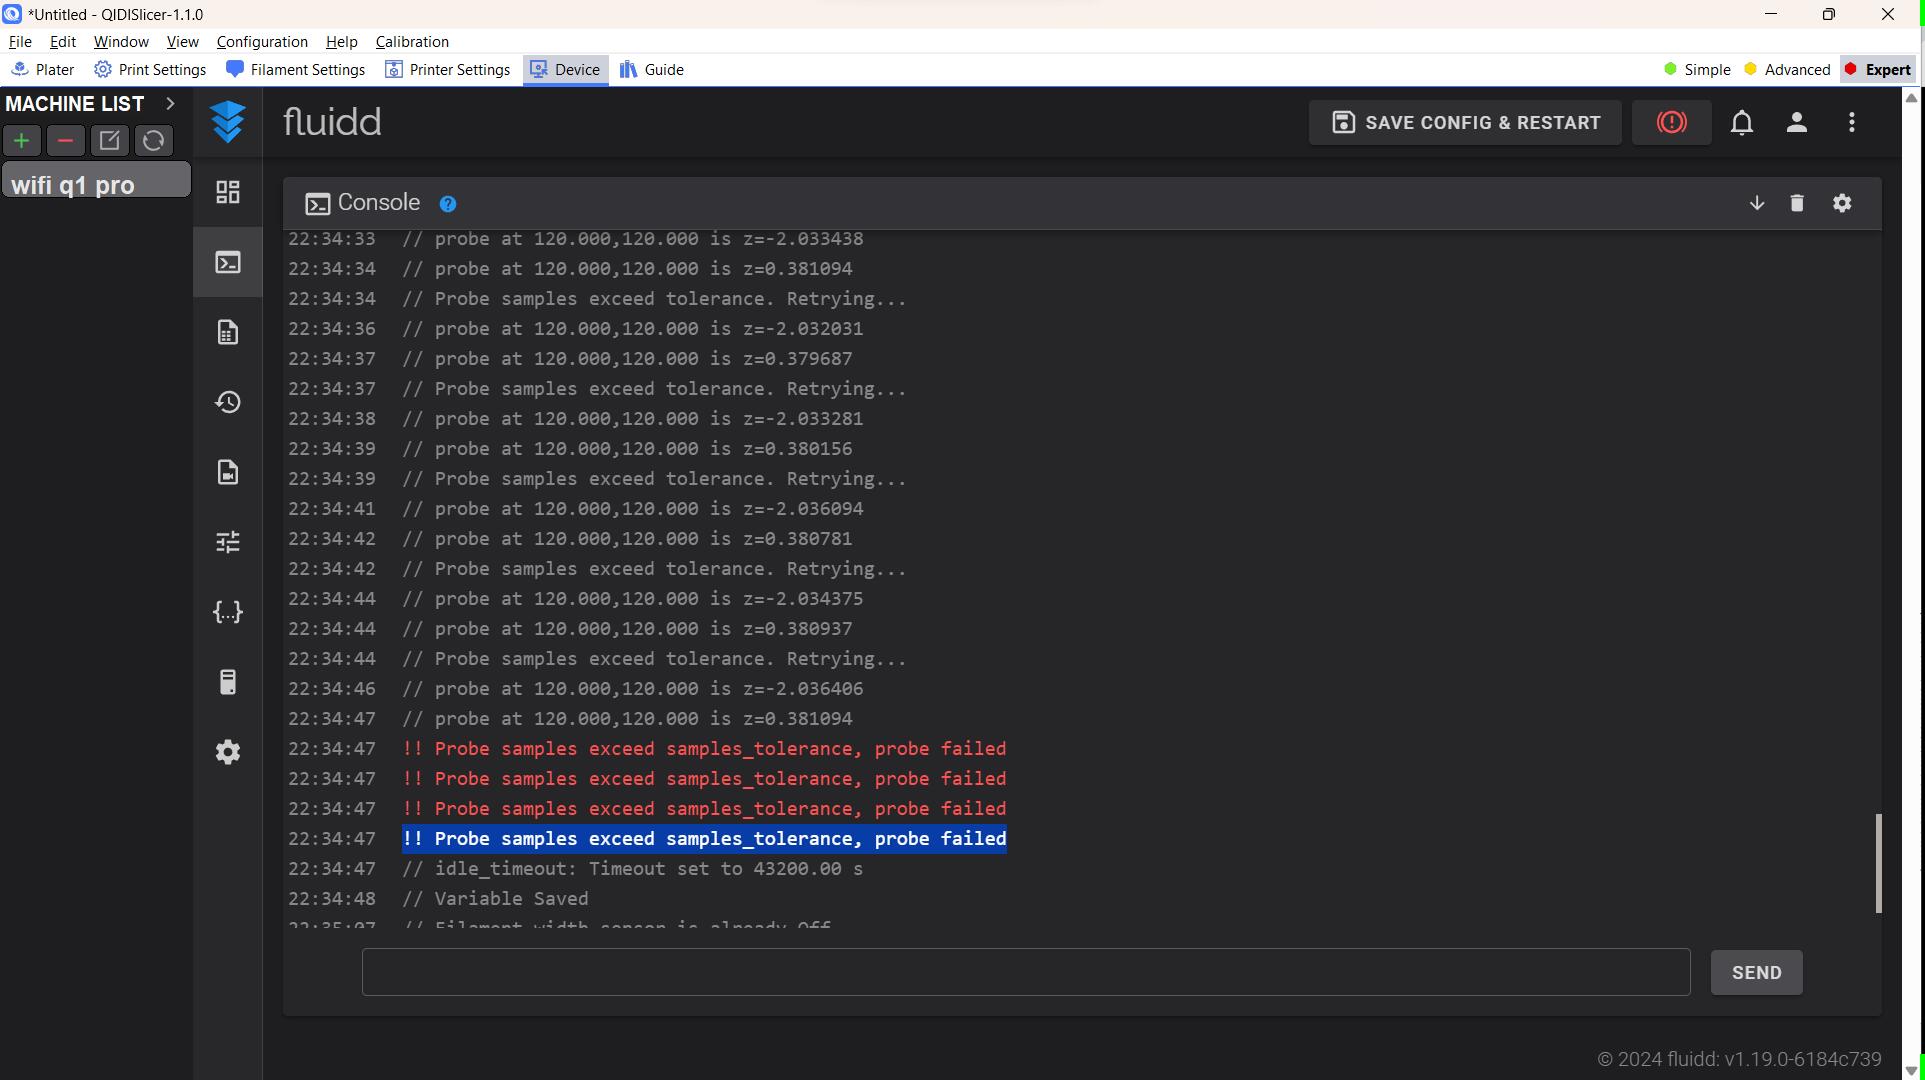
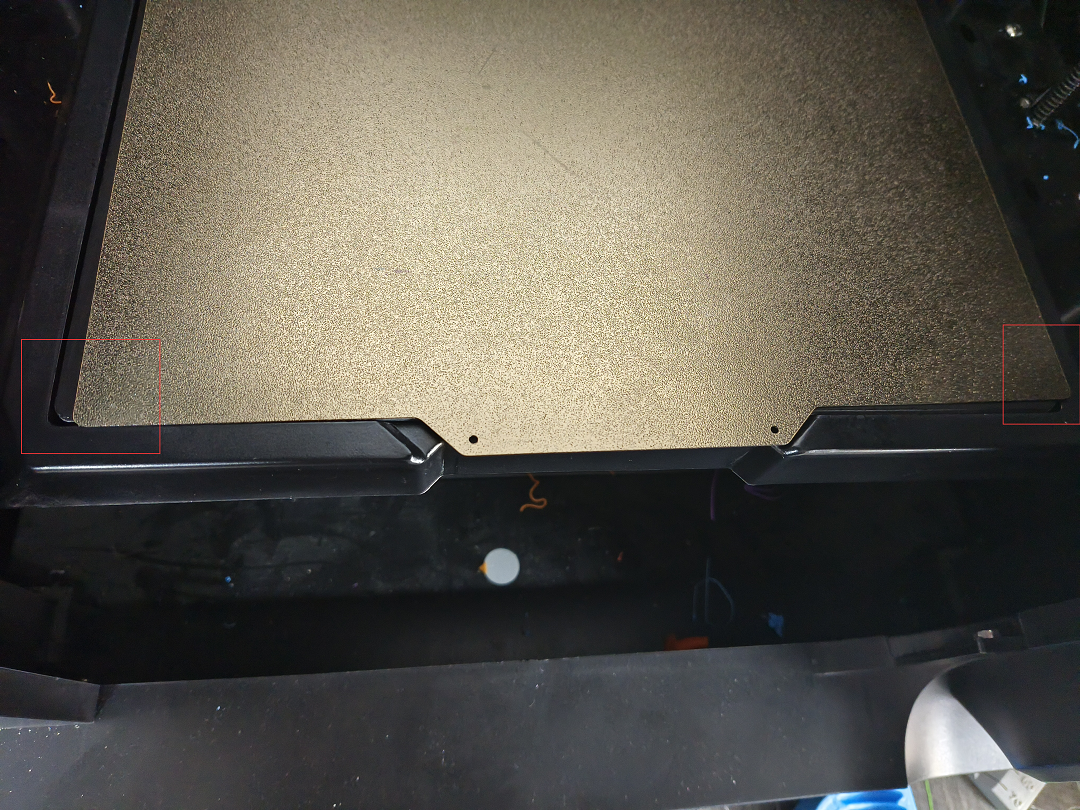
Globalement, la mise en fonction, l’utilisation et la surveillance de cette machine est rapide et relativement facile à effectuer mais il faut souvent s’y reprendre à plusieurs fois pour correctement replacer la plaque flexible magnétique sur sa base aimantée, sans qu’elle ne chevauche une partie de la coque légèrement plus haute que le plateau. On trouve, sur la page de la Q1 Pro du Wiki de Qidi Tech, une page qui parle dans les messages d’erreur de l’erreur “!!Probe samples exceed samples_tolerance, probe failed” si on ne replace pas bien le plateau.
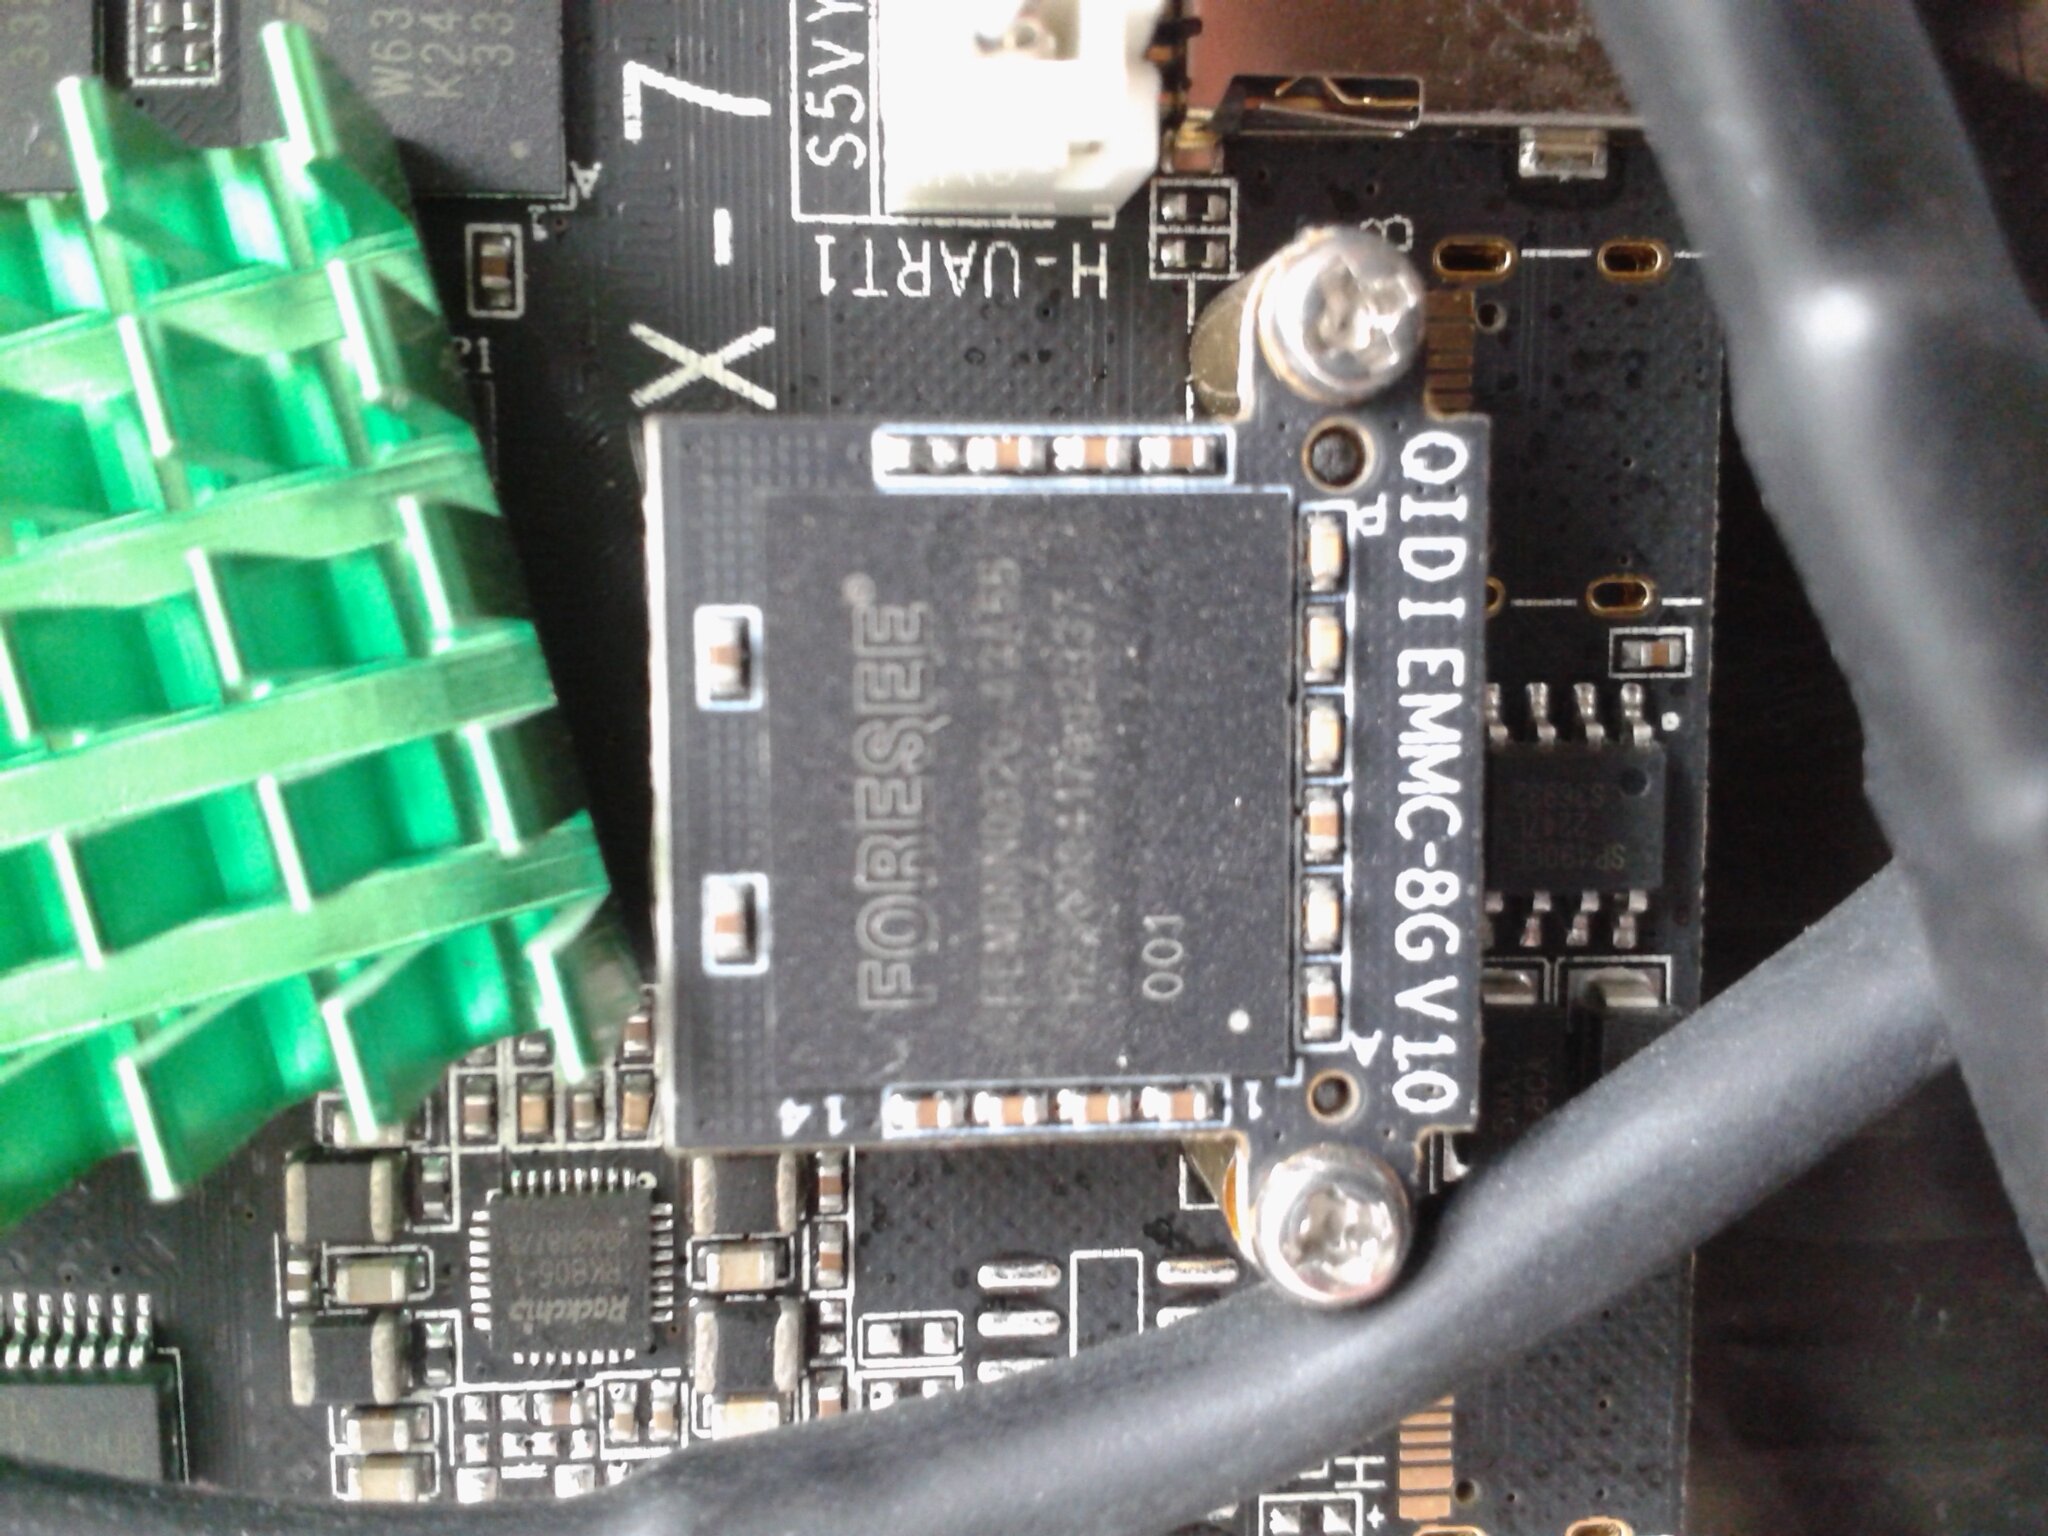
Carte-mère, sérigraphié “X-7 V1.0”, avec un microprocesseur quad core Cortex-A53 sous le gros radiateur de refroidissement vert.
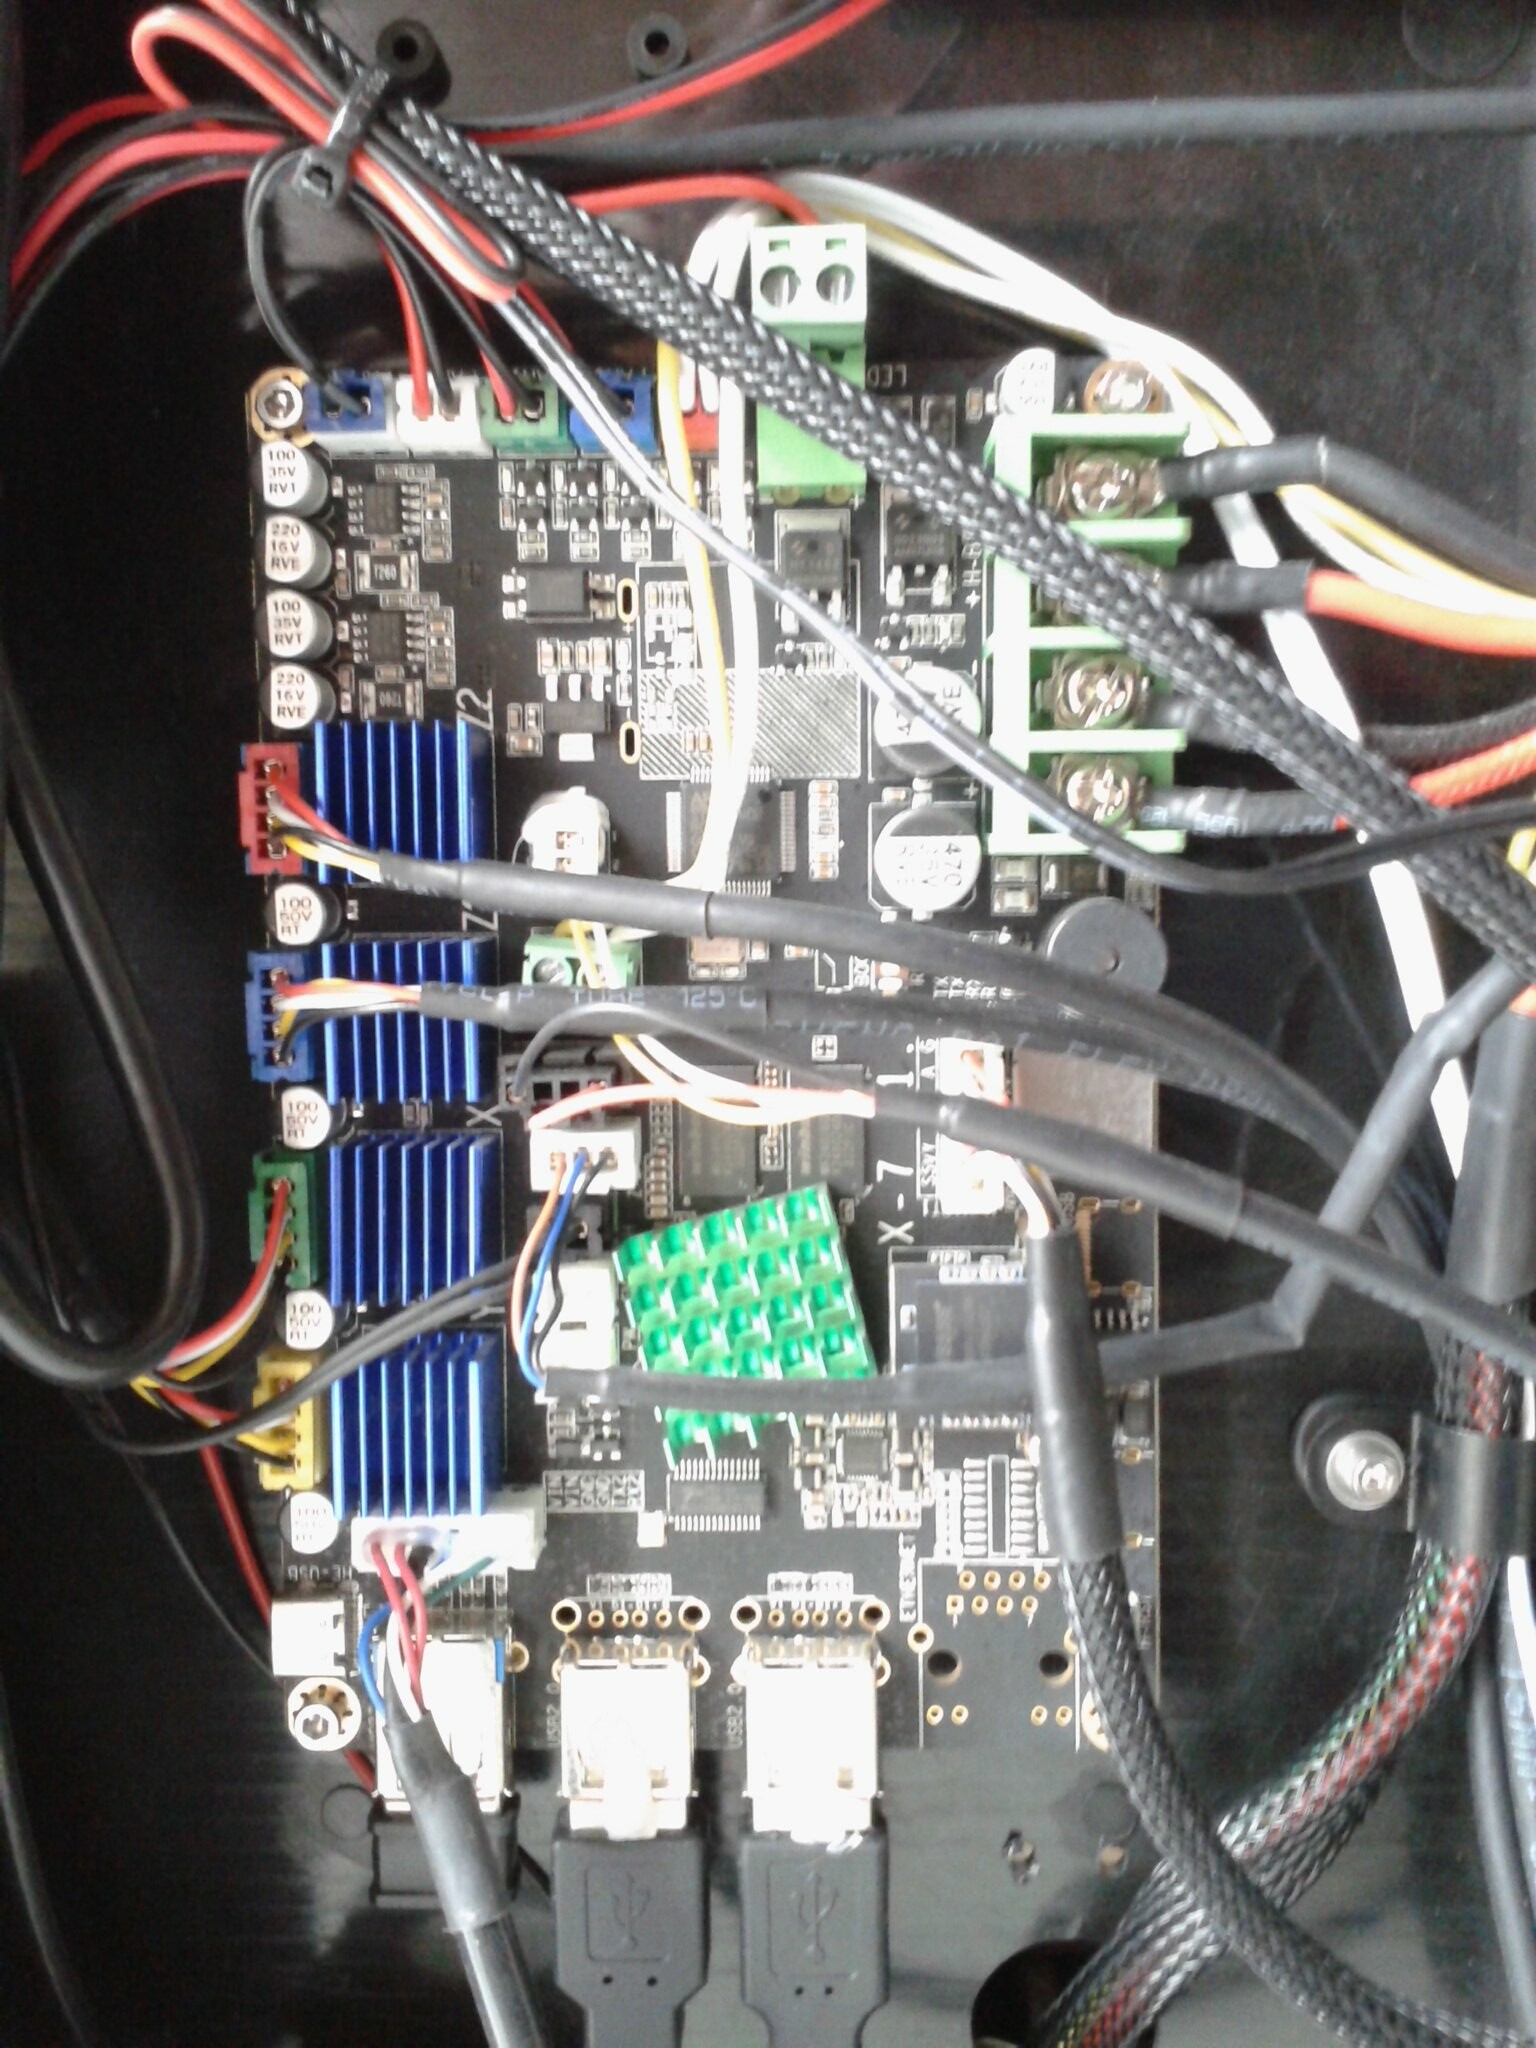
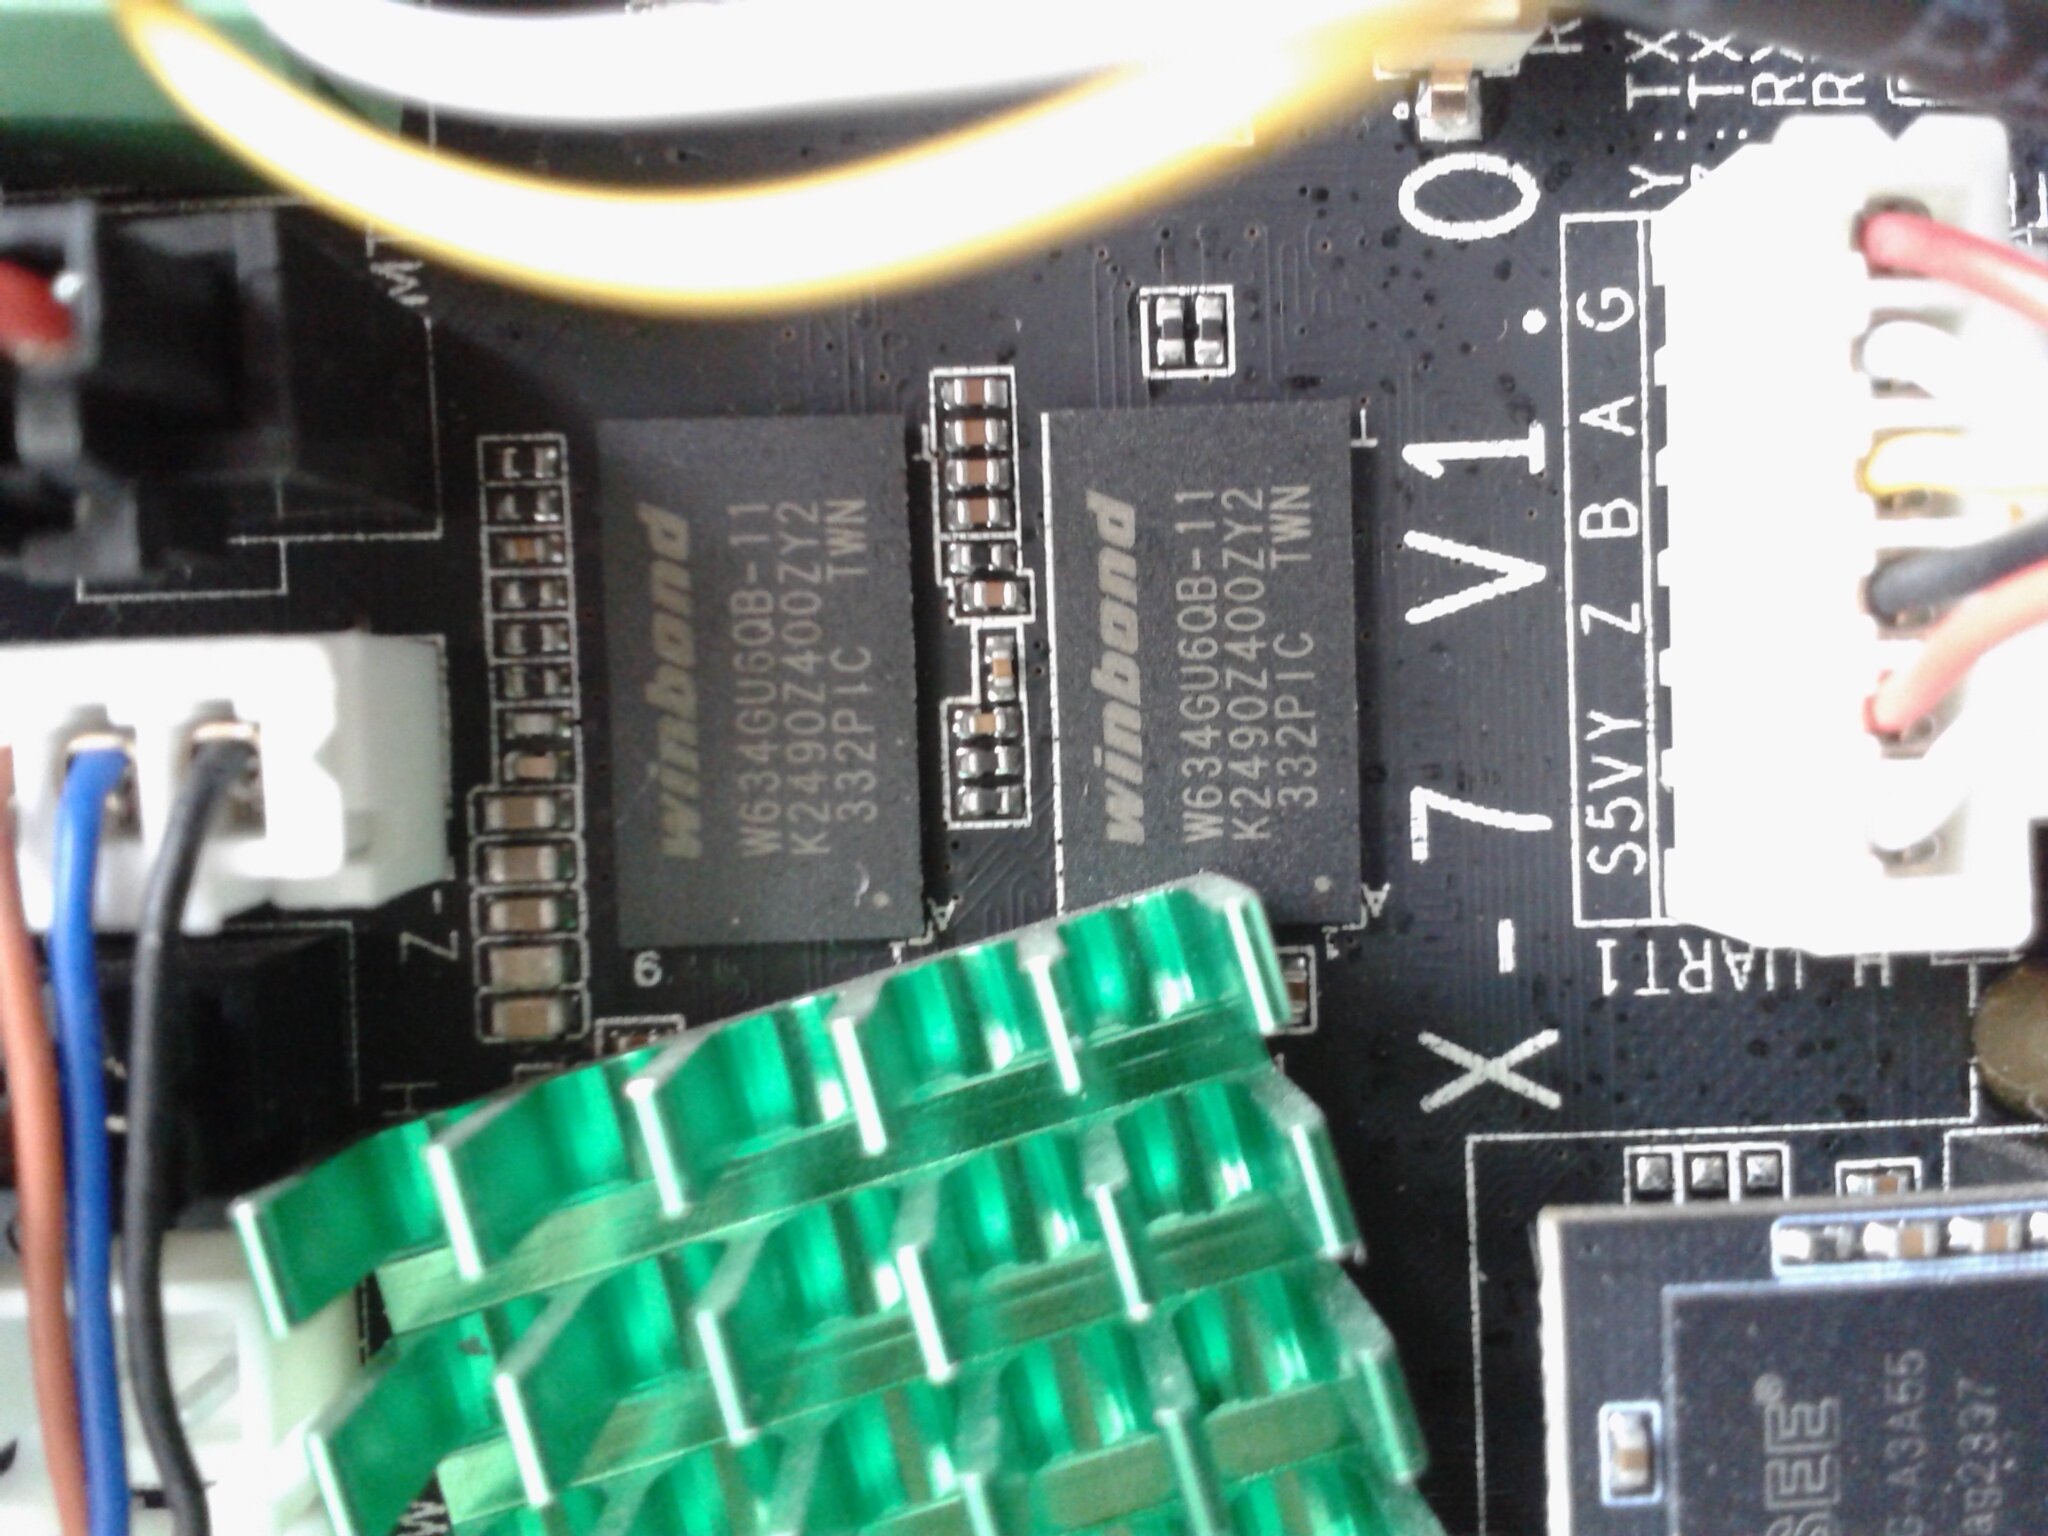
Dual-core Cortex-M4 (STM32F402)
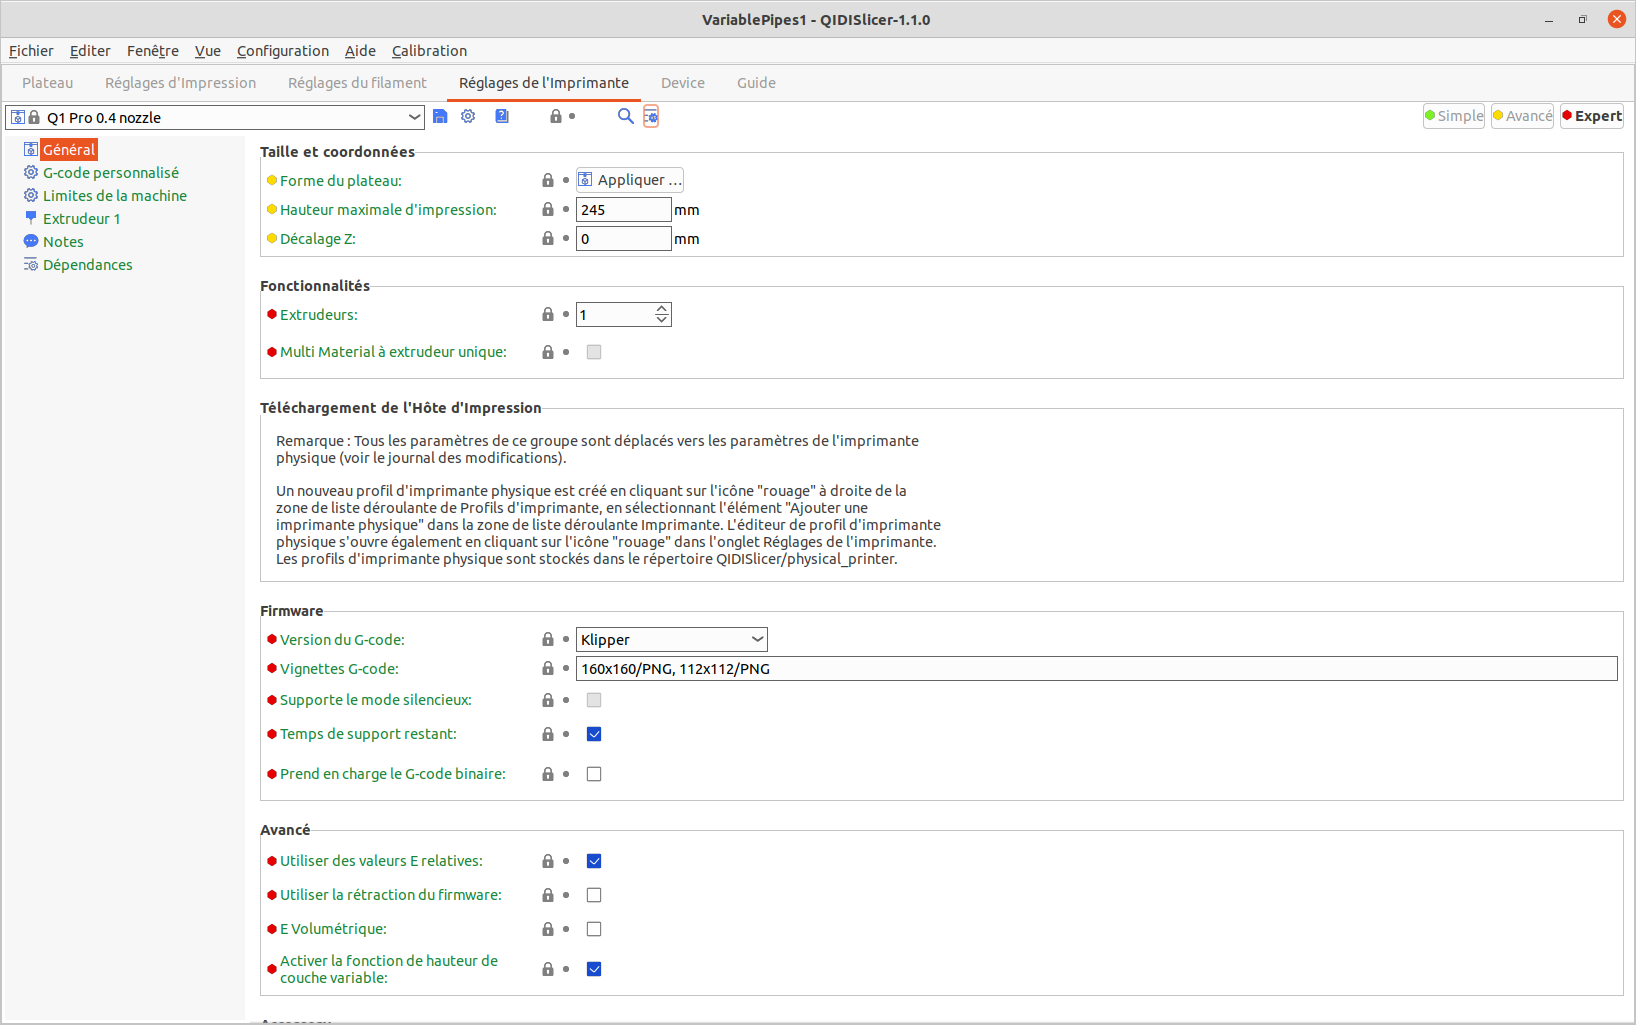
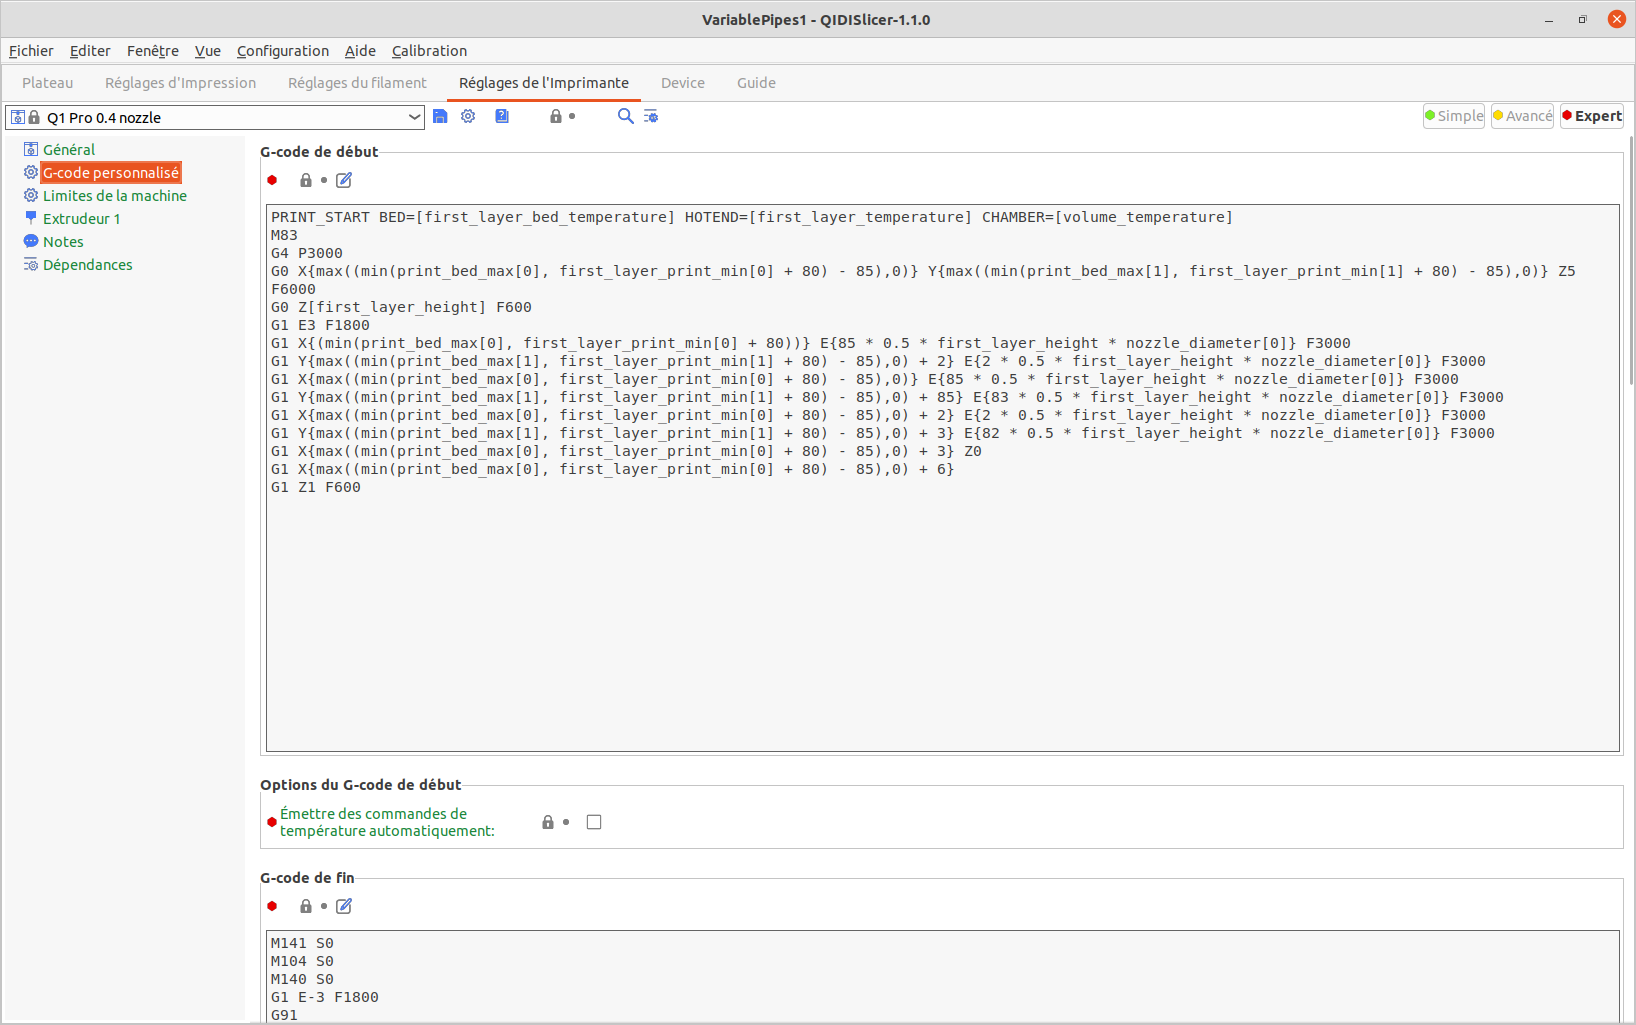
La QidiTech Q1 Pro dispose d’un firmware ouvert basé sur Klipper. Son système d’exploitation embarqué, sa version de Klipper ainsi que sa structure sont proches de ce que l’on trouve déjà sur les machines Qidi X-Plus 3 et Qidi X-Max 3.
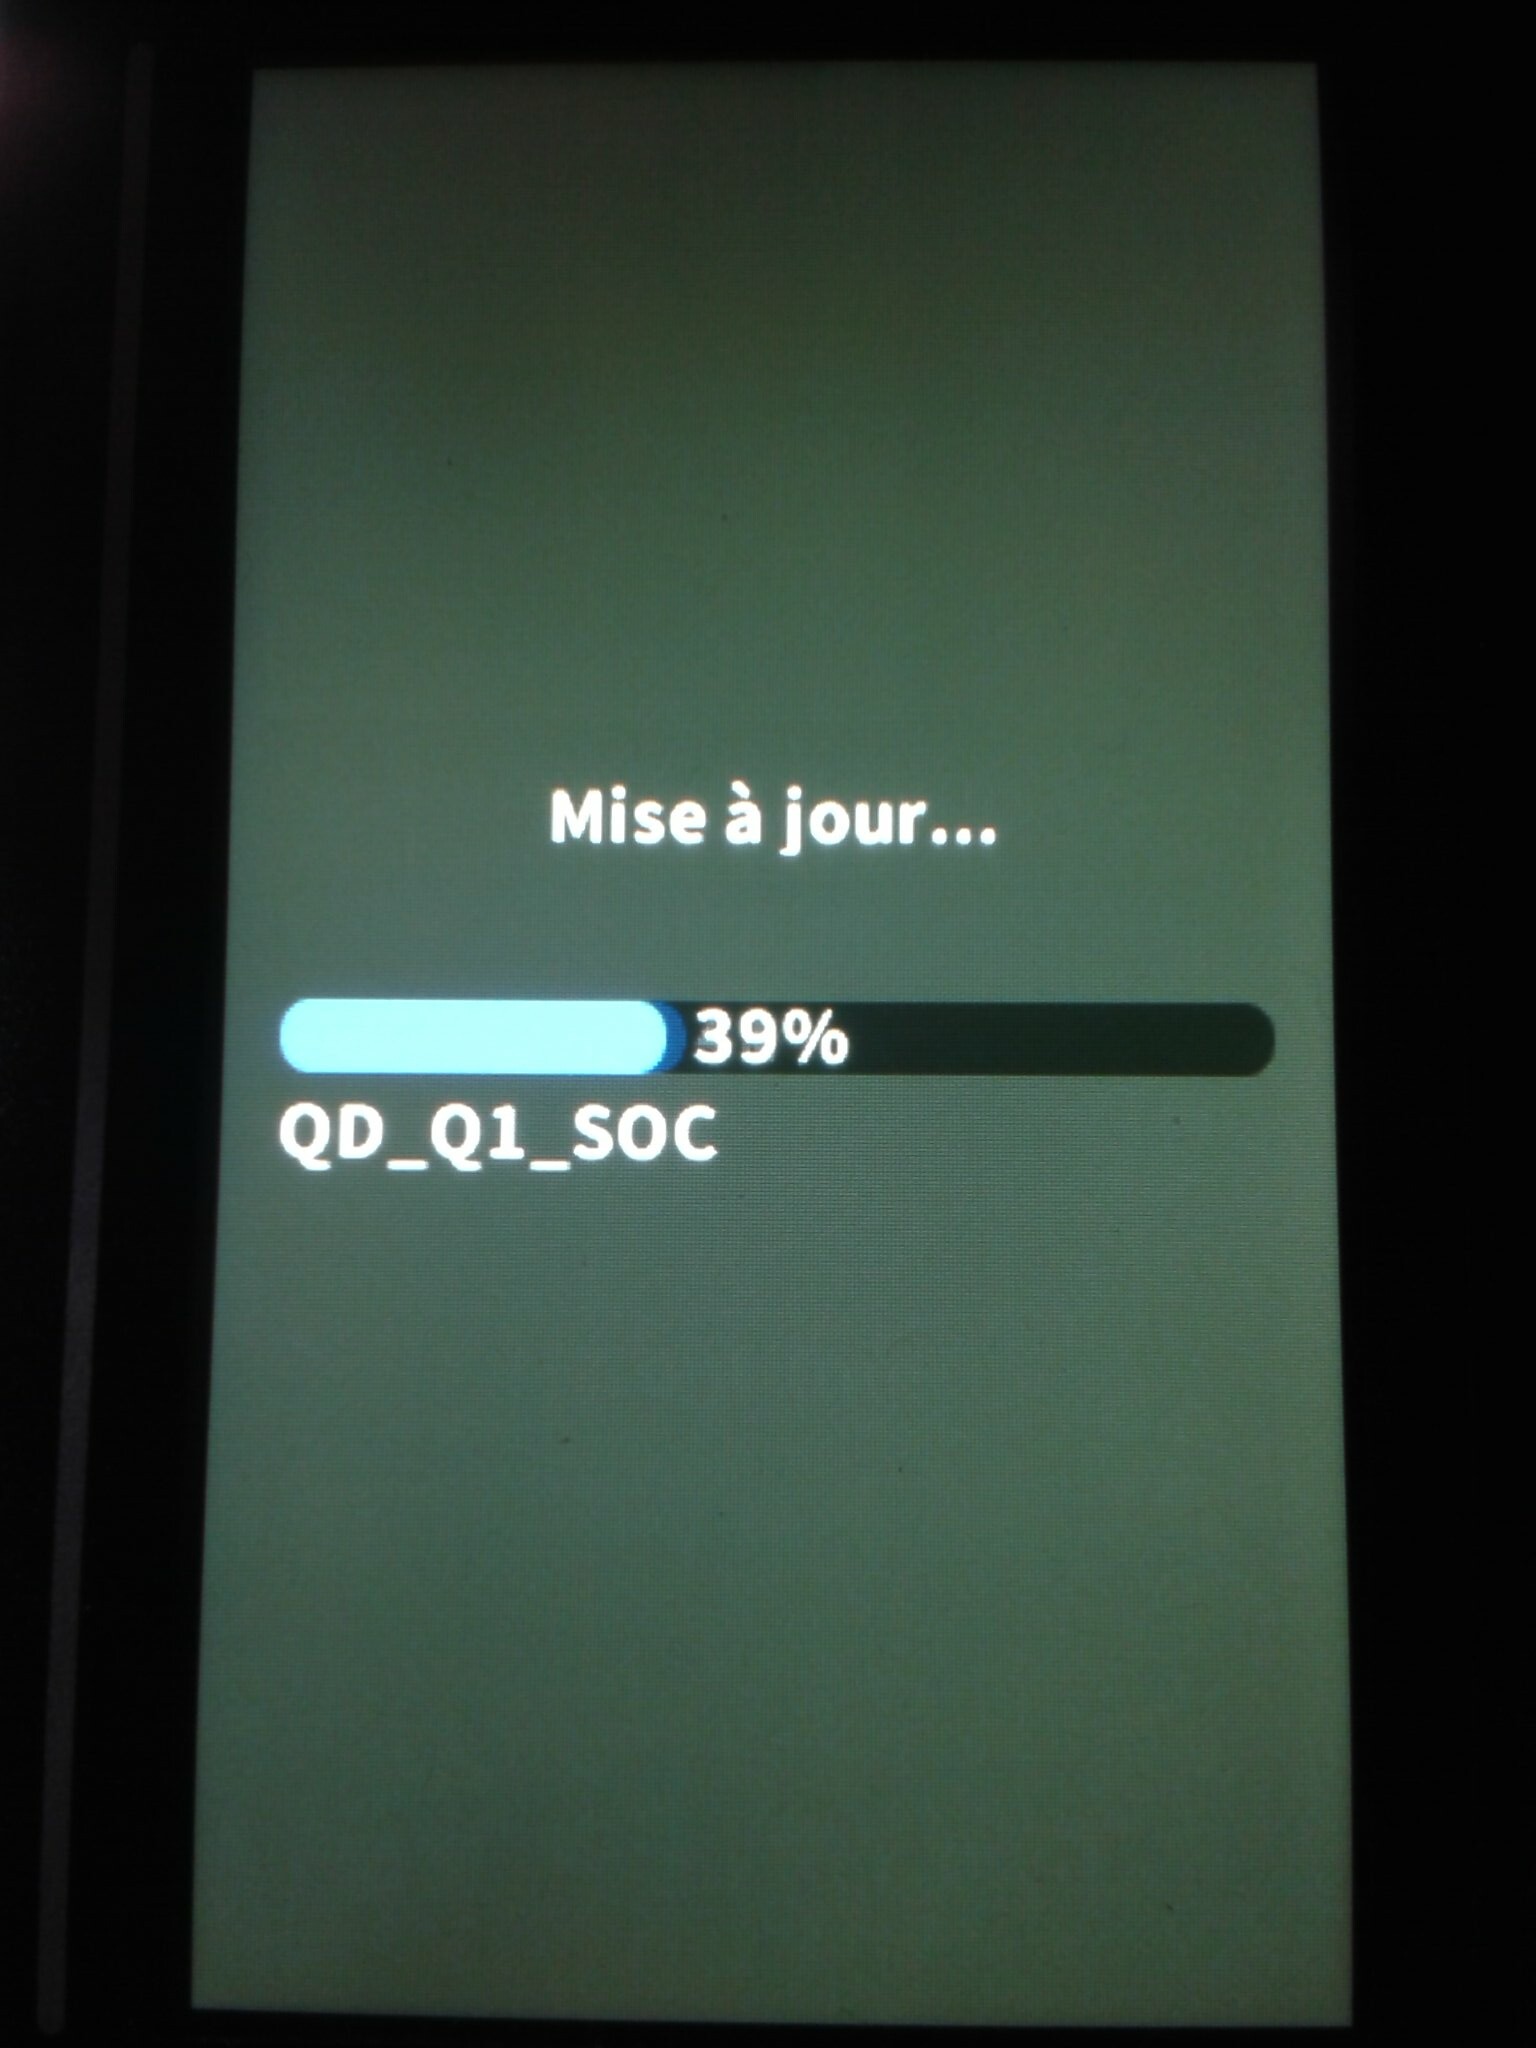
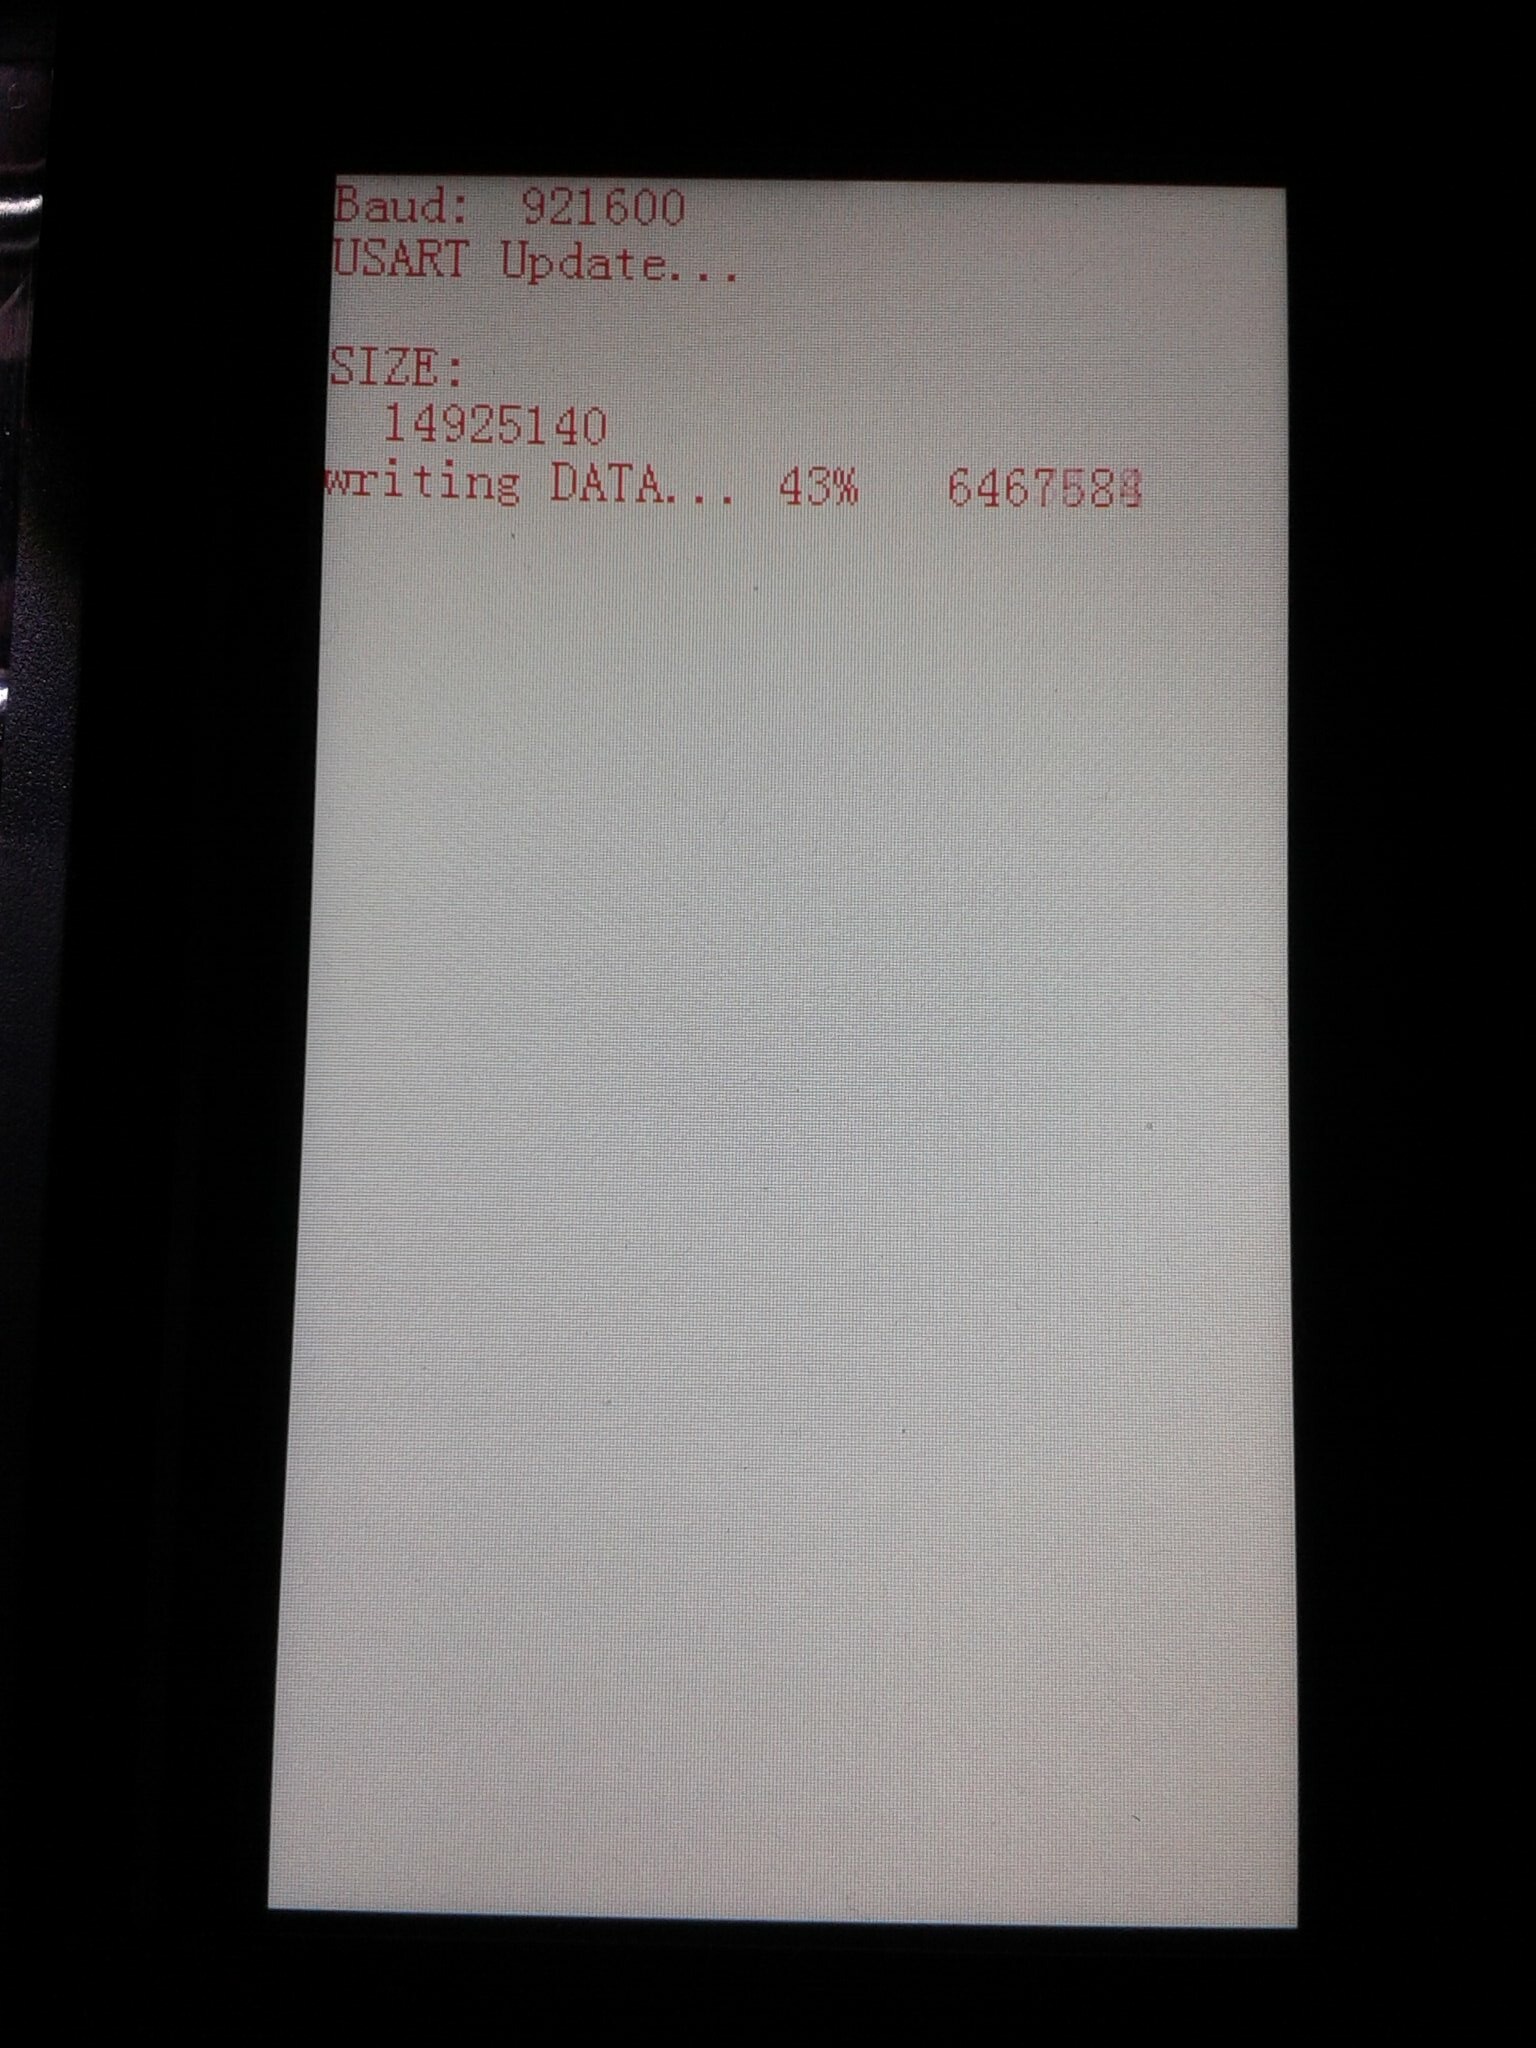
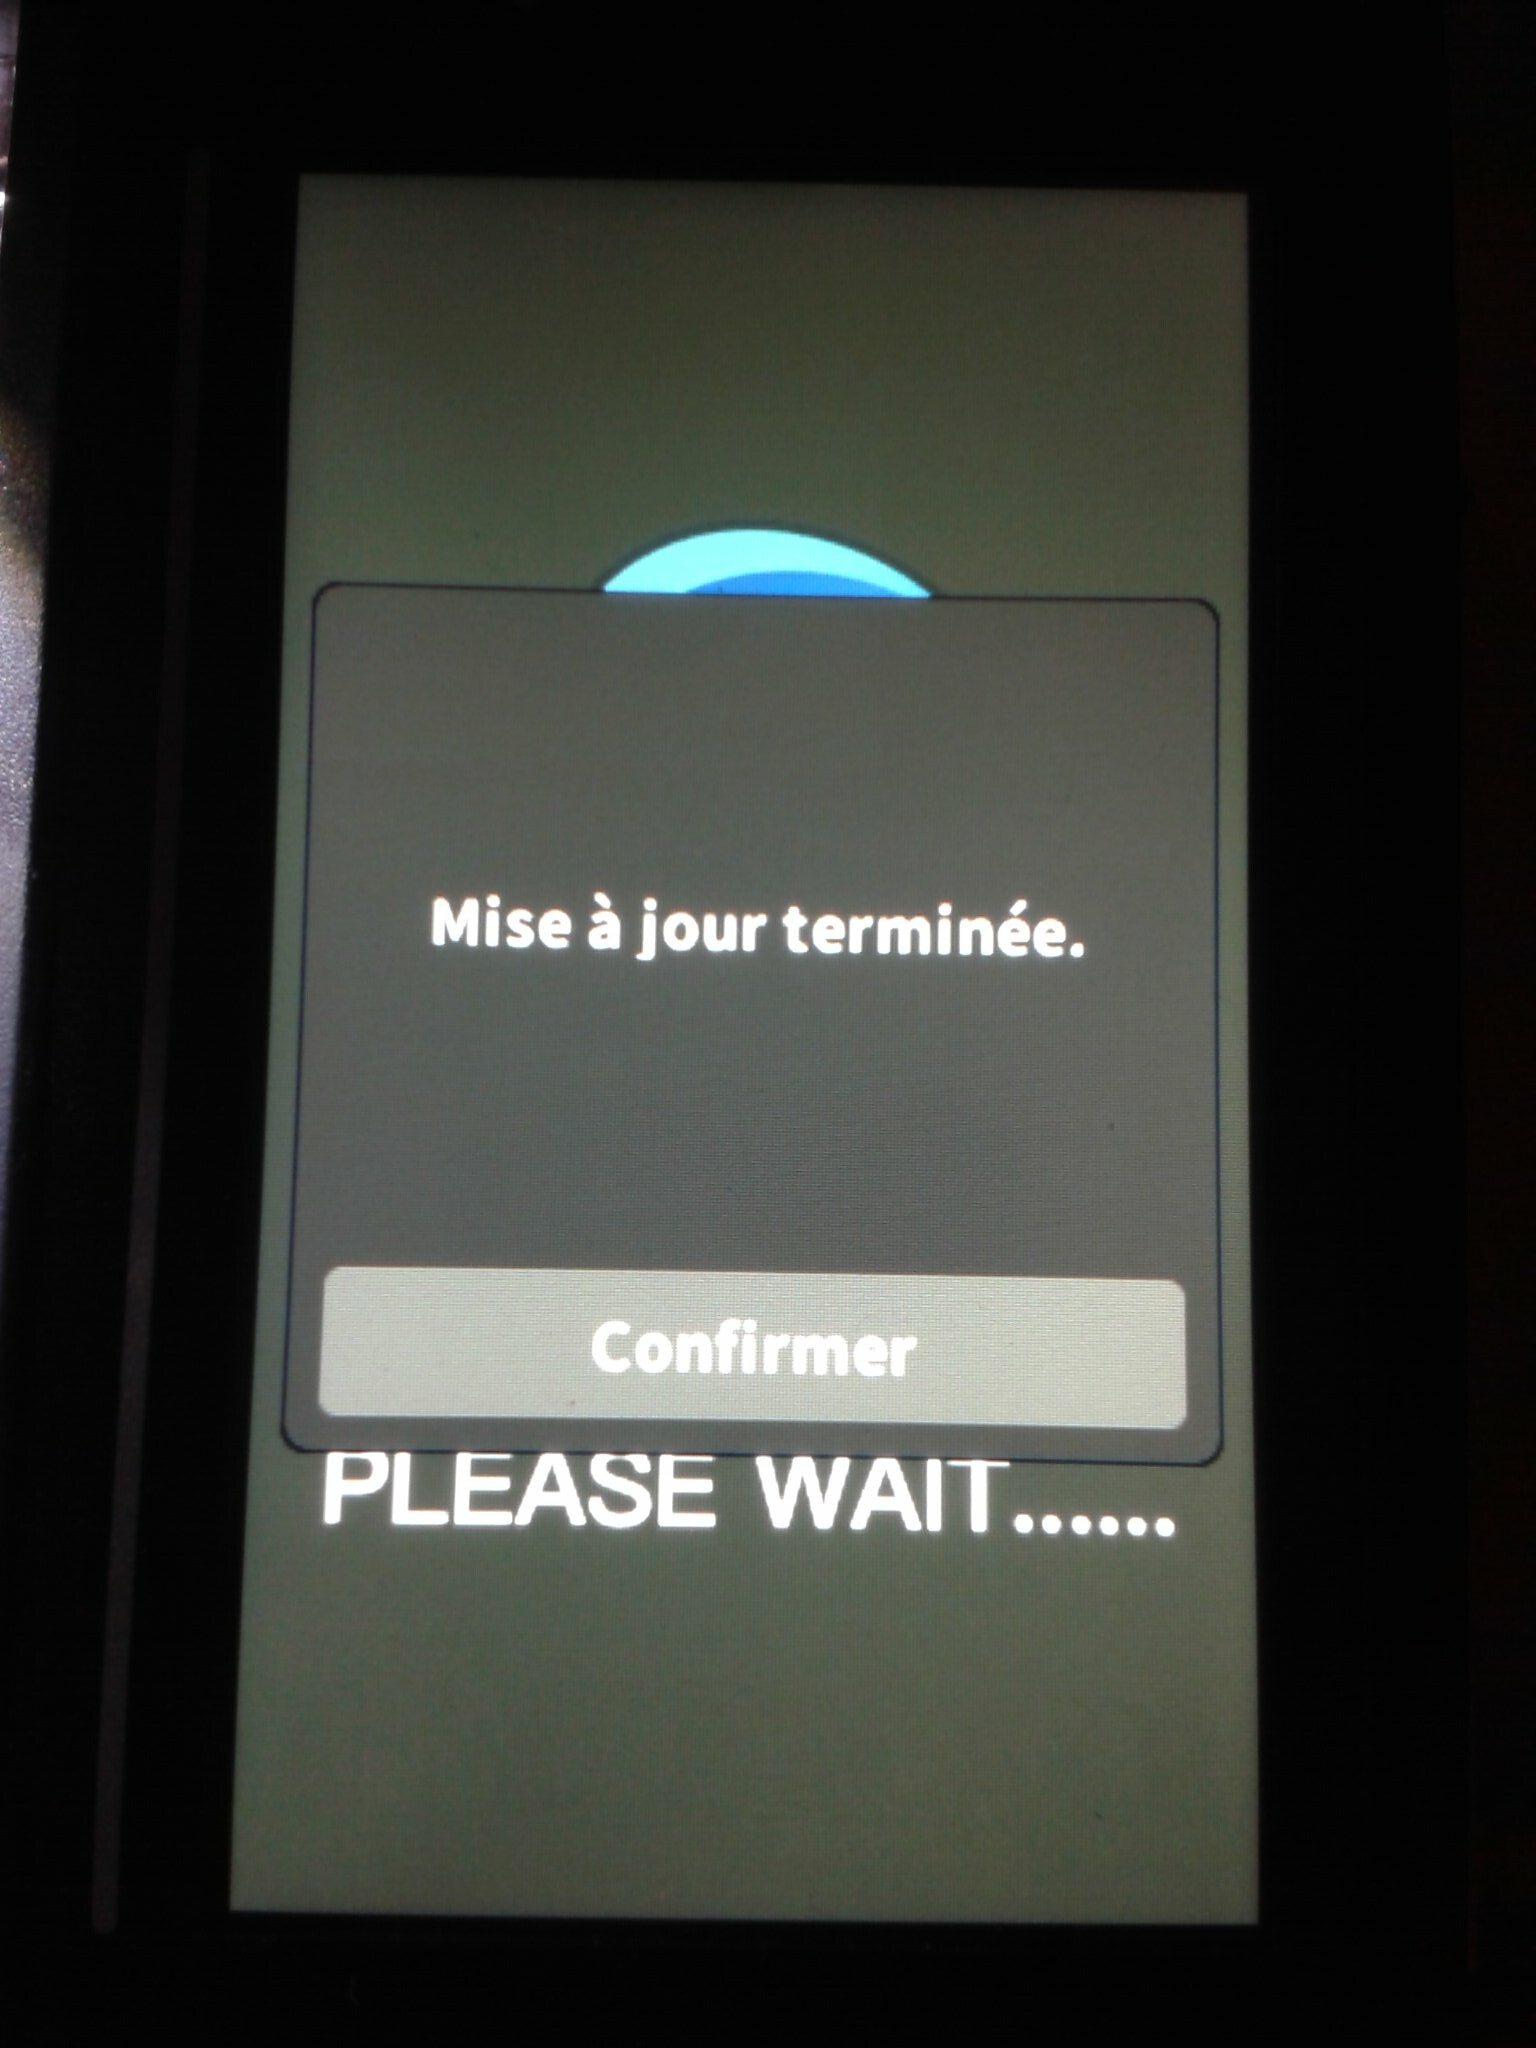
Le firmware v4.4.15 pour l’exemplaire de test de cette Qidi Q1 Pro (mise à jour de la v4.4.13 à la v4.4.15 via la clé USB effectuée sans rencontrer de difficultés).
- devrait permettre le contrôle via smartphone avec Qidi Link (en cours de développement à cette date, pas encore testé personnellement, mais voici les premiers retours de fran6p sur le forum sur la bêta de Qidi Link)
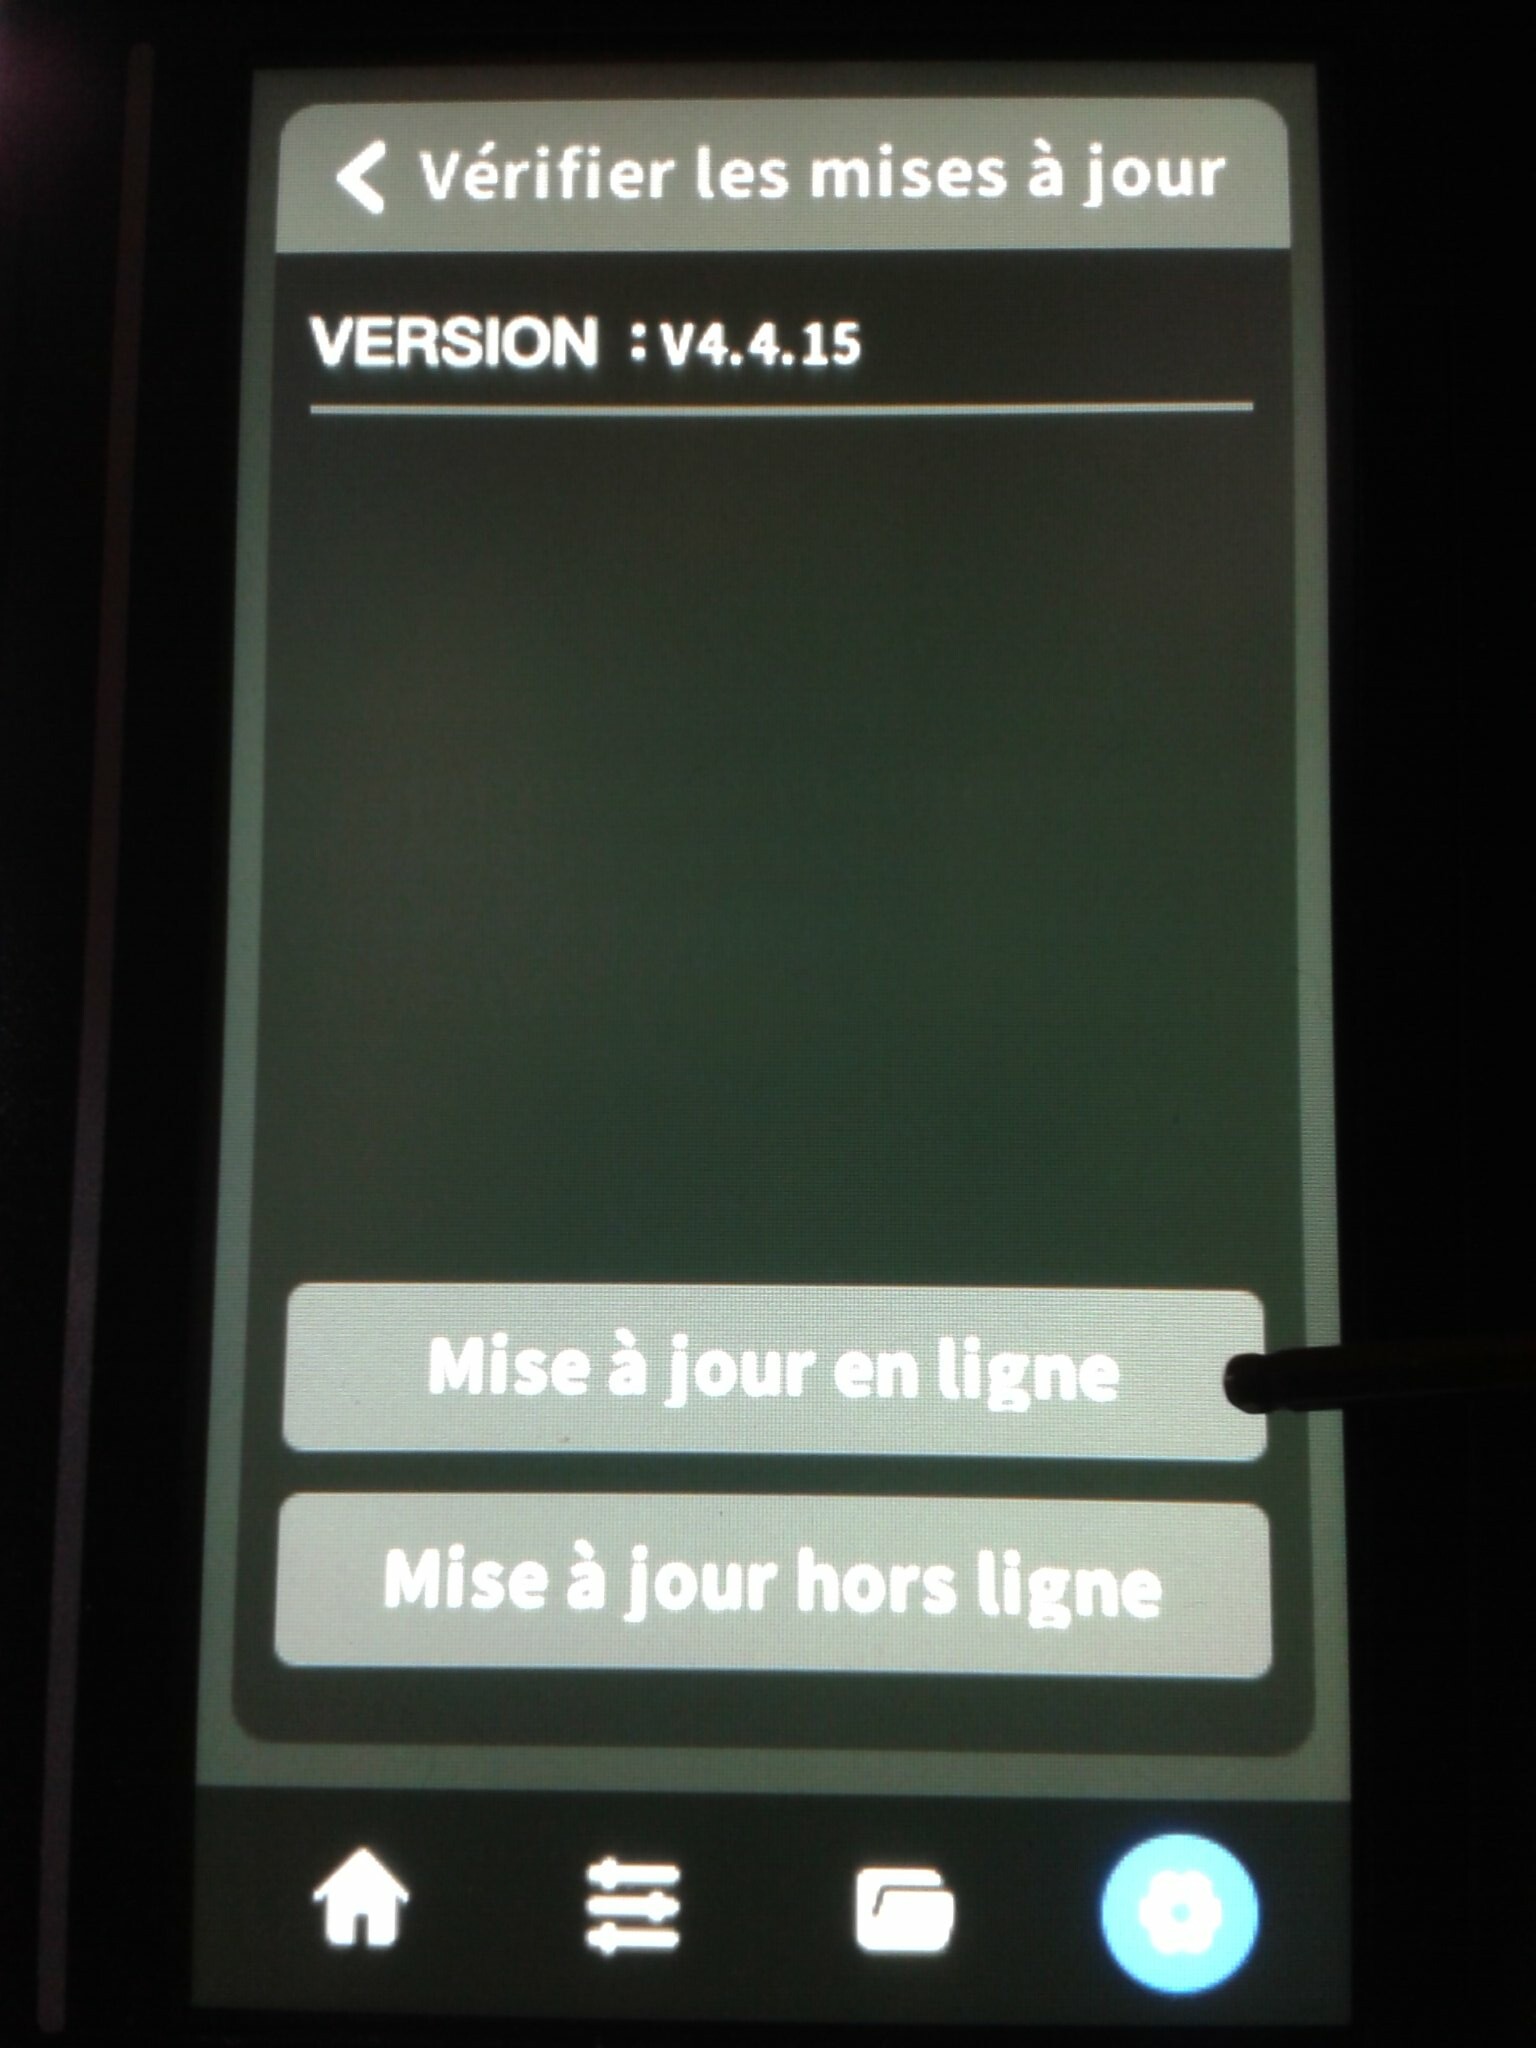
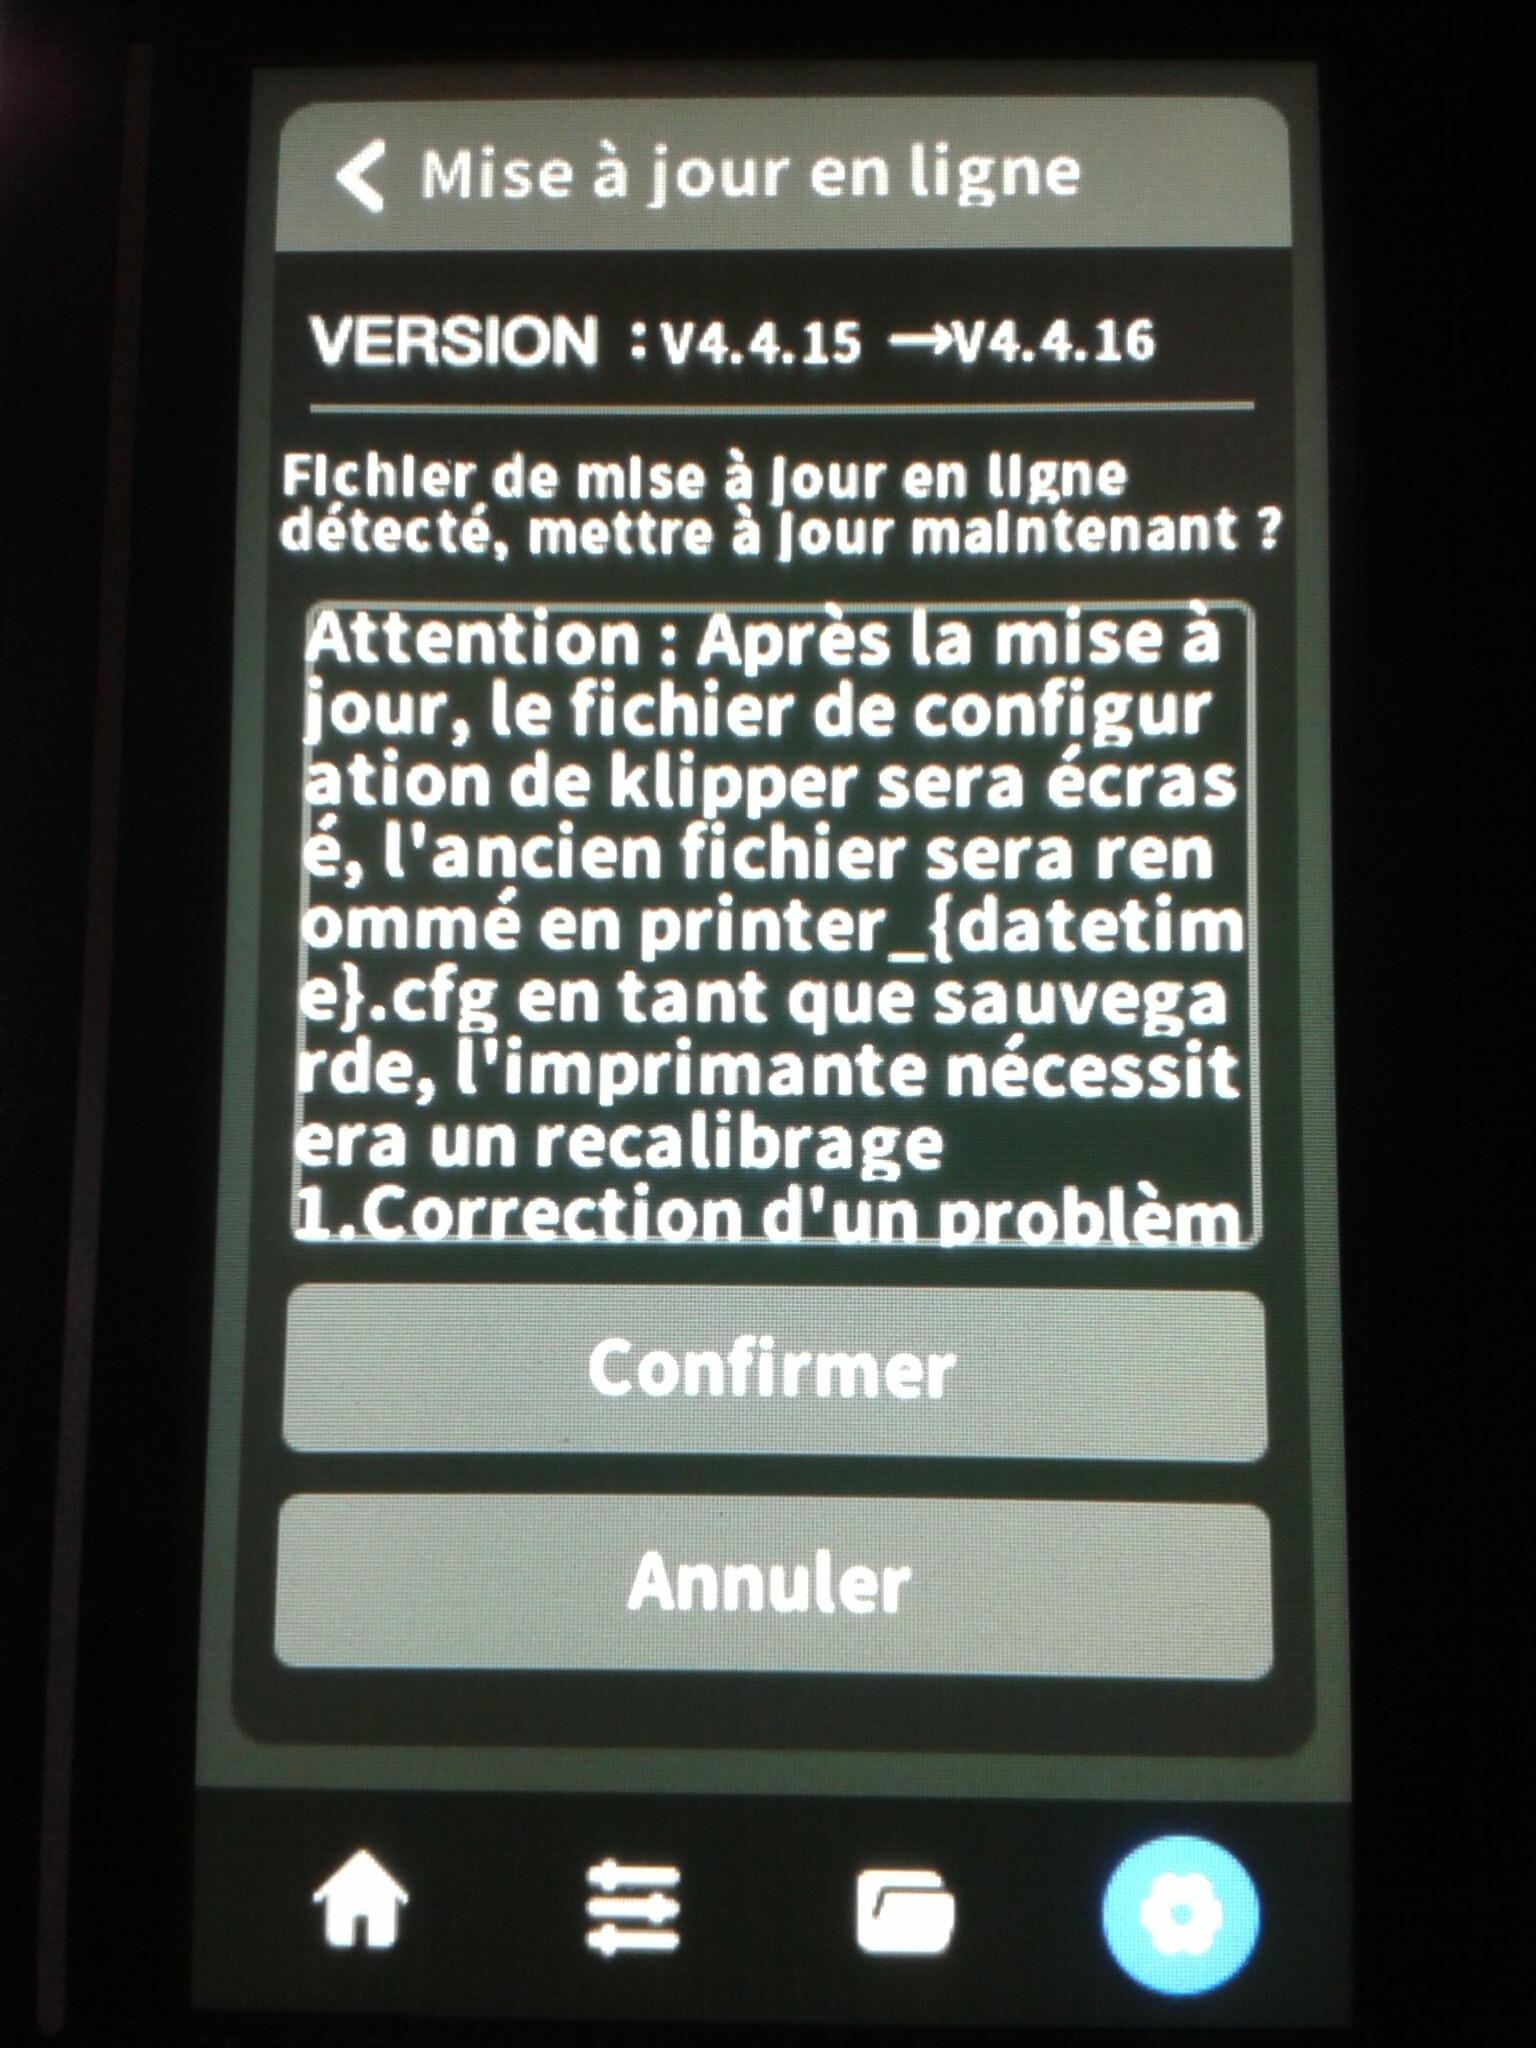
- permet par la suite les mises à jour en ligne (testé et fonctionnel)
Les prochains exemplaires à sortir d’usine devraient donc être immédiatement compatibles avec une mise à jour par réseau WiFi.
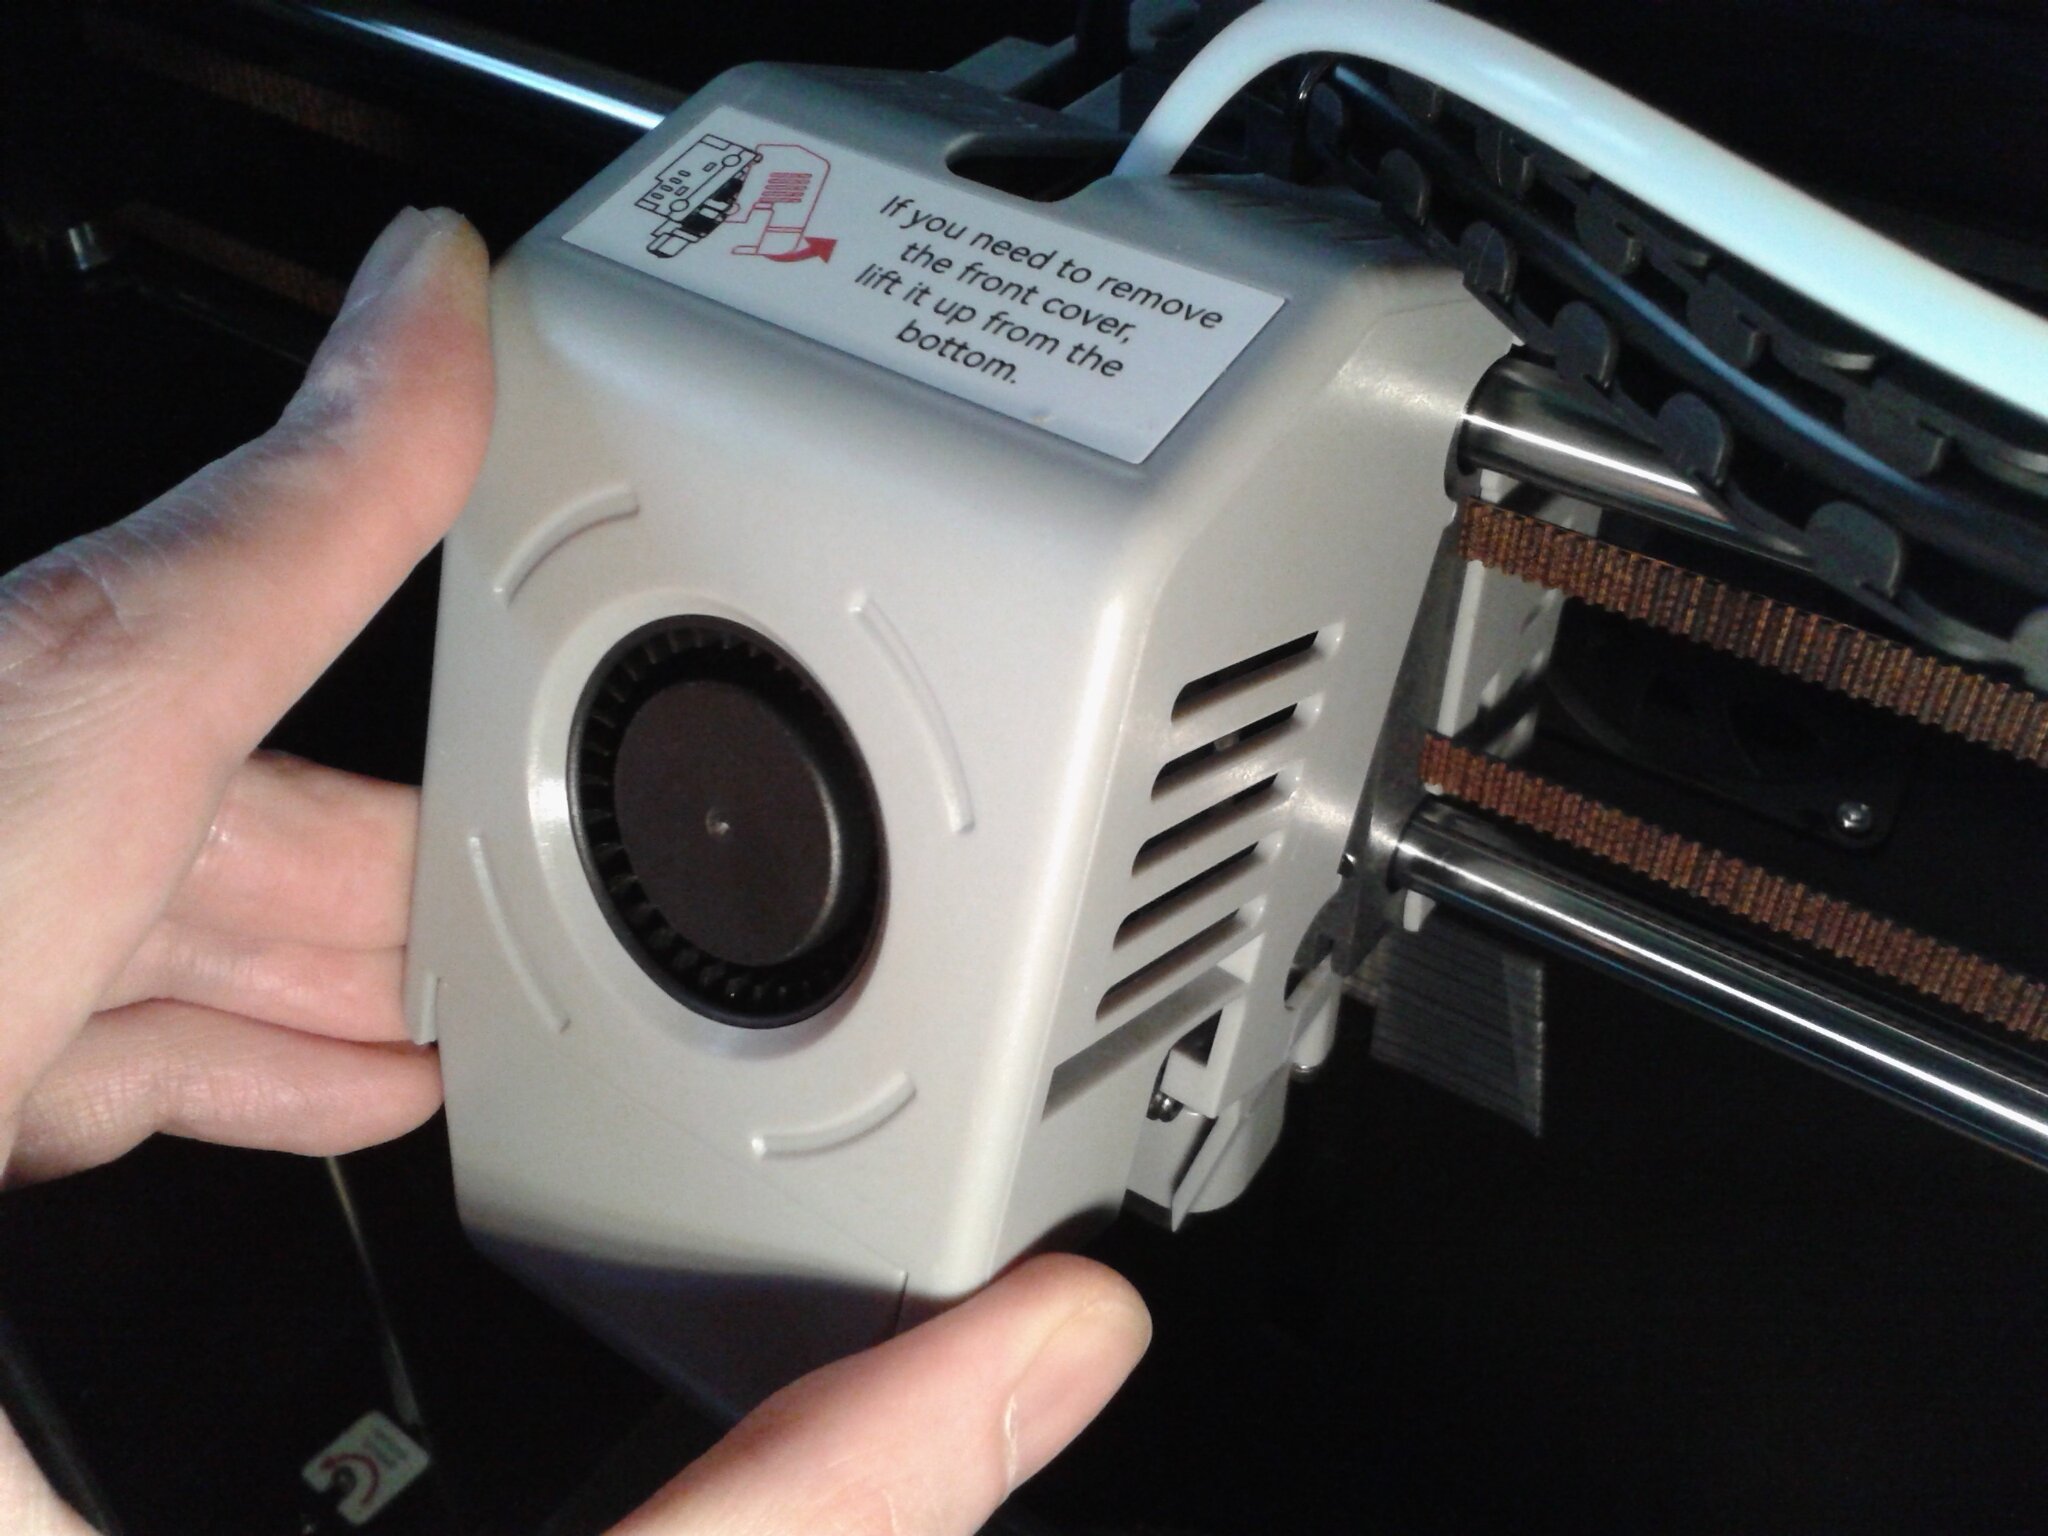
Même si la buse n’est pas de type “Quick Swap”, le changement de la buse et/ou de l’ensemble de la partie chaude est relativement rapide et sans trop de complications.
Je vous invite a regarder la vidéo de changement de la buse et la vidéo de remplacement de la partie chaude.
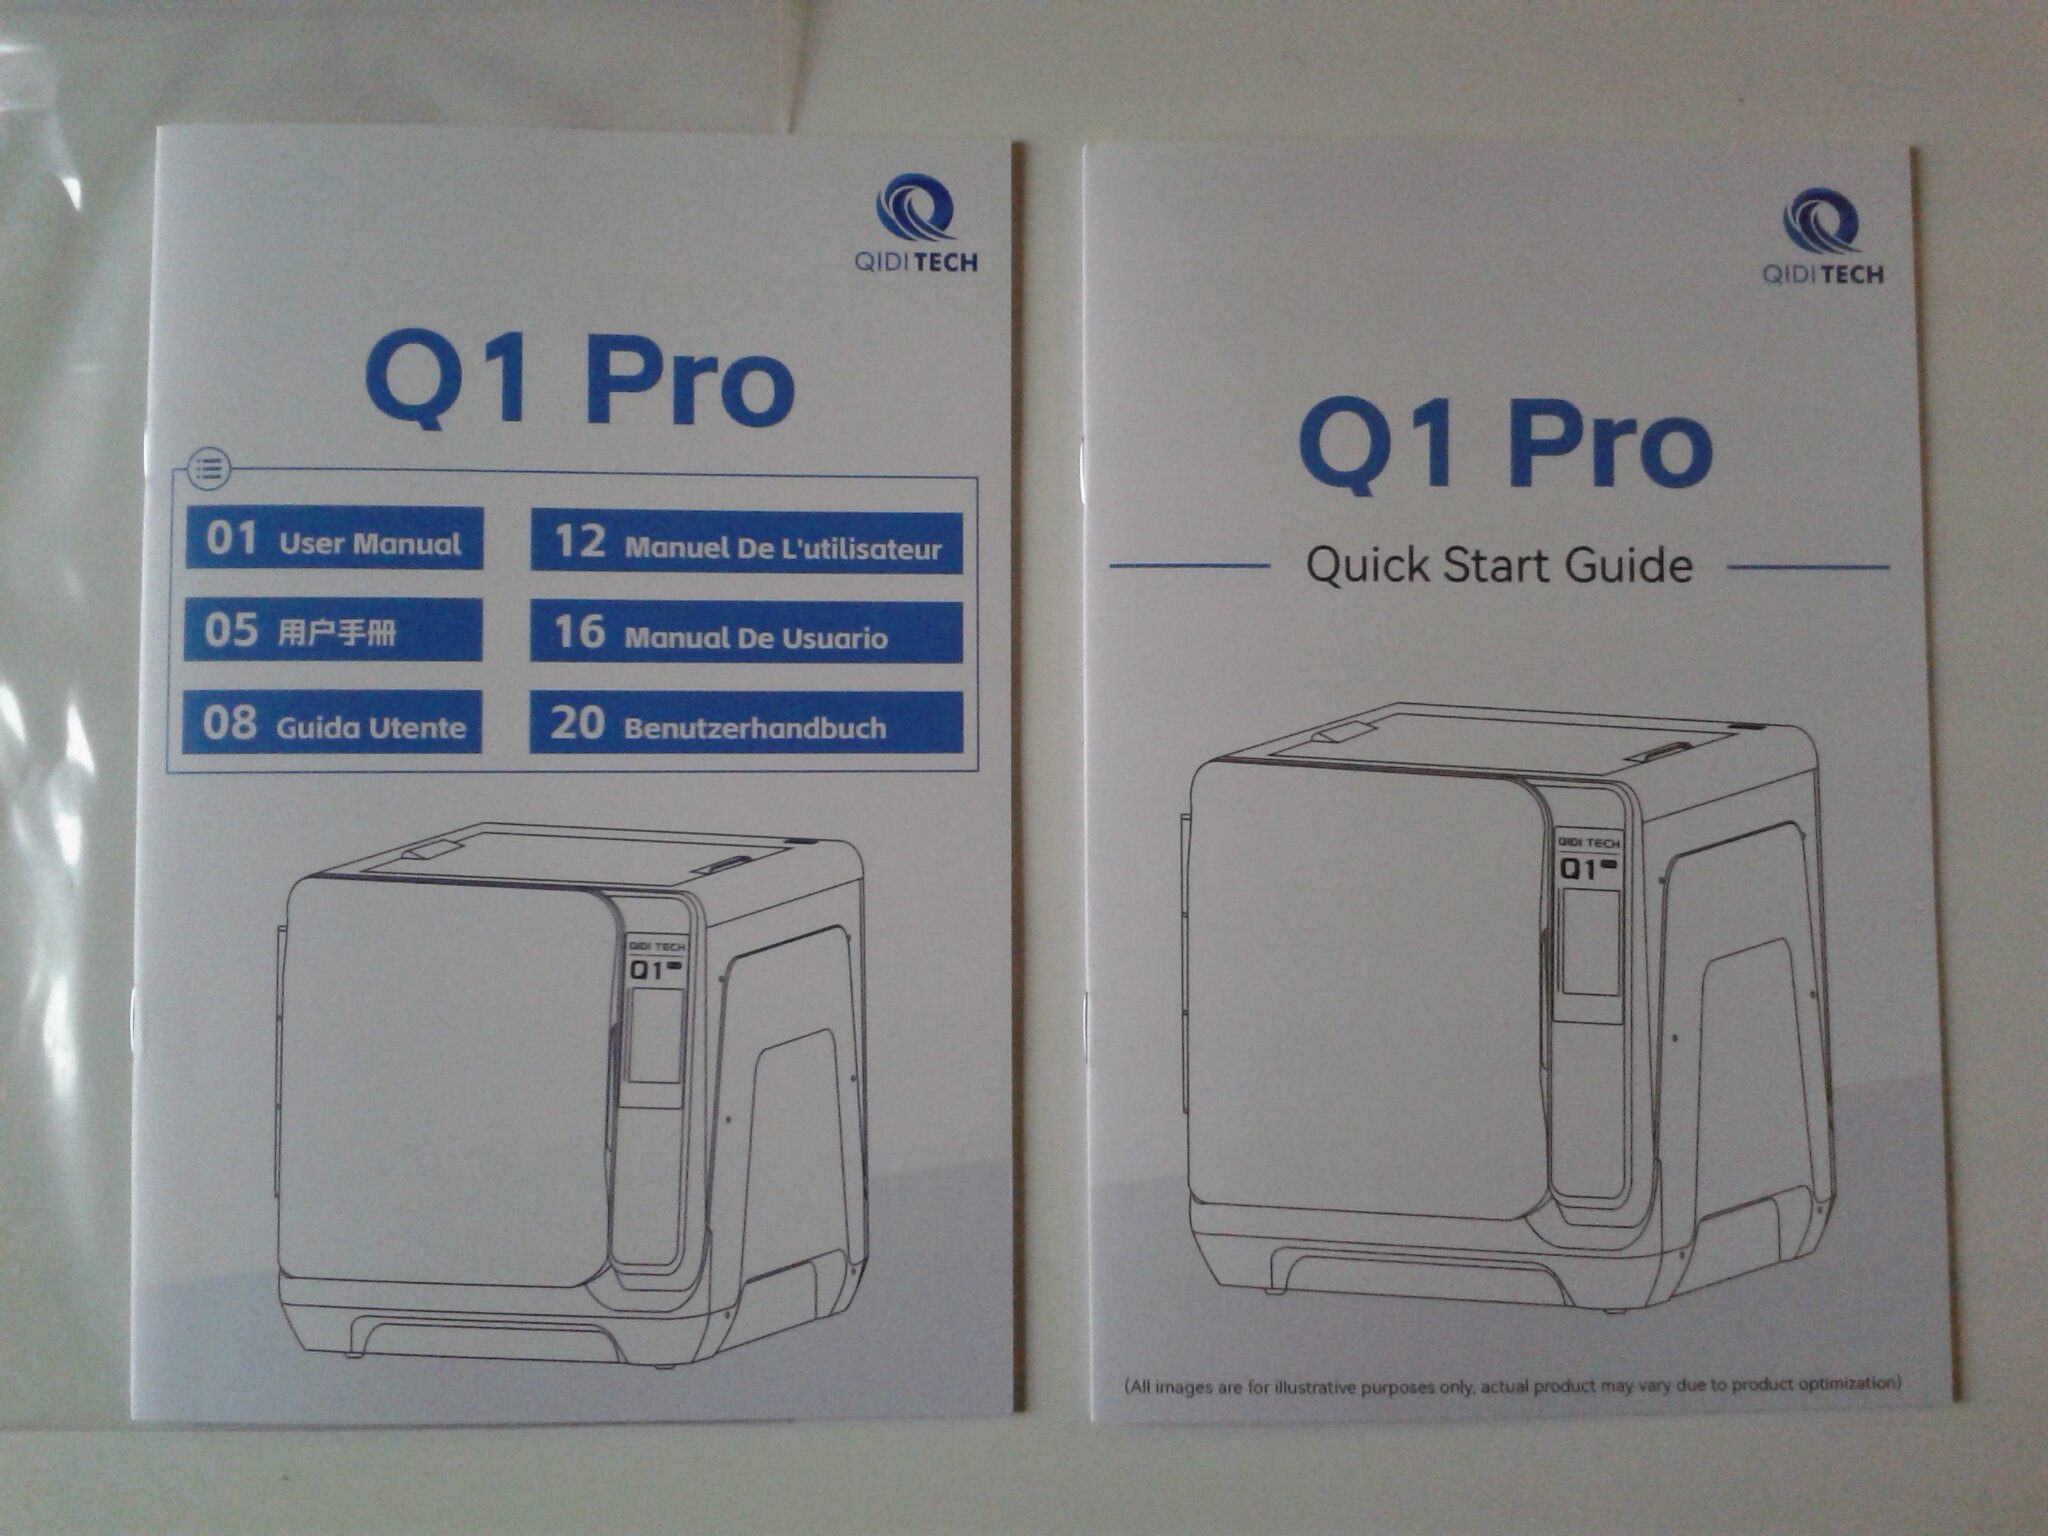
L'imprimante Qidi Tech Q1 Pro sur le comparateurDéballage (unboxing)
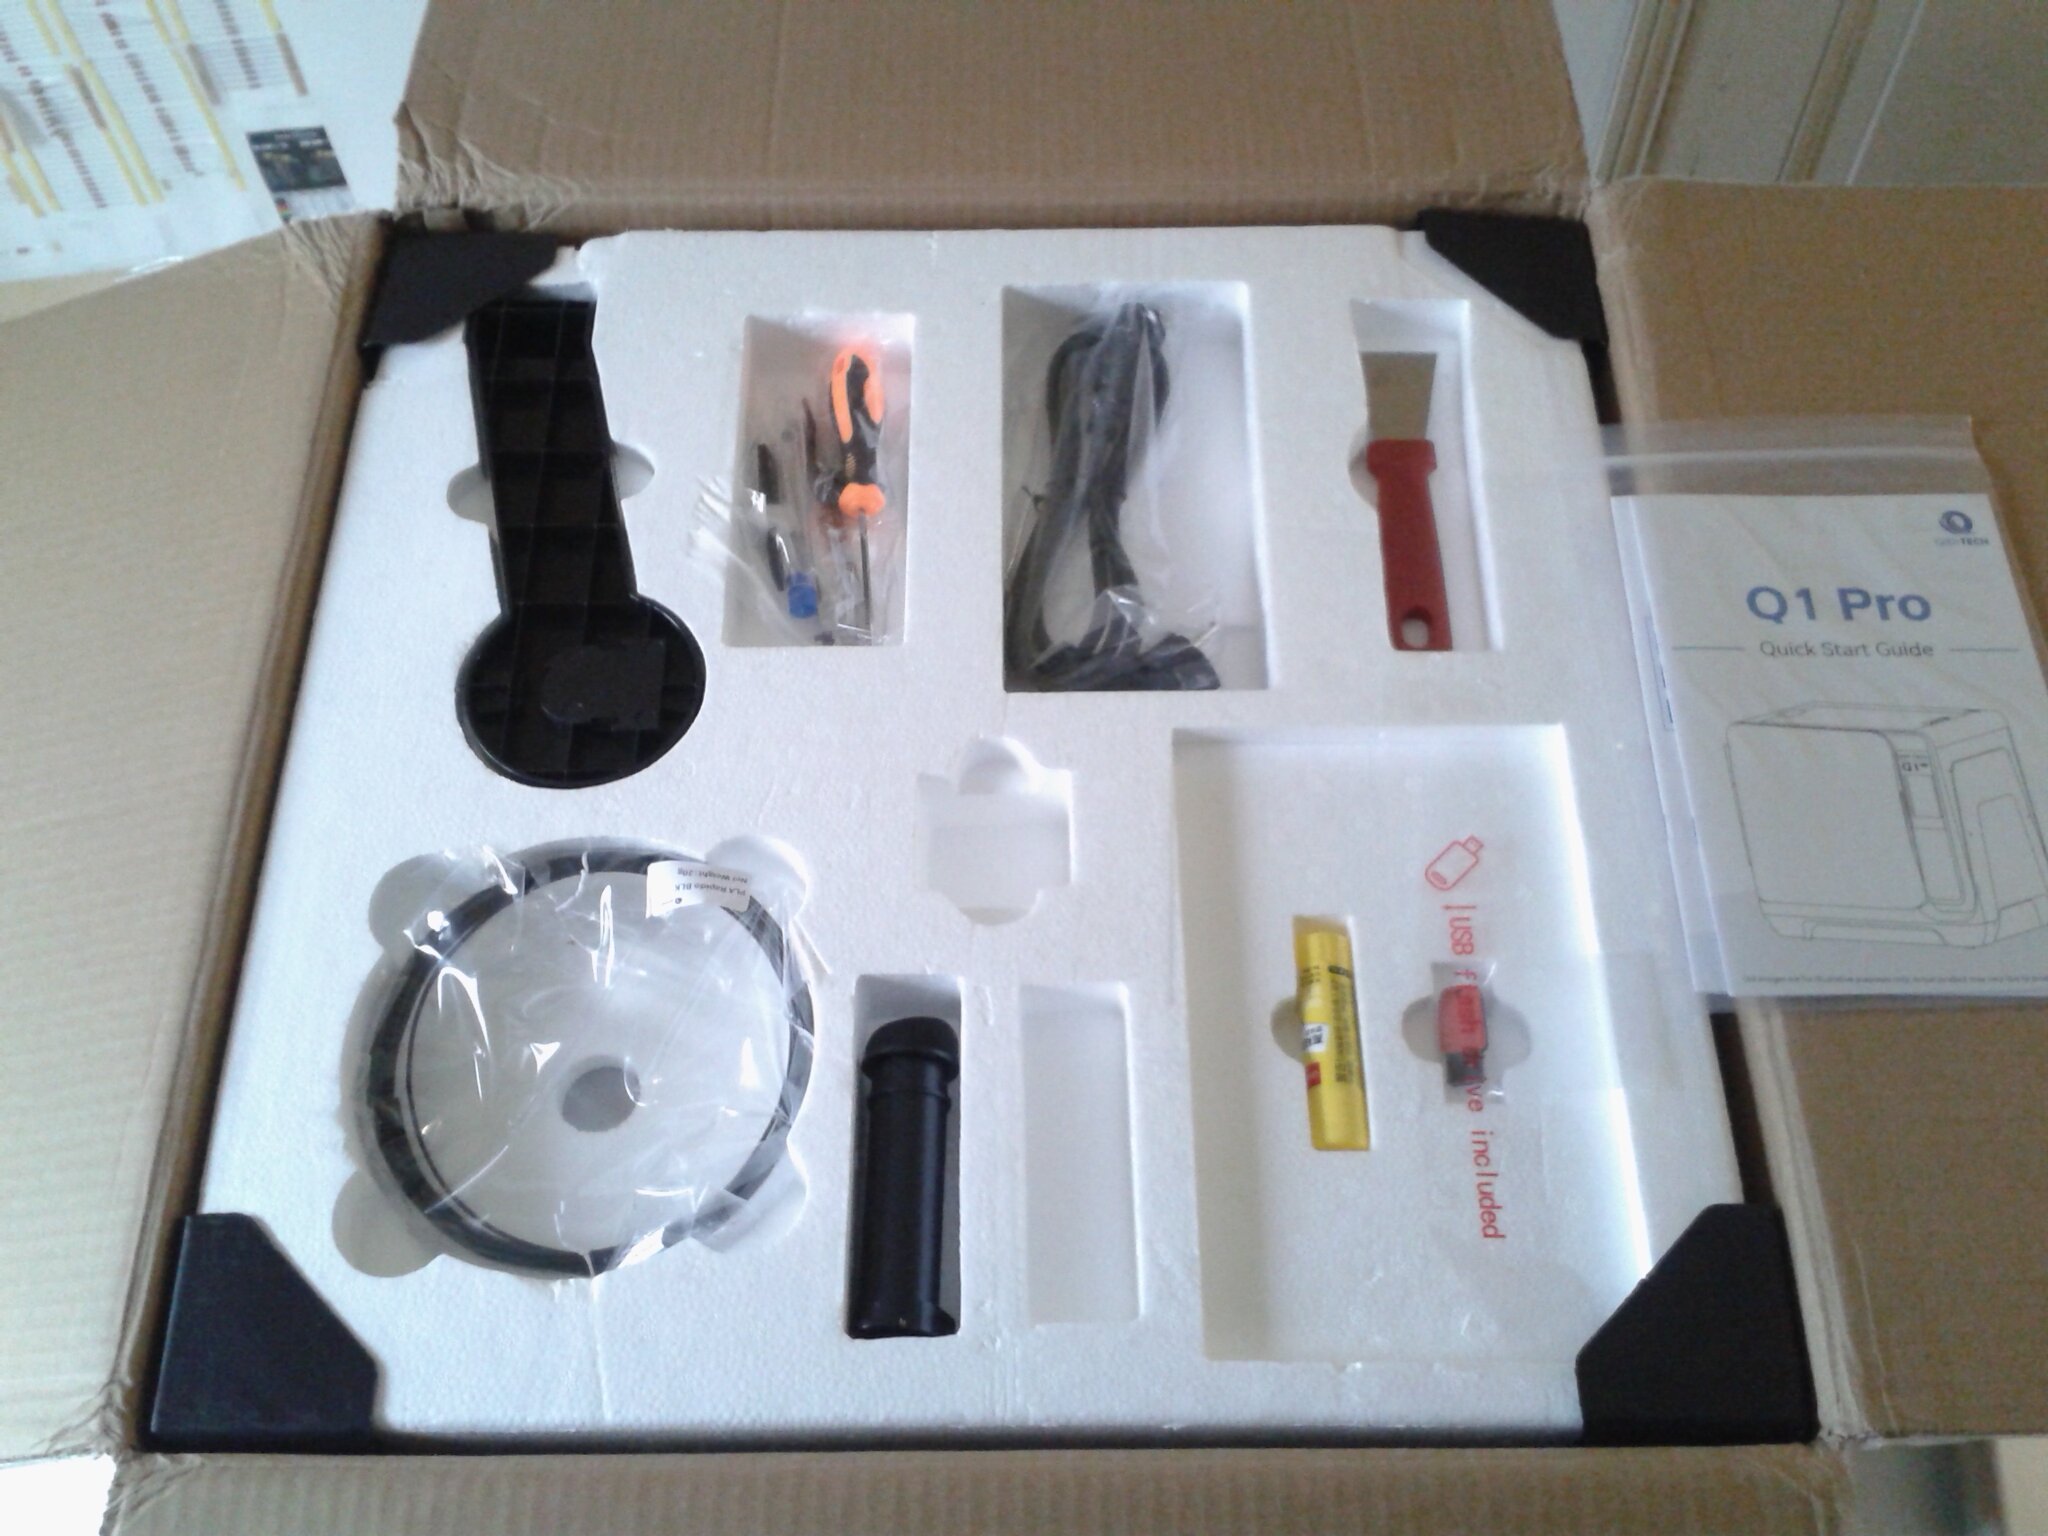
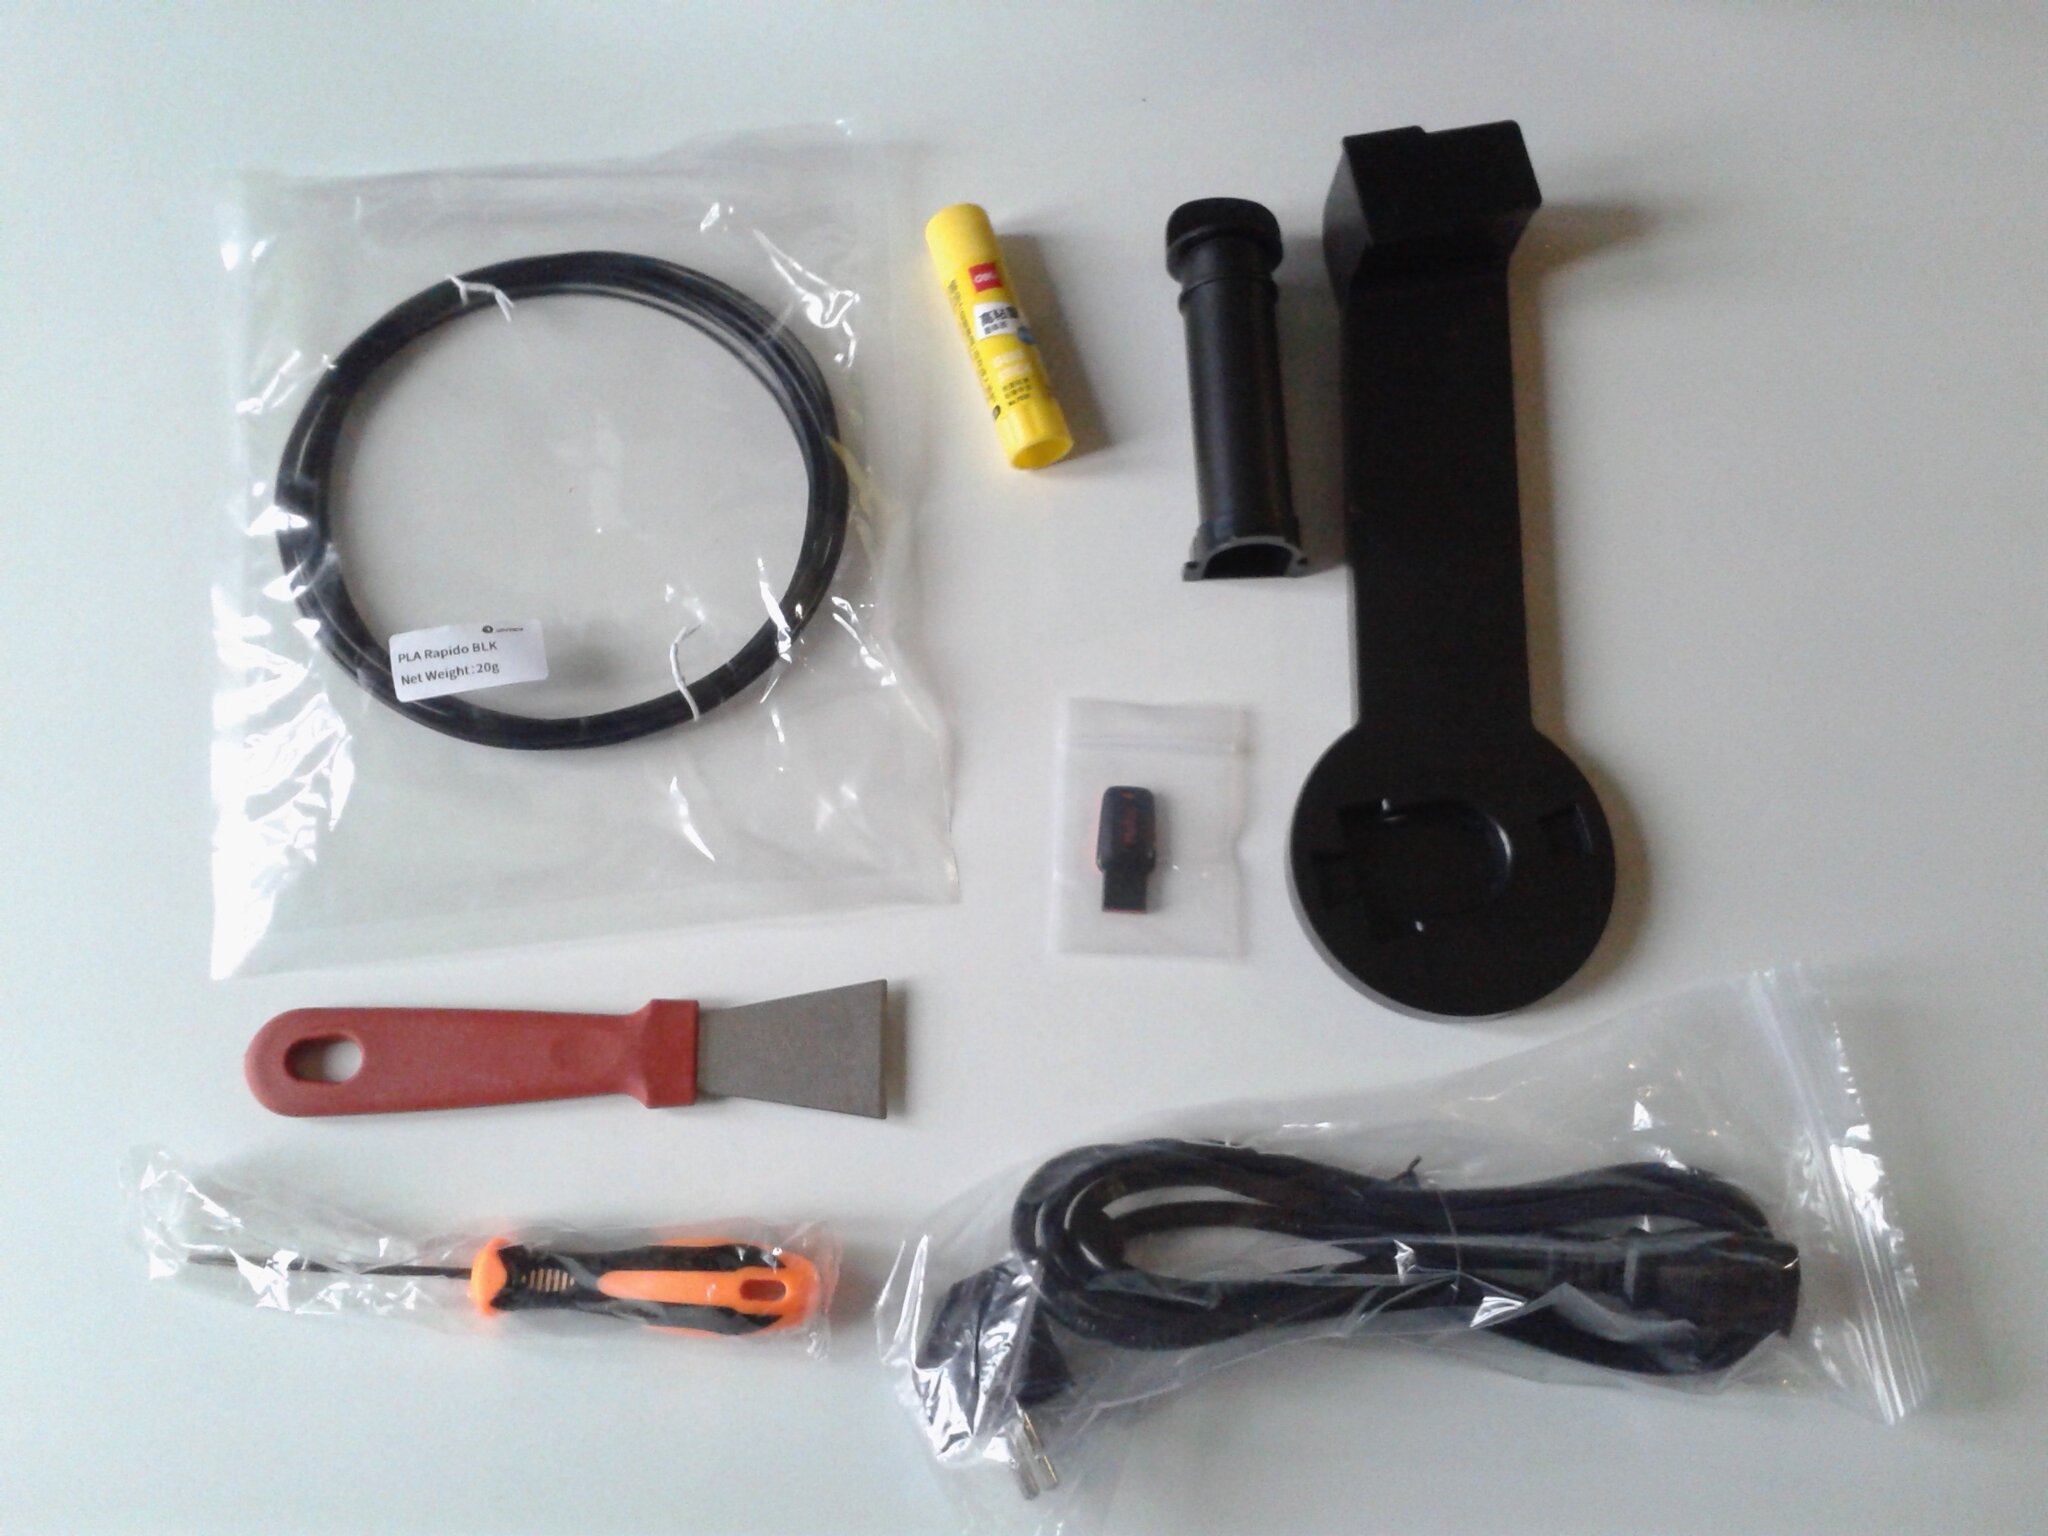
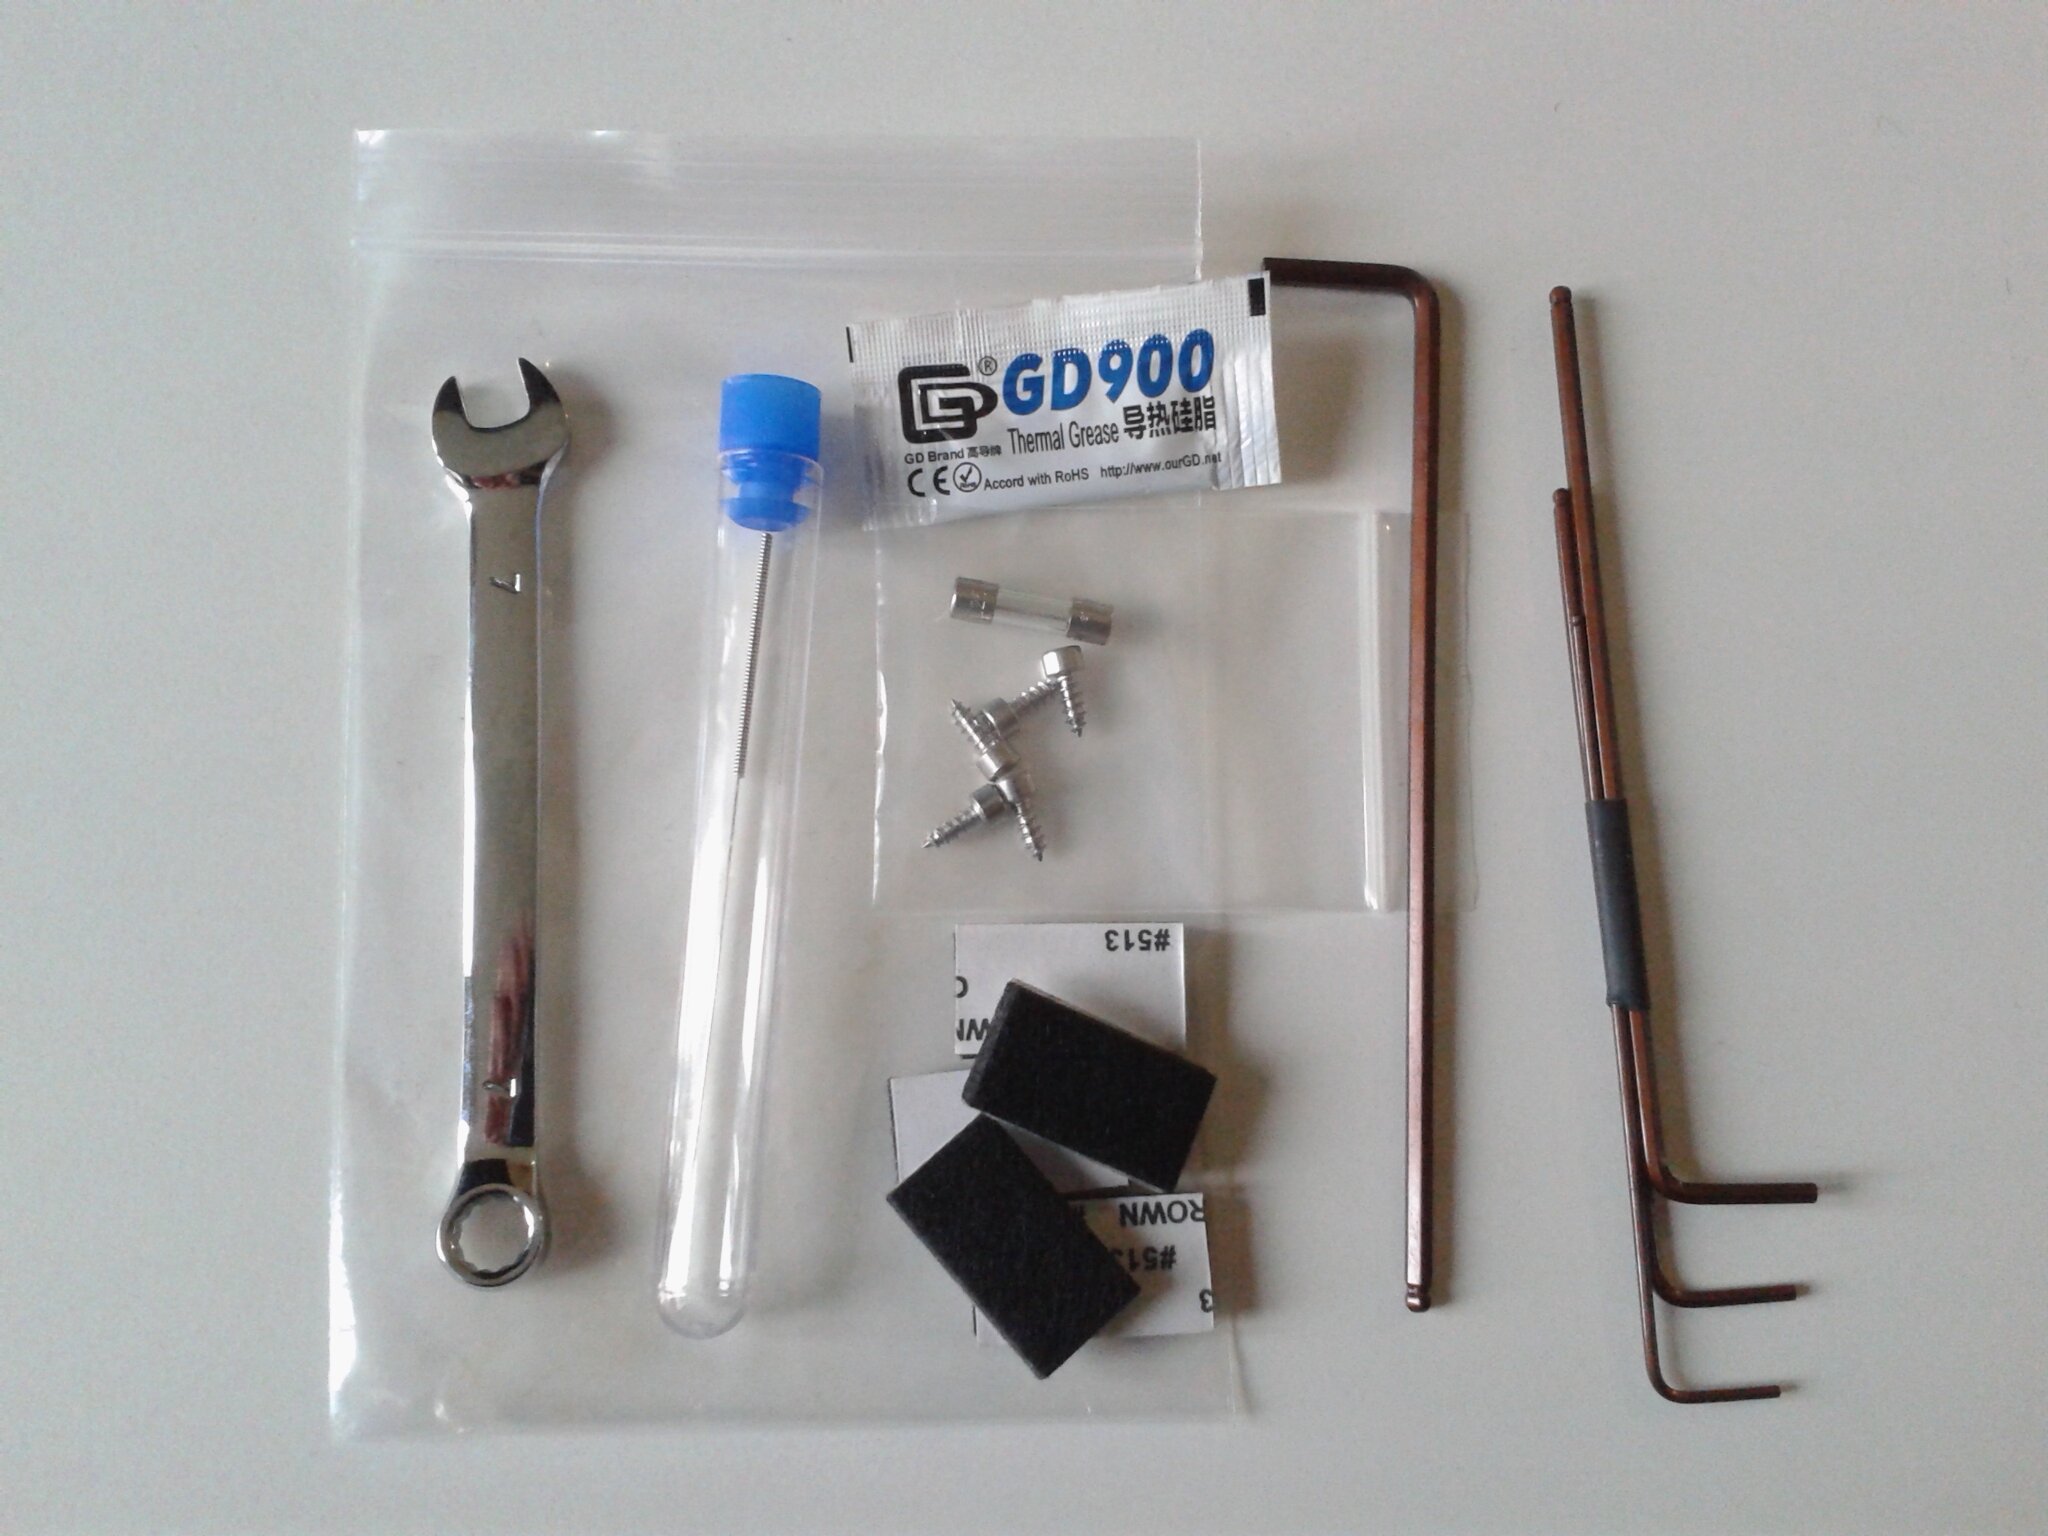
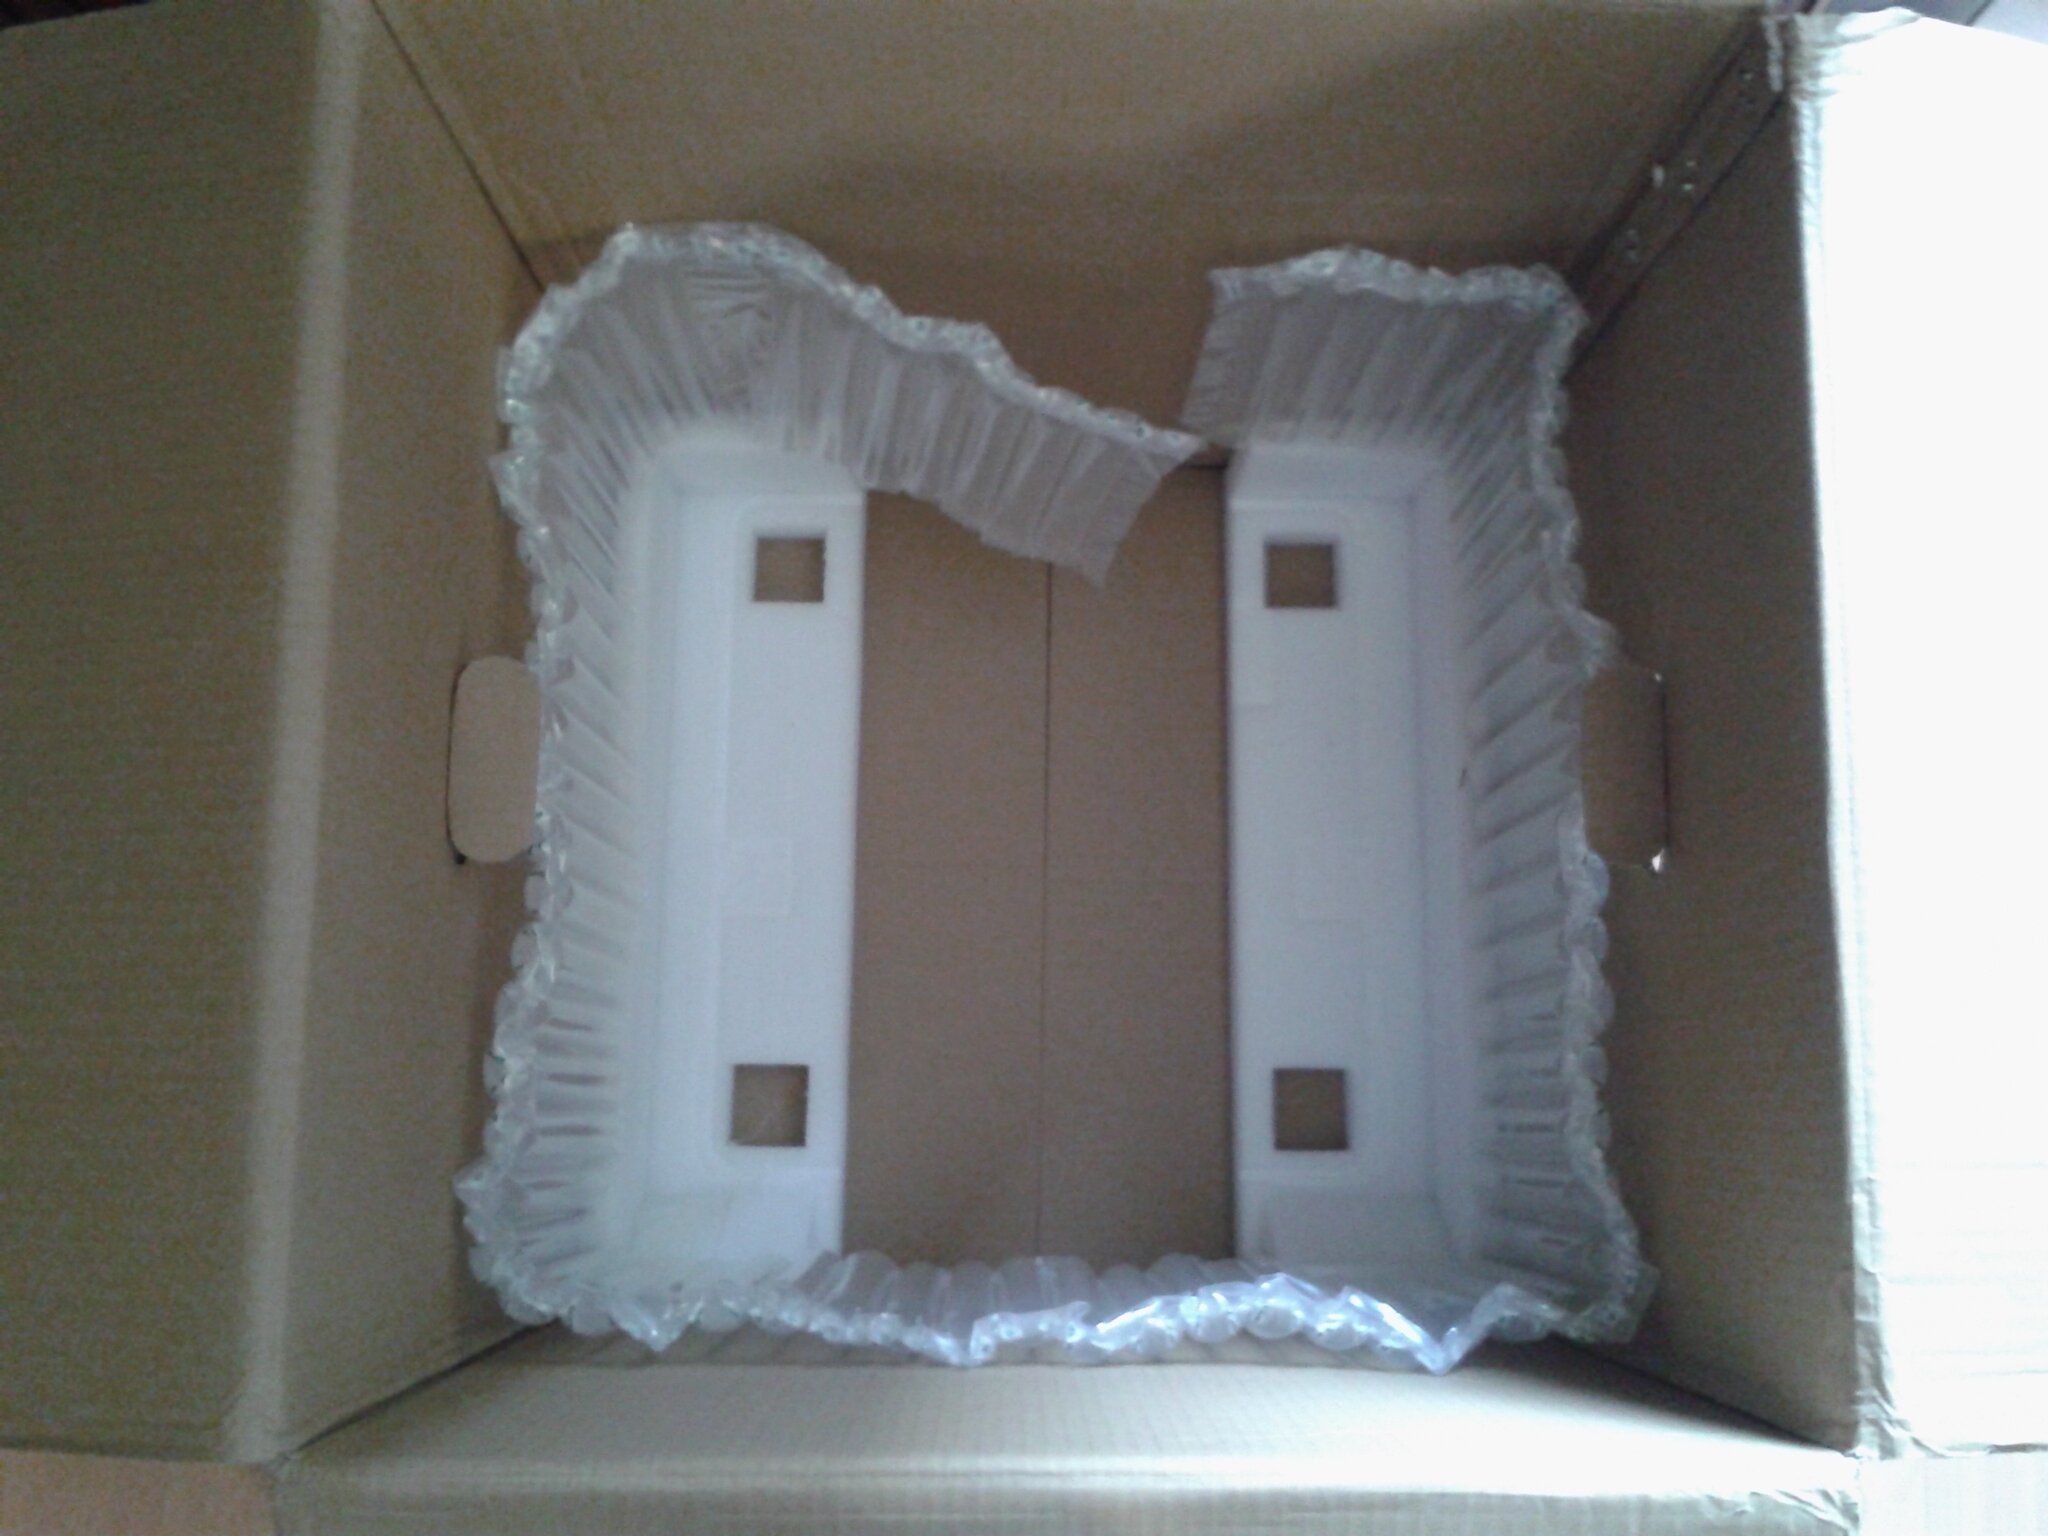
Rien de compliqué, pour sortir, cette imprimante de 17 kg bien protégée pour le transport. Il s’agit simplement d’enlever le bloc de protection en polystyrène du dessus. Ce bloc est compartimenté pour y caler une partie des accessoires et fournitures livrées avec la Q1Pro.
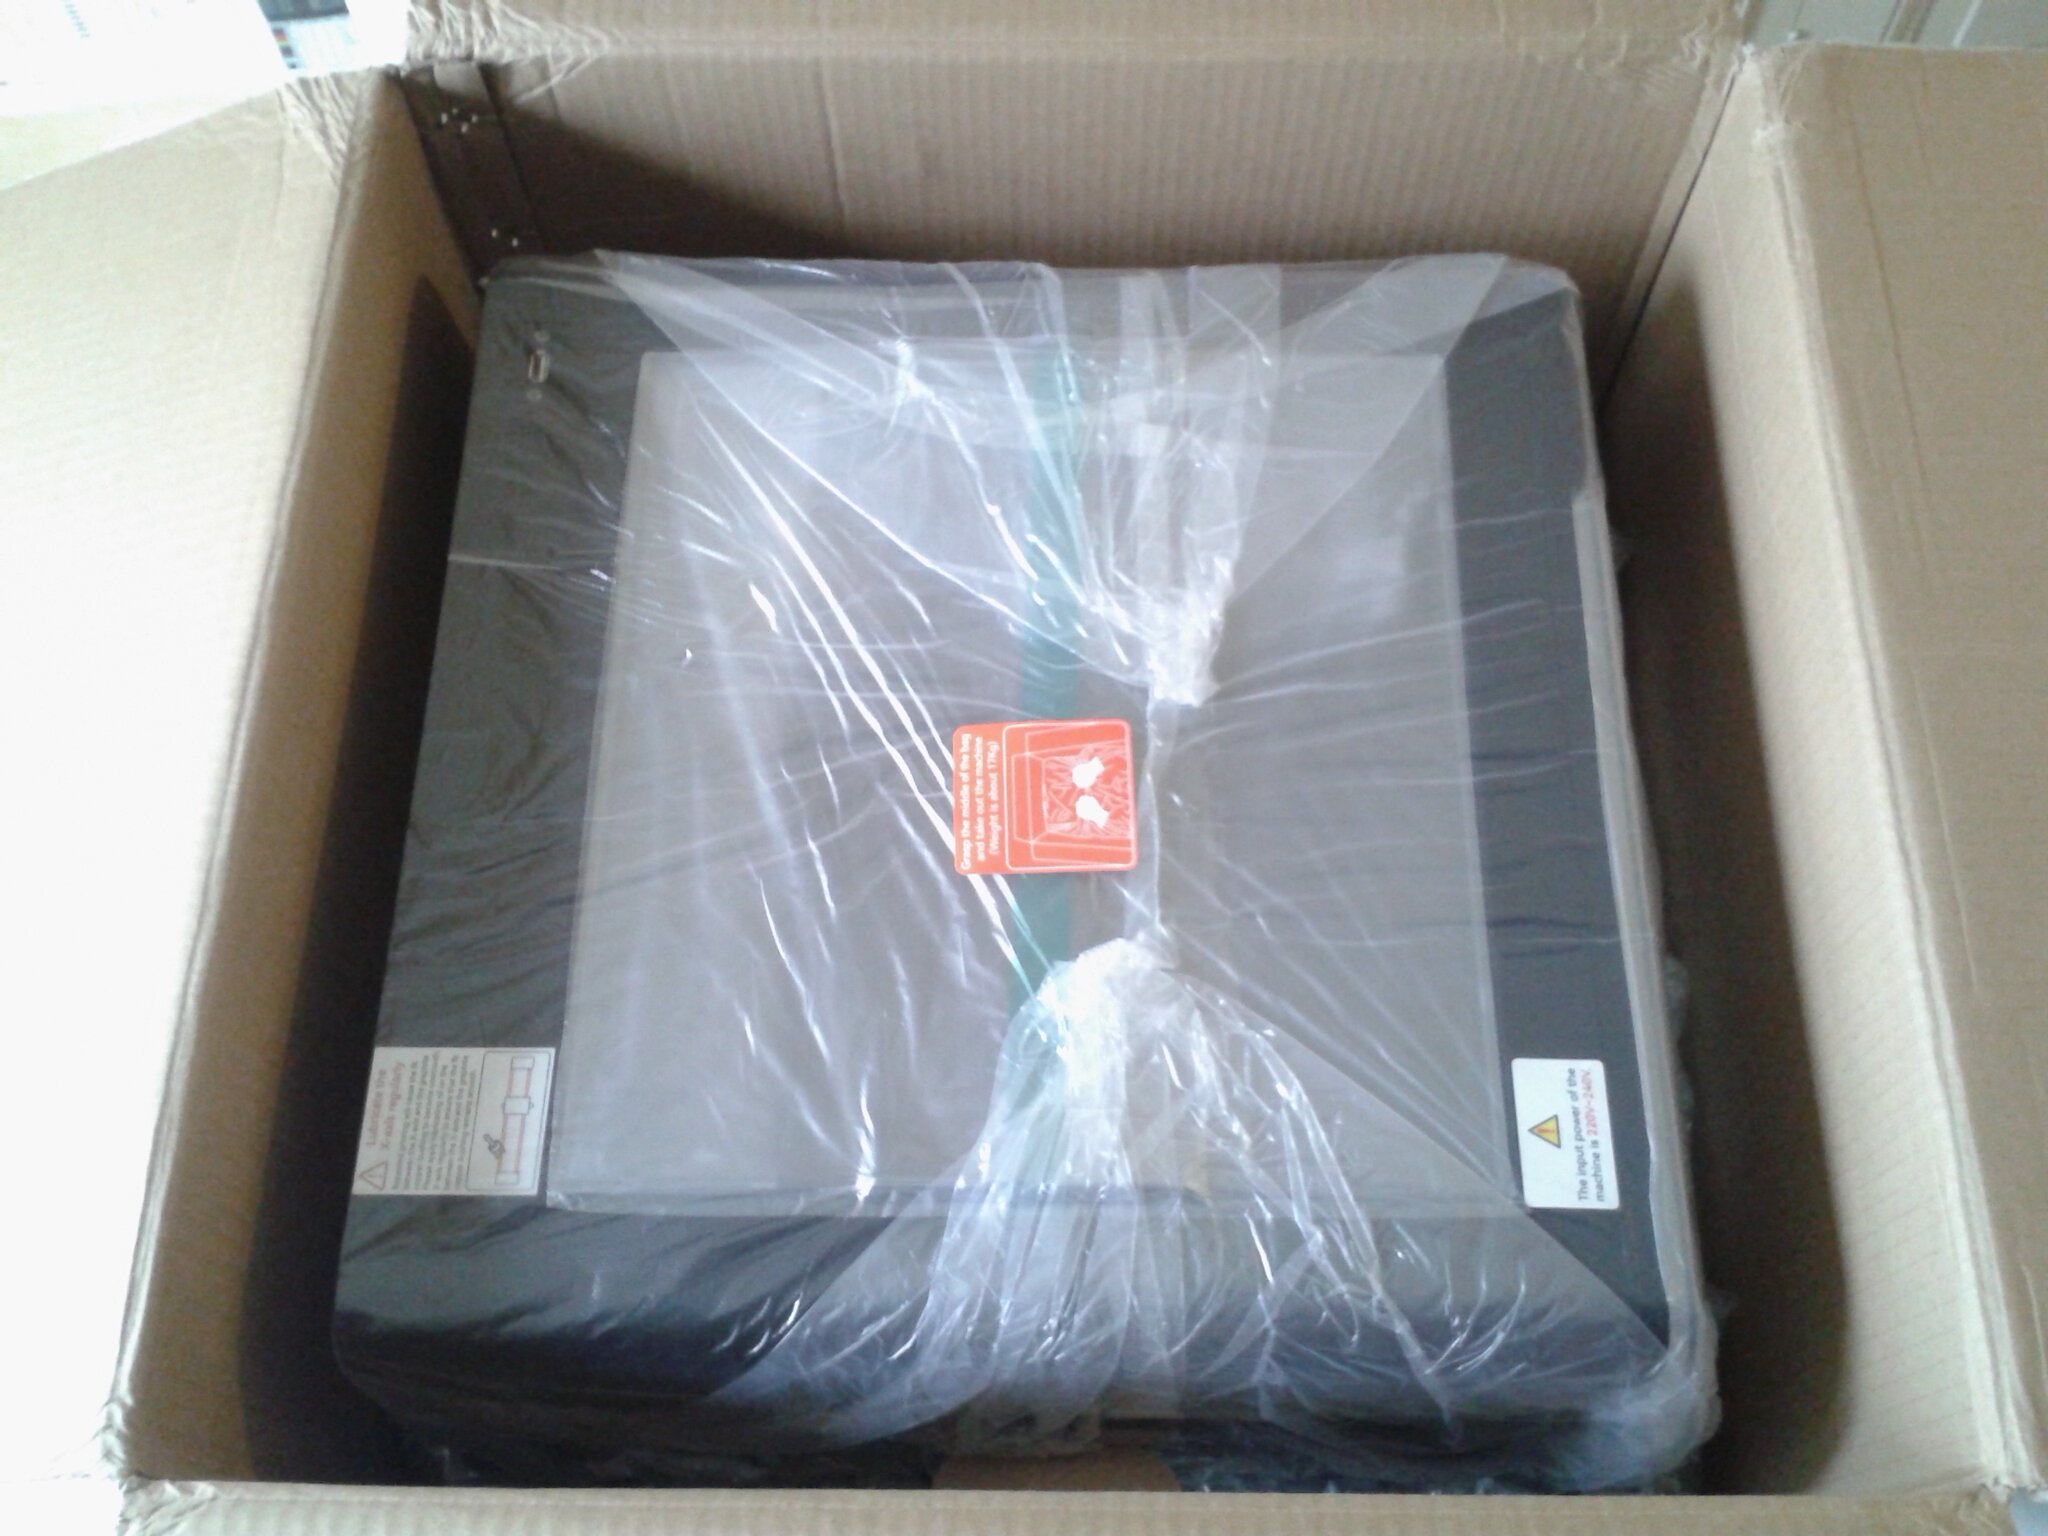
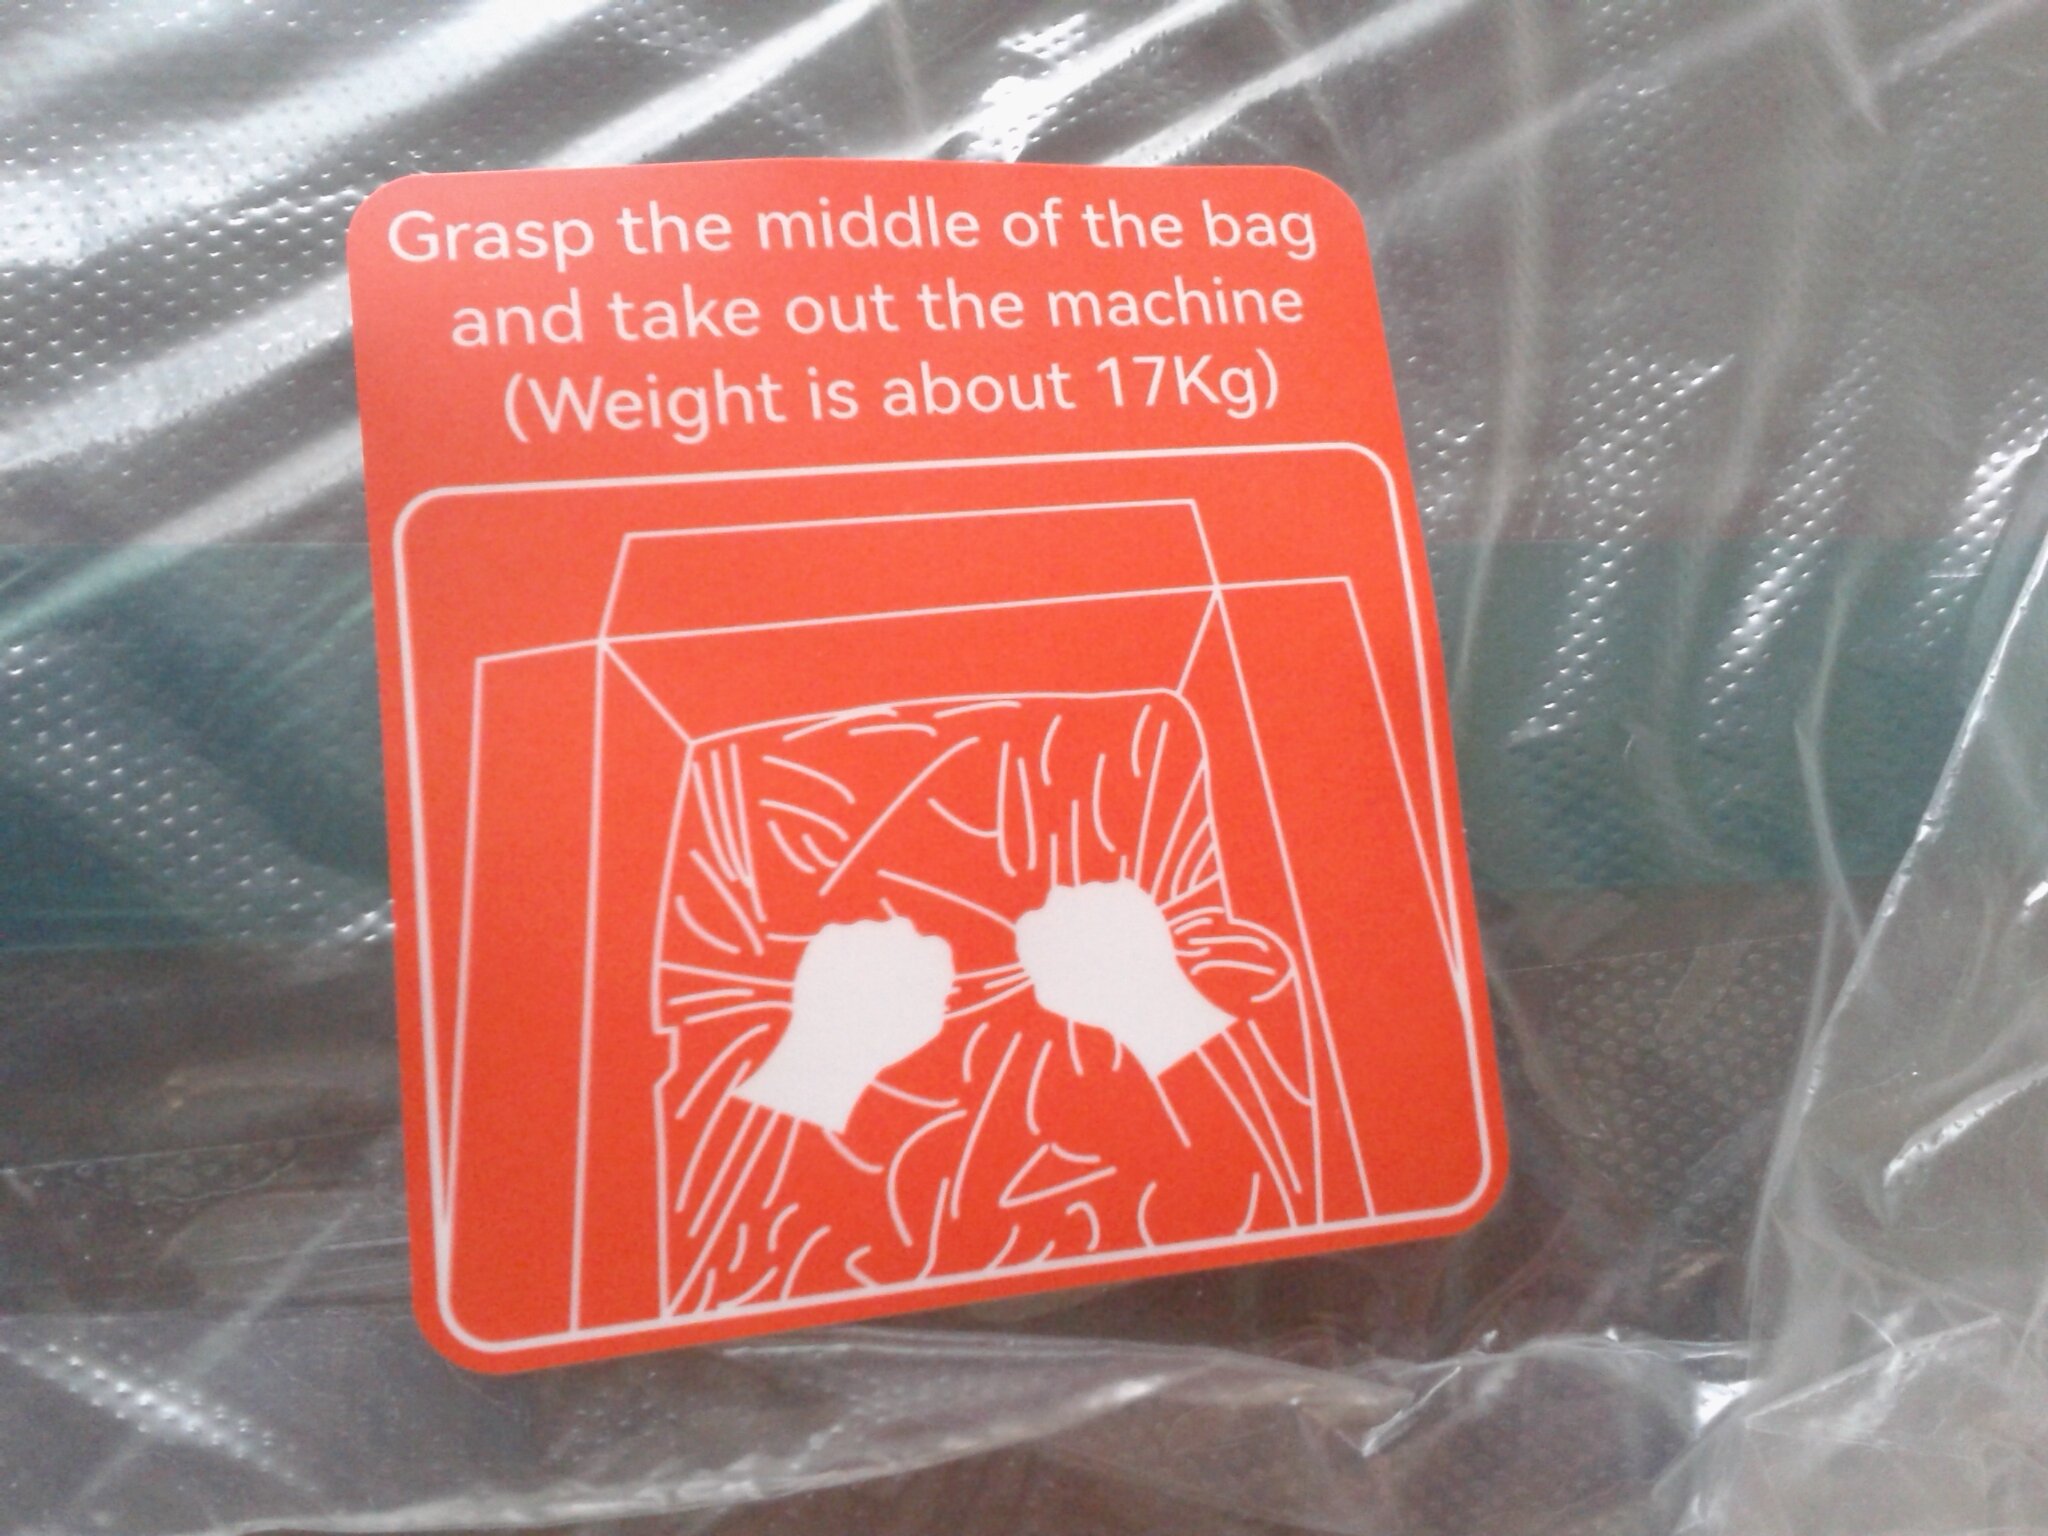
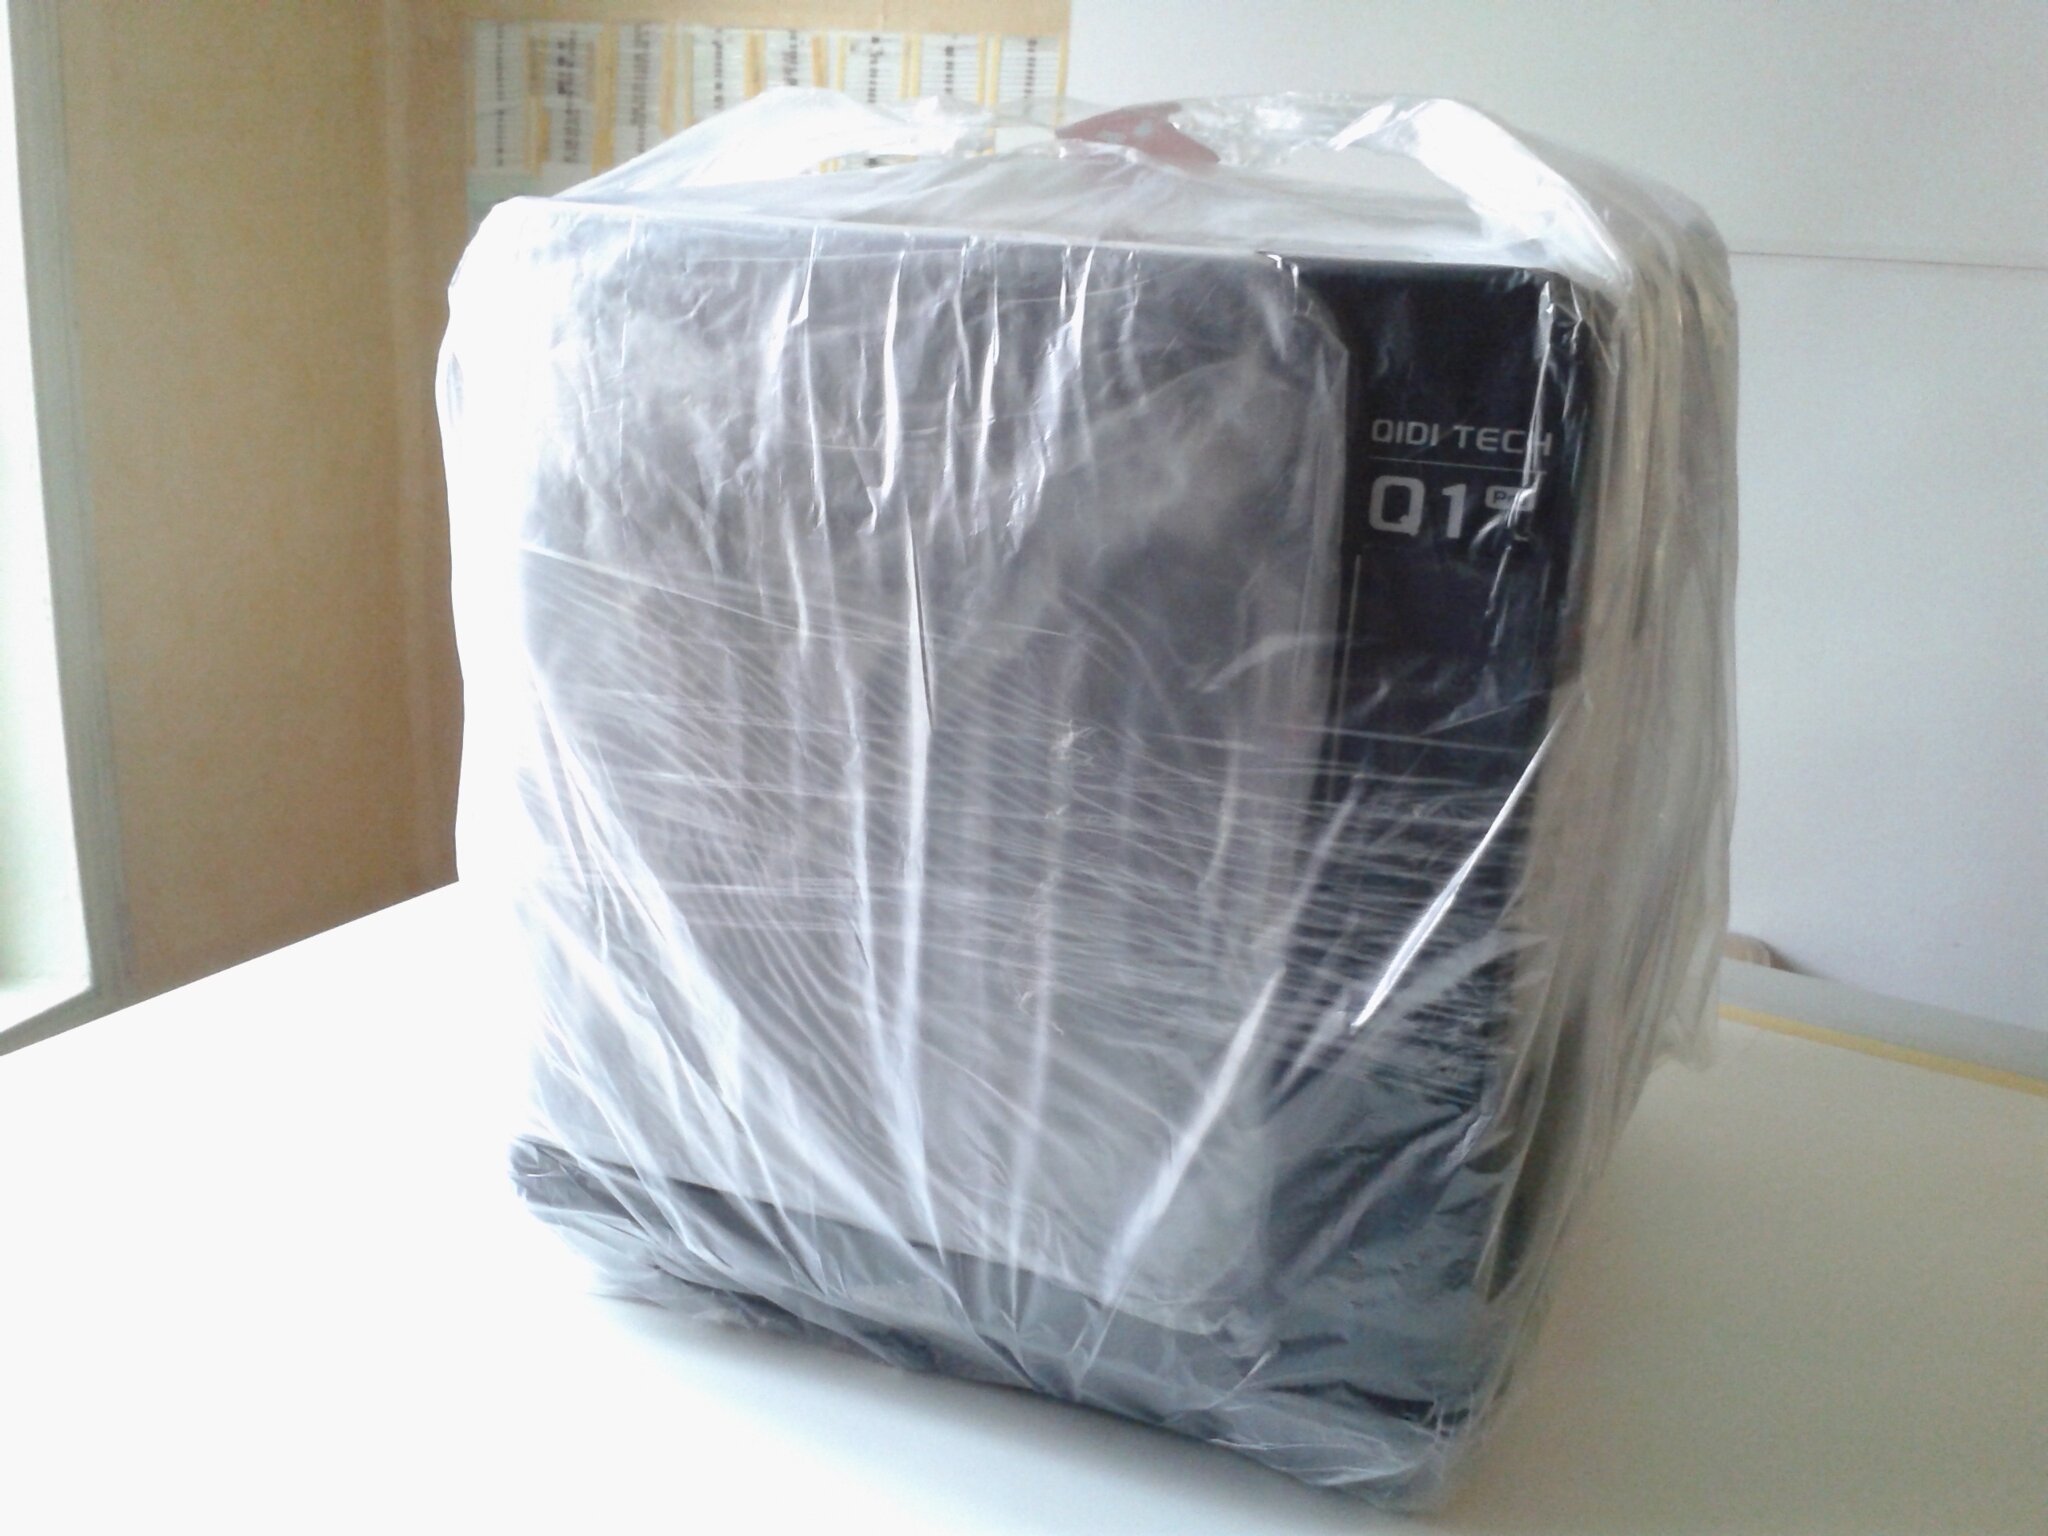
D’empoigner le sachet de protection de l’imprimante à deux mains, par le dessus, pour sortir l’ensemble du carton. Puis, d’enlever les différents scotchs et sachets en plastique de protections.
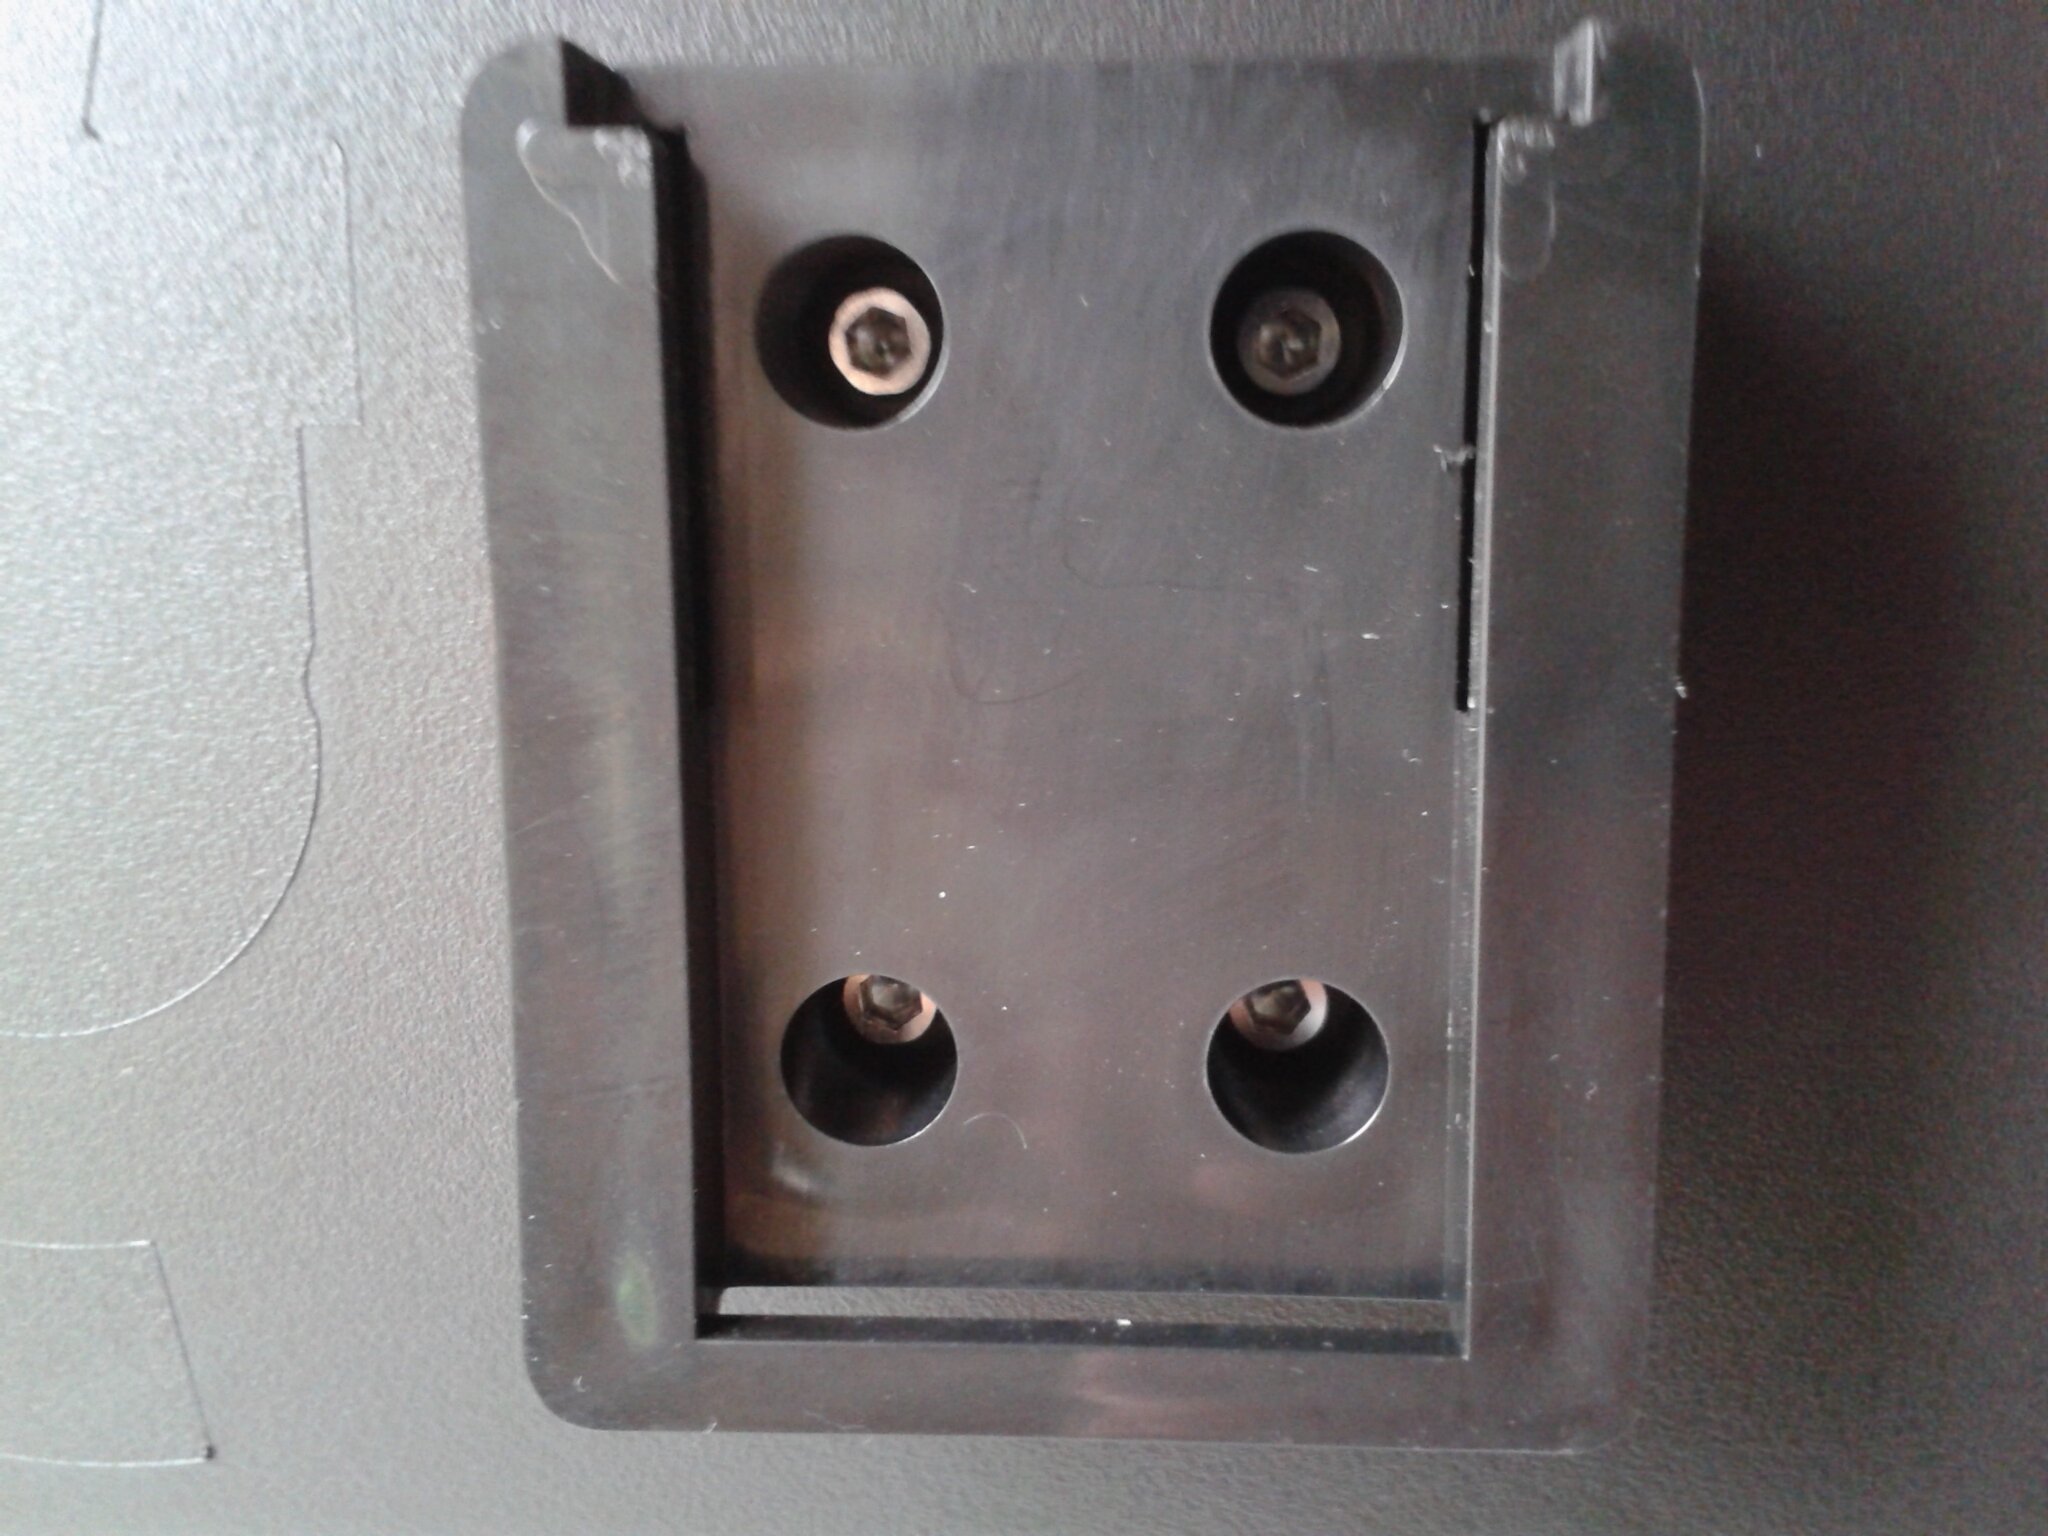
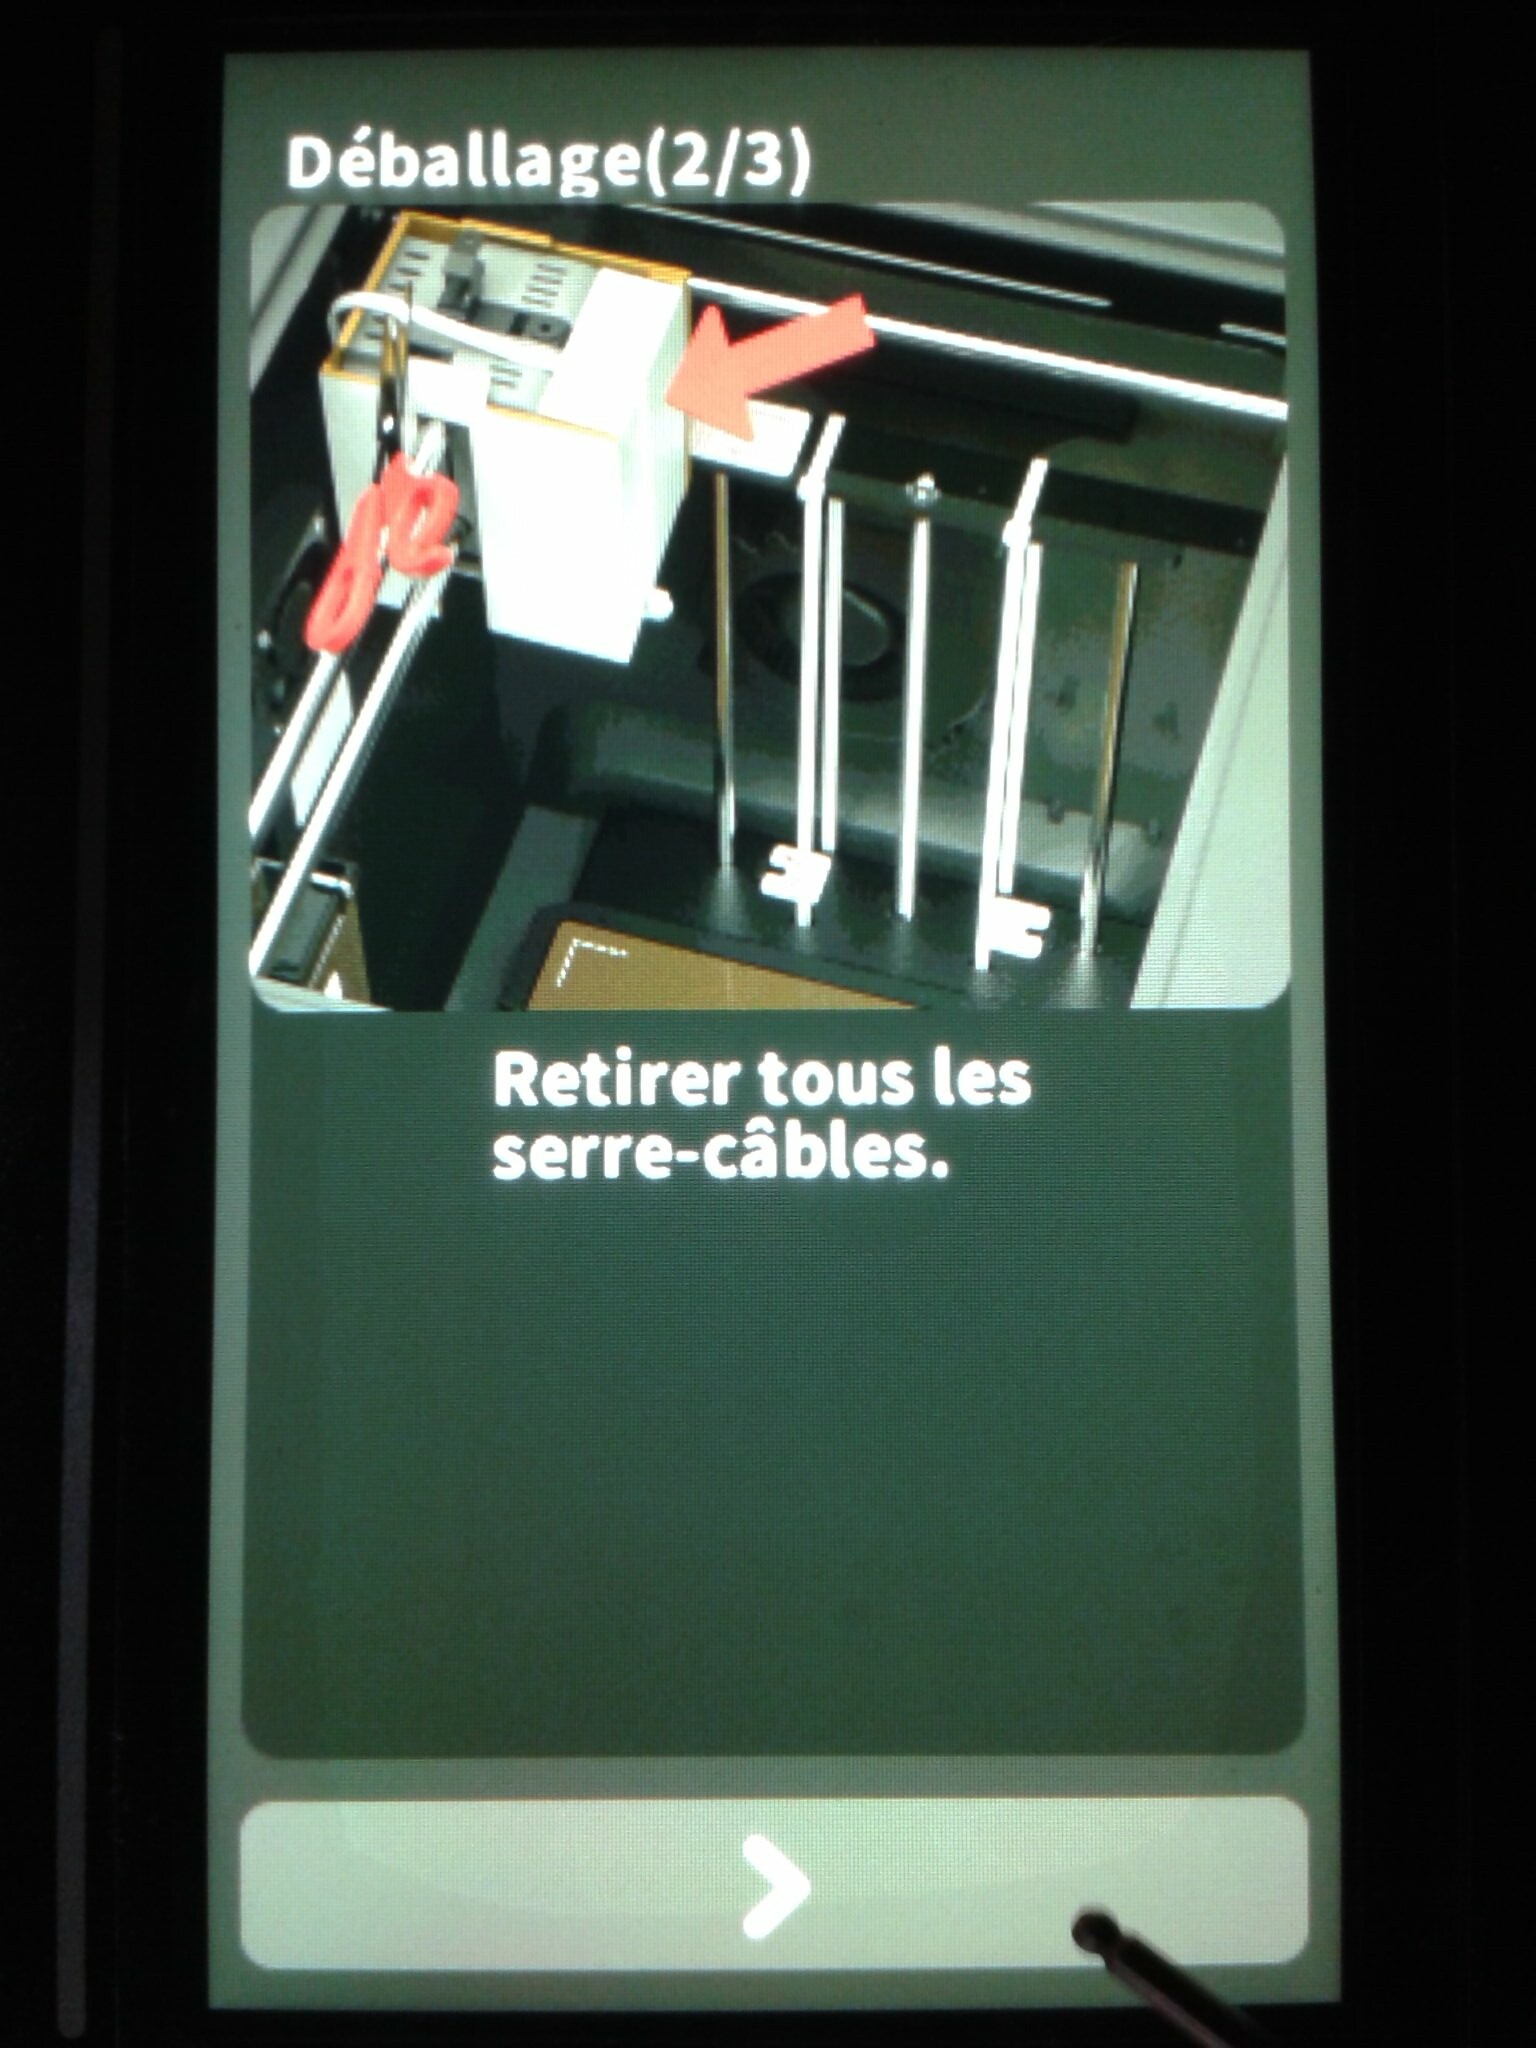
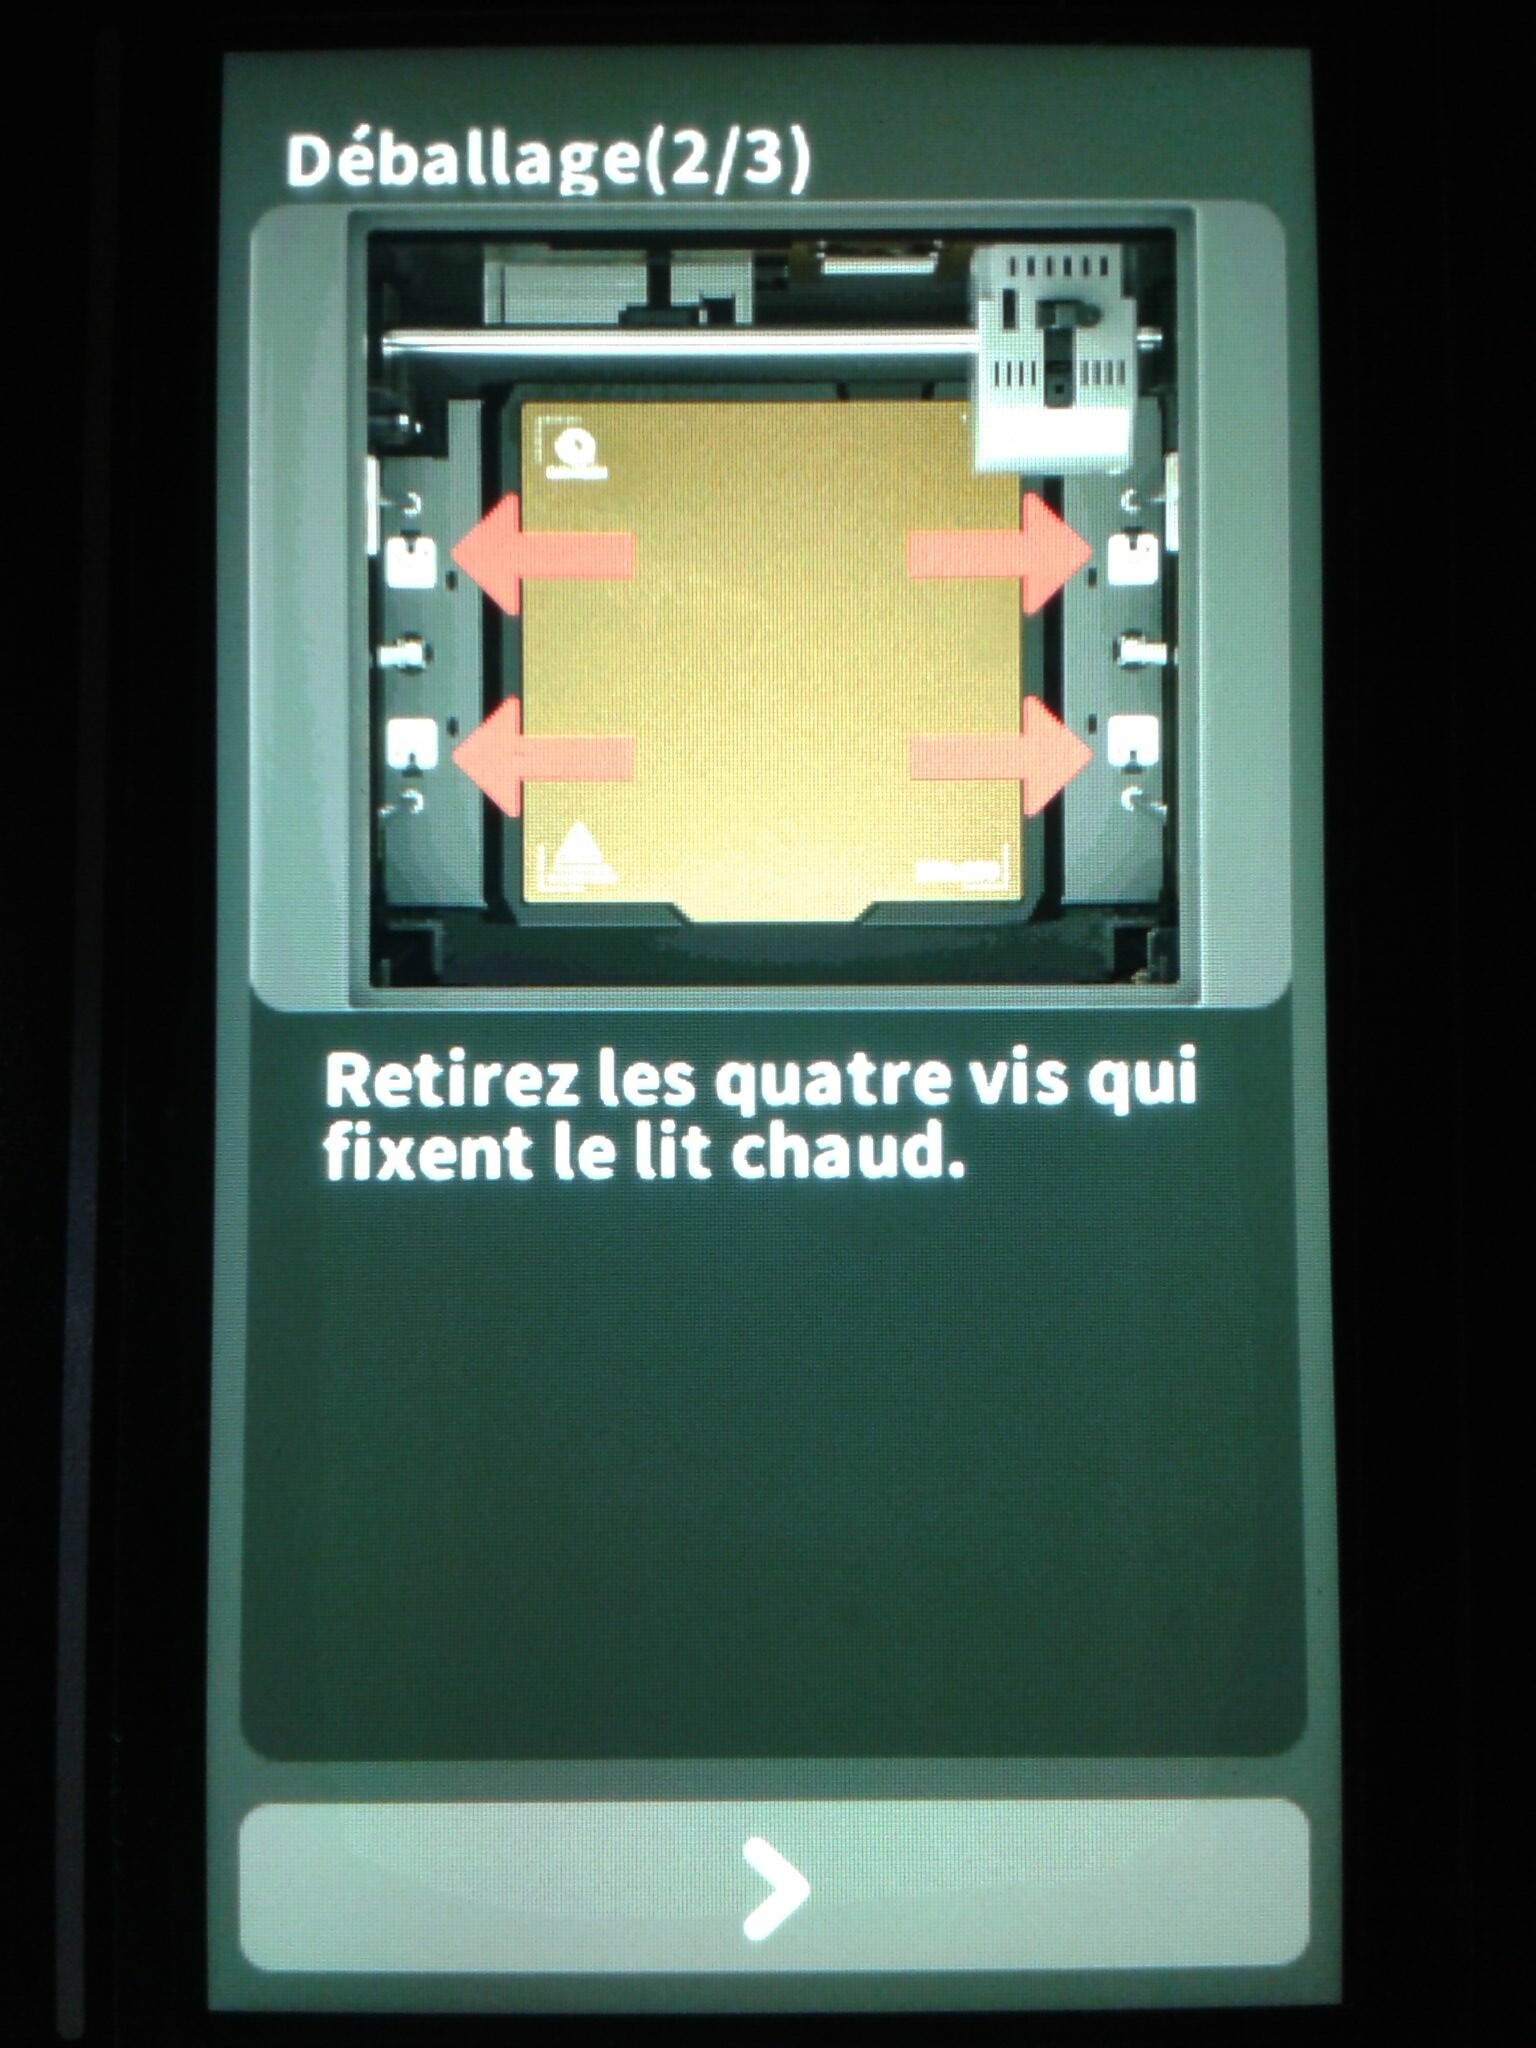
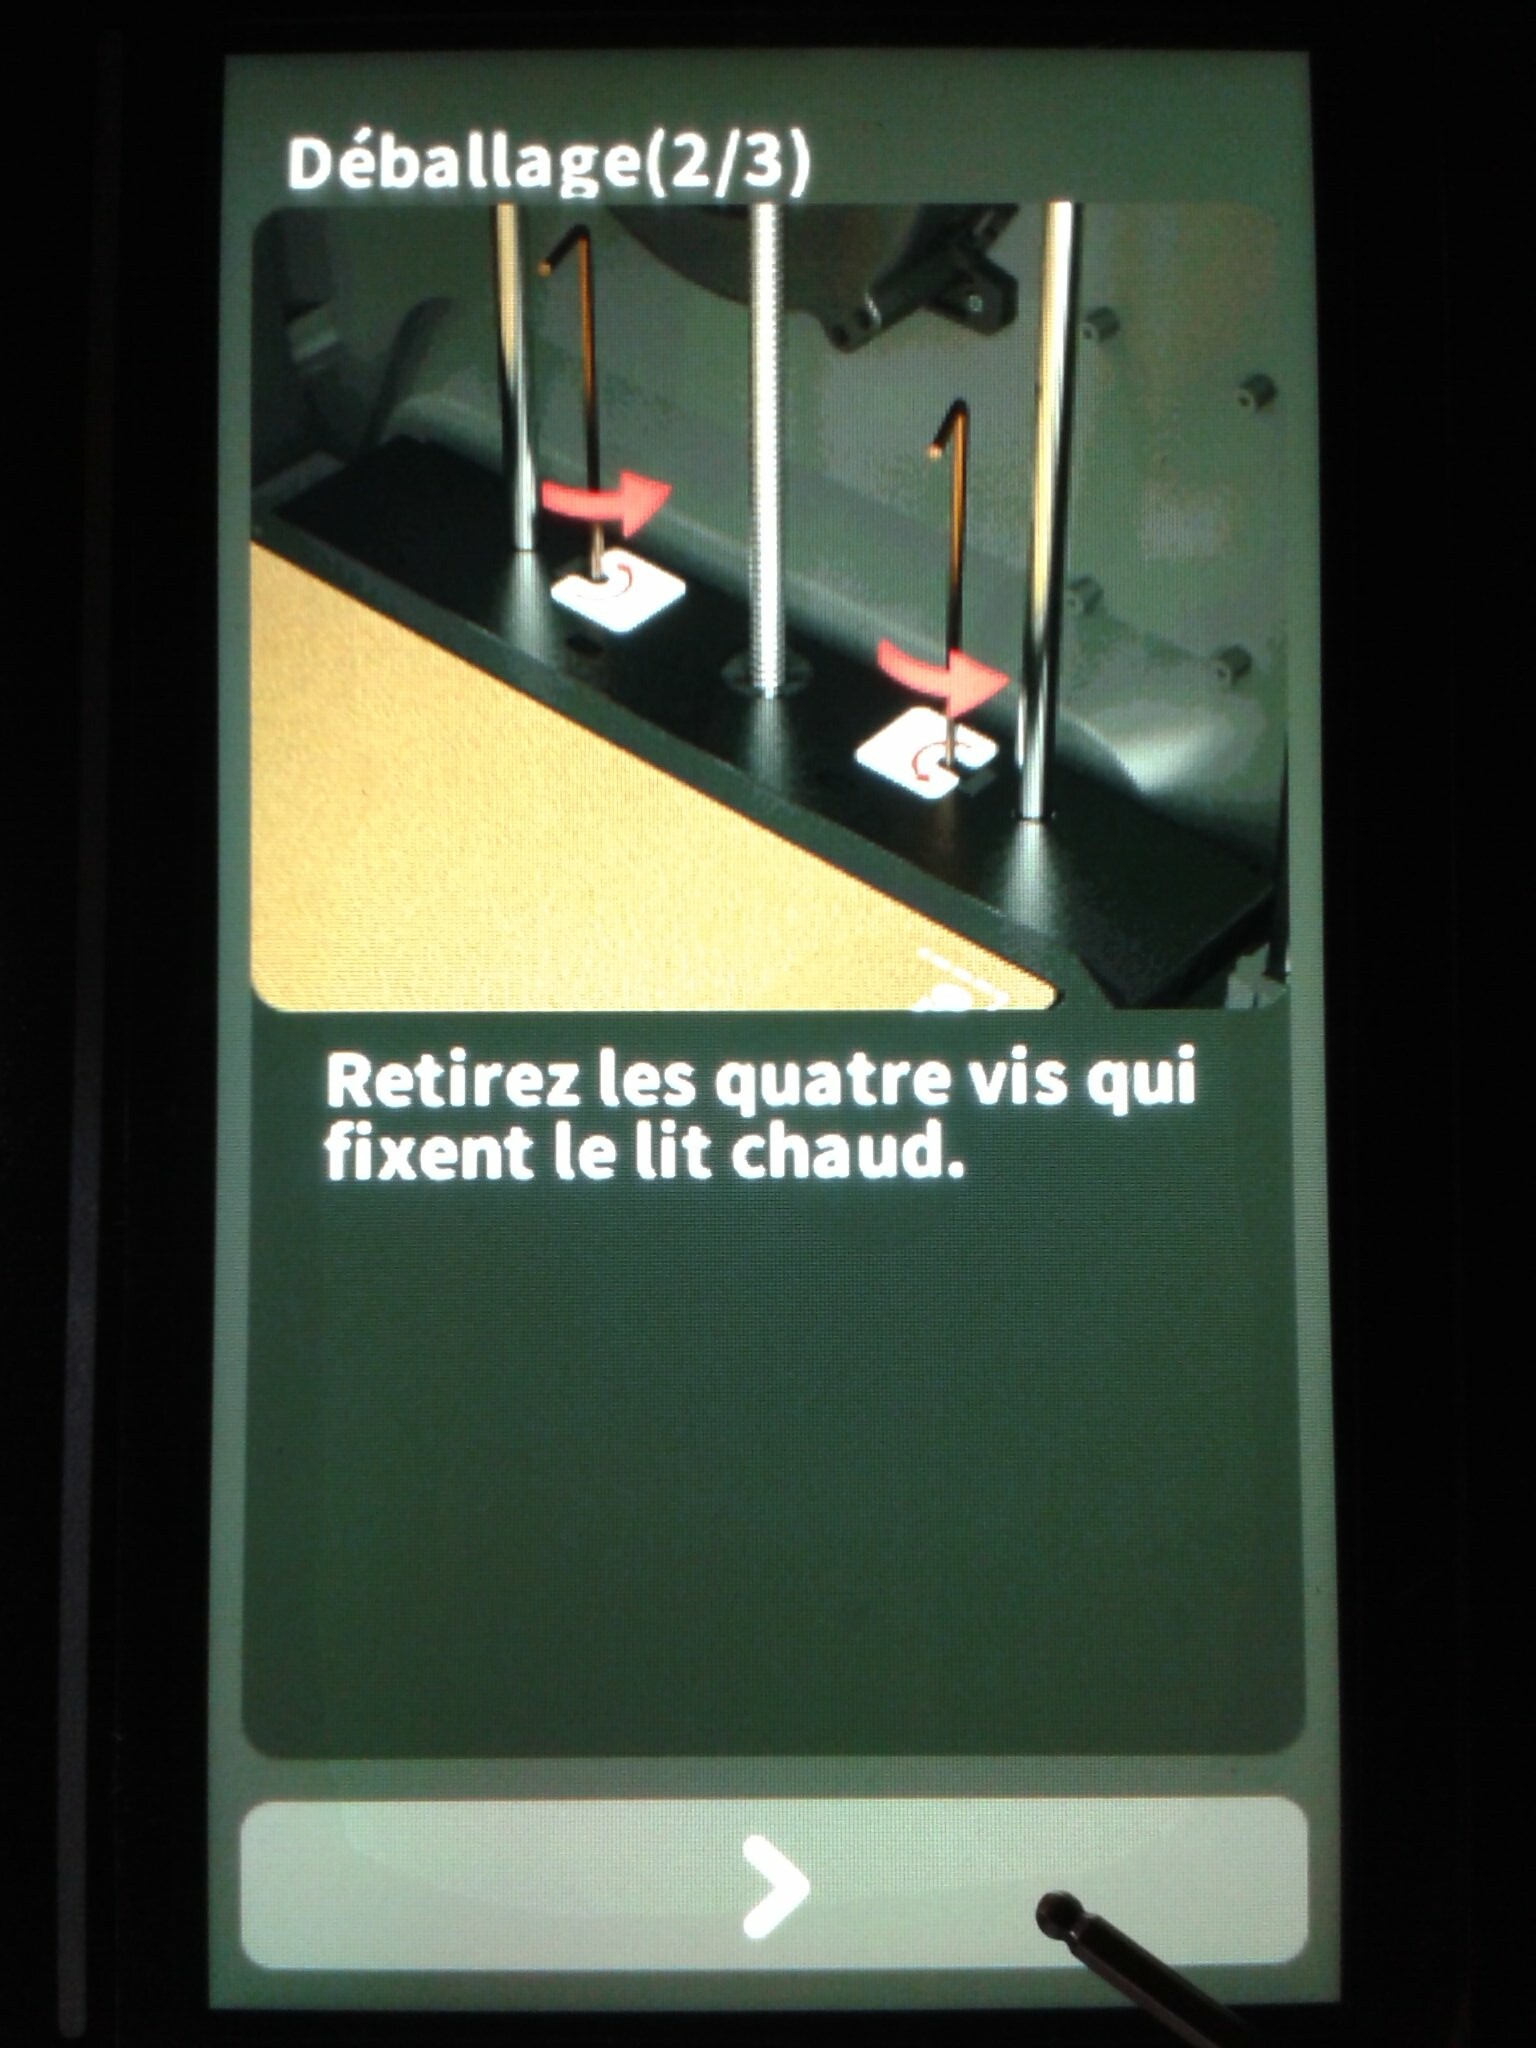
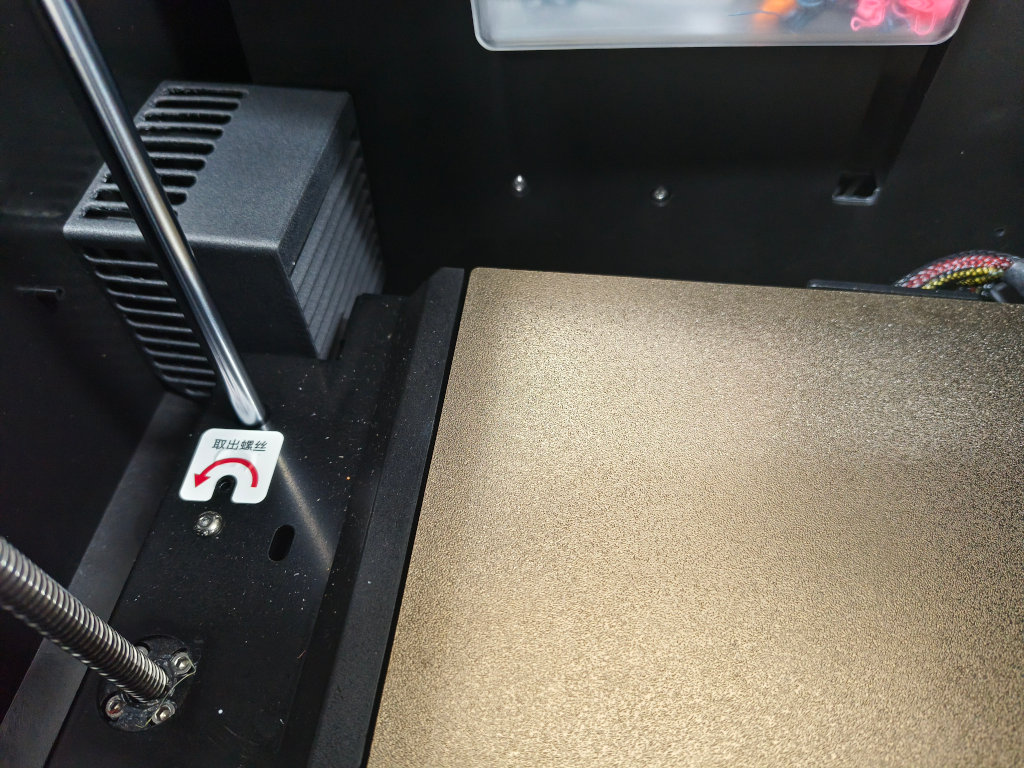
Certaines étapes de “déballage” (enlever les colliers Collson qui bloquent le Core XY et la tête d’impression, ainsi que retirer les vis qui sécurisent le plateau lors du transport.) étant détaillées et guidées sur l’écran tactile lors du premier allumage de la machine, je les ai mises dans la partie “Mise en fonction”.
La vidéo officielle de déballage et de mise en service pour ne faire aucune erreur de manipulation. On remarque sur l’aperçu de la vidéo que le porte bobine se trouve à l’arrière de la machine, déporté sur le côté. Il faudra donc prévoir l’espace nécessaire à l’arrière et à gauche de la Q1 Pro.
Montage de la Qidi Tech Q1 Pro
Il n’y a pas réellement de “montage” à faire sauf si l’on considère la mise en place du support de bobine comme une de ces étapes, le bloc pour y faire coulisser le bras du support de bobine étant déjà en place.
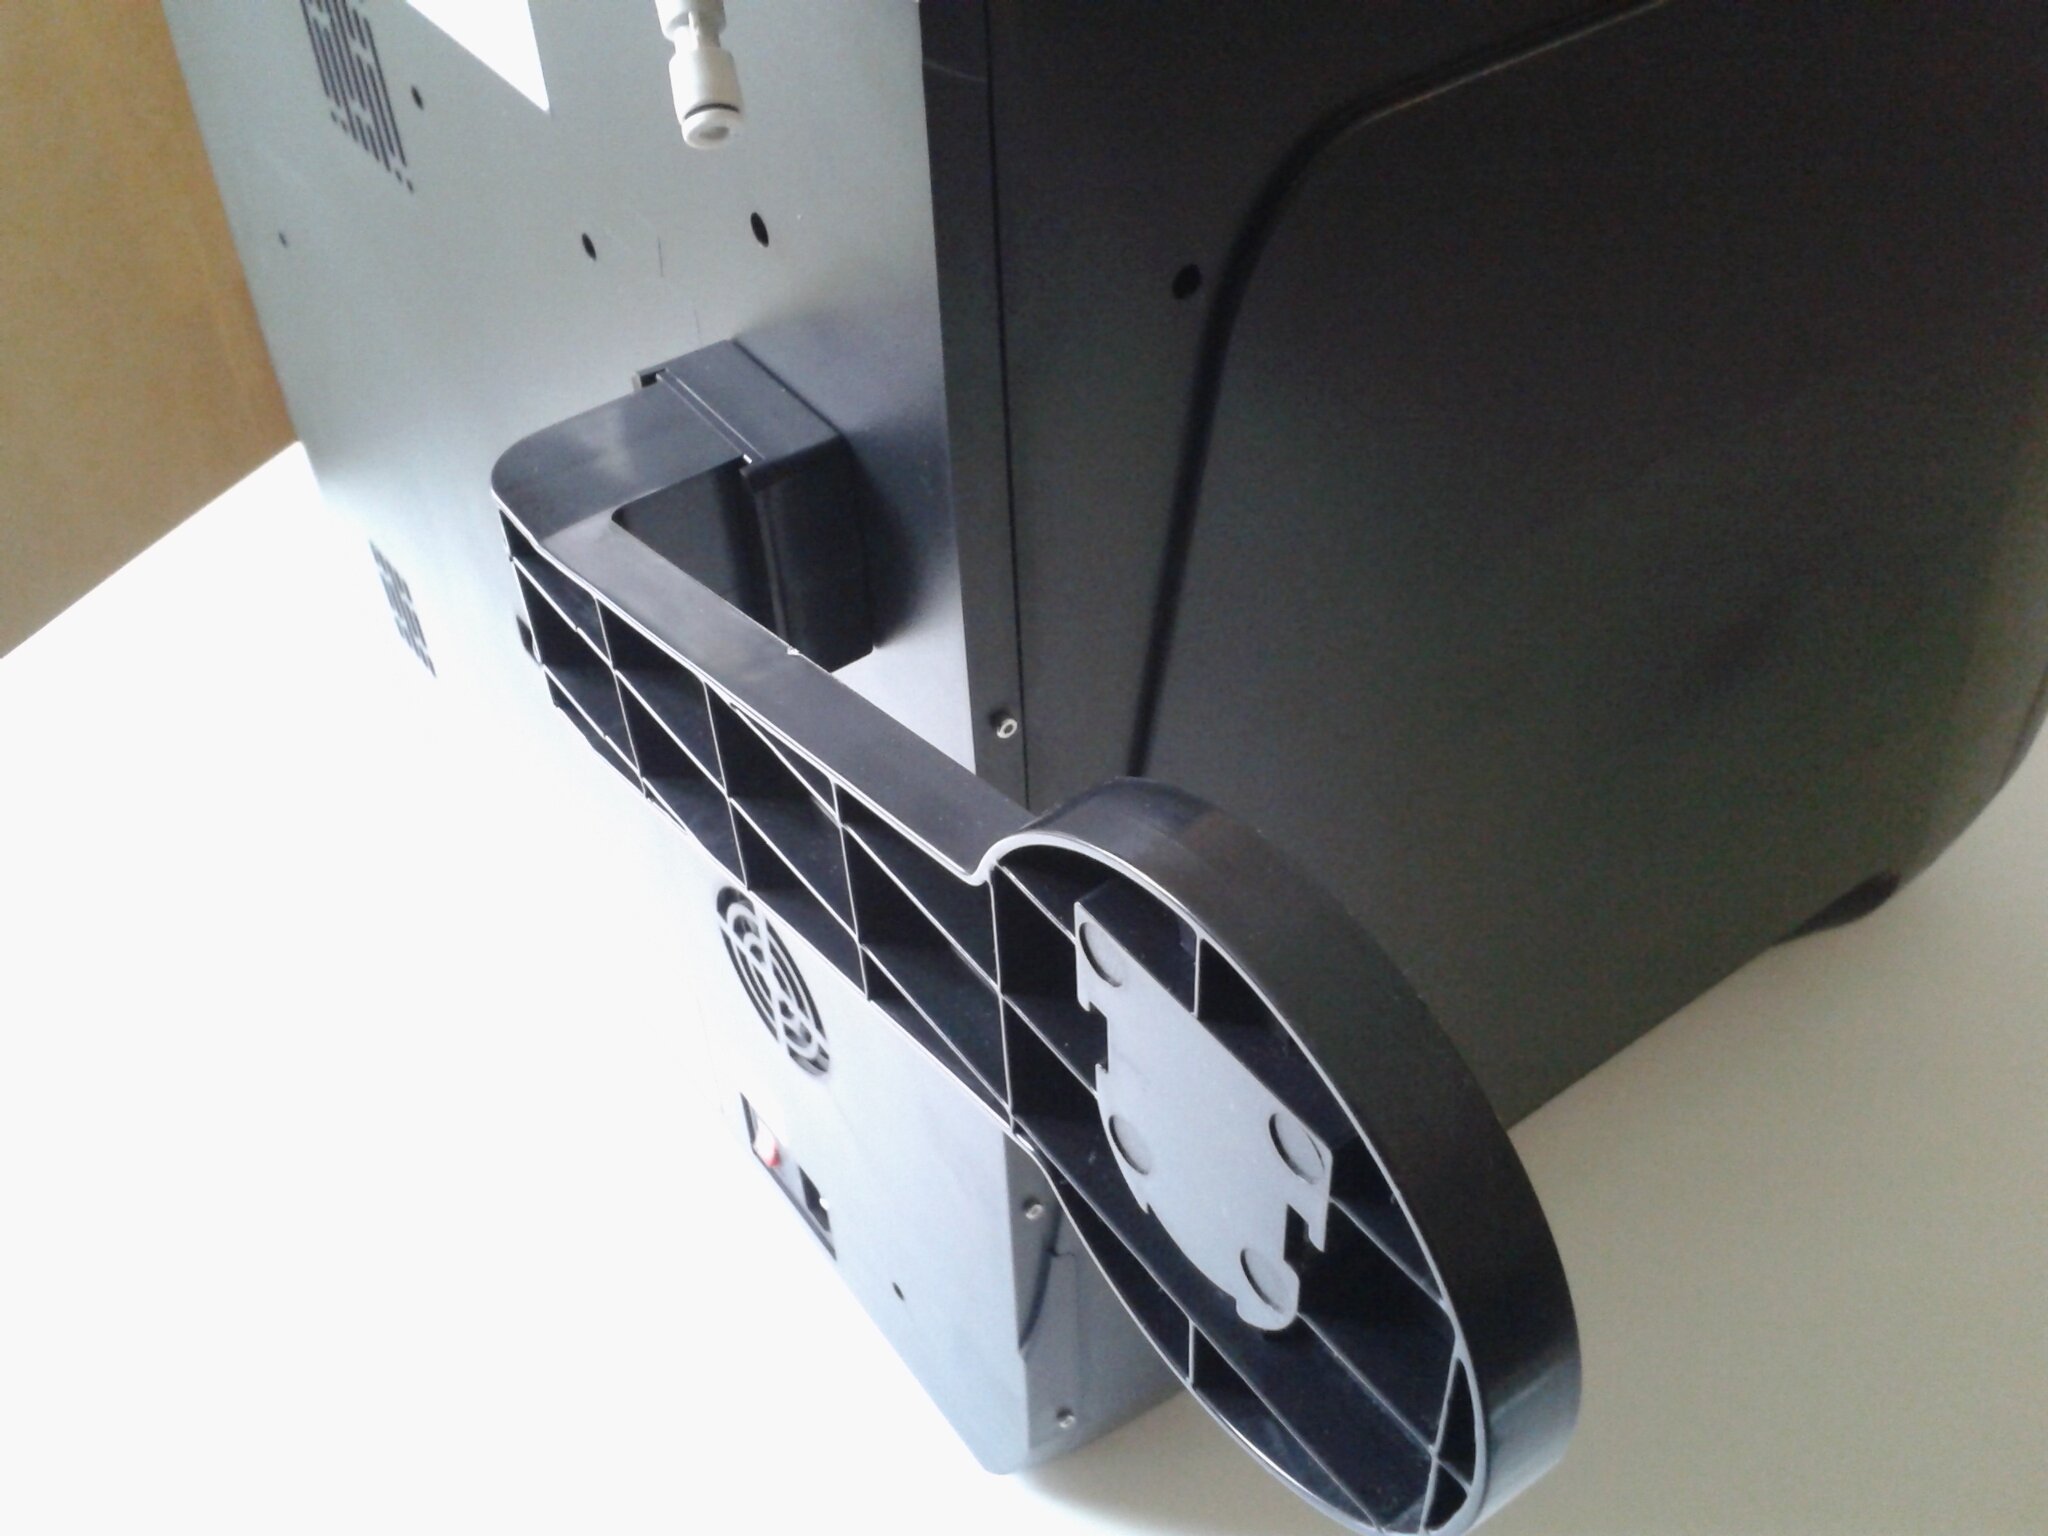

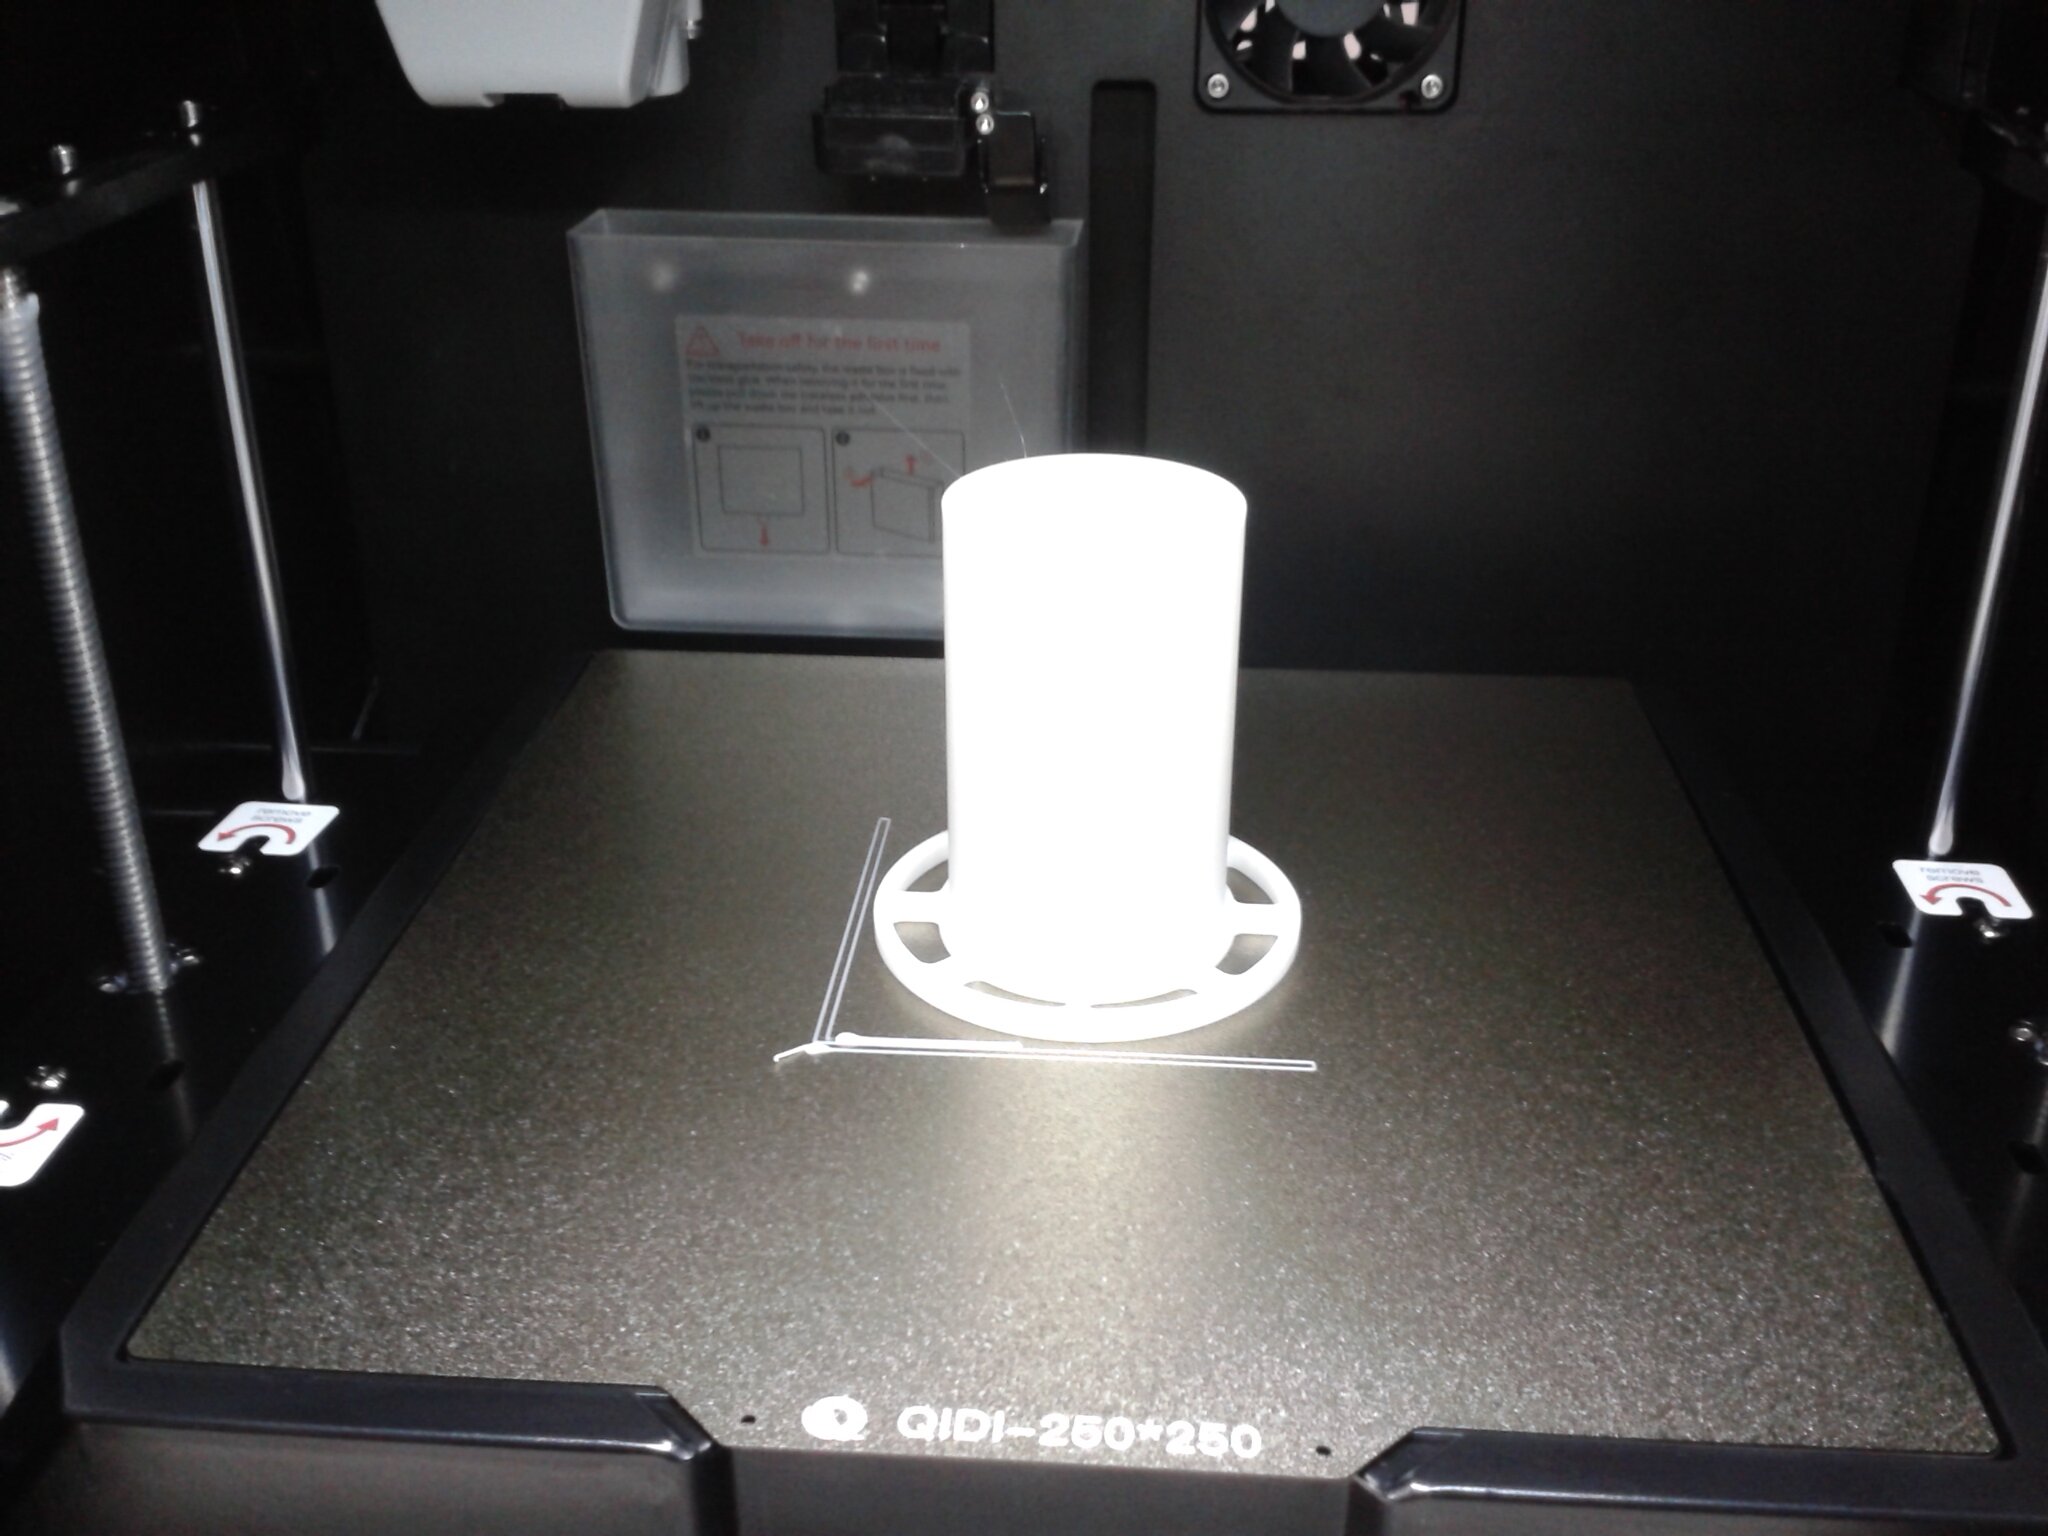
Le support de bobine peut paraître un peu fragile et flexible. Il aura tendance à osciller lors des impressions mais on trouve dans la mémoire interne de l’imprimante et sur la clé USB fournie, dans les fichiers d’impression de tests, un adaptateur pour éventuellement mieux “caler” les bobines ayant un trou central de gros diamètre.

Mise en route de la Qidi Tech Q1 Pro
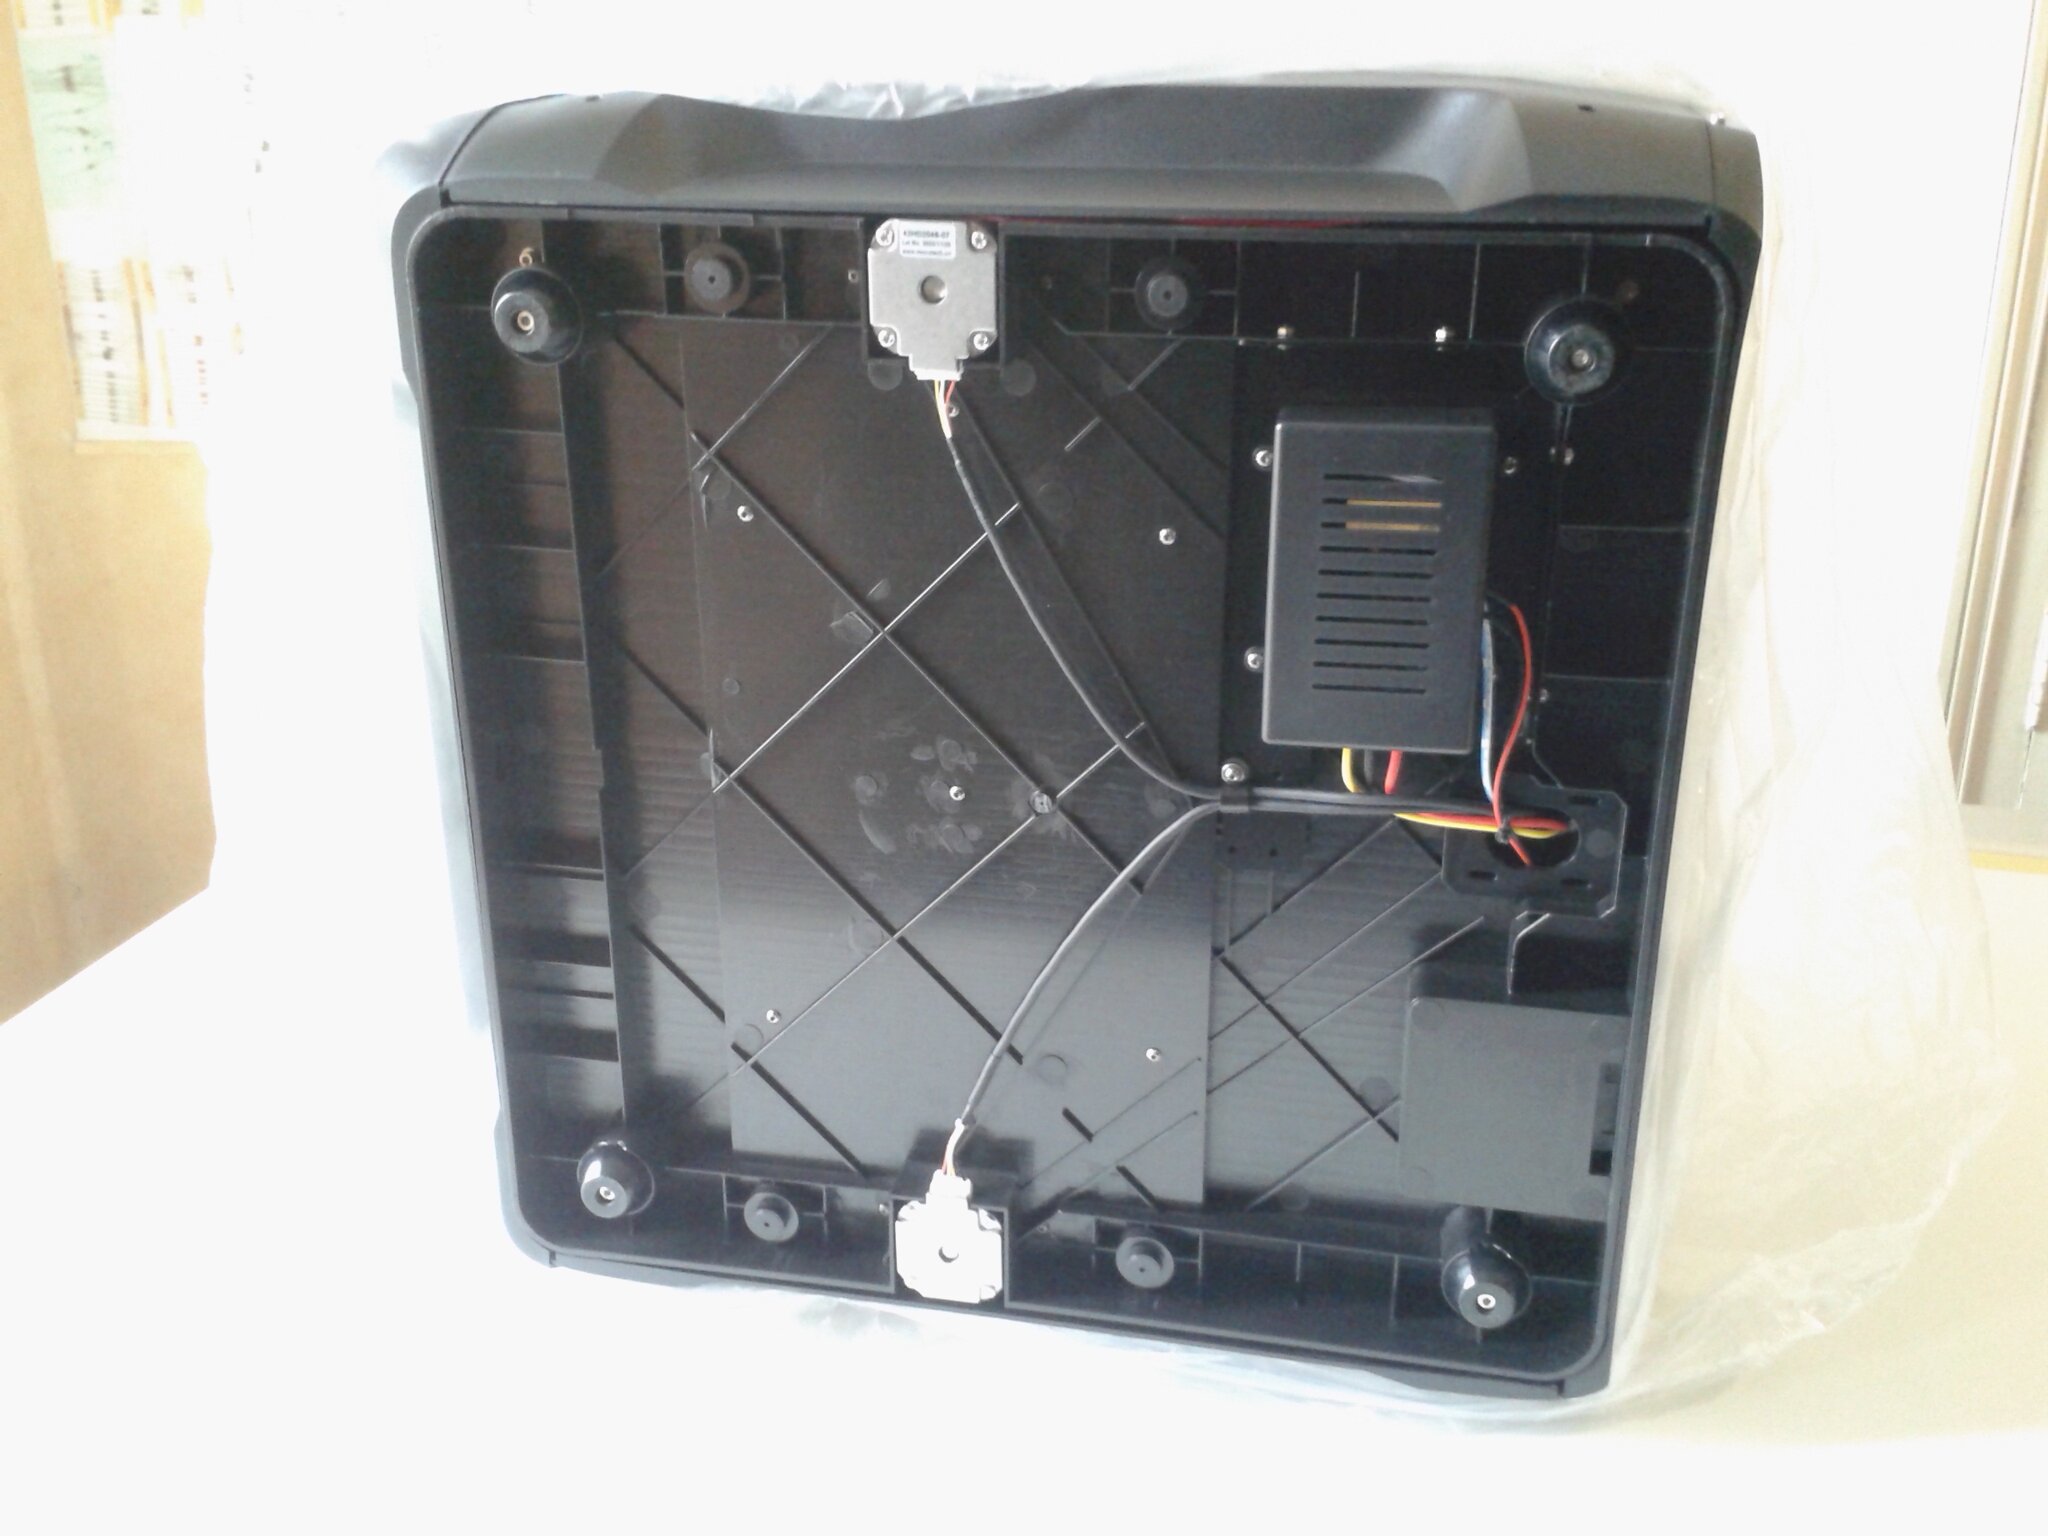
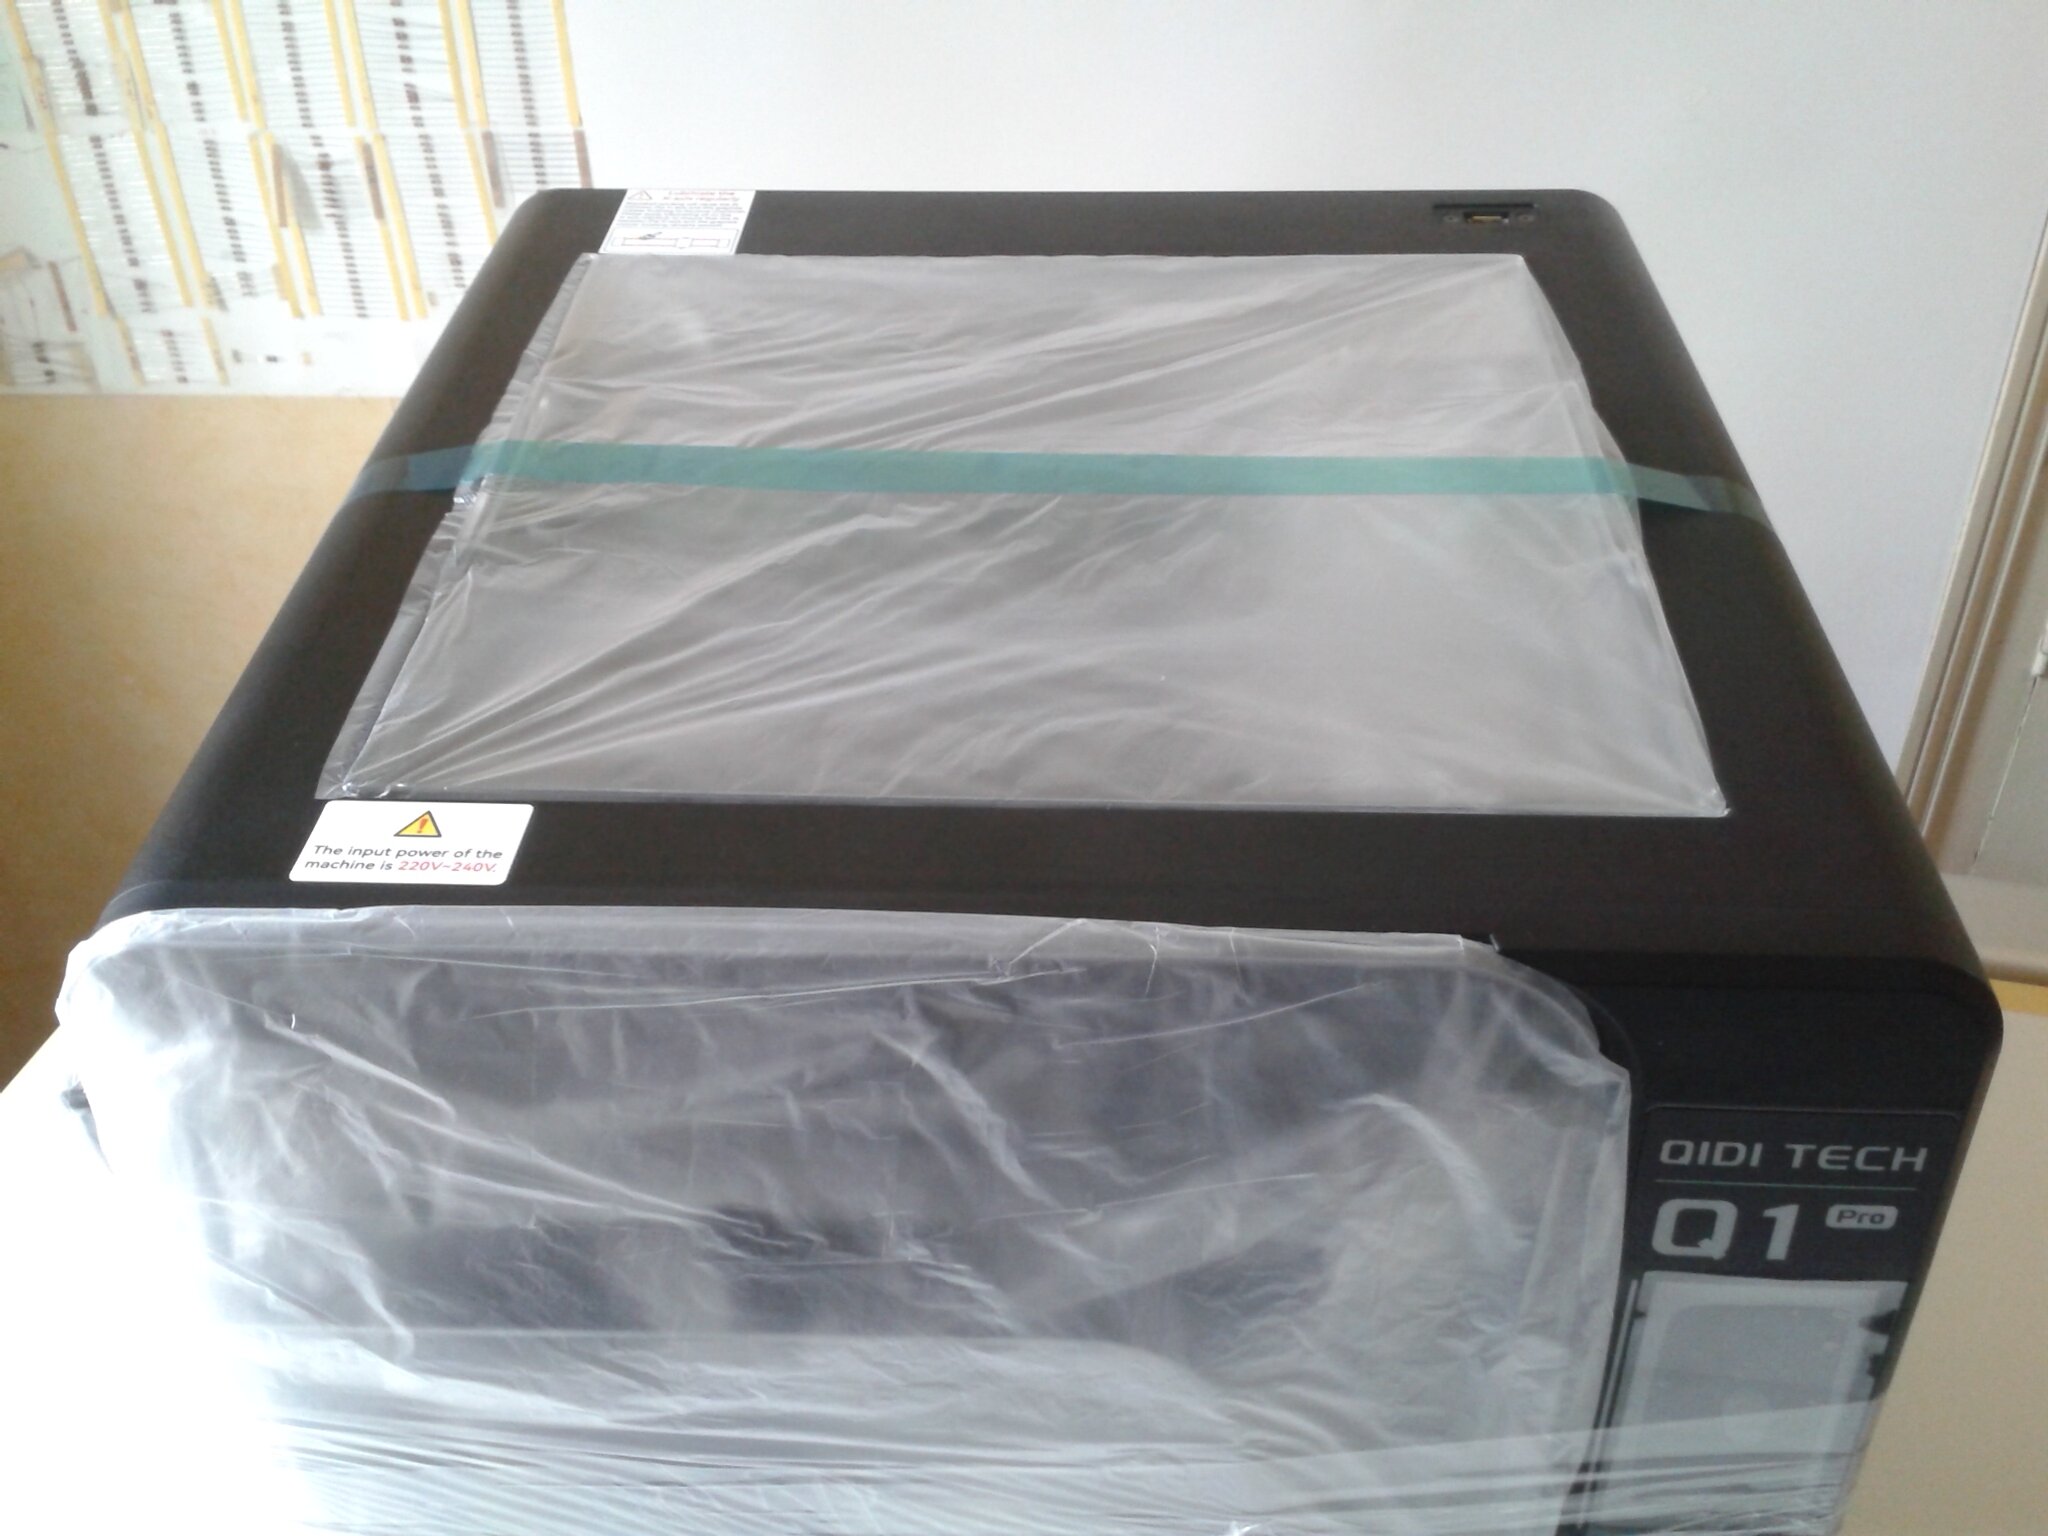
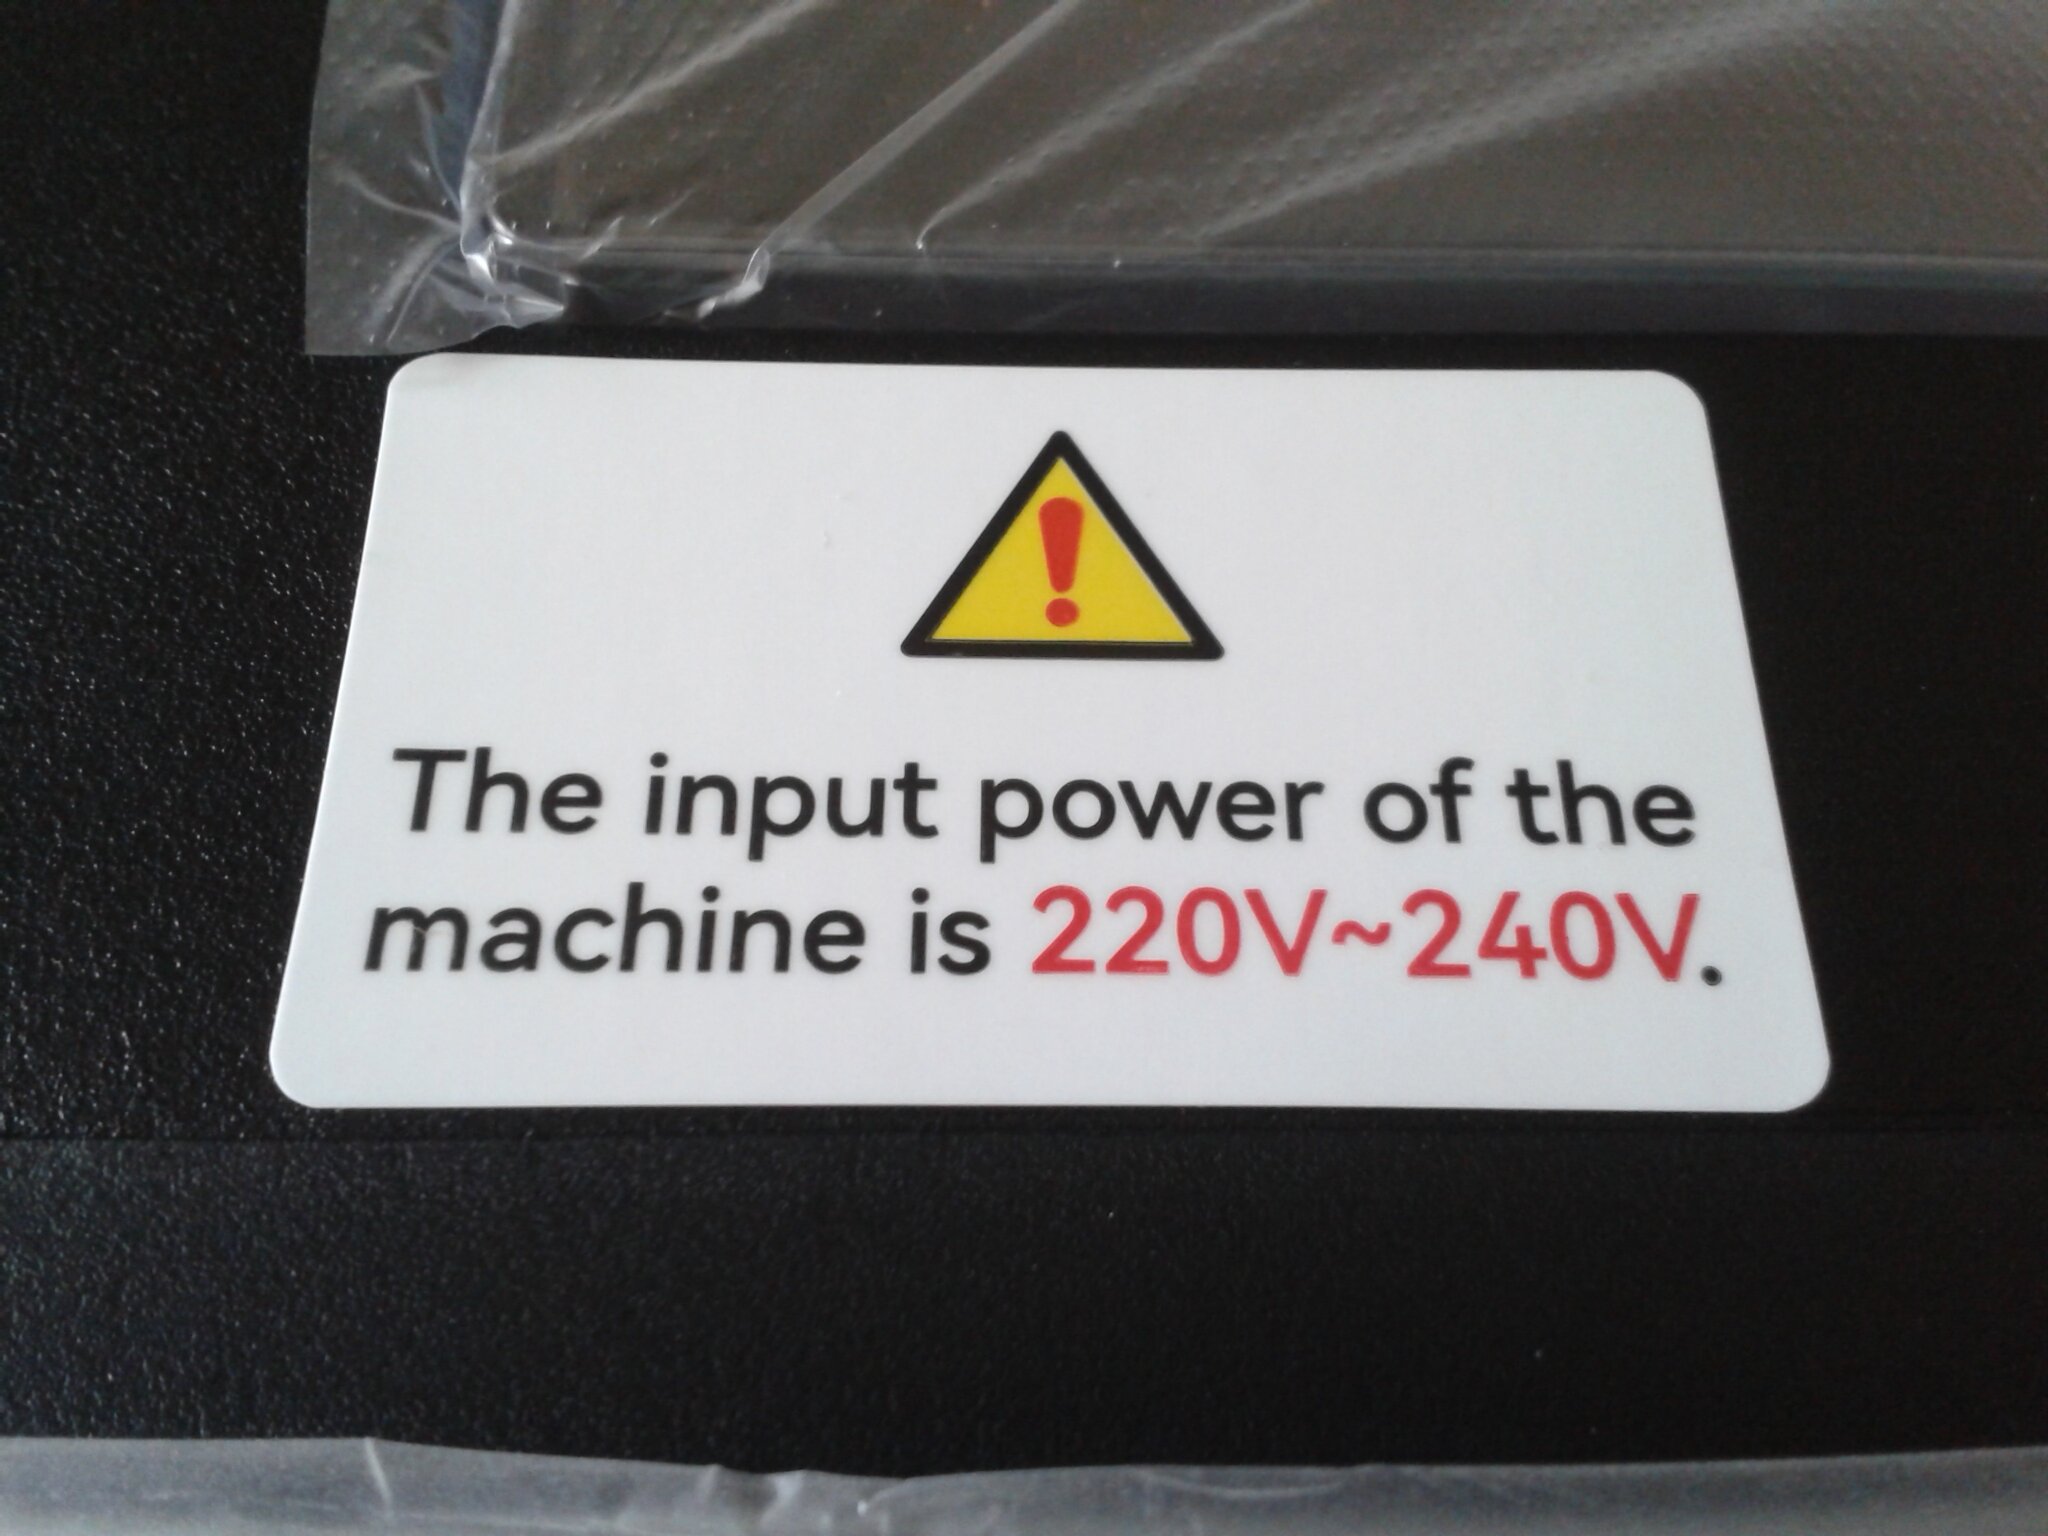
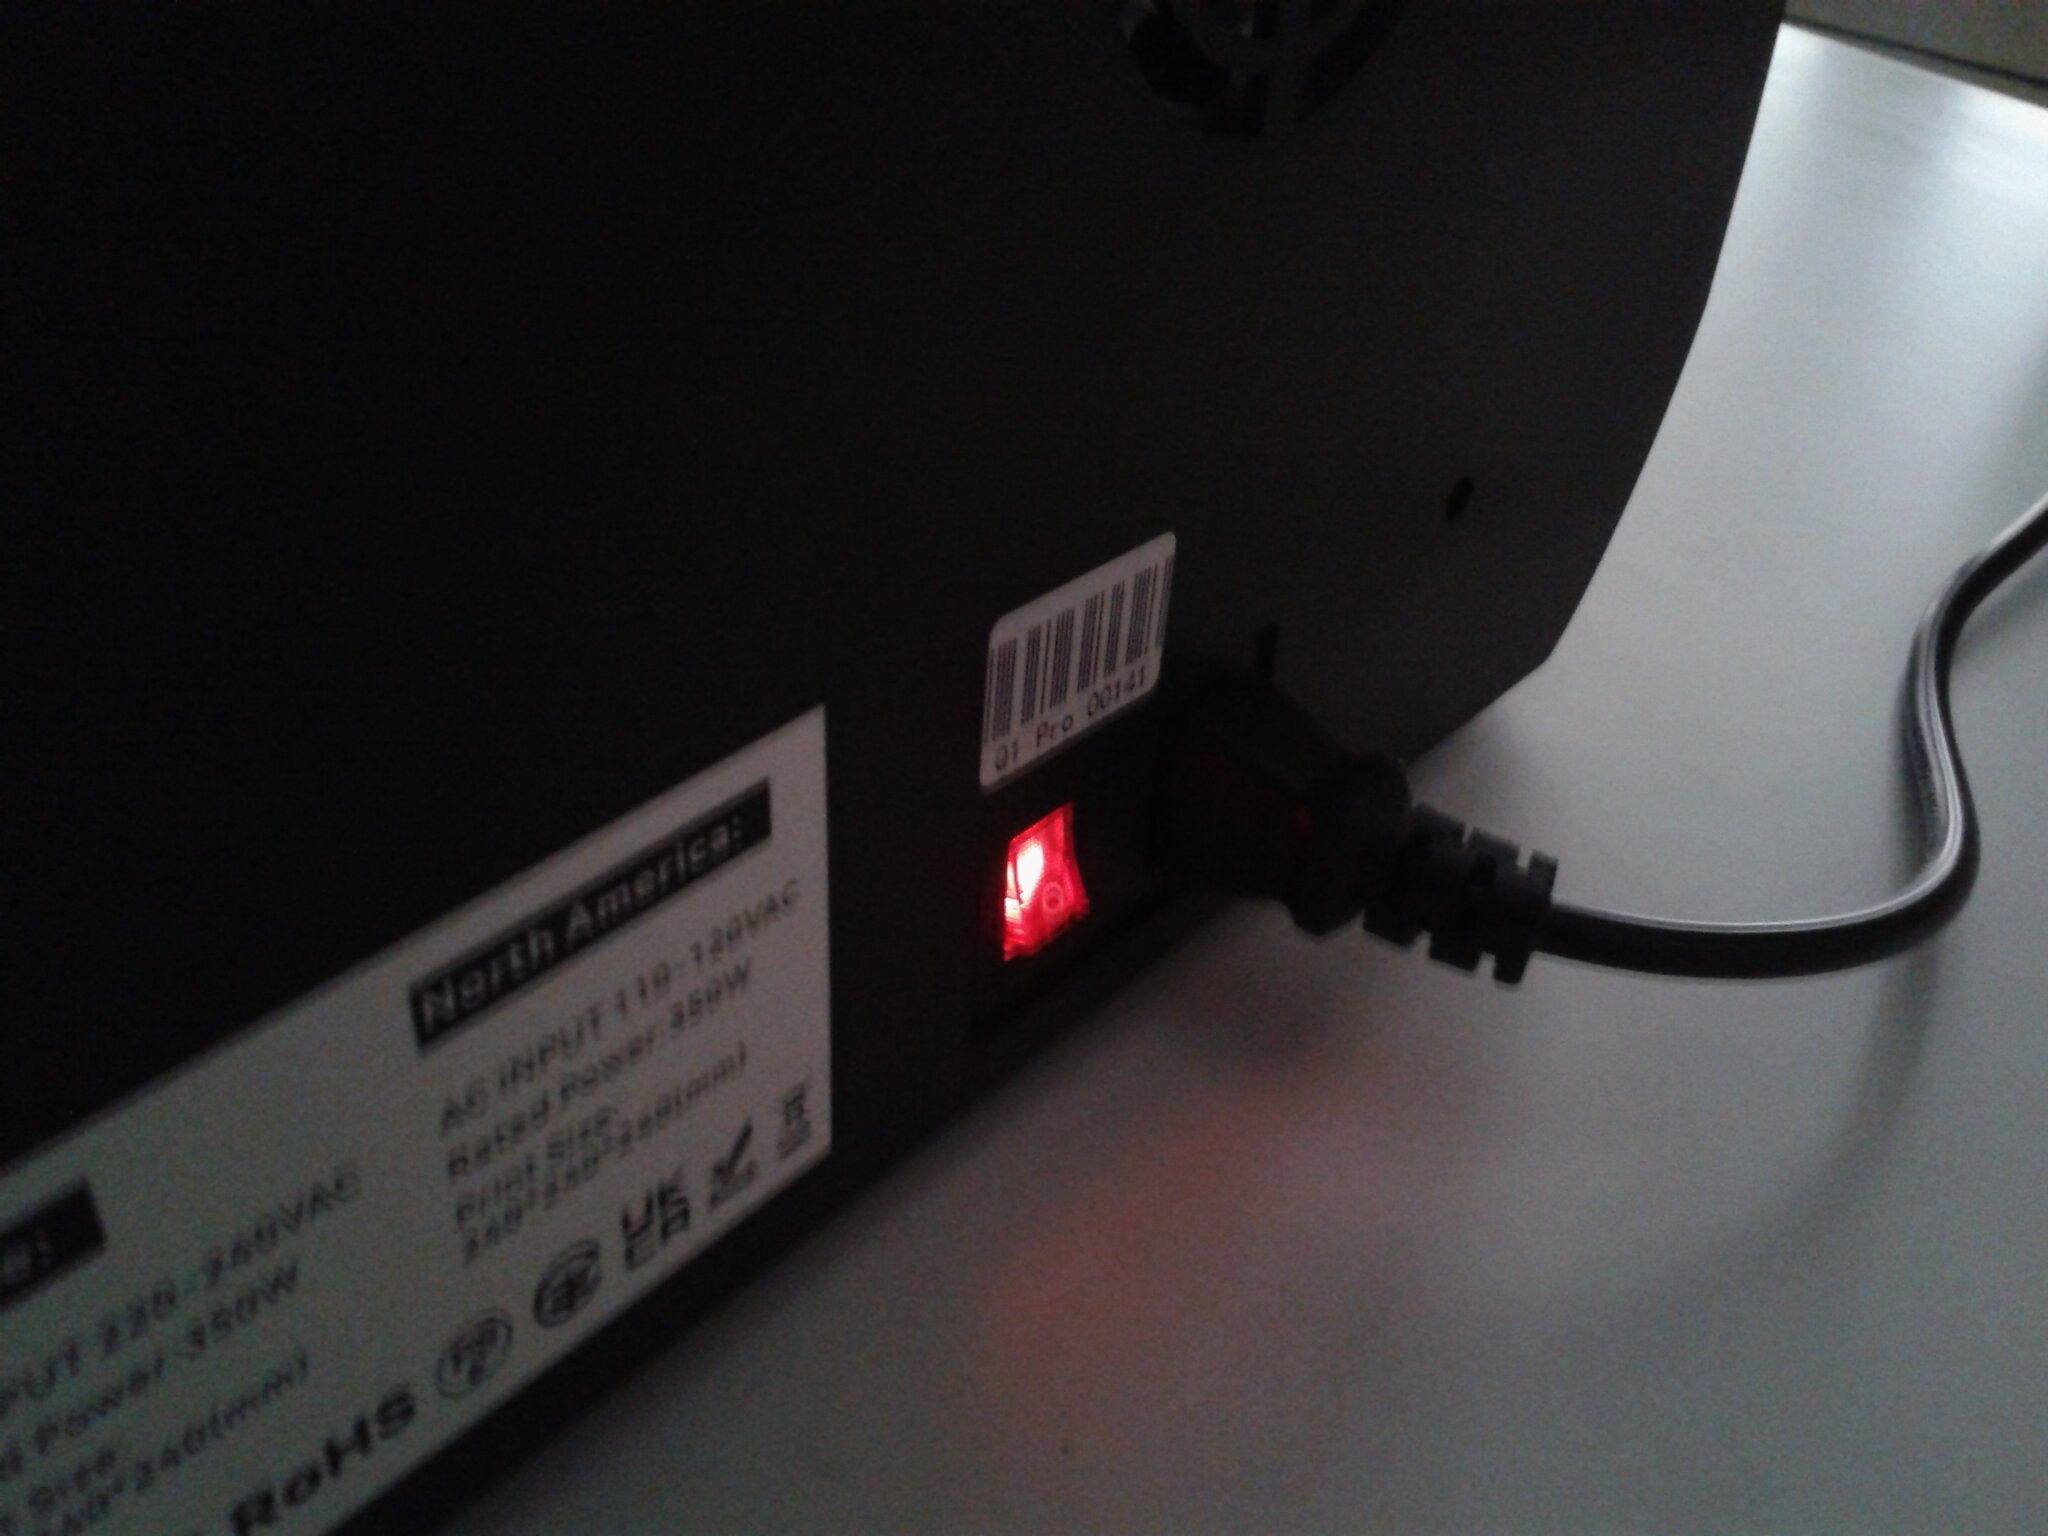
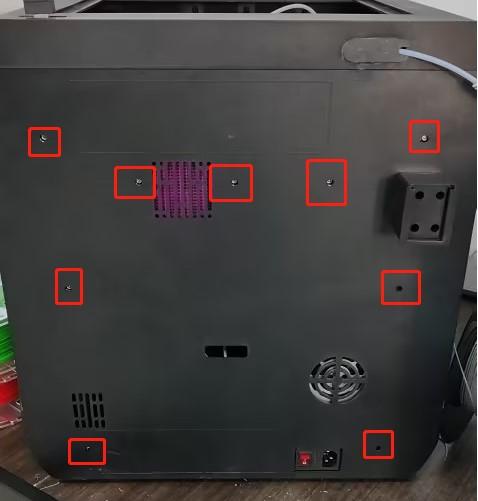
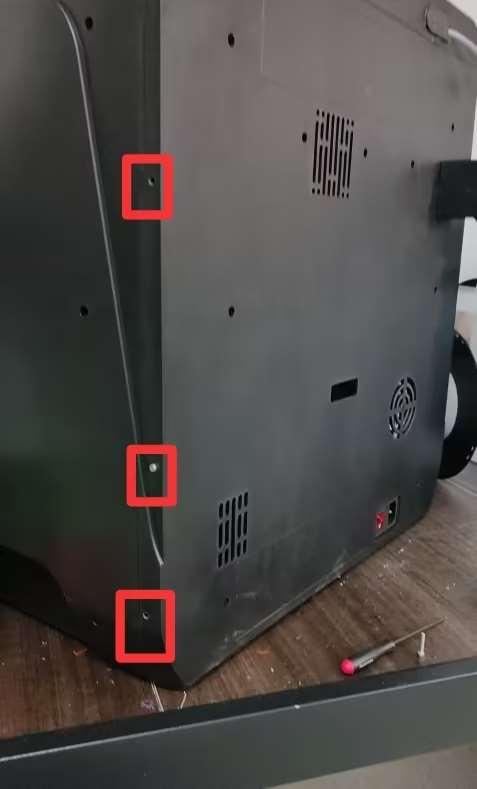
Selon le pays d’utilisation, le sélecteur de tension sur le bloc d’alimentation de 350 W ayant une tension de sortie 24 V, accessible si on démonte le panneau arrière de l’imprimante, a été positionné avant envoi pour une tension spécifique (220V ou 120V). On retrouve sur le dessus de l’imprimante un autocollant qui mentionne la valeur de tension secteur attendue.

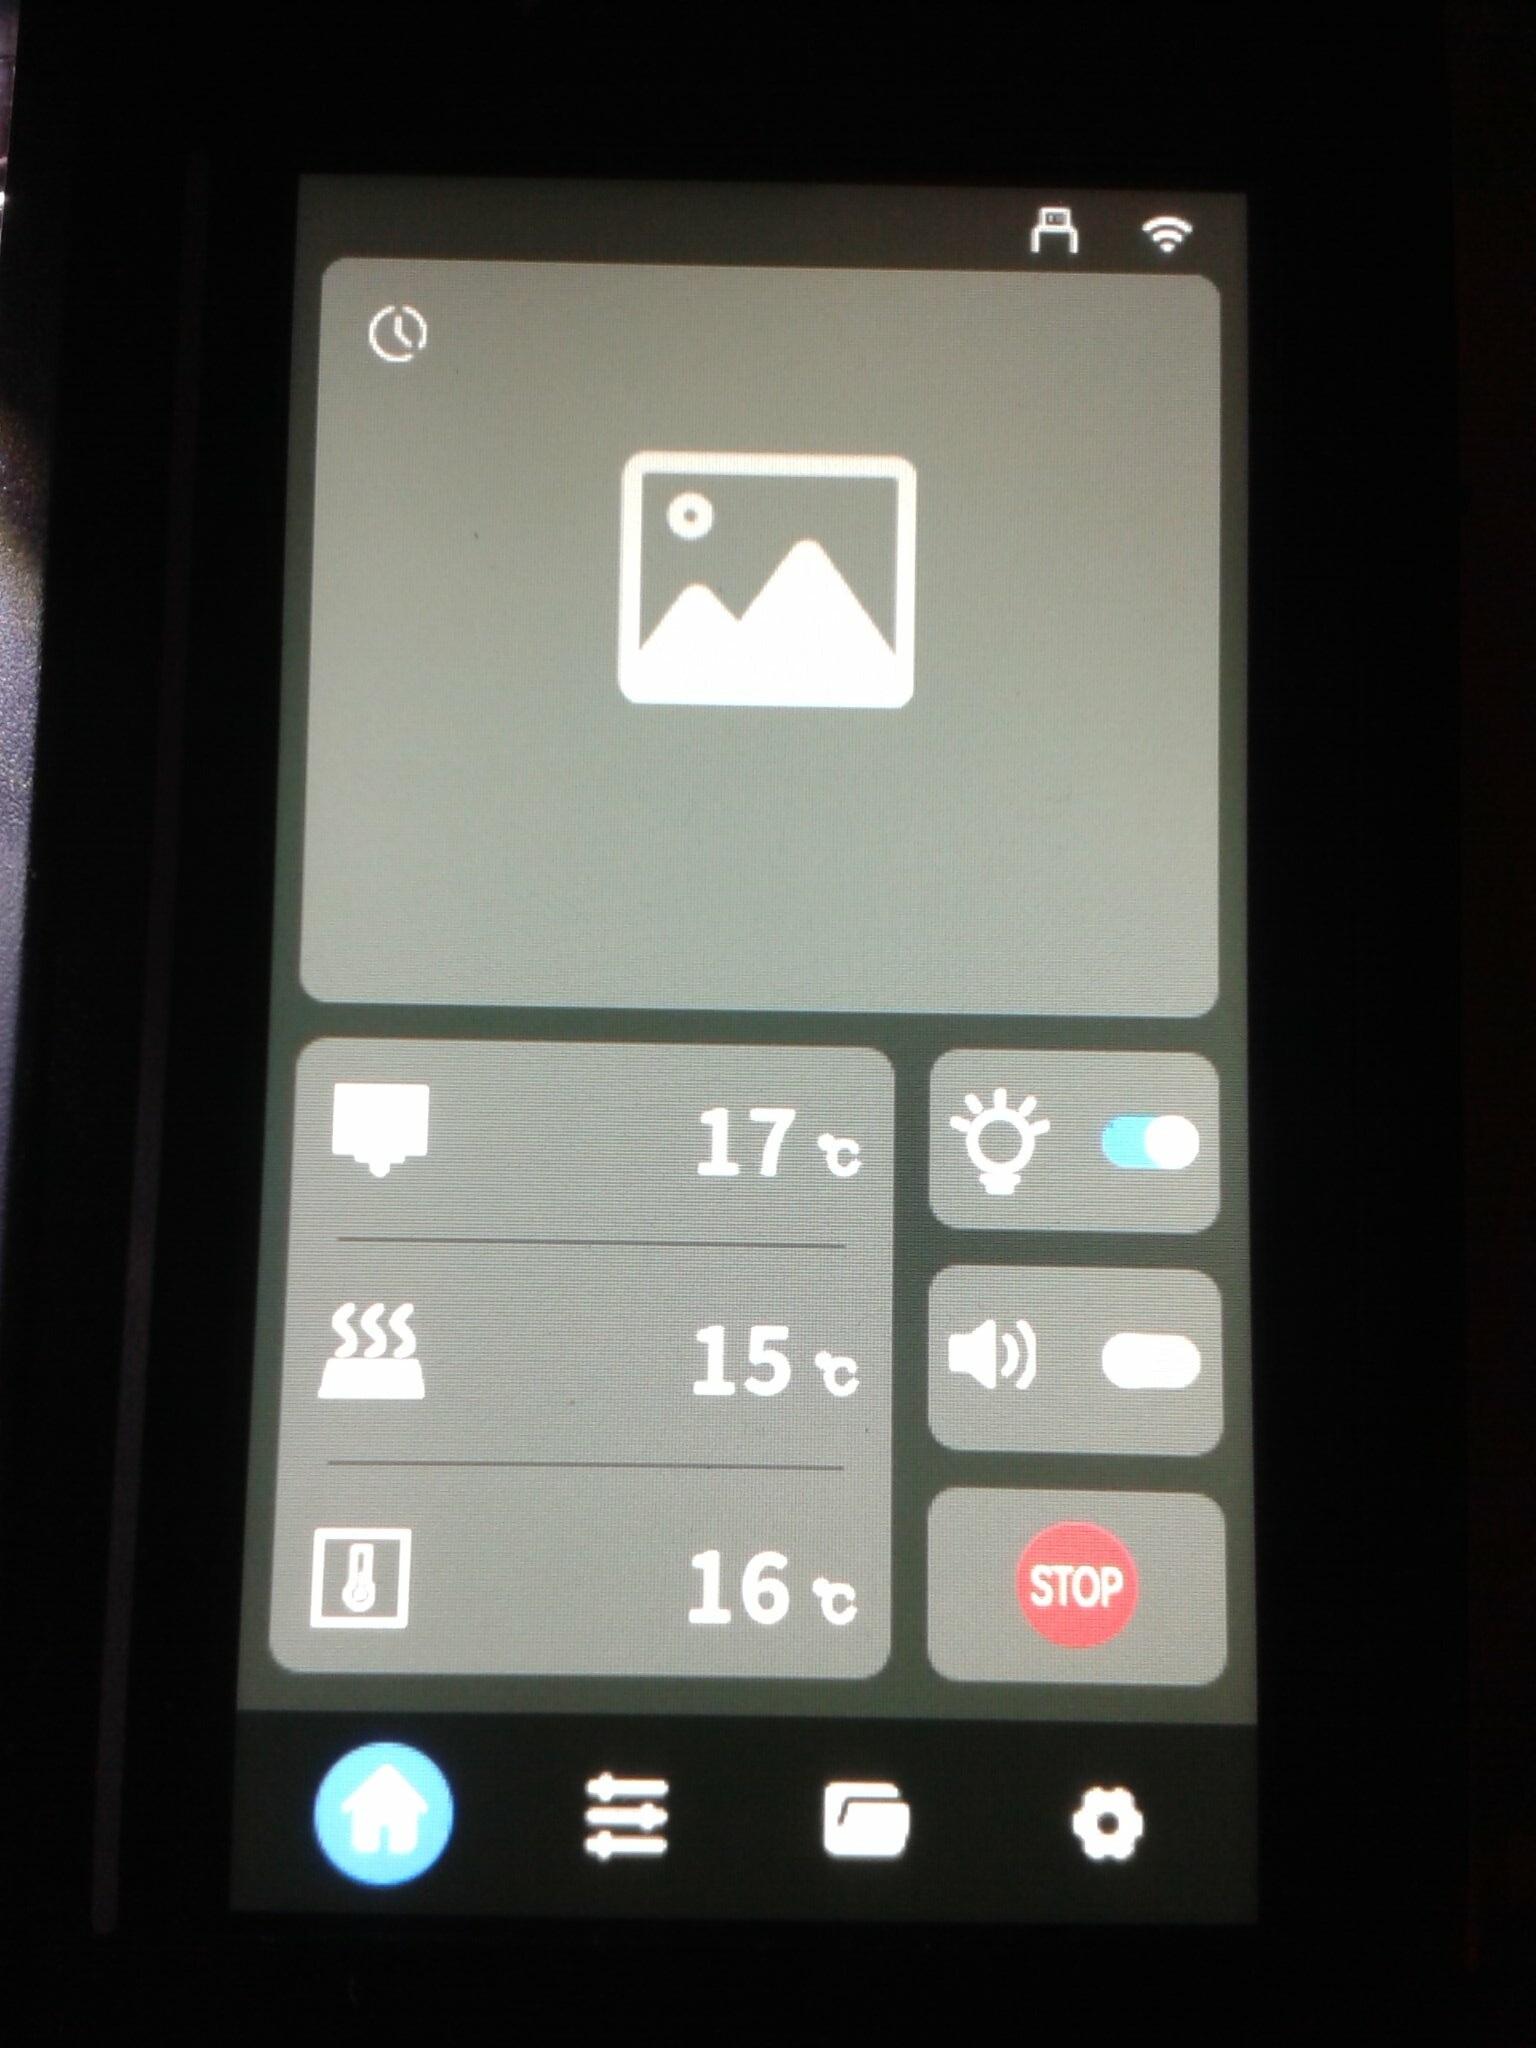
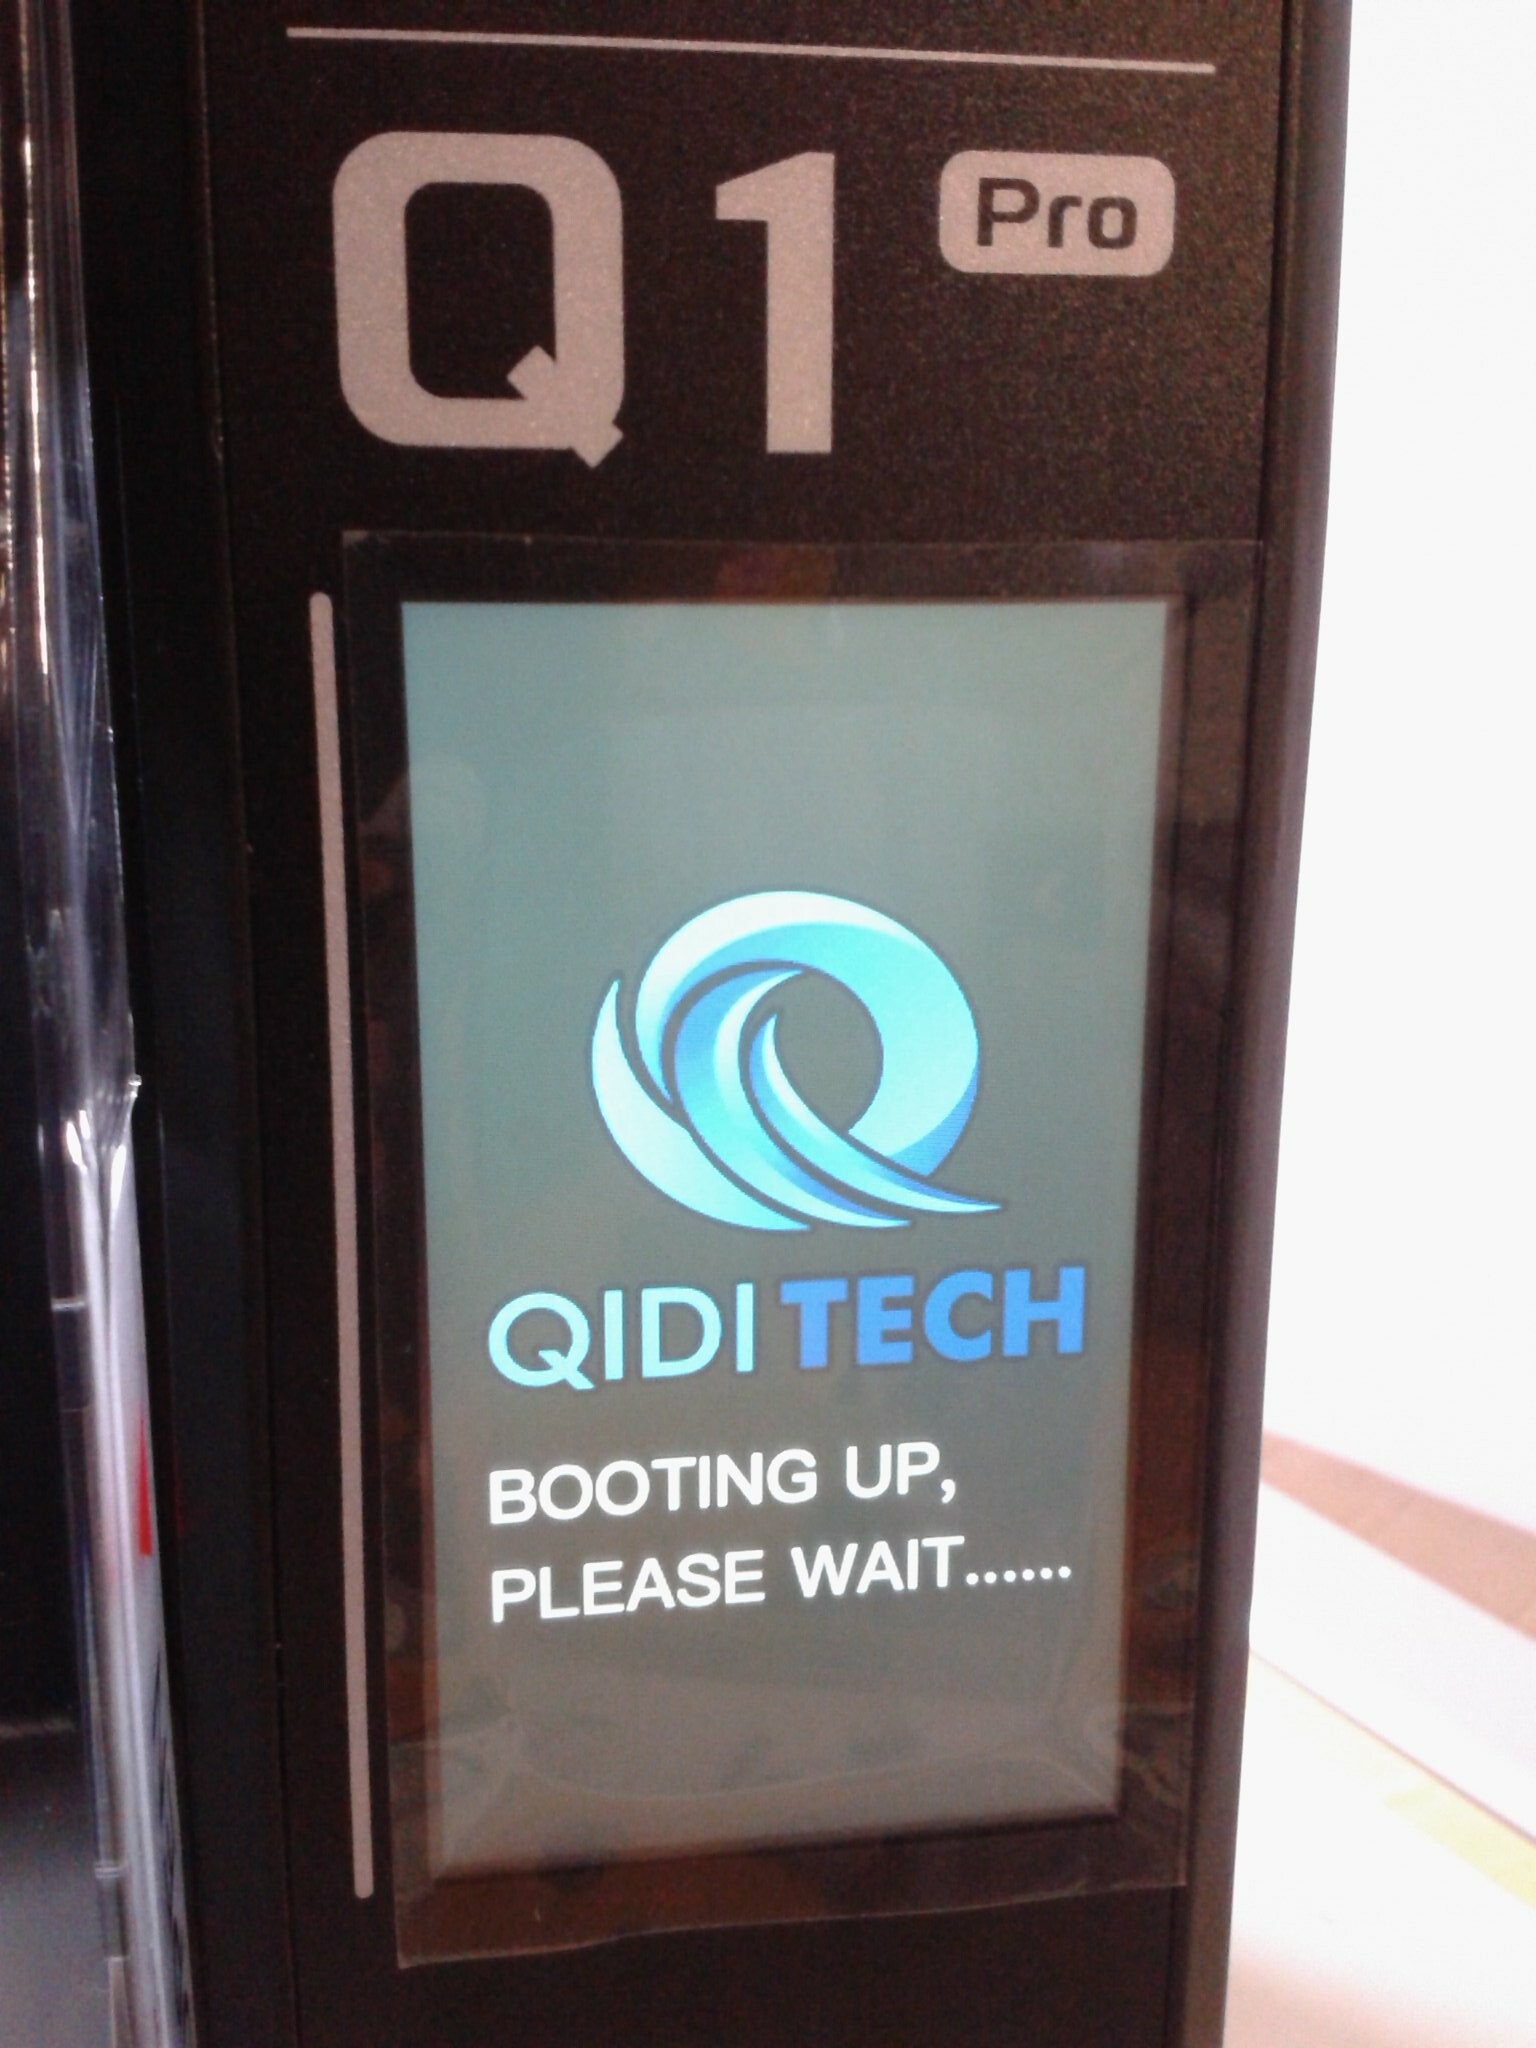
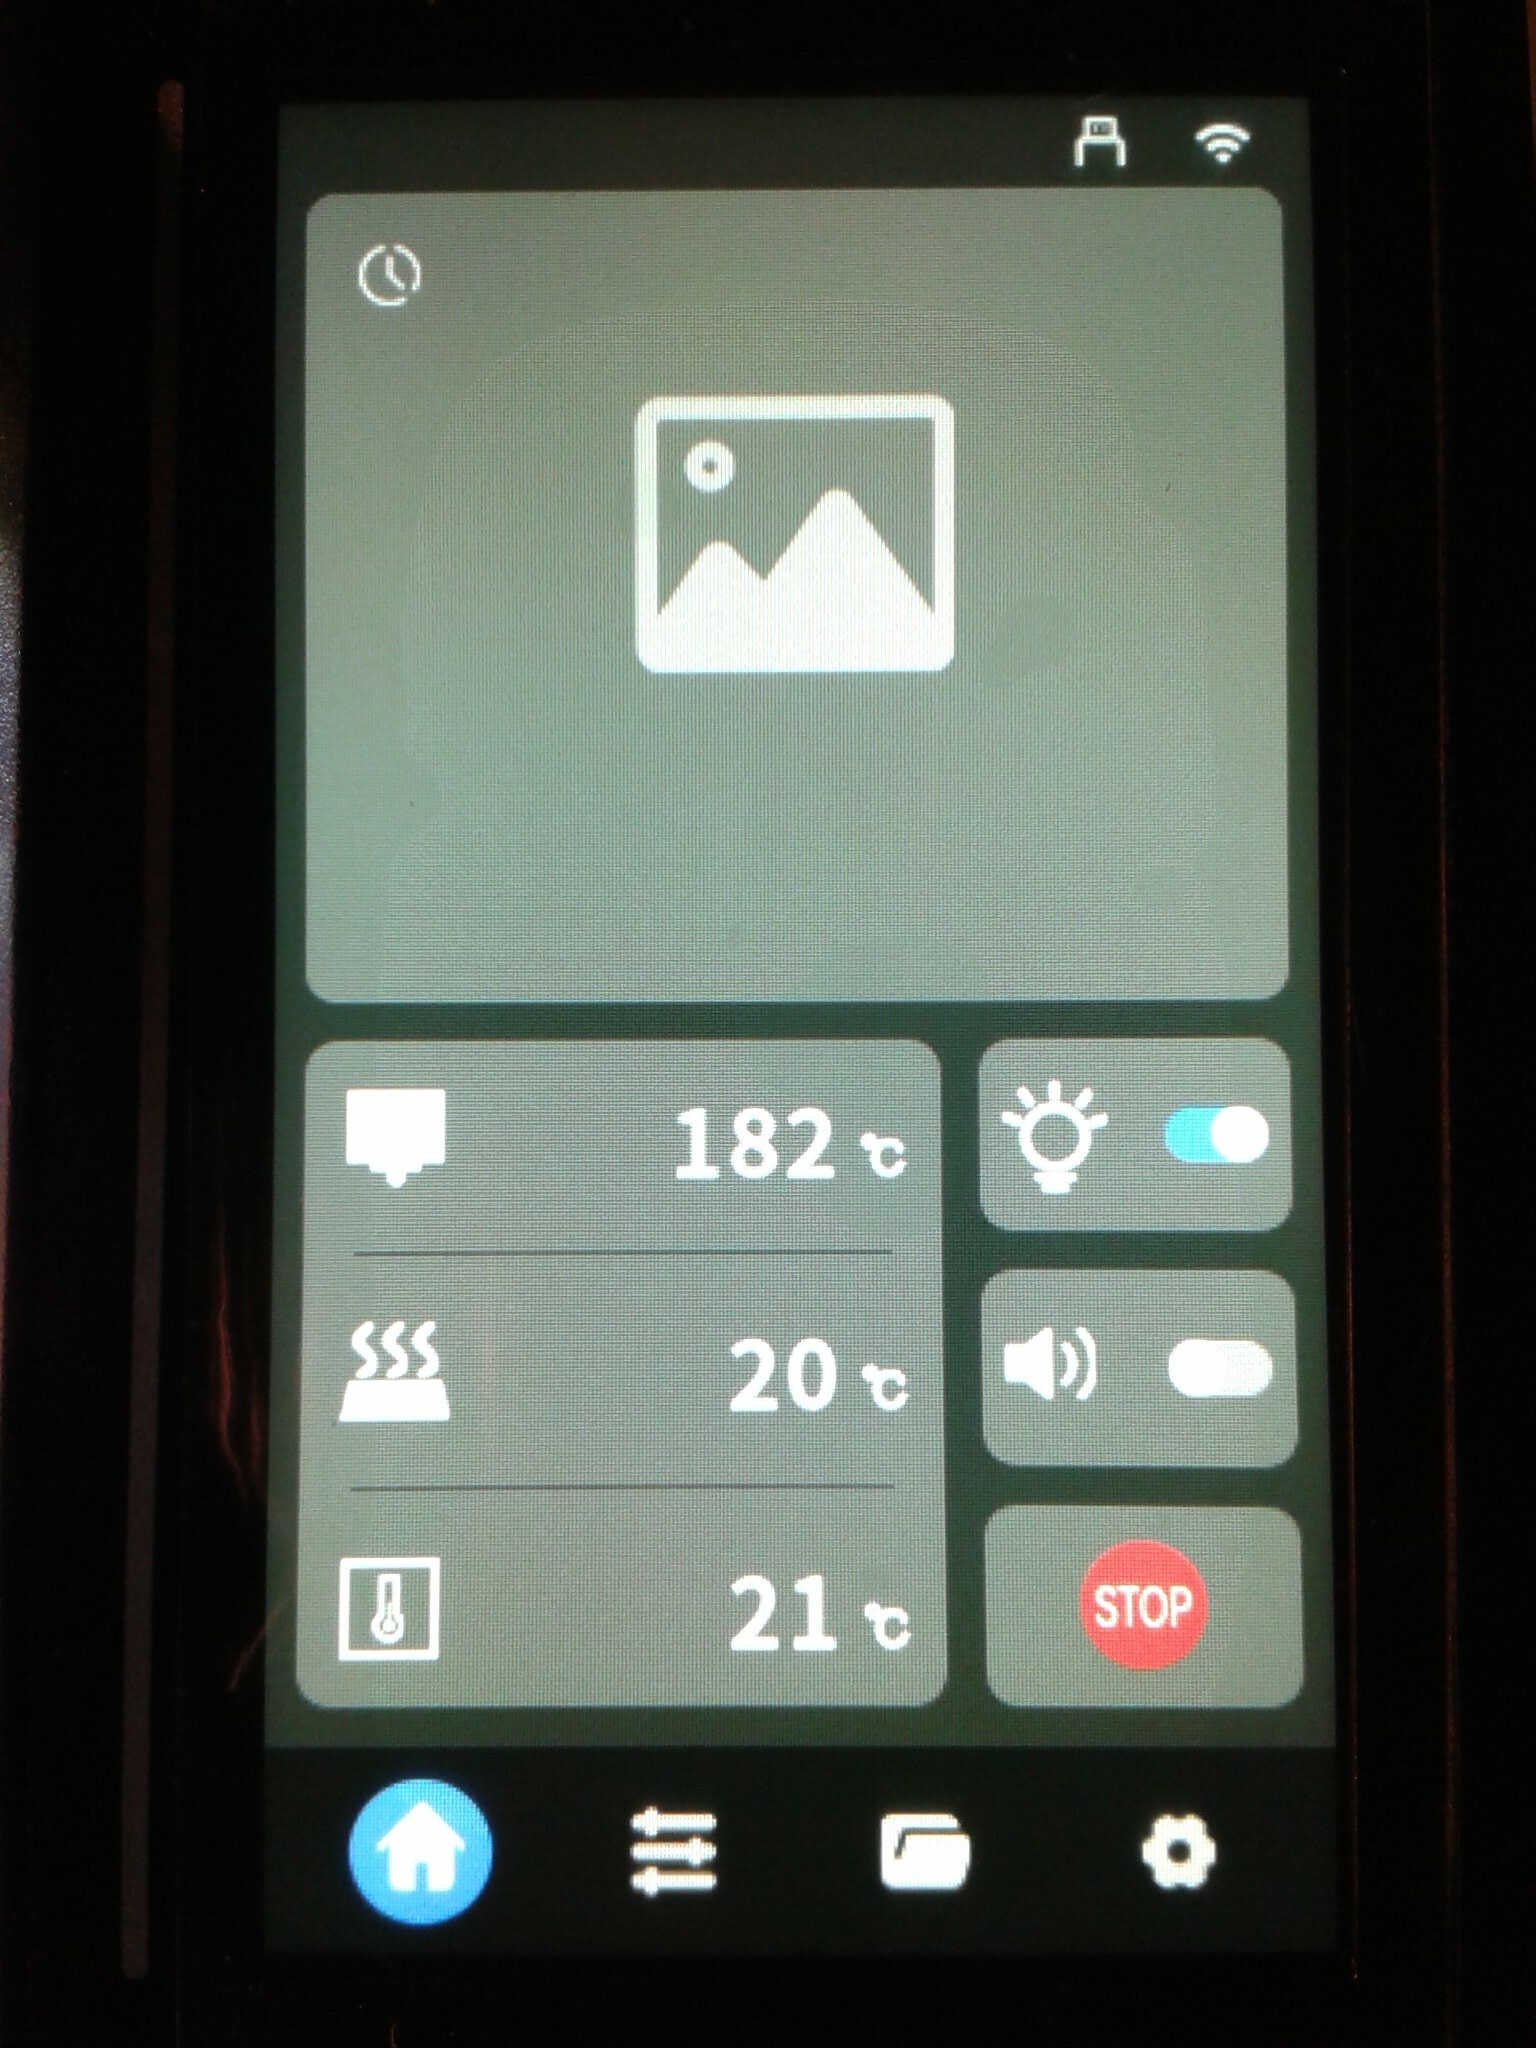
Il n’y a donc, normalement, qu’à connecter le cordon secteur, allumer la machine, patienter environ 25 secondes le temps de l’écran de chargement au démarrage et suivre les indications sur l’écran tactile de contrôle.
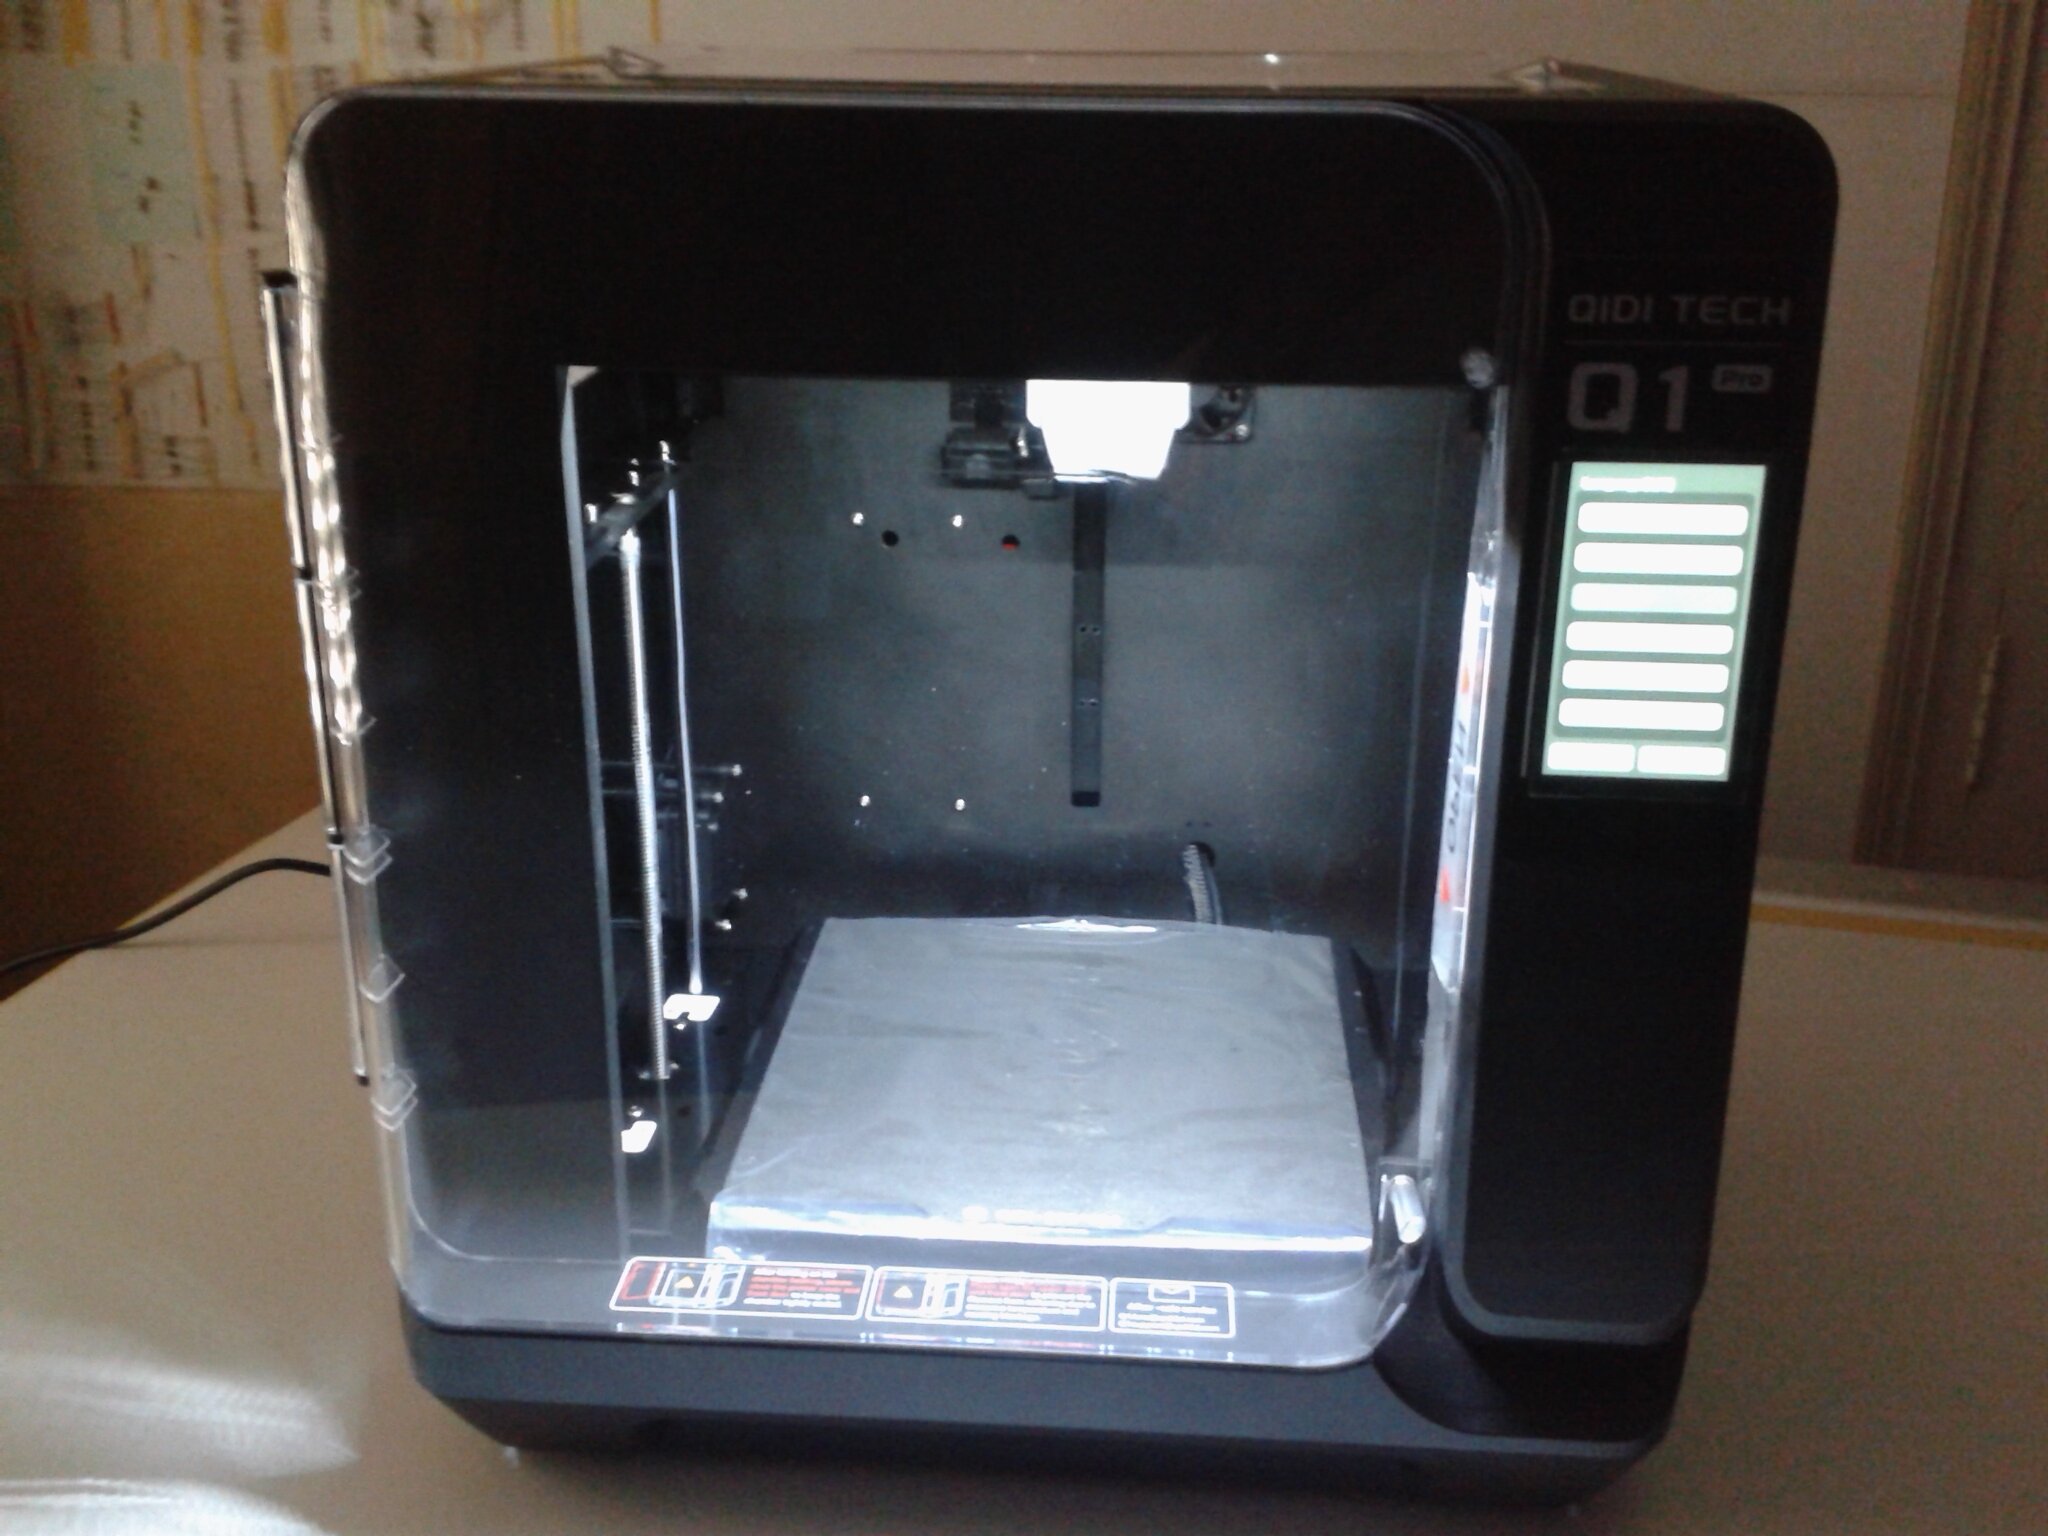
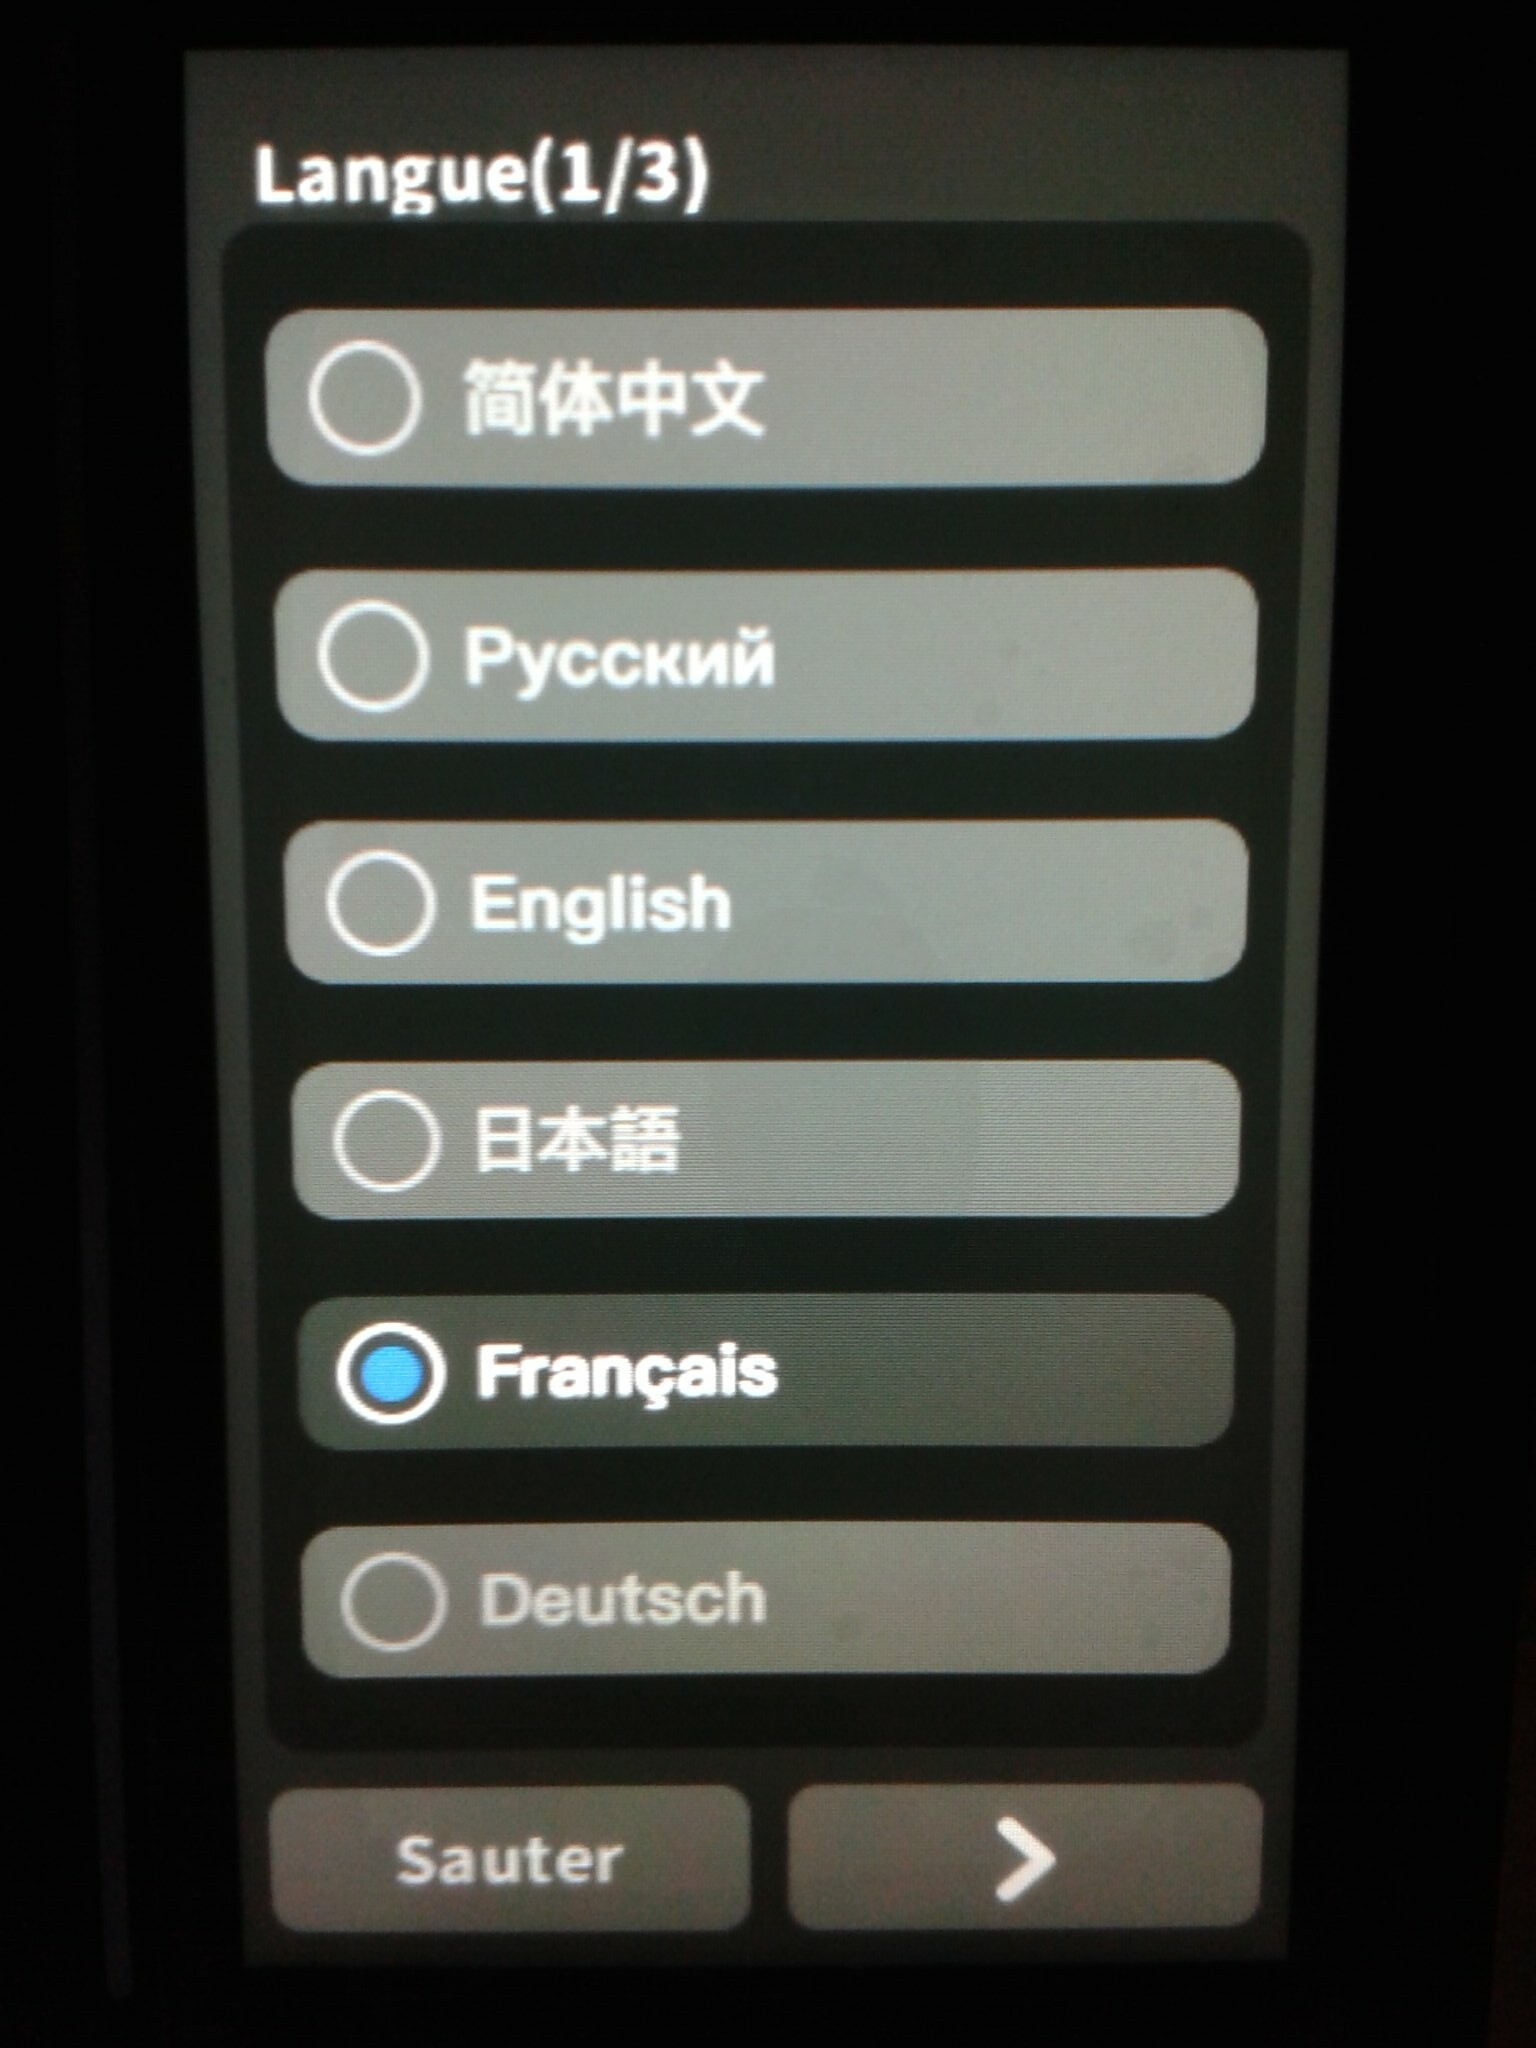
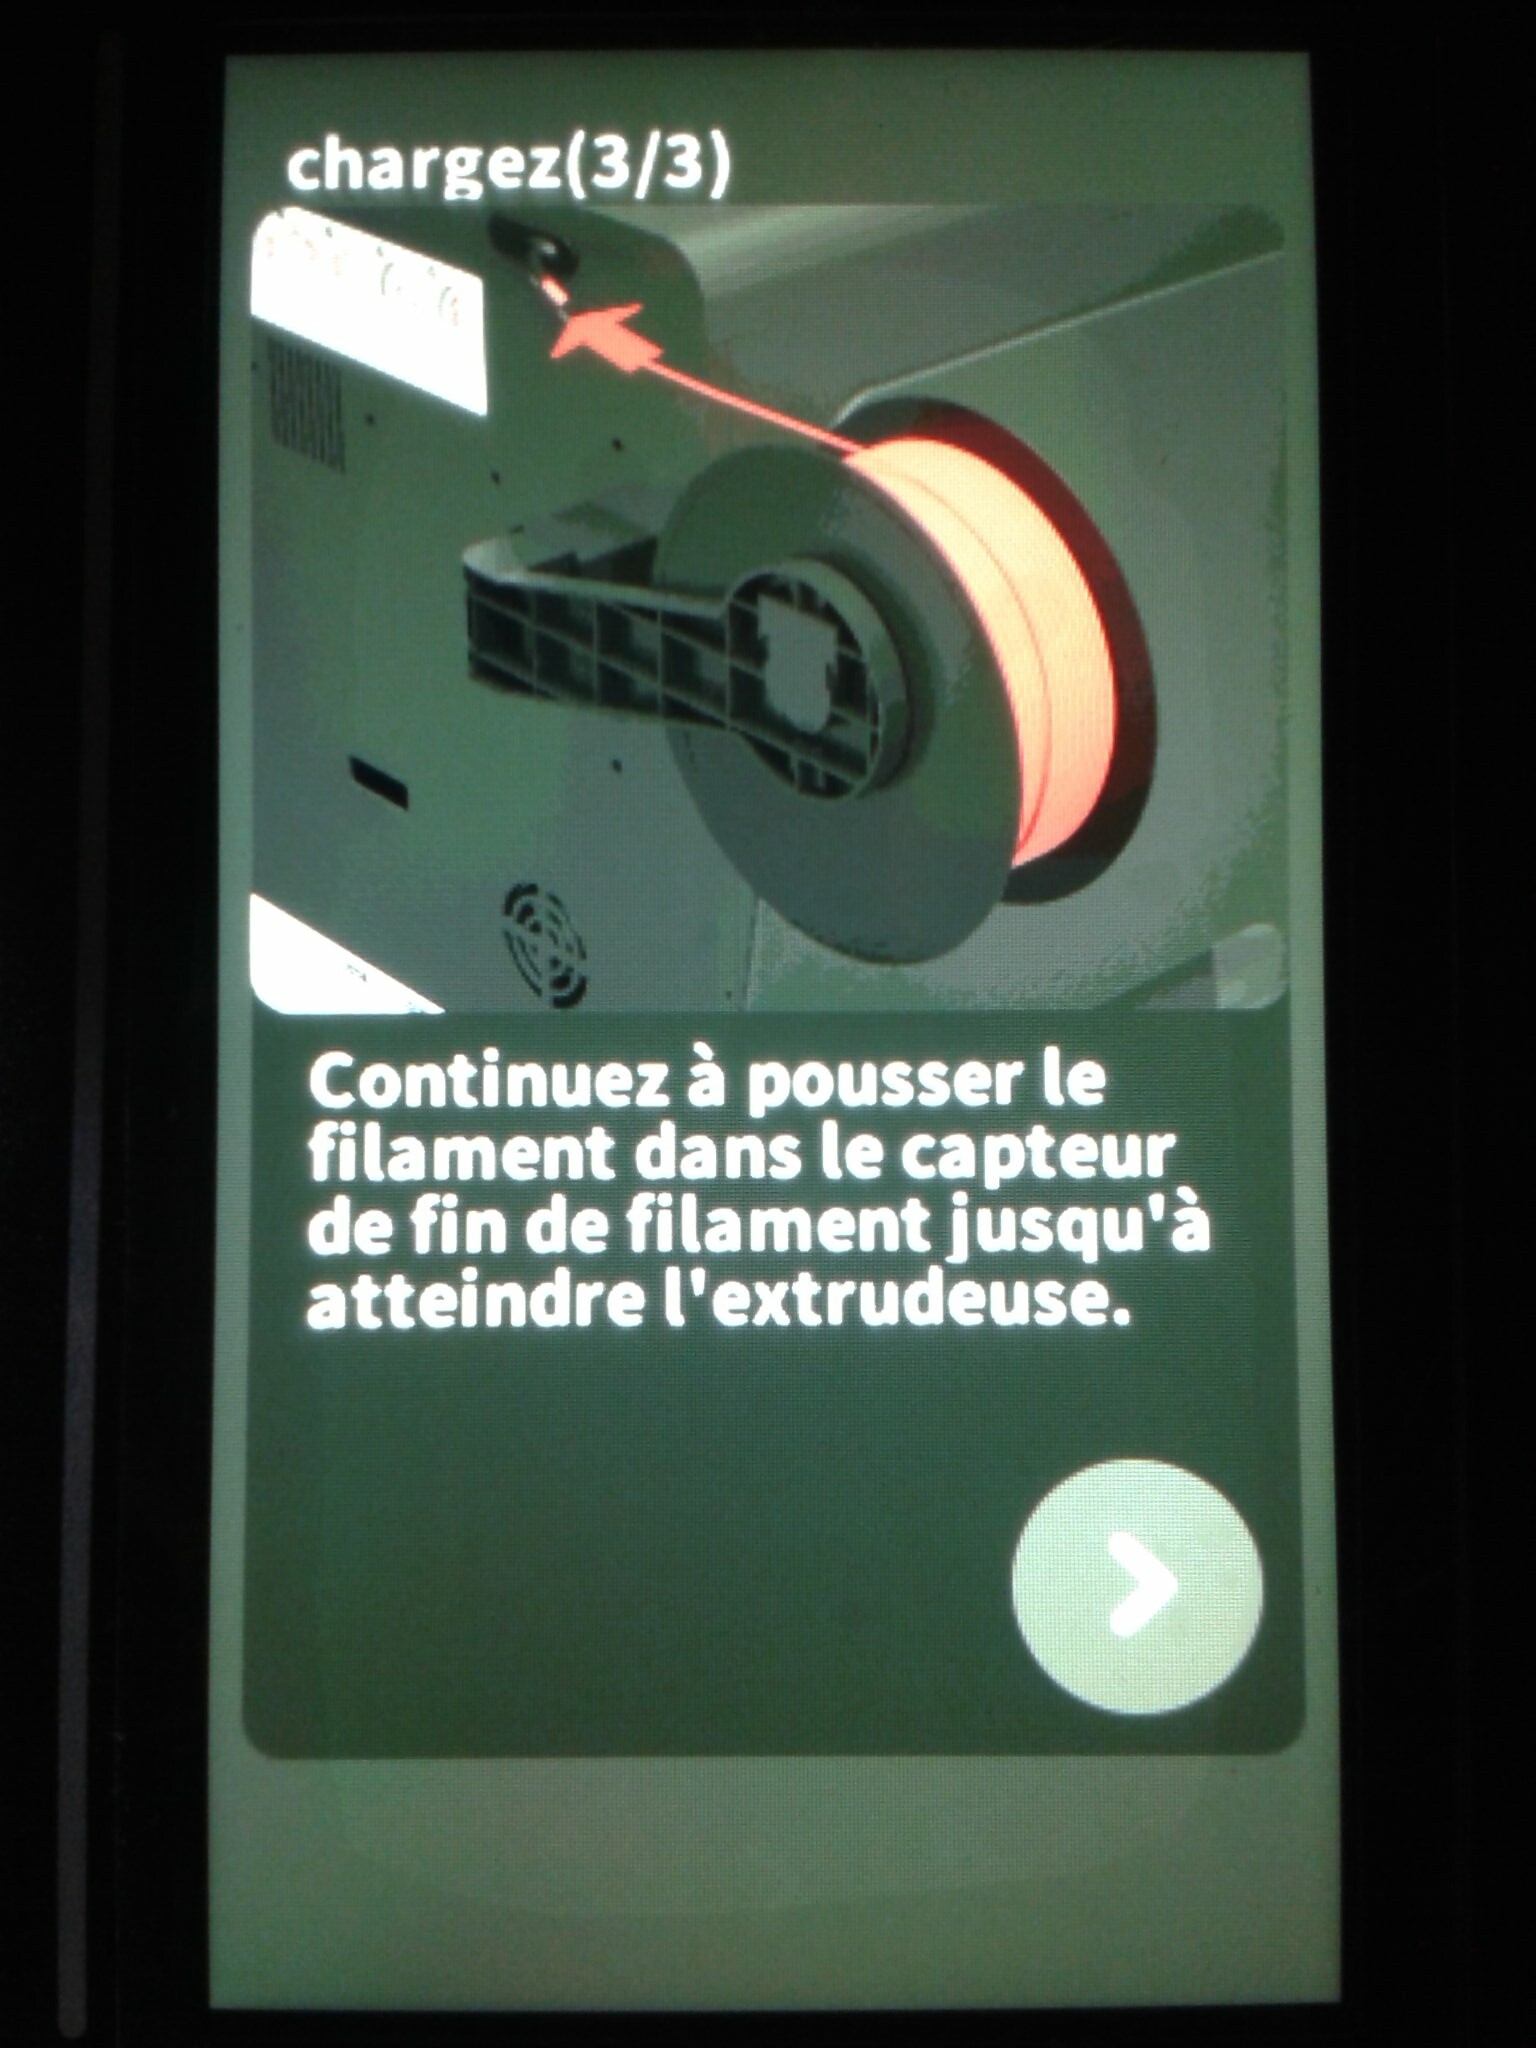
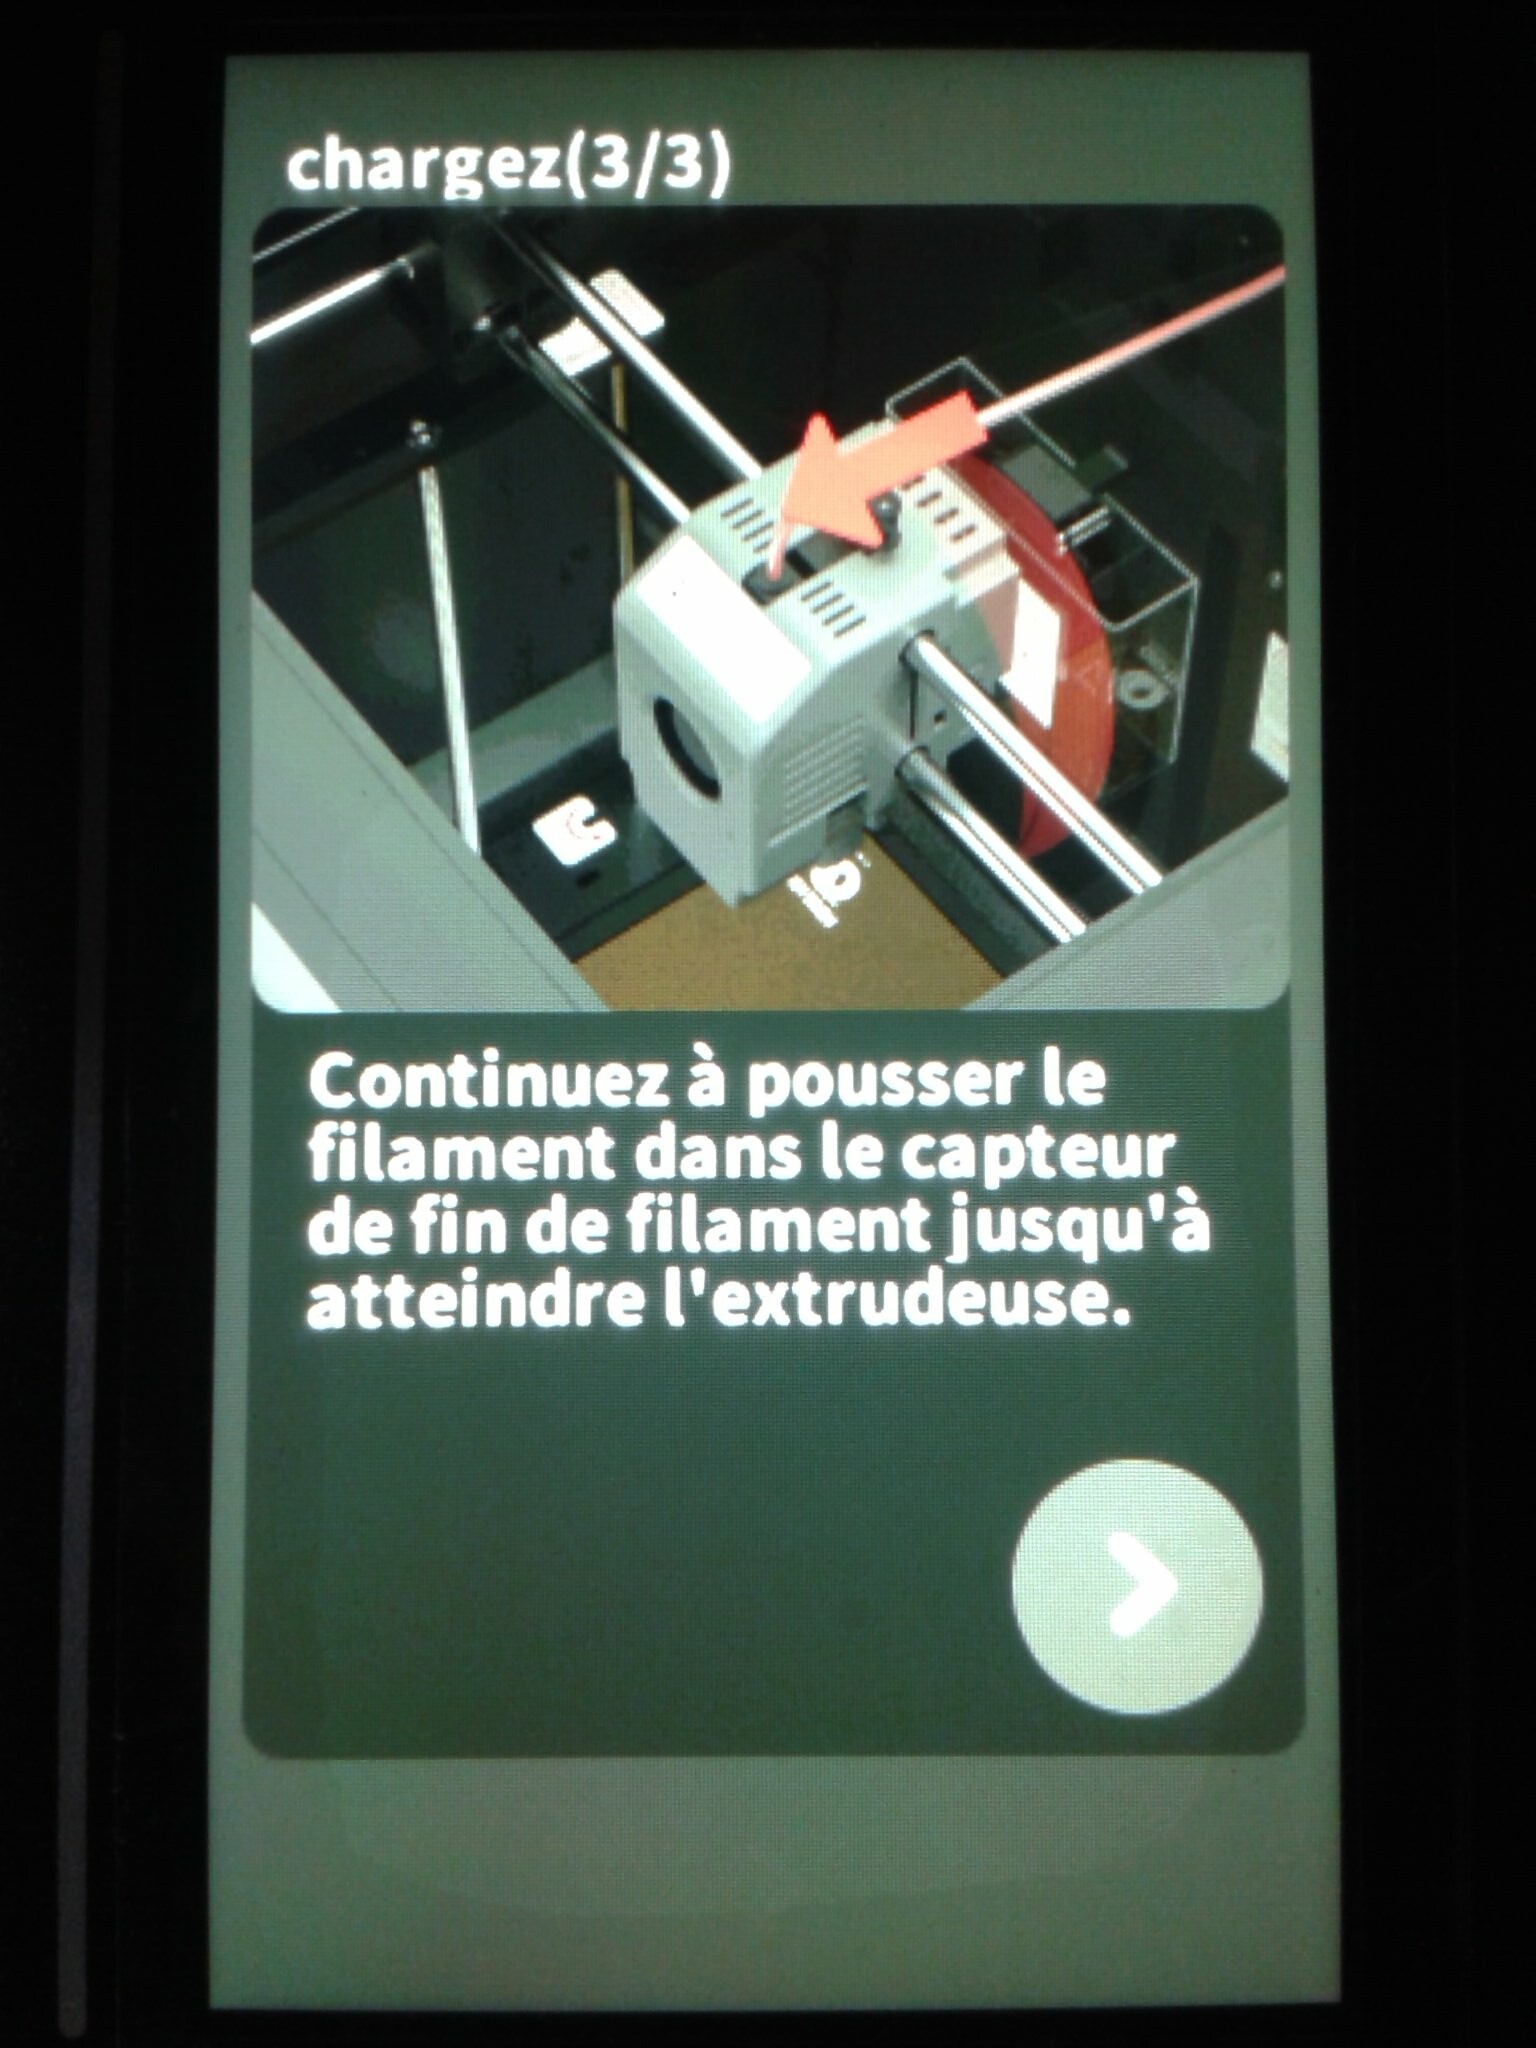
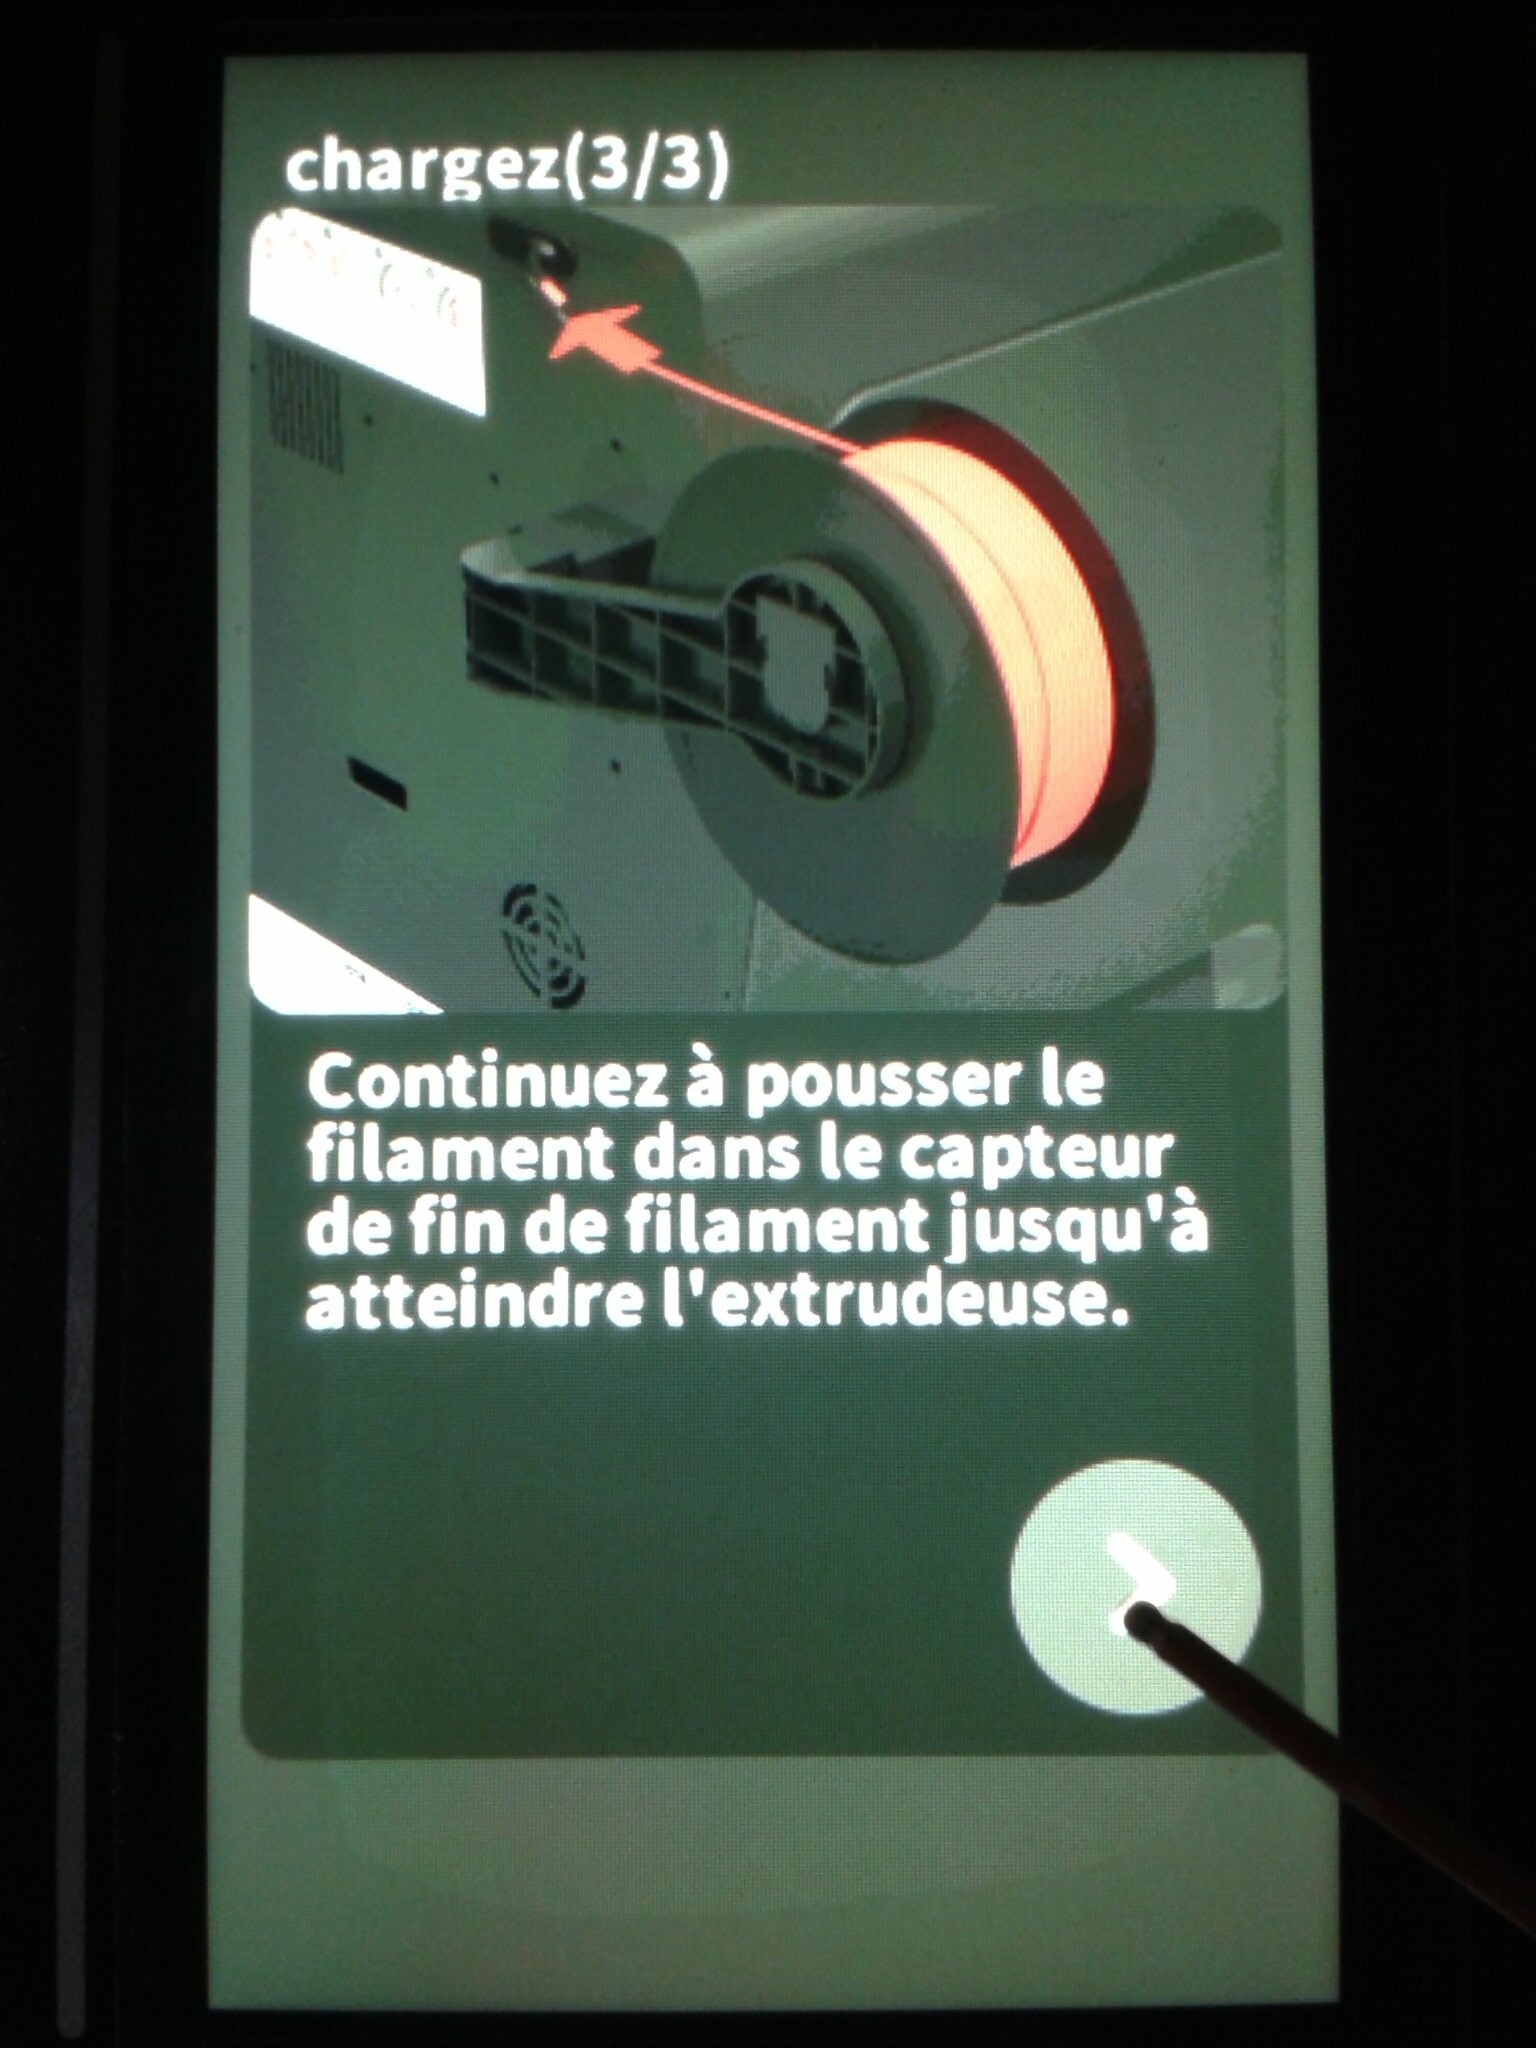
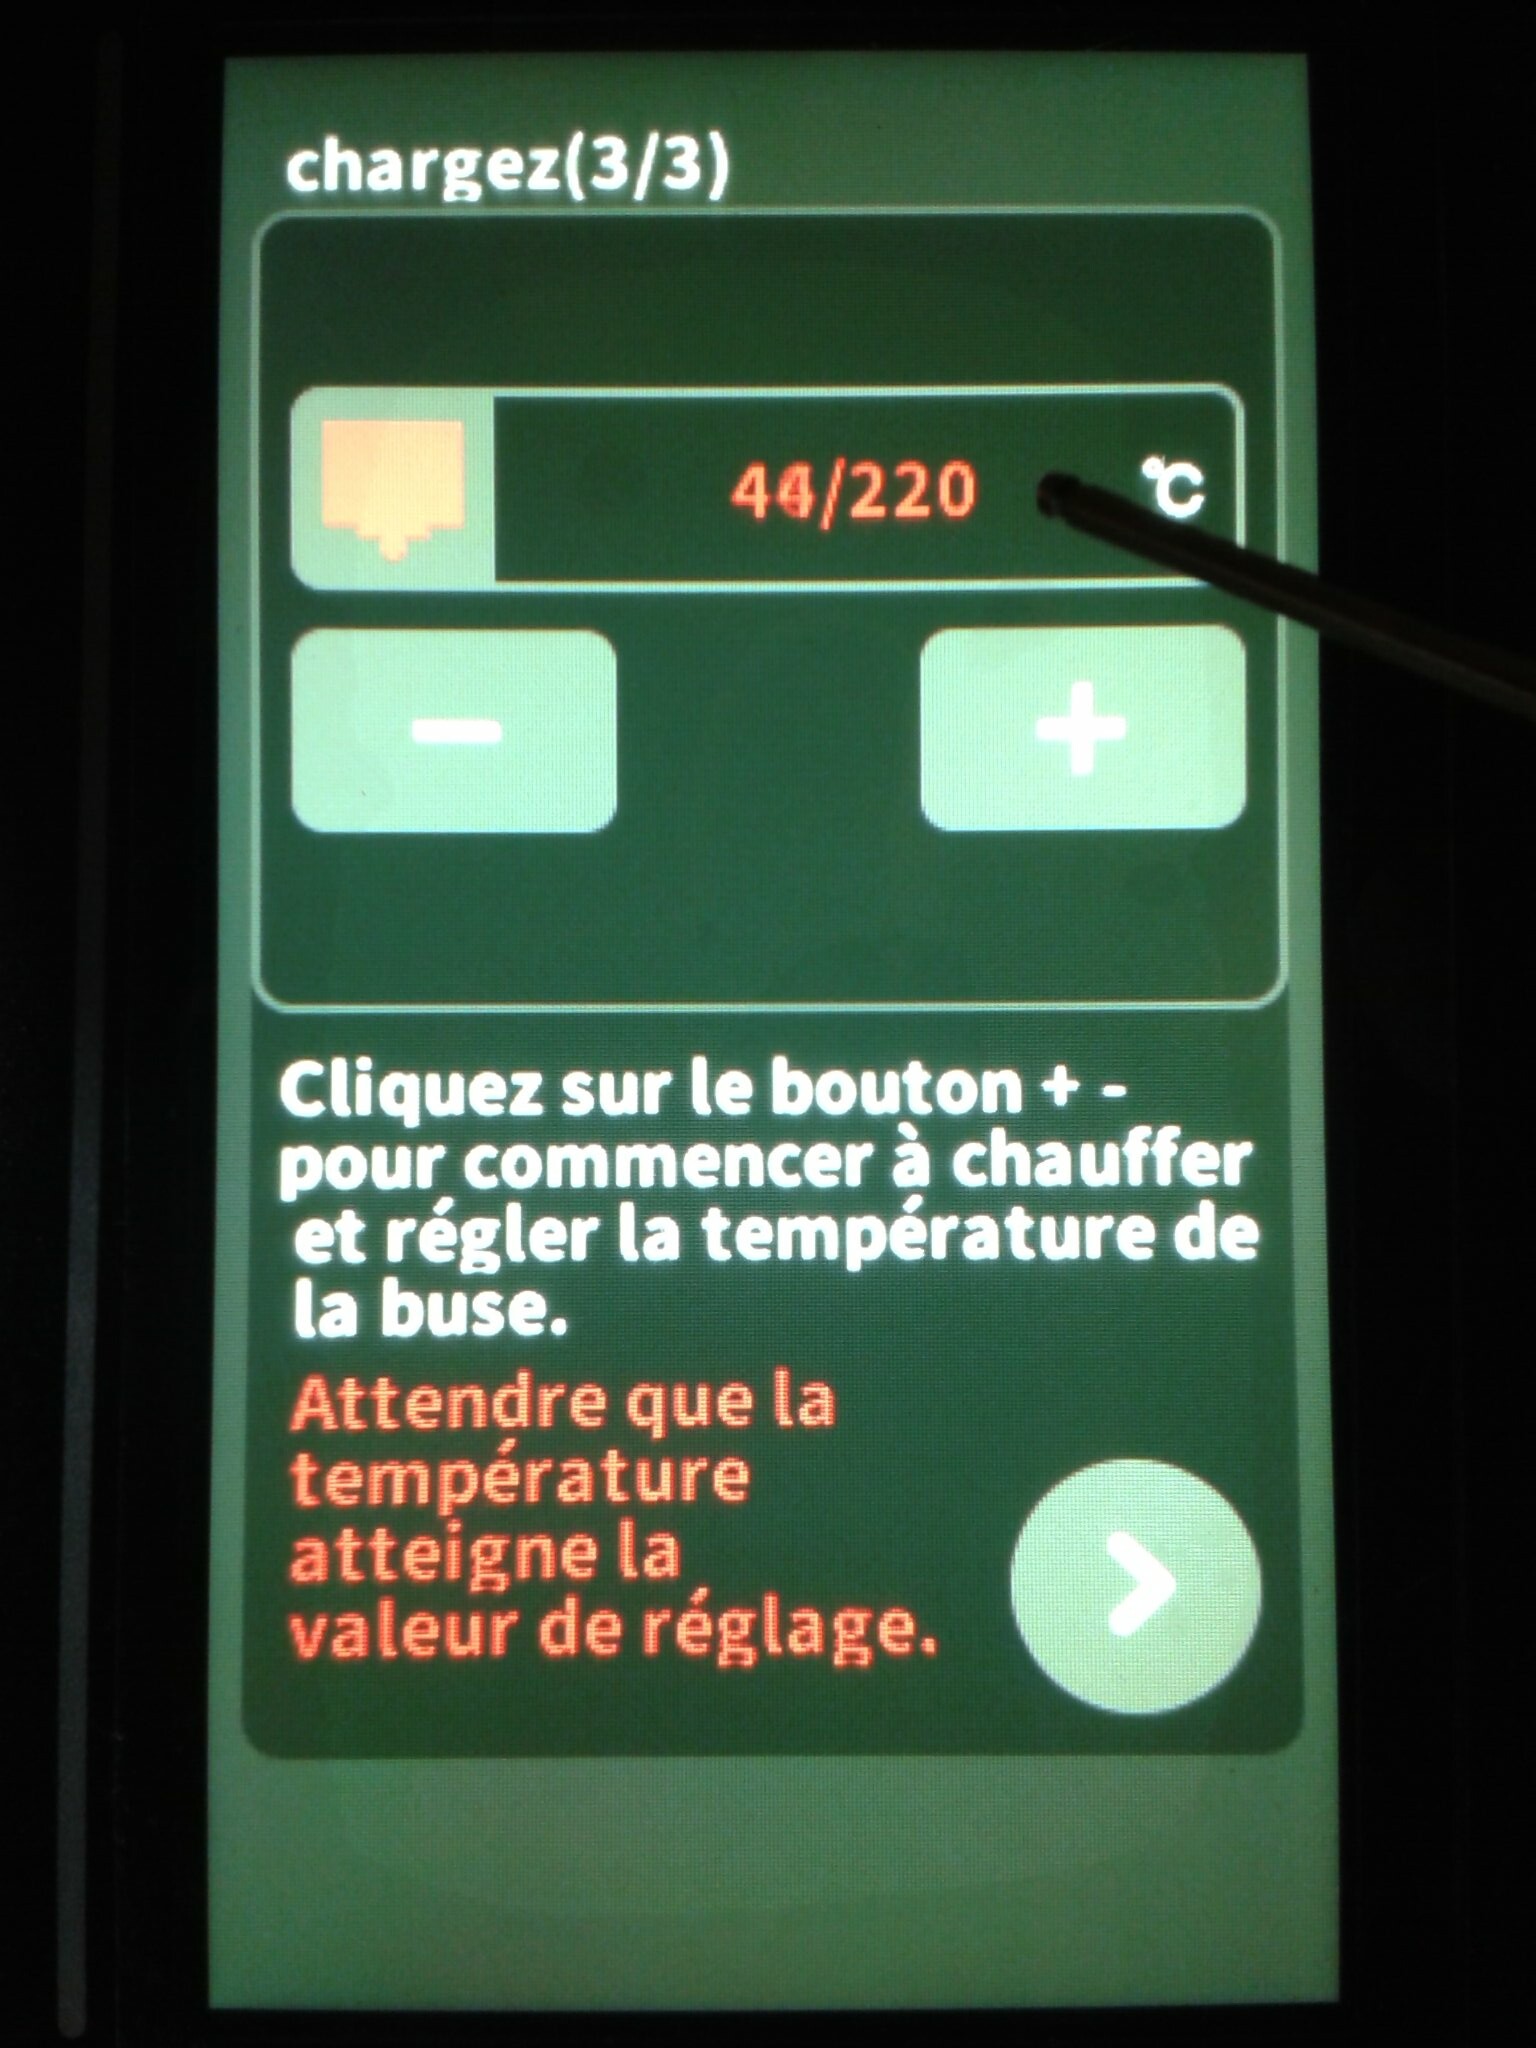
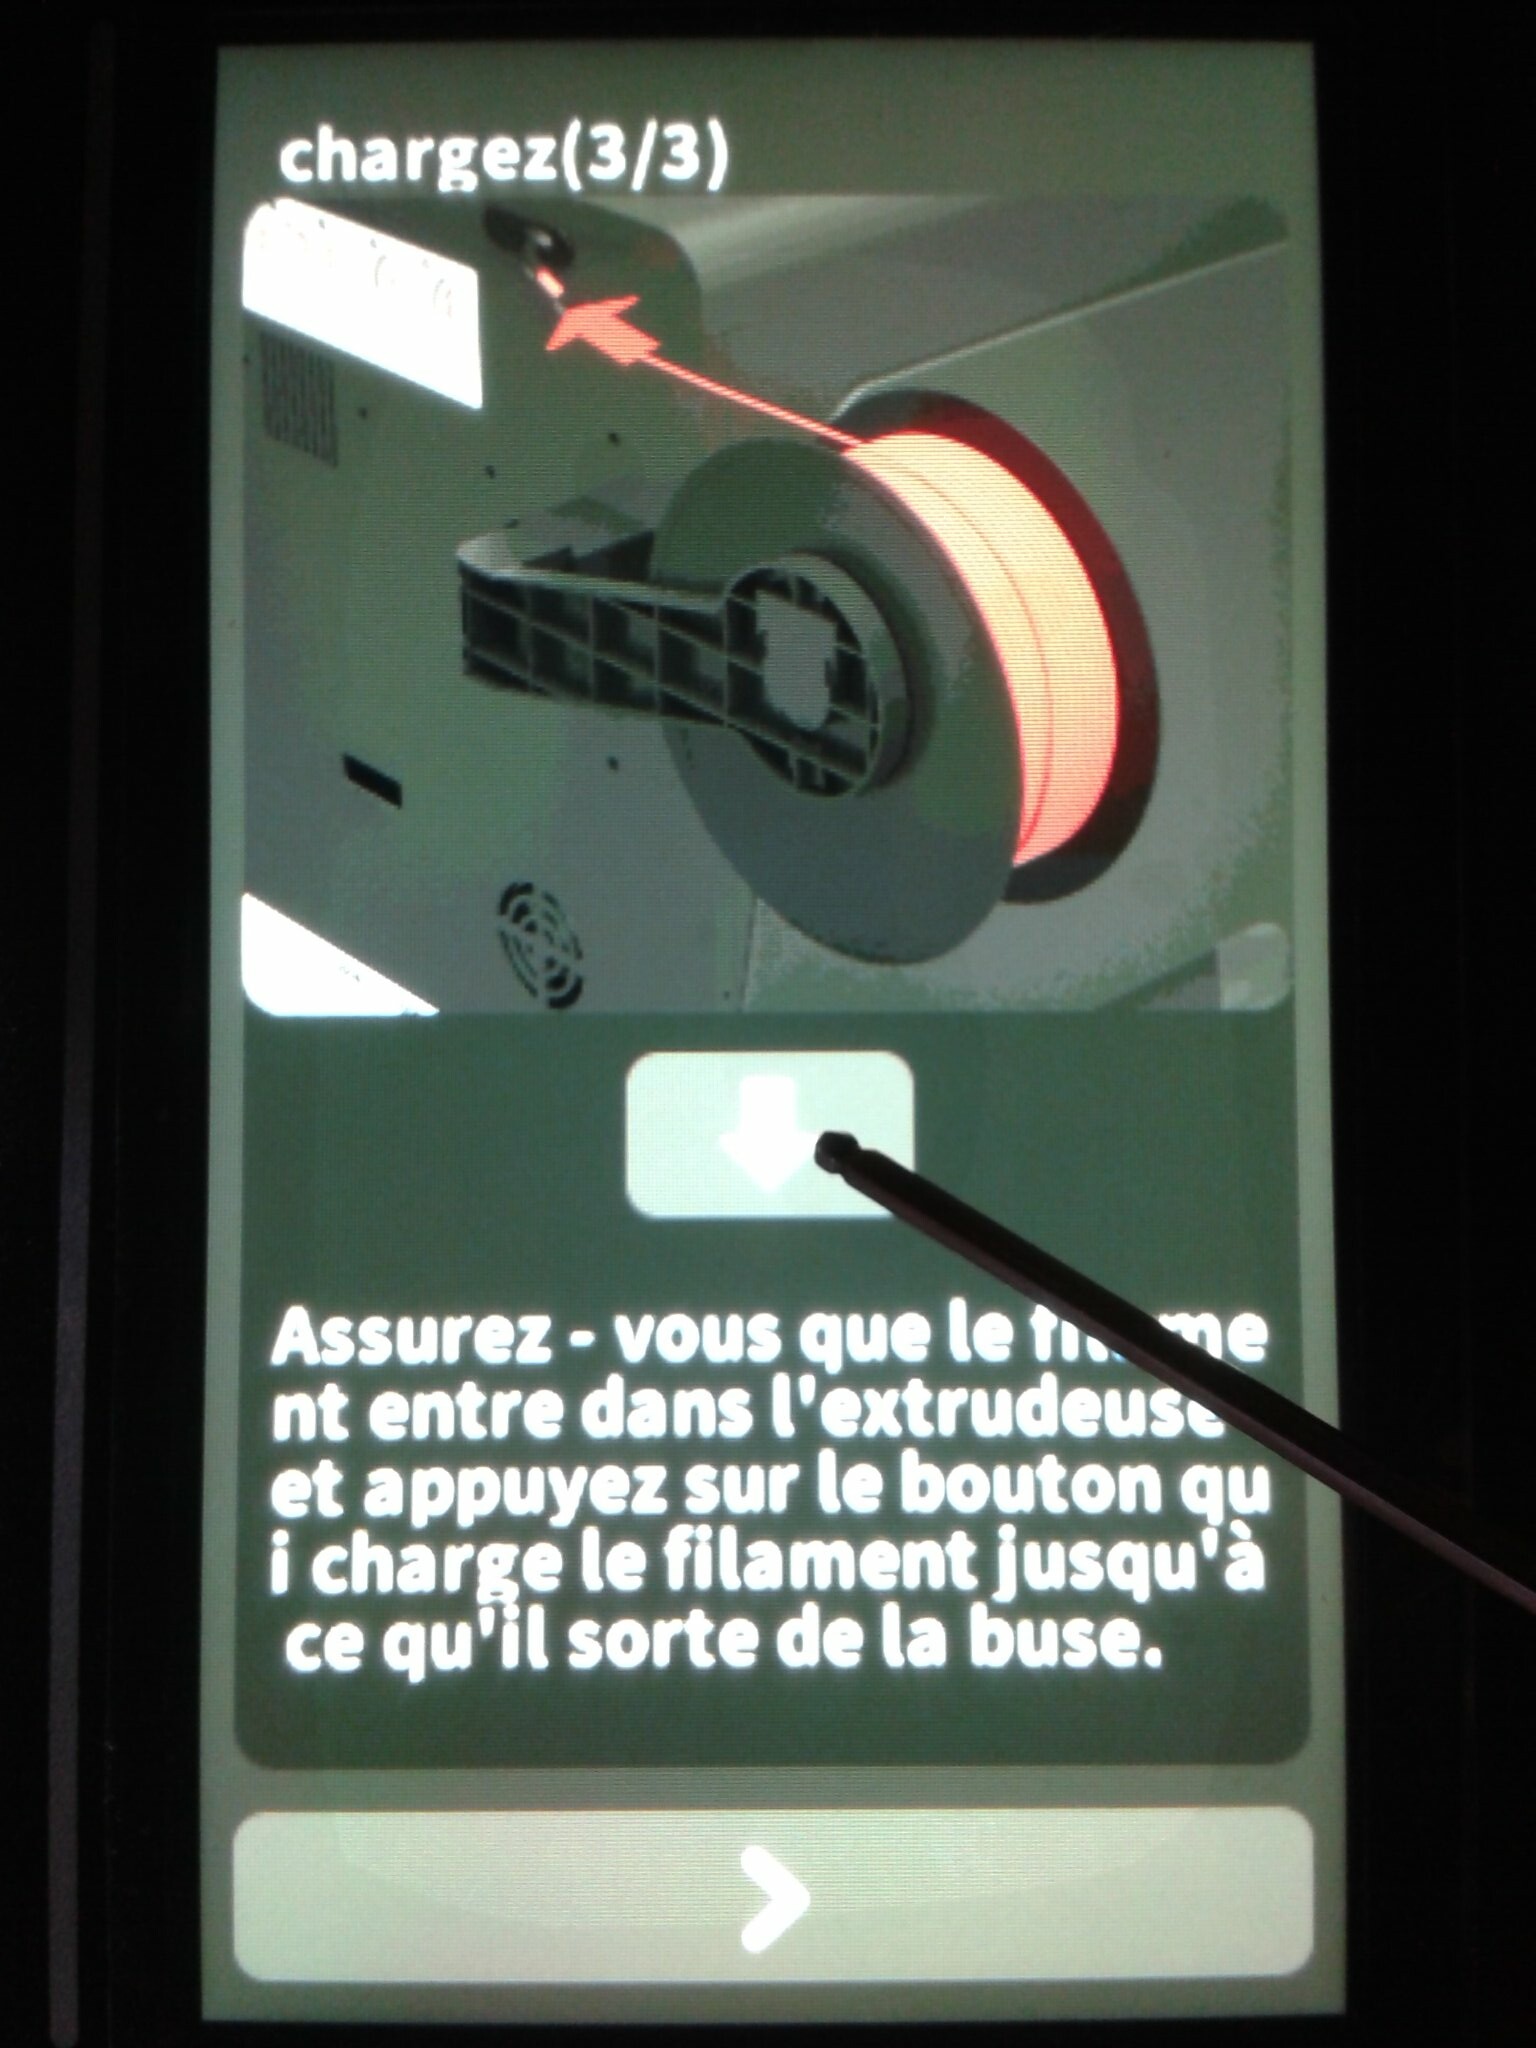
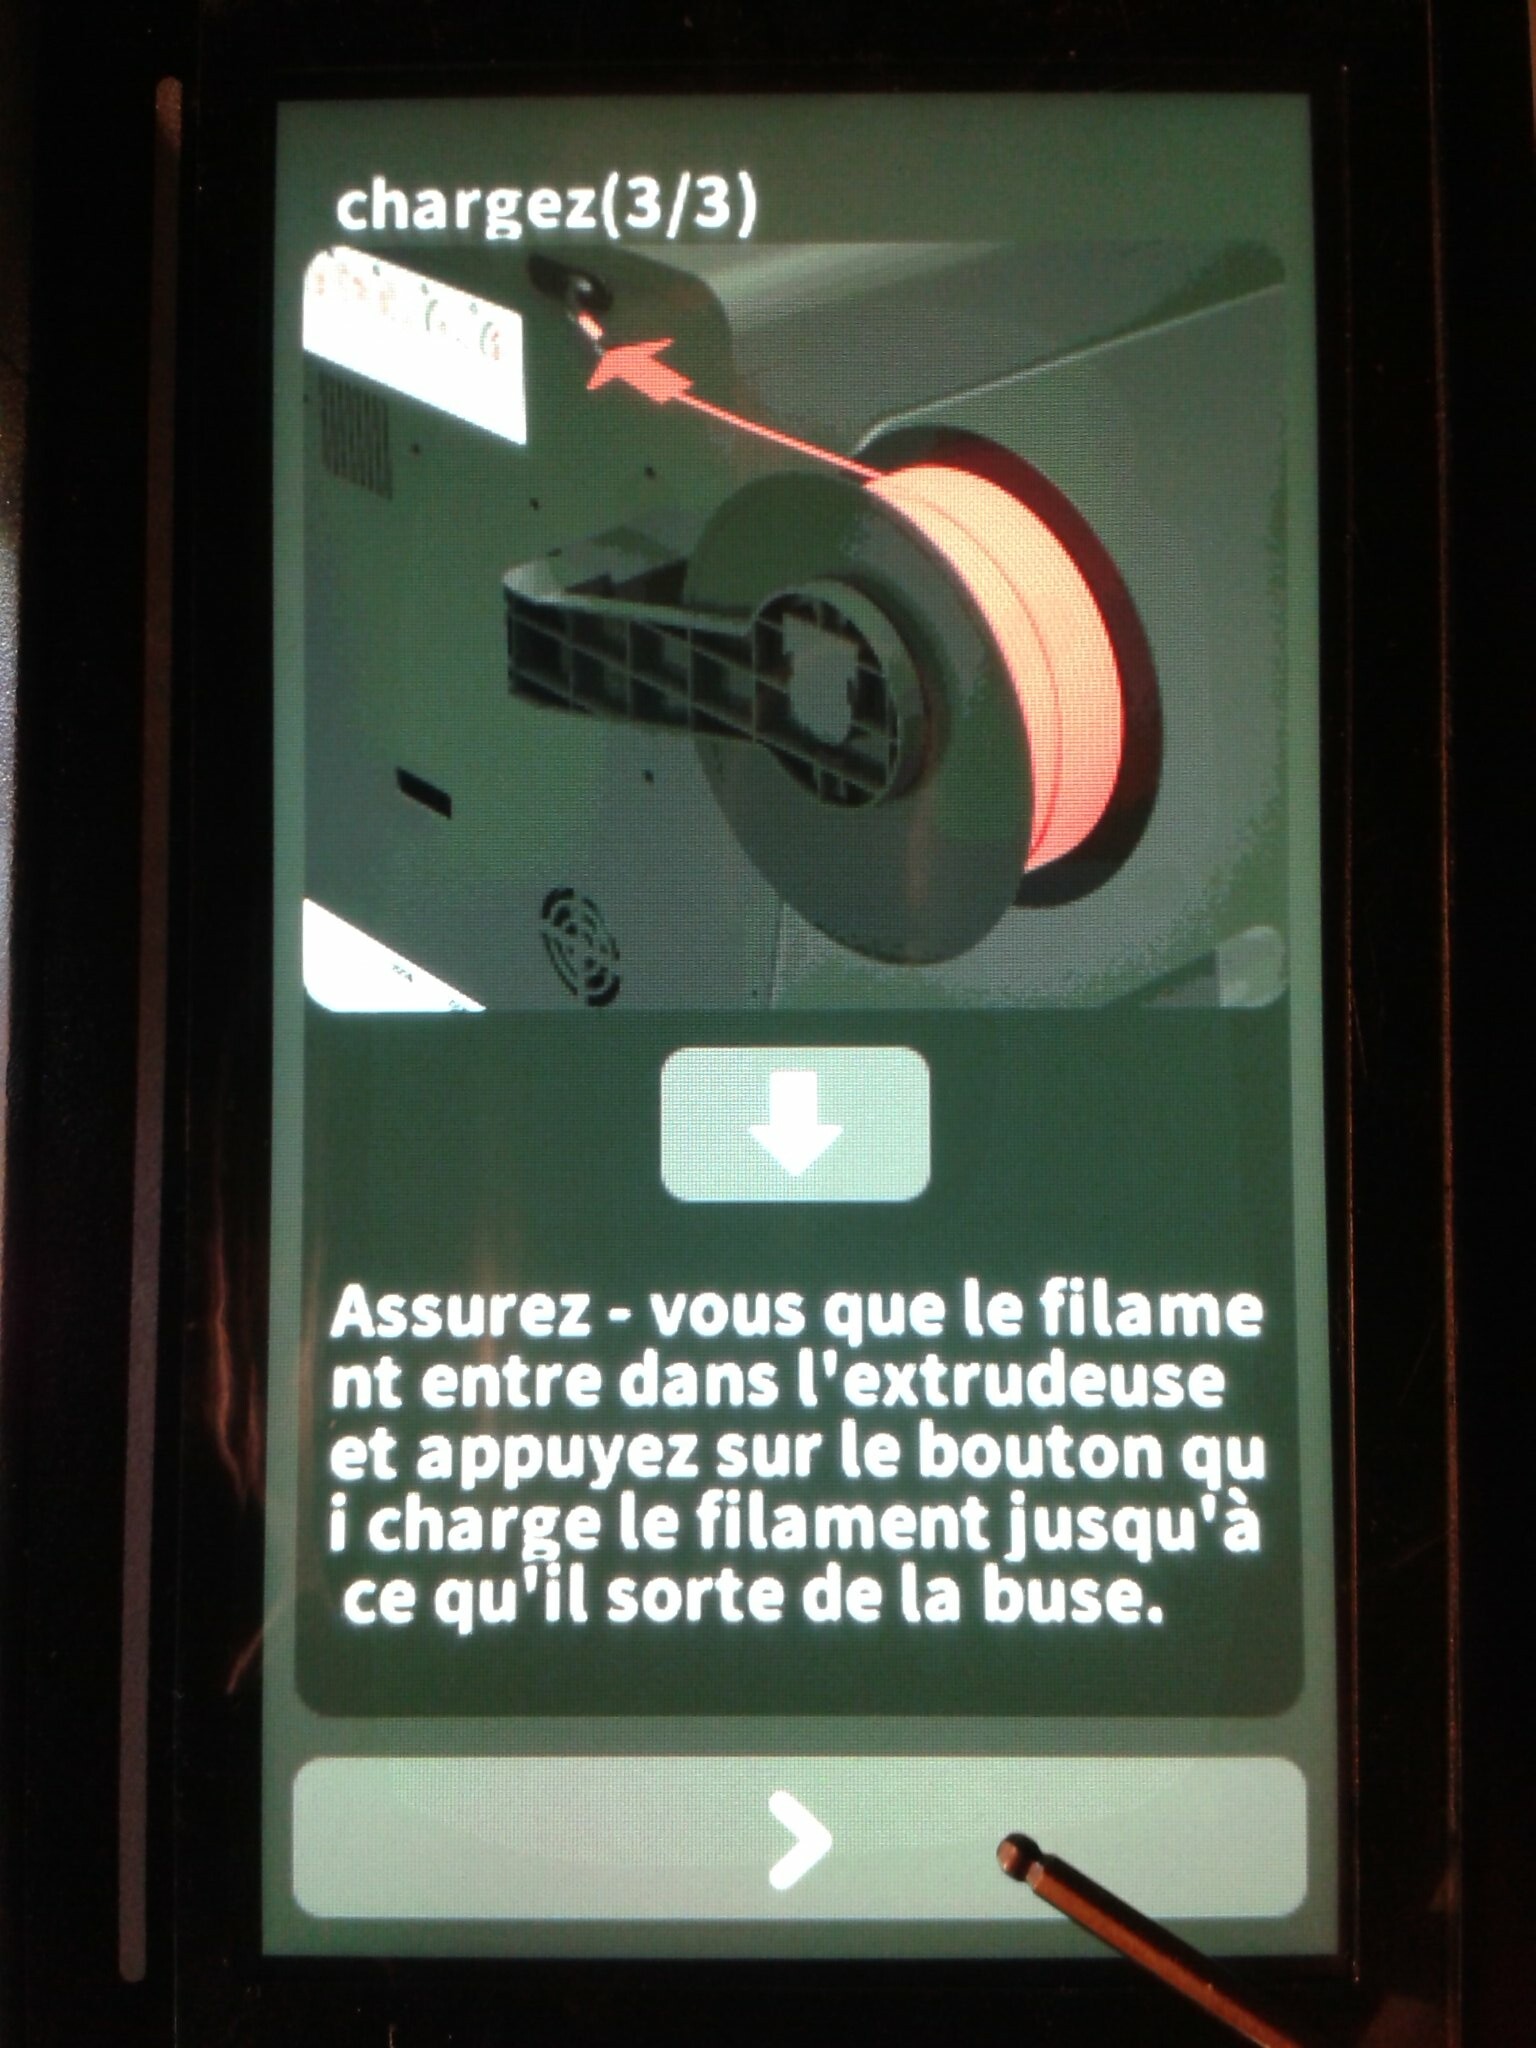
Lors du premier démarrage, sélectionner la langue d’affichage, suivie des étapes du guide de déballage (libérer la tête d’impression et le plateau, charger le filament).
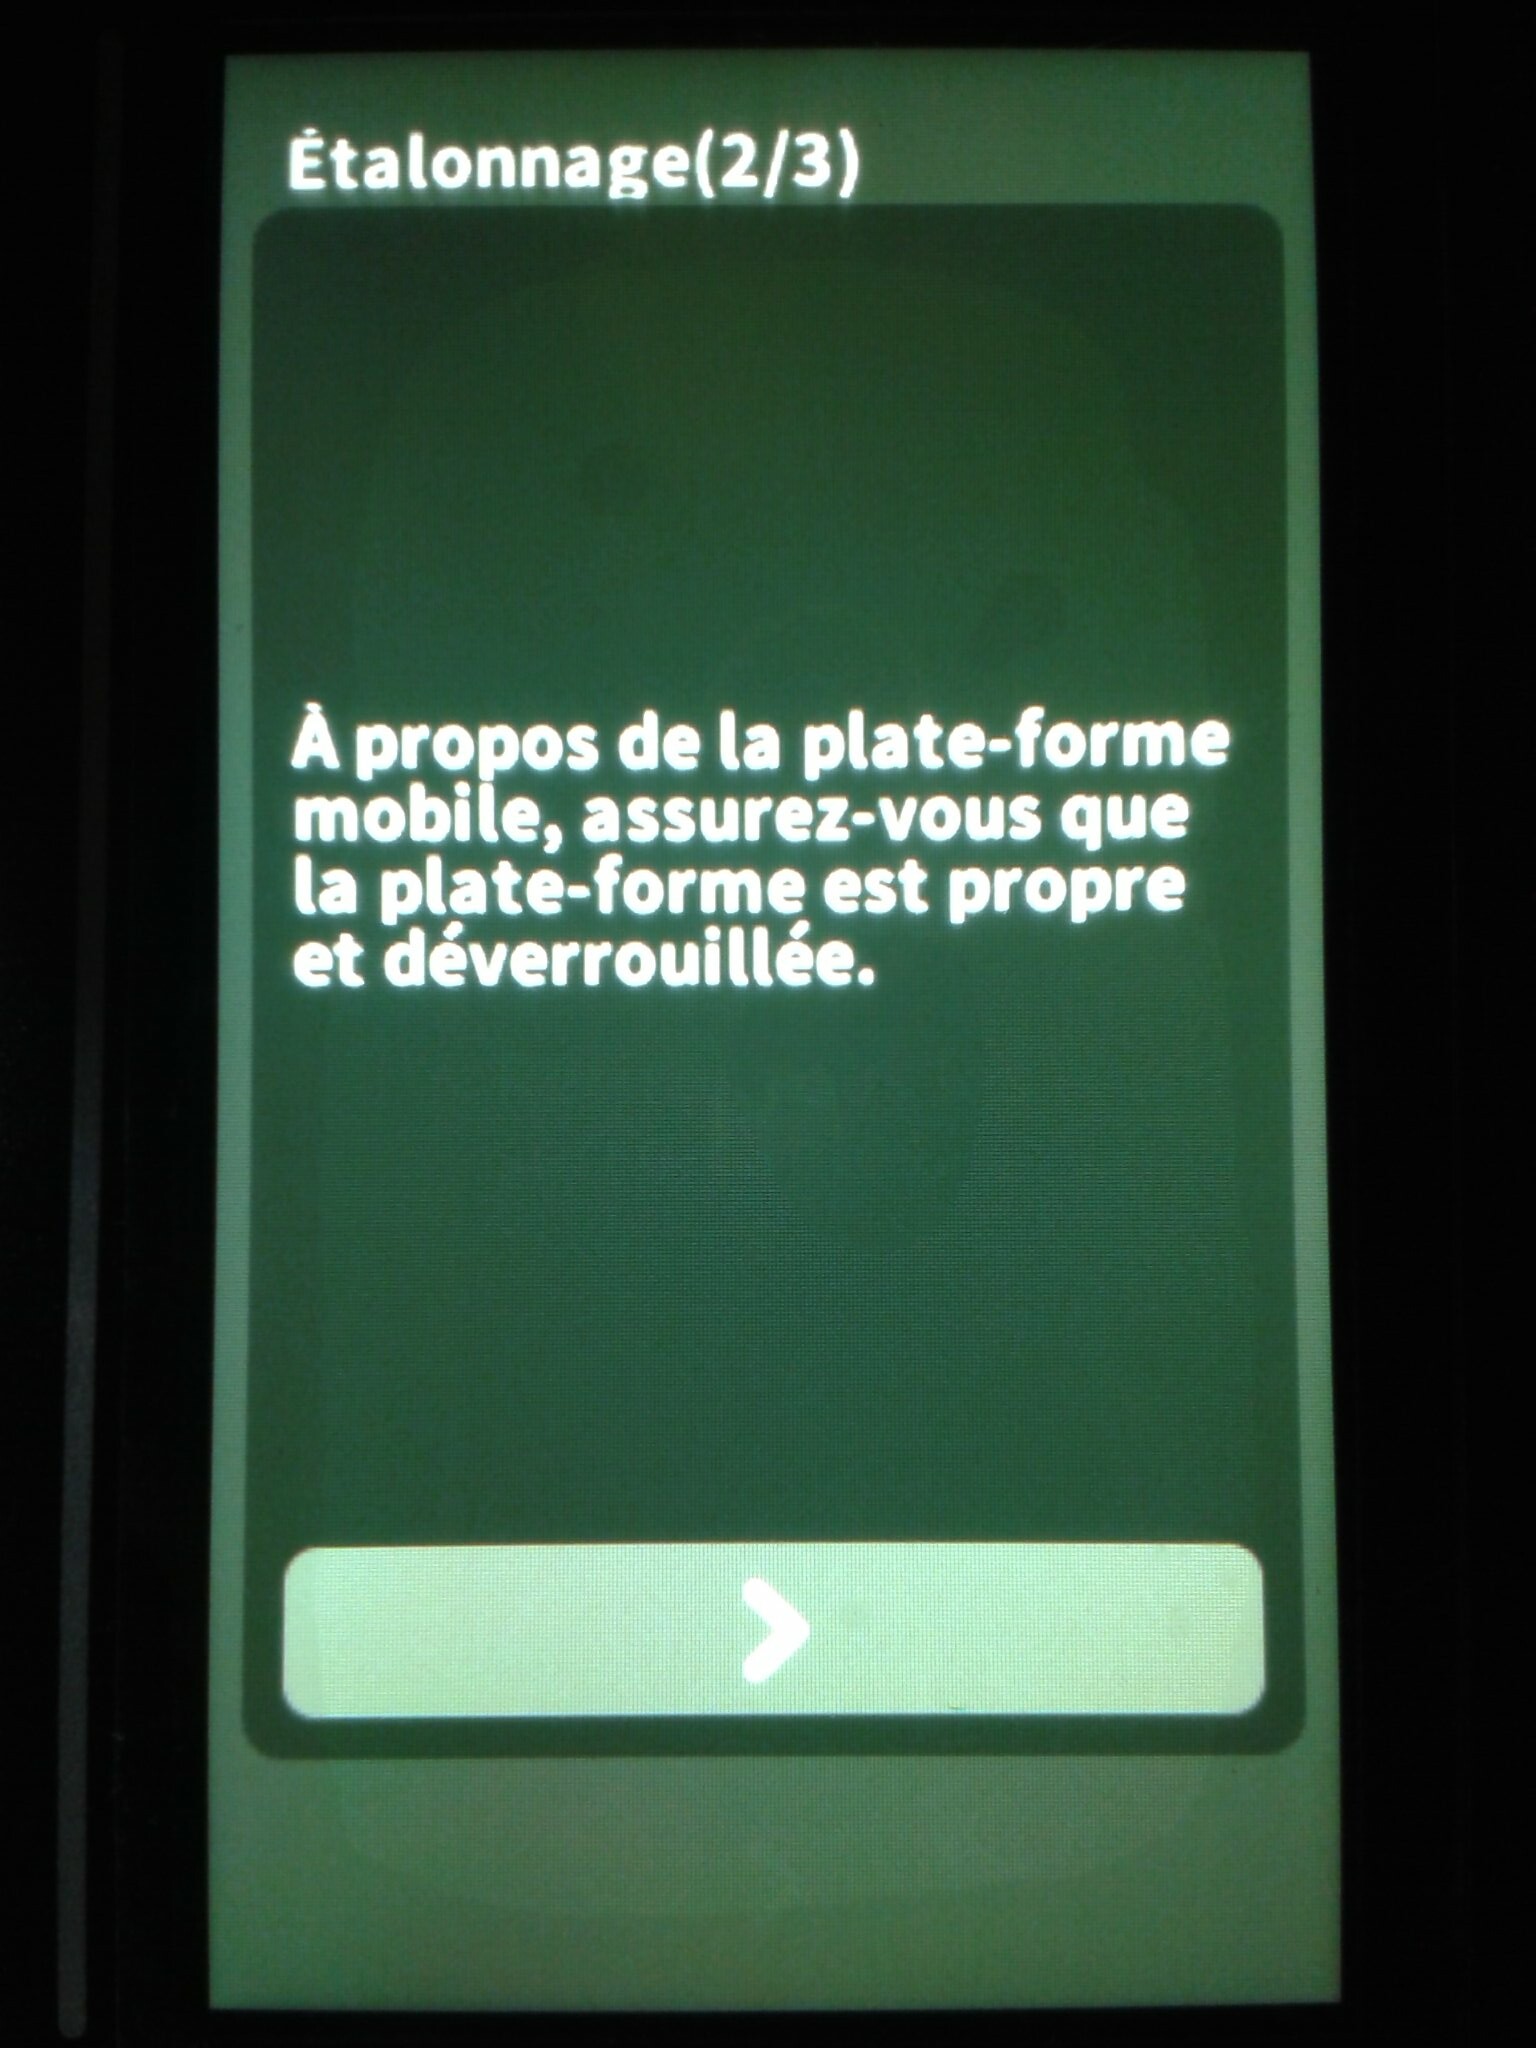
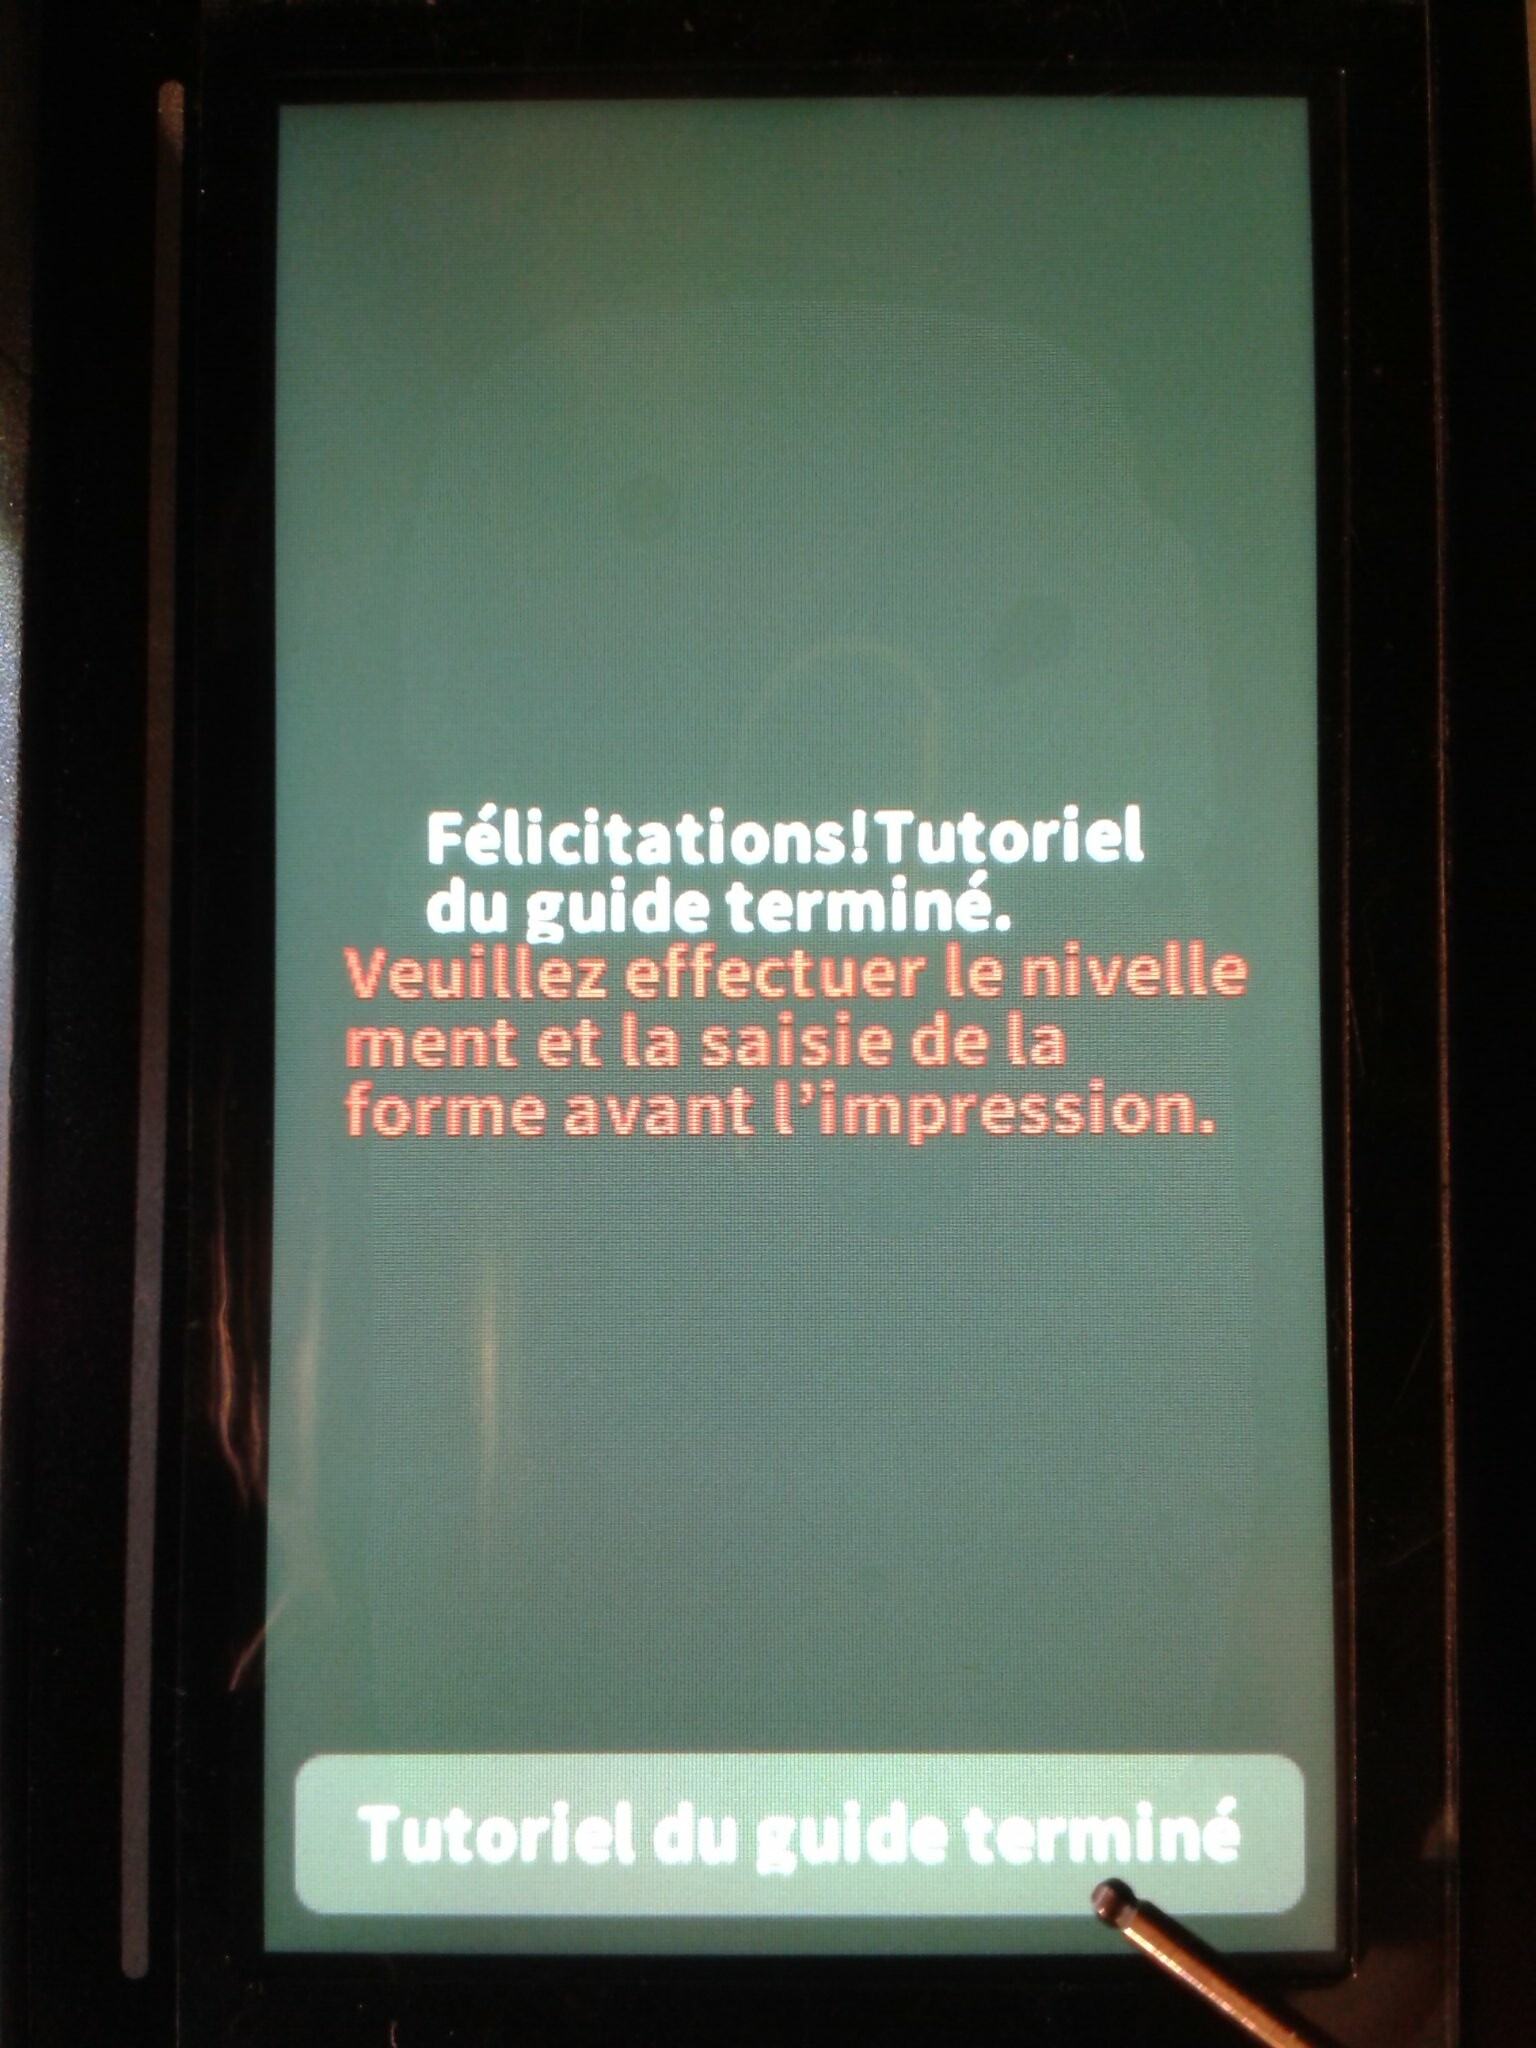
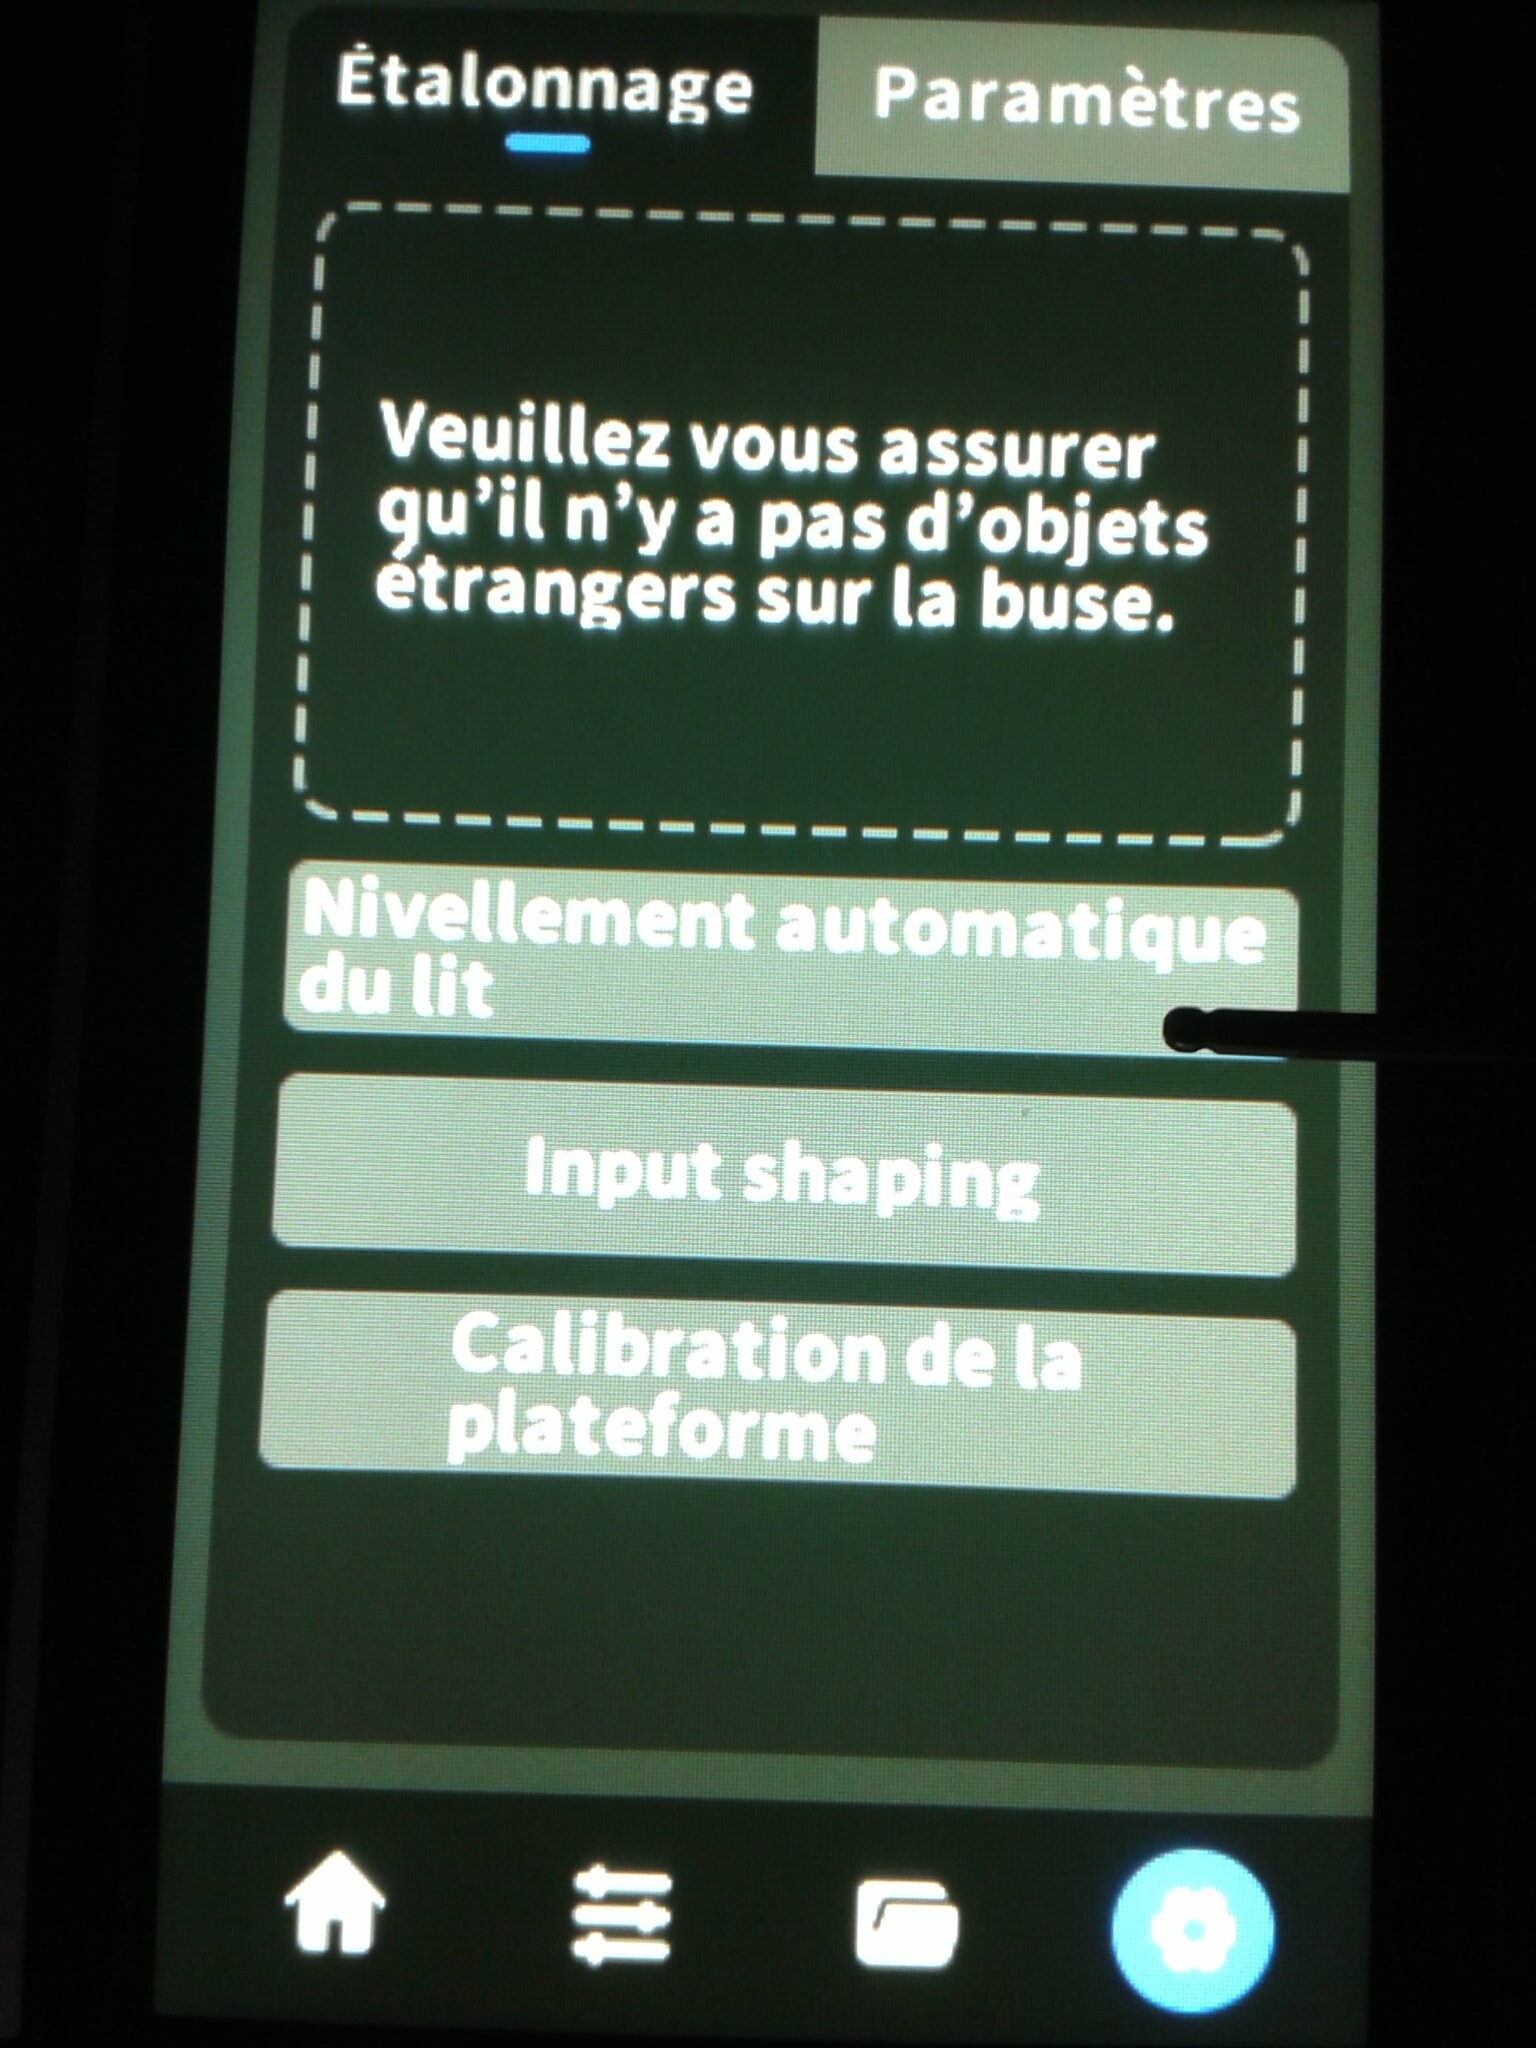
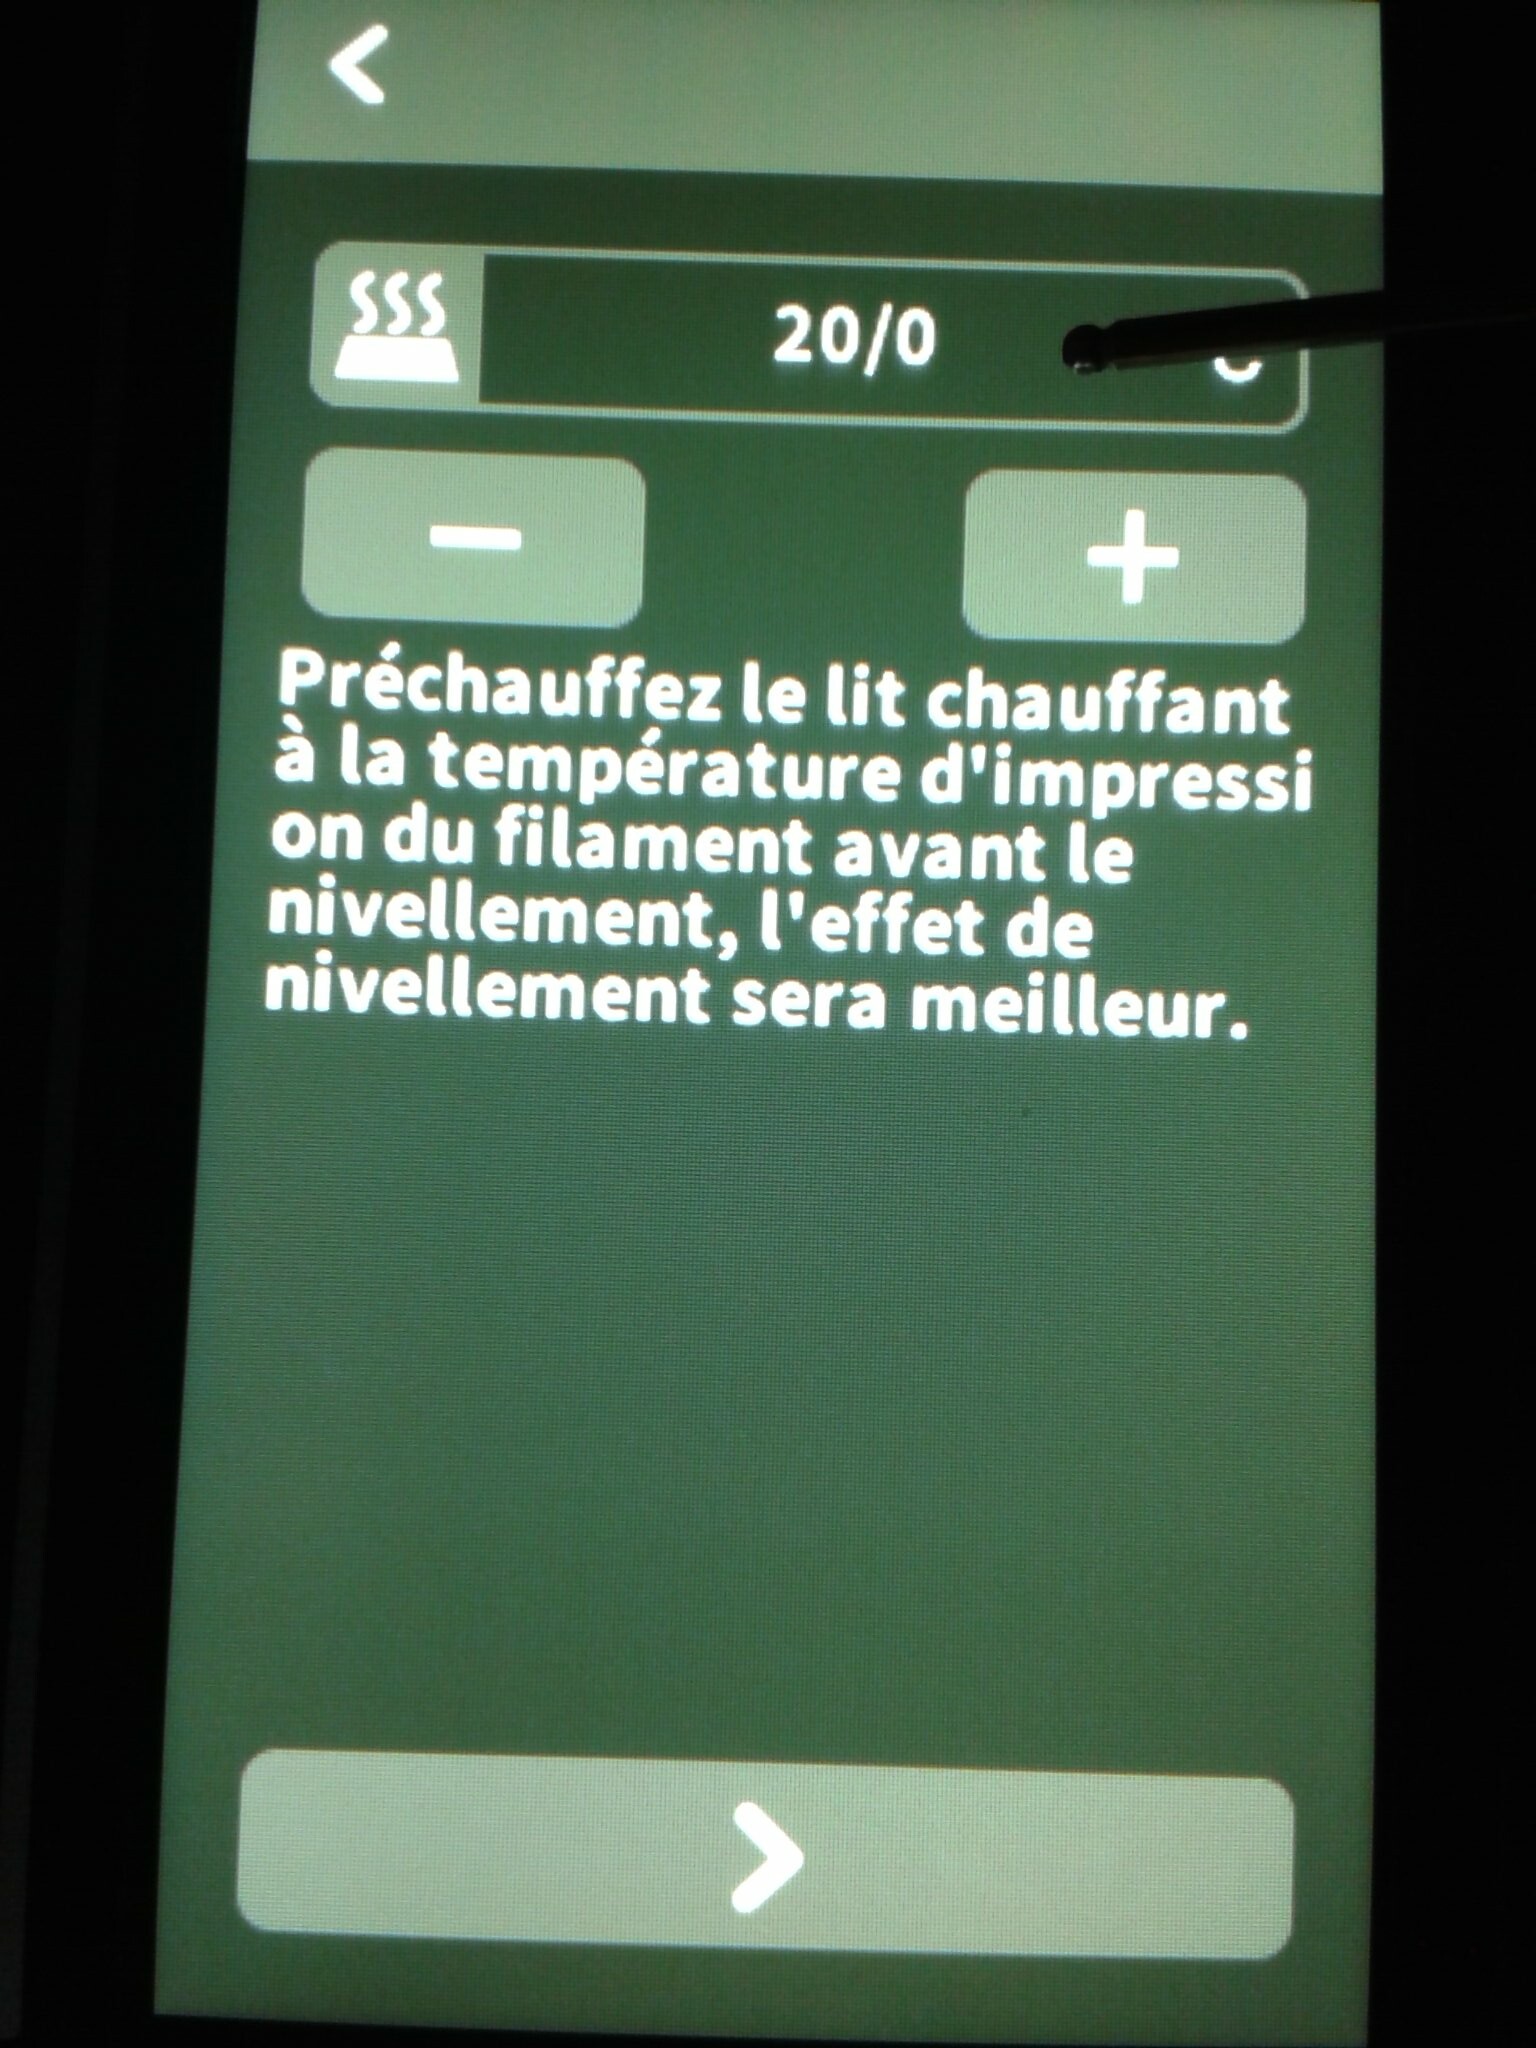
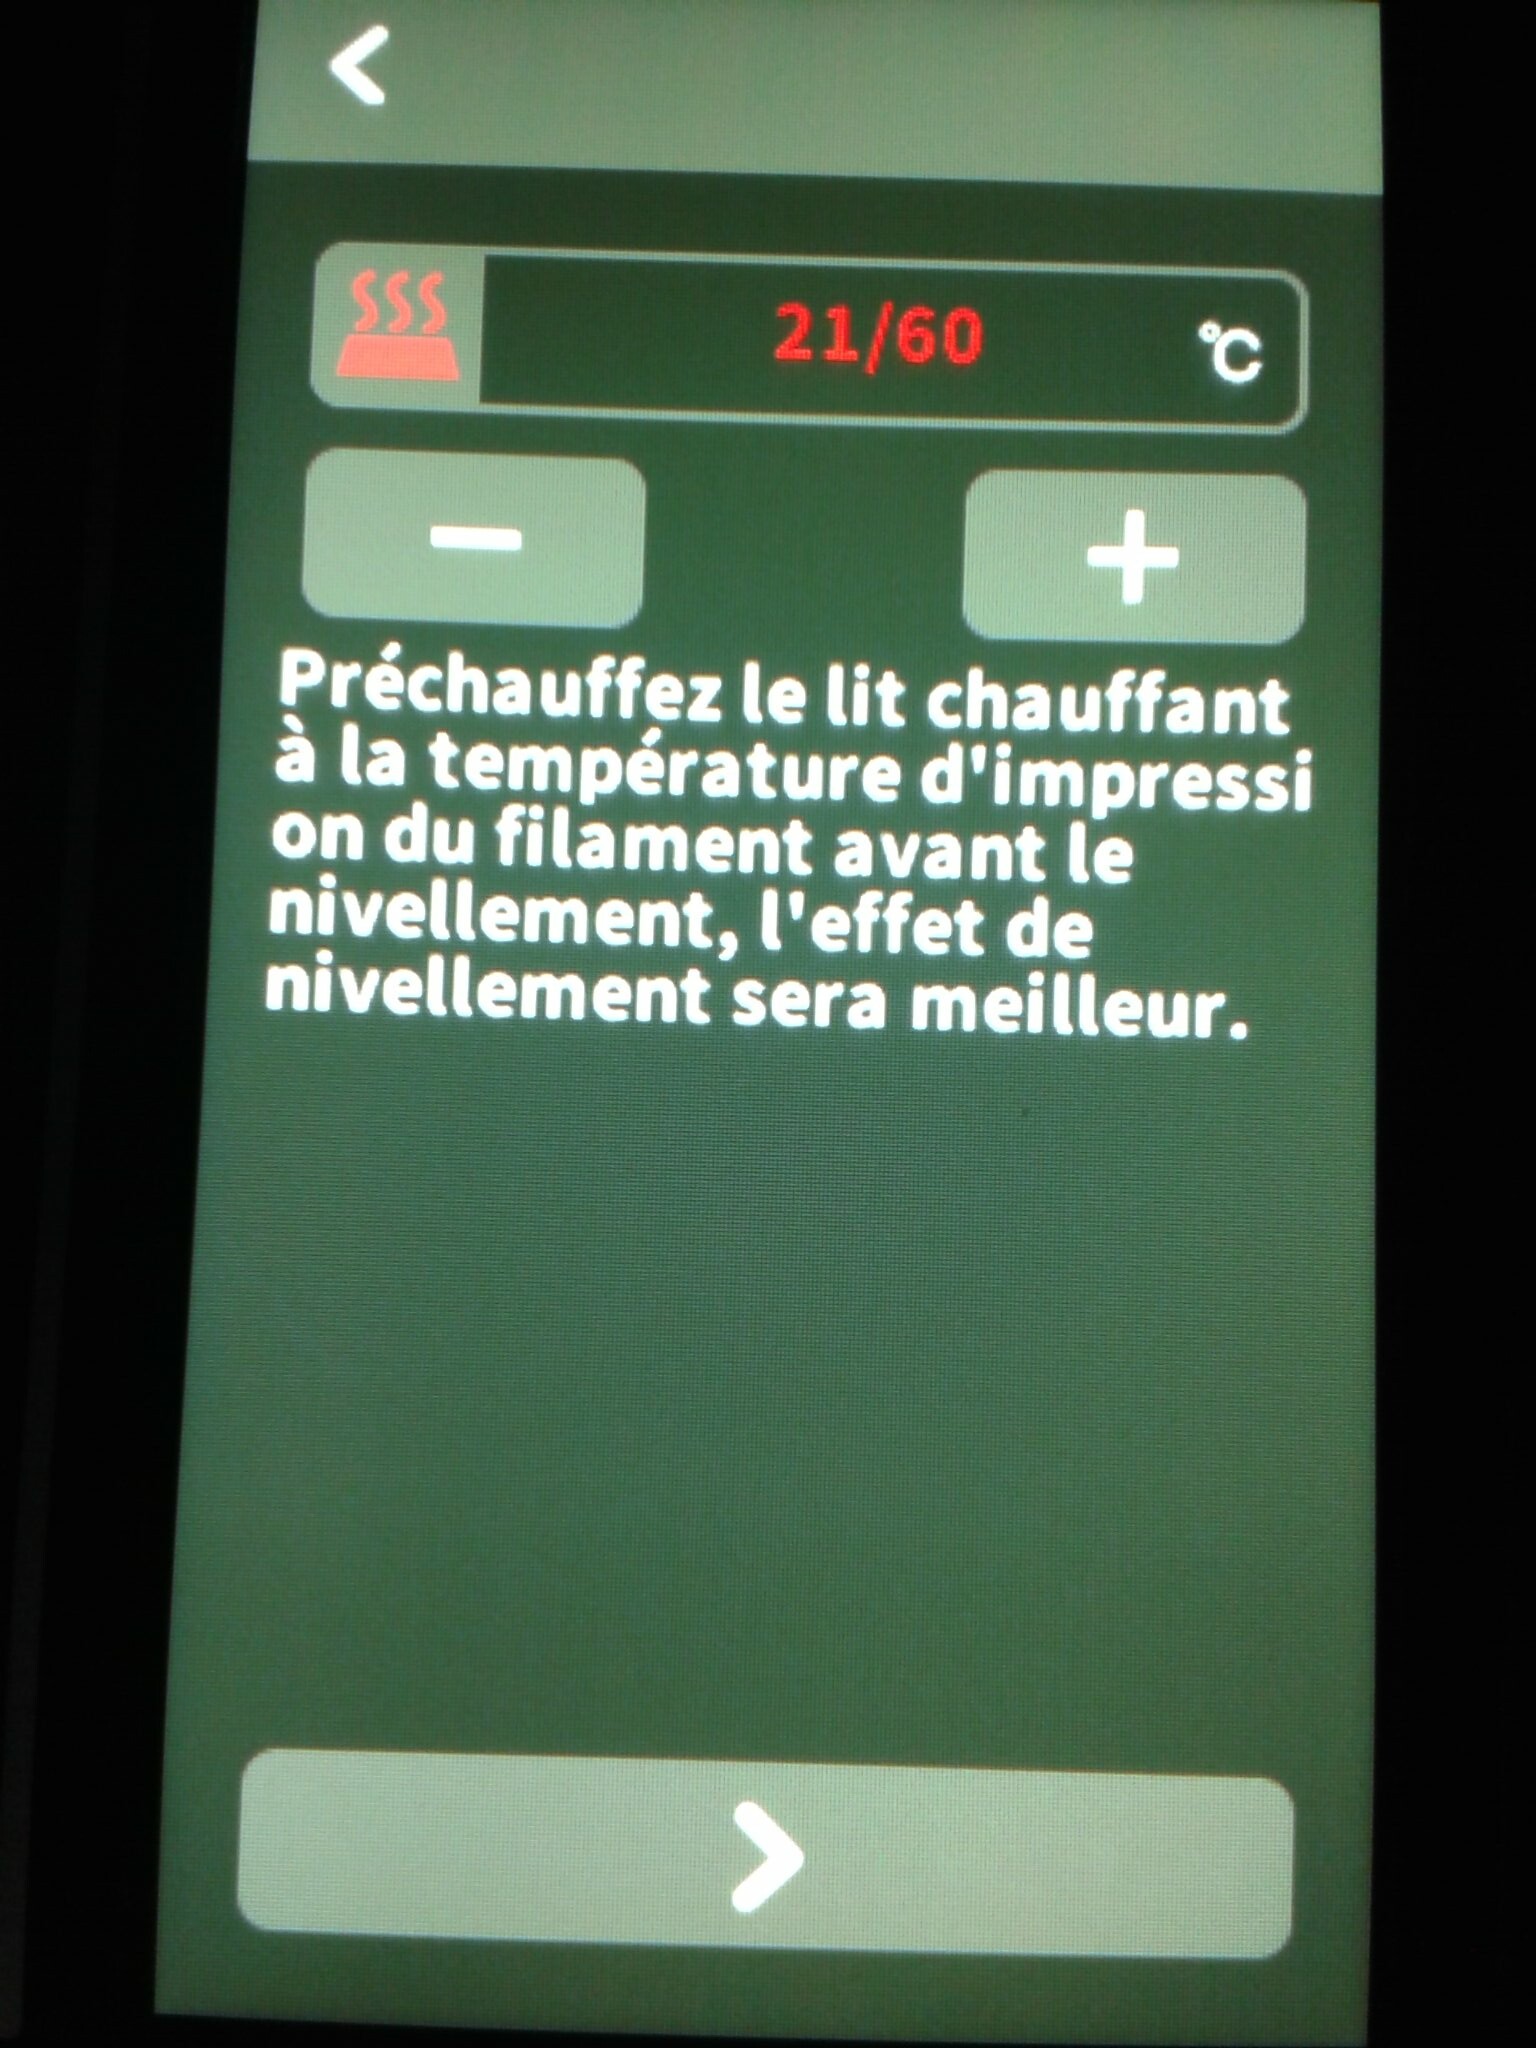
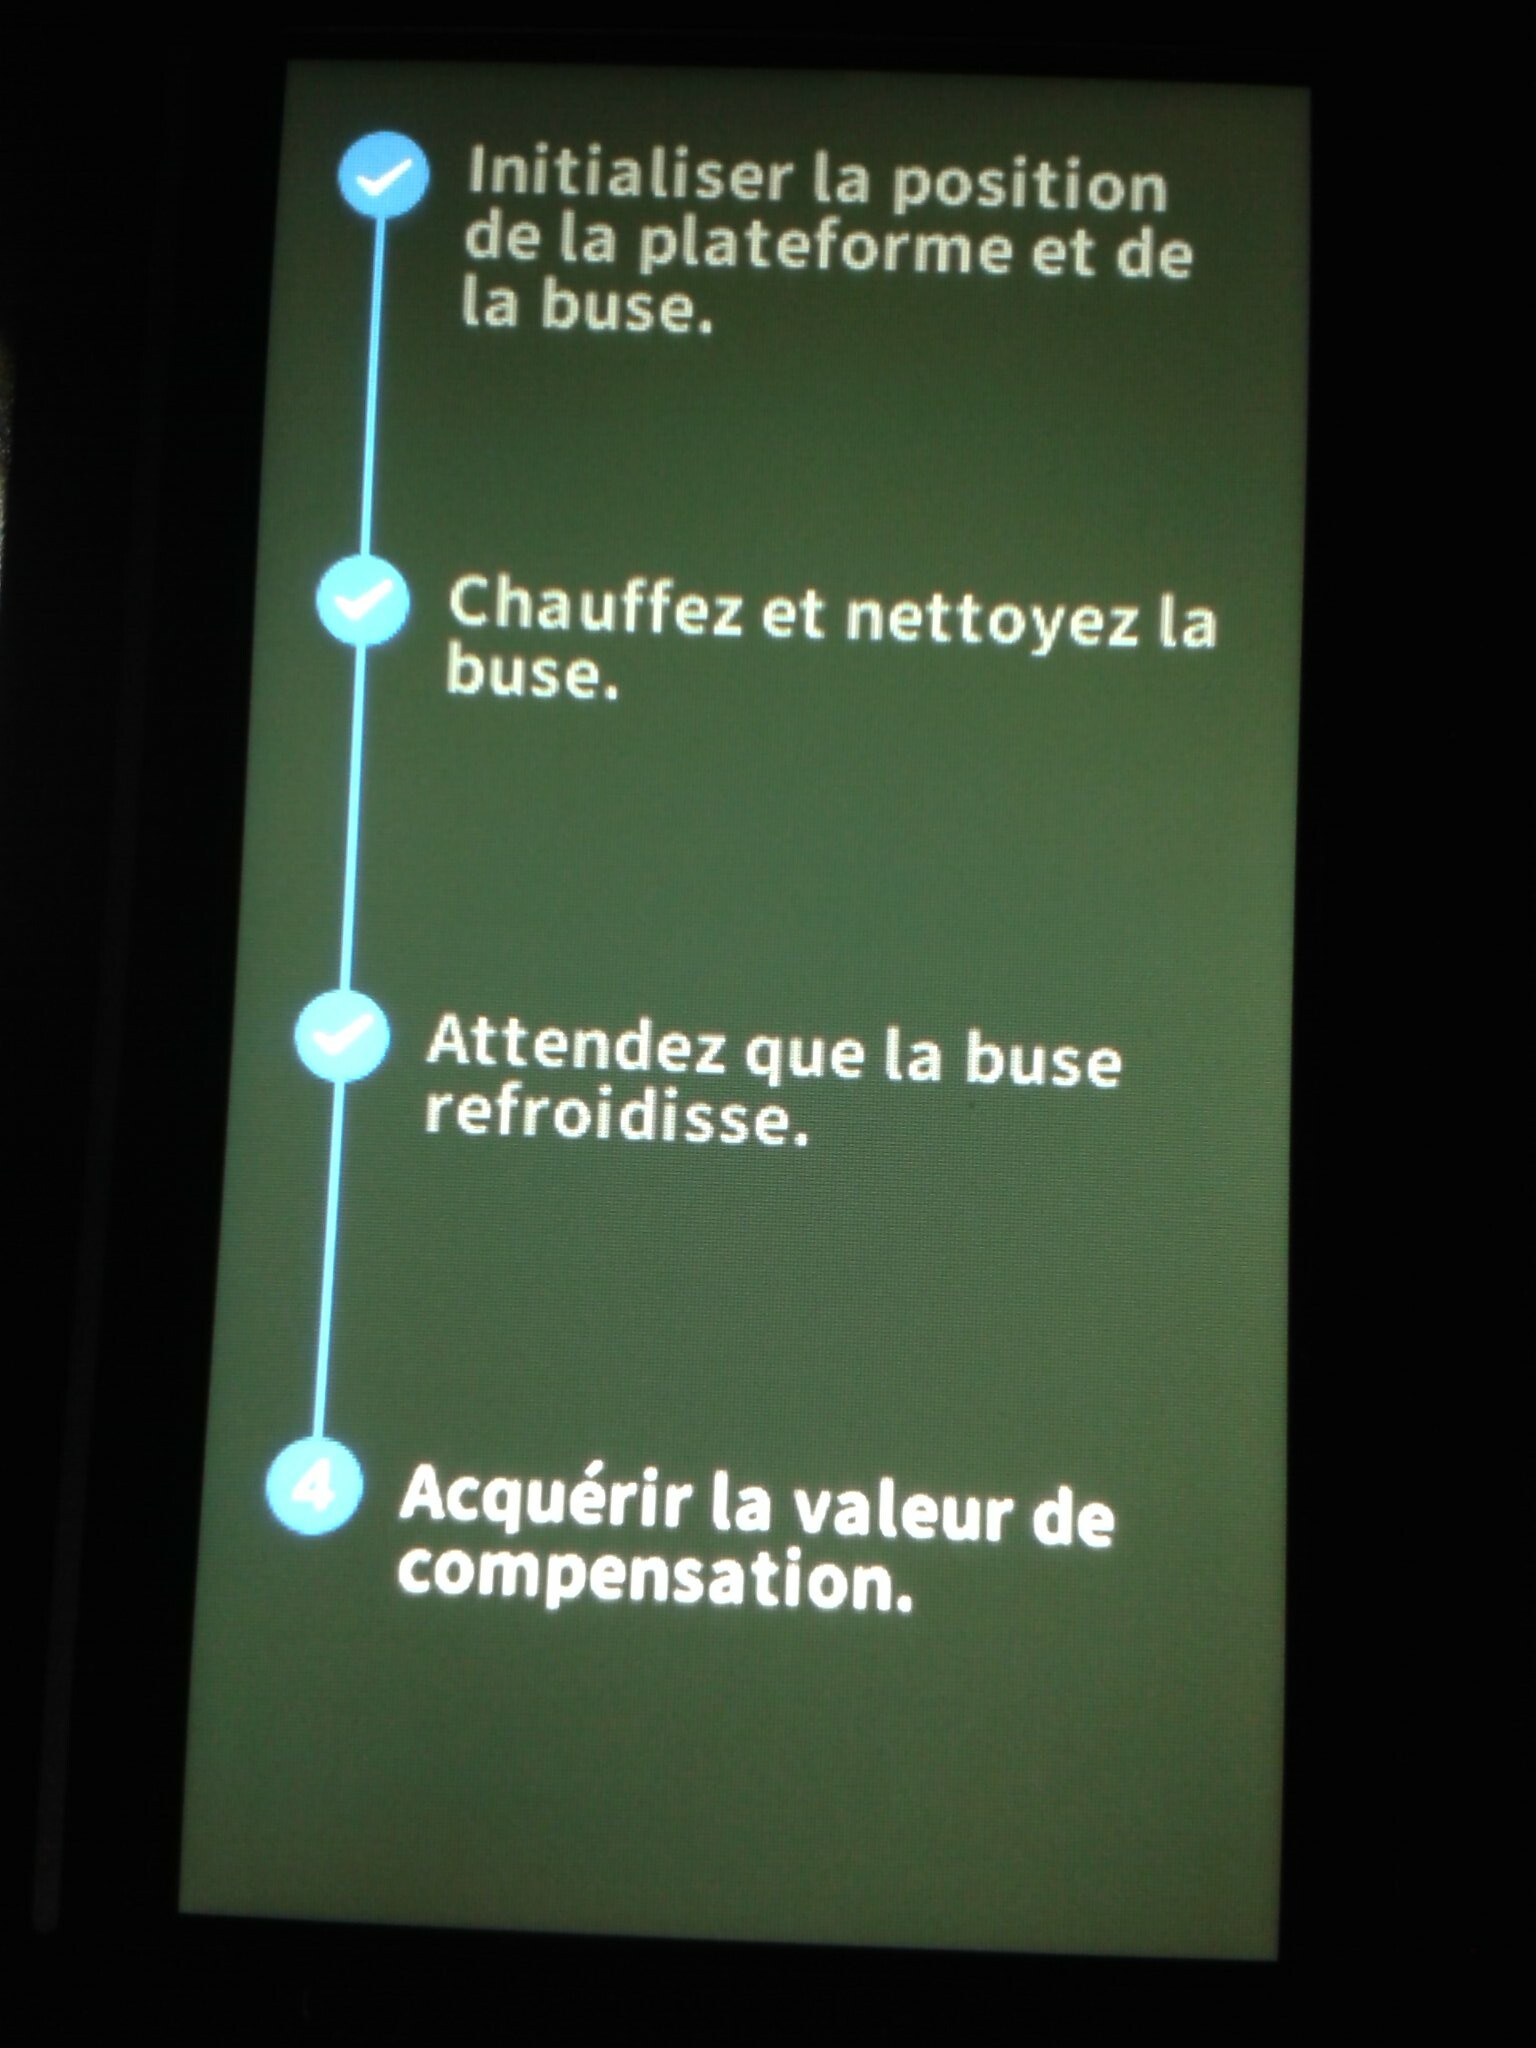
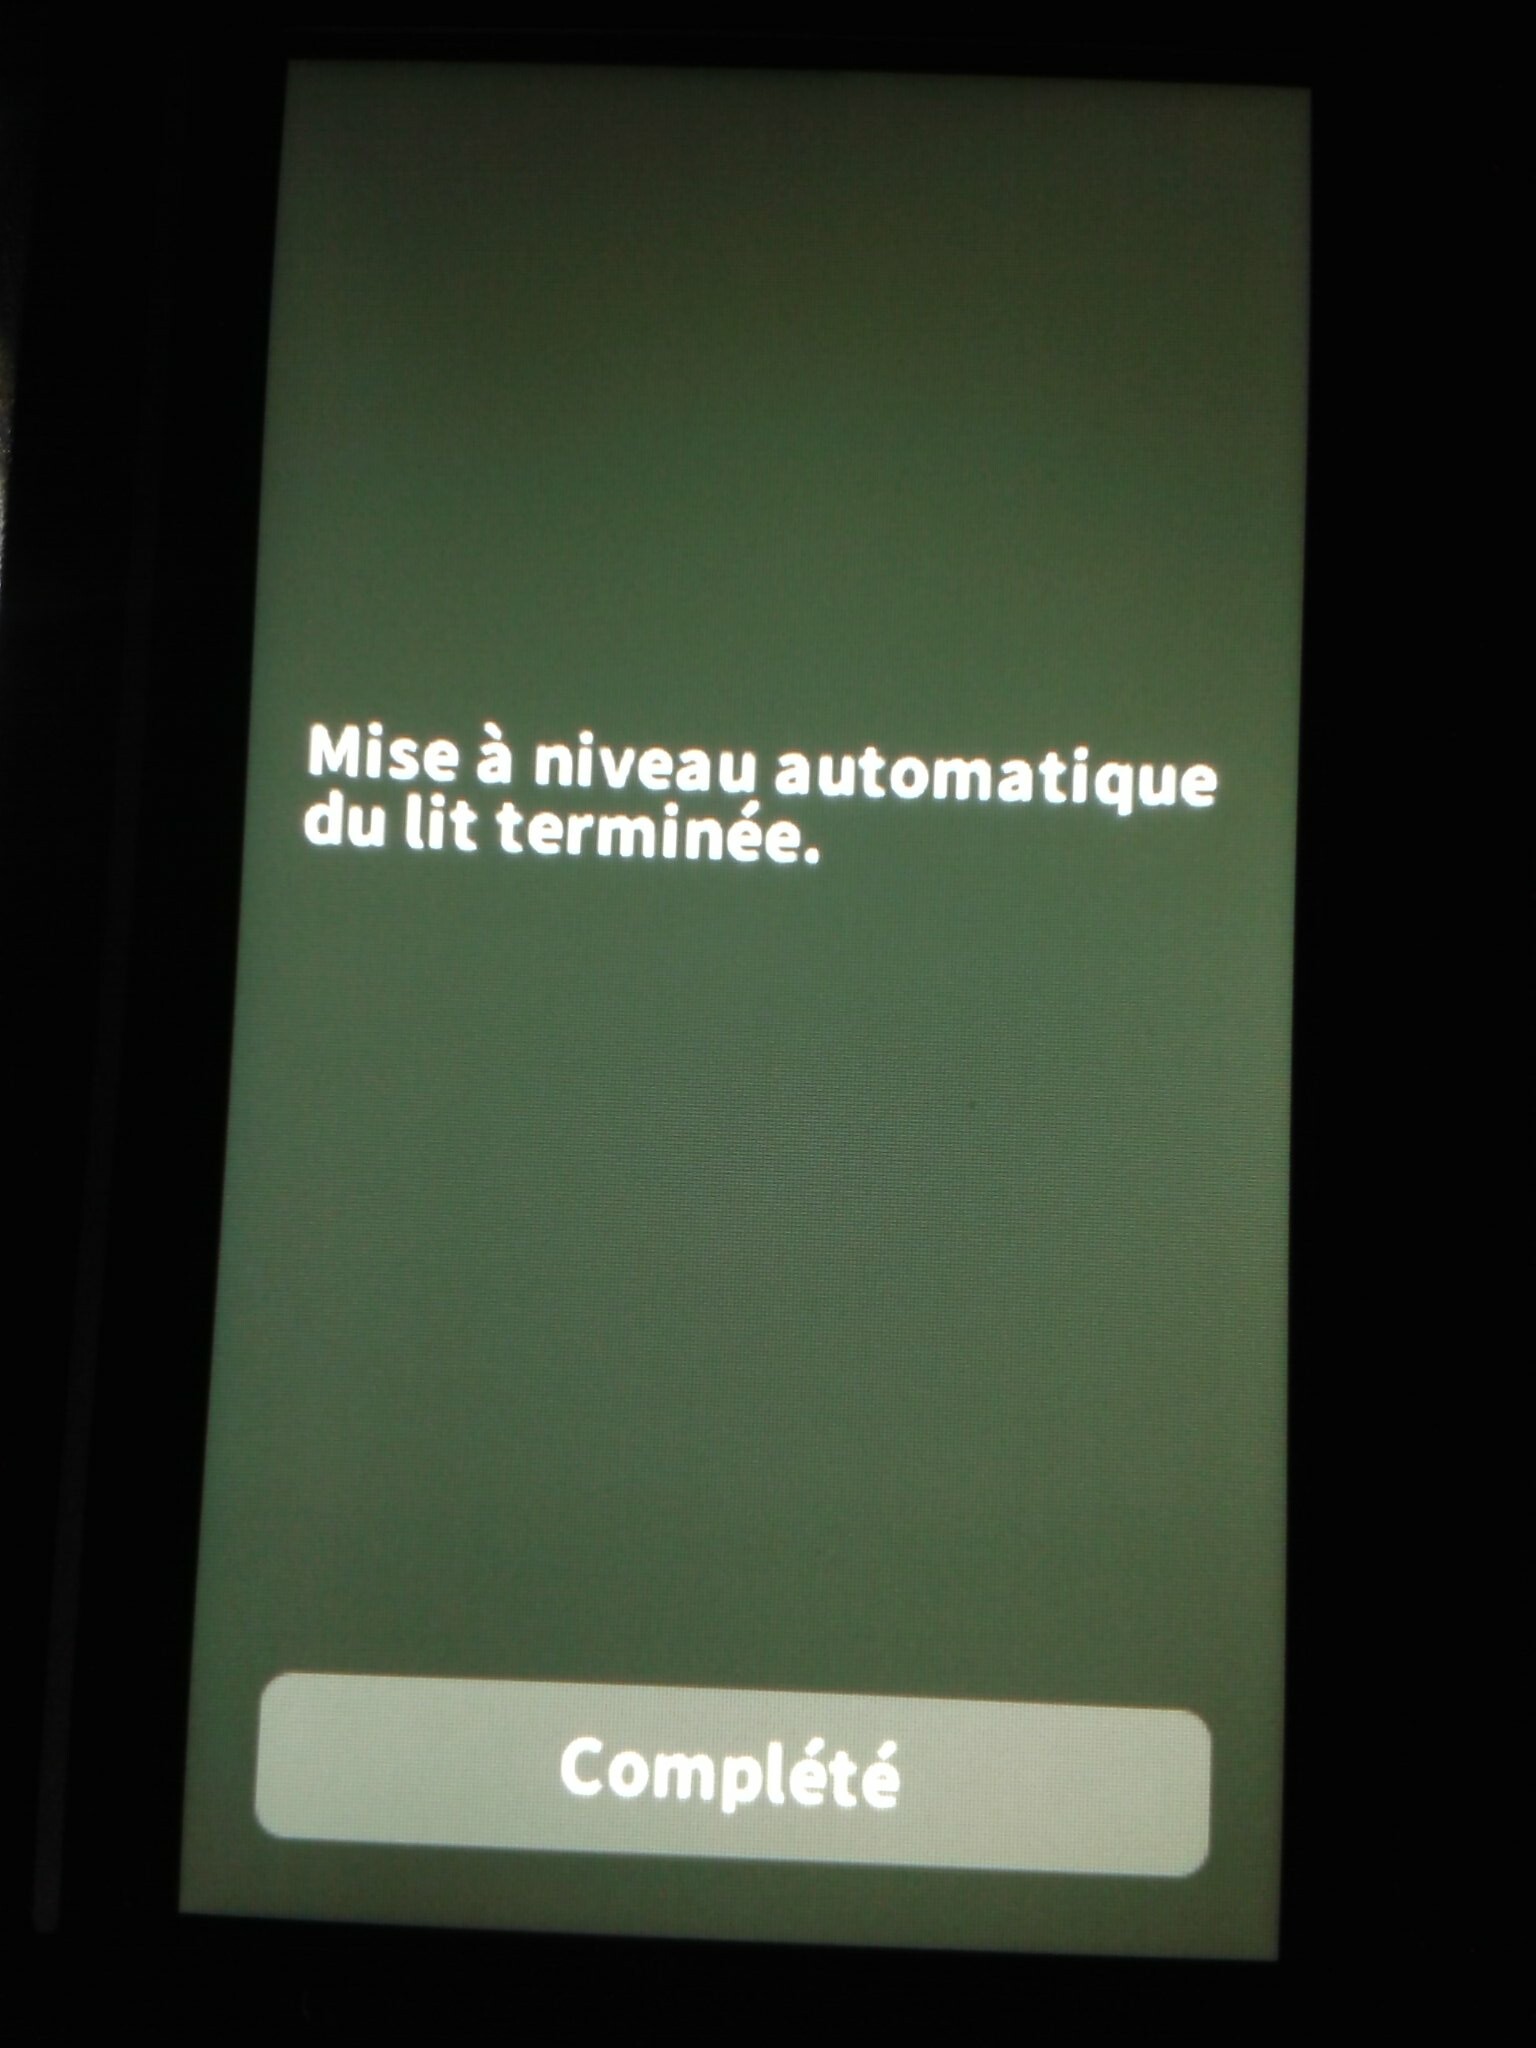
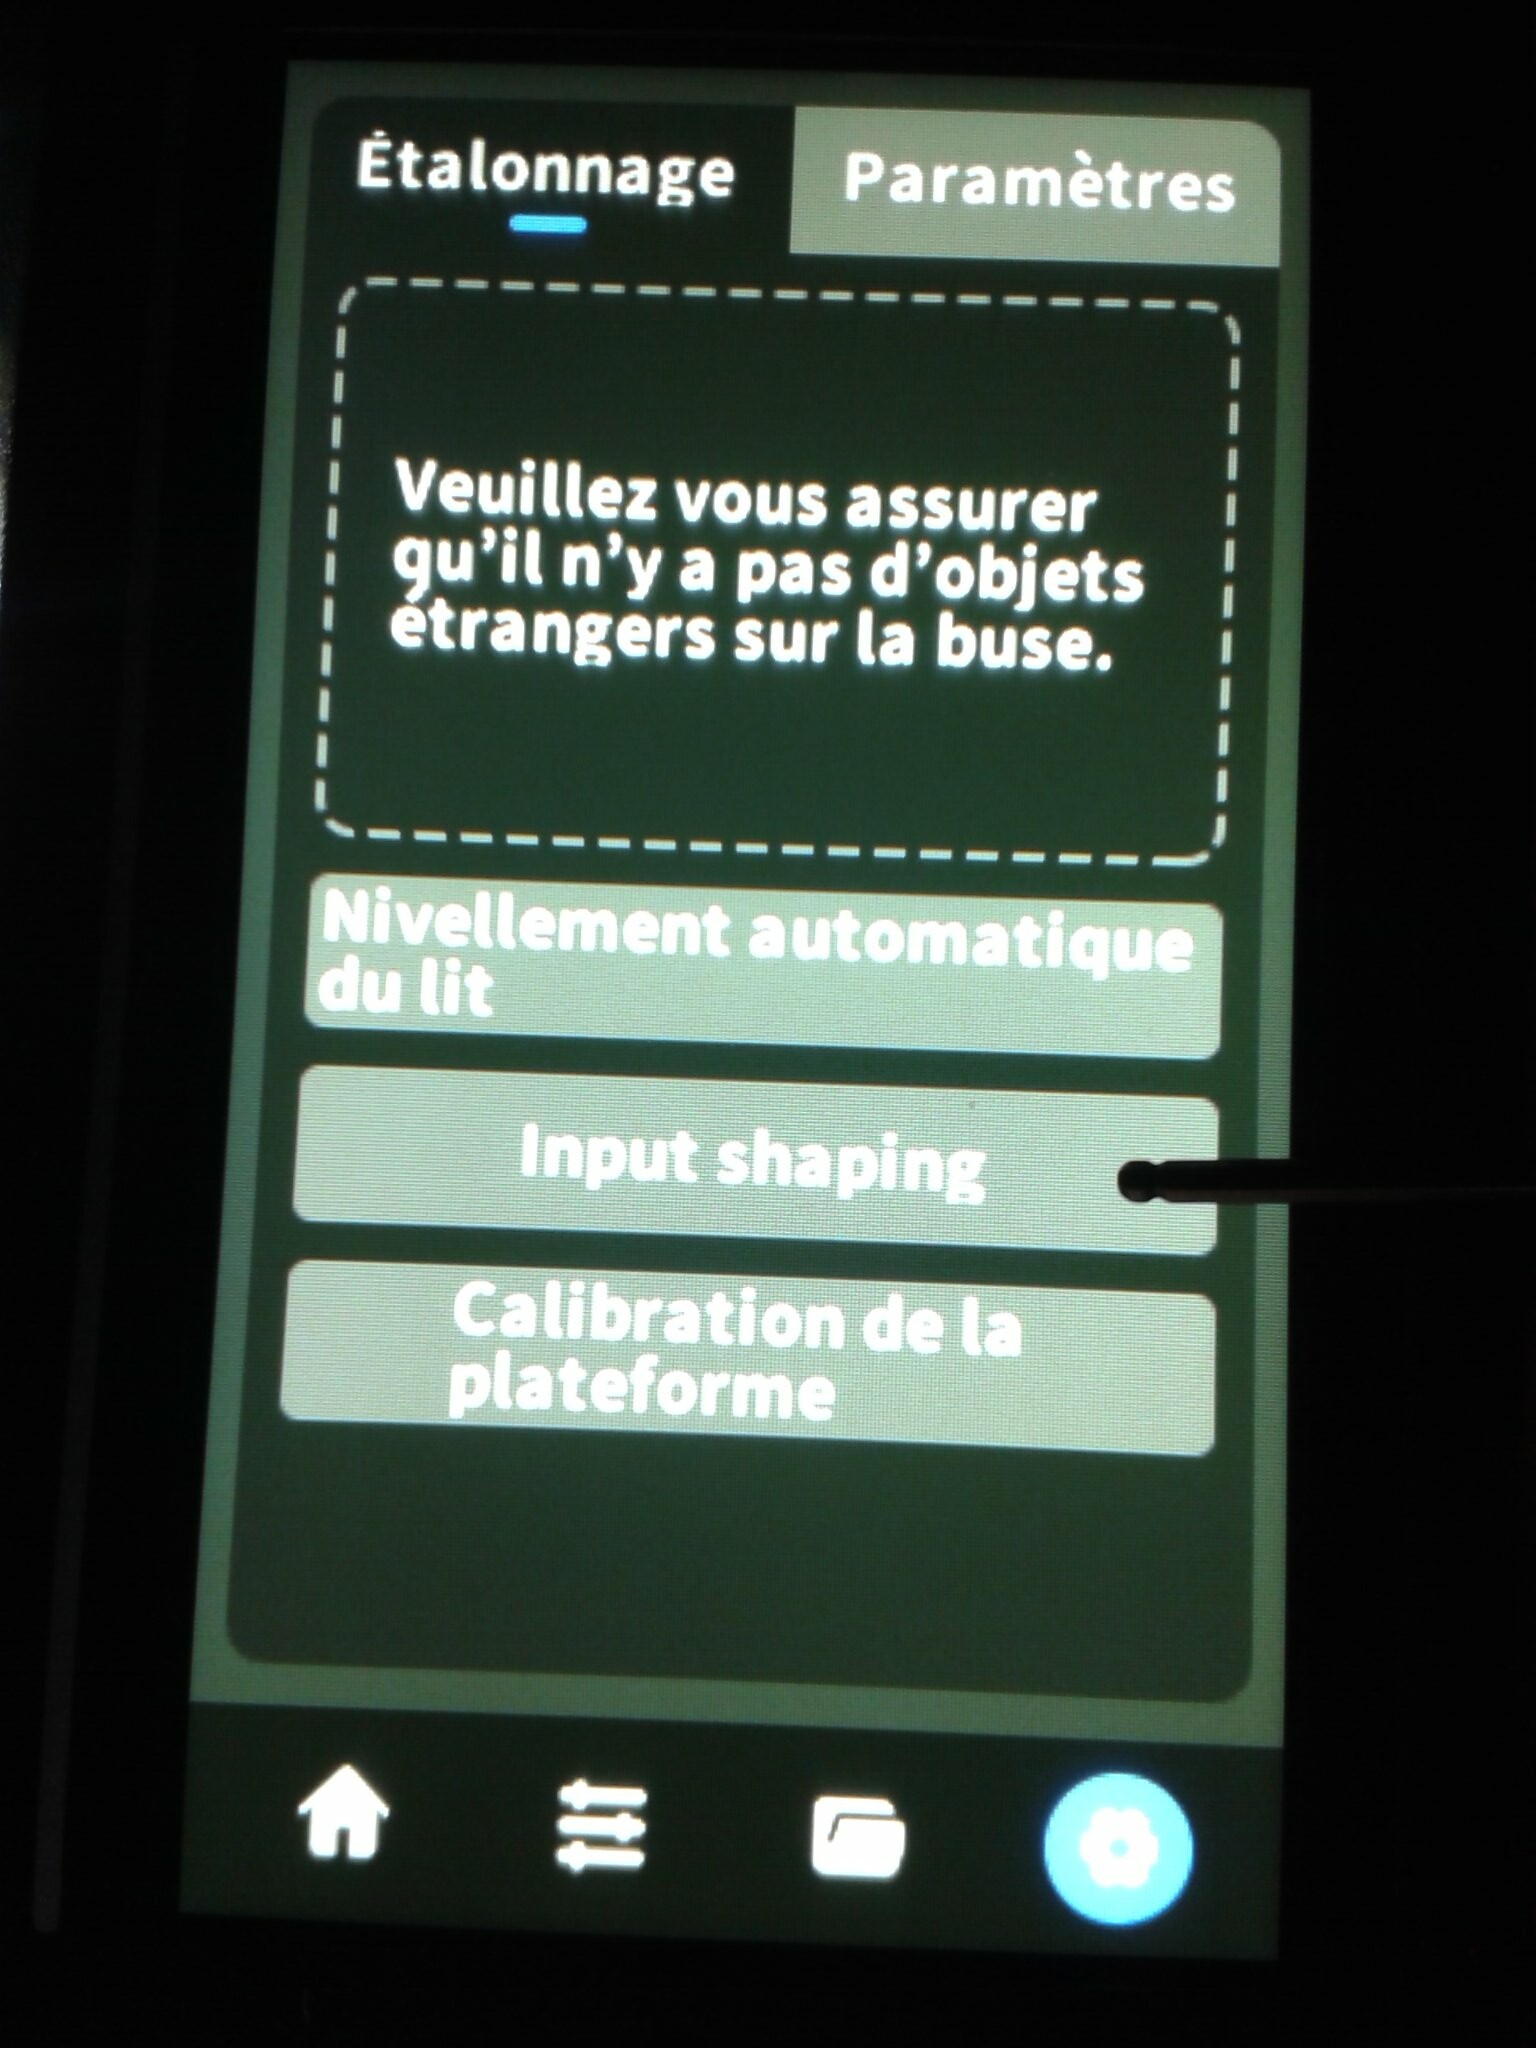
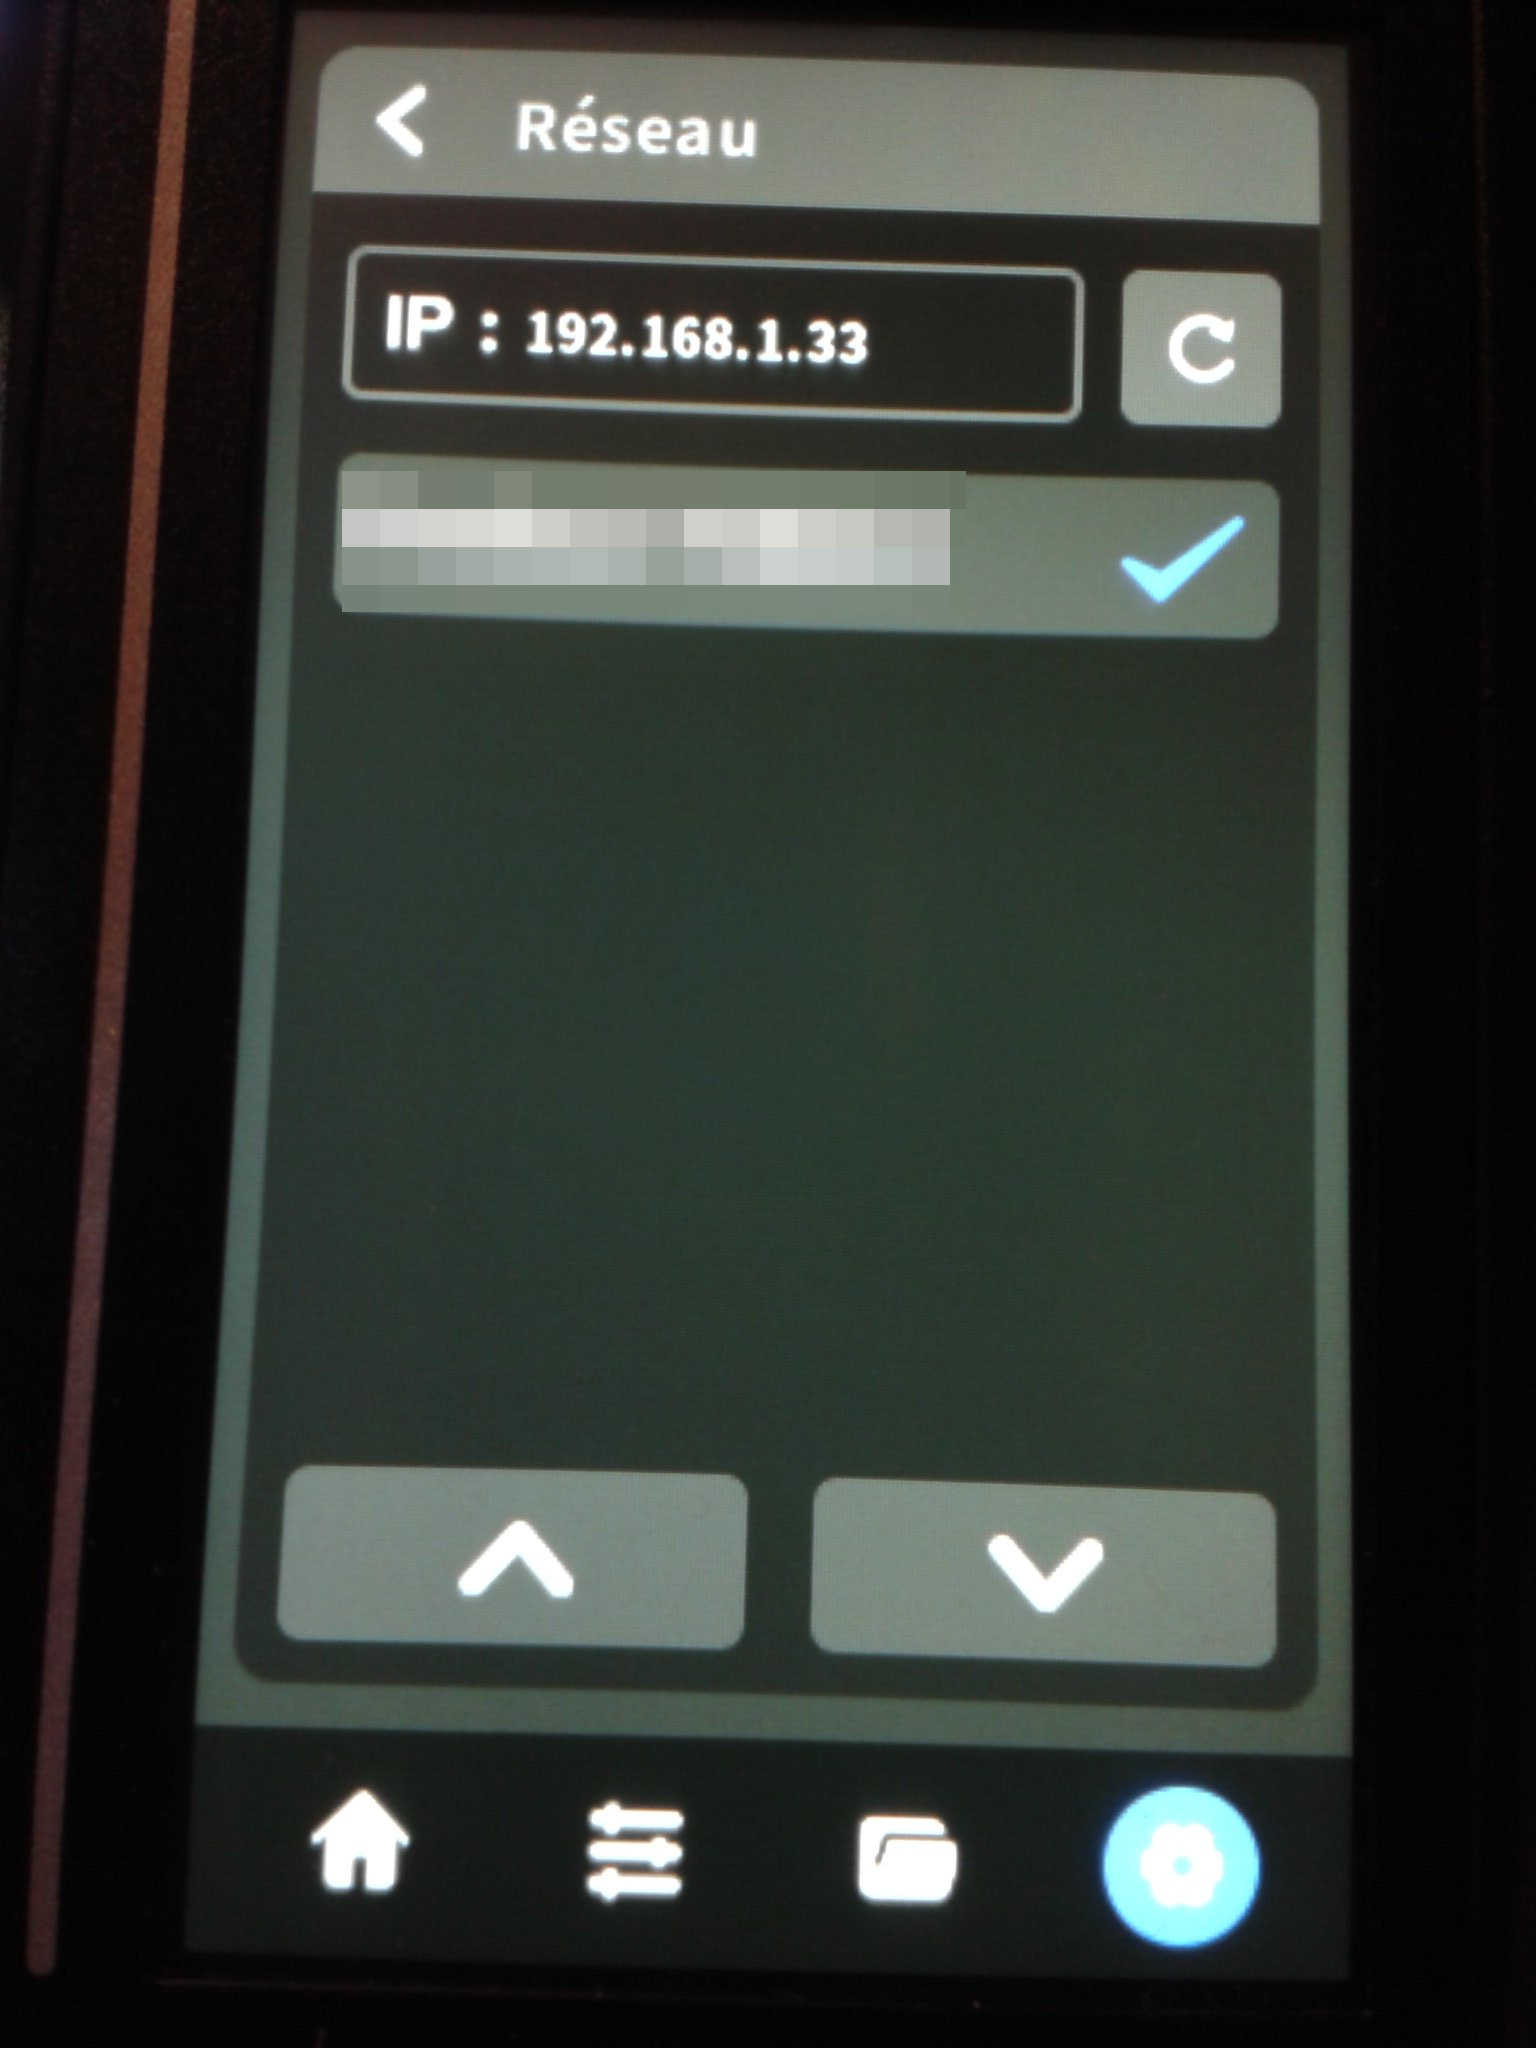
Puis après avoir repositionné le plateau flexible sans son sachet de protection sur la base aimantée, effectuer un “Nivellement automatique du plateau” et un “Input Shaping” avant de configurer la connexion à votre réseau Wi-Fi (2.4 GHz).


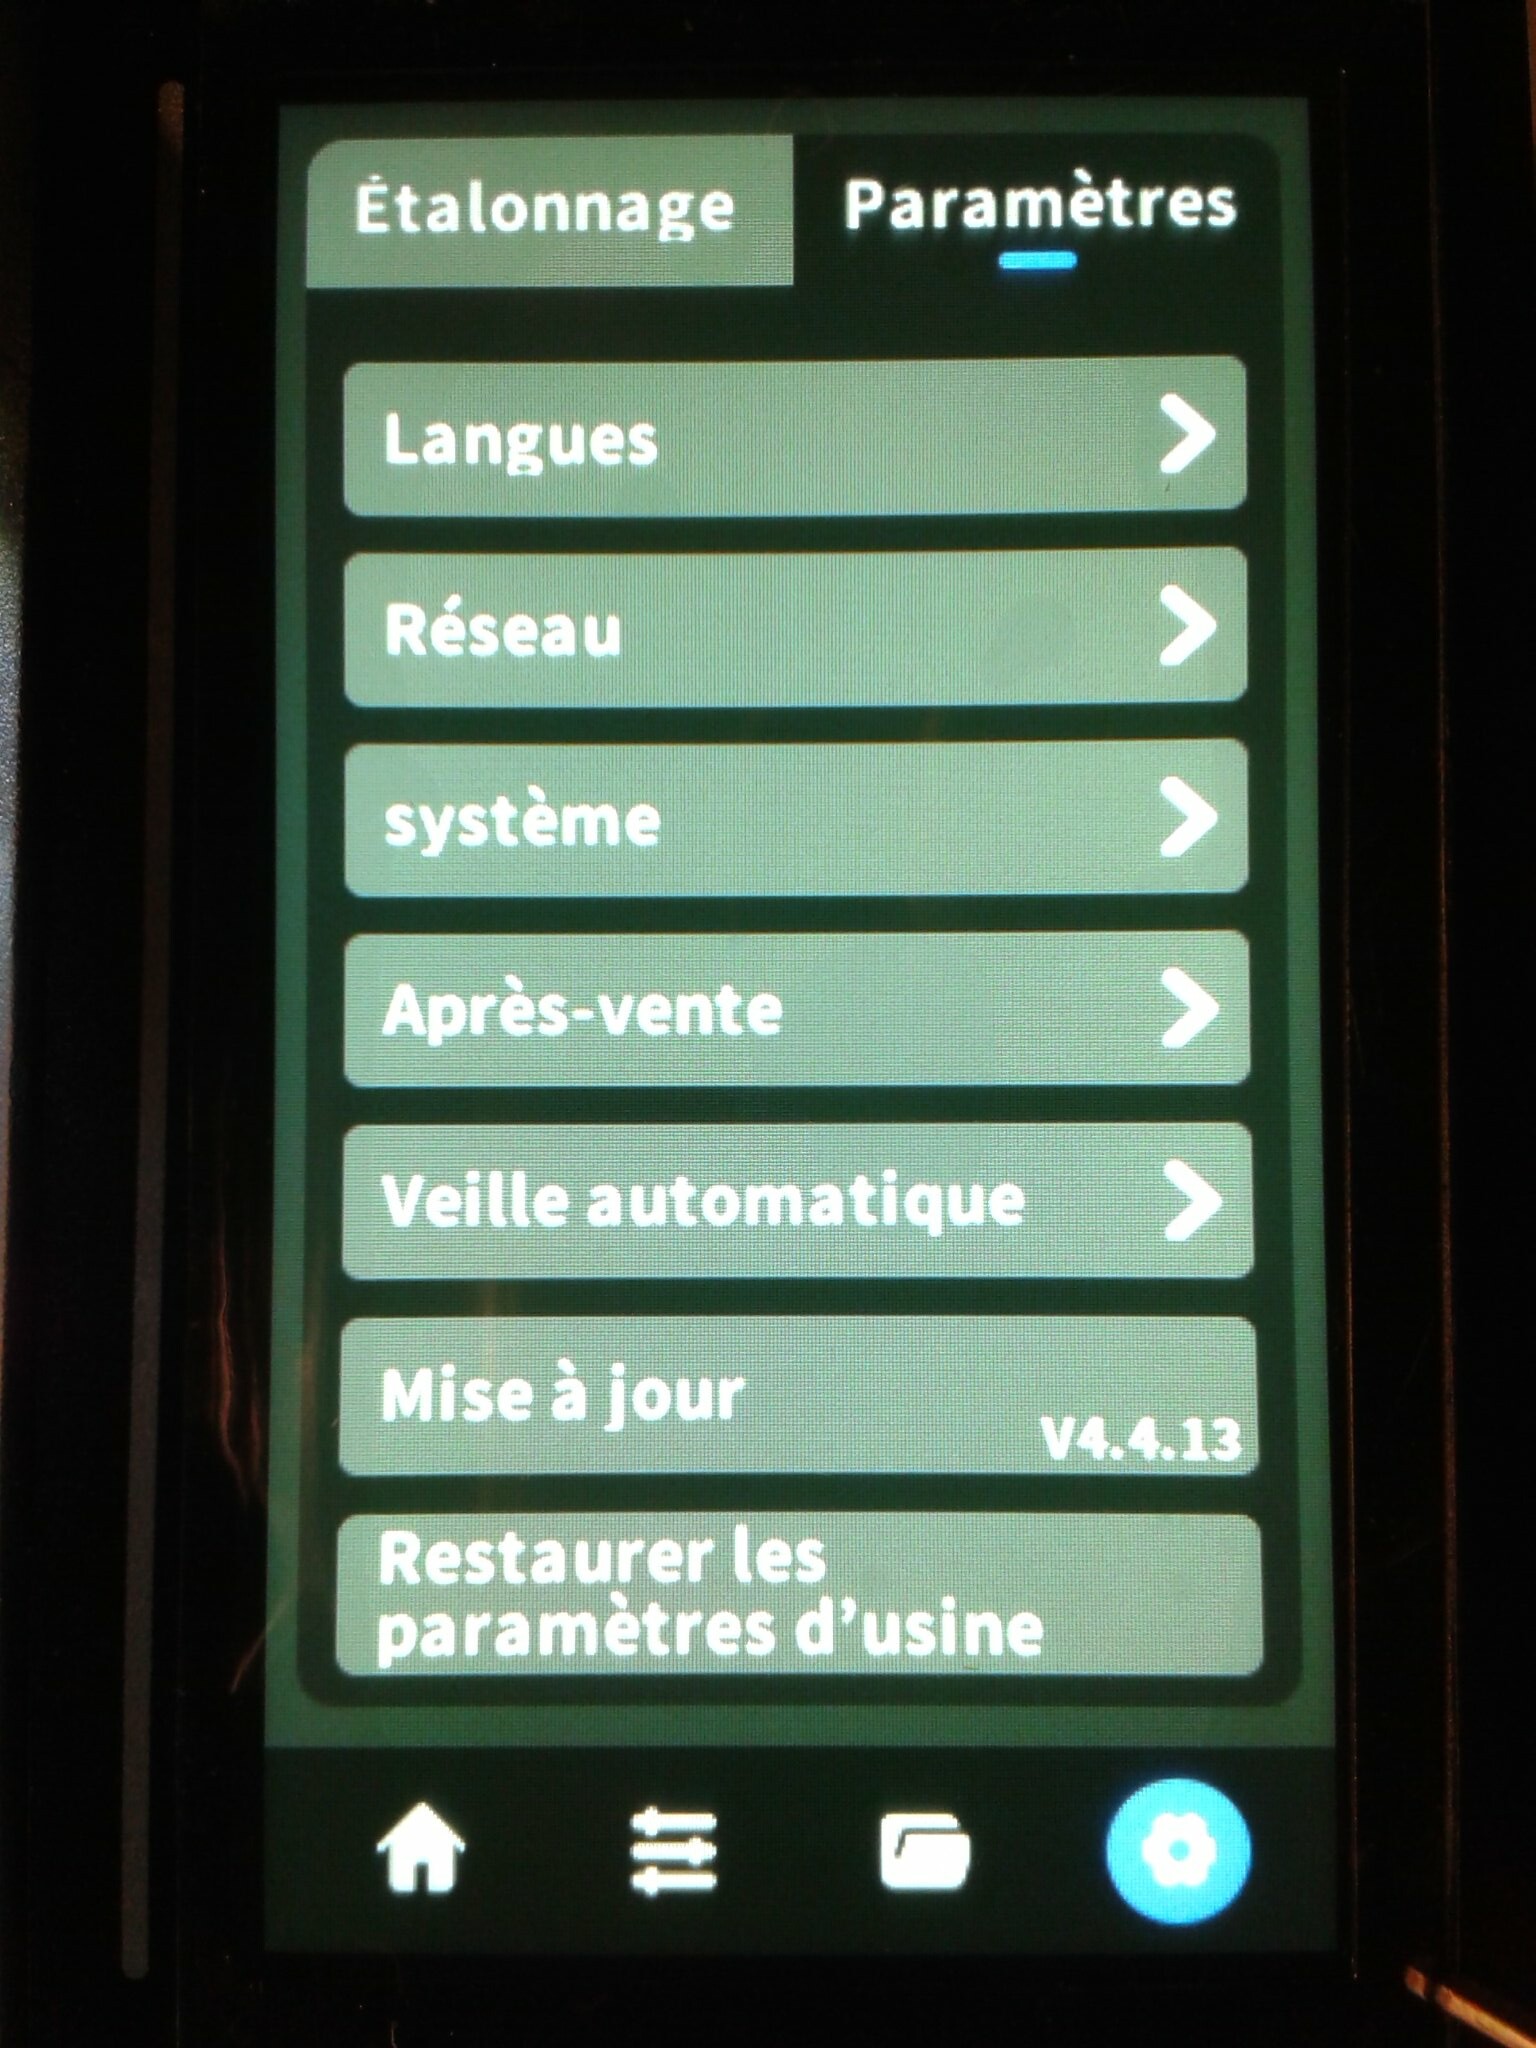
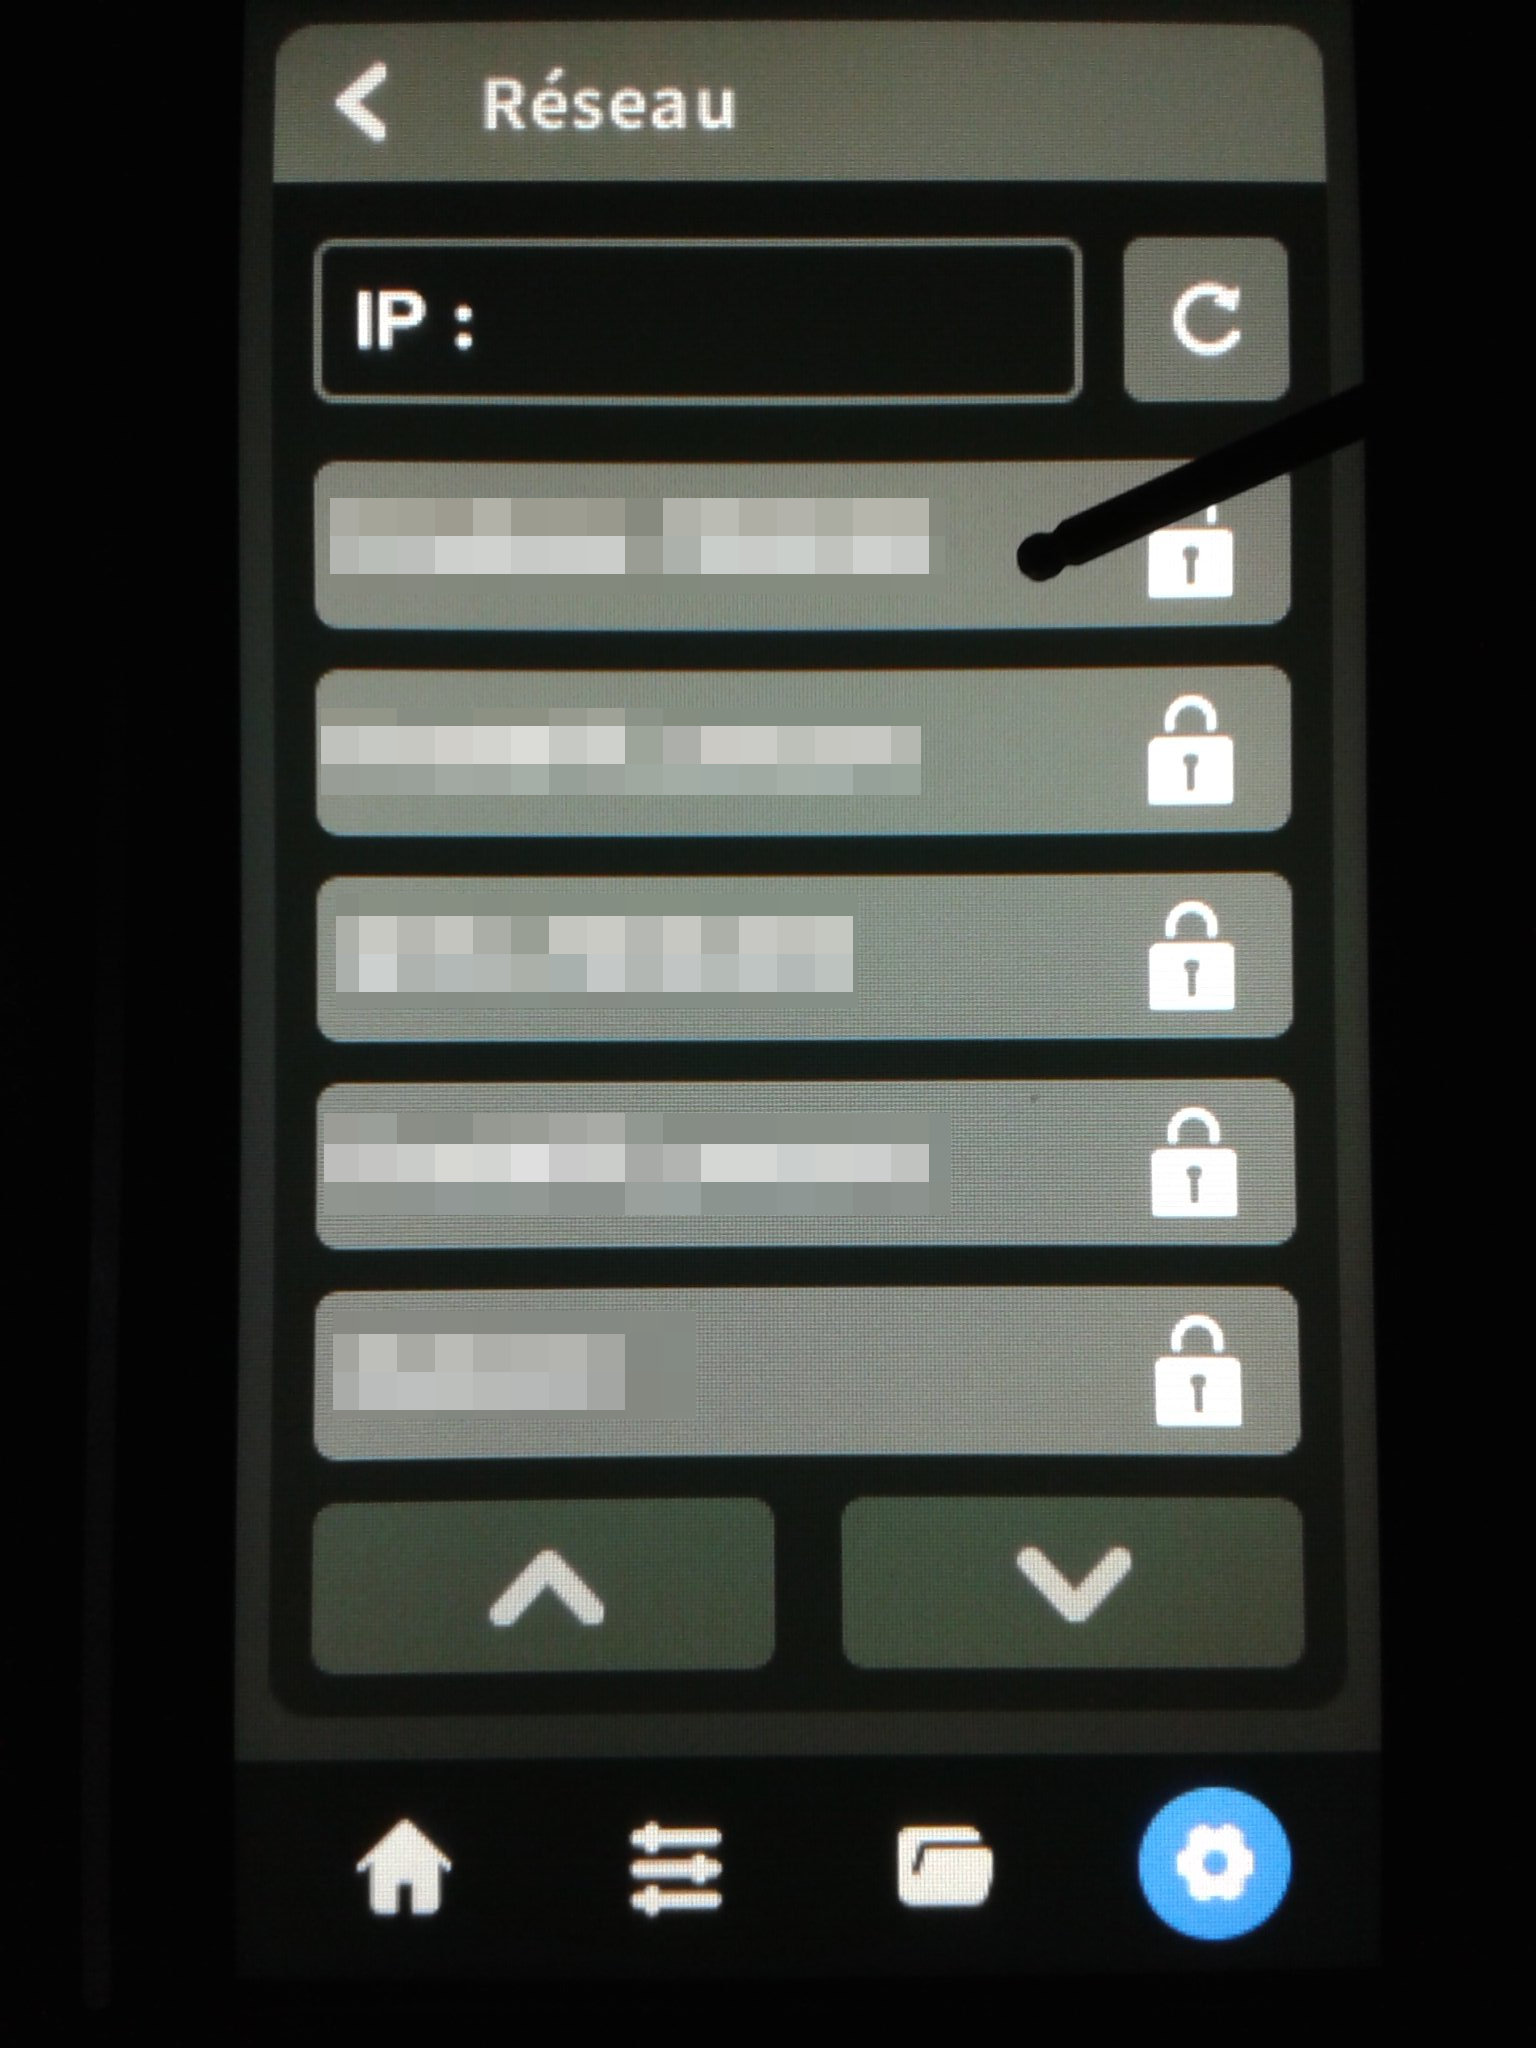
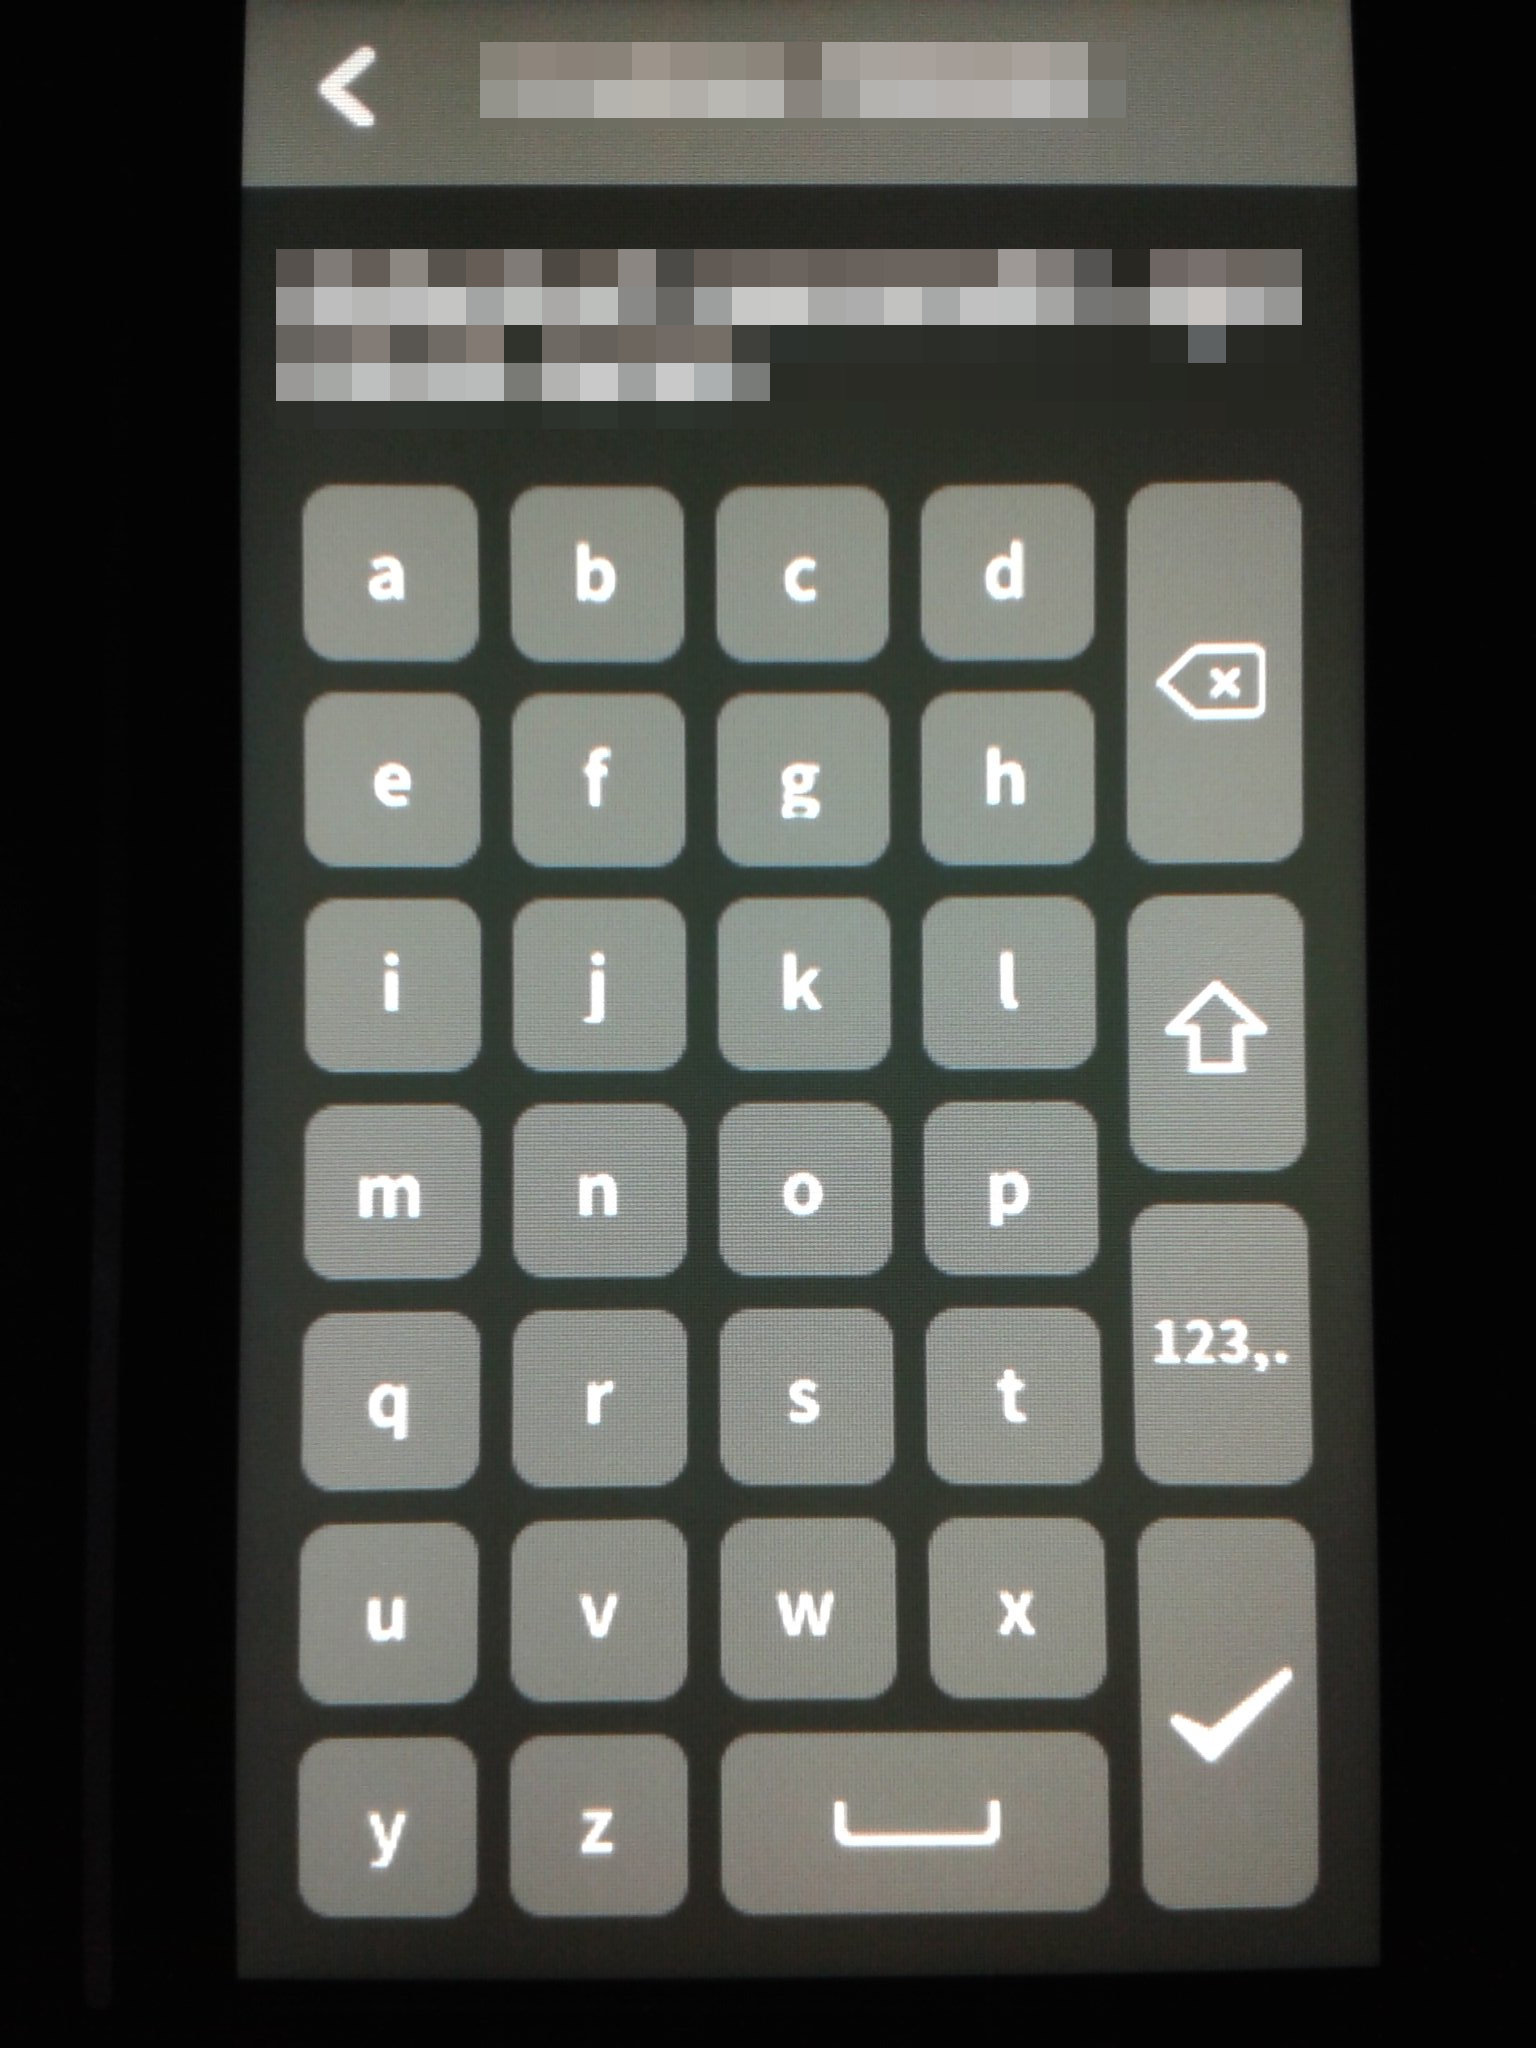
Notez que le champ de saisie de la clé pour un réseau Wi-Fi est limité à un maximum de 36 caractères. Pour contourner cette limitation parce que vous ne voulez ou ne pouvez pas la modifier, suivre cette procédure.
Je vous recommande fortement de modifier les mots de passes par défaut de la machine. Pour faire cela, se connecter à l’imprimante avec un client ssh (par exemple MobaXterm sous Windows) en tant qu’utilisateur root avec le mot de passe par défaut makerbase.
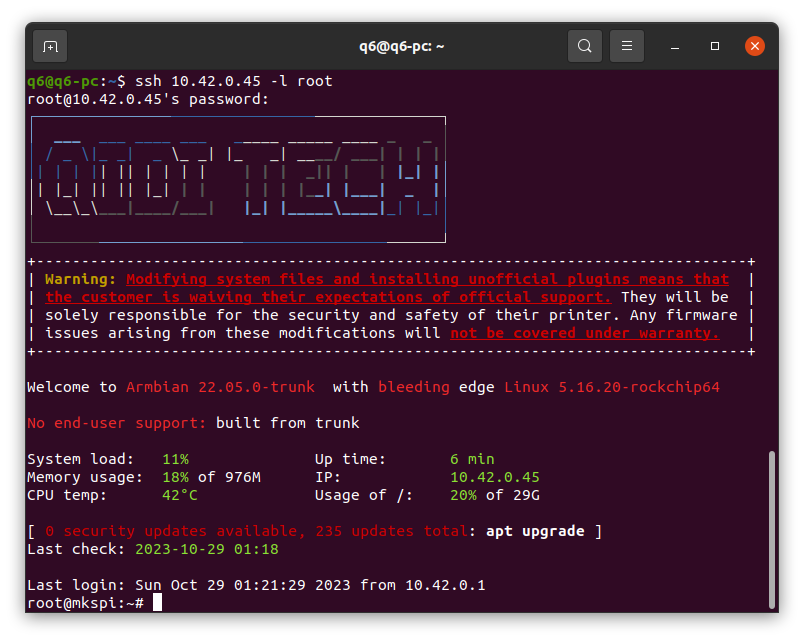
Exécuter ensuite les commandes suivantes pour modifier le mot de passe de l’utilisateur root puis de l’utilisateur mks.
passwd rootpasswd mksBien noter précieusement le nouveaux mot de passe de chaque utilisateur (par exemple, sur le manuel d’utilisation en papier de l’imprimante).
Par précaution, ne pas mettre à jour, le système d’exploitation avec la commande “apt upgrade”, ni la version ou les composants de Klipper via le script KIAUH pré-installé. Je n’ai pas testé mais cela peut éventuellement planter l’imprimante.
Imaginez un château de cartes. D’un point de vue architecture logicielle, mettre à jour le système d’exploitation, c’est risquer de changer des cartes de la base du château où celles du haut reposent (ici Klipper et ses composants), et donc de voir l’ensemble du château s’effondrer, c’est-à-dire planter l’imprimante.
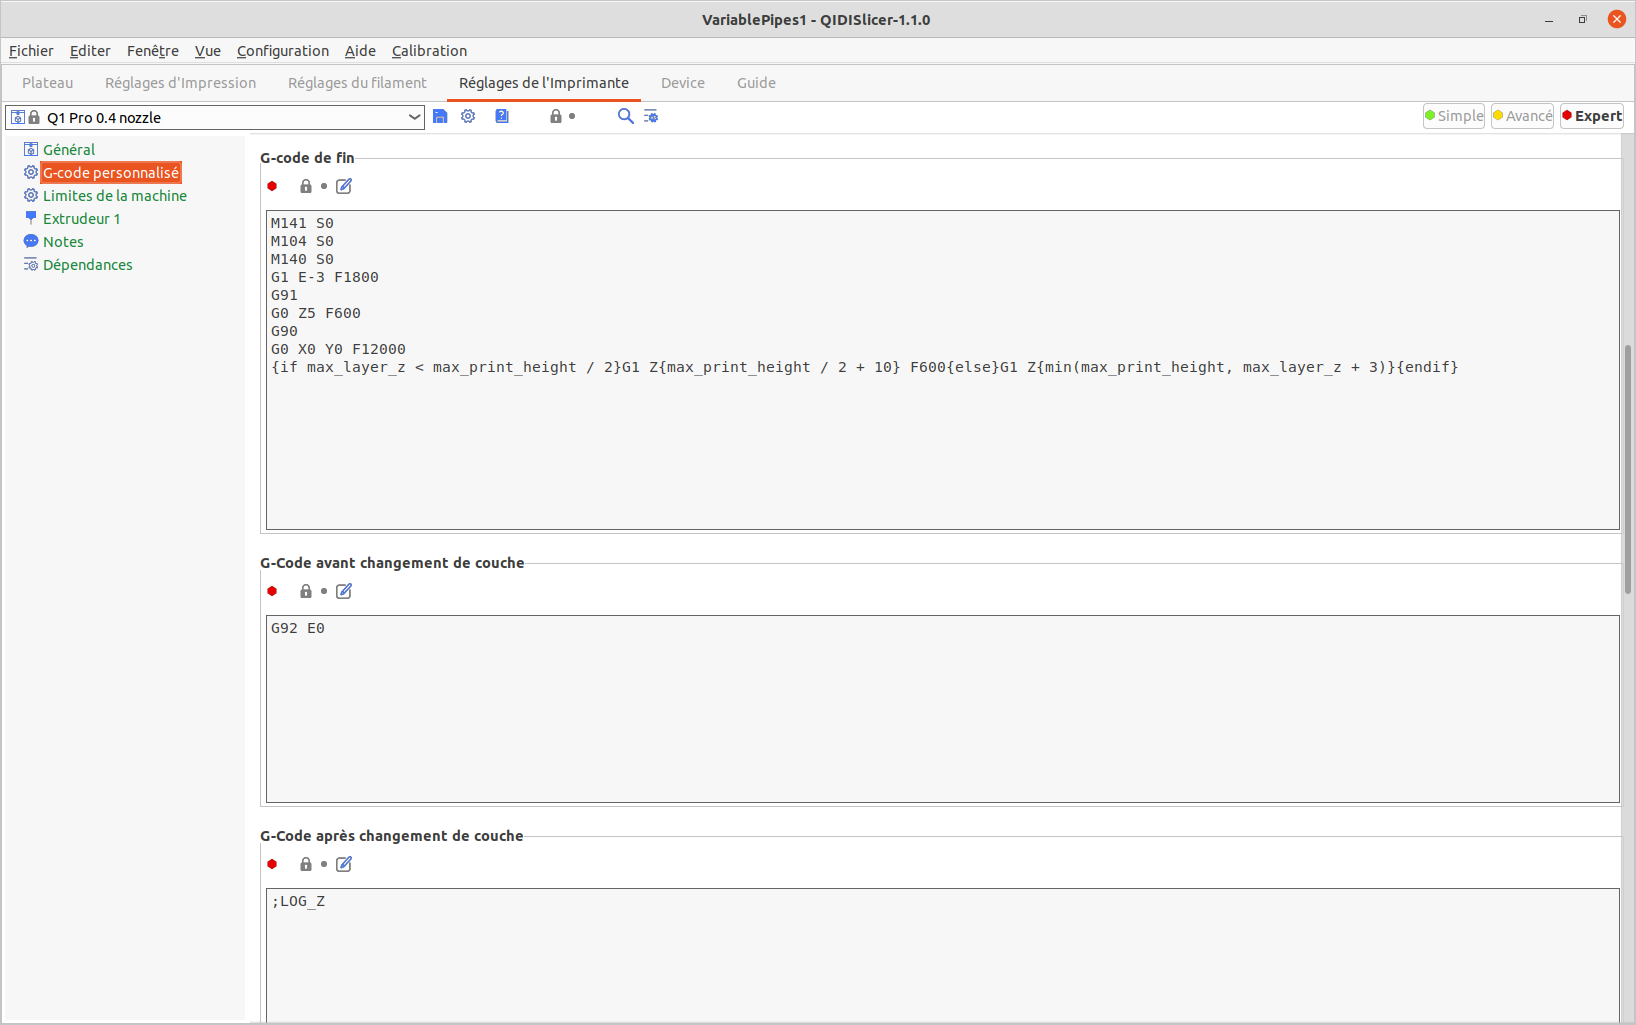
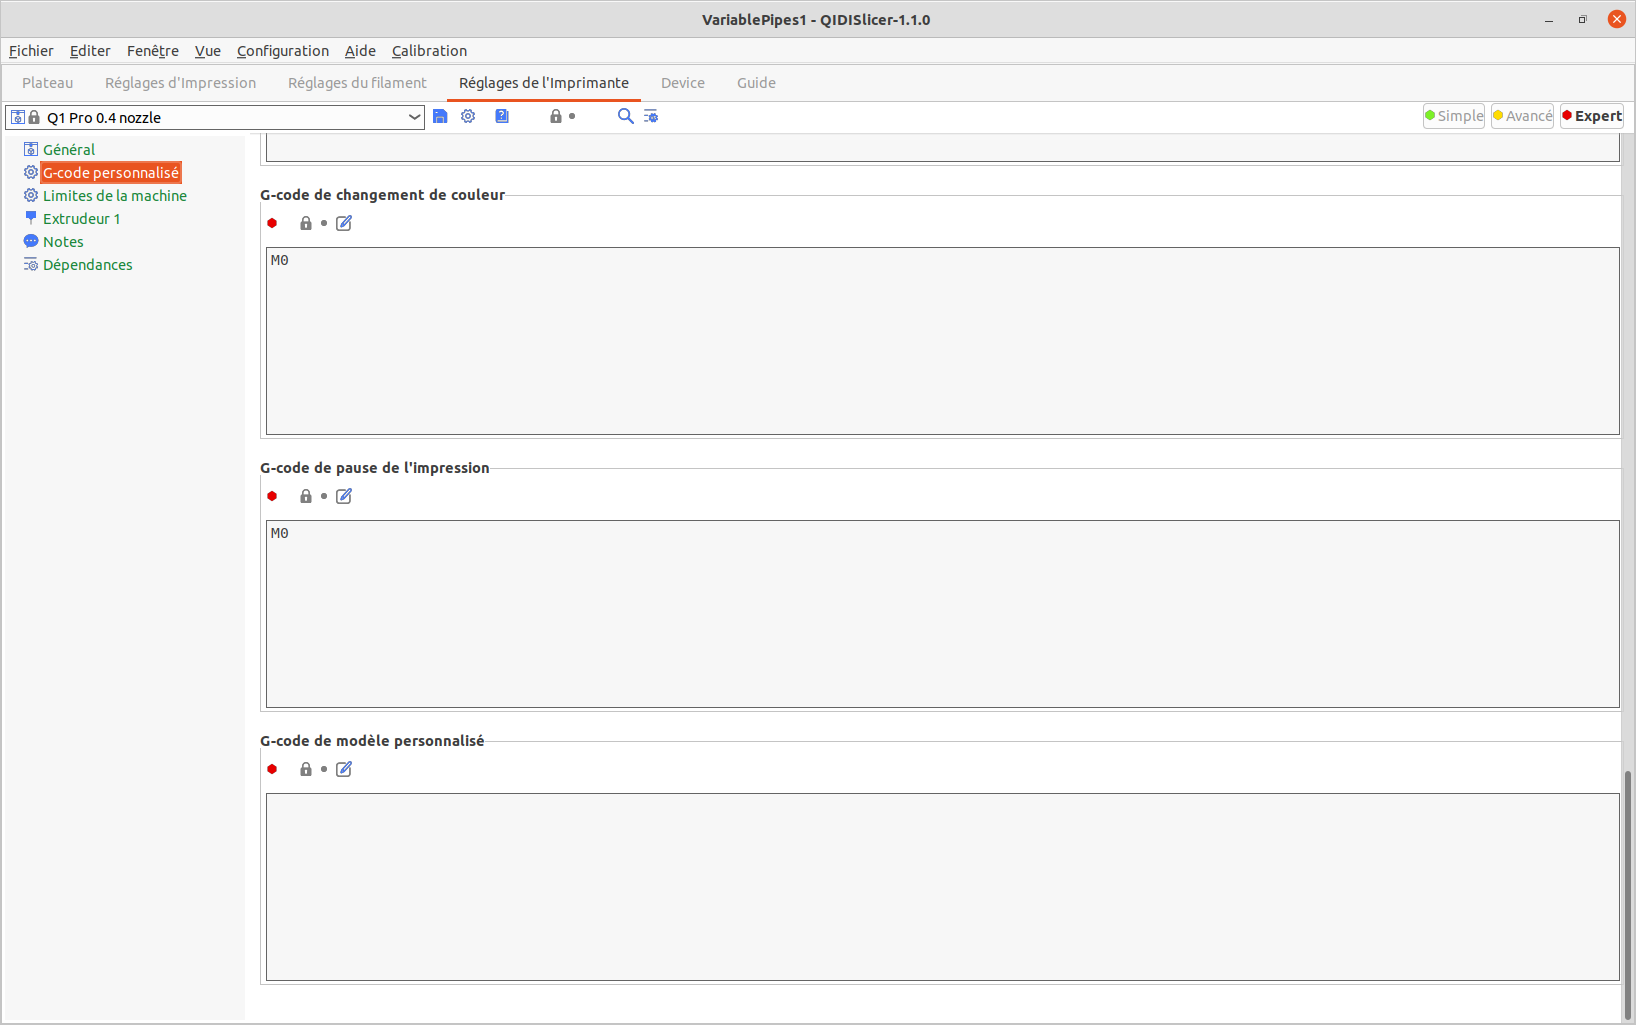
Logiciel Qidi Slicer
Une version spéciale de QIDISlicer v1.1.0 est livrée sur la clé USB (spéciale car elle embarque le profil de la Q1 Pro alors que les builds v1.1.0 et v1.1.1 disponibles en téléchargement ne le proposent pas).

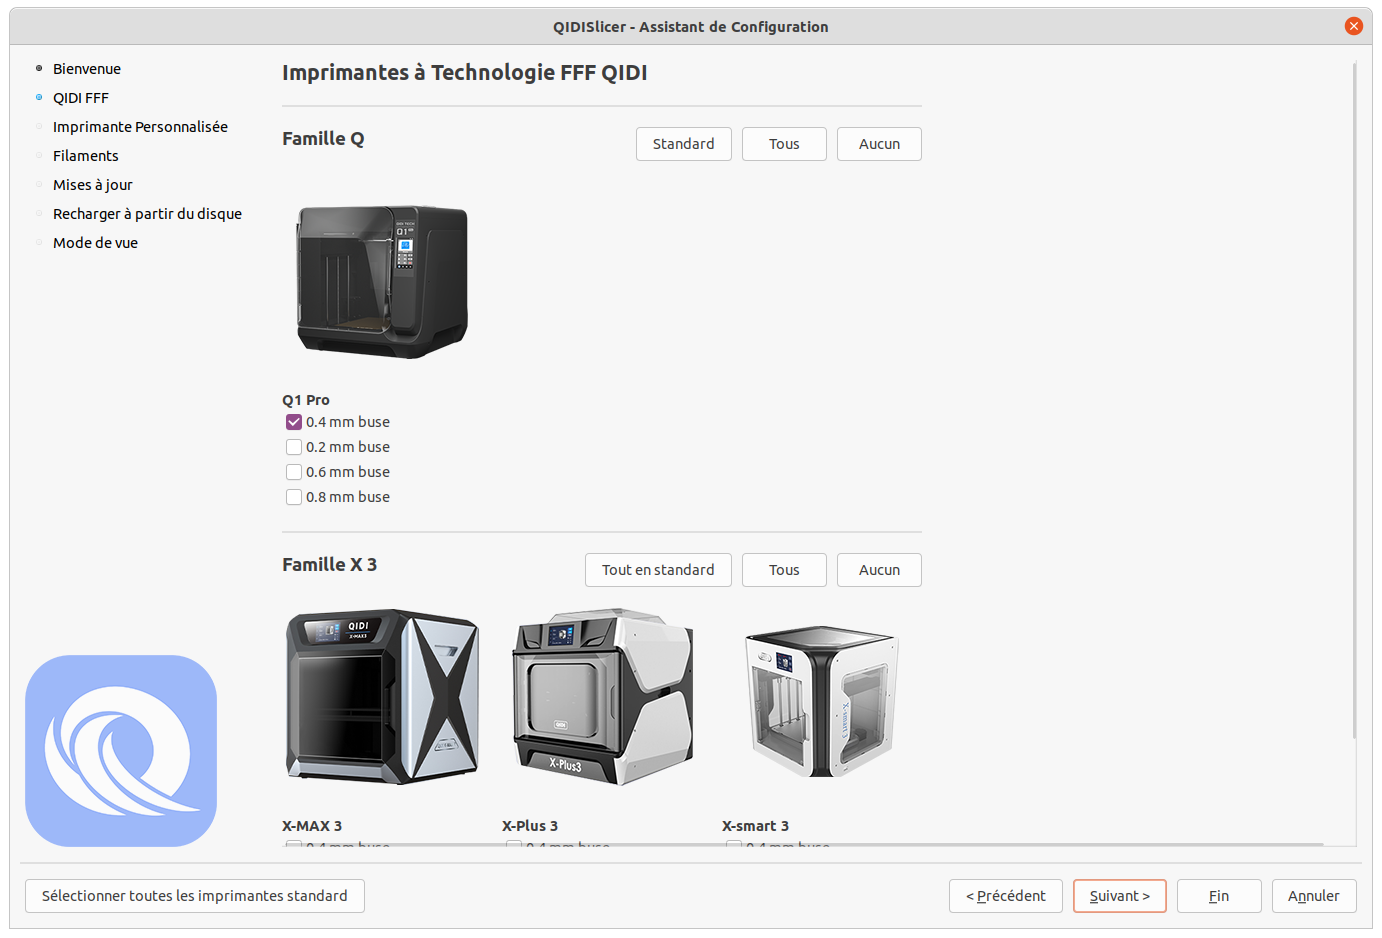
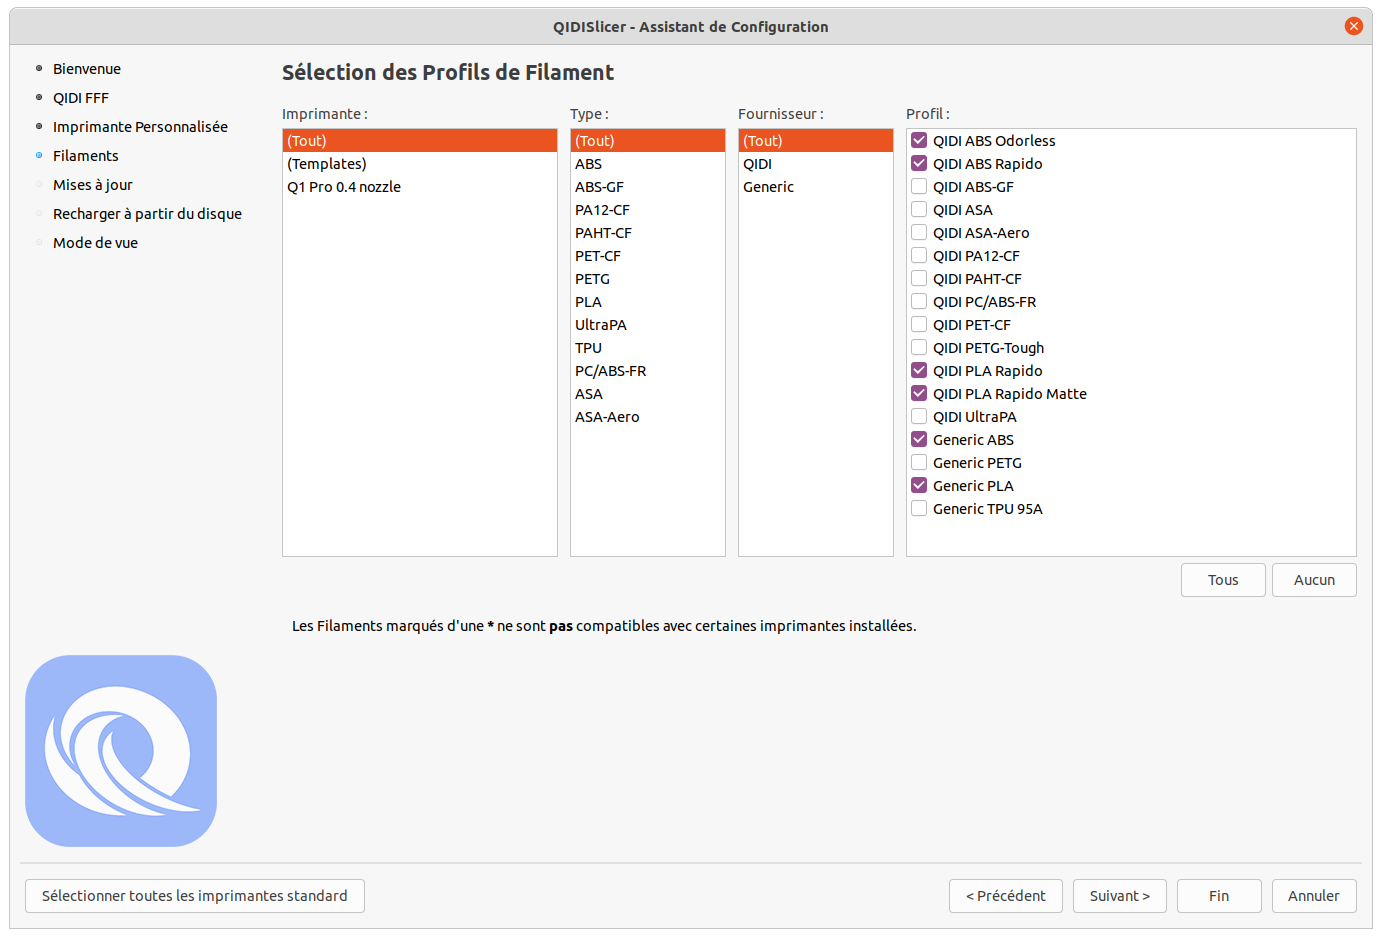
Si vous n’avez plus la version de la clé USB, il faudra télécharger Qidi Slicer v1.1.2 ou supérieur pour avoir le profil de la Q1 Pro.
Préférez télécharger Qidi Slicer depuis le site officiel car les versions sur le GitHub peuvent être des versions en cours de développement ou de test (bêta).
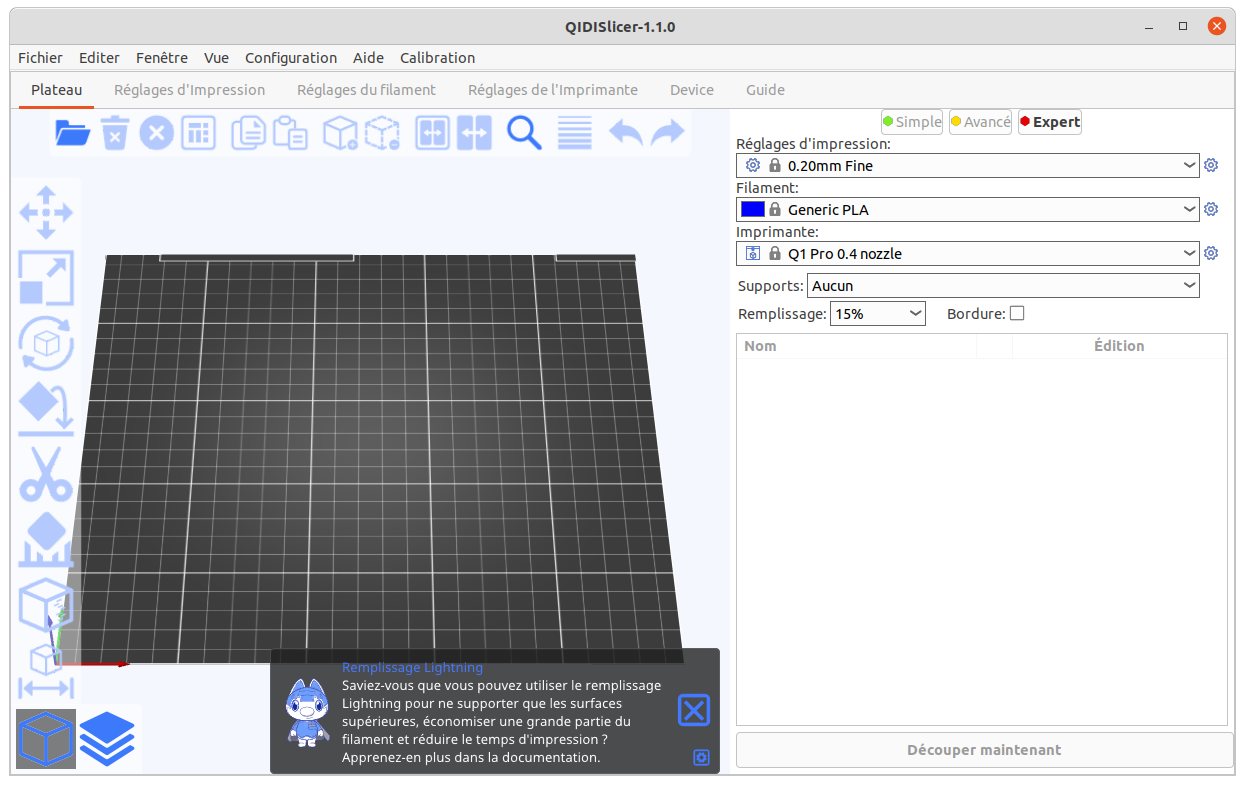
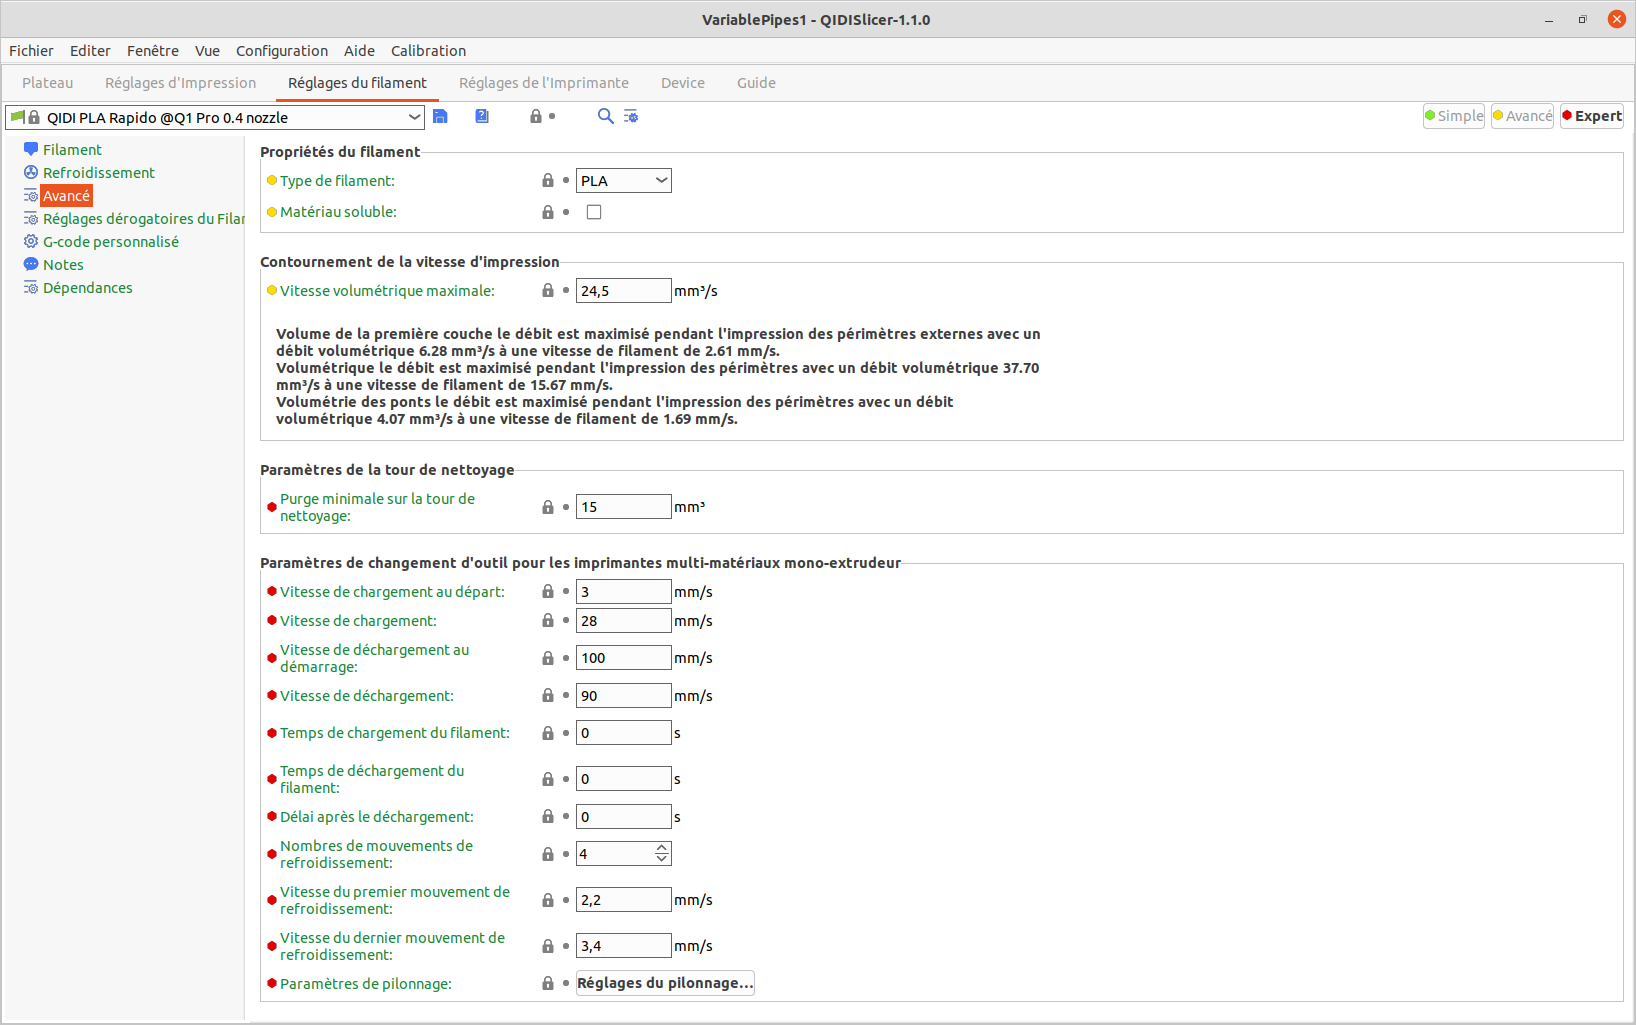
Ce trancheur de Qidi Tech est un “fork” (un dérivé) de Prusa Slicer. La majorité de la documentation de Prusa Slicer est donc applicable à Qidi Slicer.
Par exemple, pour mieux comprendre ce que cache le paramètre “Vitesse volumétrique maximale” en mm³/s, ou en anglais “Maximum Volumetric Speed” soit “MVS”, on peut lire cette page.

Impressions de test (PLA) avec la Qidi Q1 Pro
J’ai utilisé les fichiers d’impression présents sur la mémoire interne de la Q1 Pro pour tester son fonctionnement et la qualité des impressions, sans réglage préalable.
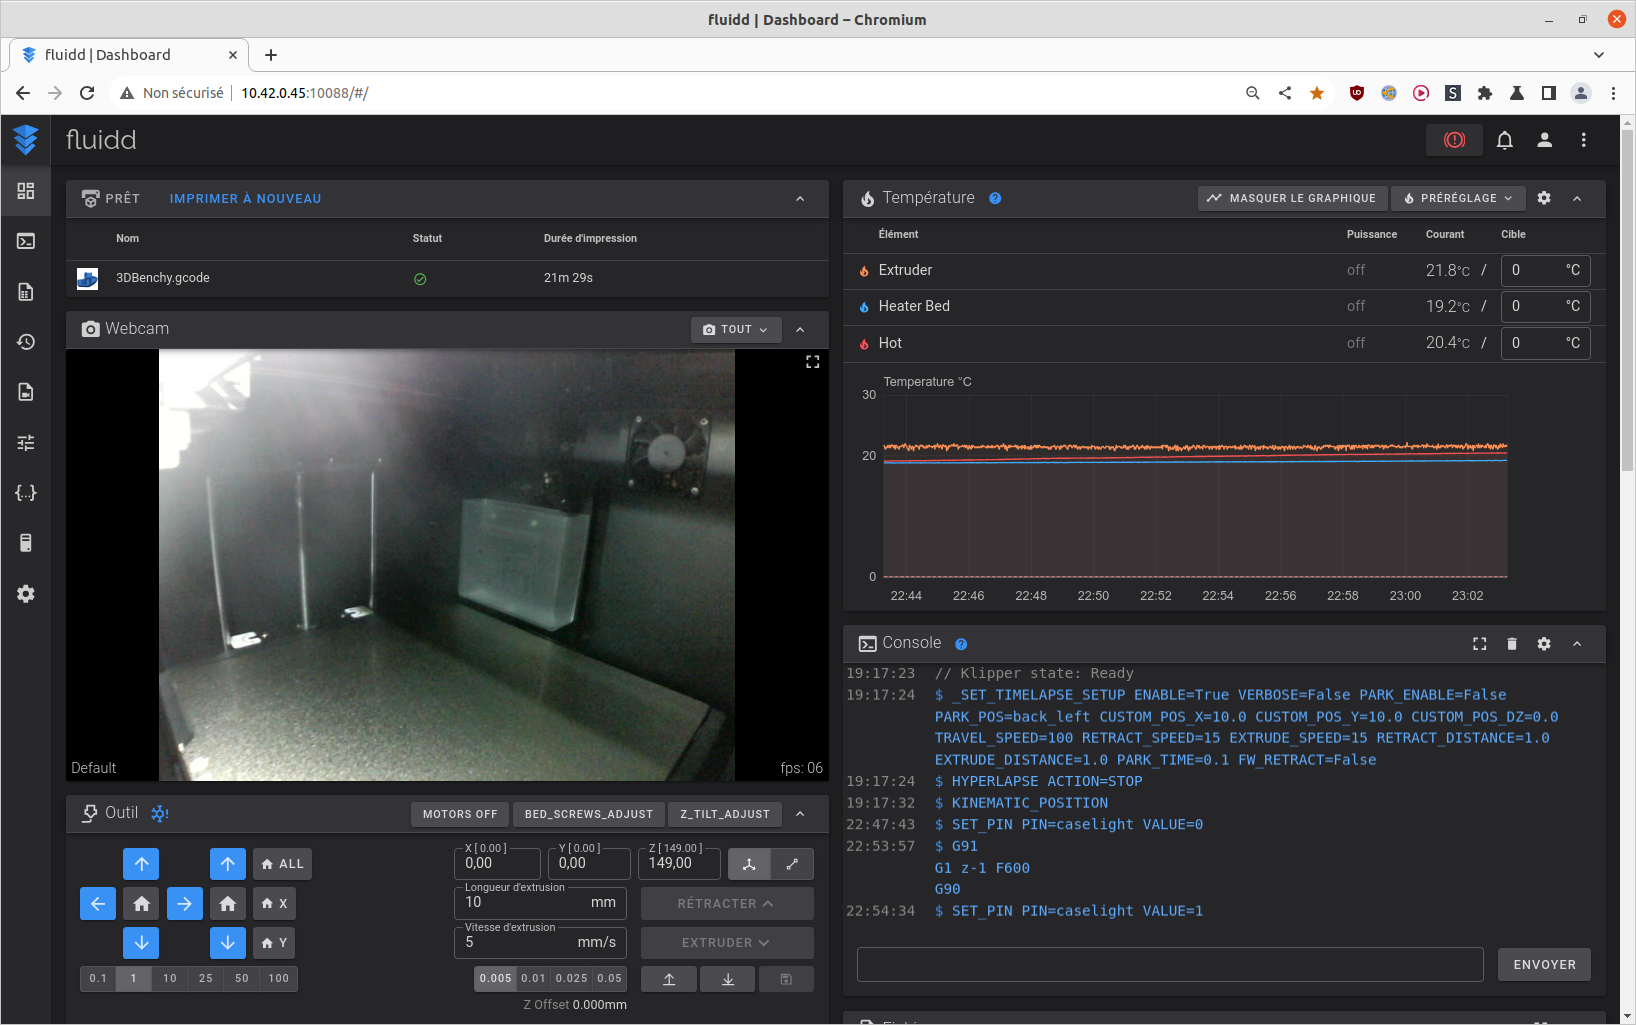
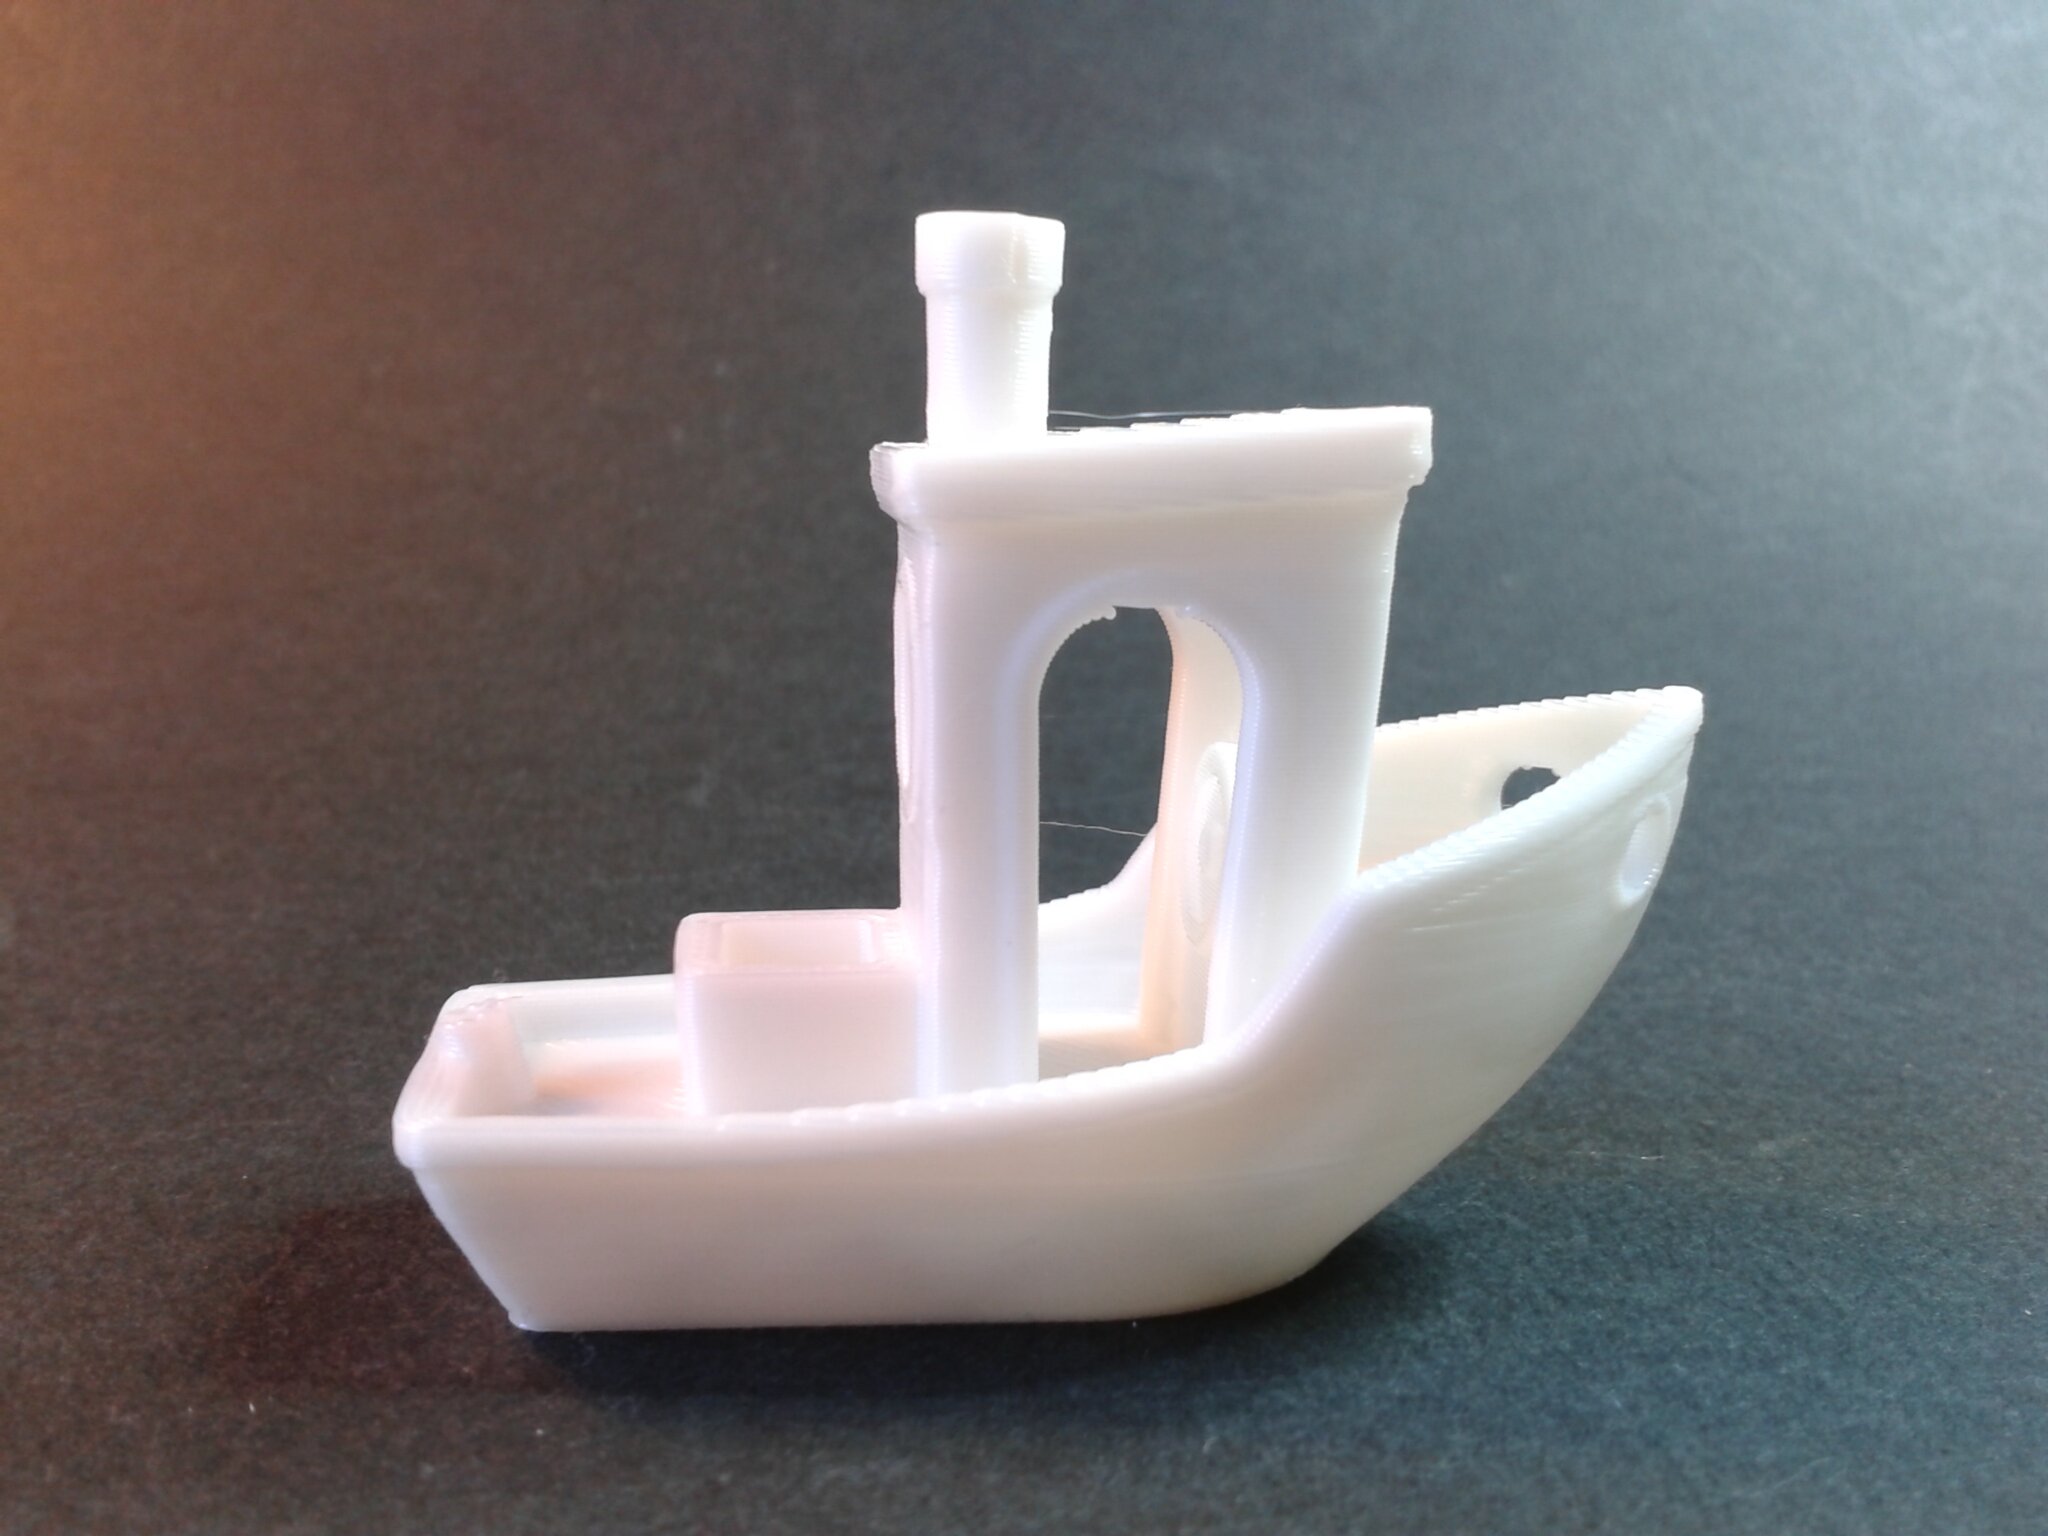
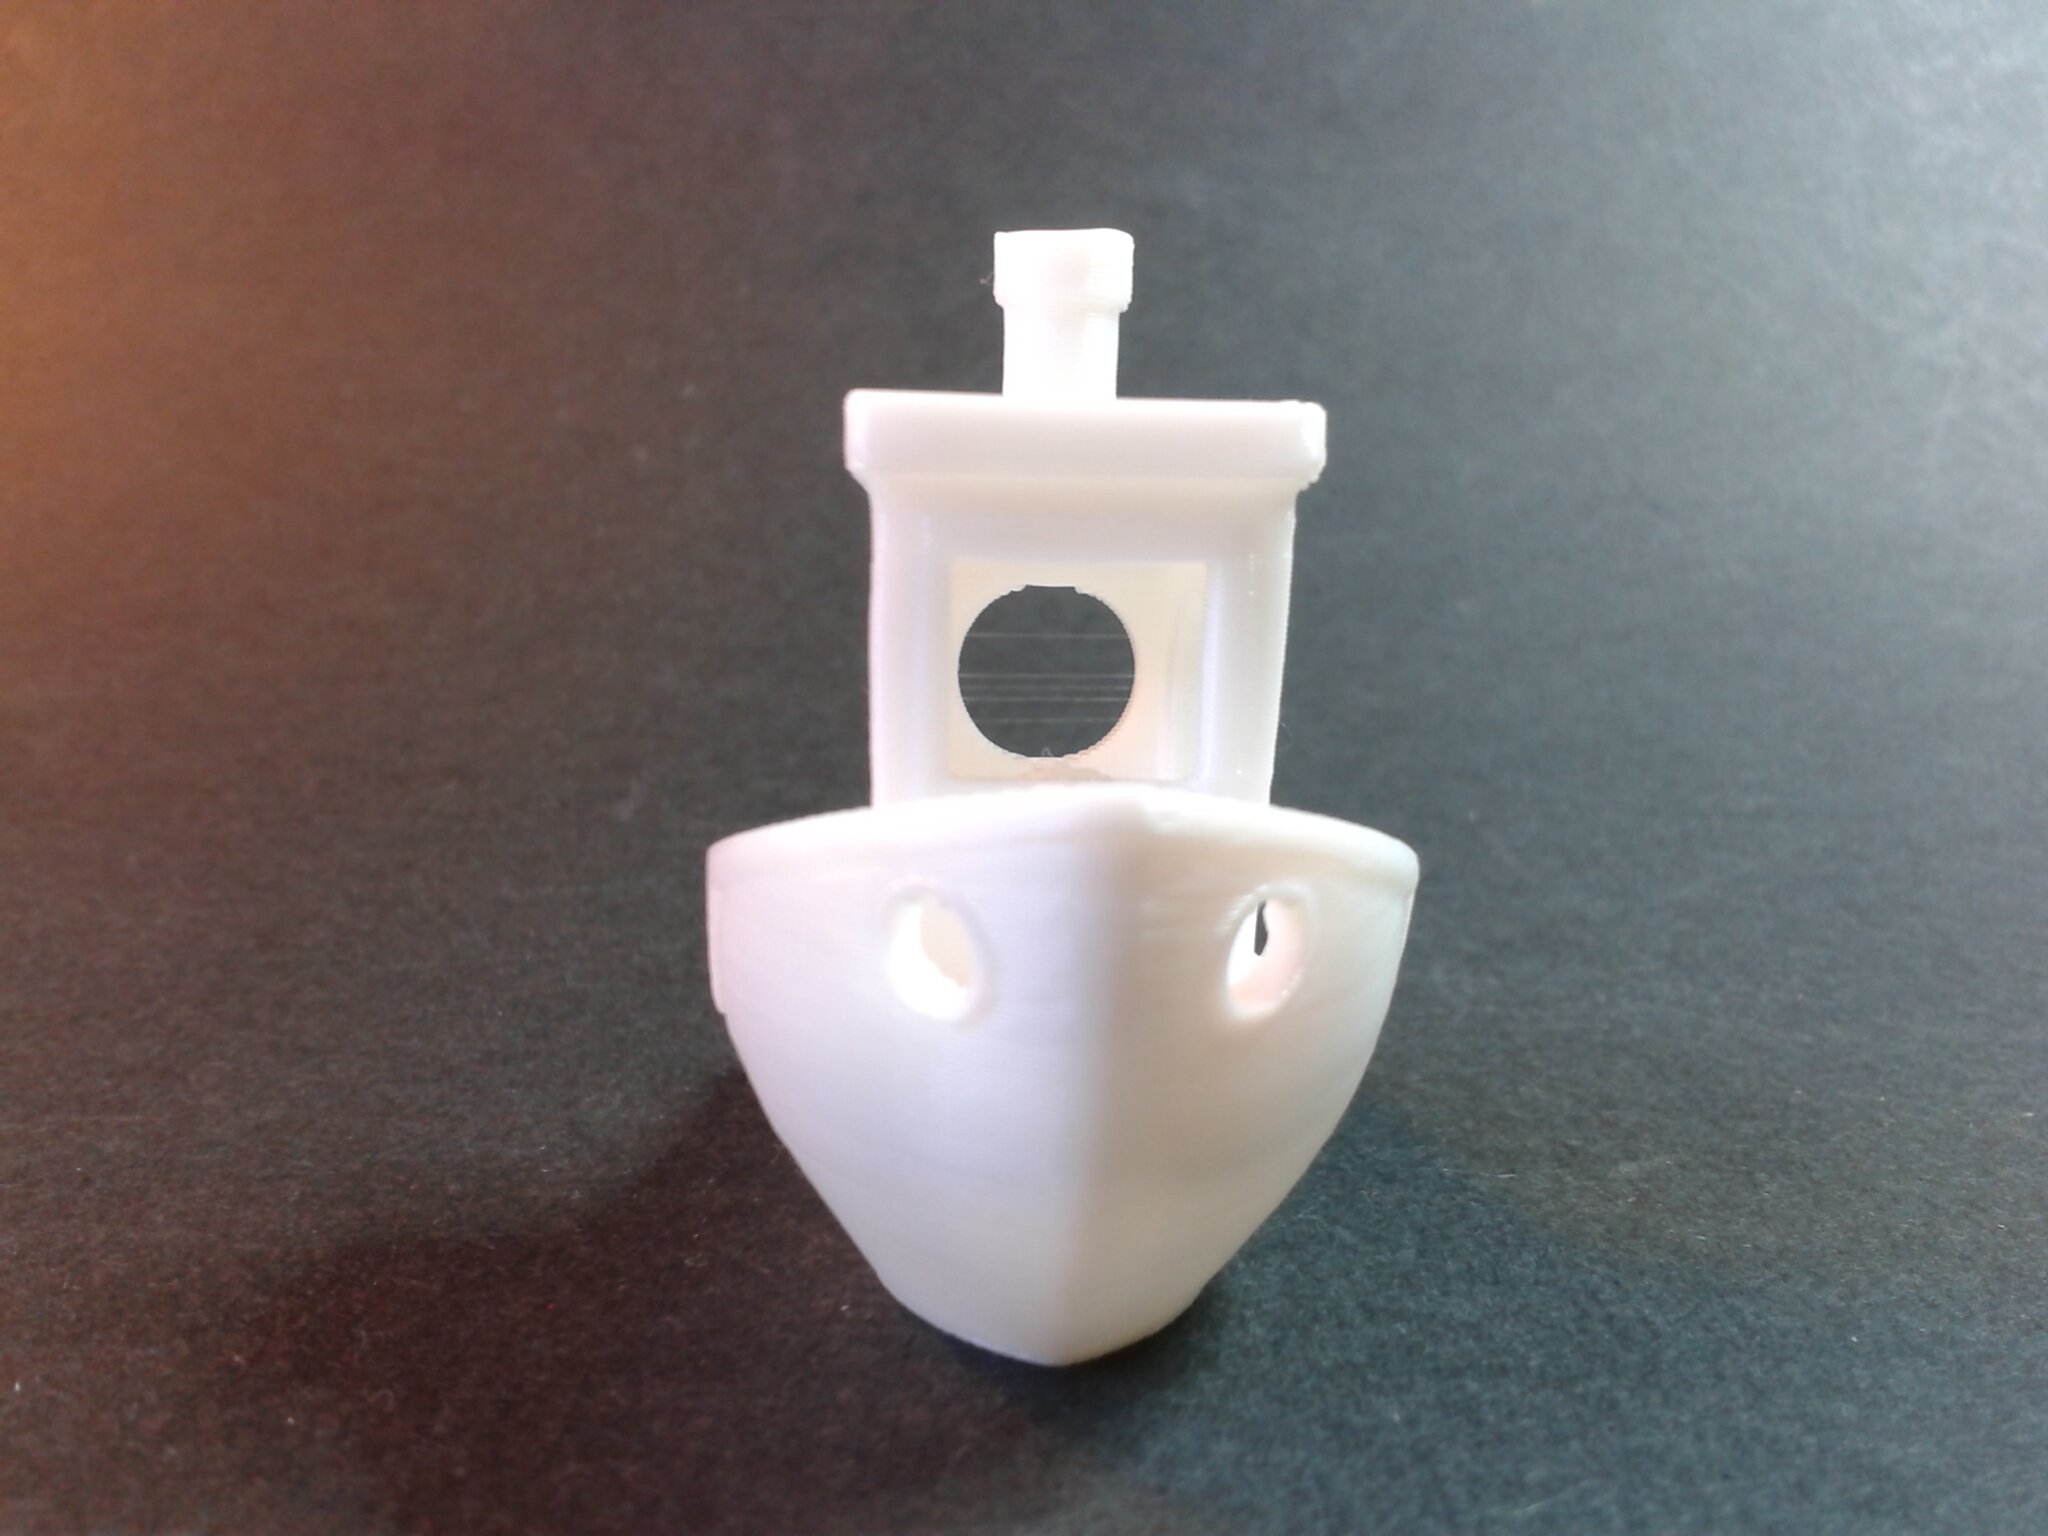
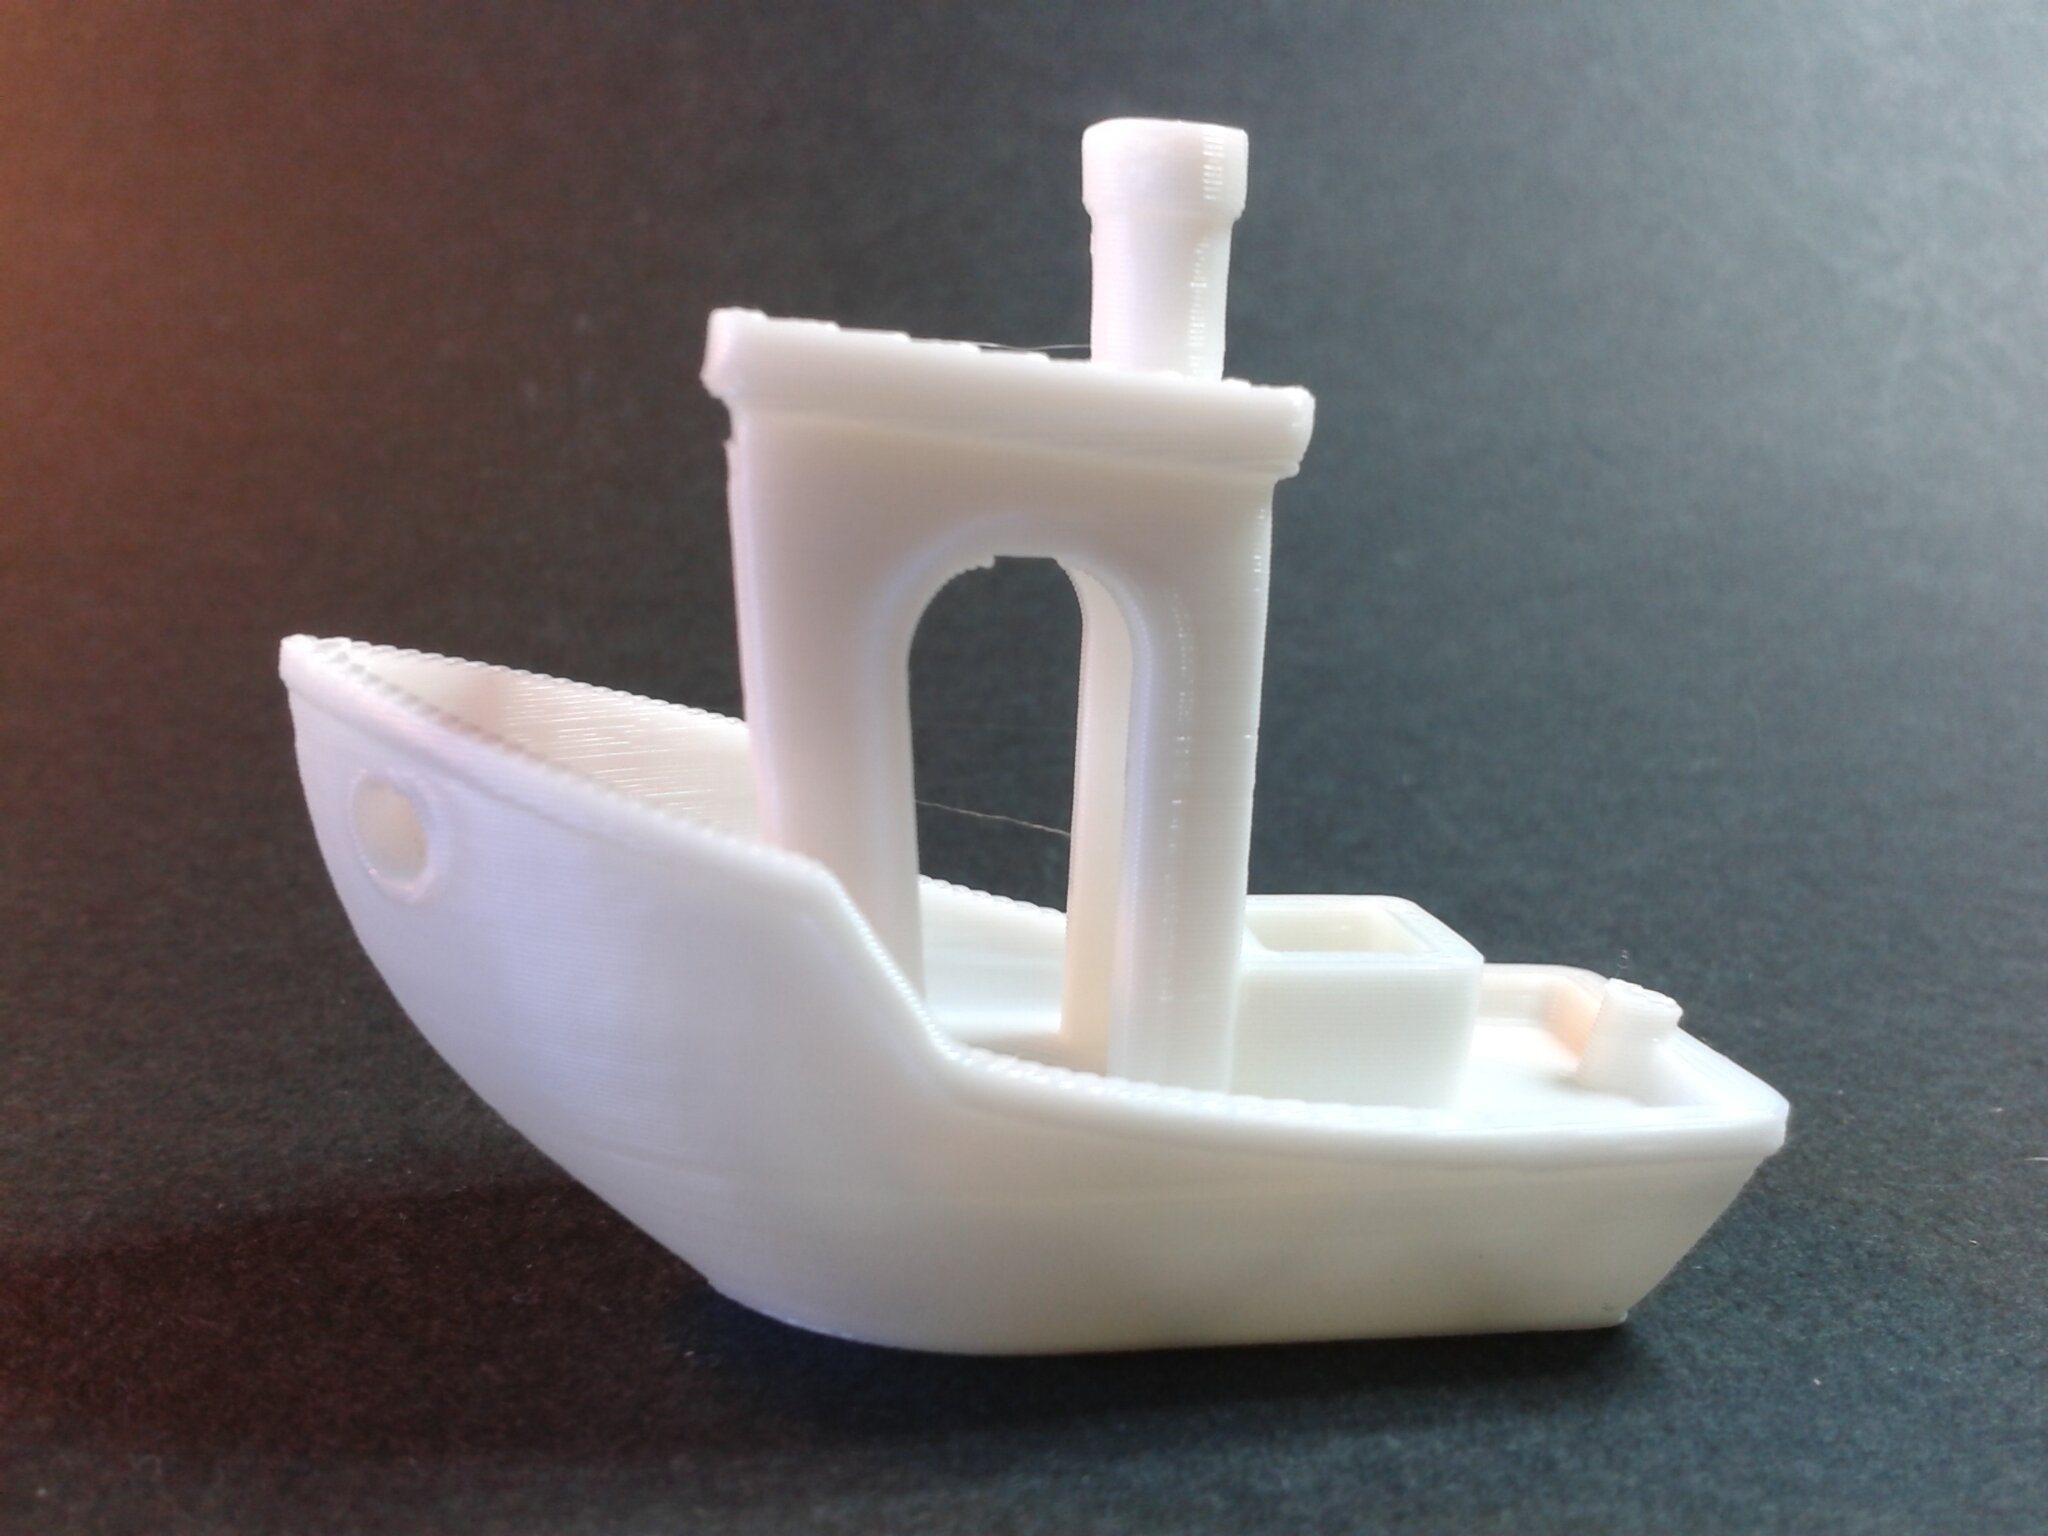
3DBenchy.gcode
Tranché avec QIDISlicer v1.1.0, Hauteur de couche 0.25 mm, QIDI PLA Rapido, Buse 210°C, Plateau 60°C.
Filament Hyper PLA blanc Creality
Durée d’impression : 21 minutes et 29 secondes.


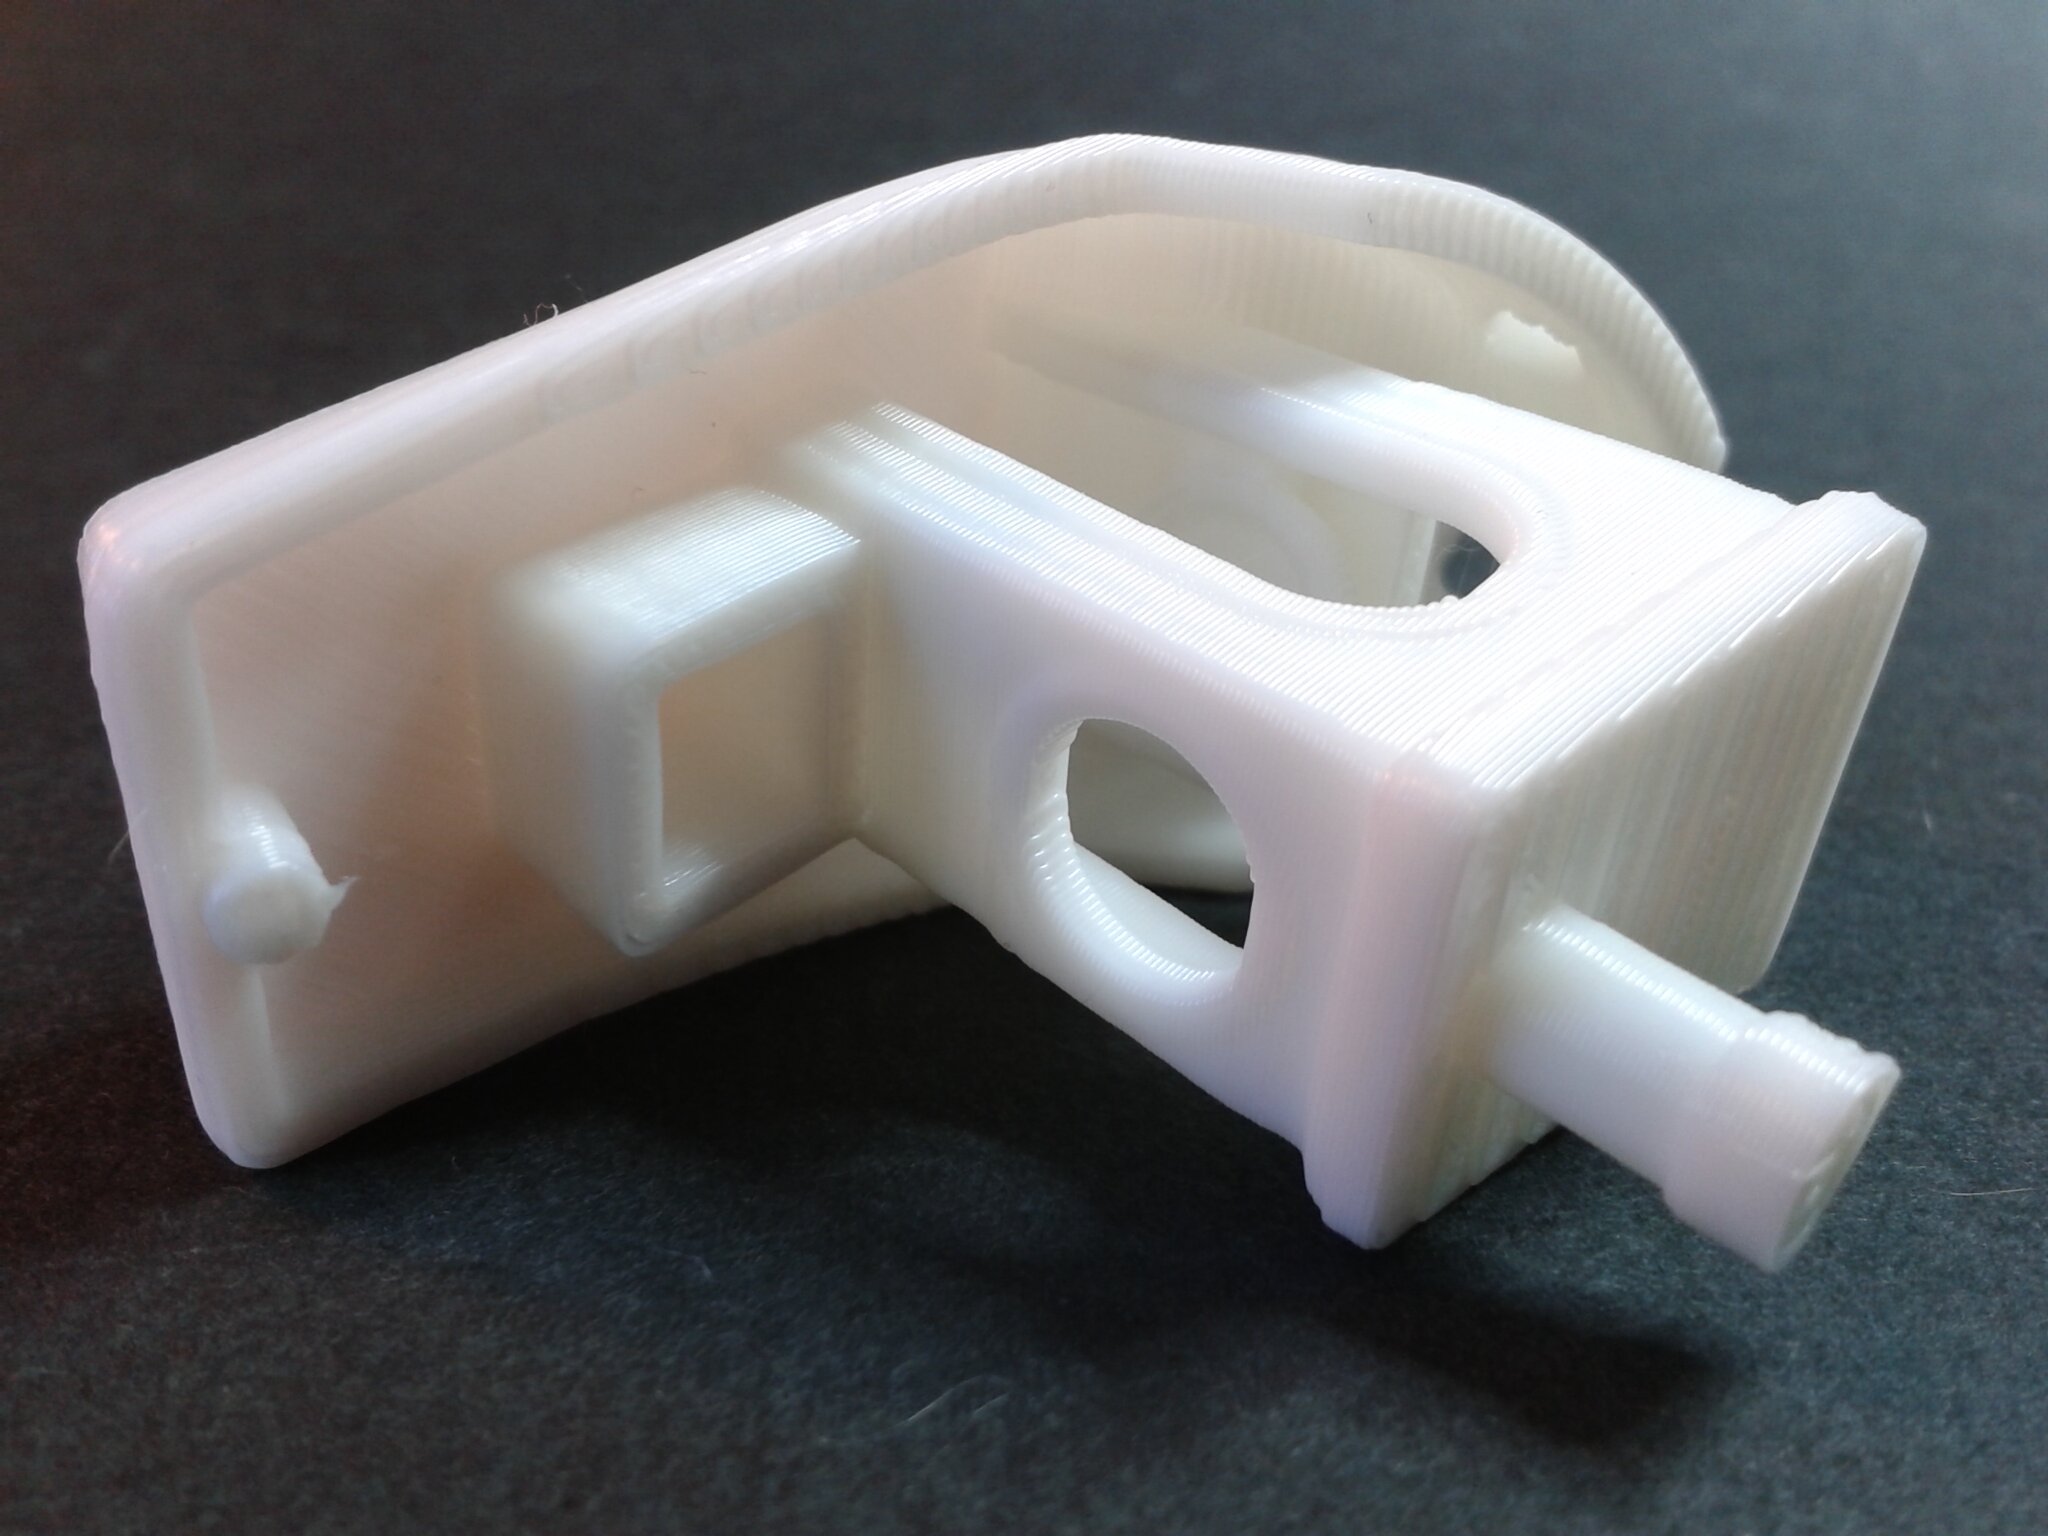
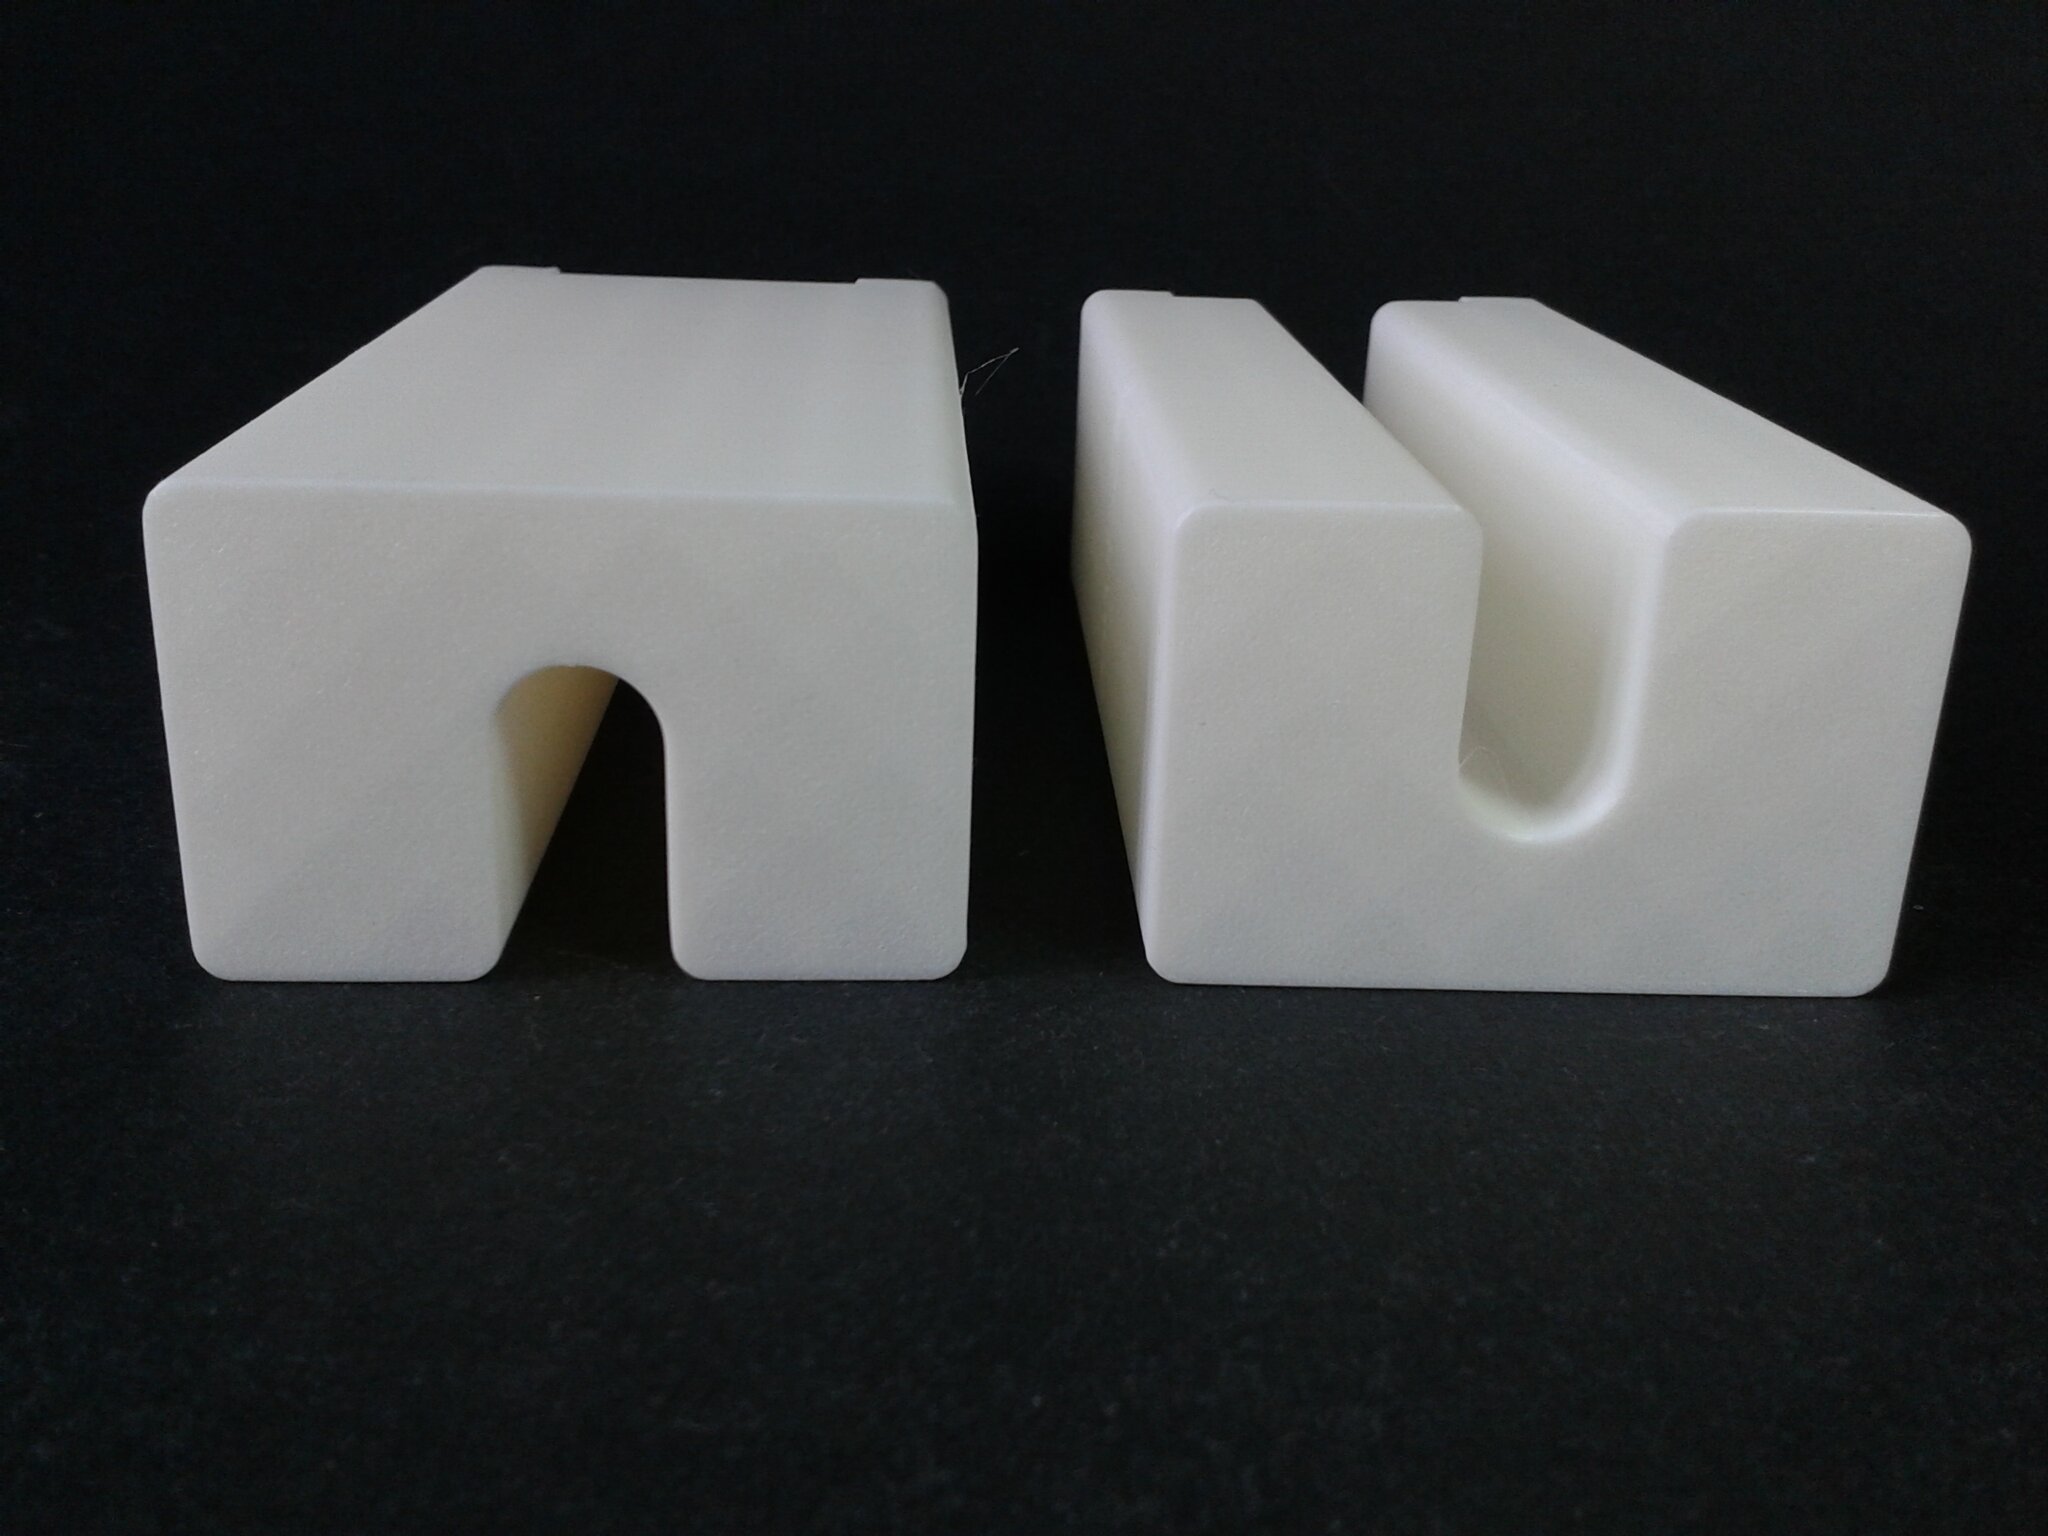
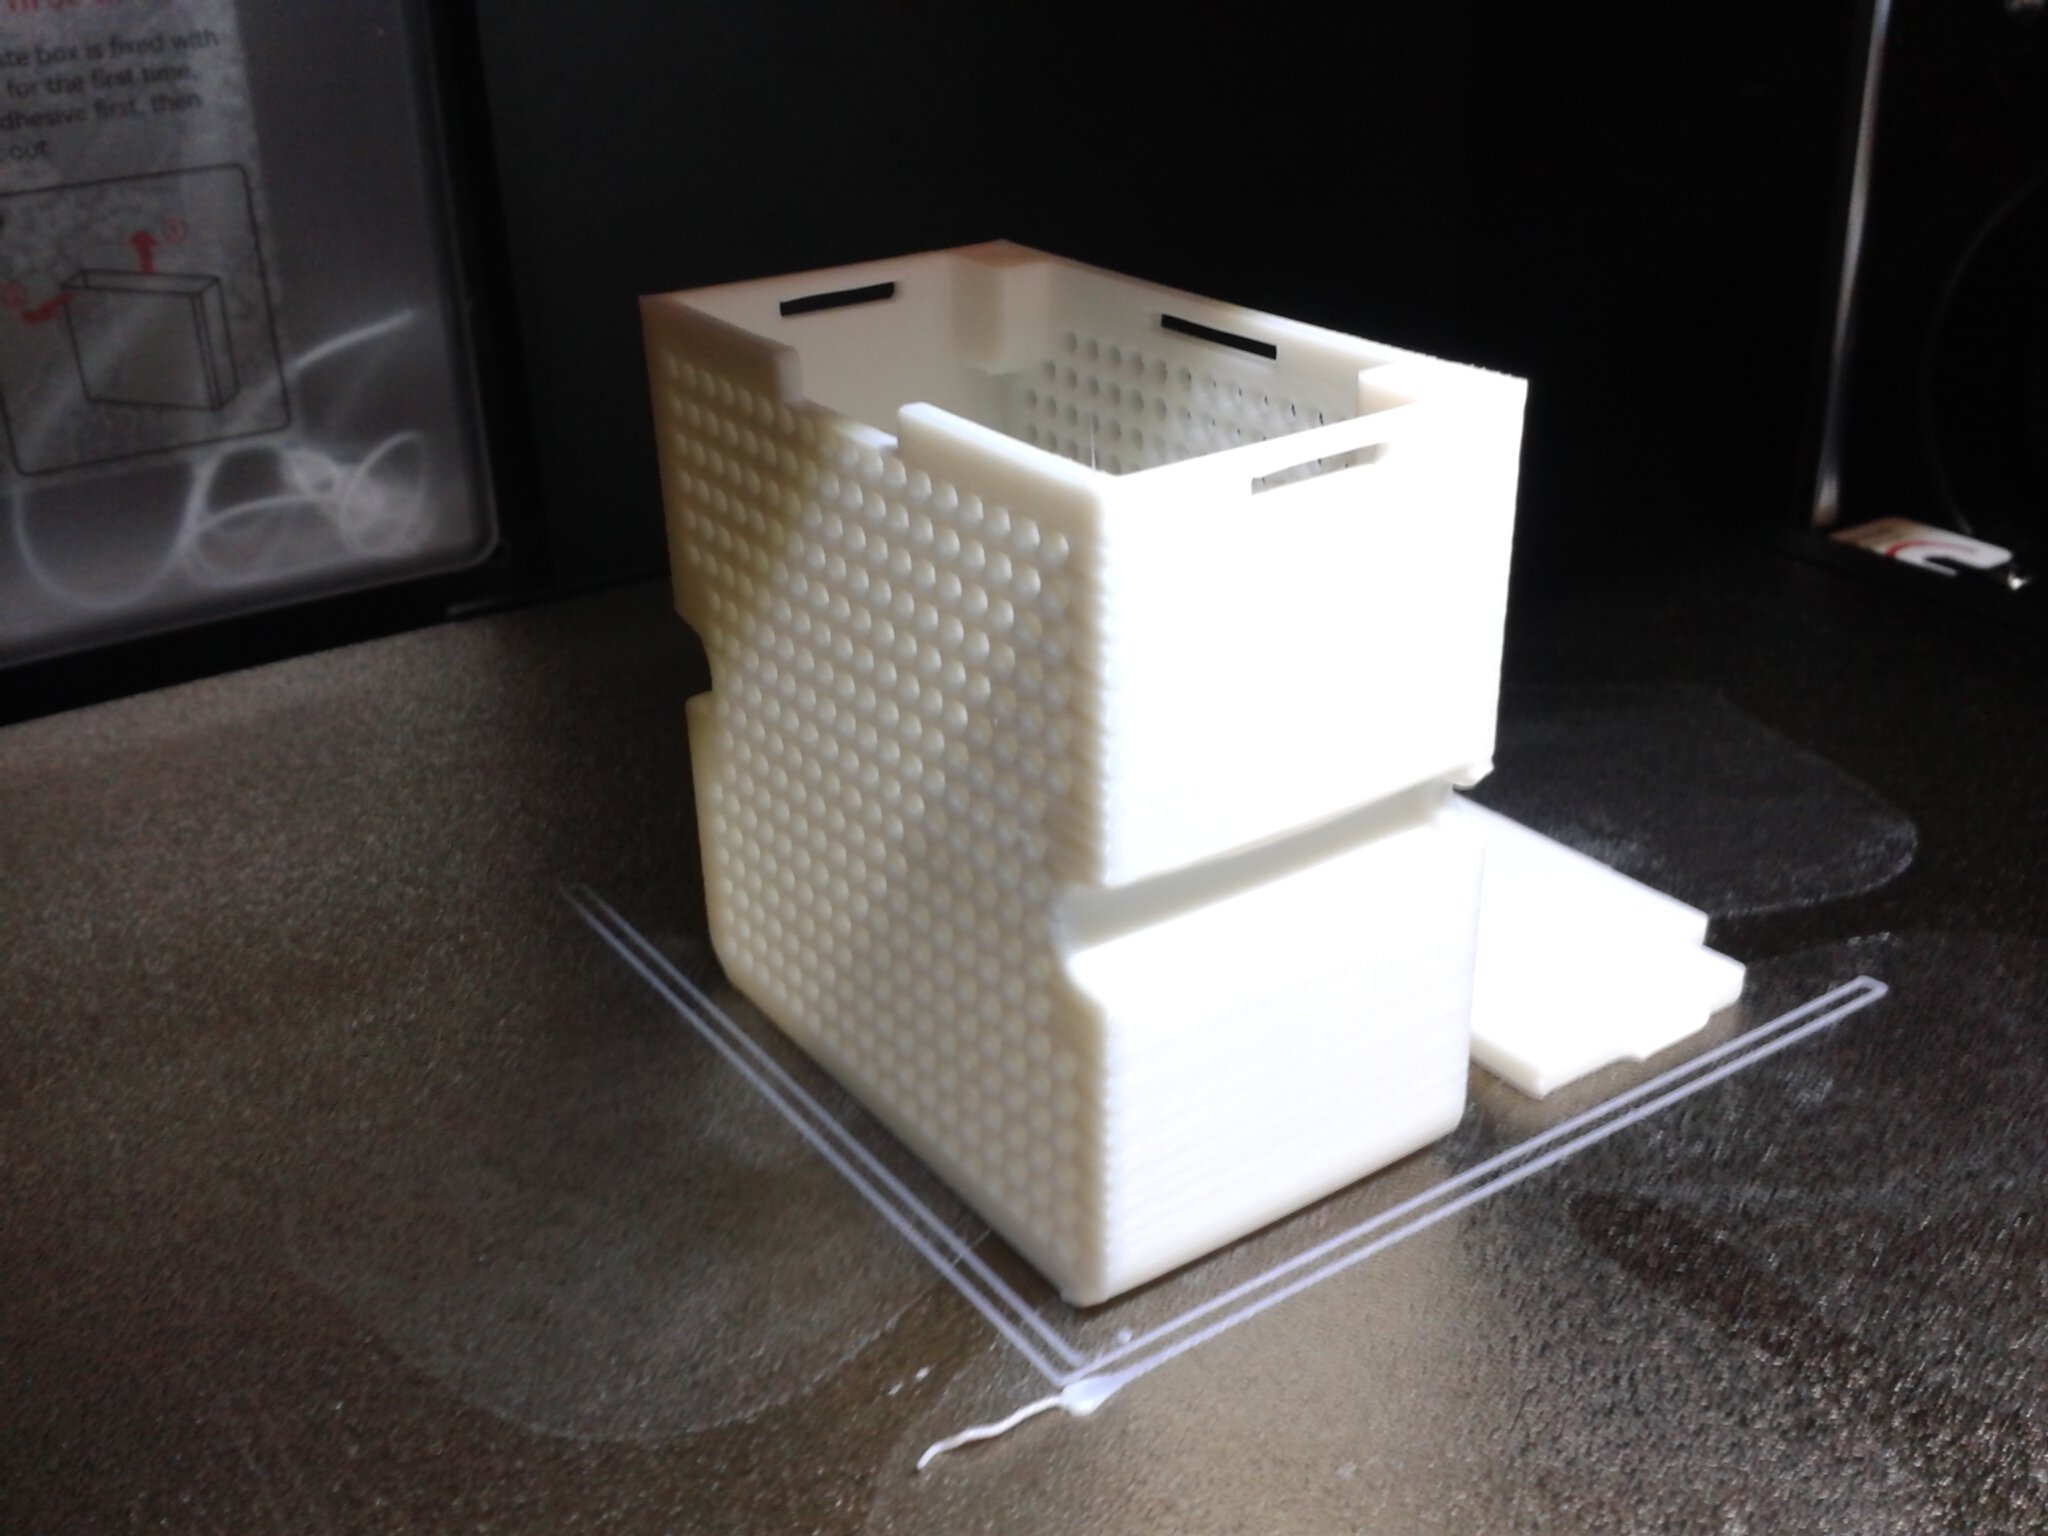
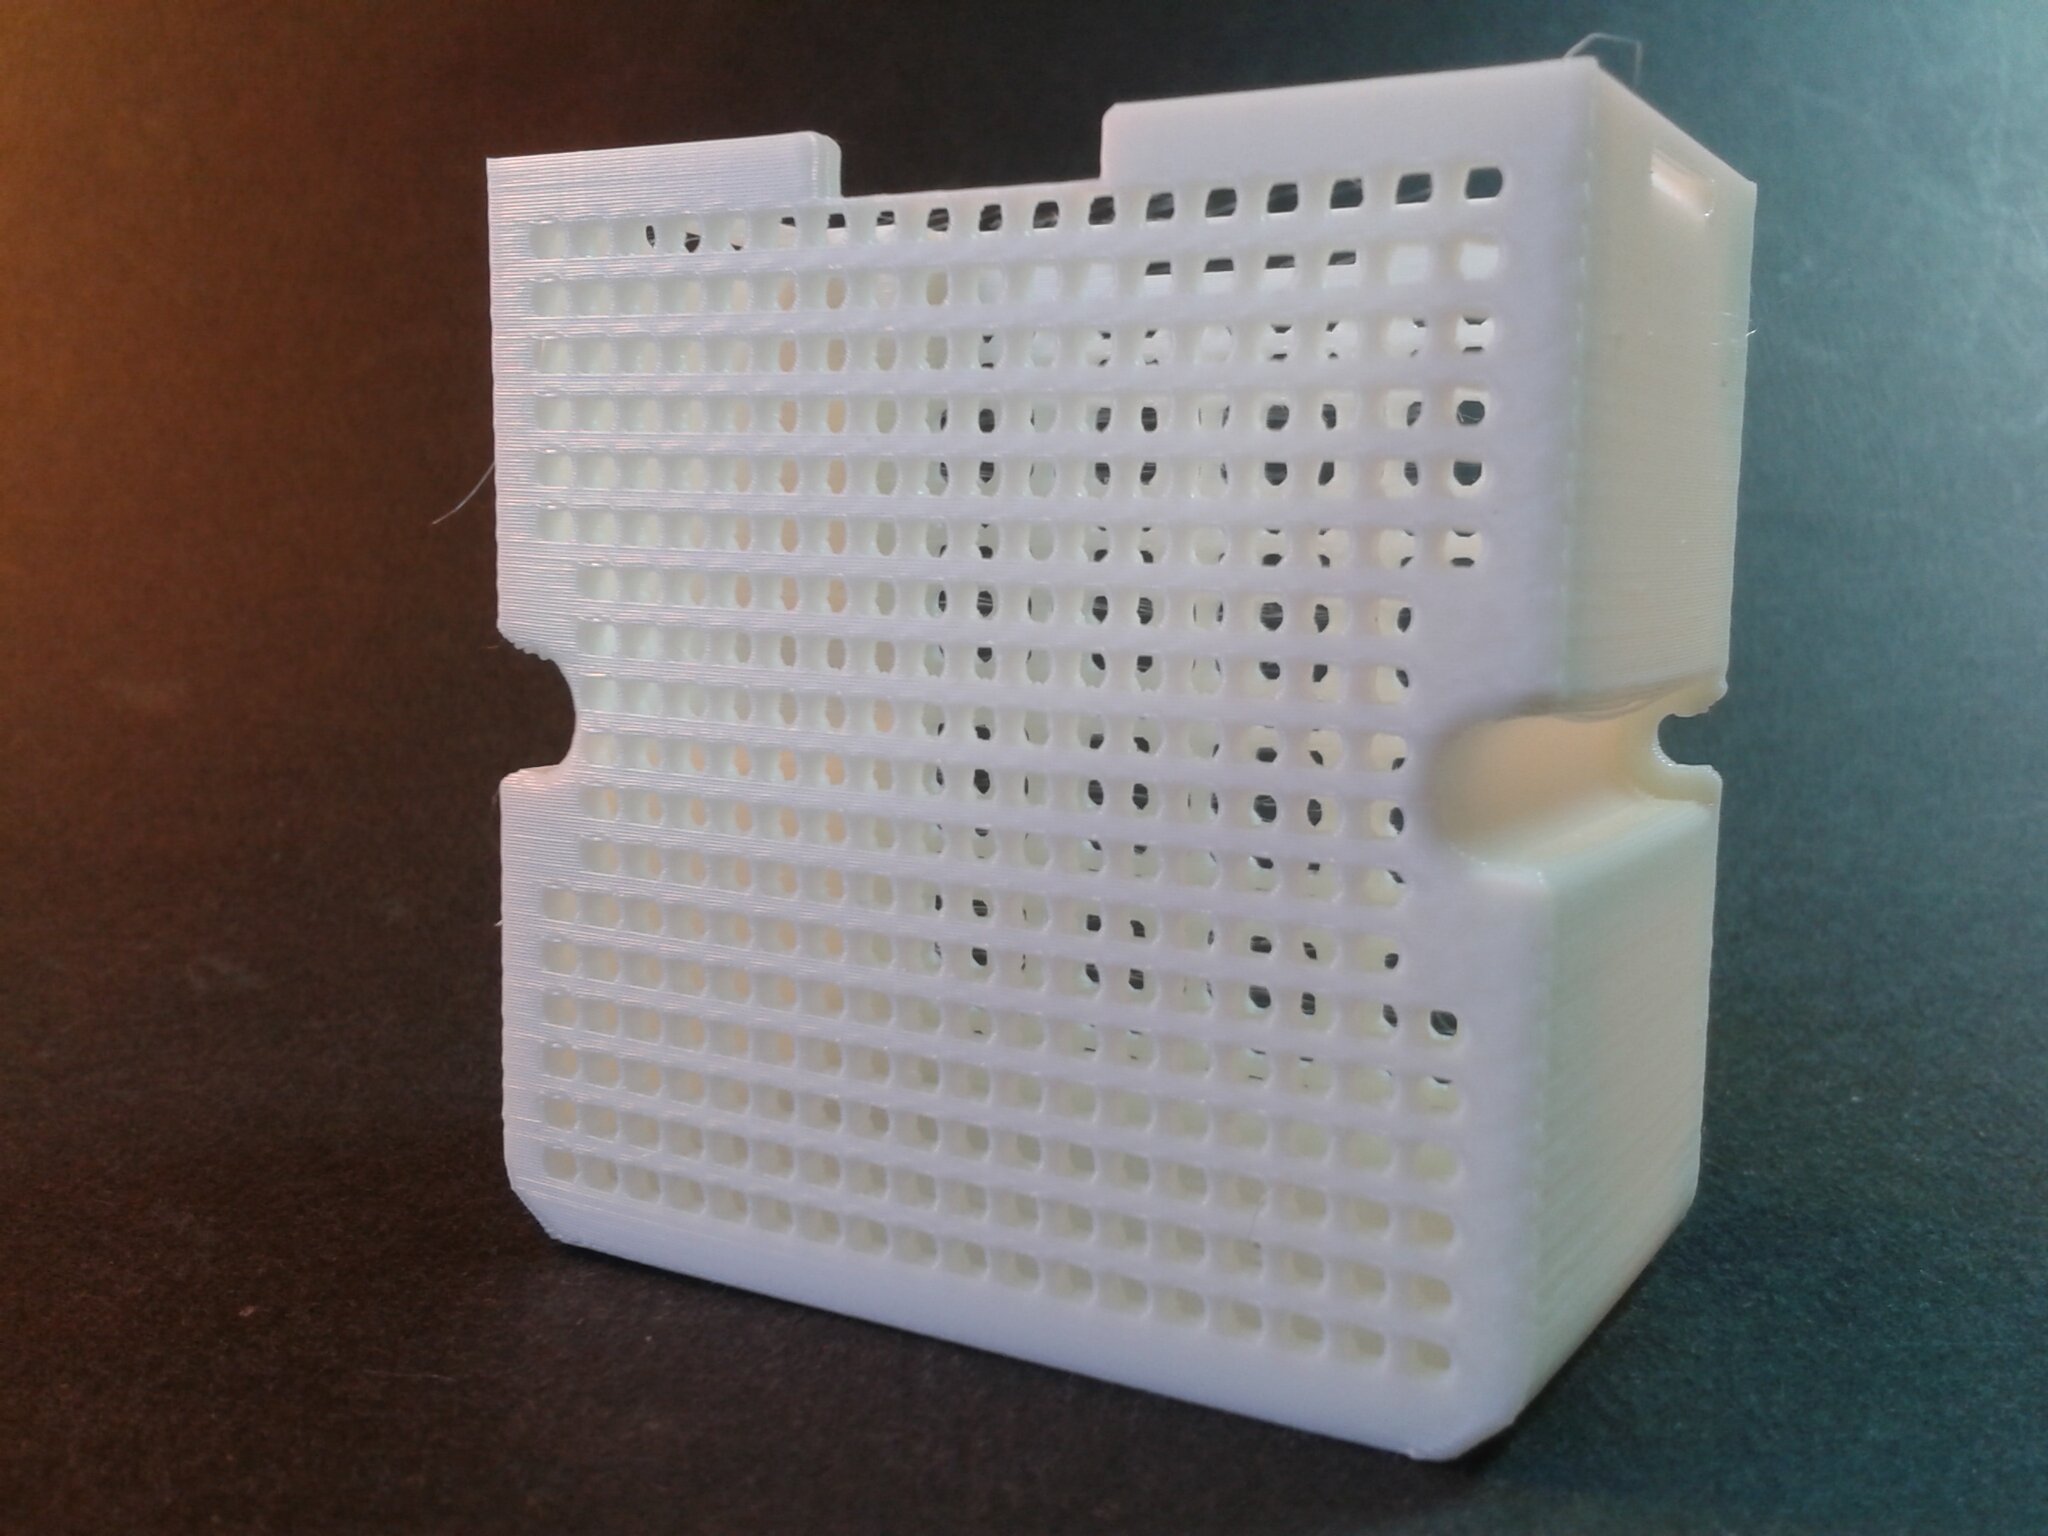
Build bed screws block.gcode
QIDISlicer v1.0.9, Hauteur de couche 0.20 mm, QIDI PLA Rapido, Buse 210°C, Plateau 60°C.
Filament Creality Hyper PLA blanc
Durée d’impression : 17 minutes 51 secondes.

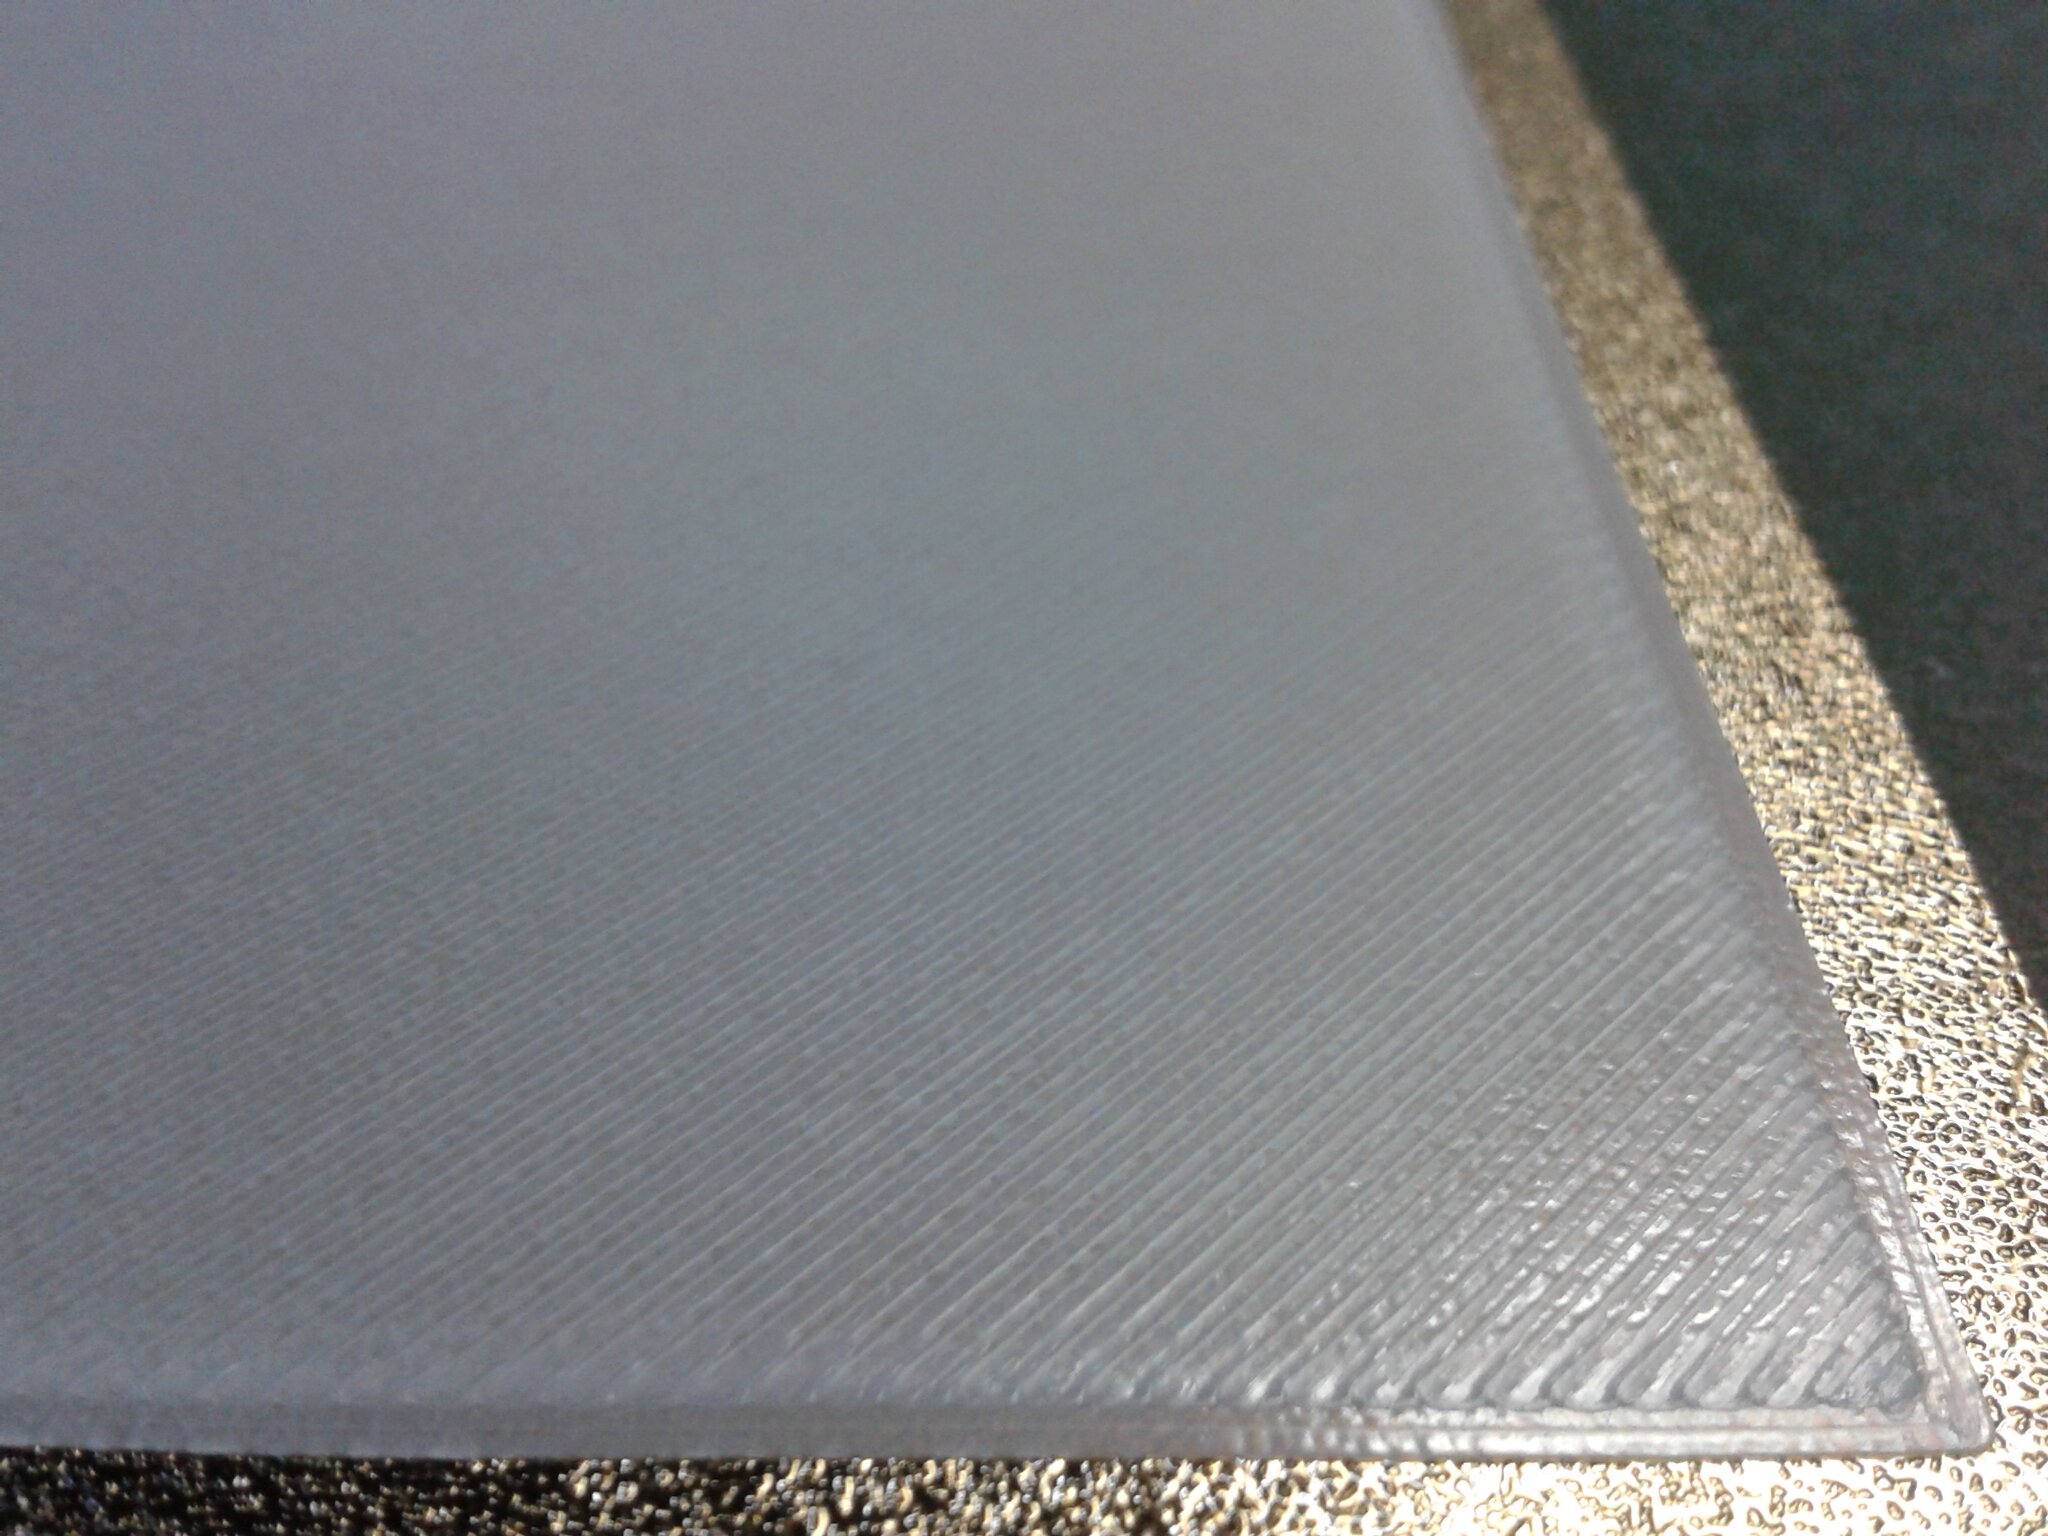
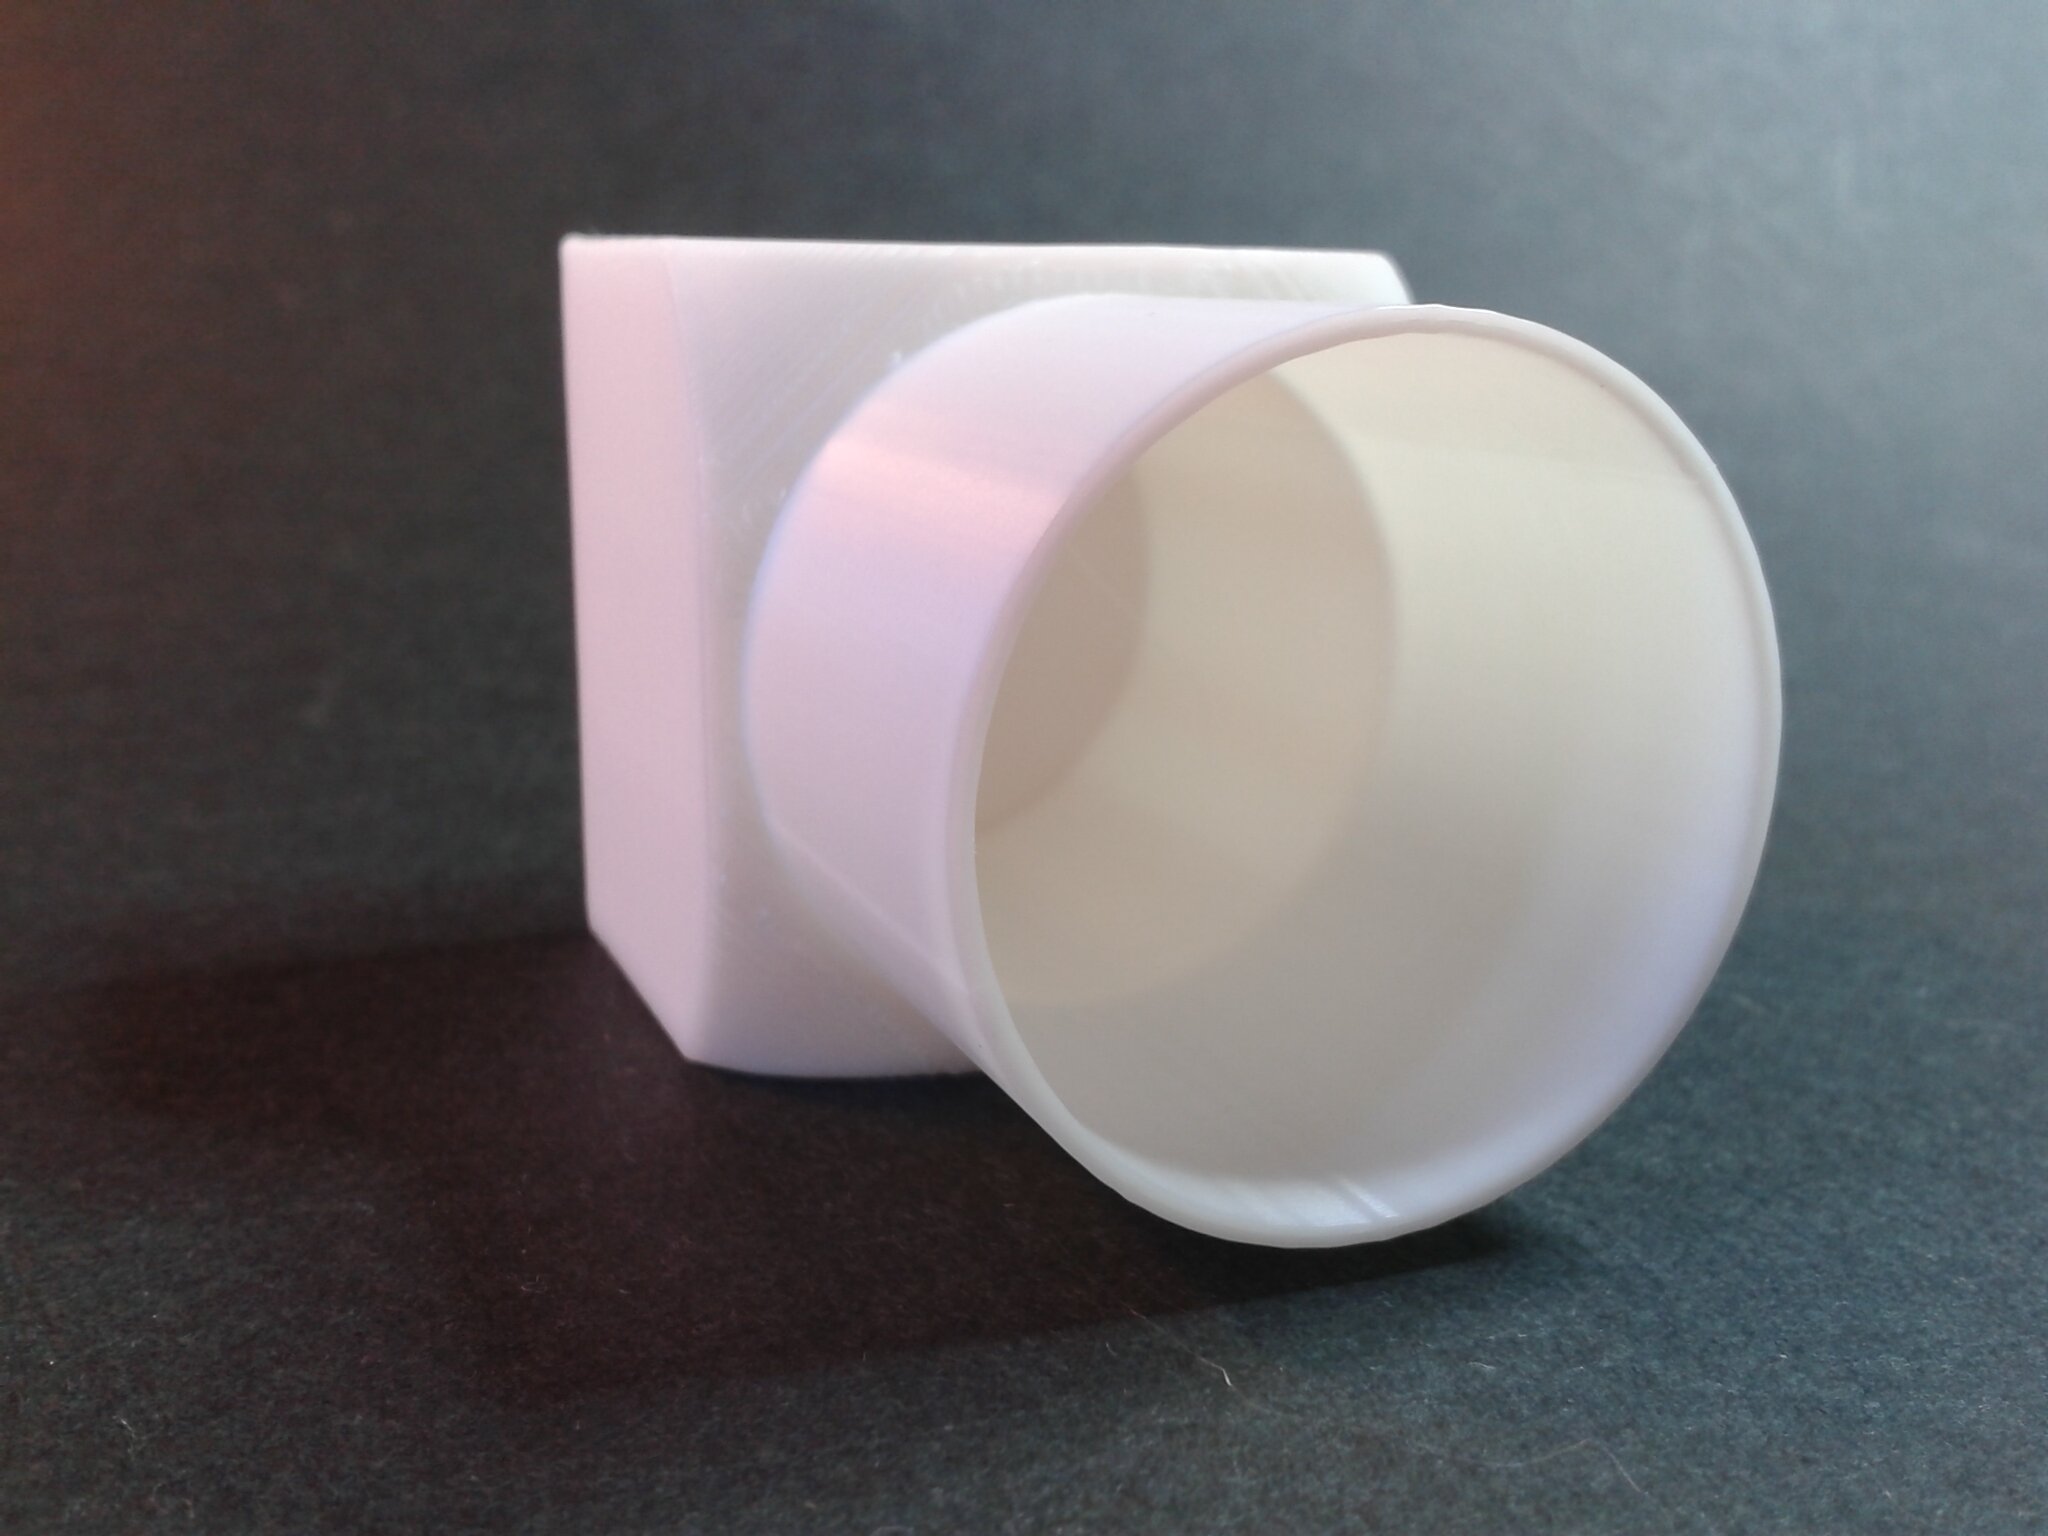
First layer test.gcode
QIDISlicer v1.0.9, Hauteur de couche 0.20 mm, QIDI PLA Rapido, Buse 210°C, Plateau 60°C.
Filament Hyper PLA blanc Creality
Durée d’impression : 25 minutes 14 secondes.
Ce print est parfait pour tester la planéité du plateau sur toute sa surface et a été réussi avec succès lors de mon test de la Qidi Q1 Pro.


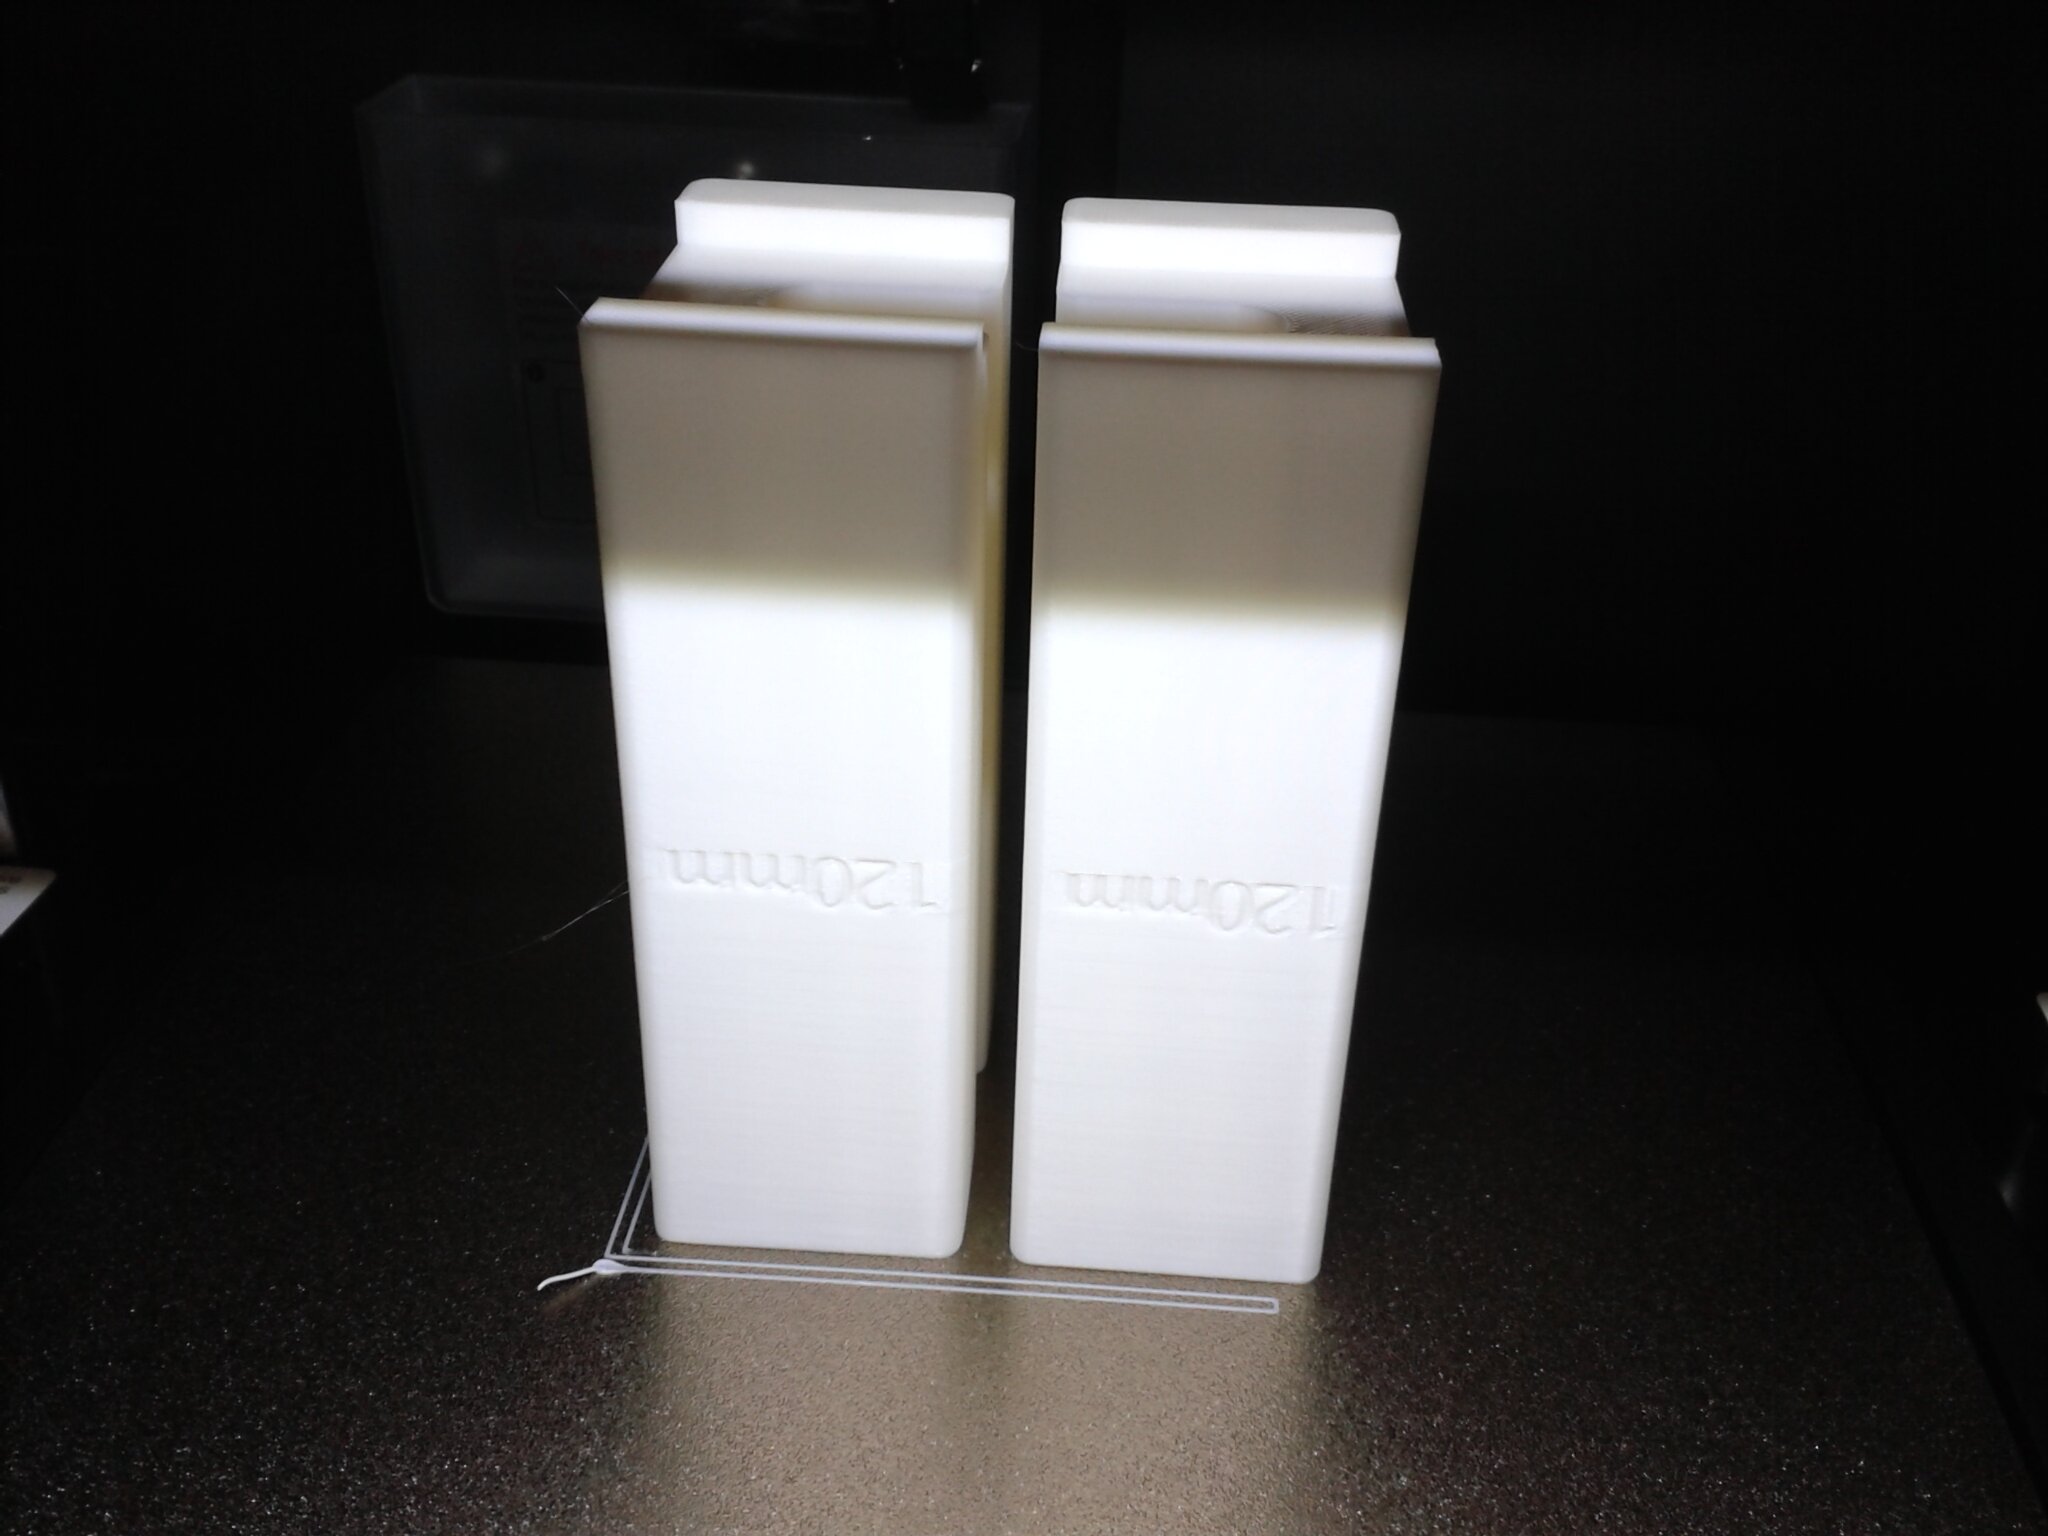
Platform horizontal blocks.gcode
QIDISlicer v1.0.9, Hauteur de couche 0.20 mm, QIDI PLA Rapido, Buse 210°C, Plateau 60°C.
Filament Hyper PLA blanc Creality
Durée d’impression : 2 heures 46 minutes 11 secondes.

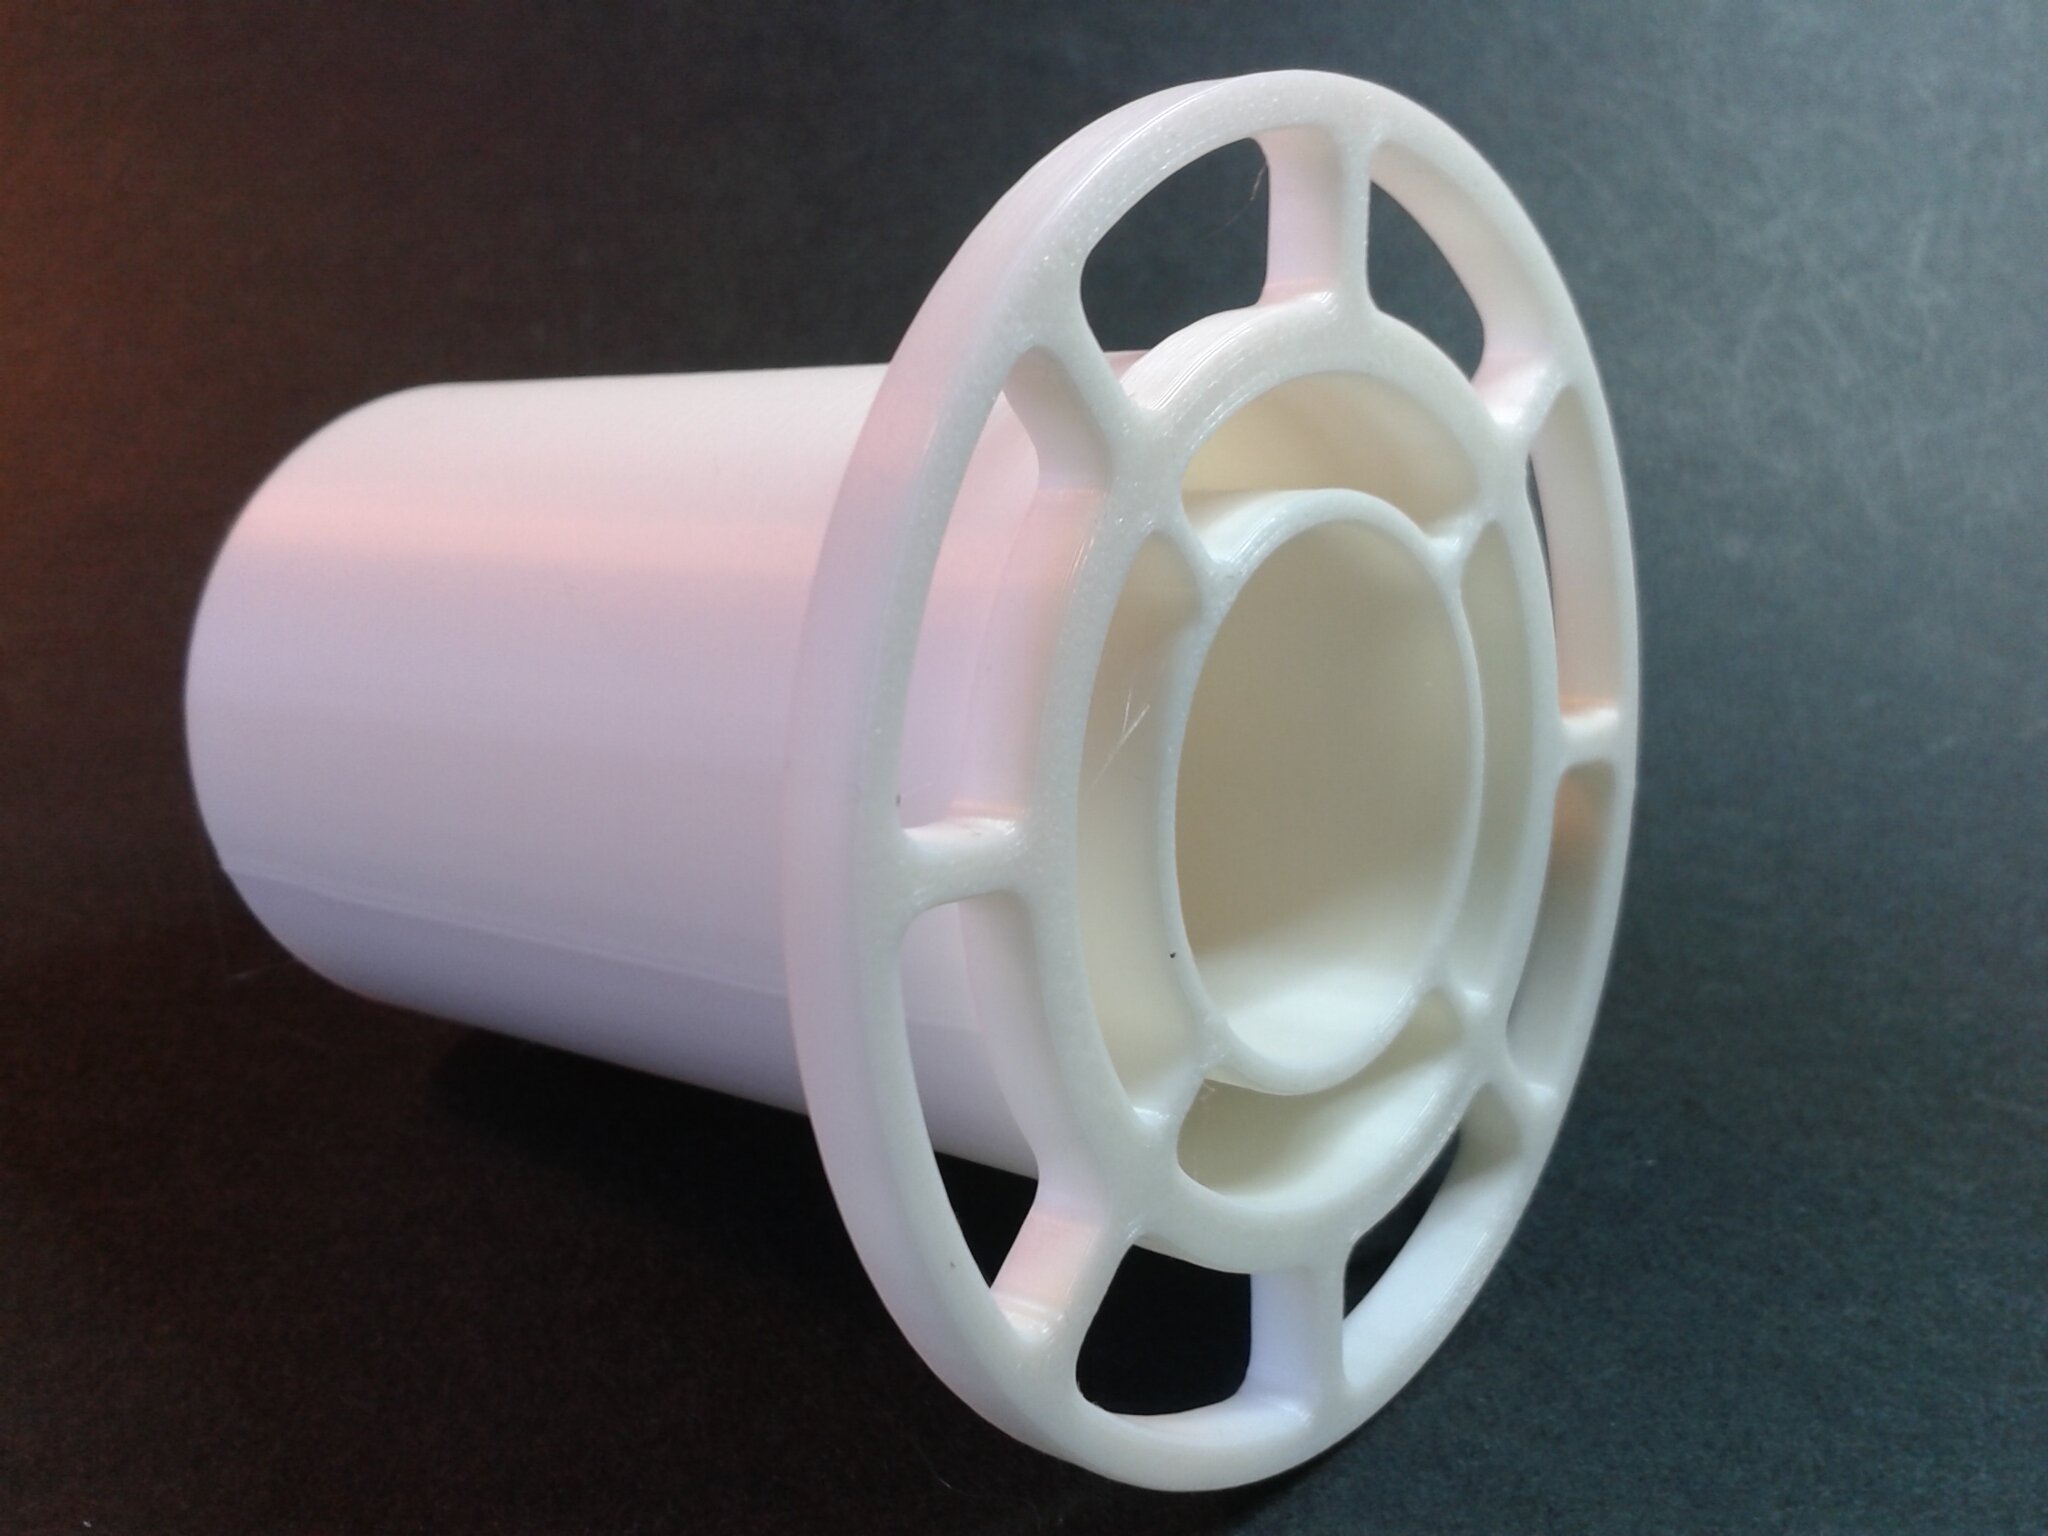
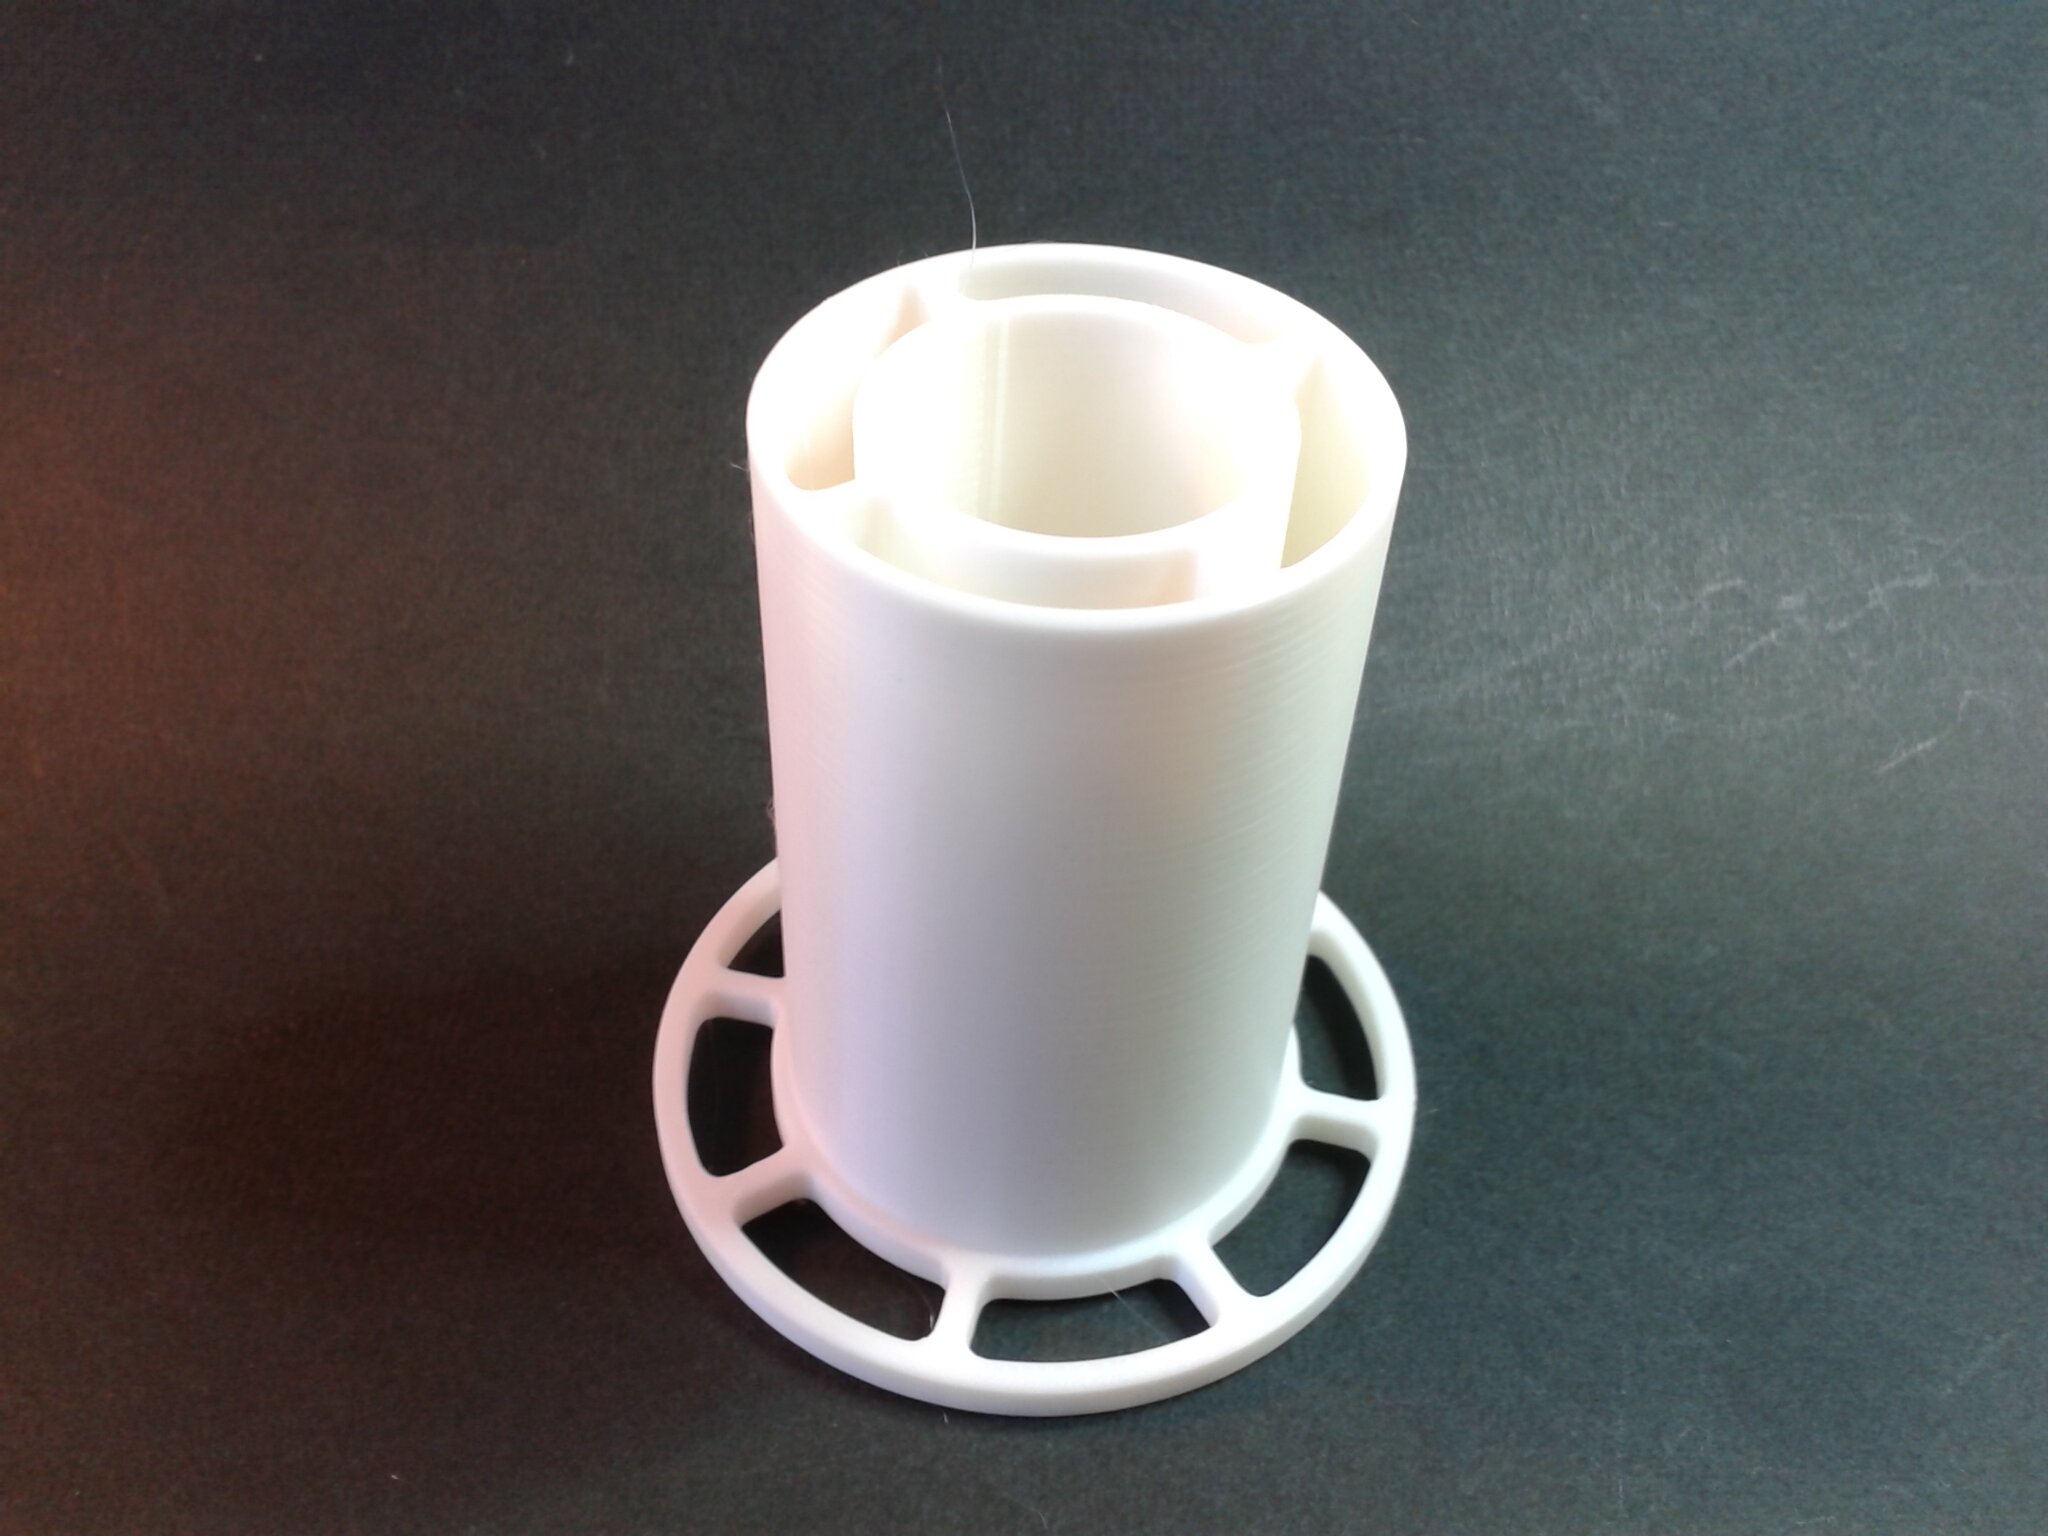
Thicker Filament holder.gcode
OrcaSlicer v1.9.0, Hauteur de couche 0.20 mm, QIDI Generic PLA, Buse 210°C, Plateau 60°C.
Filament Hyper PLA blanc Creality
Durée d’impression : 2 heures 8 minutes 48 secondes.


X.gcode
QIDISlicer v1.0.9, Hauteur de couche 0.20 mm, QIDI PLA Rapido, Buse 210°C, Plateau 60°C.
Filament Hyper PLA blanc Creality
Durée d’impression ~ 34 minutes 21 secondes.
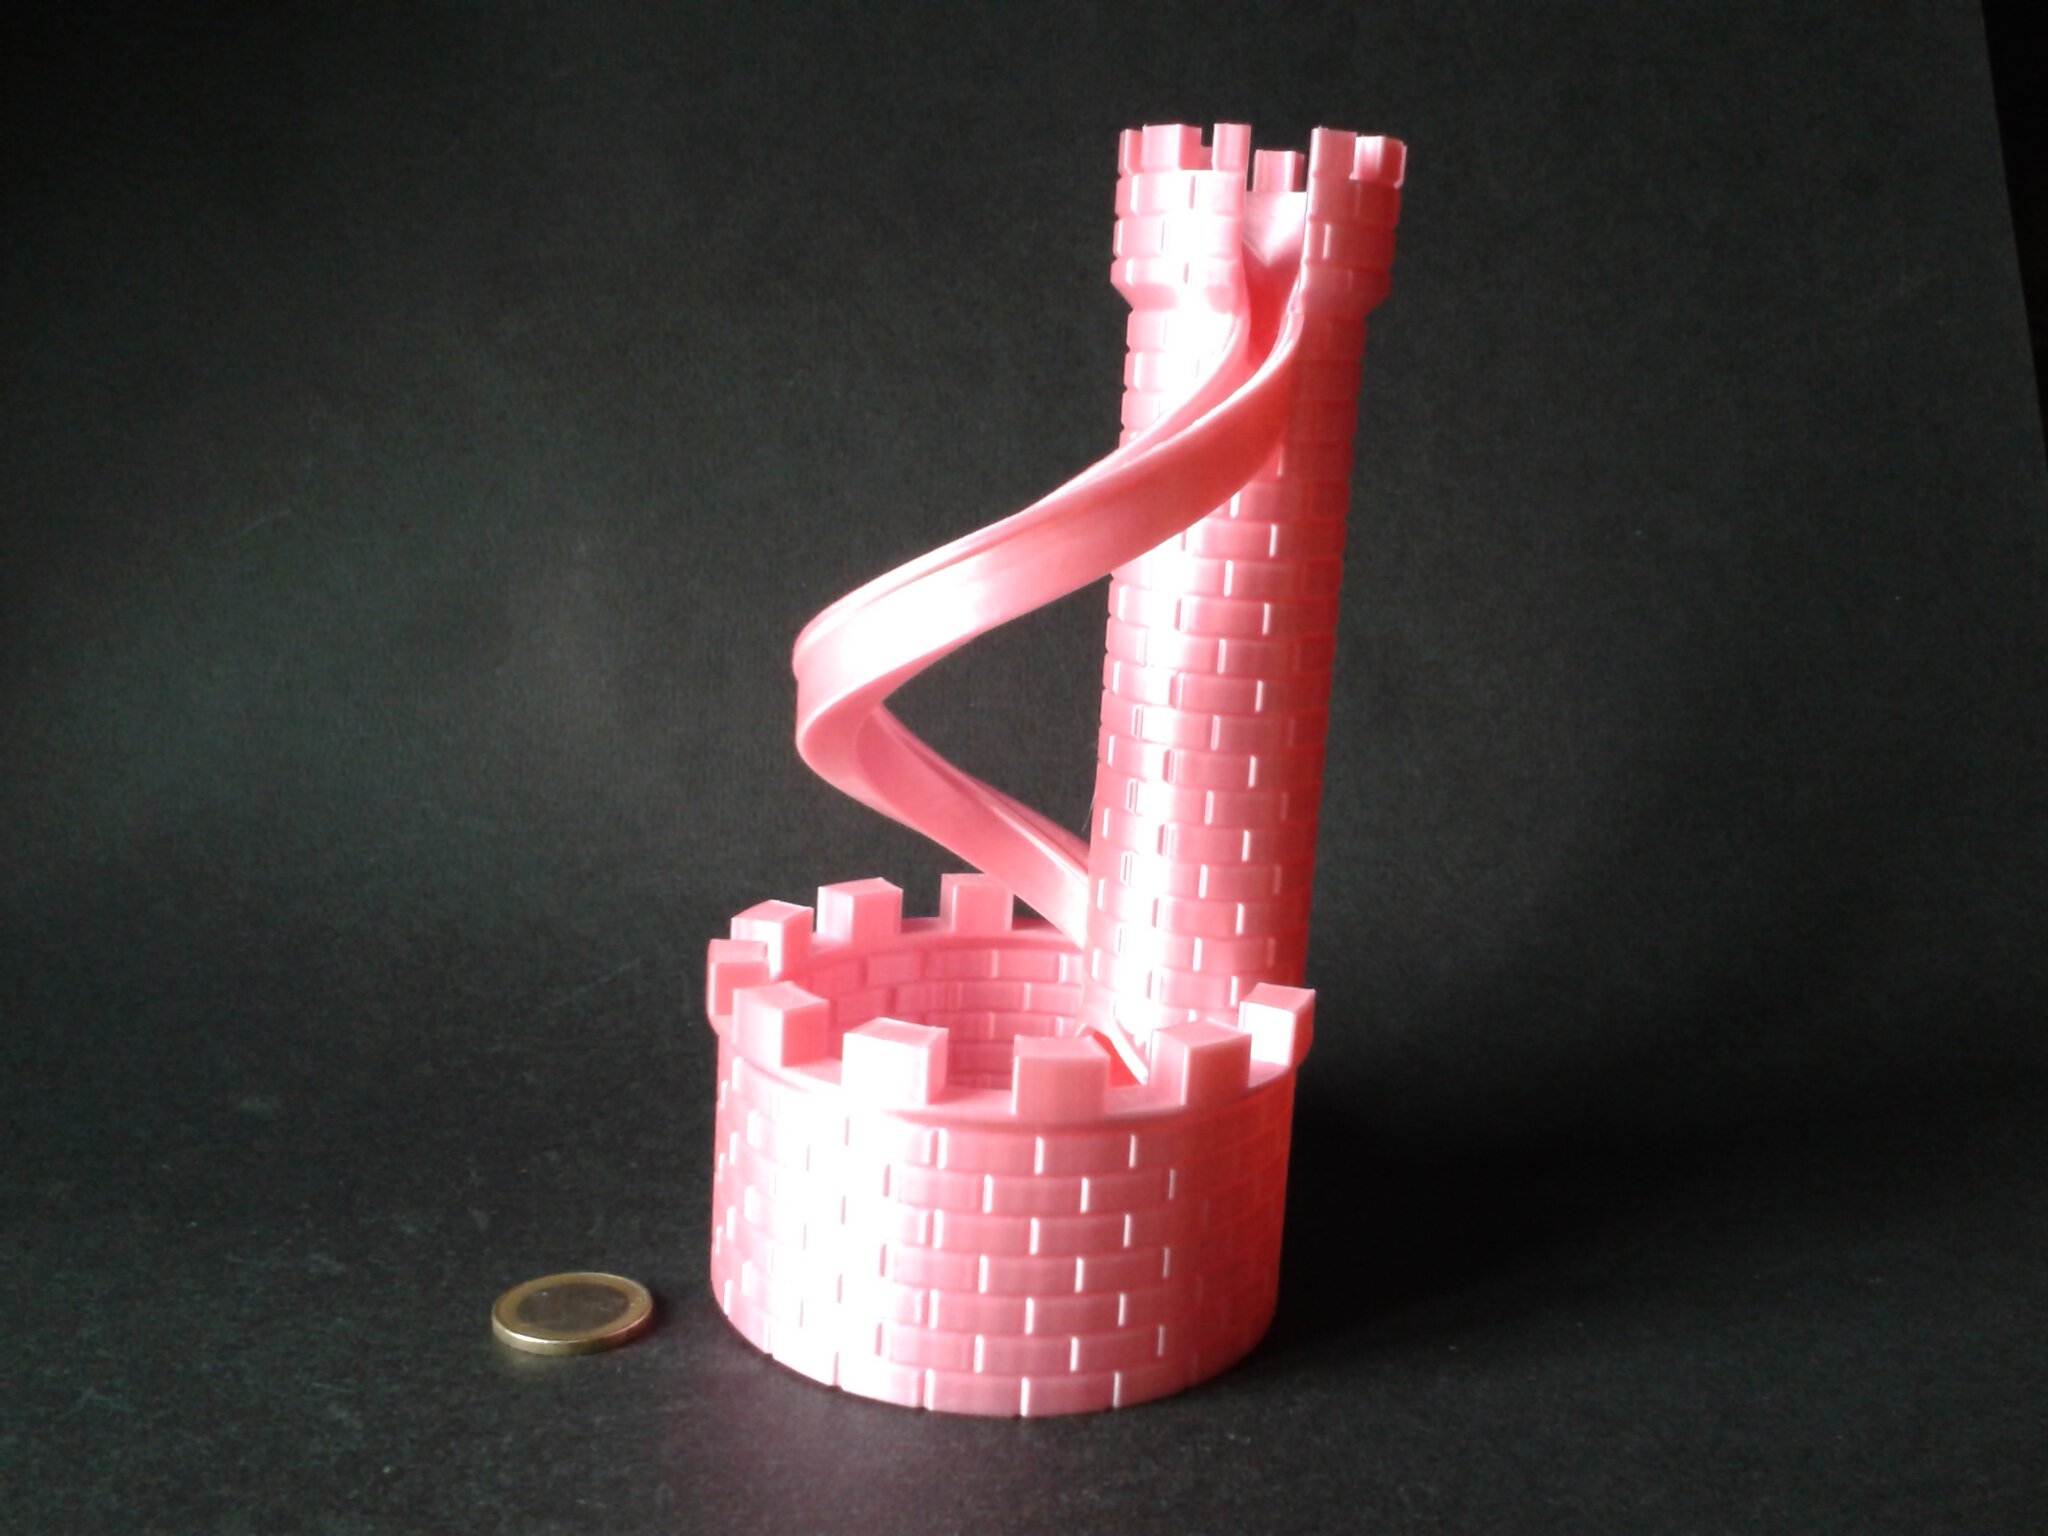
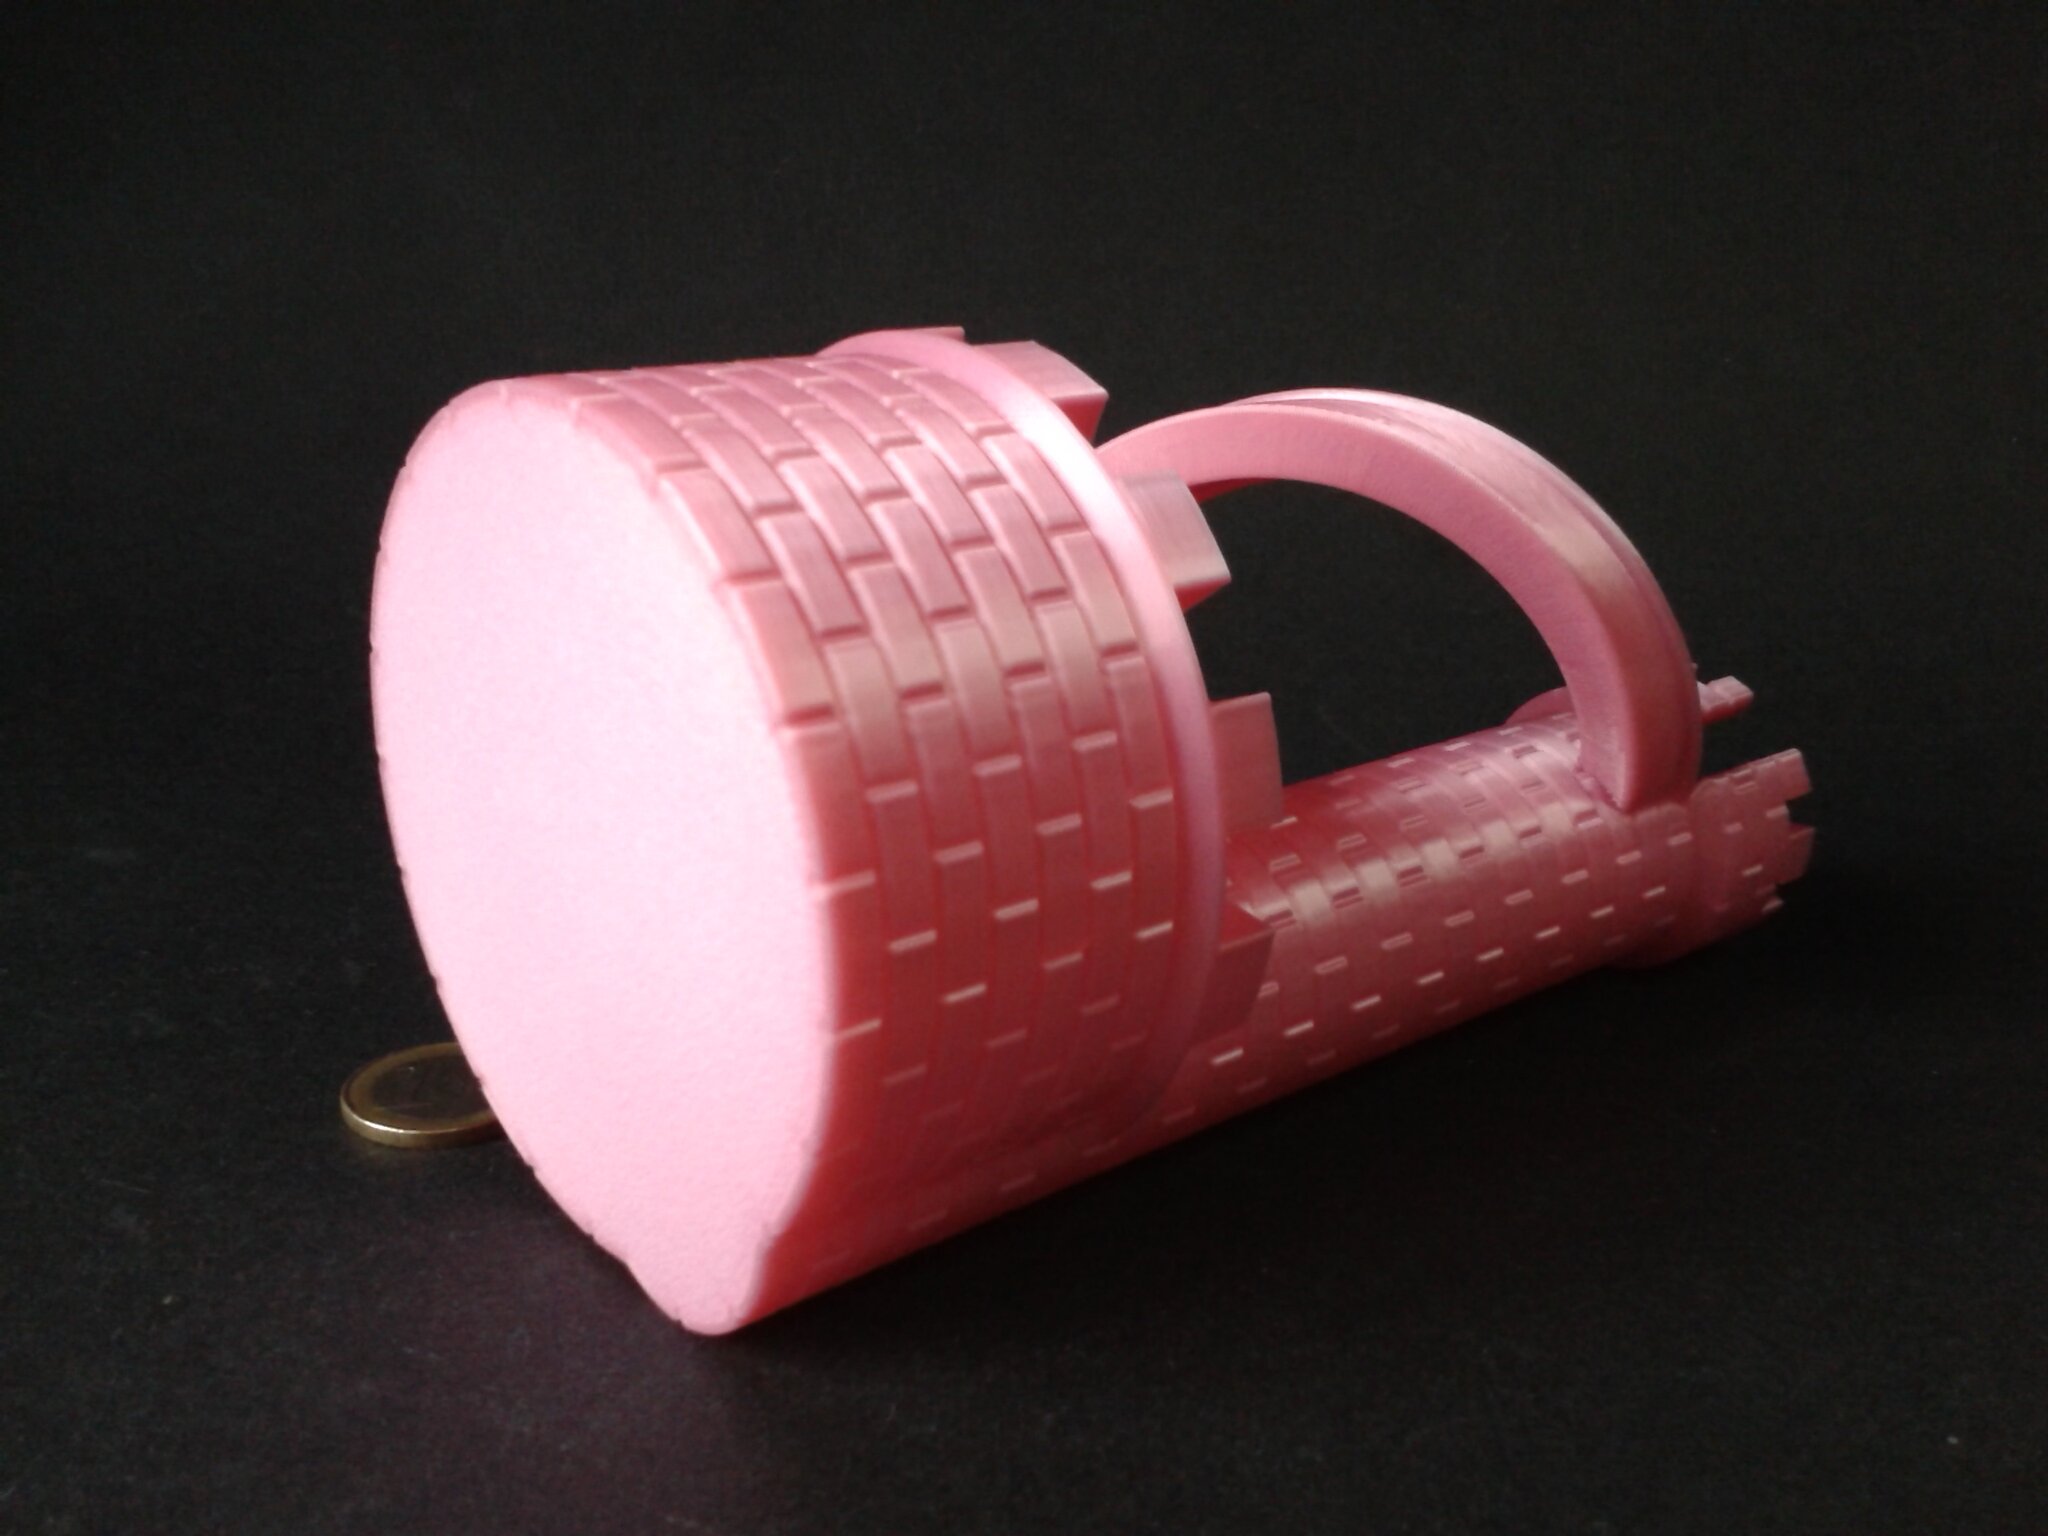
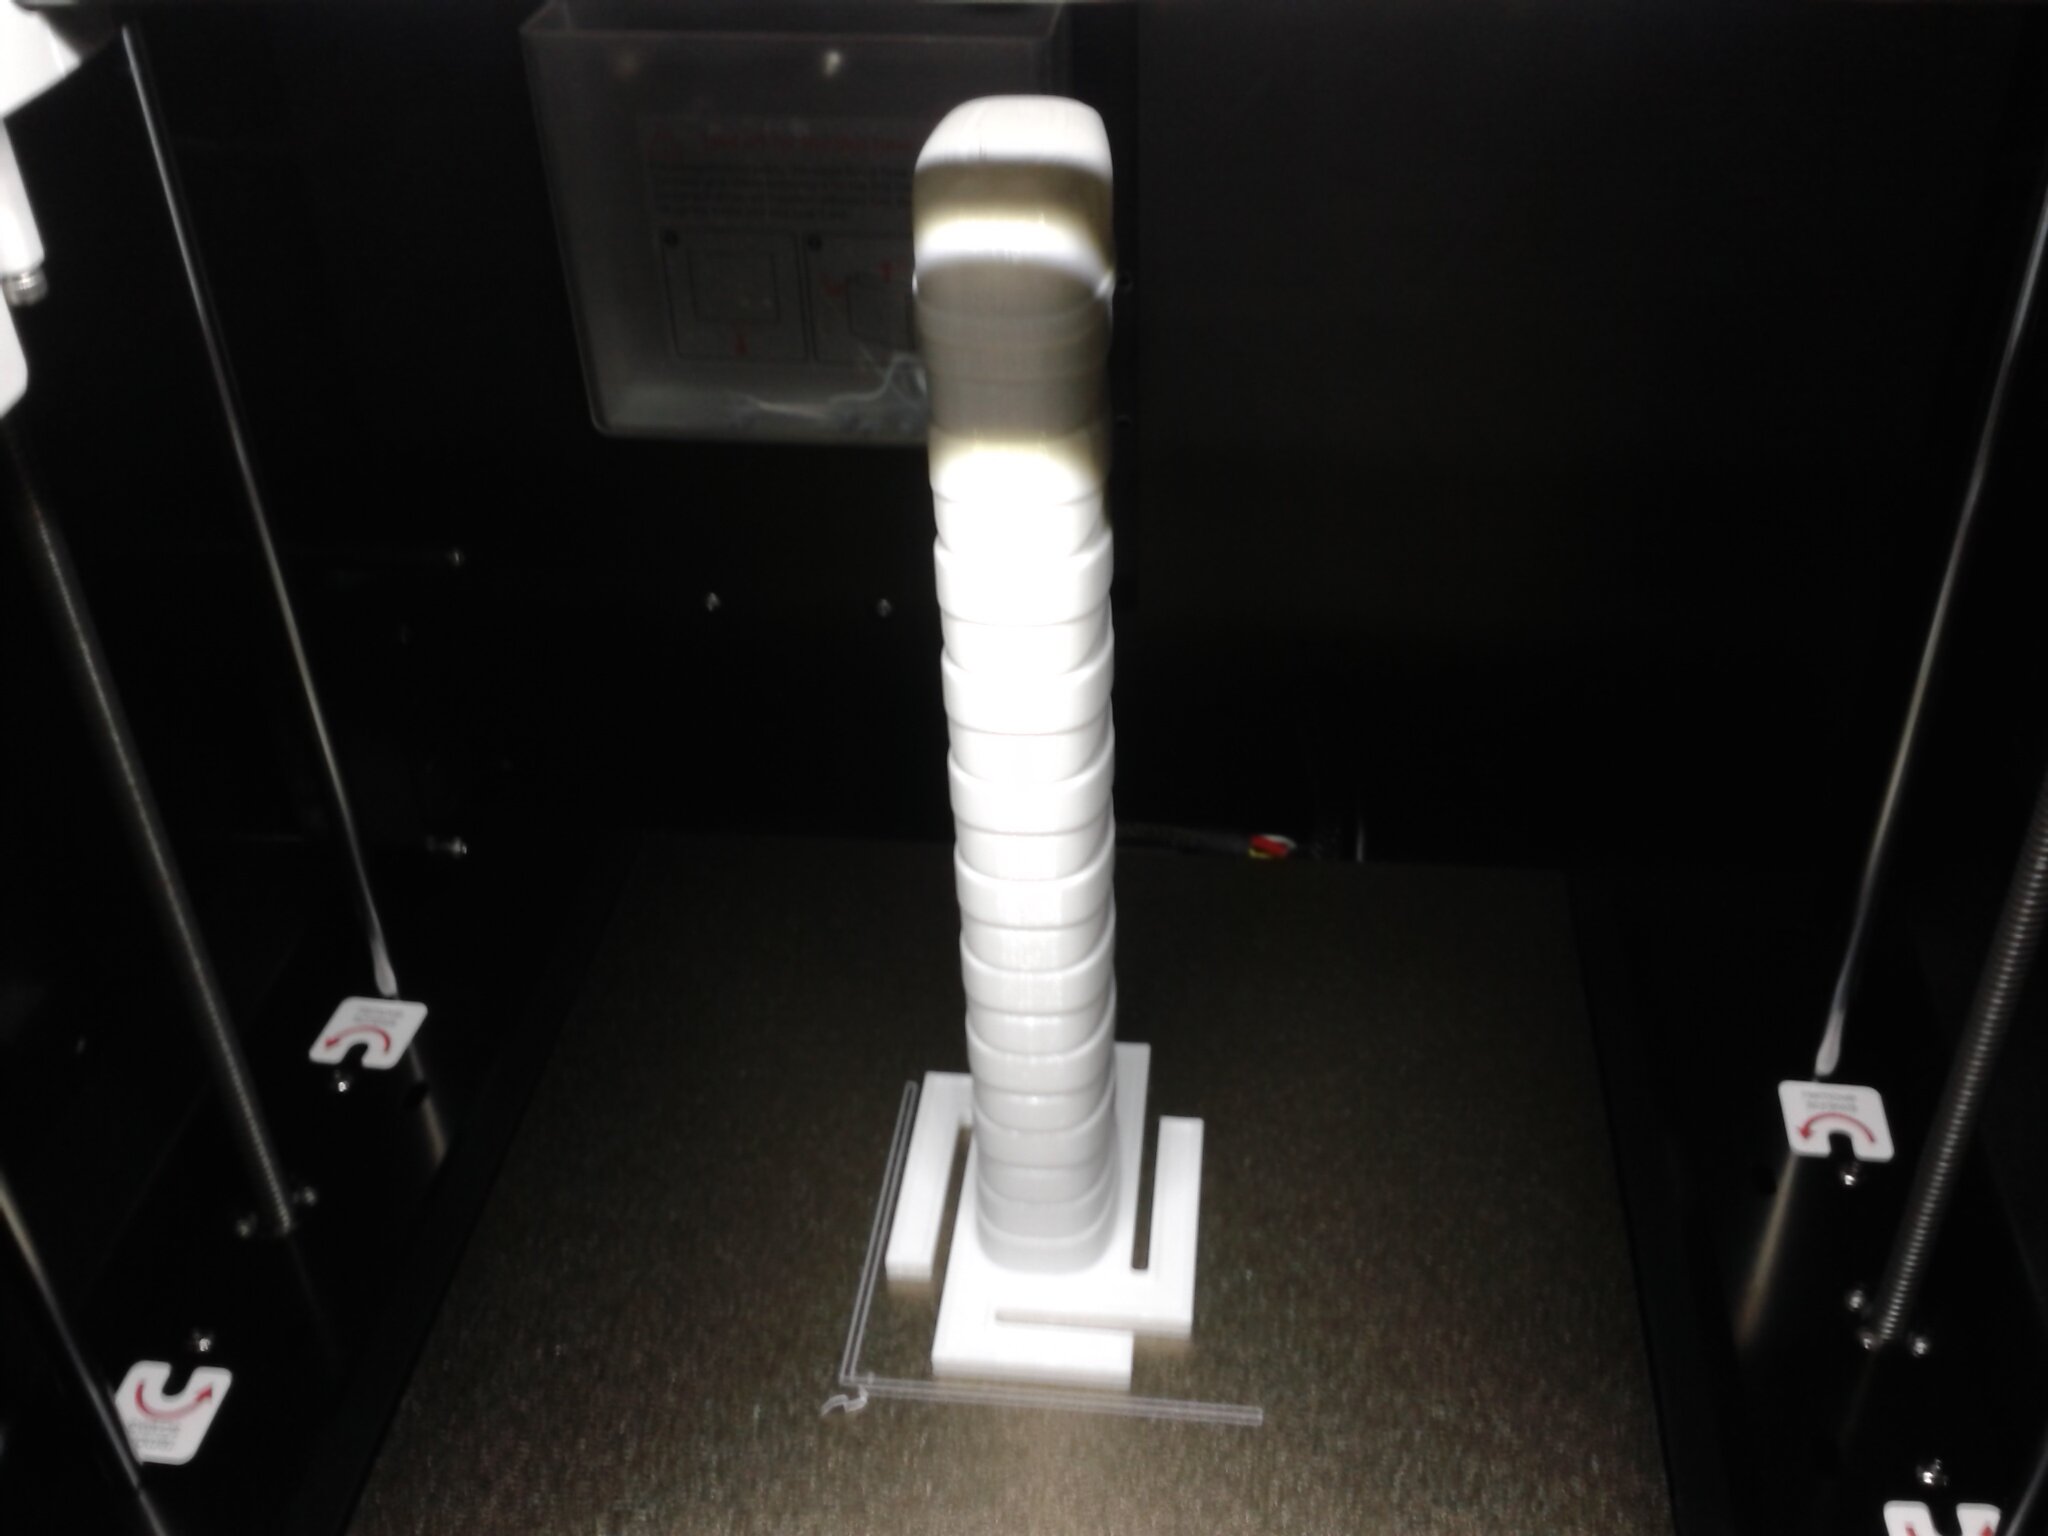
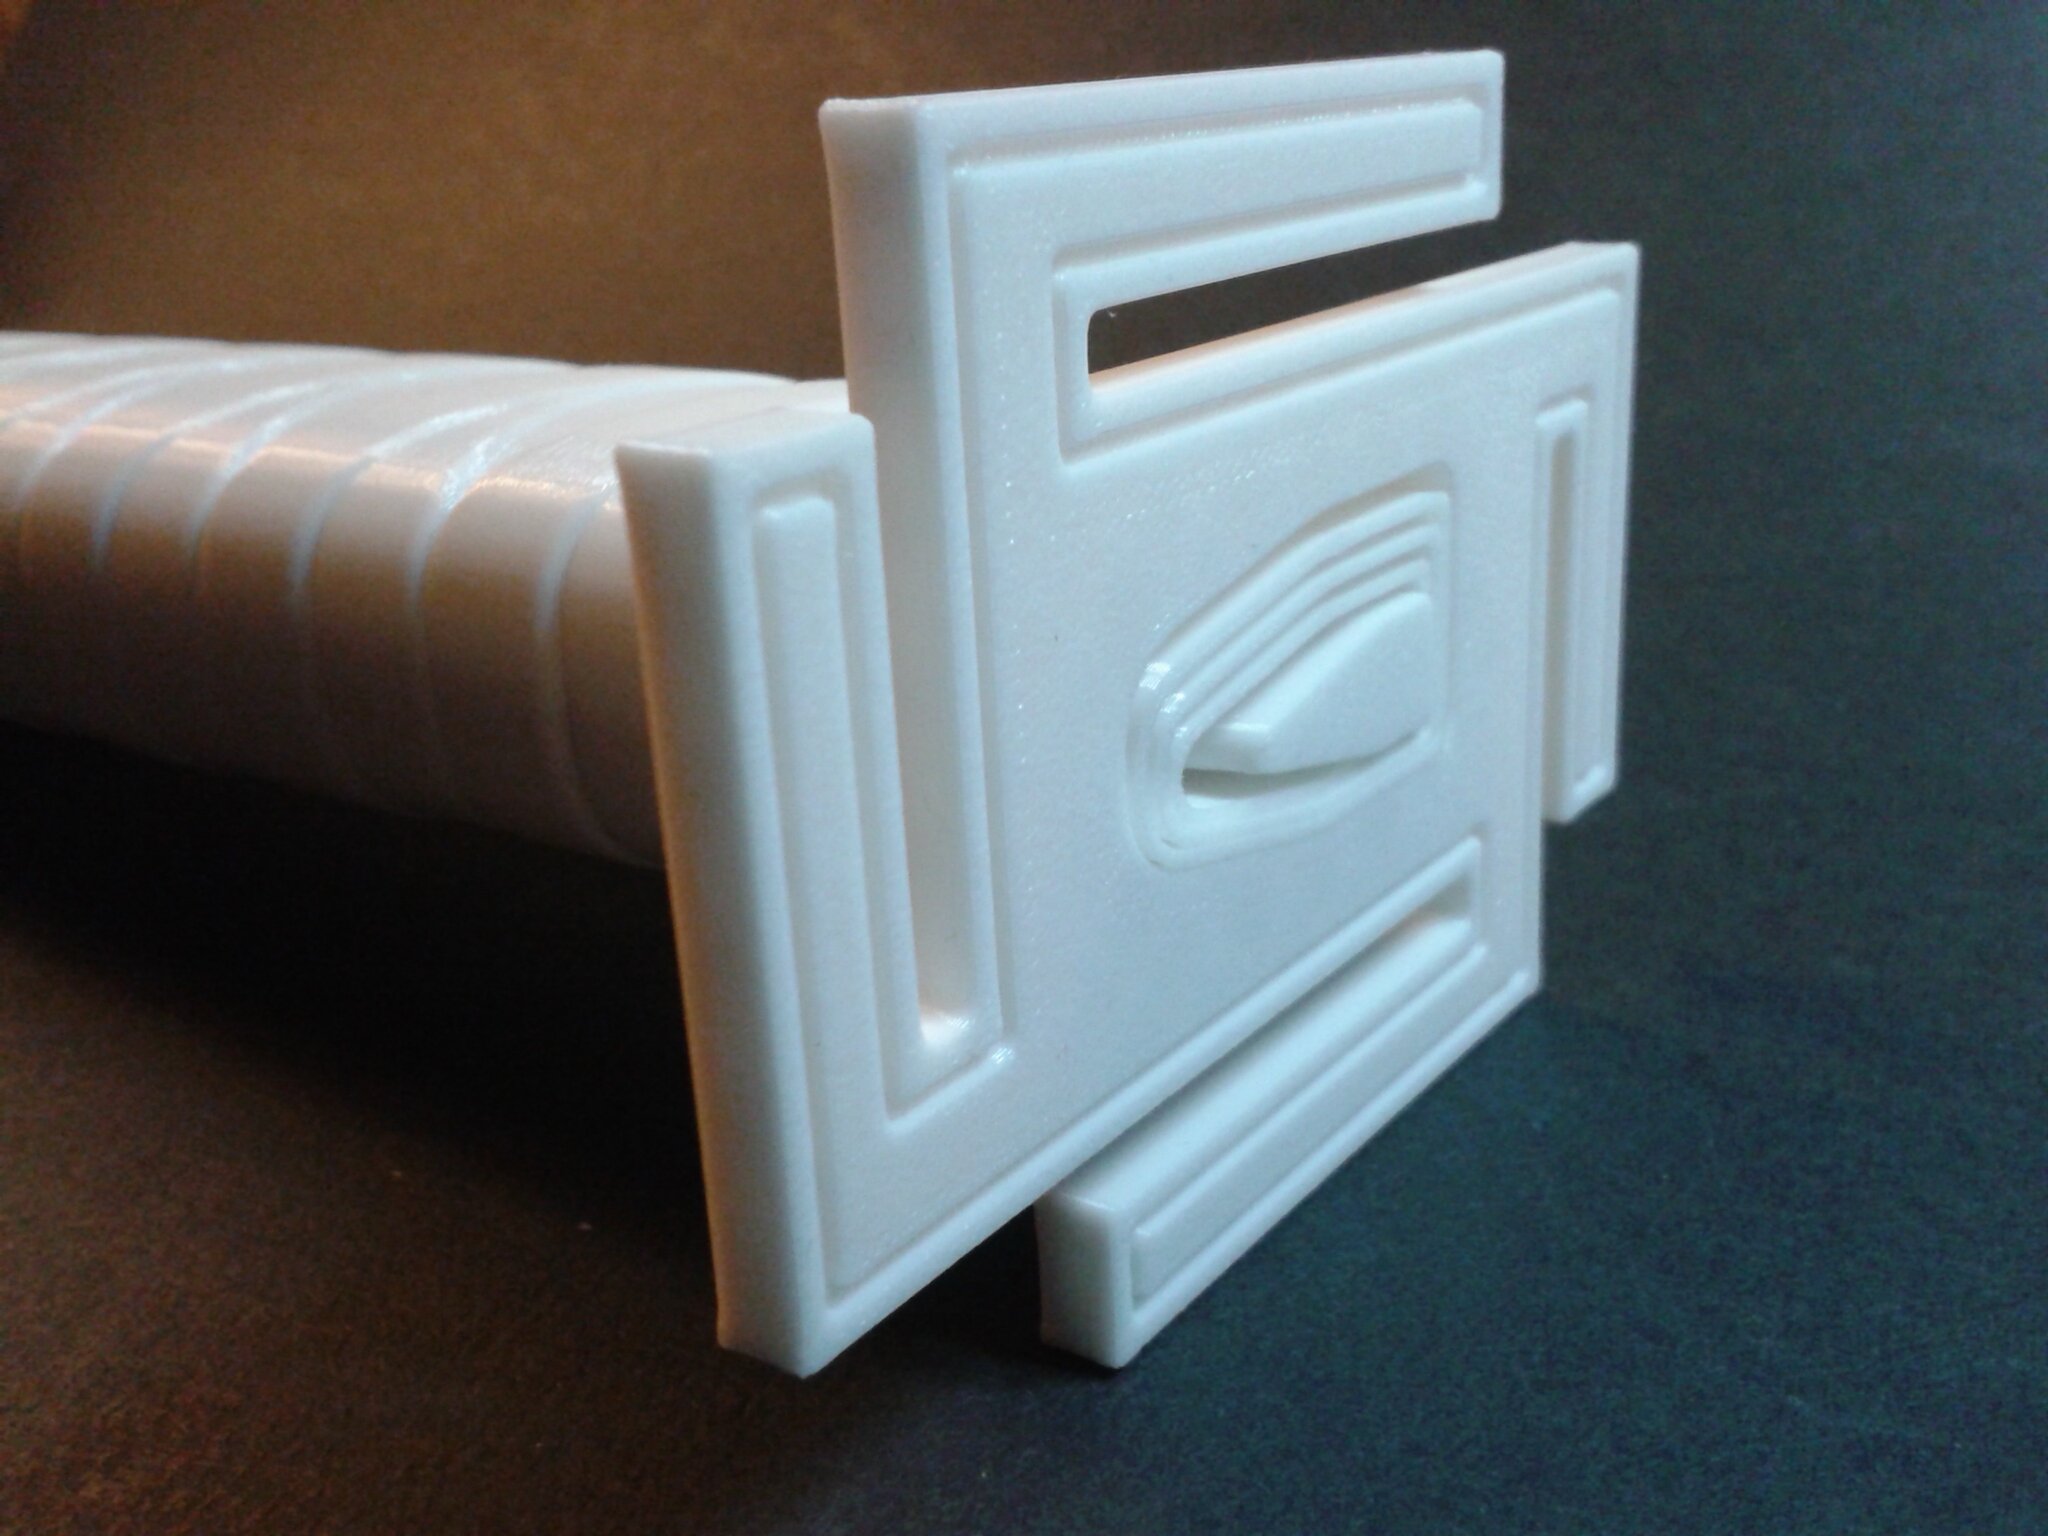
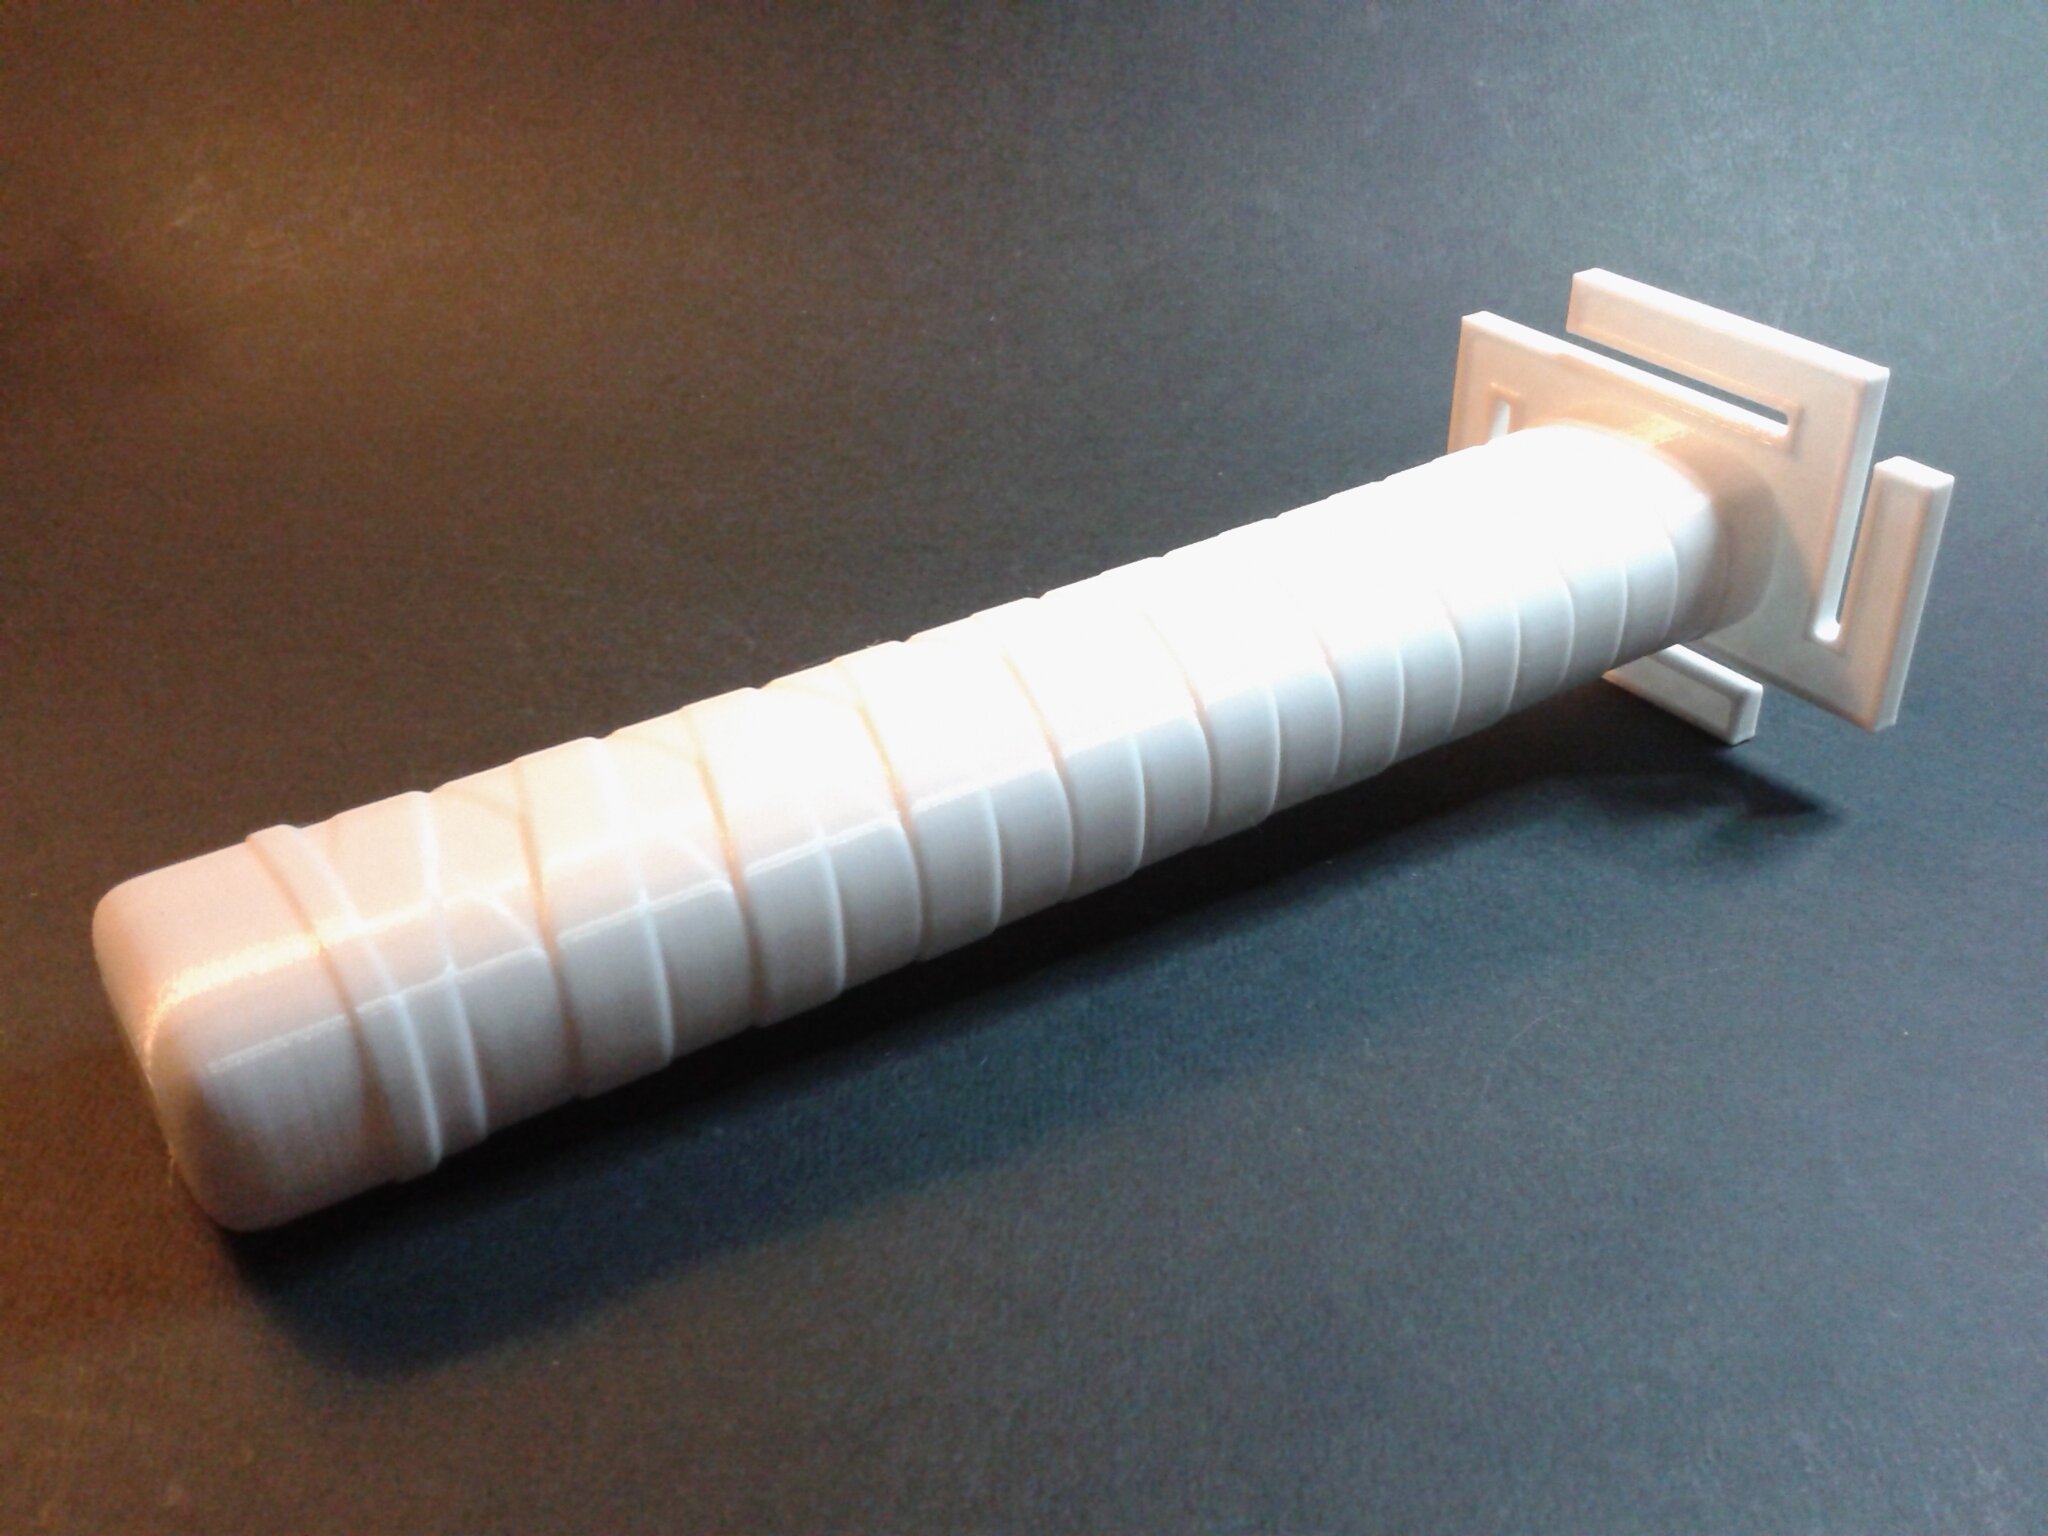
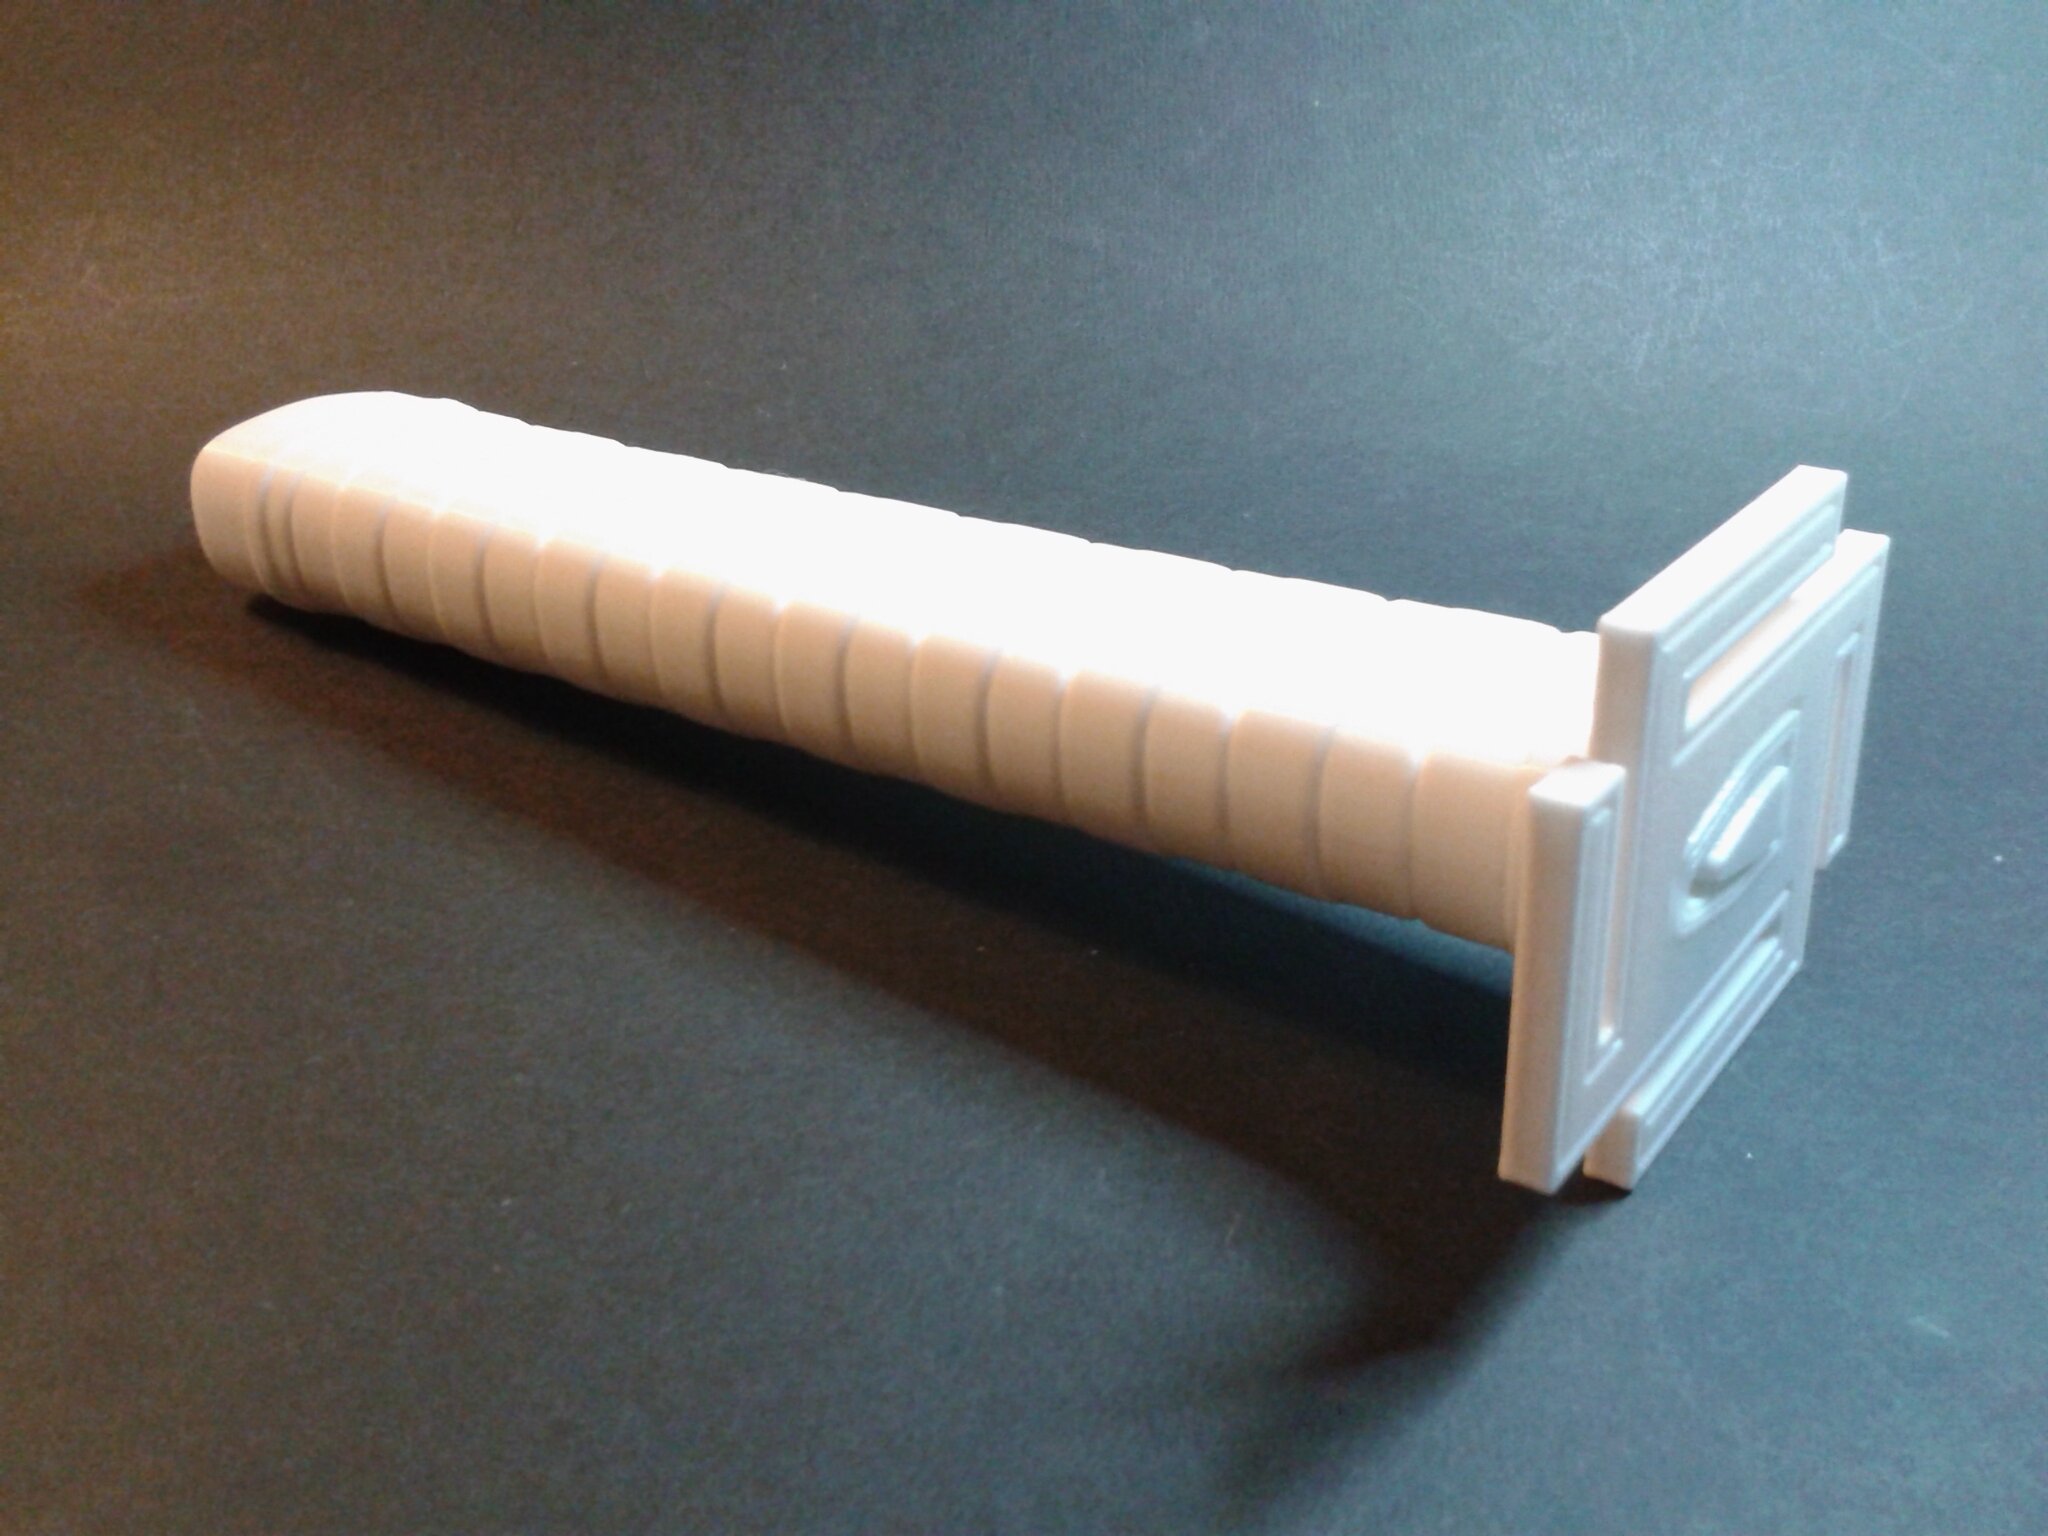
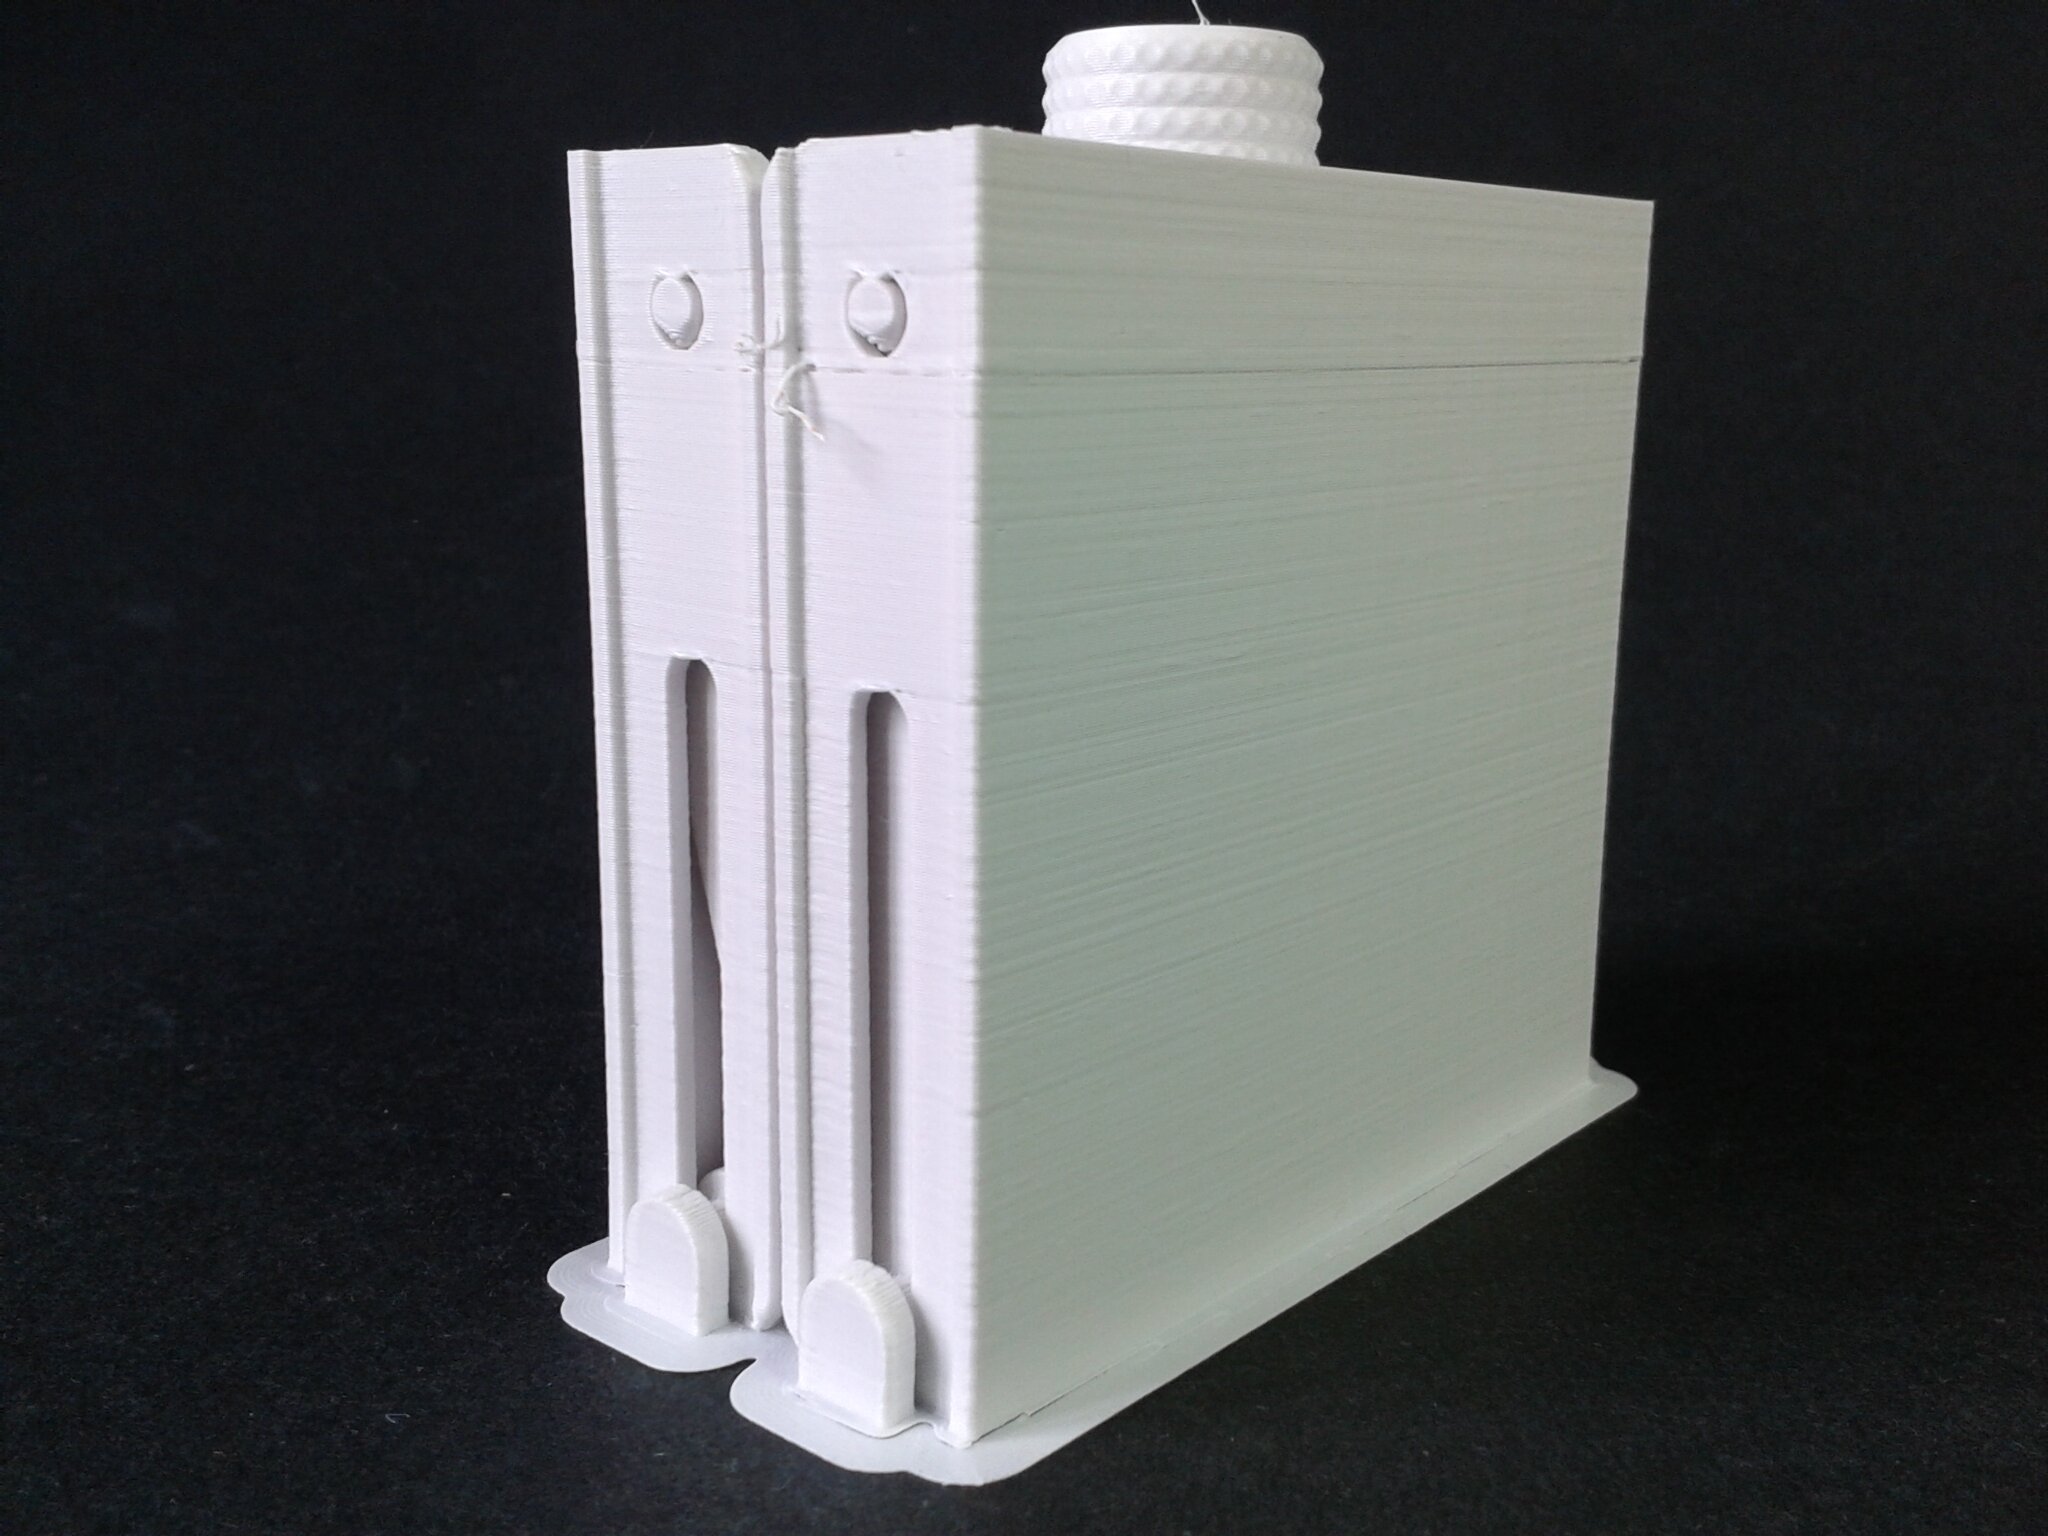
Castle Slide Coin Catcher.gcode
QIDISlicer v1.0.8, Hauteur de couche 0.20 mm, QIDI PLA Rapido, Buse 210°C, Plateau 60°C.
Filament PLA Silk Rose ArianePlast
Durée d’impression : 4 heures 36 minutes 13 secondes.


D’autres impressions de test en PLA sur Qidi Q1 Pro
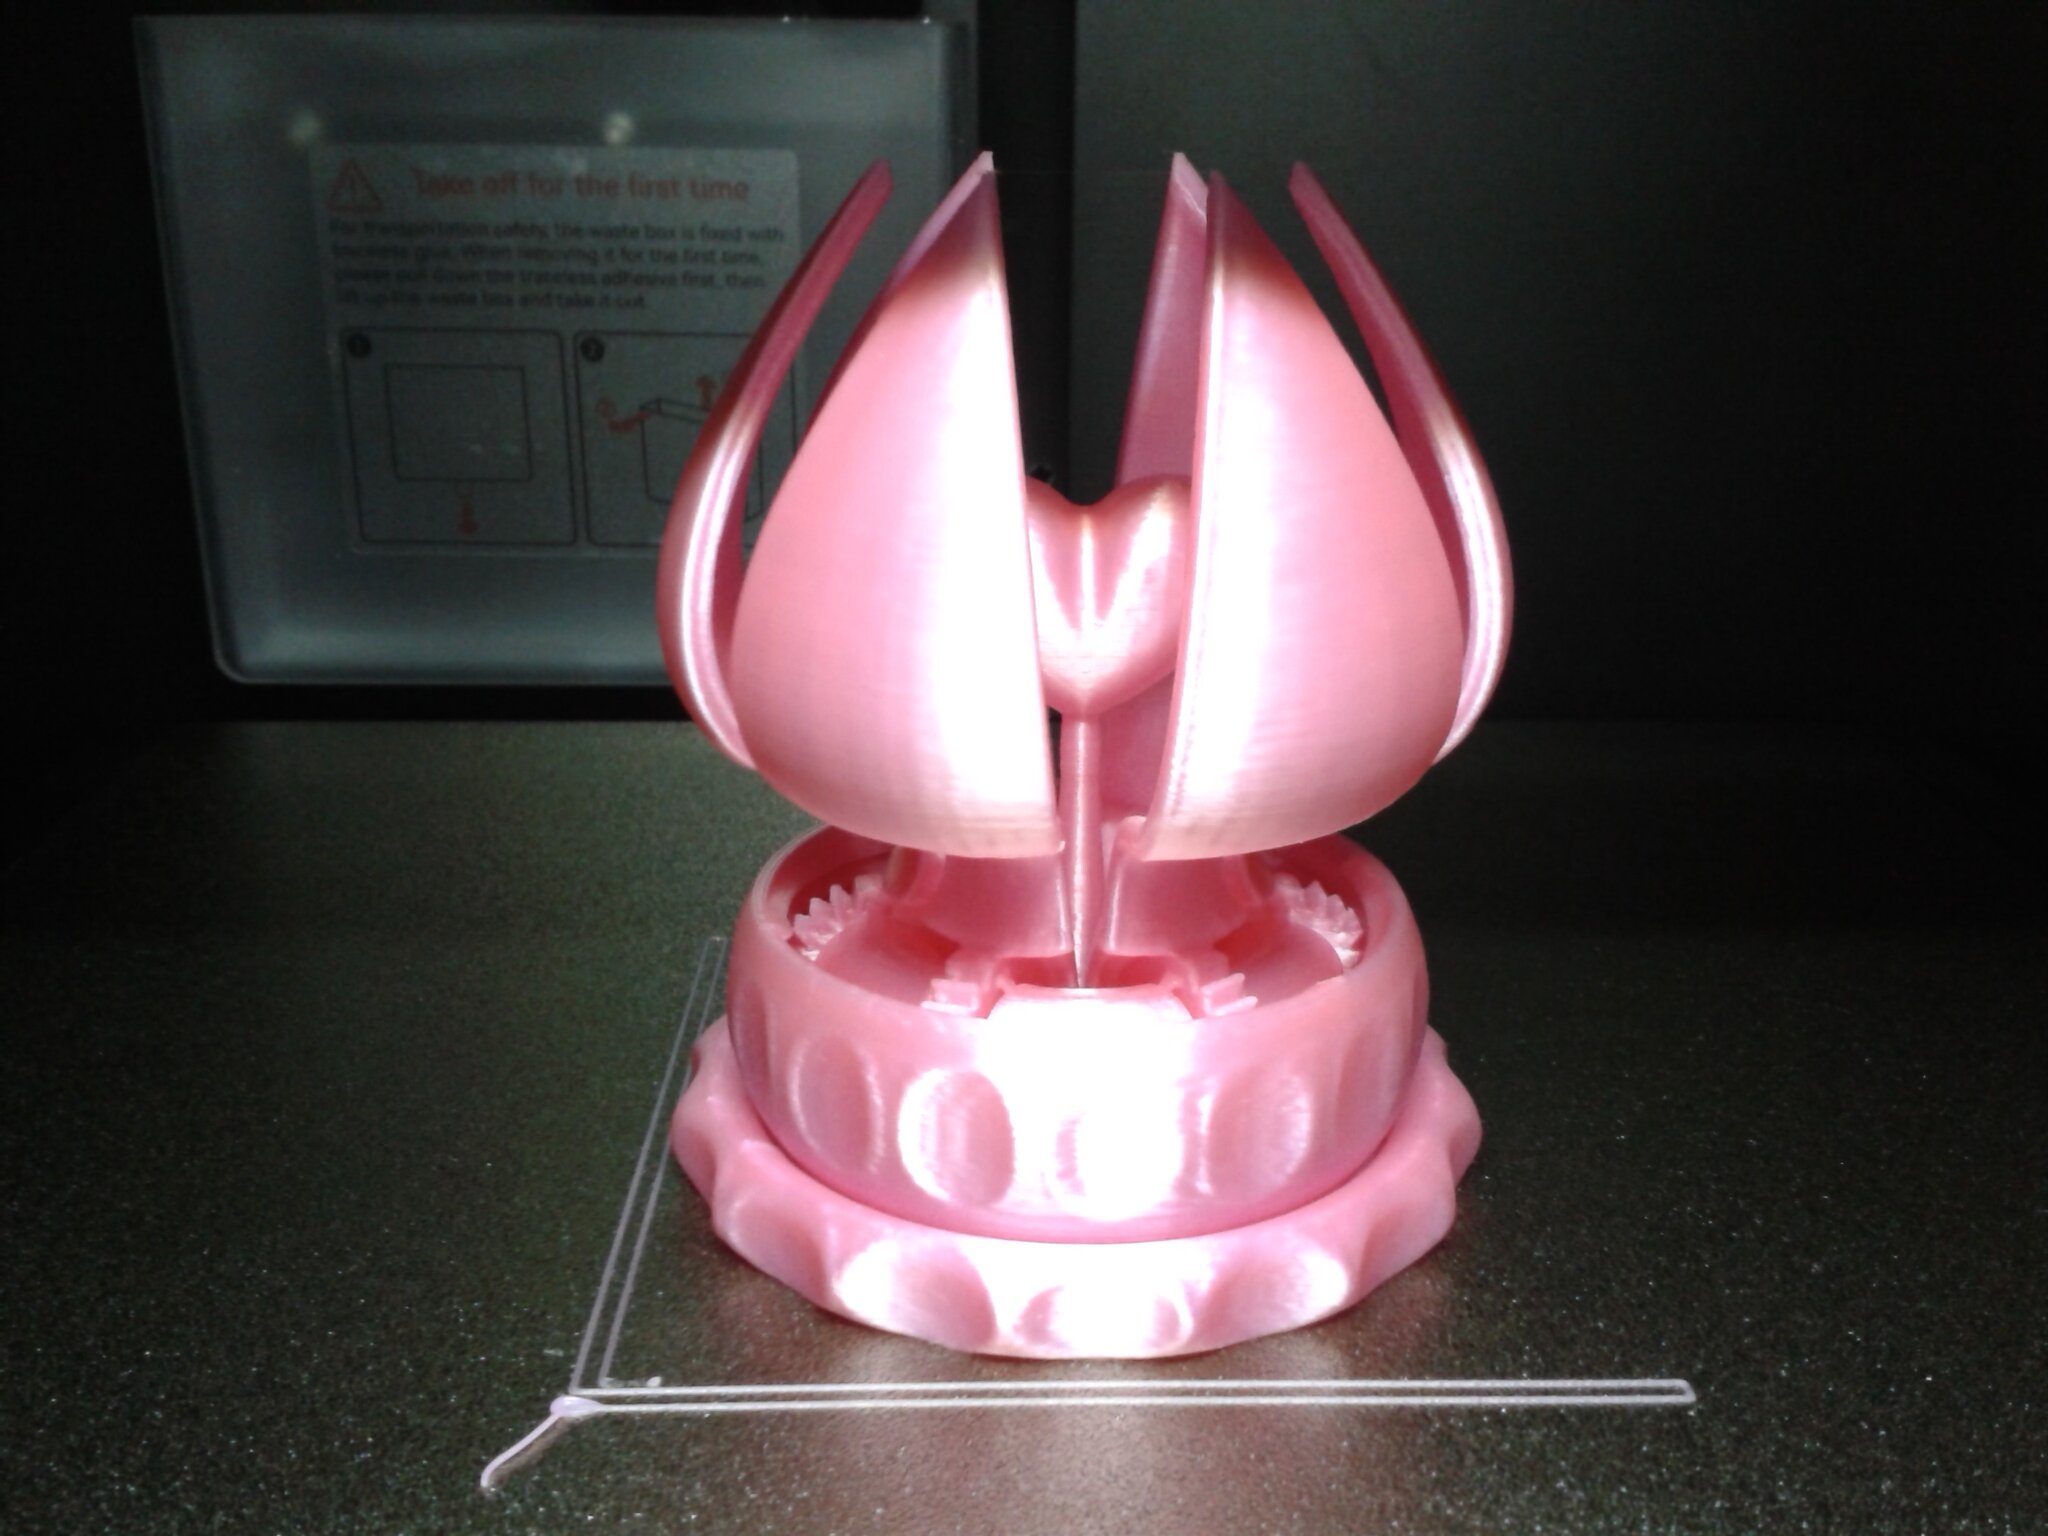
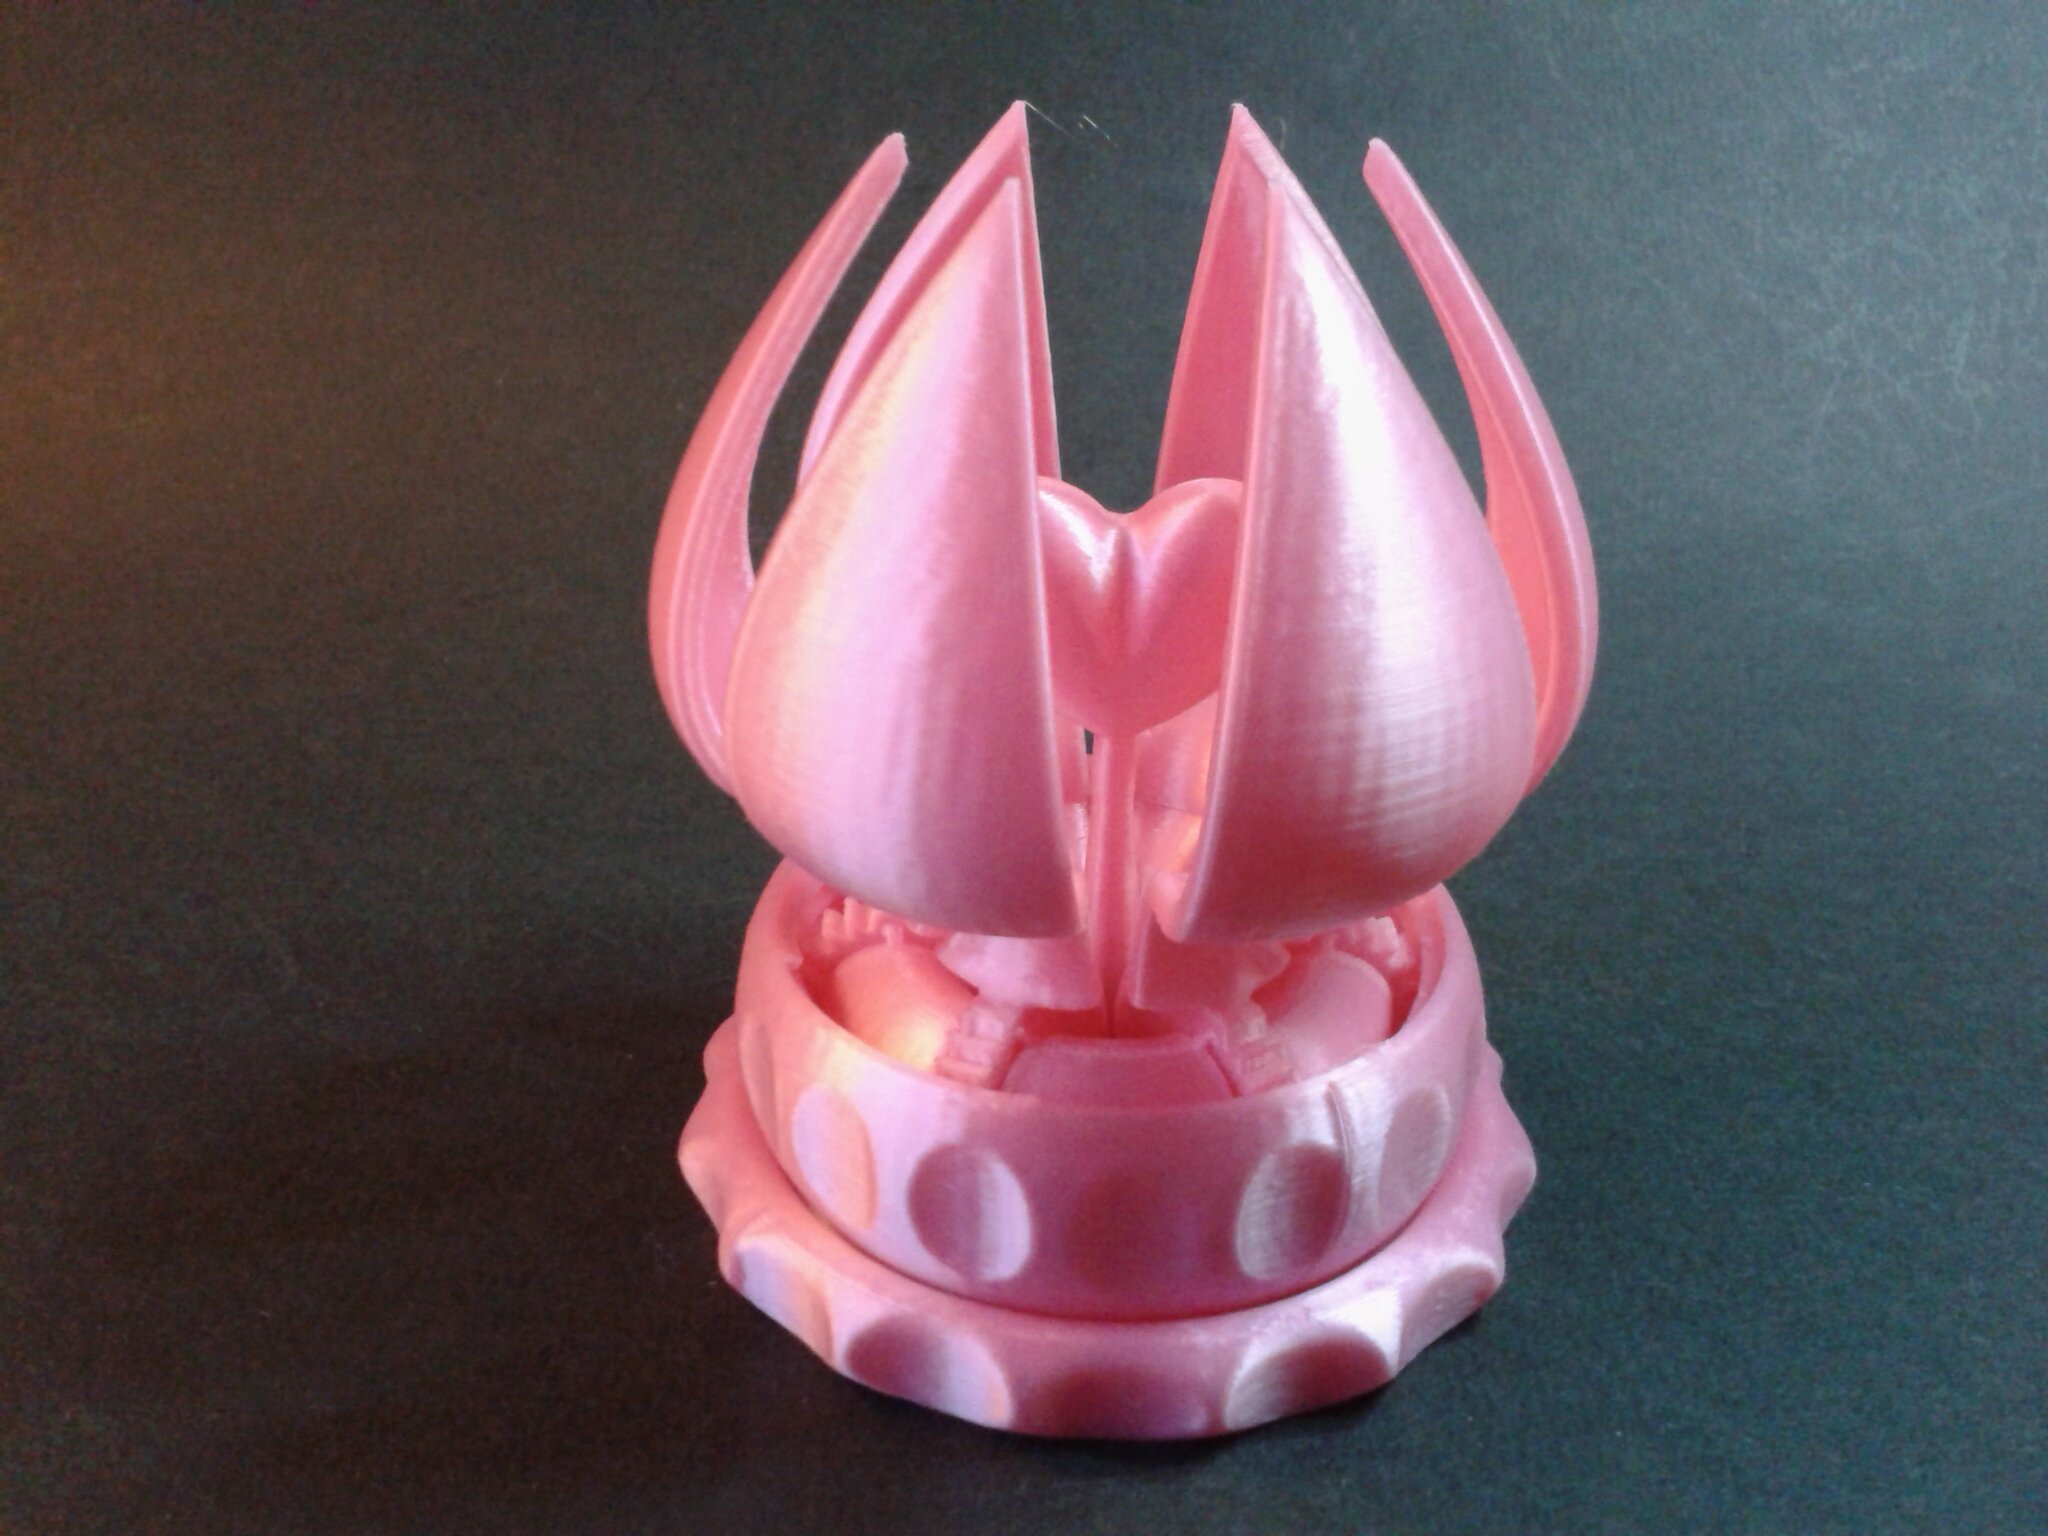
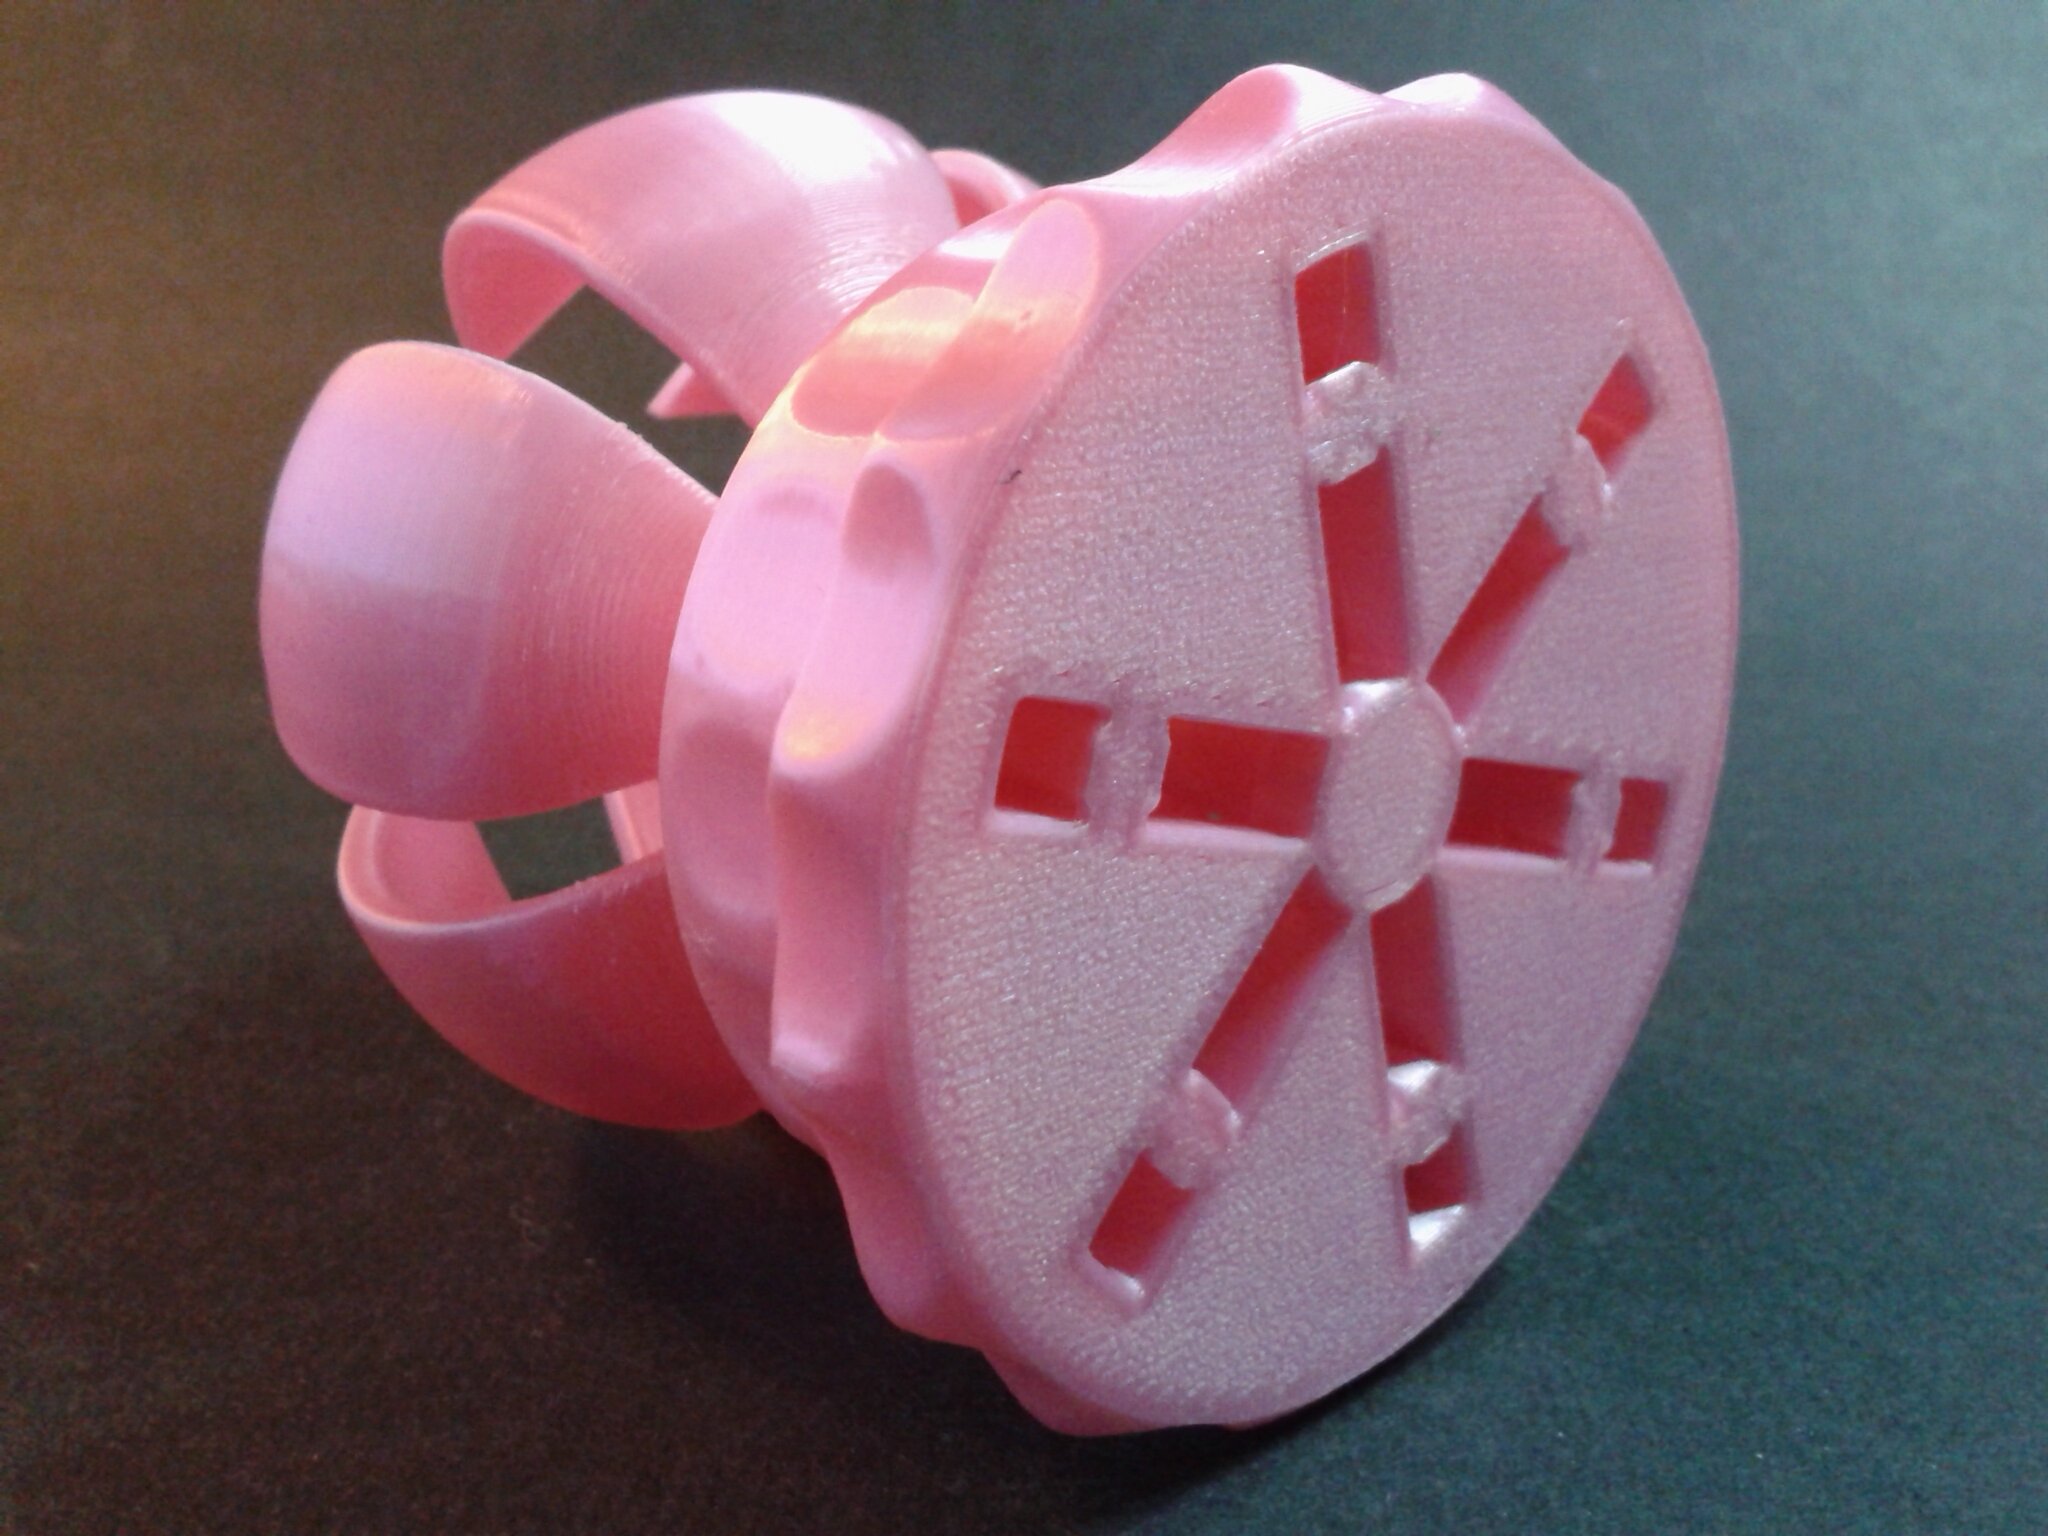
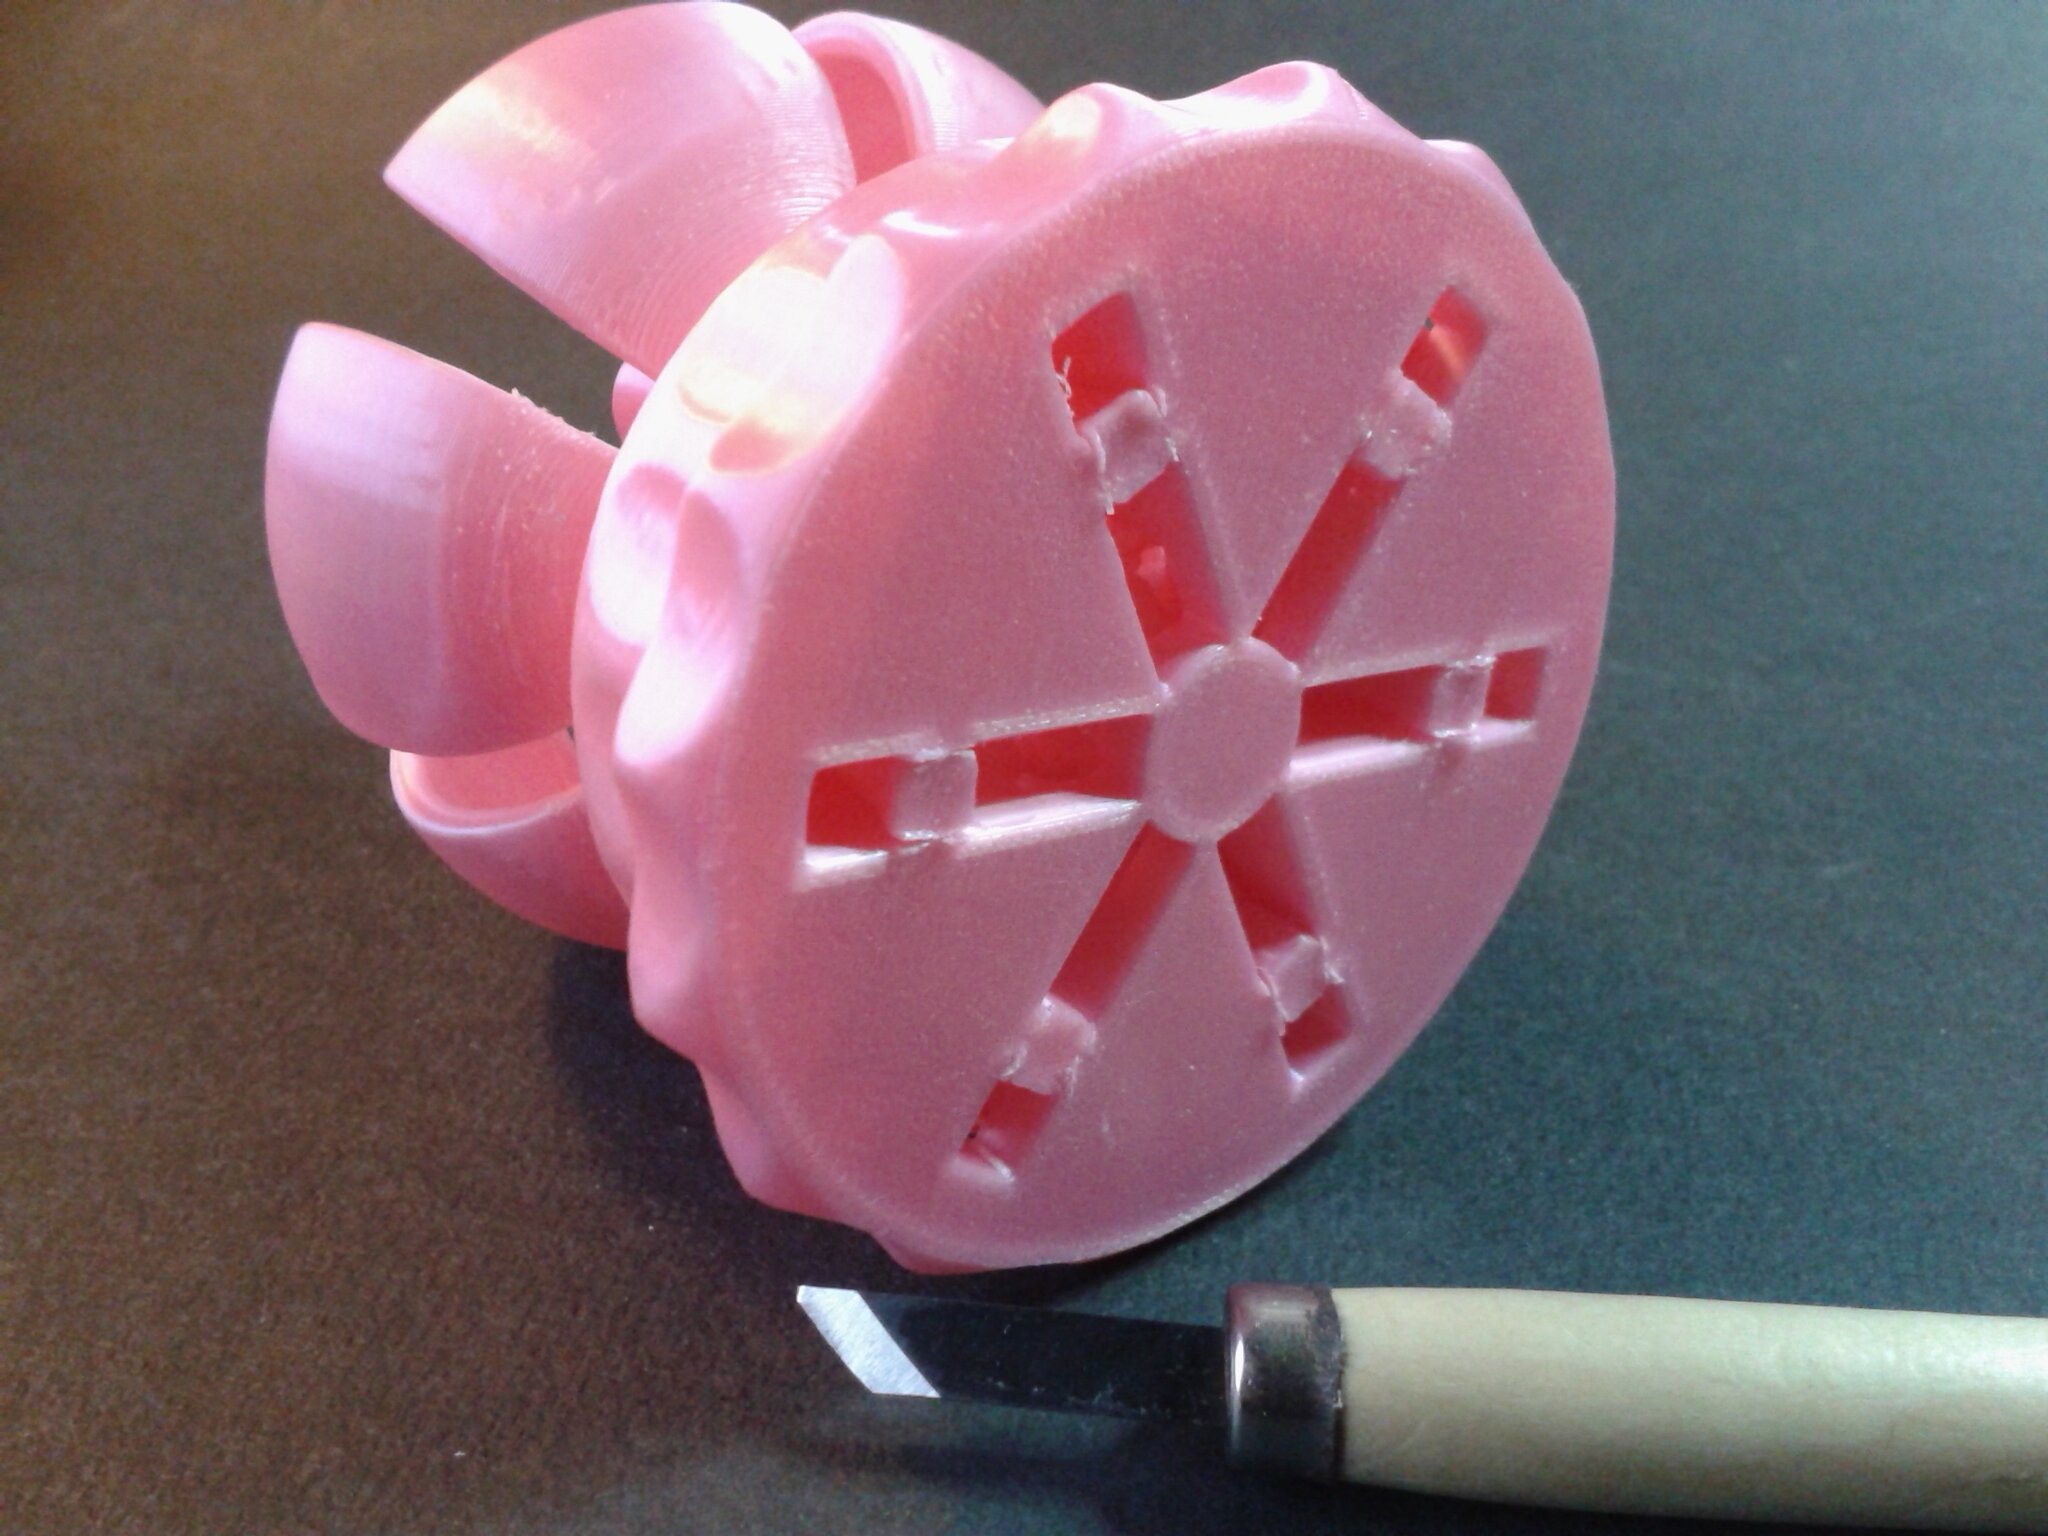
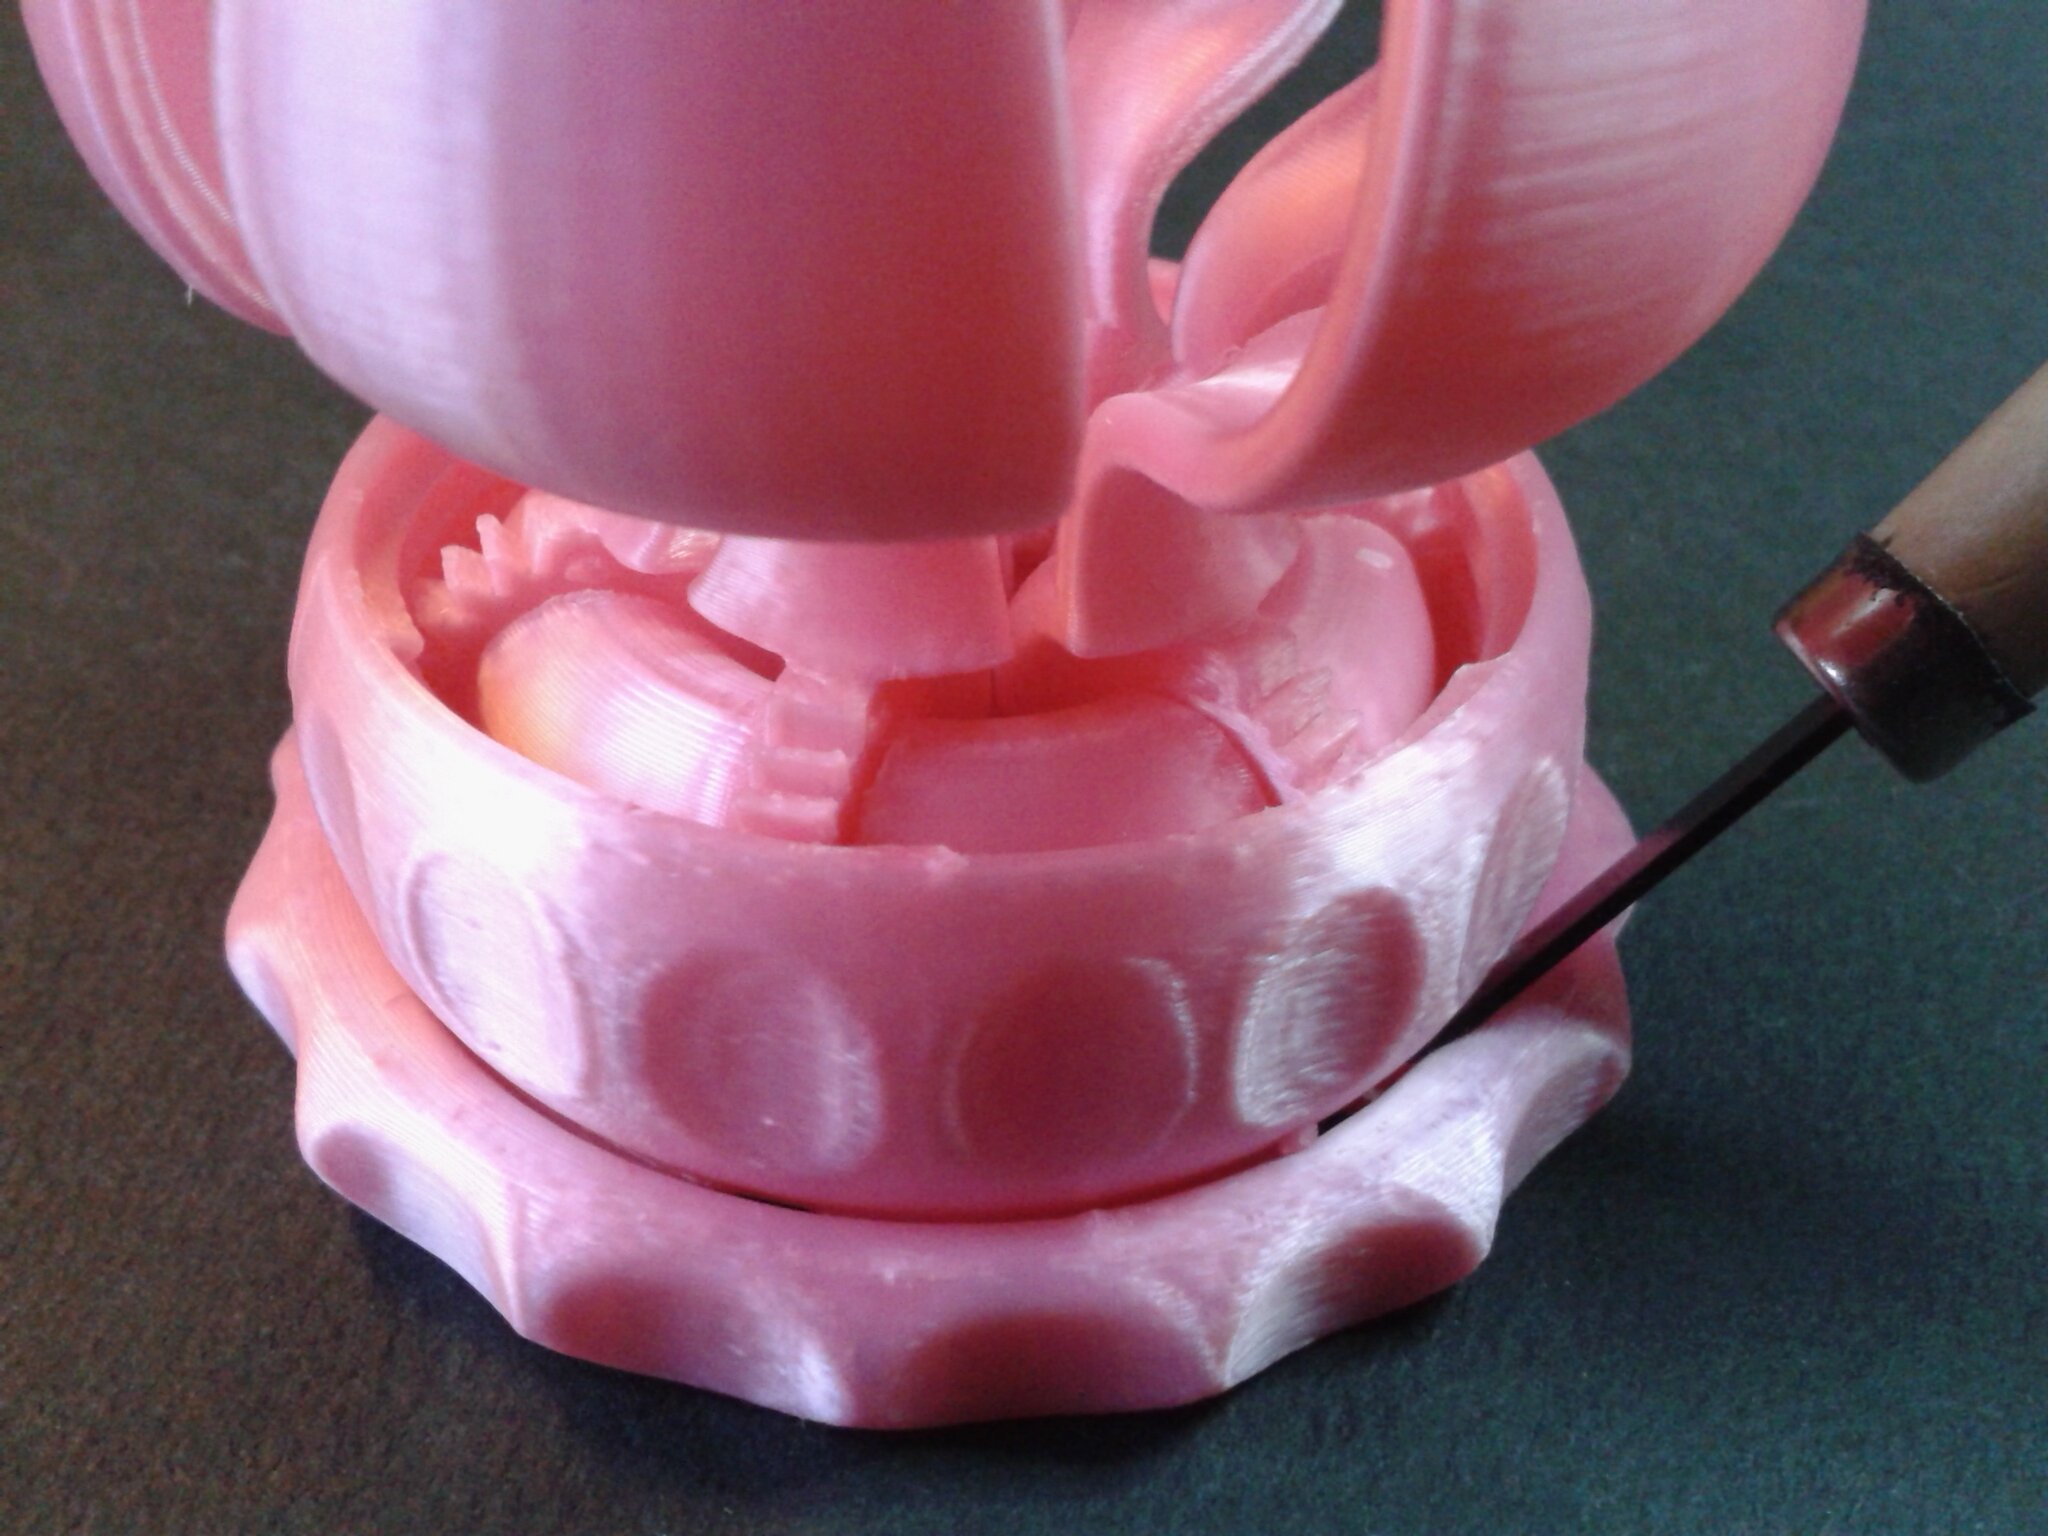
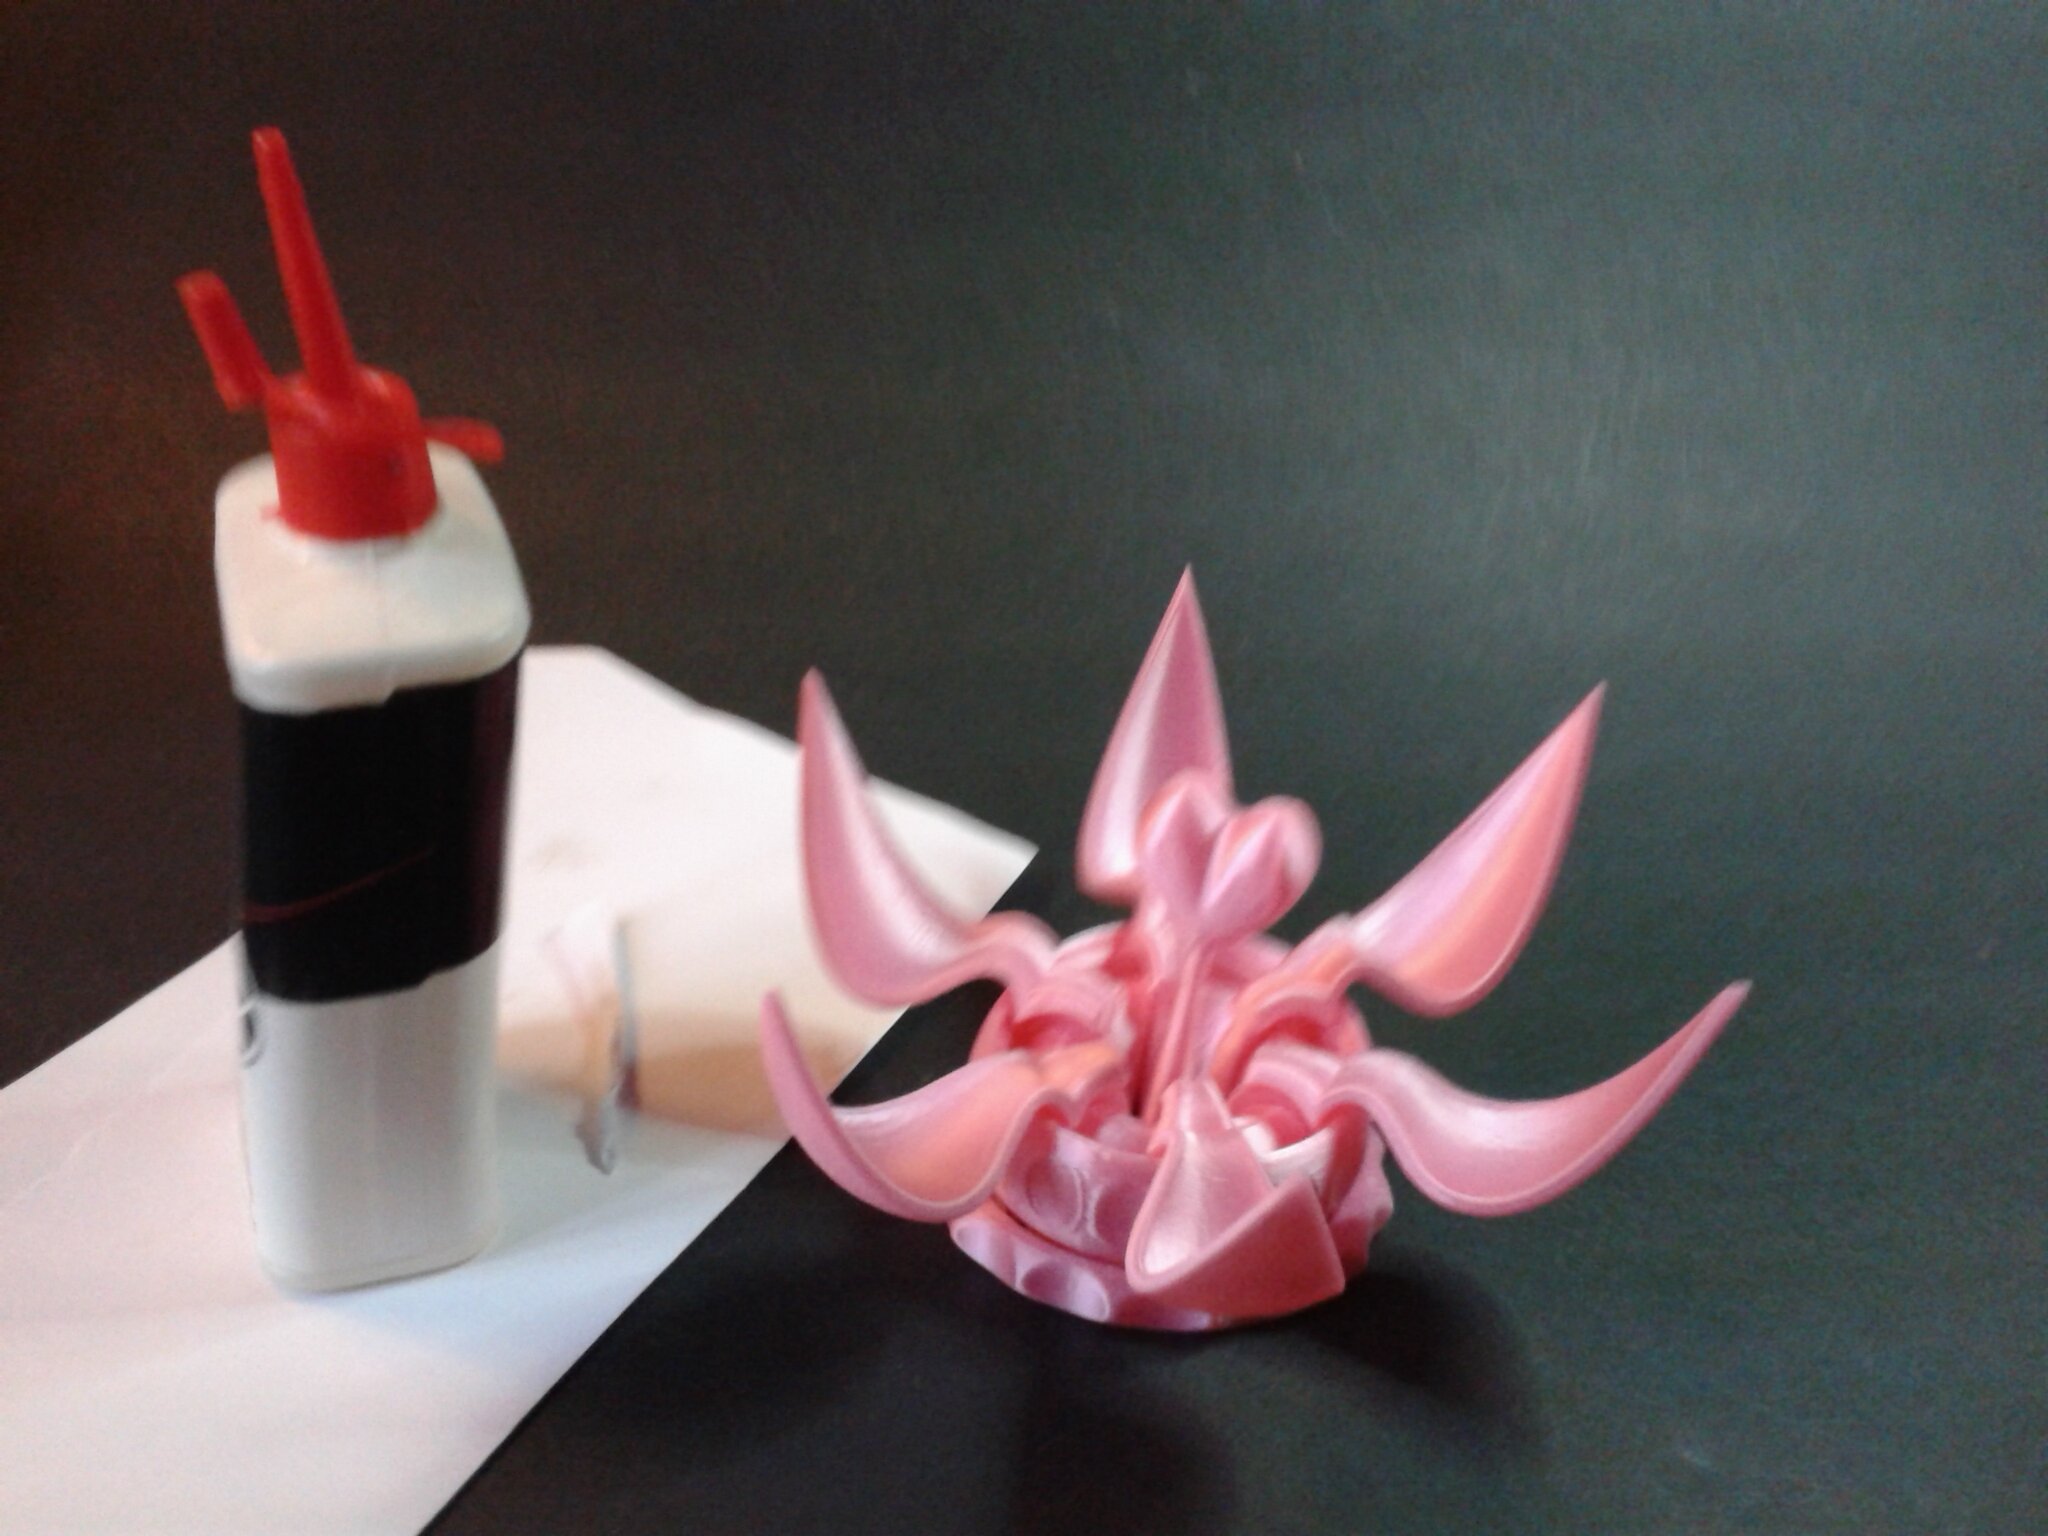
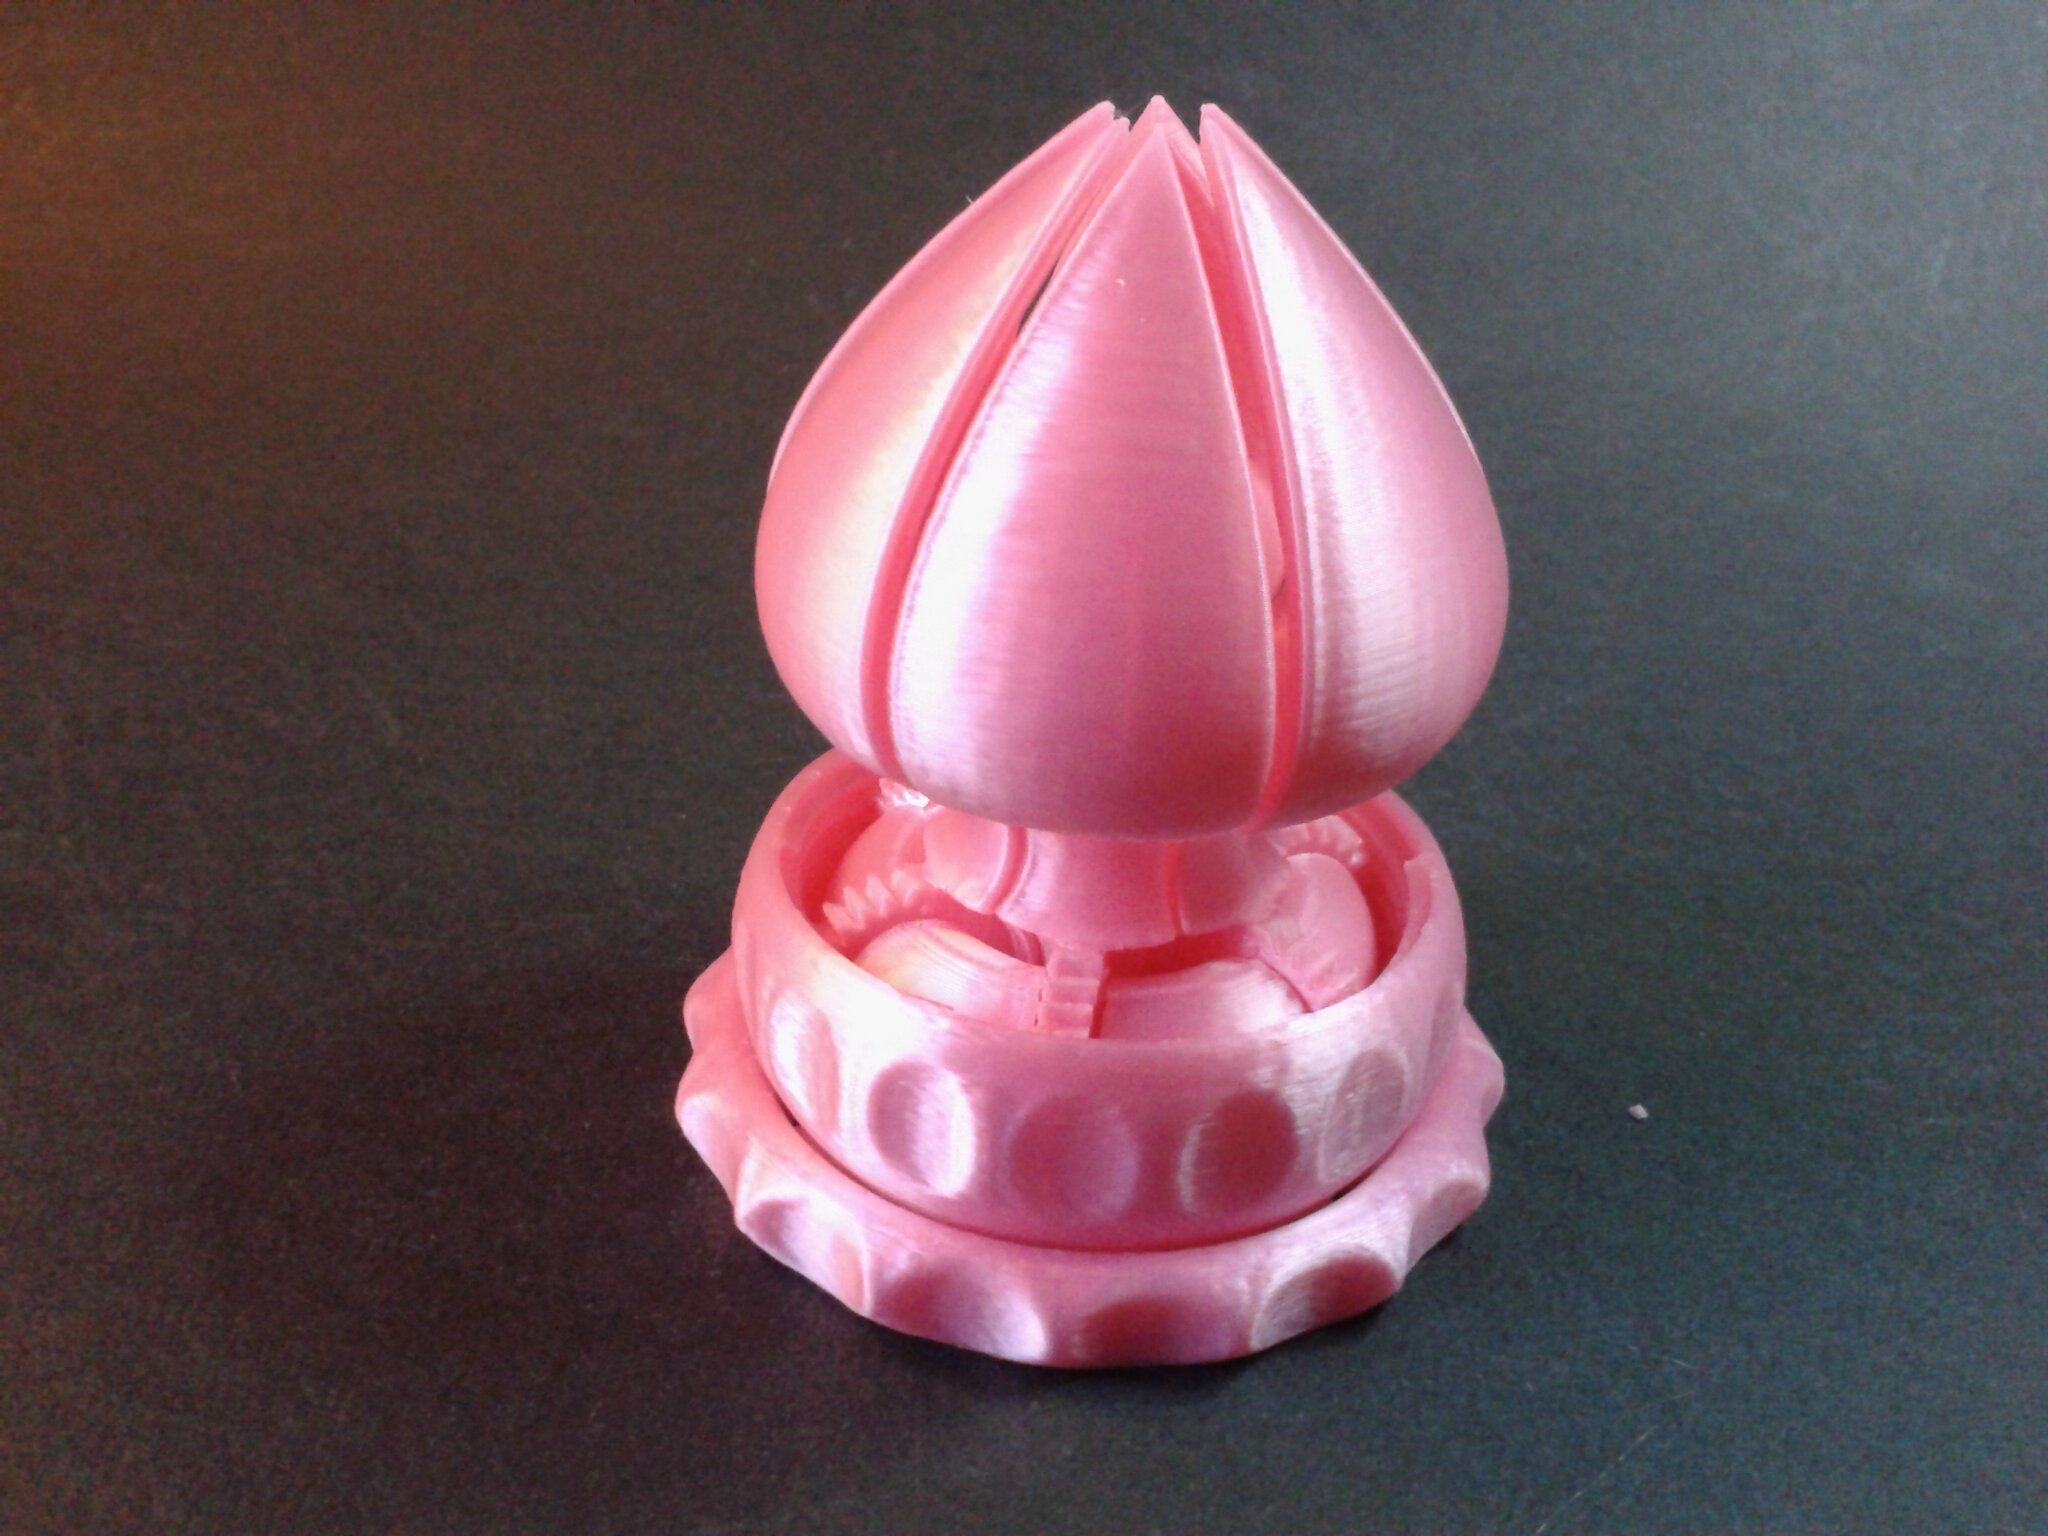
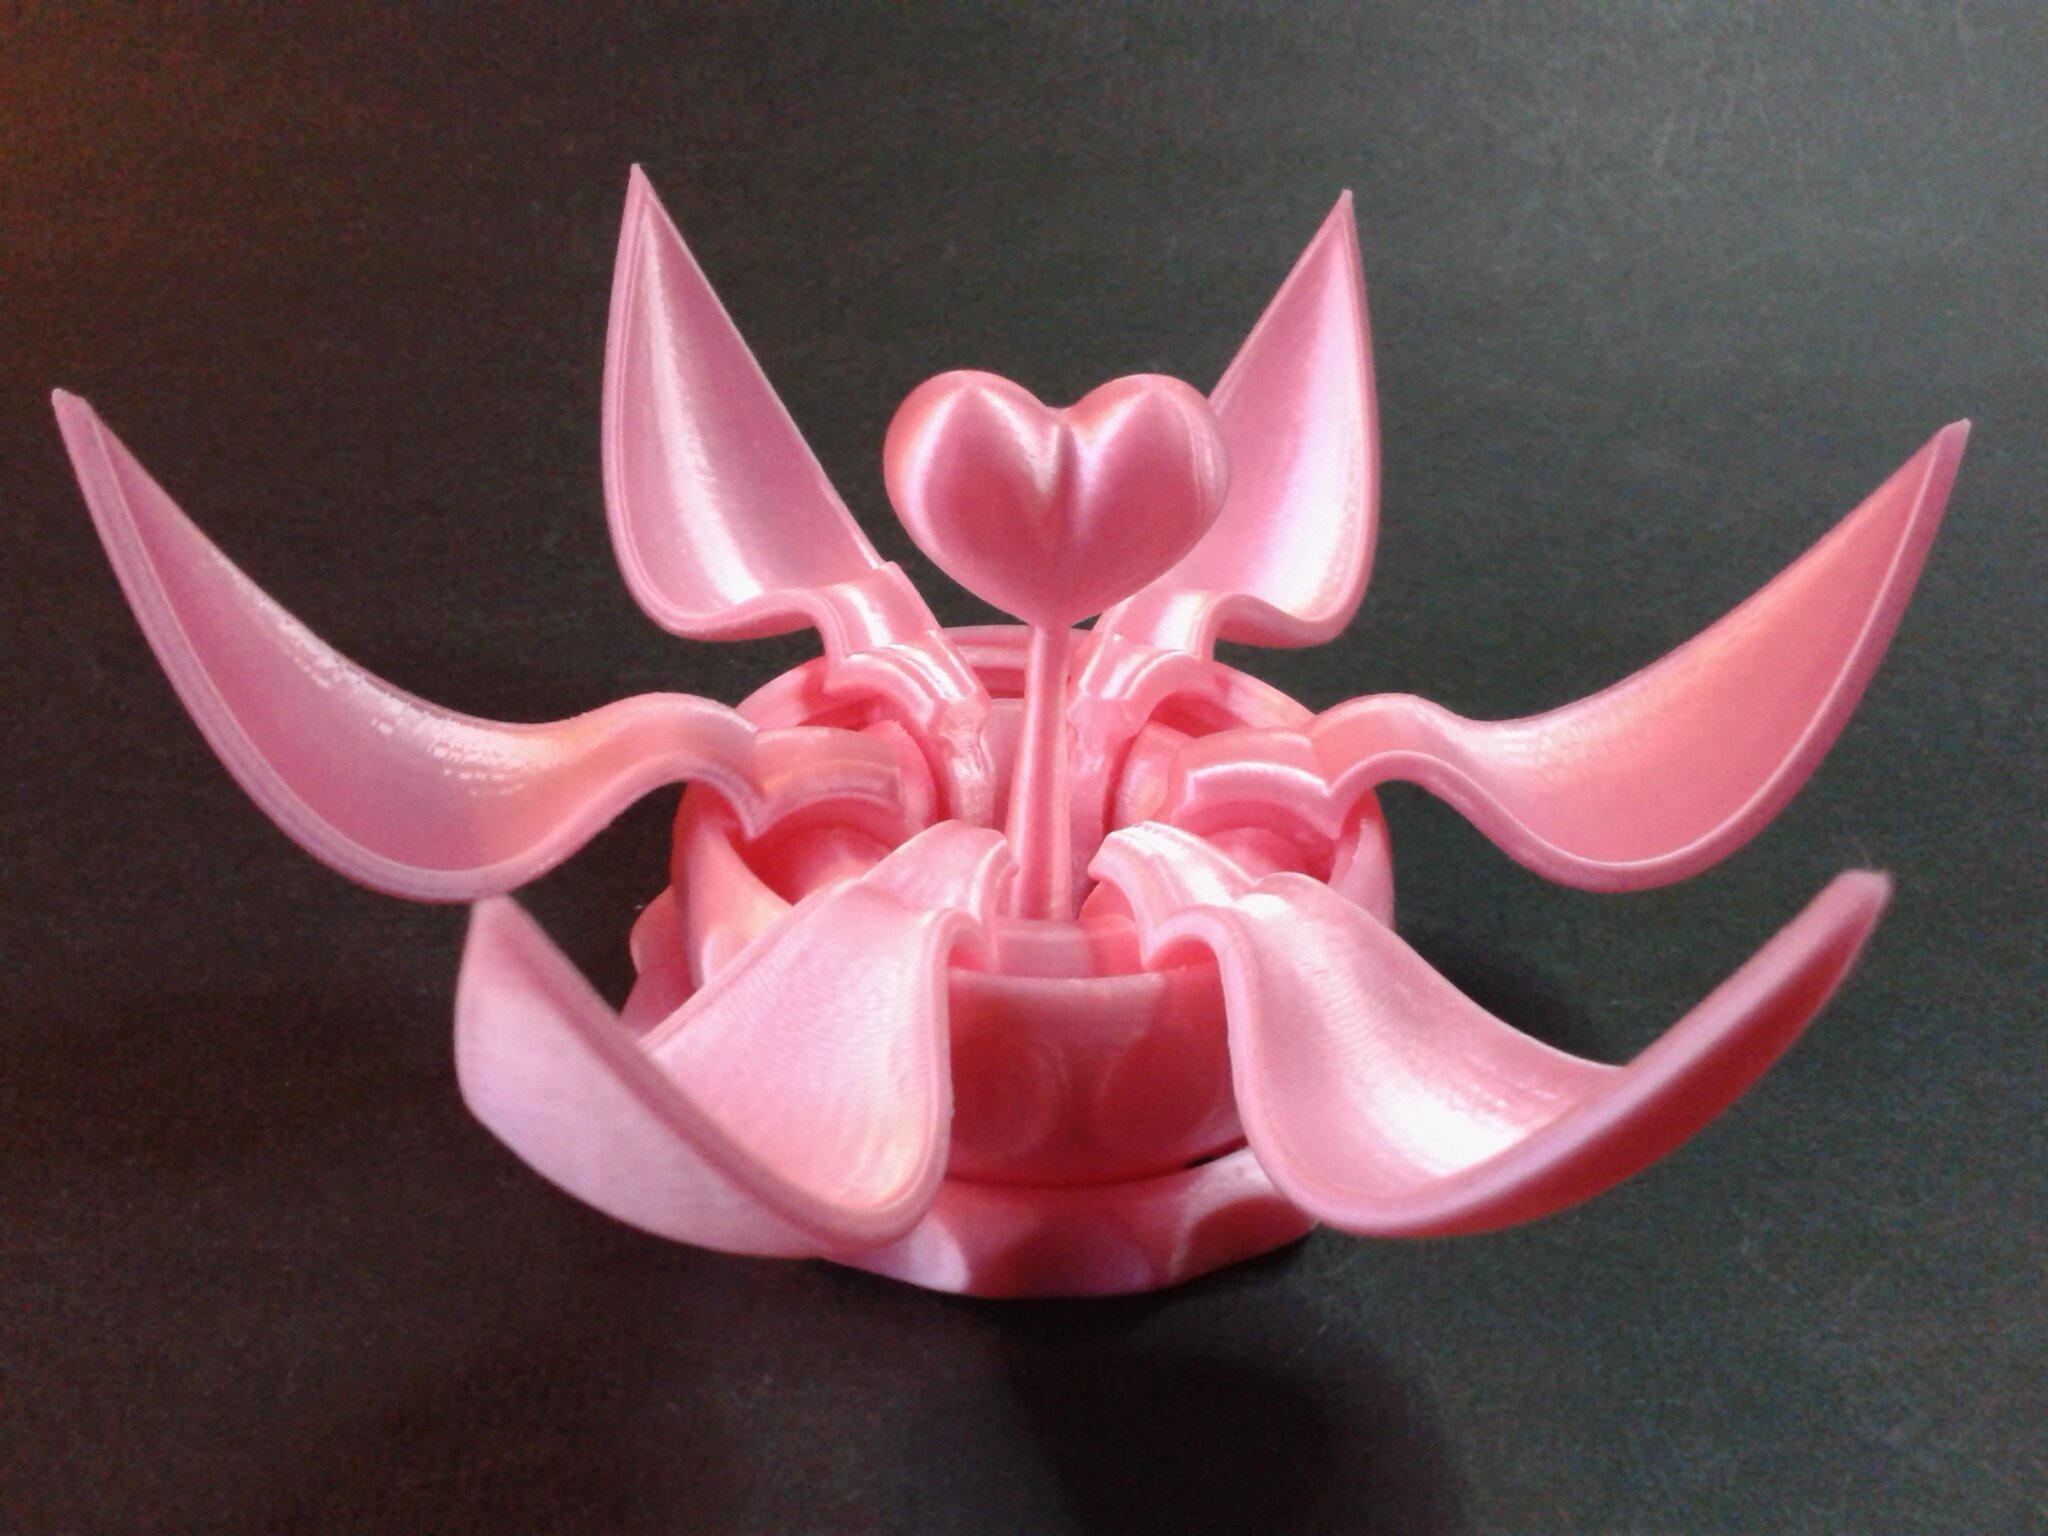
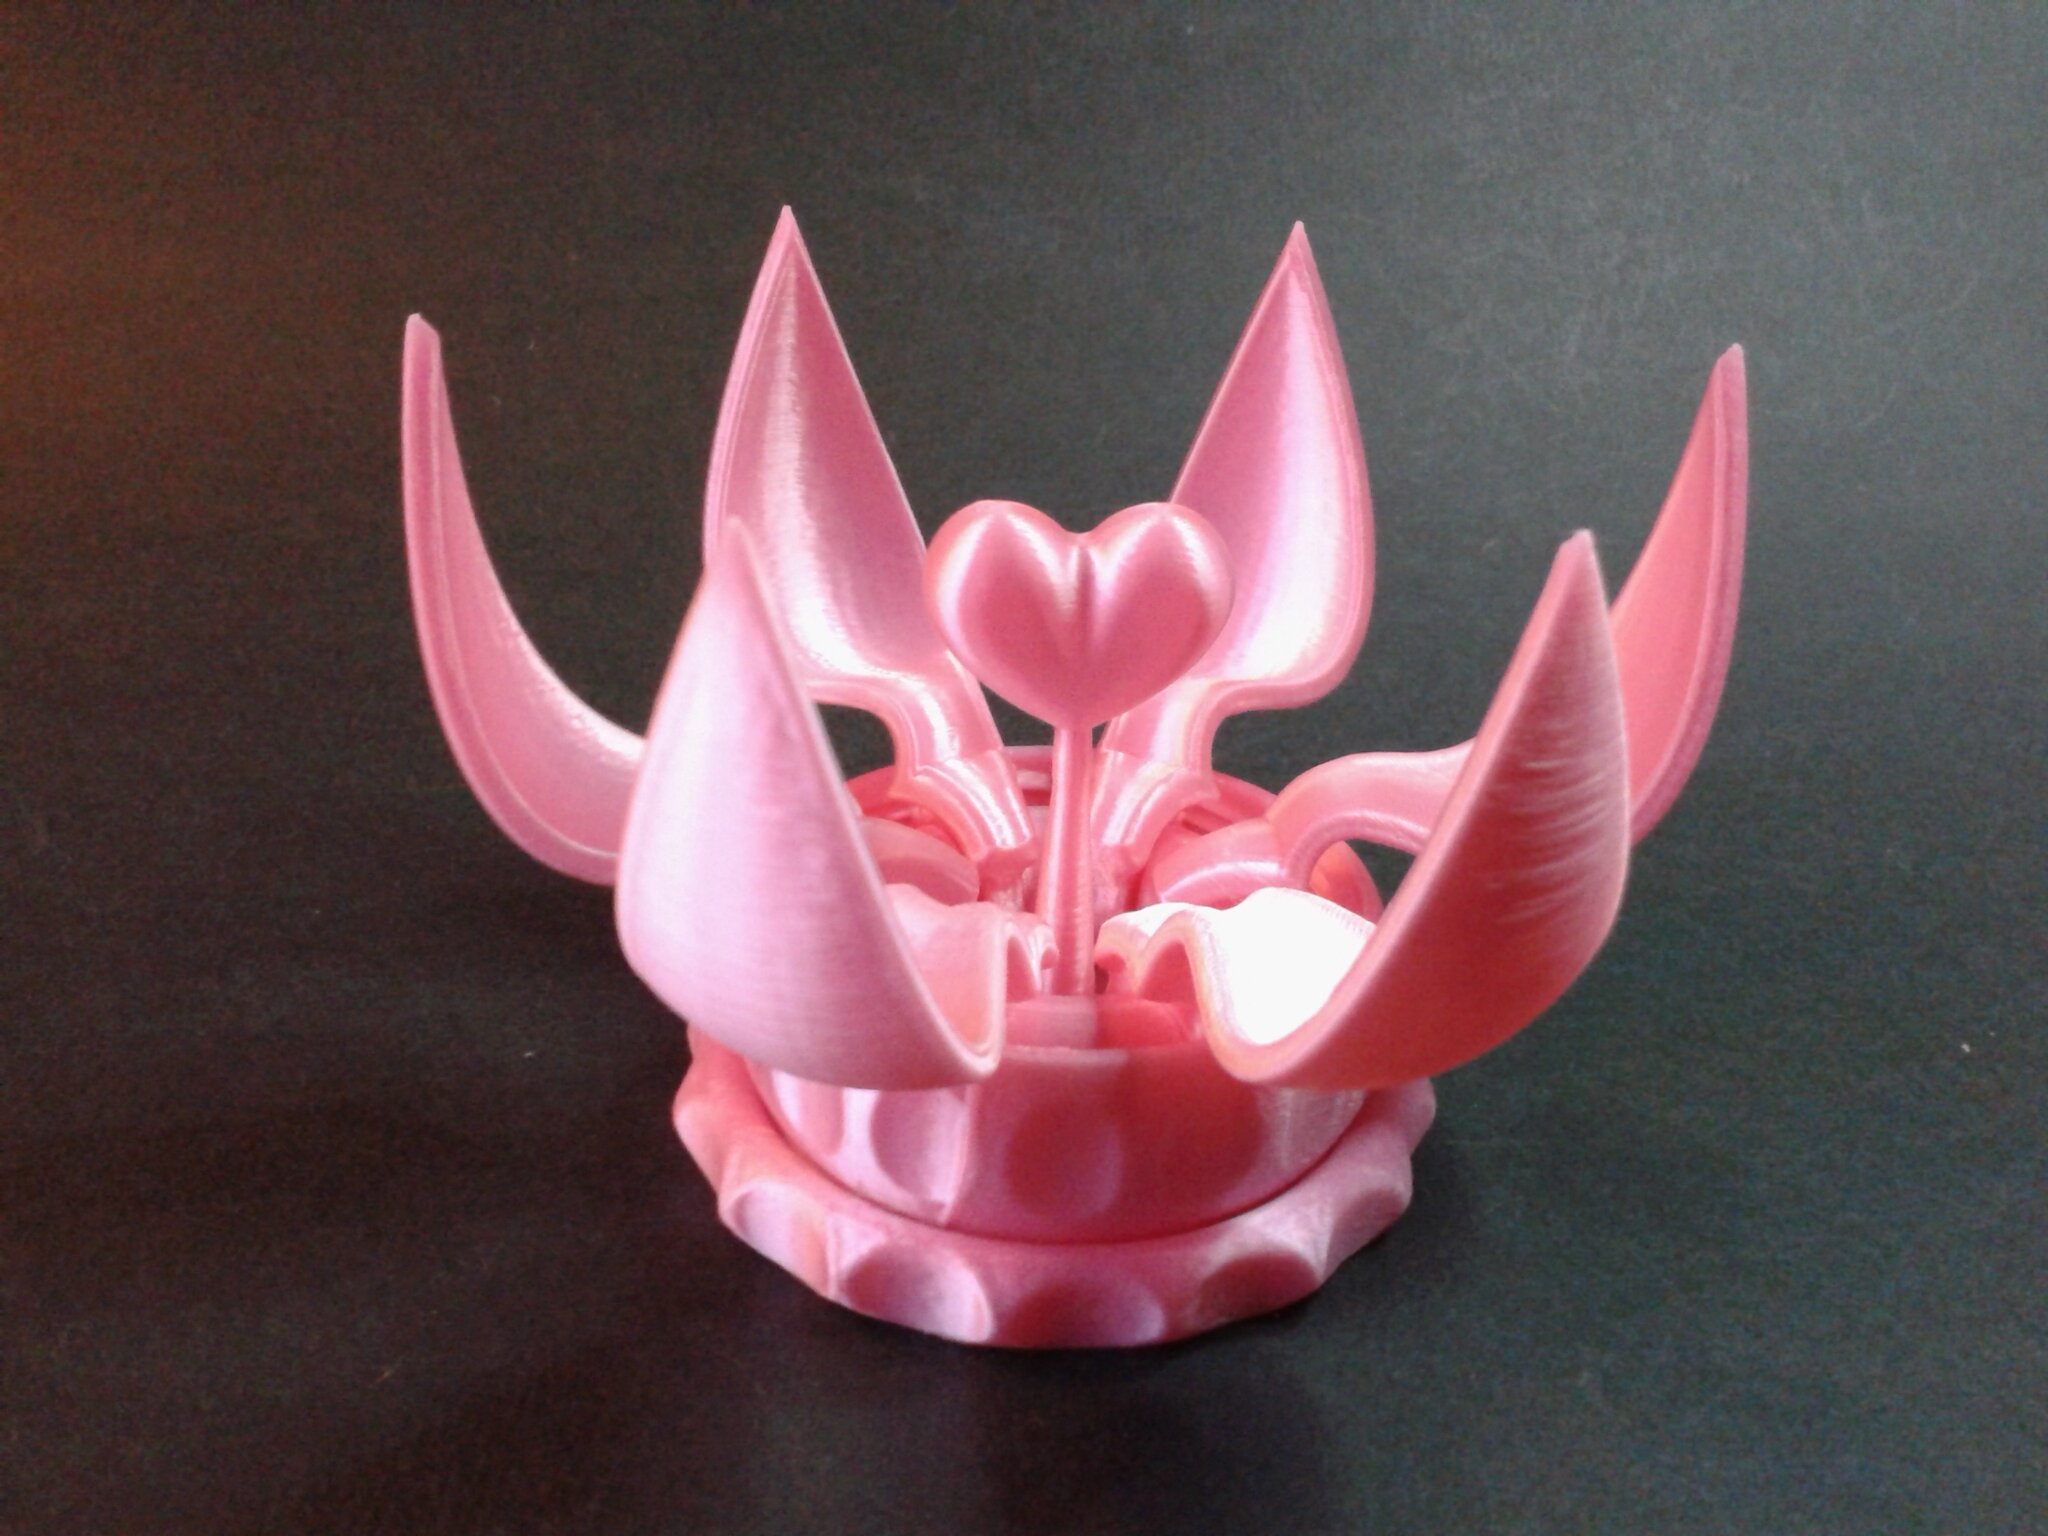
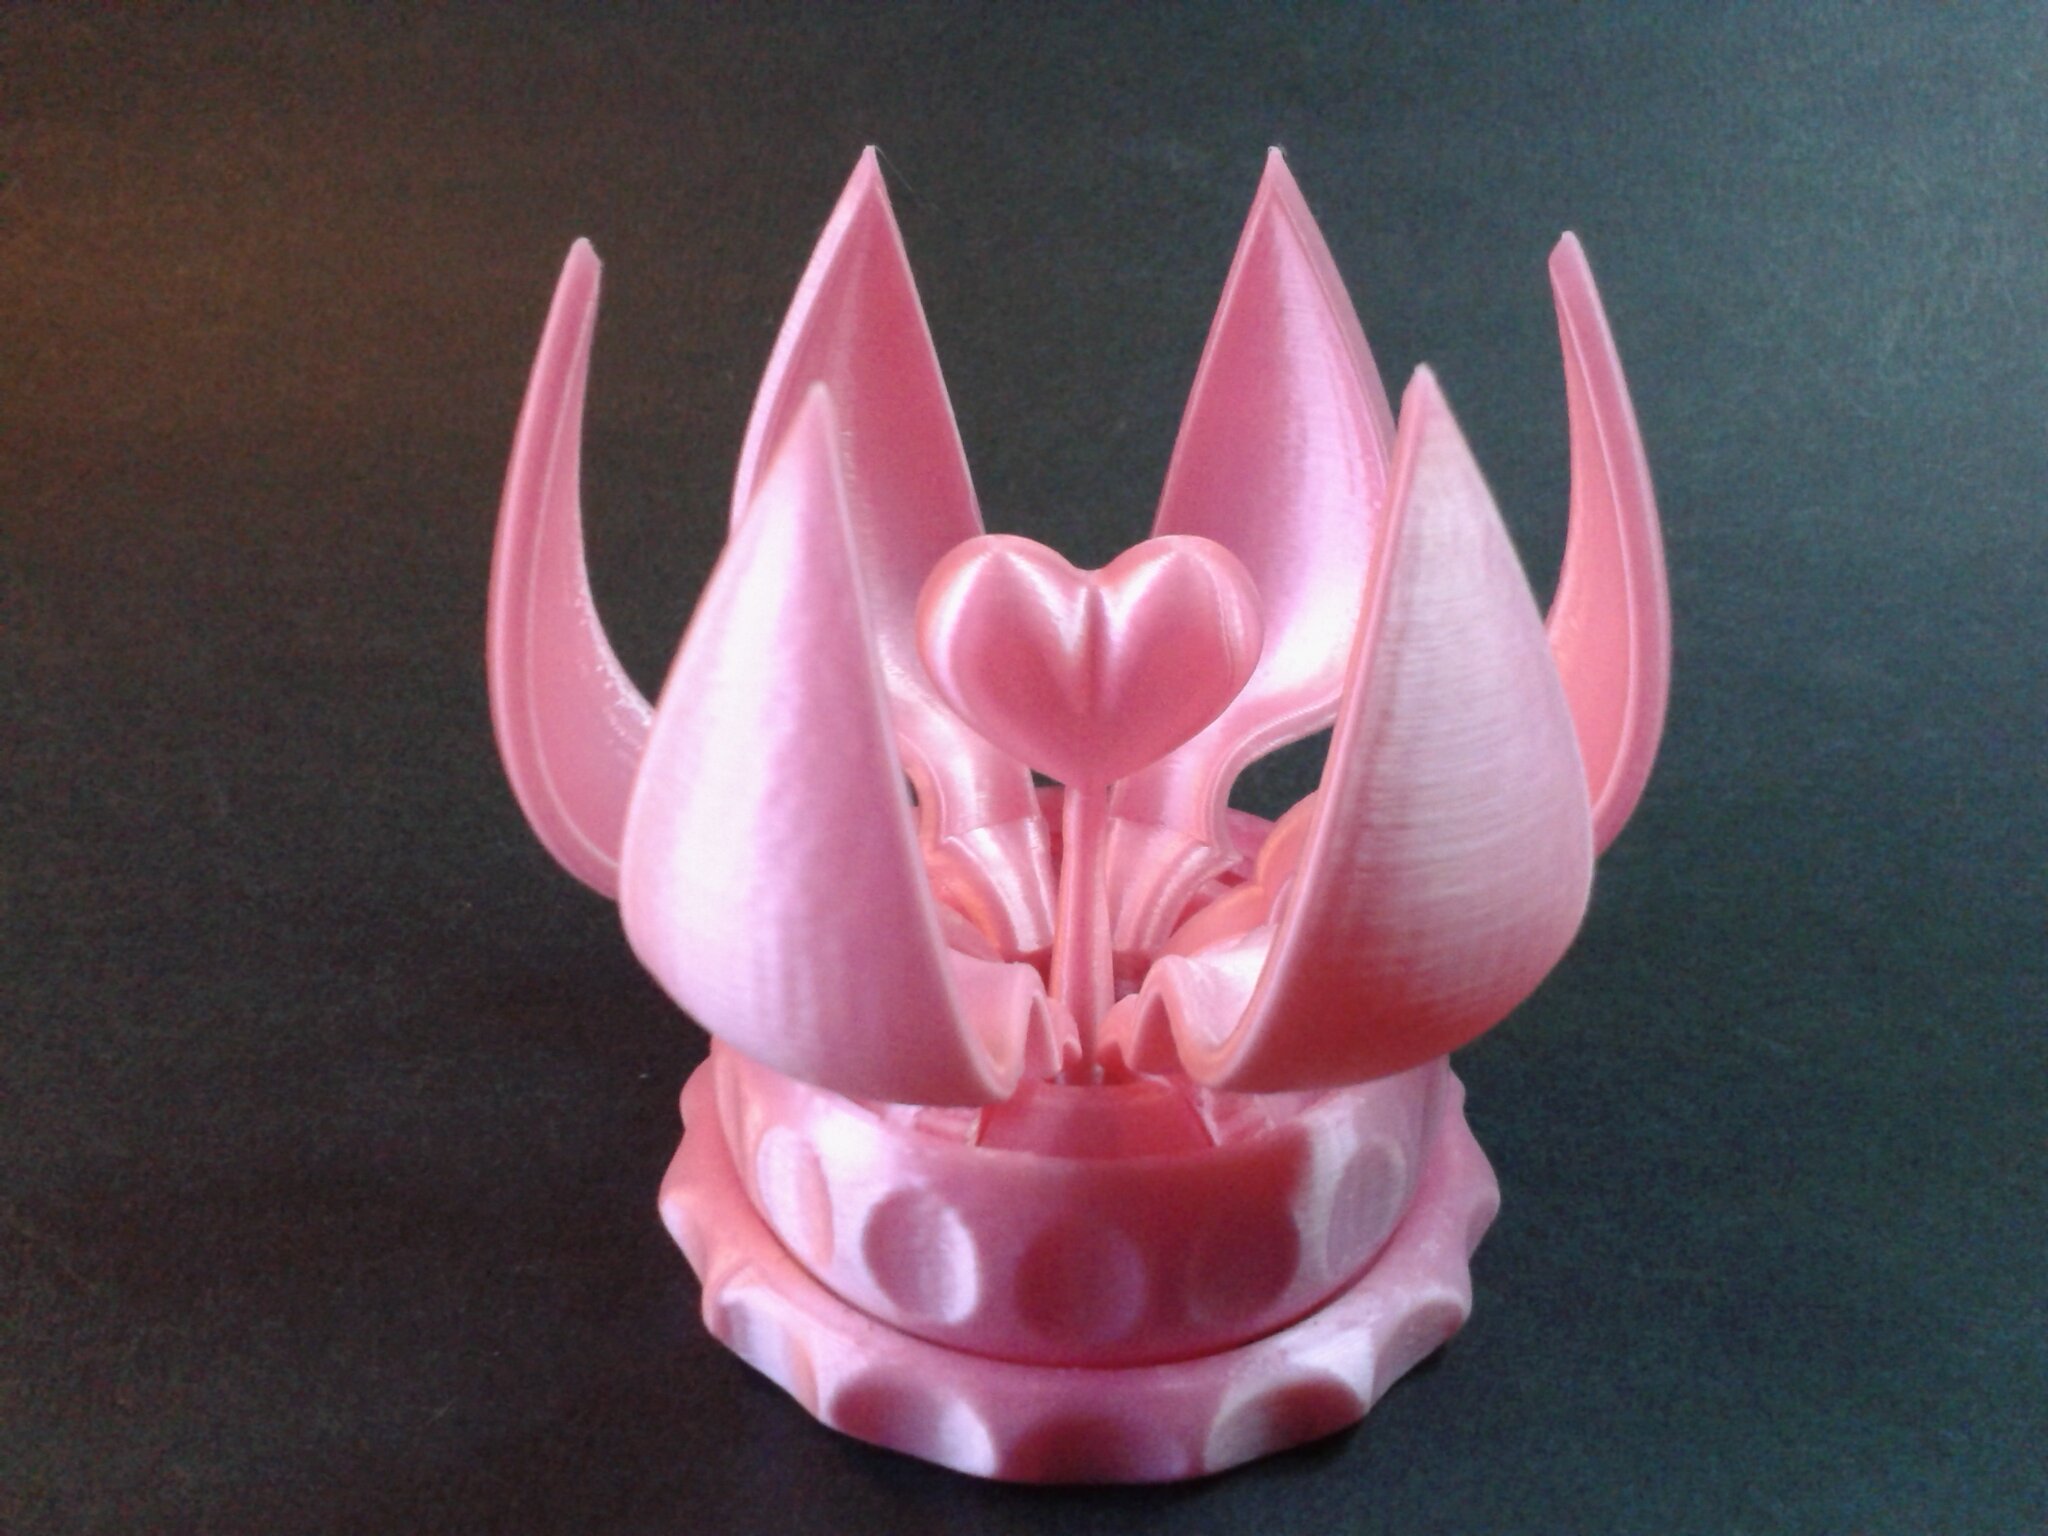
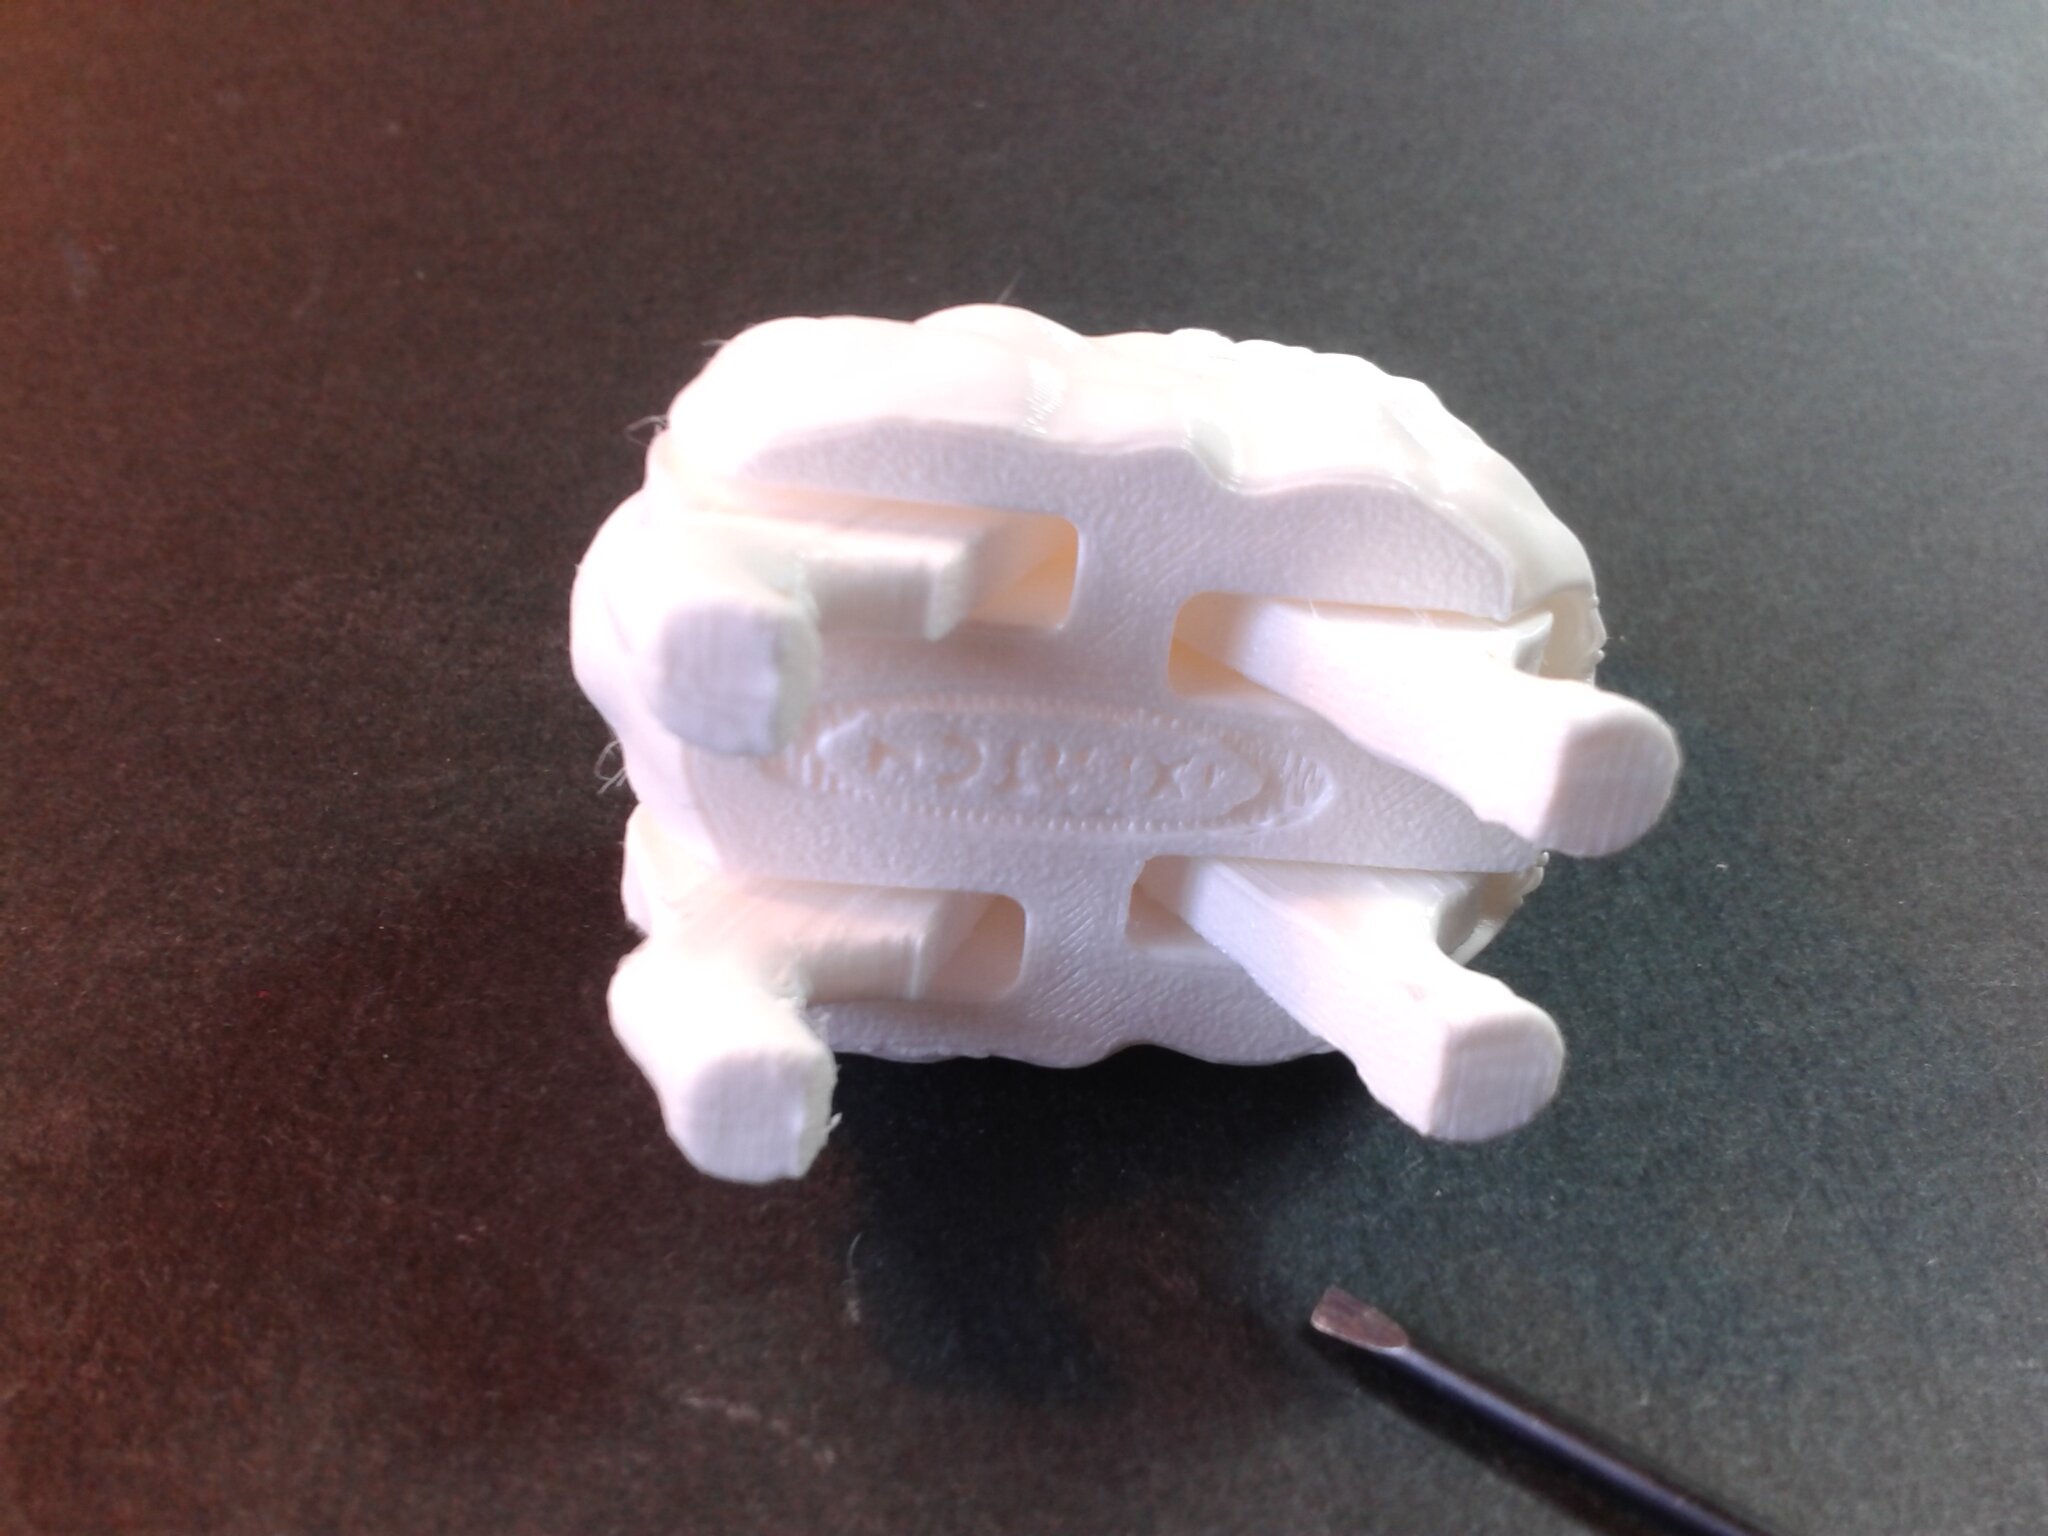
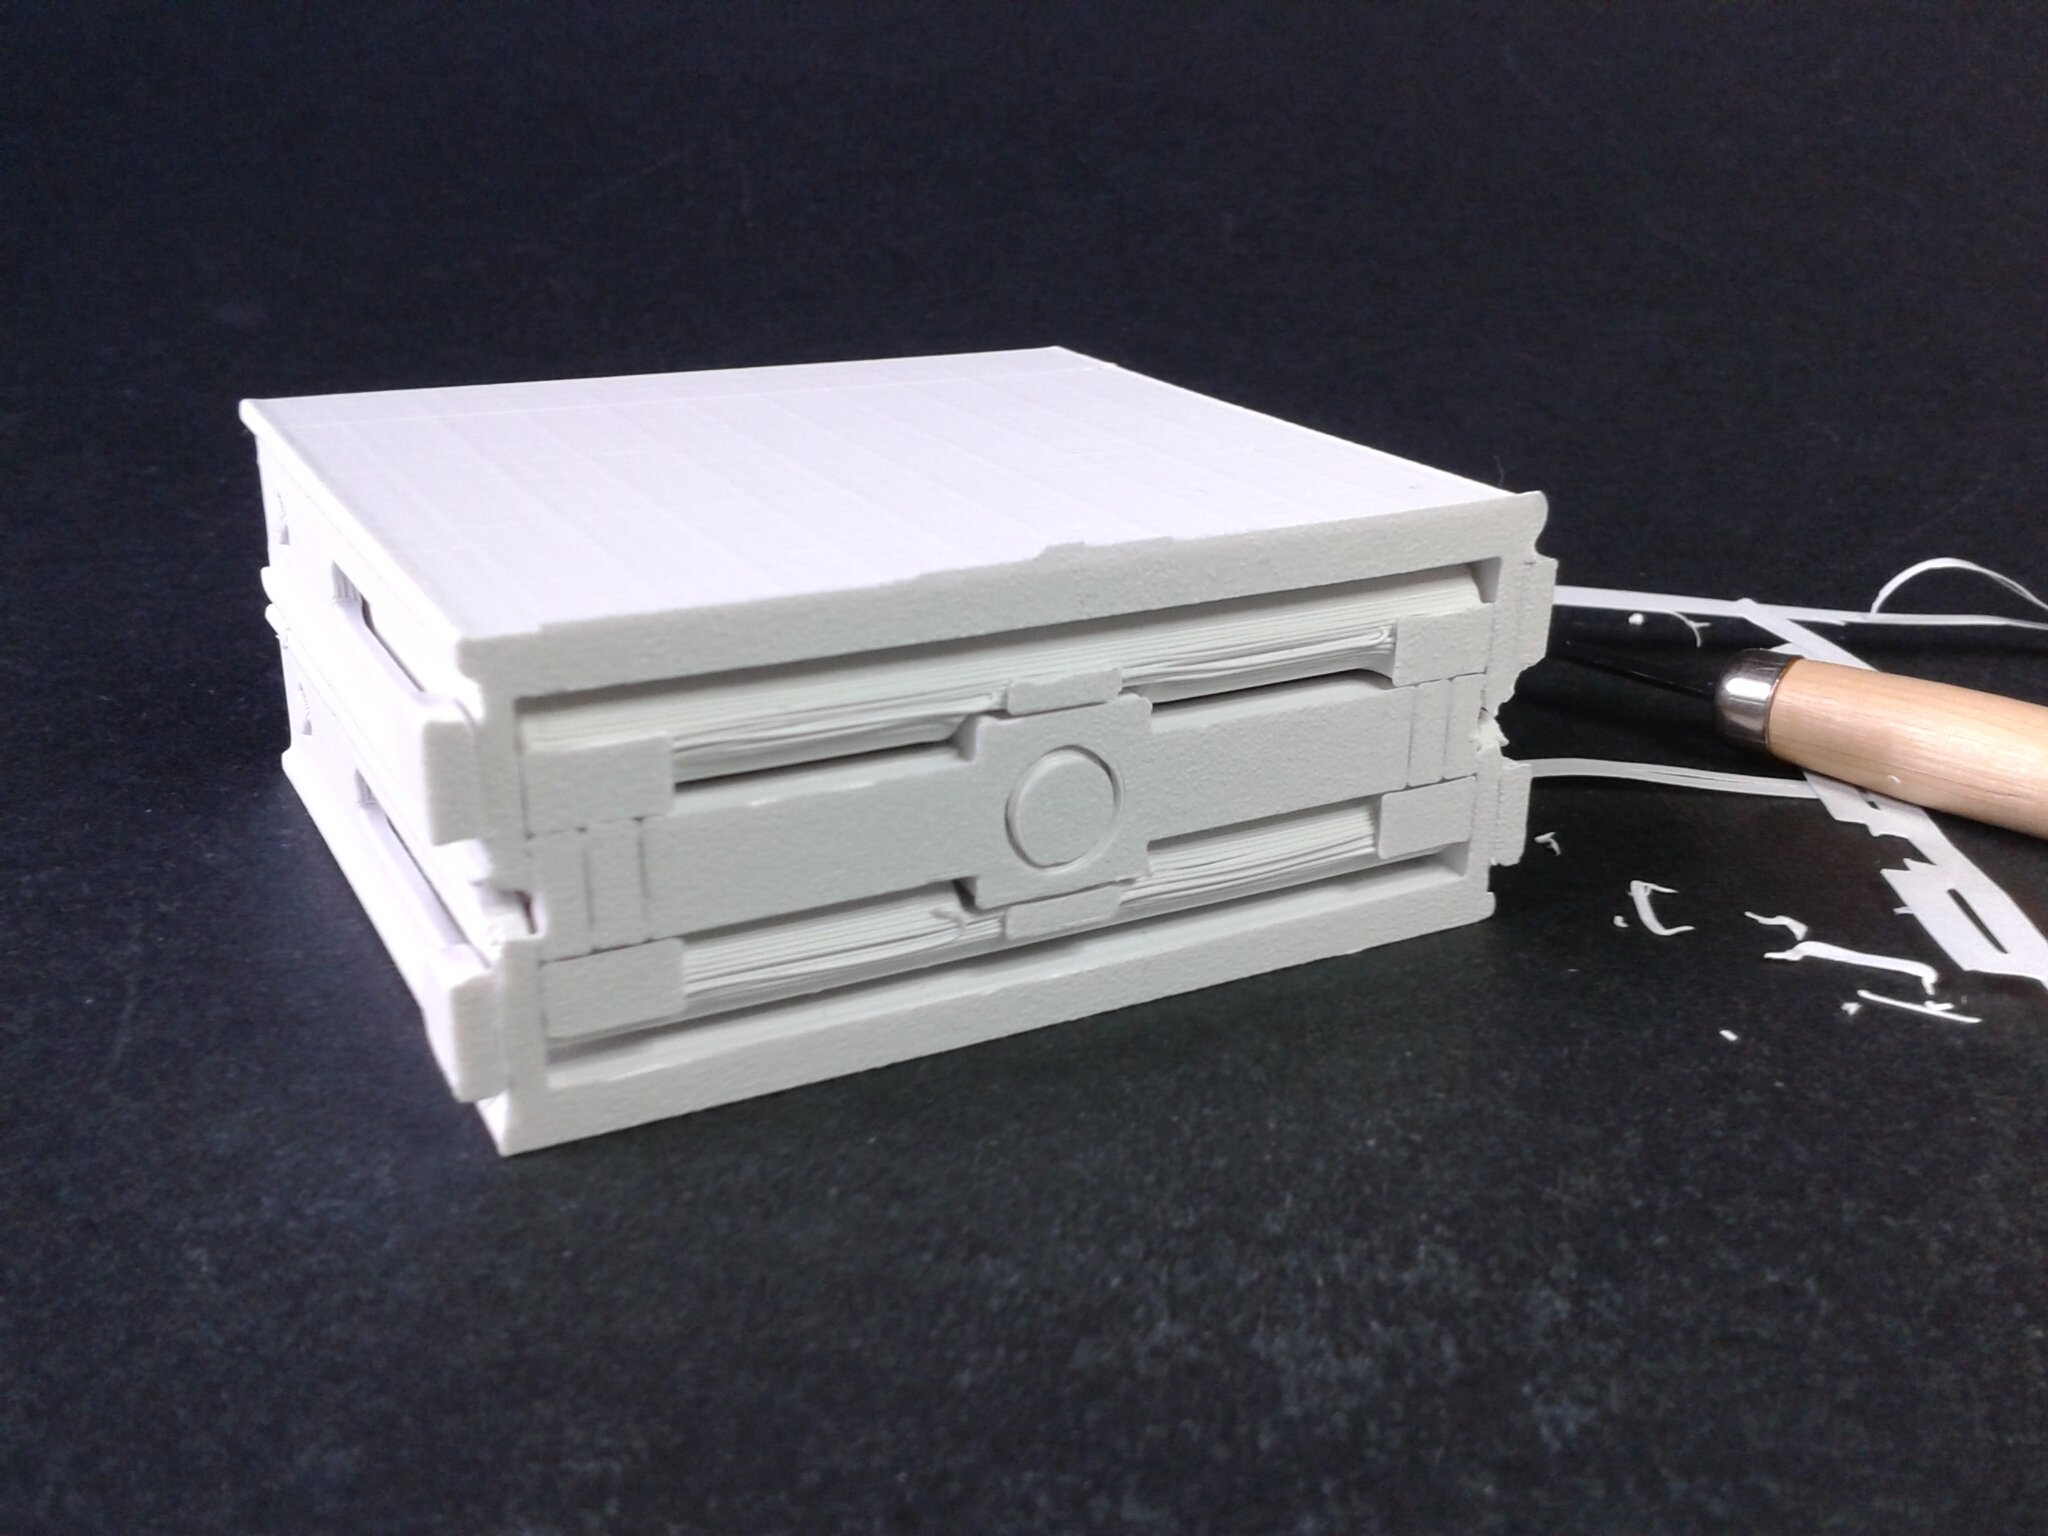
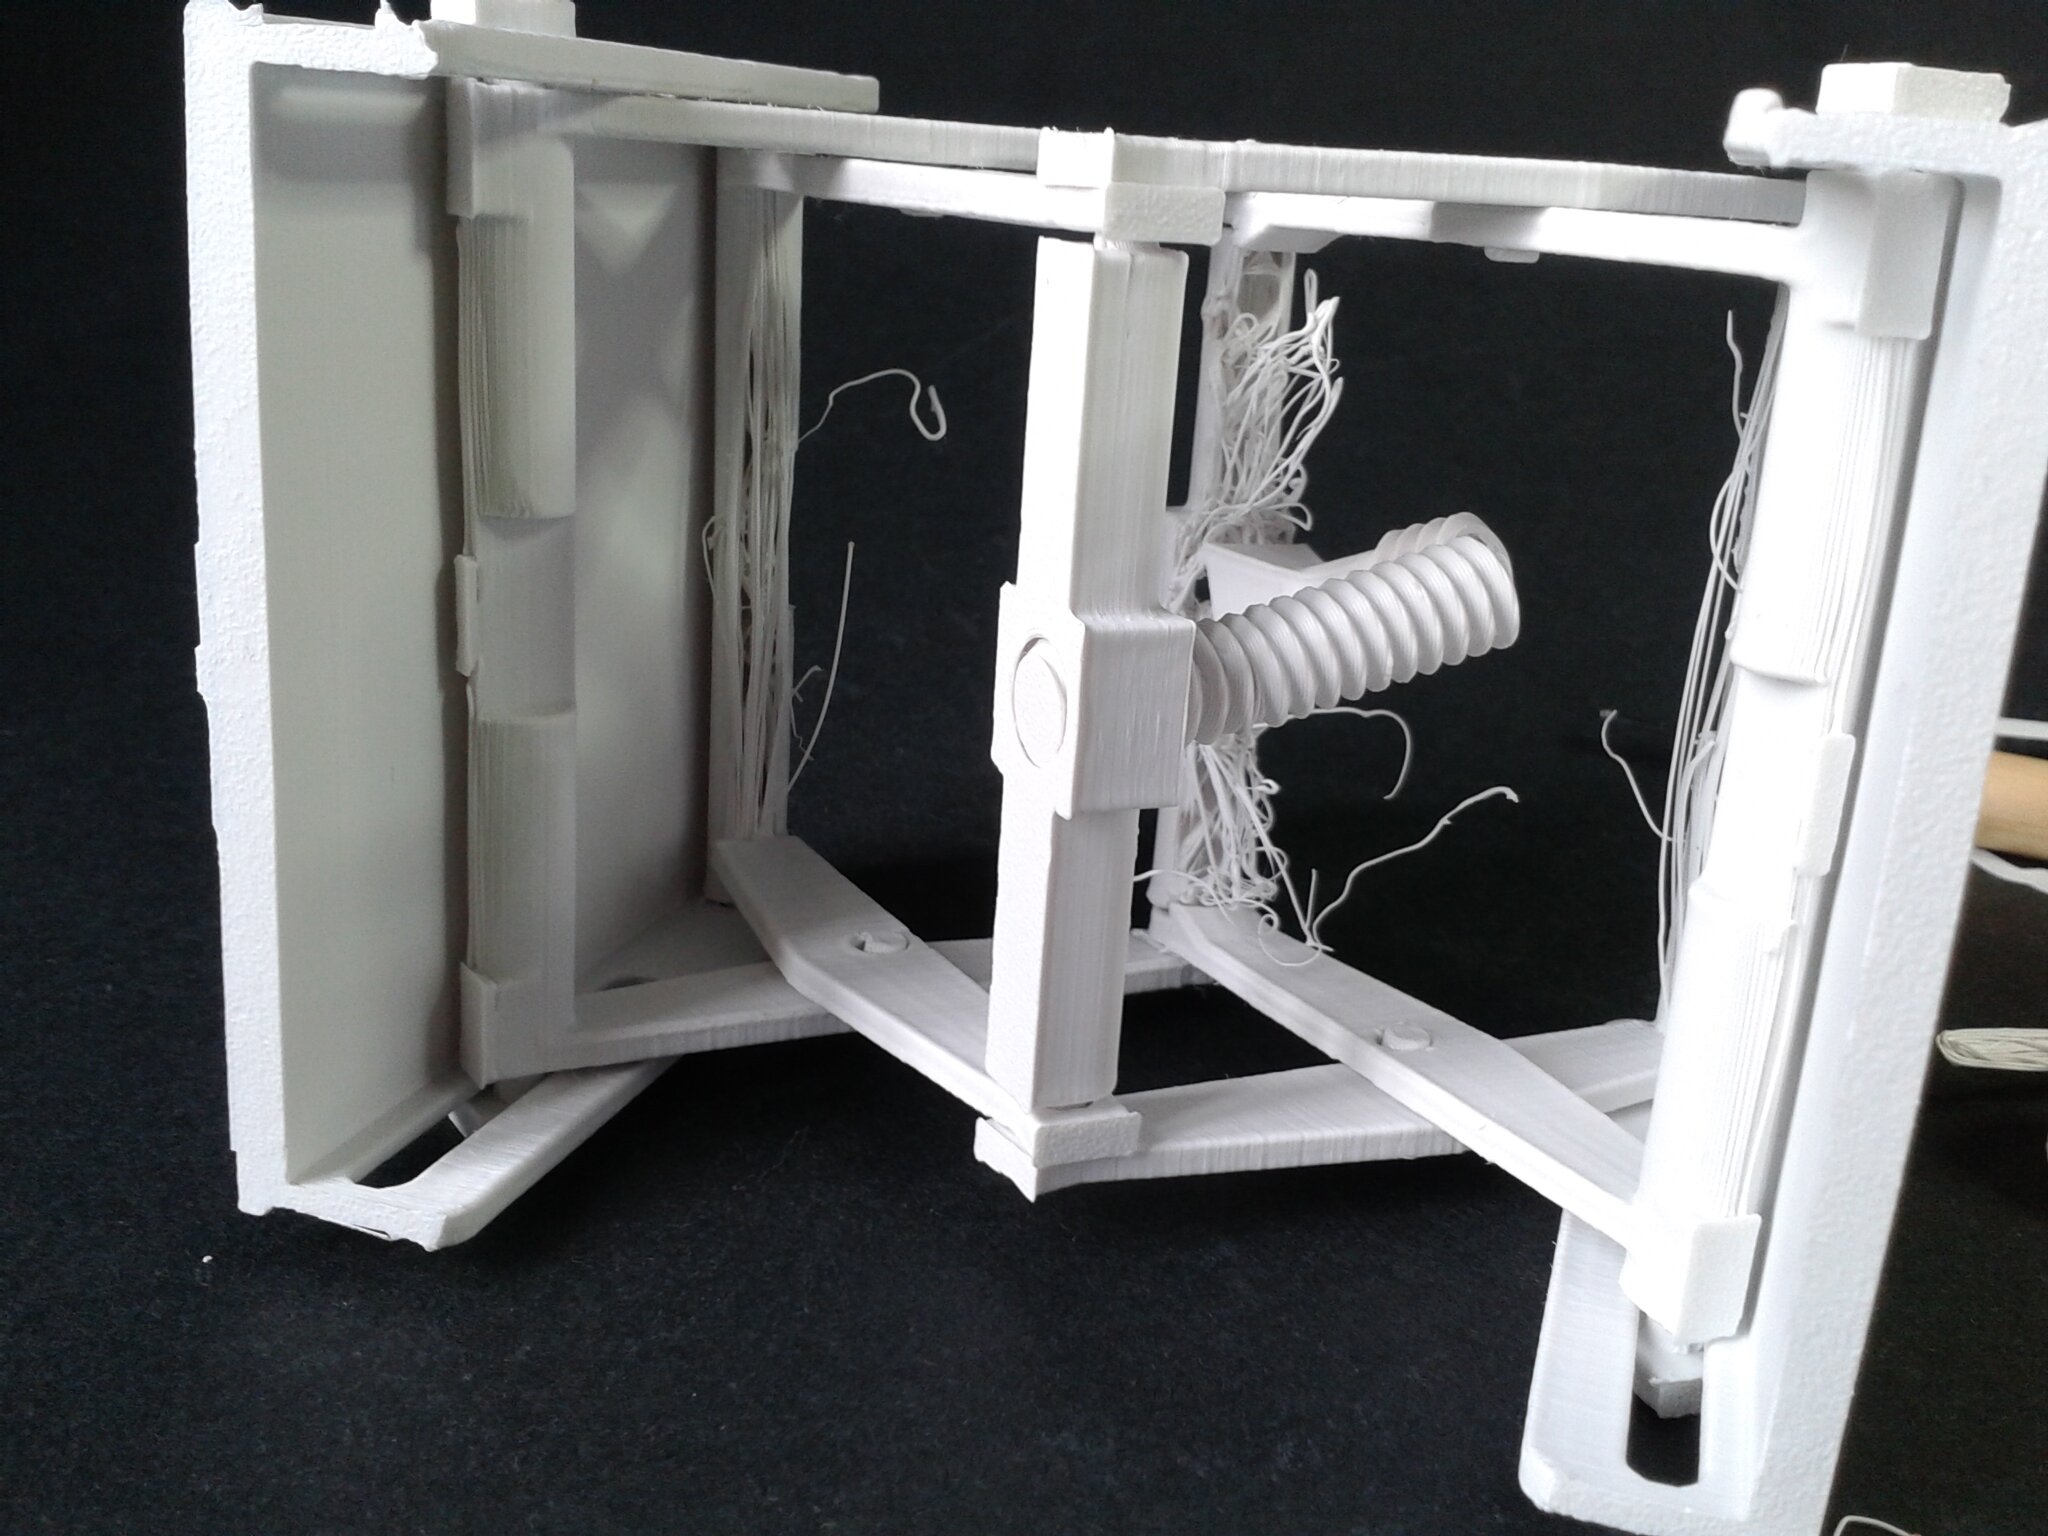
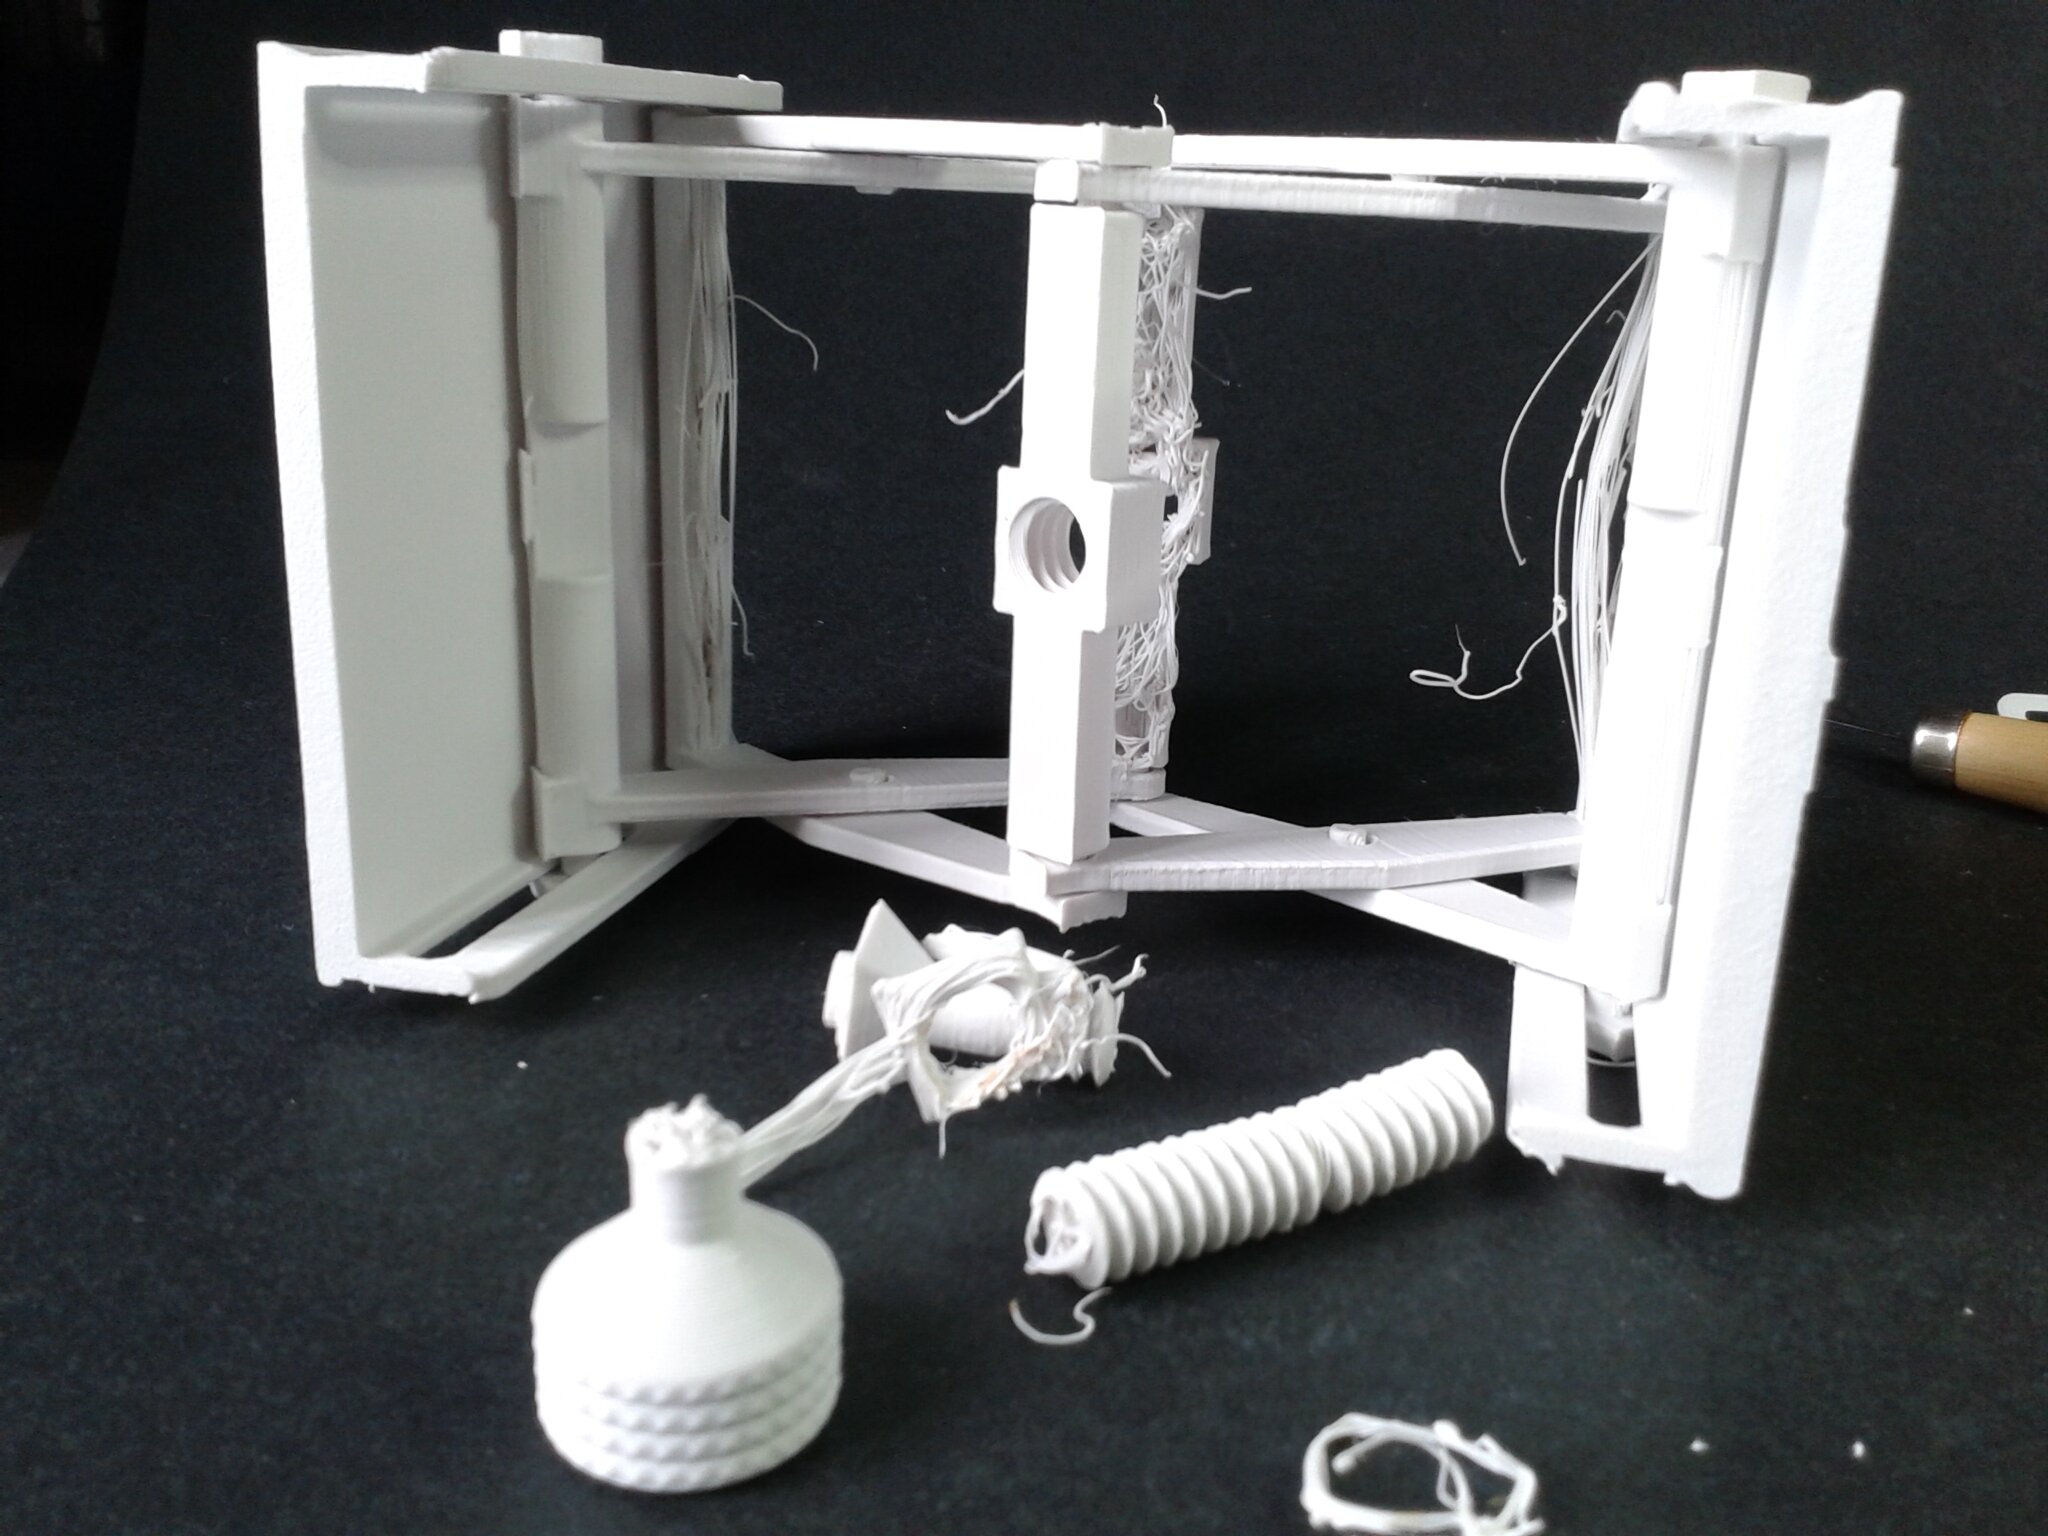
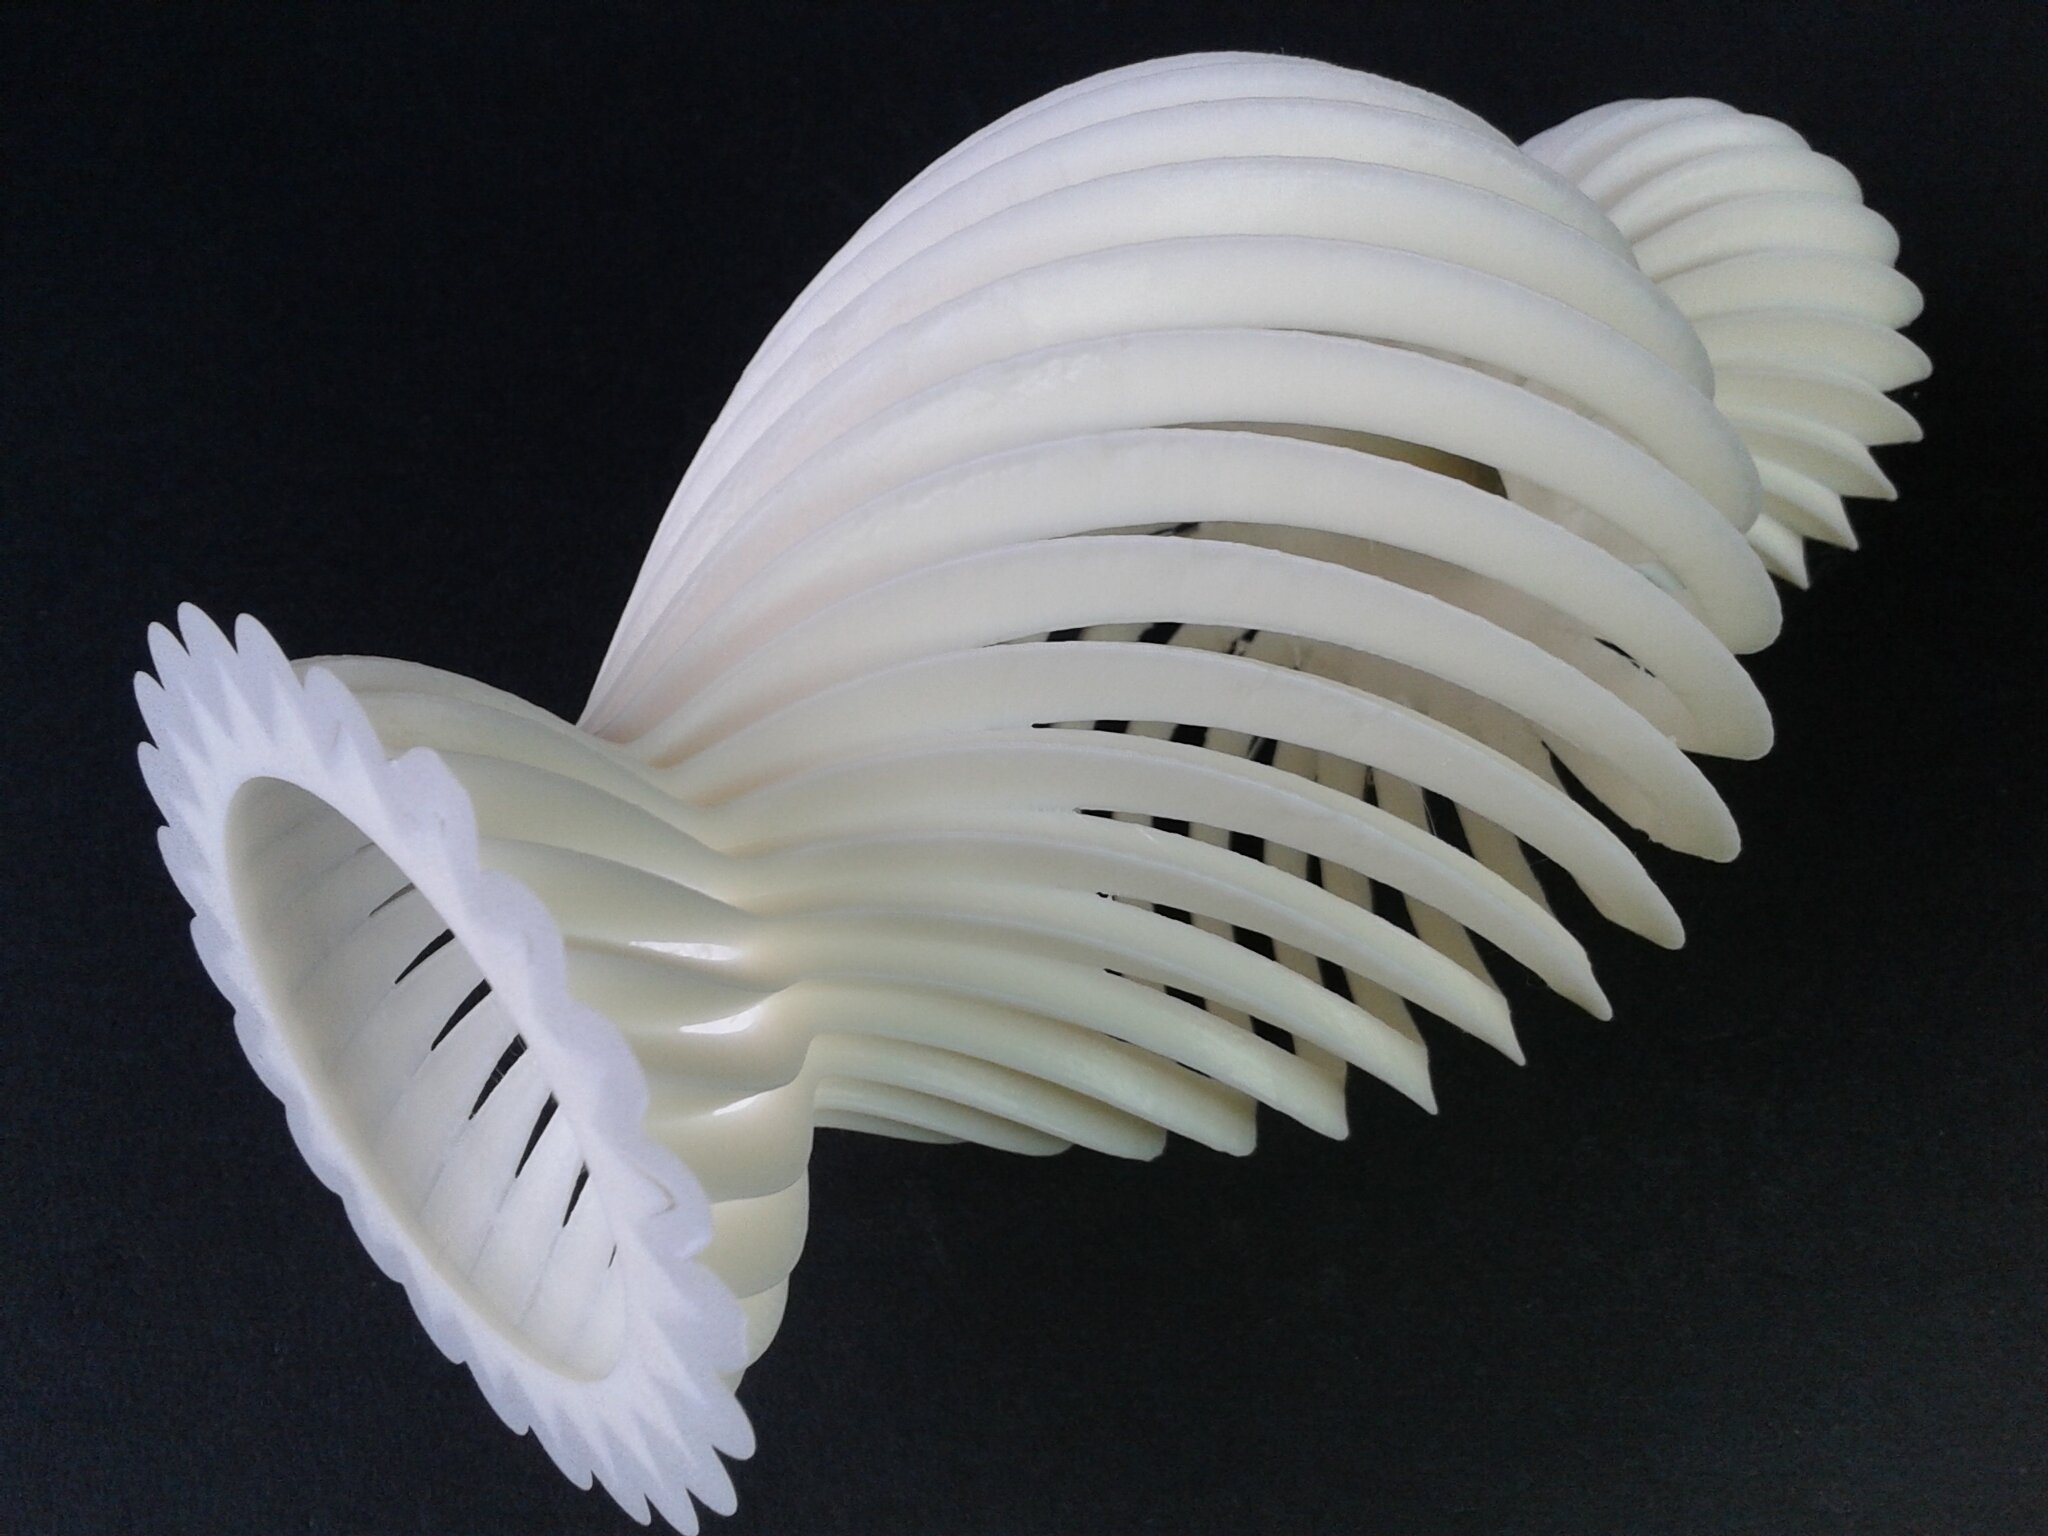
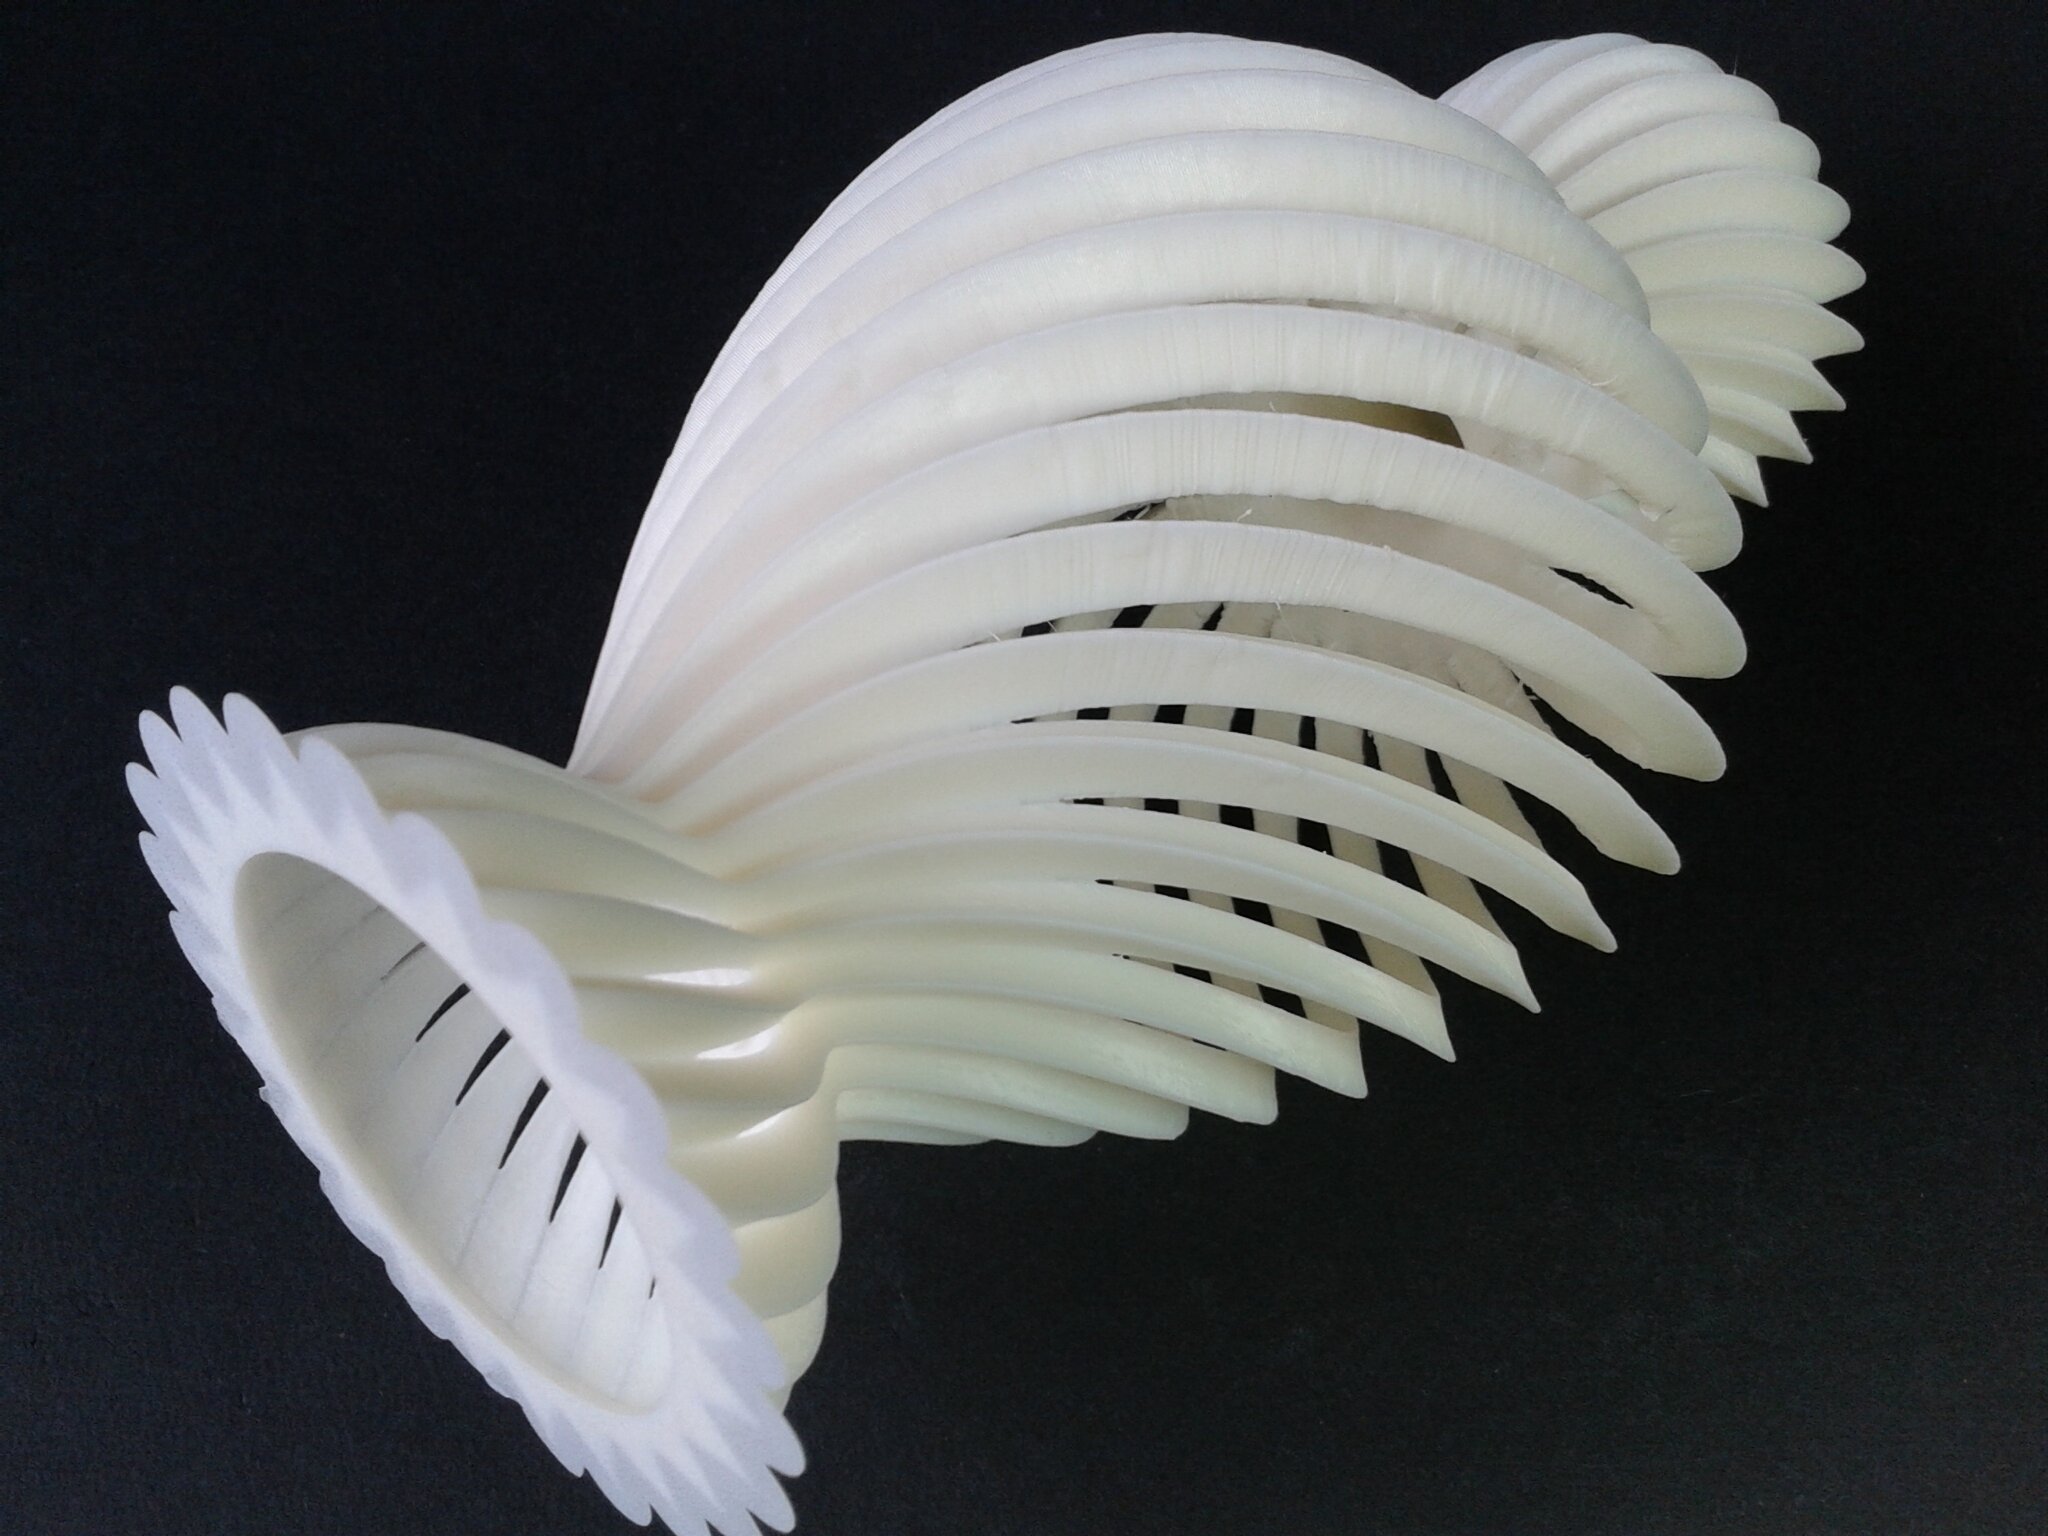
Fleur en floraison
“Valentines Day Blooming Flower Gift Box” de “FragrantAbyss” (gratuit).
Fichier “CE3_VALENTINES_TWIST_BOX_ASSEMBLY_-_TRIM_TABS.stl”
QidiSlicer v1.1.0, “0.16 mm High”, “Generic PLA” (Buse 210°C, Plateau 60°C, Vitesse volumétrique maximale 14 mm³/s)
Environ 3 h 46 min d’impression.
Filament PLA Silk Rose ArianePlast
La version “TRIM_TABS” imprimée demande de délicatement couper certaines liaisons qui sont là pour bloquer les différentes parties mobiles lors de l’impression. J’ai ensuite mis des pointes de lubrifiant sur les roues dentées pour faciliter la rotation et fonctionnement du mécanisme.
Logo Lesimprimantes3D.fr
Une de mes versions du logo de LesImprimantes3D.fr pour ce test Qidi Q1 Pro
QidiSlicer v1.1.0, “0.2 mm Fine”, “QIDI Rapido PLA” (Buse 210°C, Plateau 60°C, Vitesse volumétrique maximale 24.5 mm³/s)
J’ai apprécié sous QidiSlicer, après un premier tranchage, l’info bulle qui m’a proposé d’ajouter automatiquement des changements de filament car le modèle a été détecté comme étant un logo.
Durée : 0h40 d’impression avec deux changements de filament pour passer d’un PLA Silk Rose ArianePlast à un PLA Silk Blanc ArianePlast, puis à du PLA Silk Gris ArianePlast.
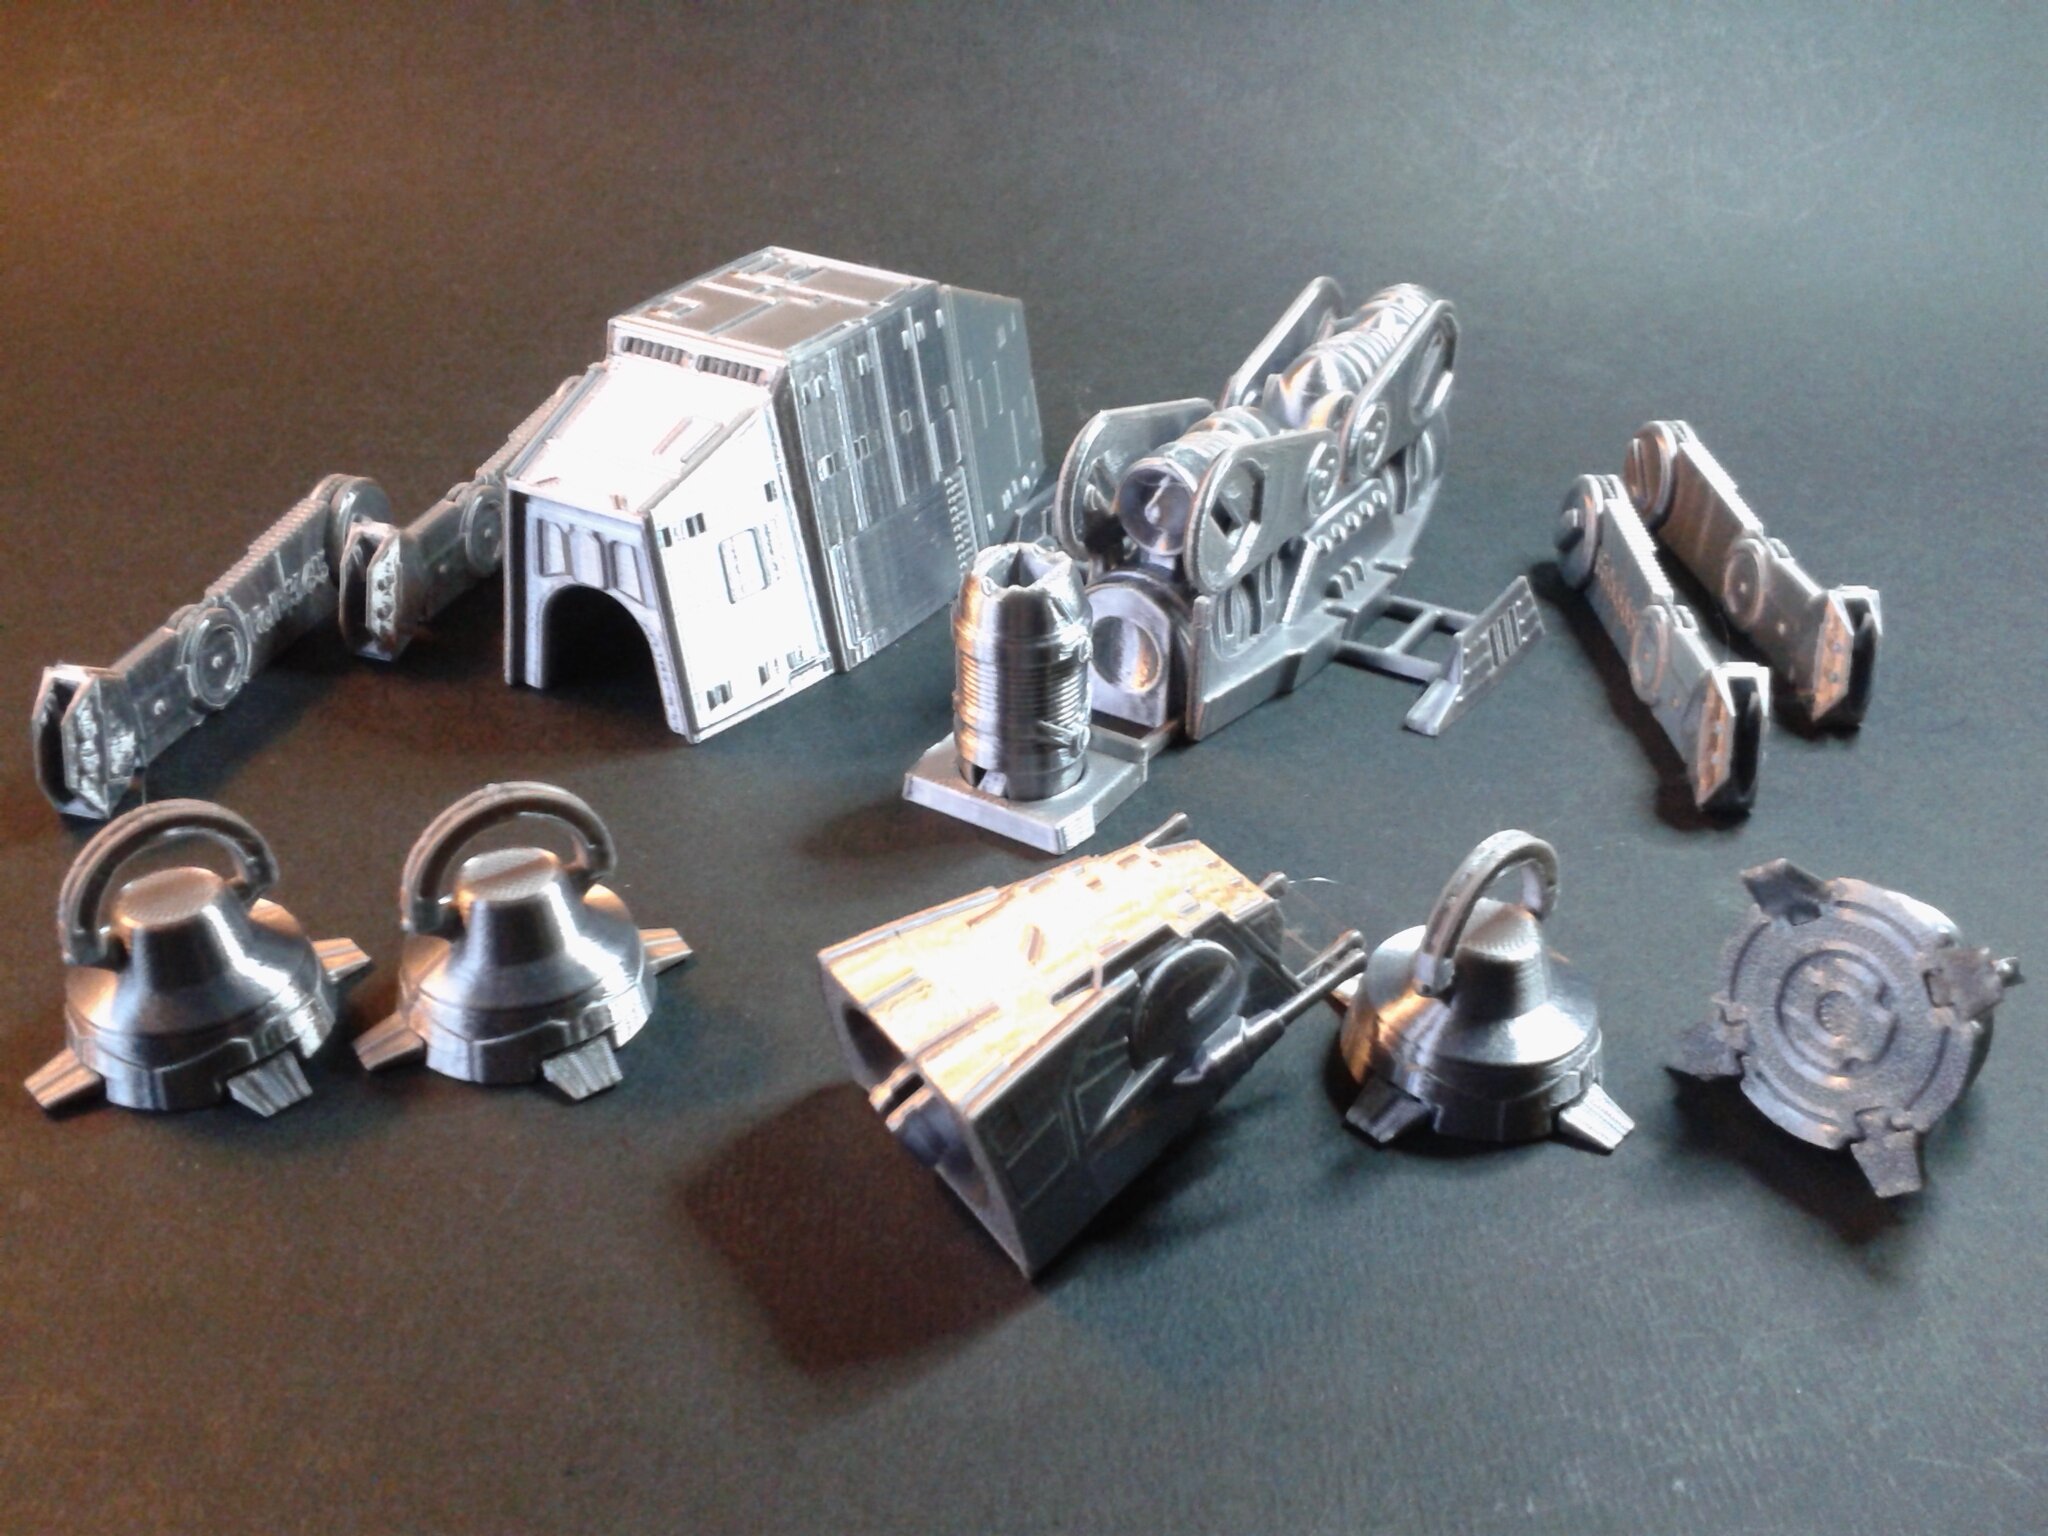
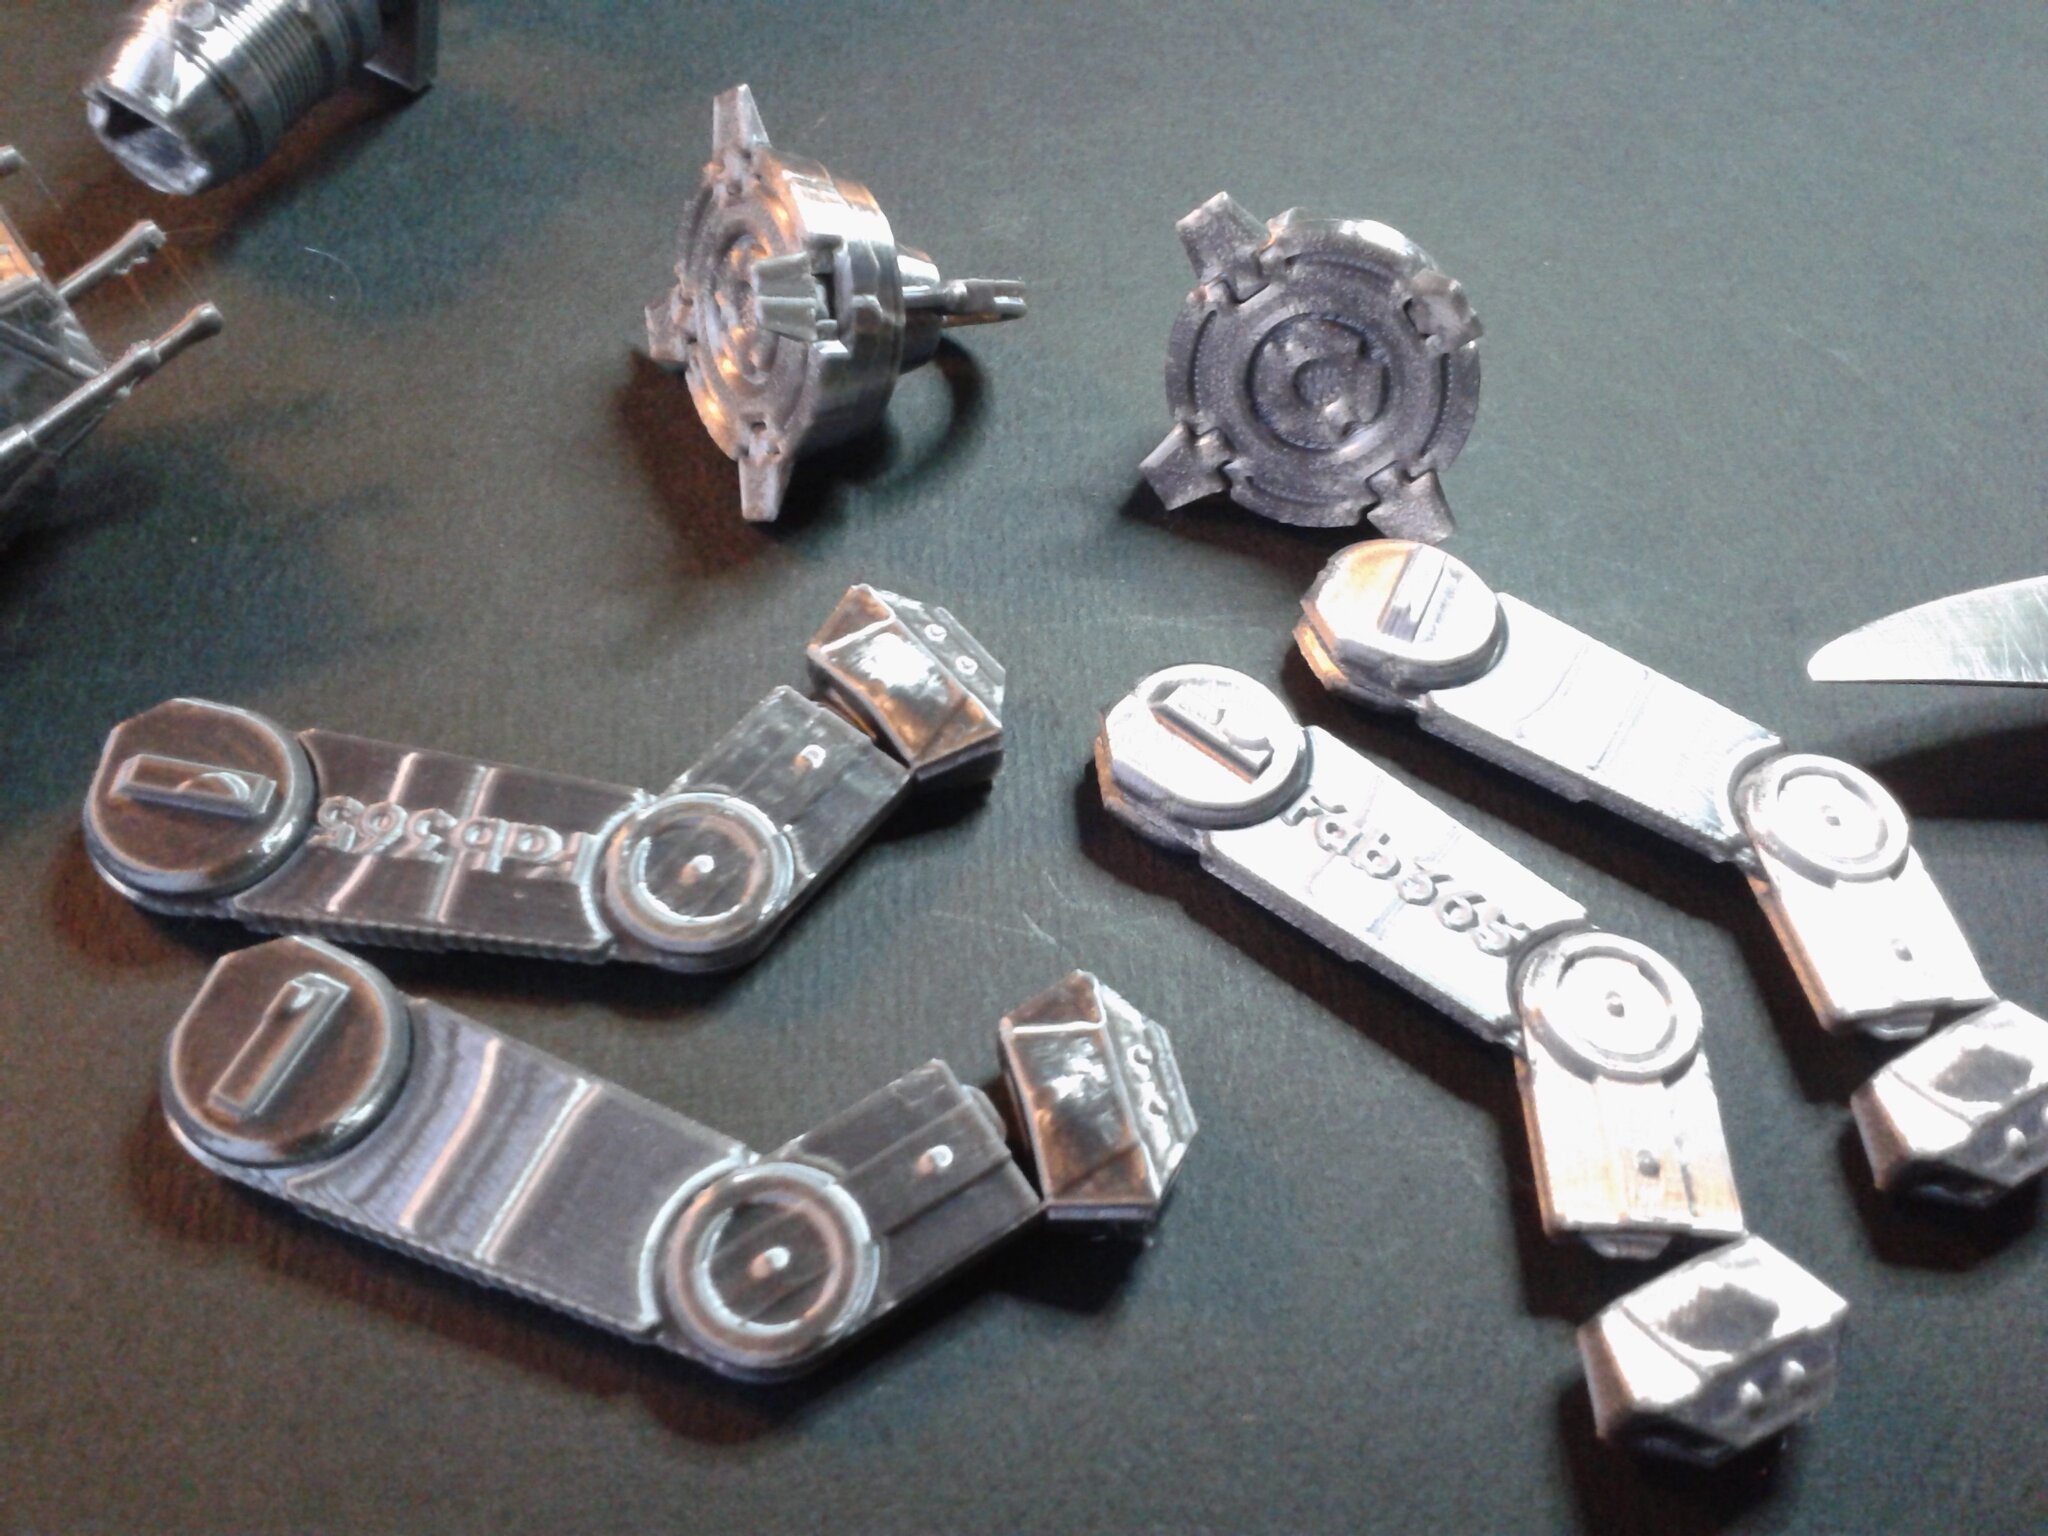
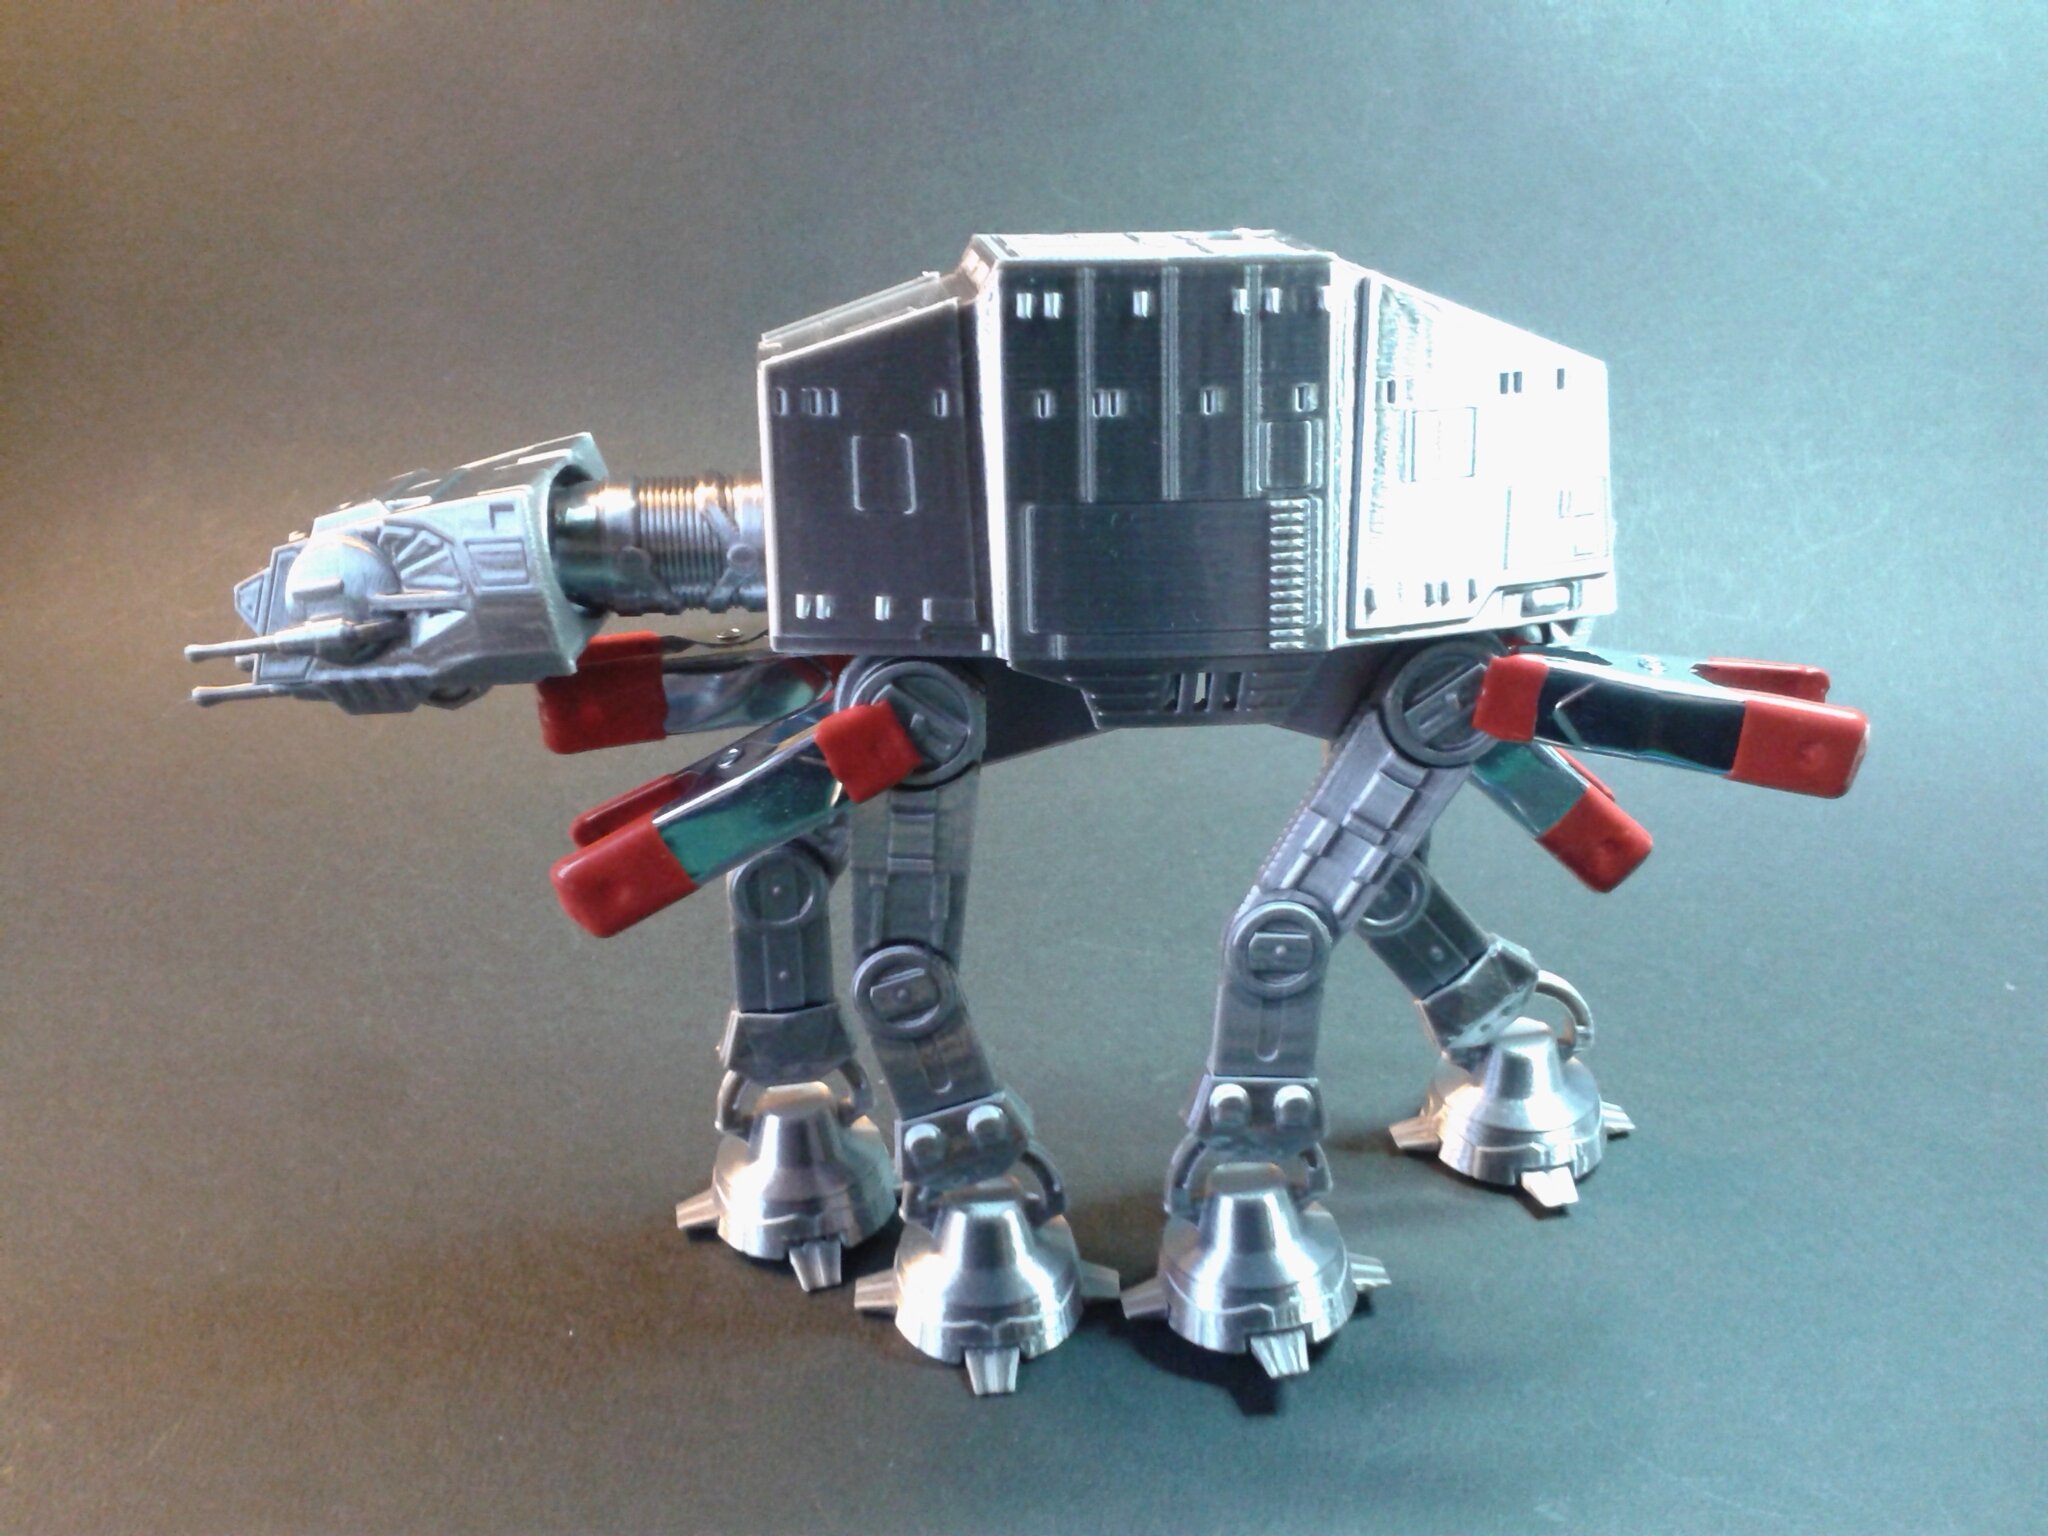
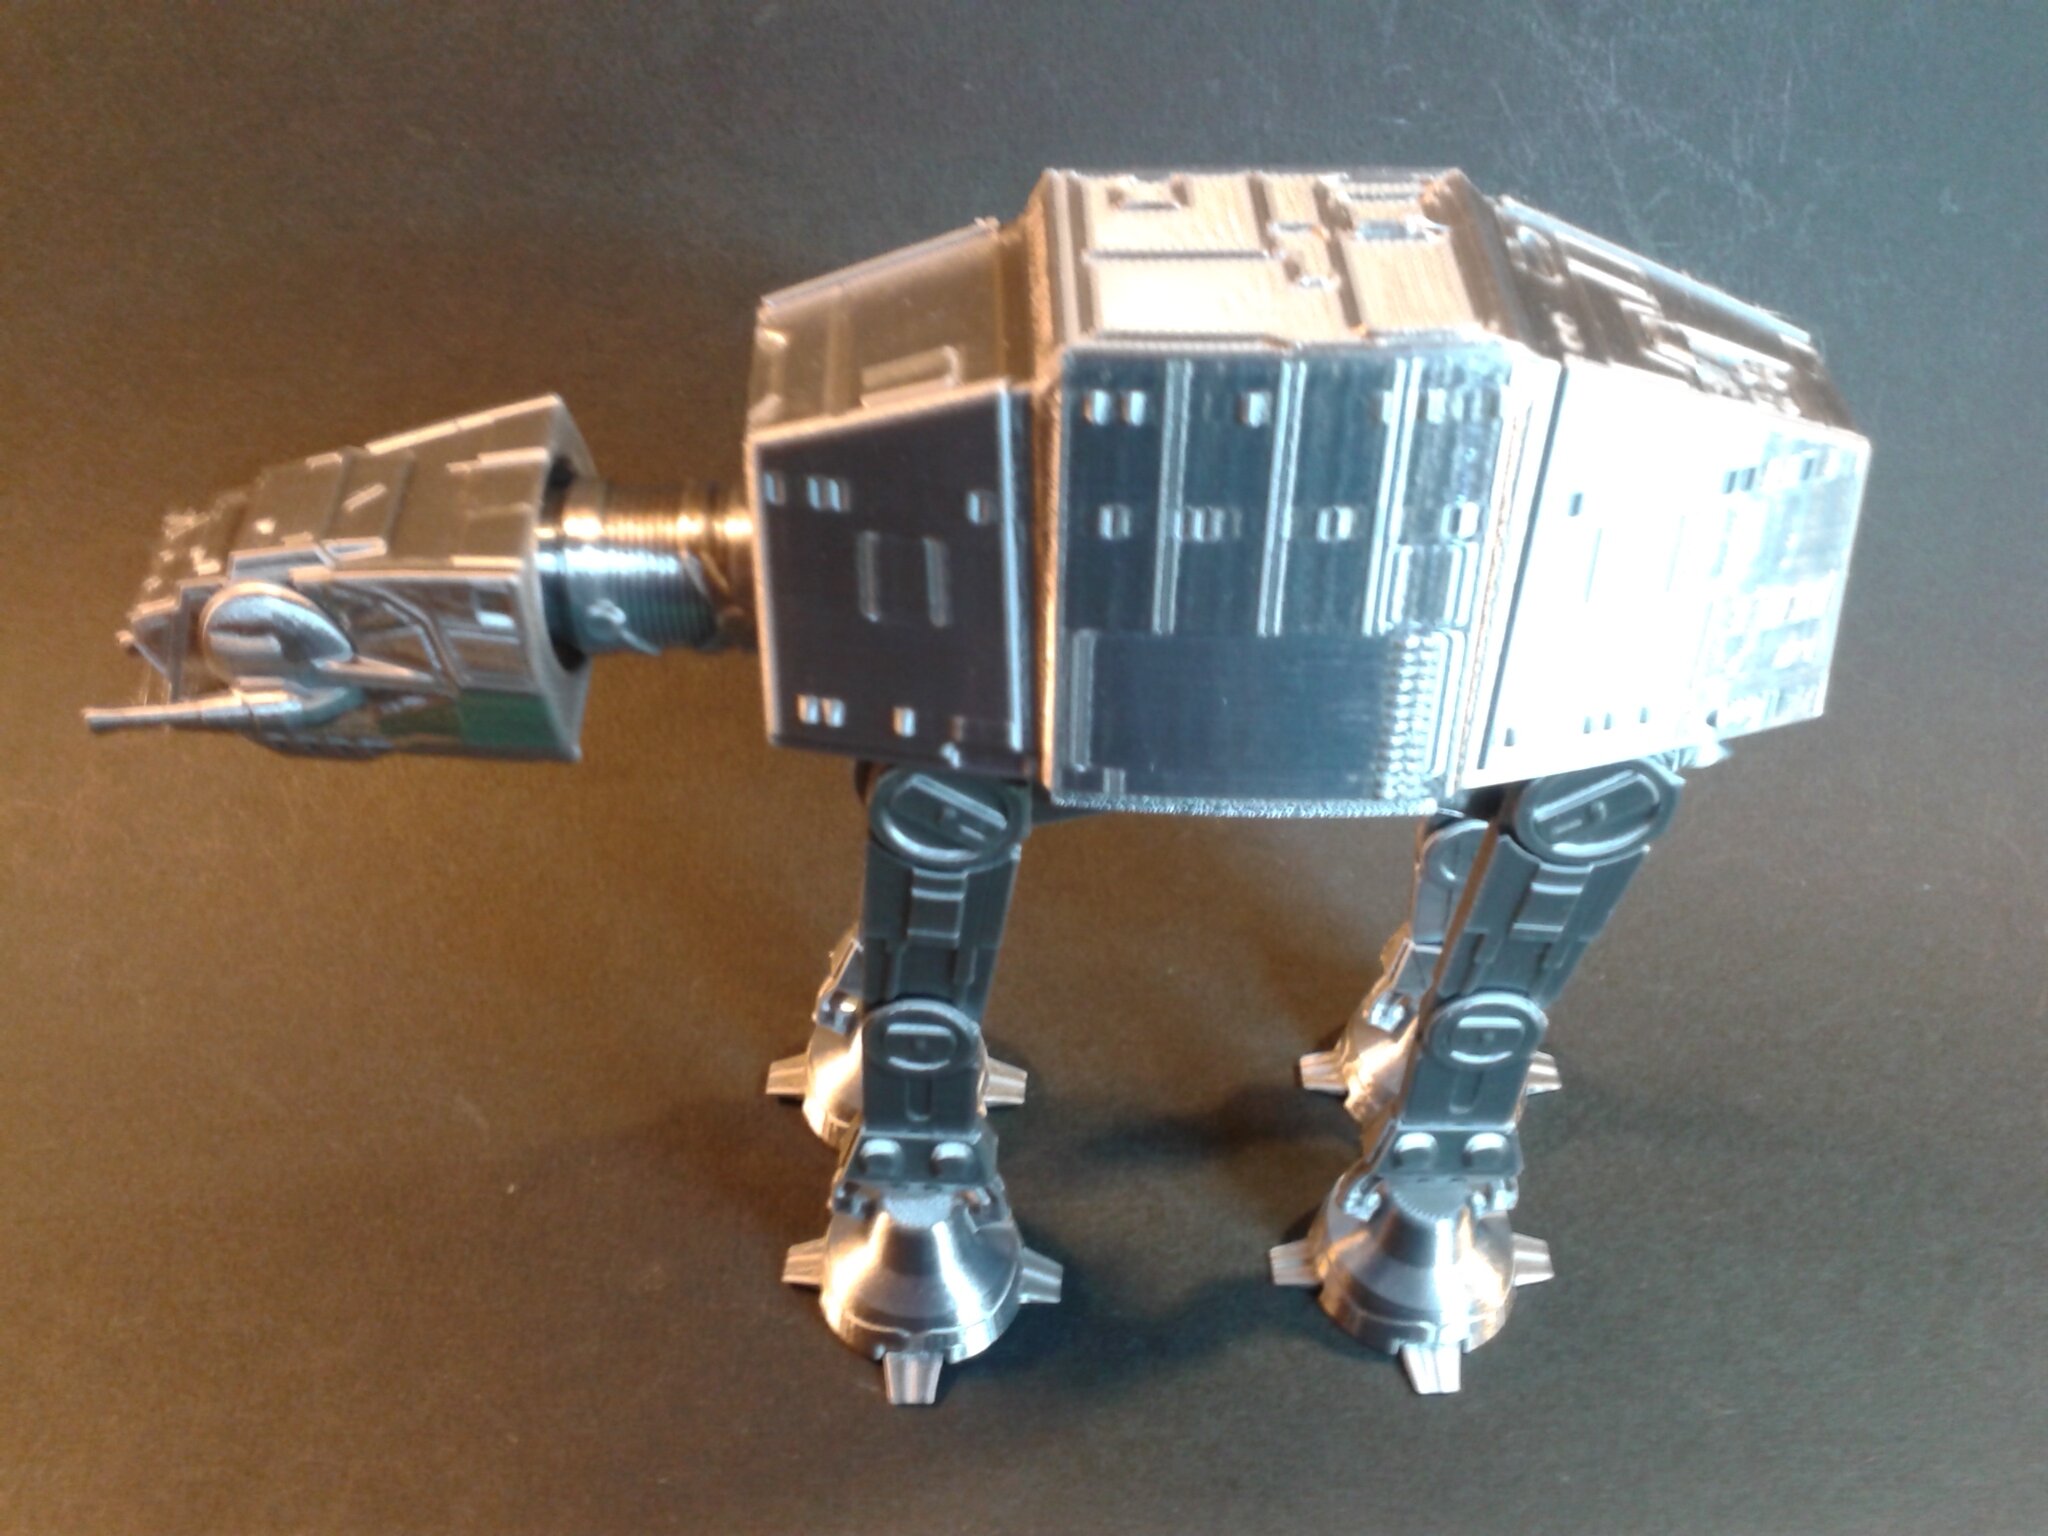
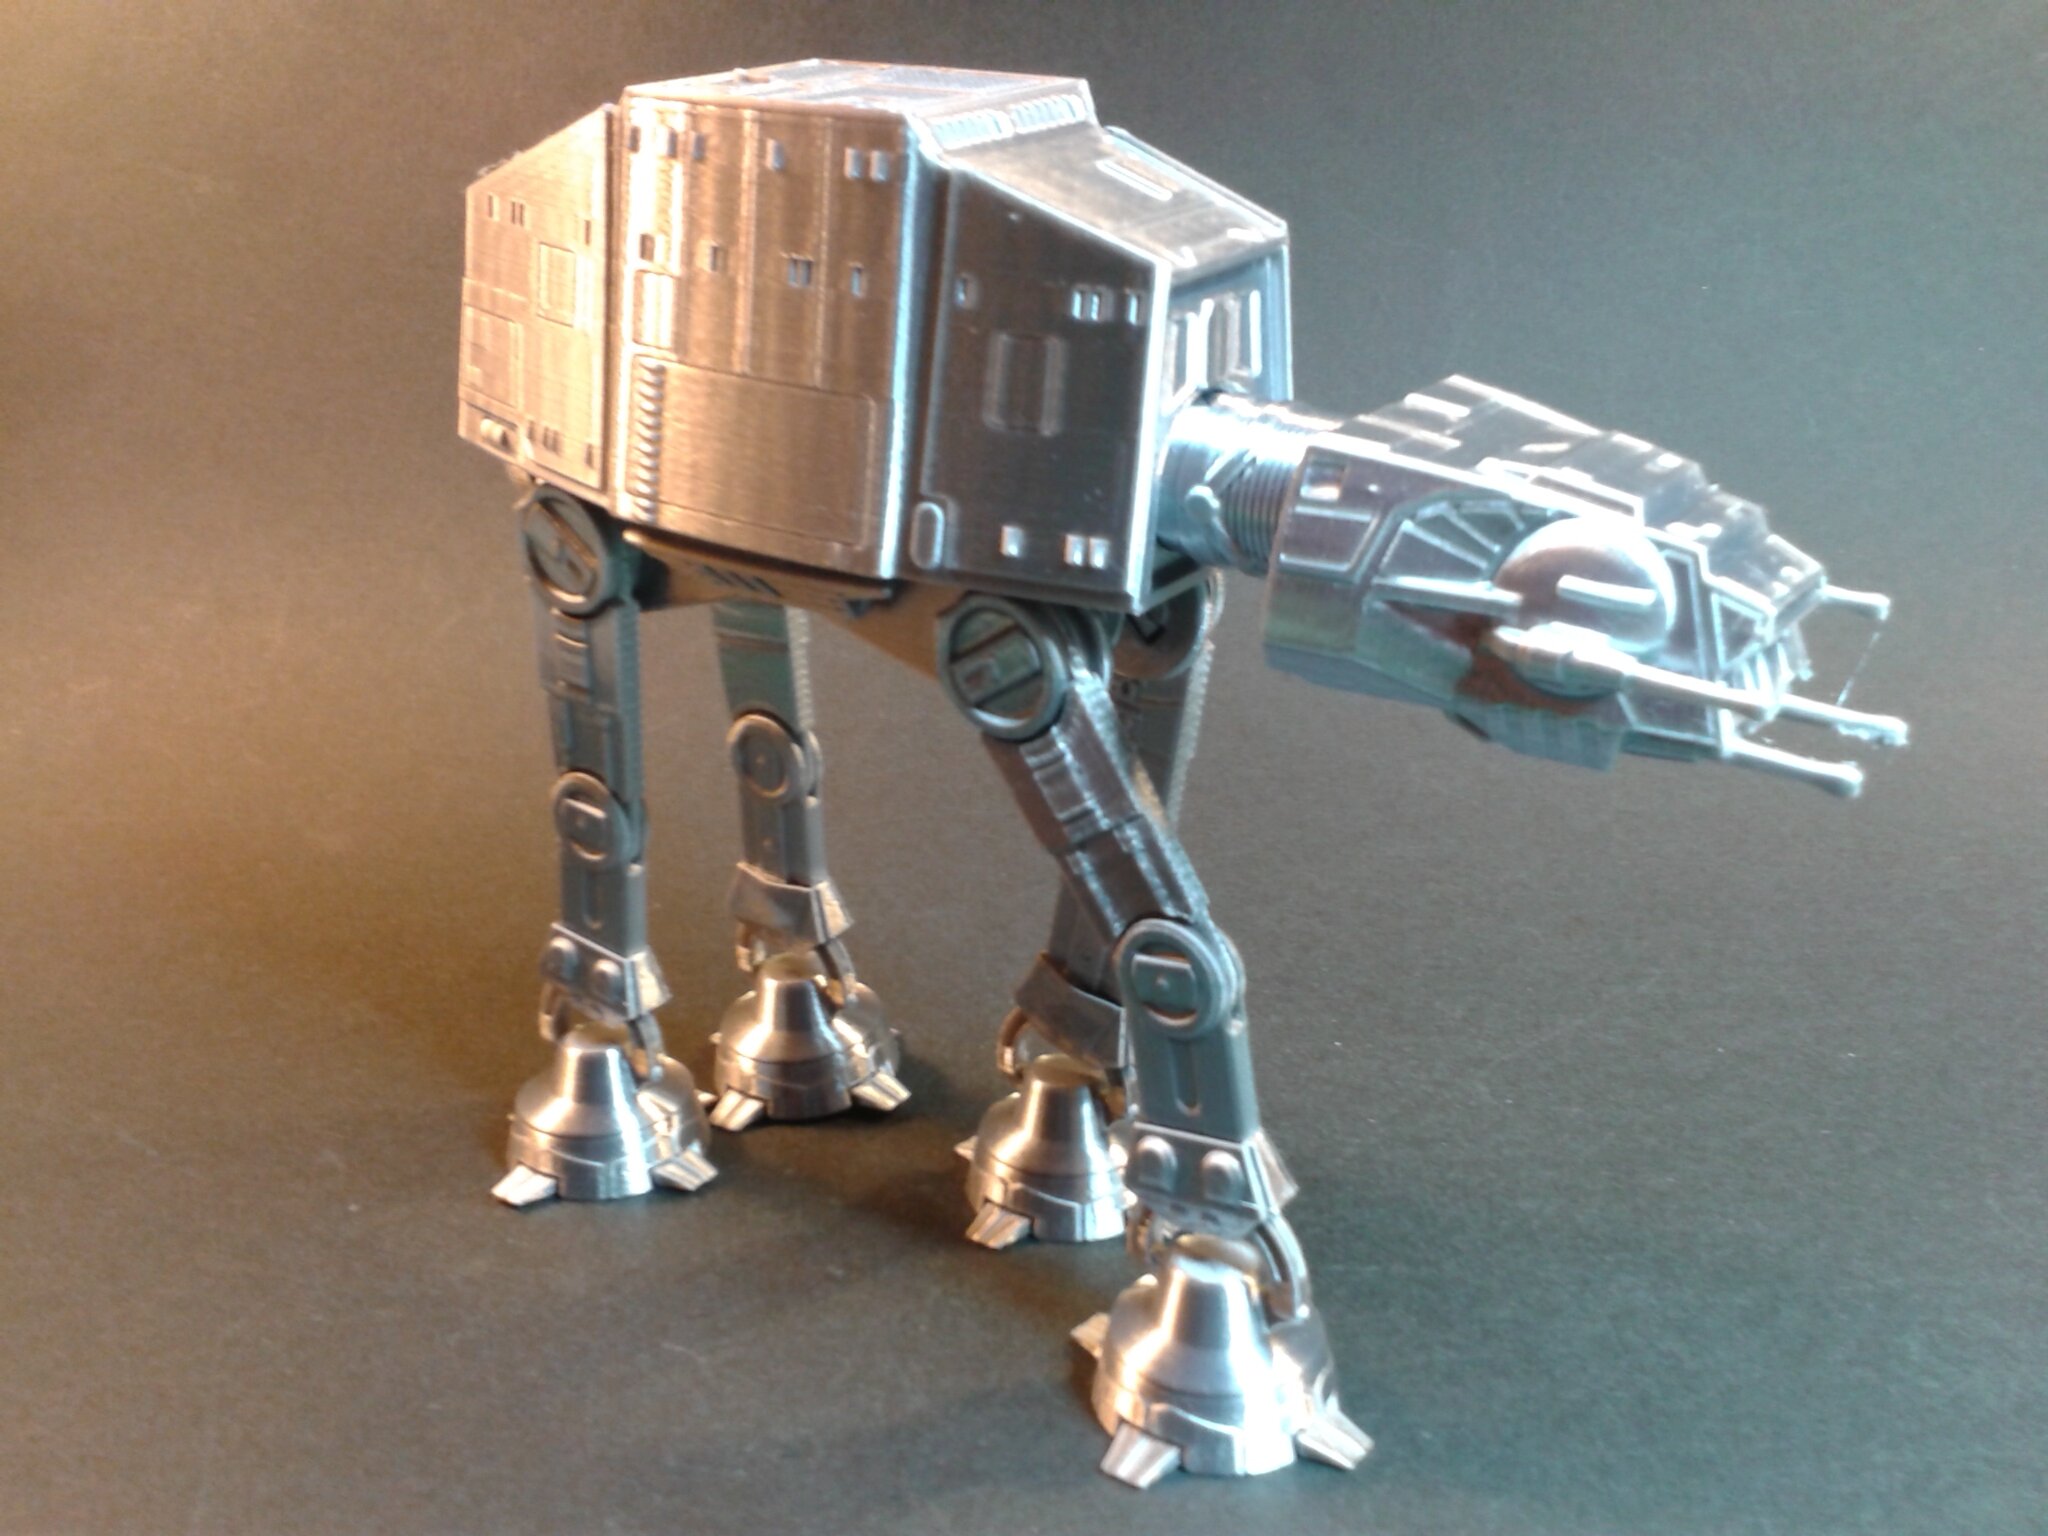
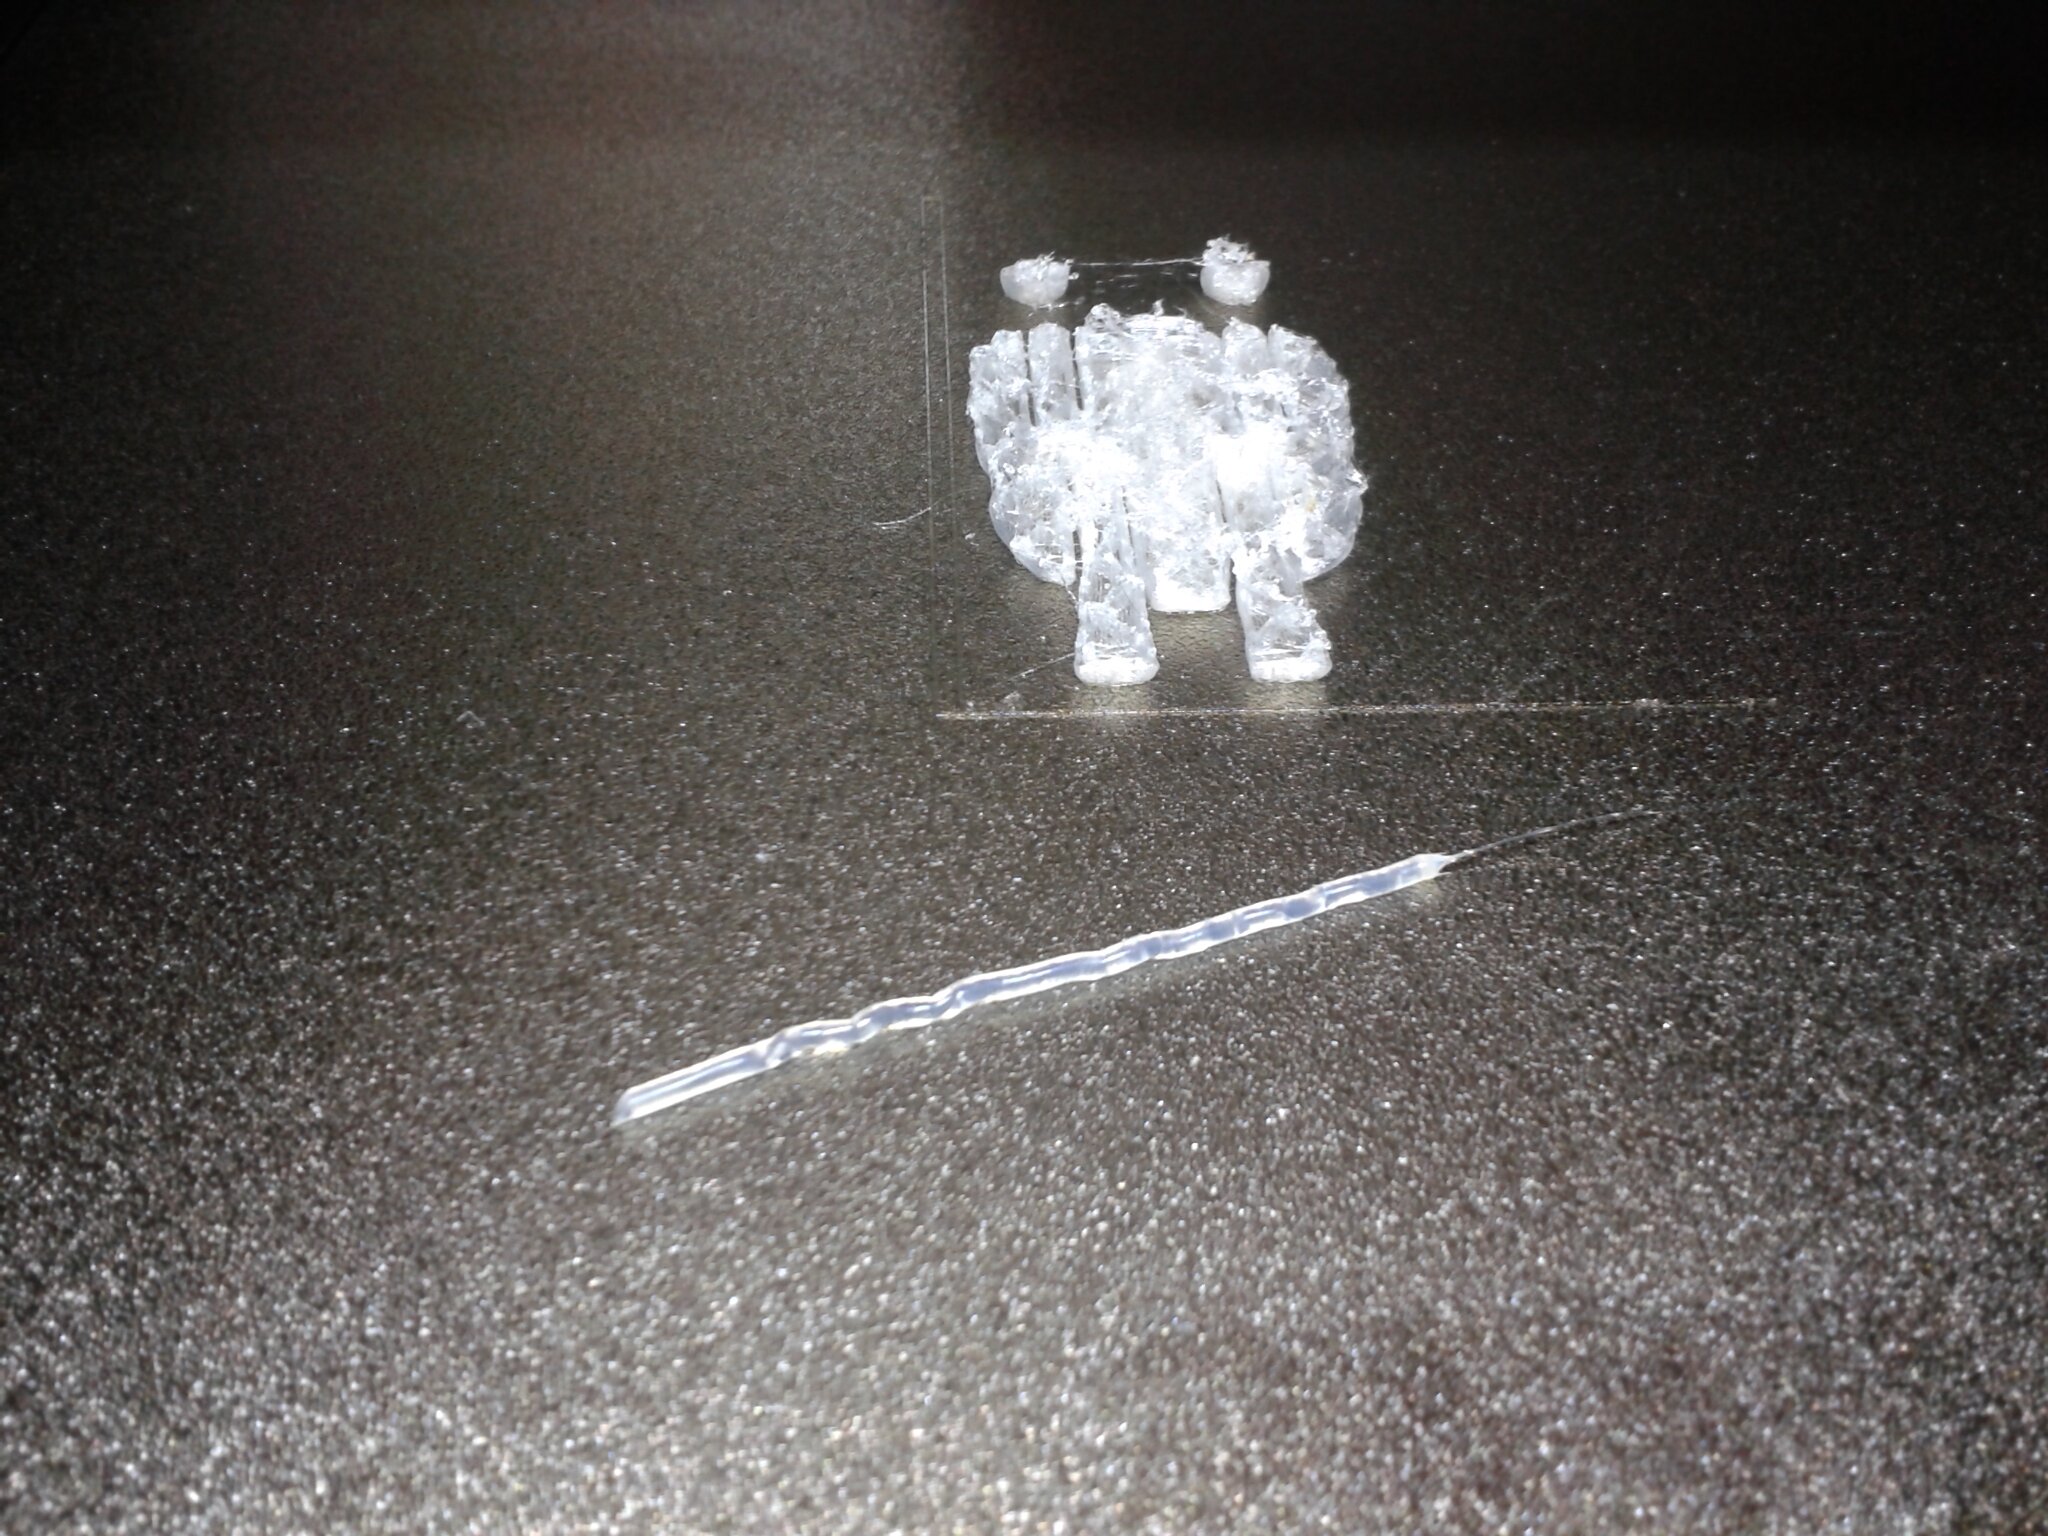
Quadripode de La Guerre des étoiles
“Star Wars ATAT – Print in place, Articulated” de “FAB365” (gratuit).
Echelle 100%, en 11 plateaux, pour un total de 11 h 54 min 42 s d’impression.
Filament PLA Ariane Plast Silk Gris
Pour réduire les pertes en cas de problème d’impression, j’ai séparément imprimé chaque élément. J’aurais gagné en durée total d’impression si j’avais “chargé” les plateaux.
Après assemblage, j’ai eu besoin de débloquer les articulations des pattes avec une fine lame.


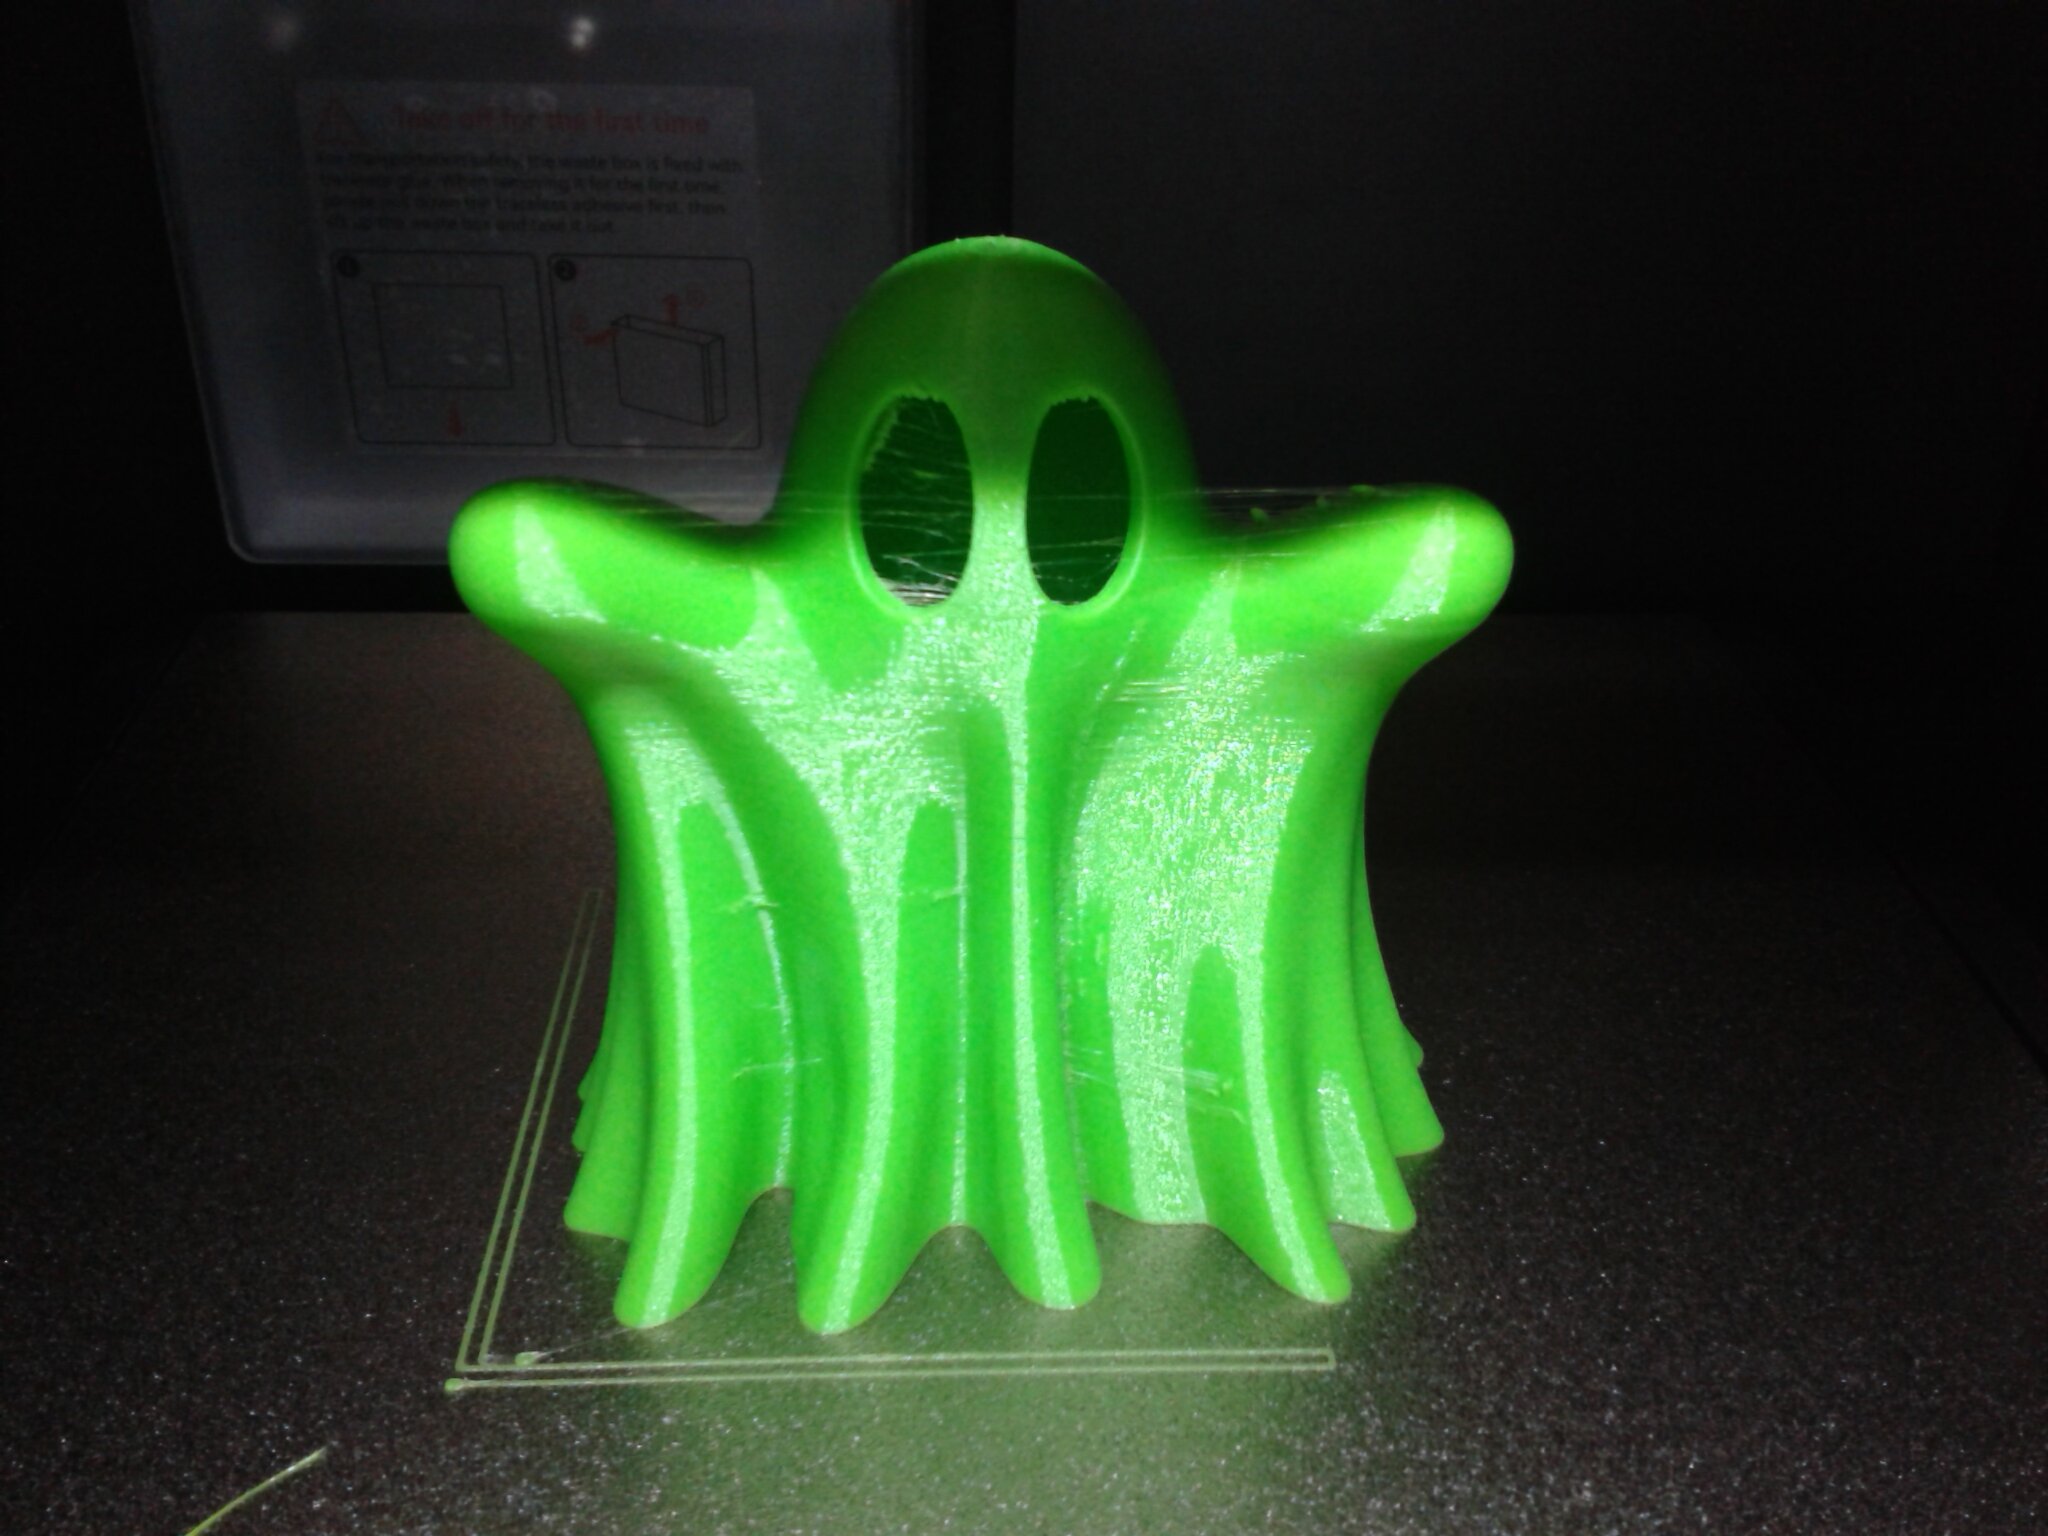
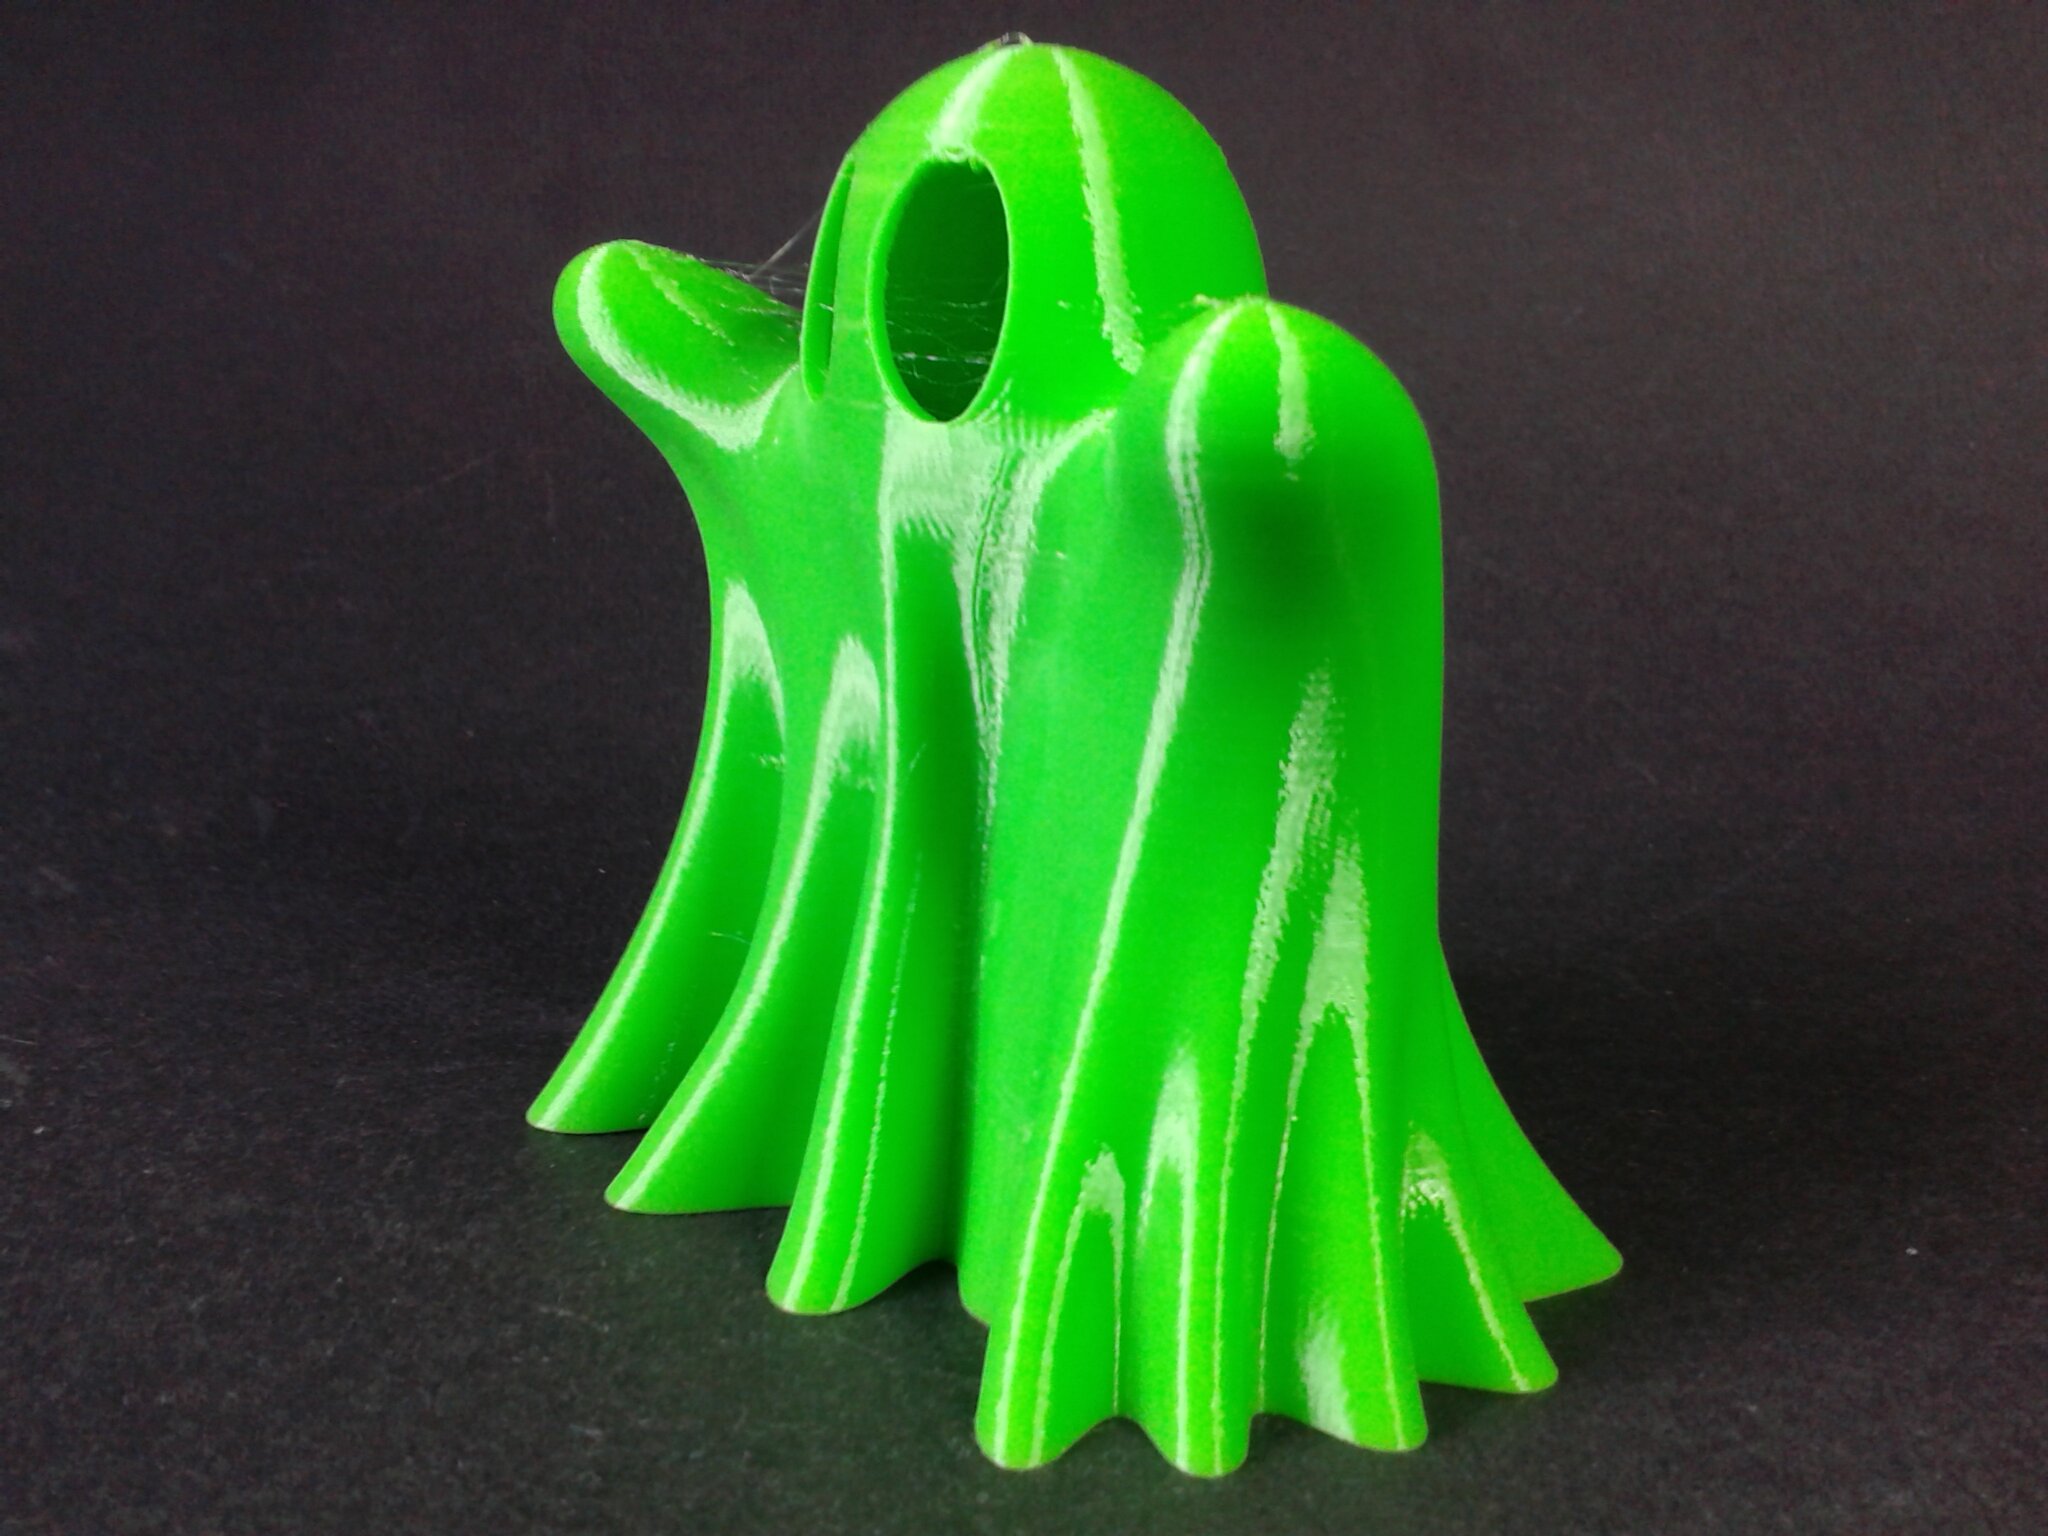
Impression en TPU 95A
QidiSlicer v1.1.0, “0.20 mm Fine”, “Generic TPU 95A” (Modifié Buse 230°C au lieu de 220°C, Plateau 60°C, Vitesse volumétrique maximale 4 mm³/s).
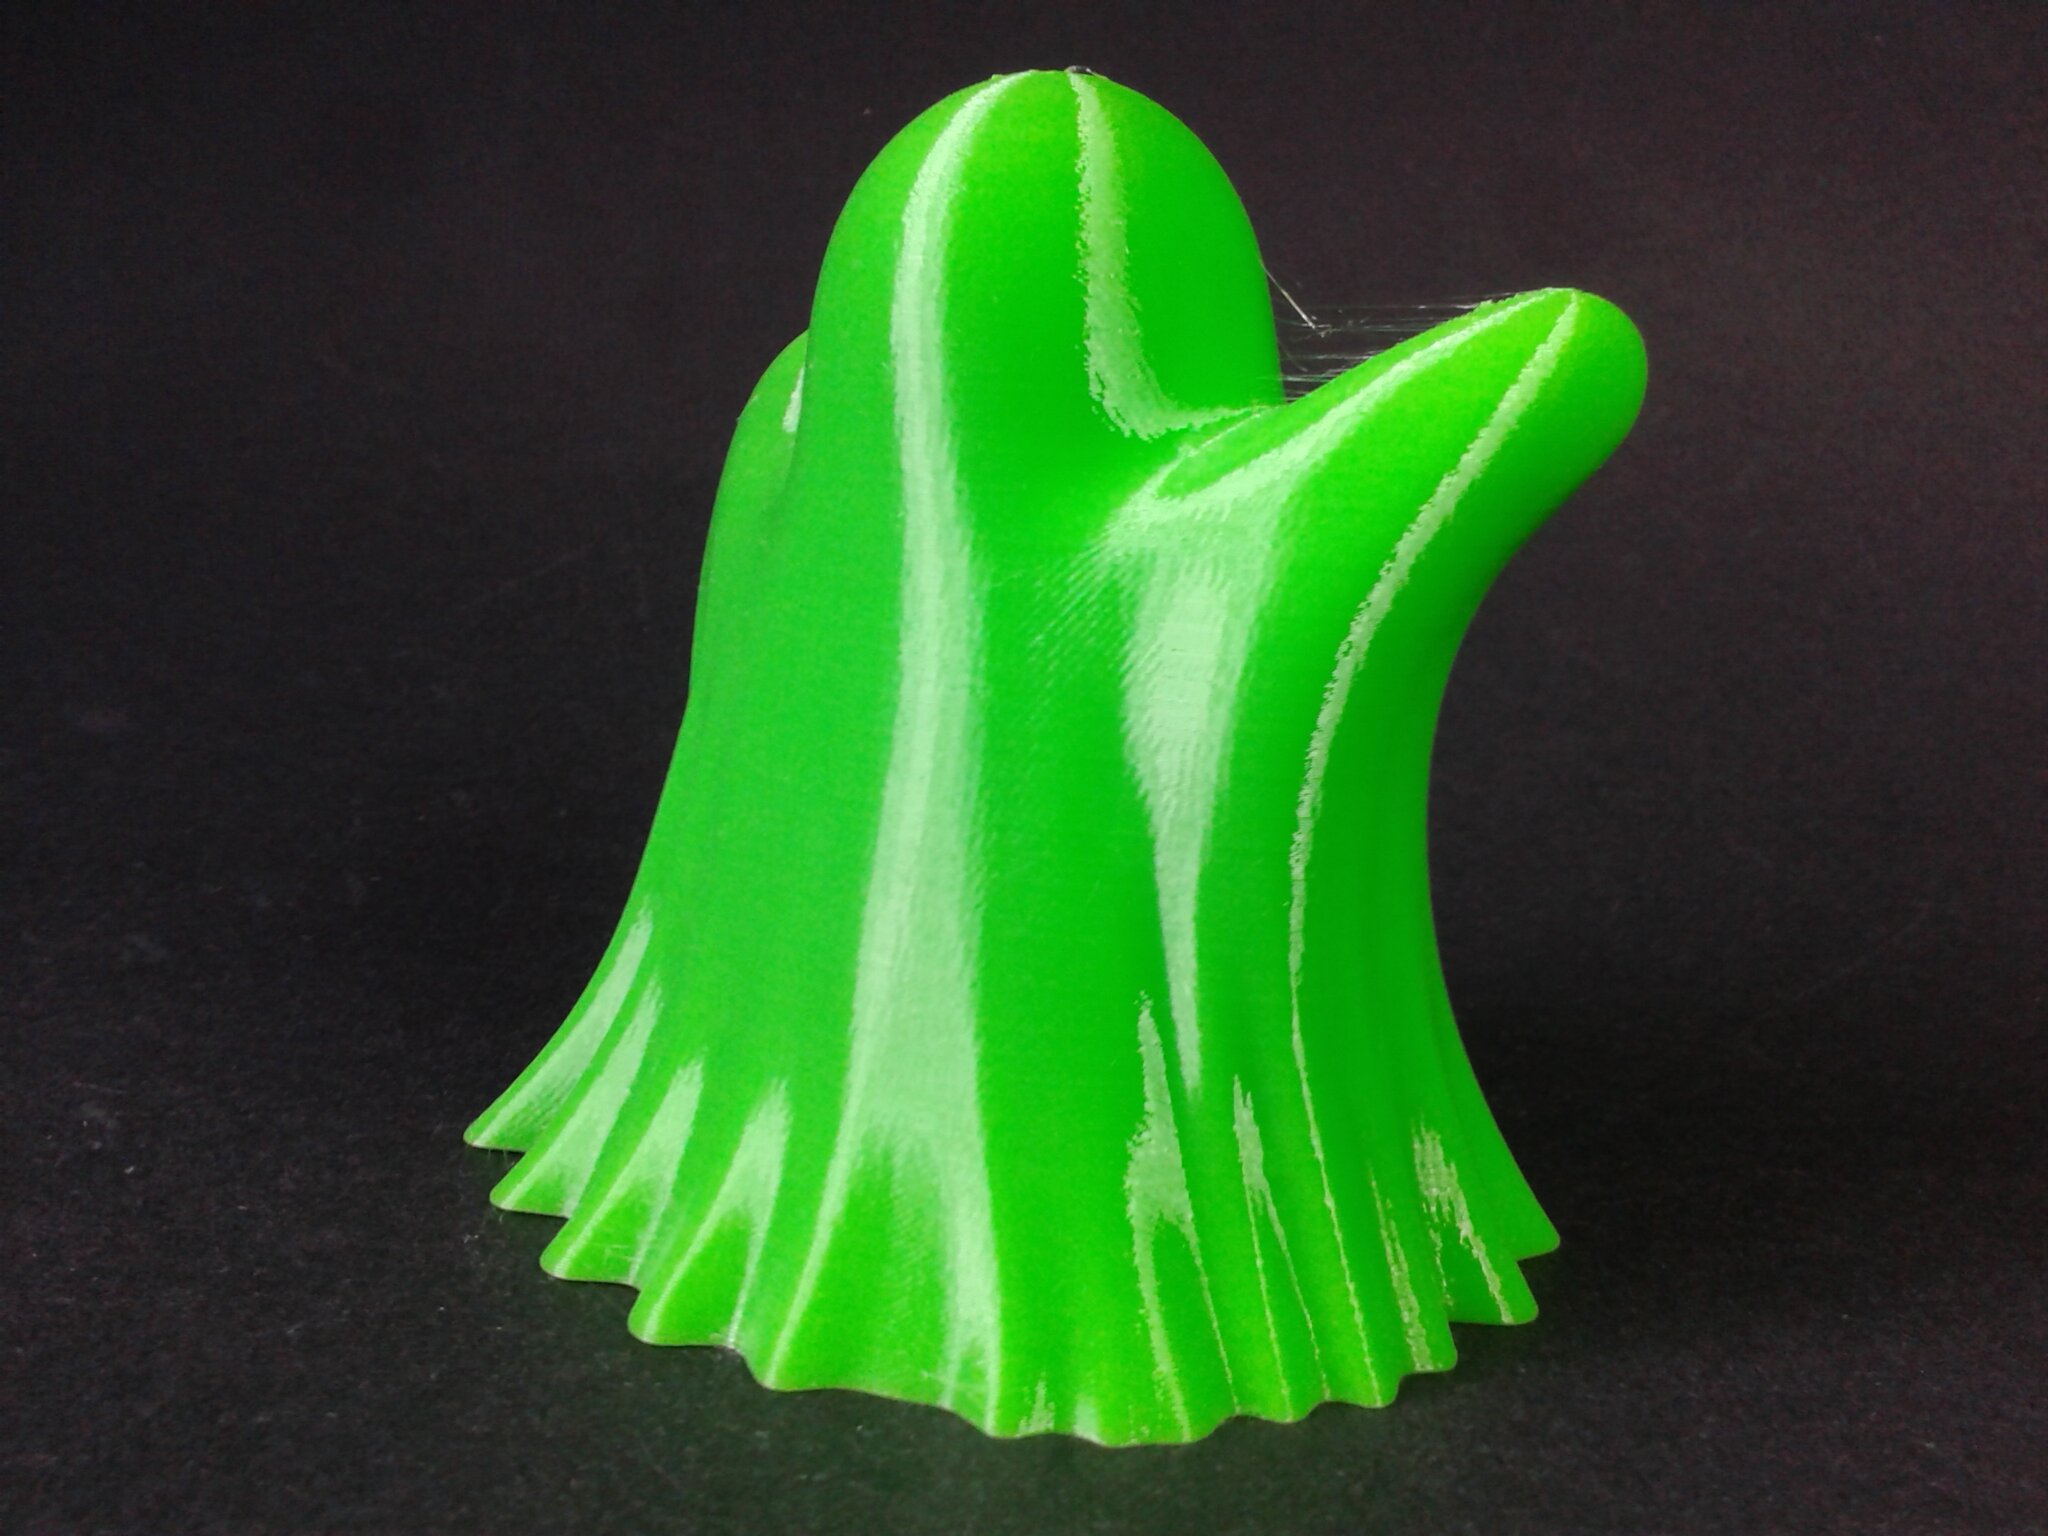
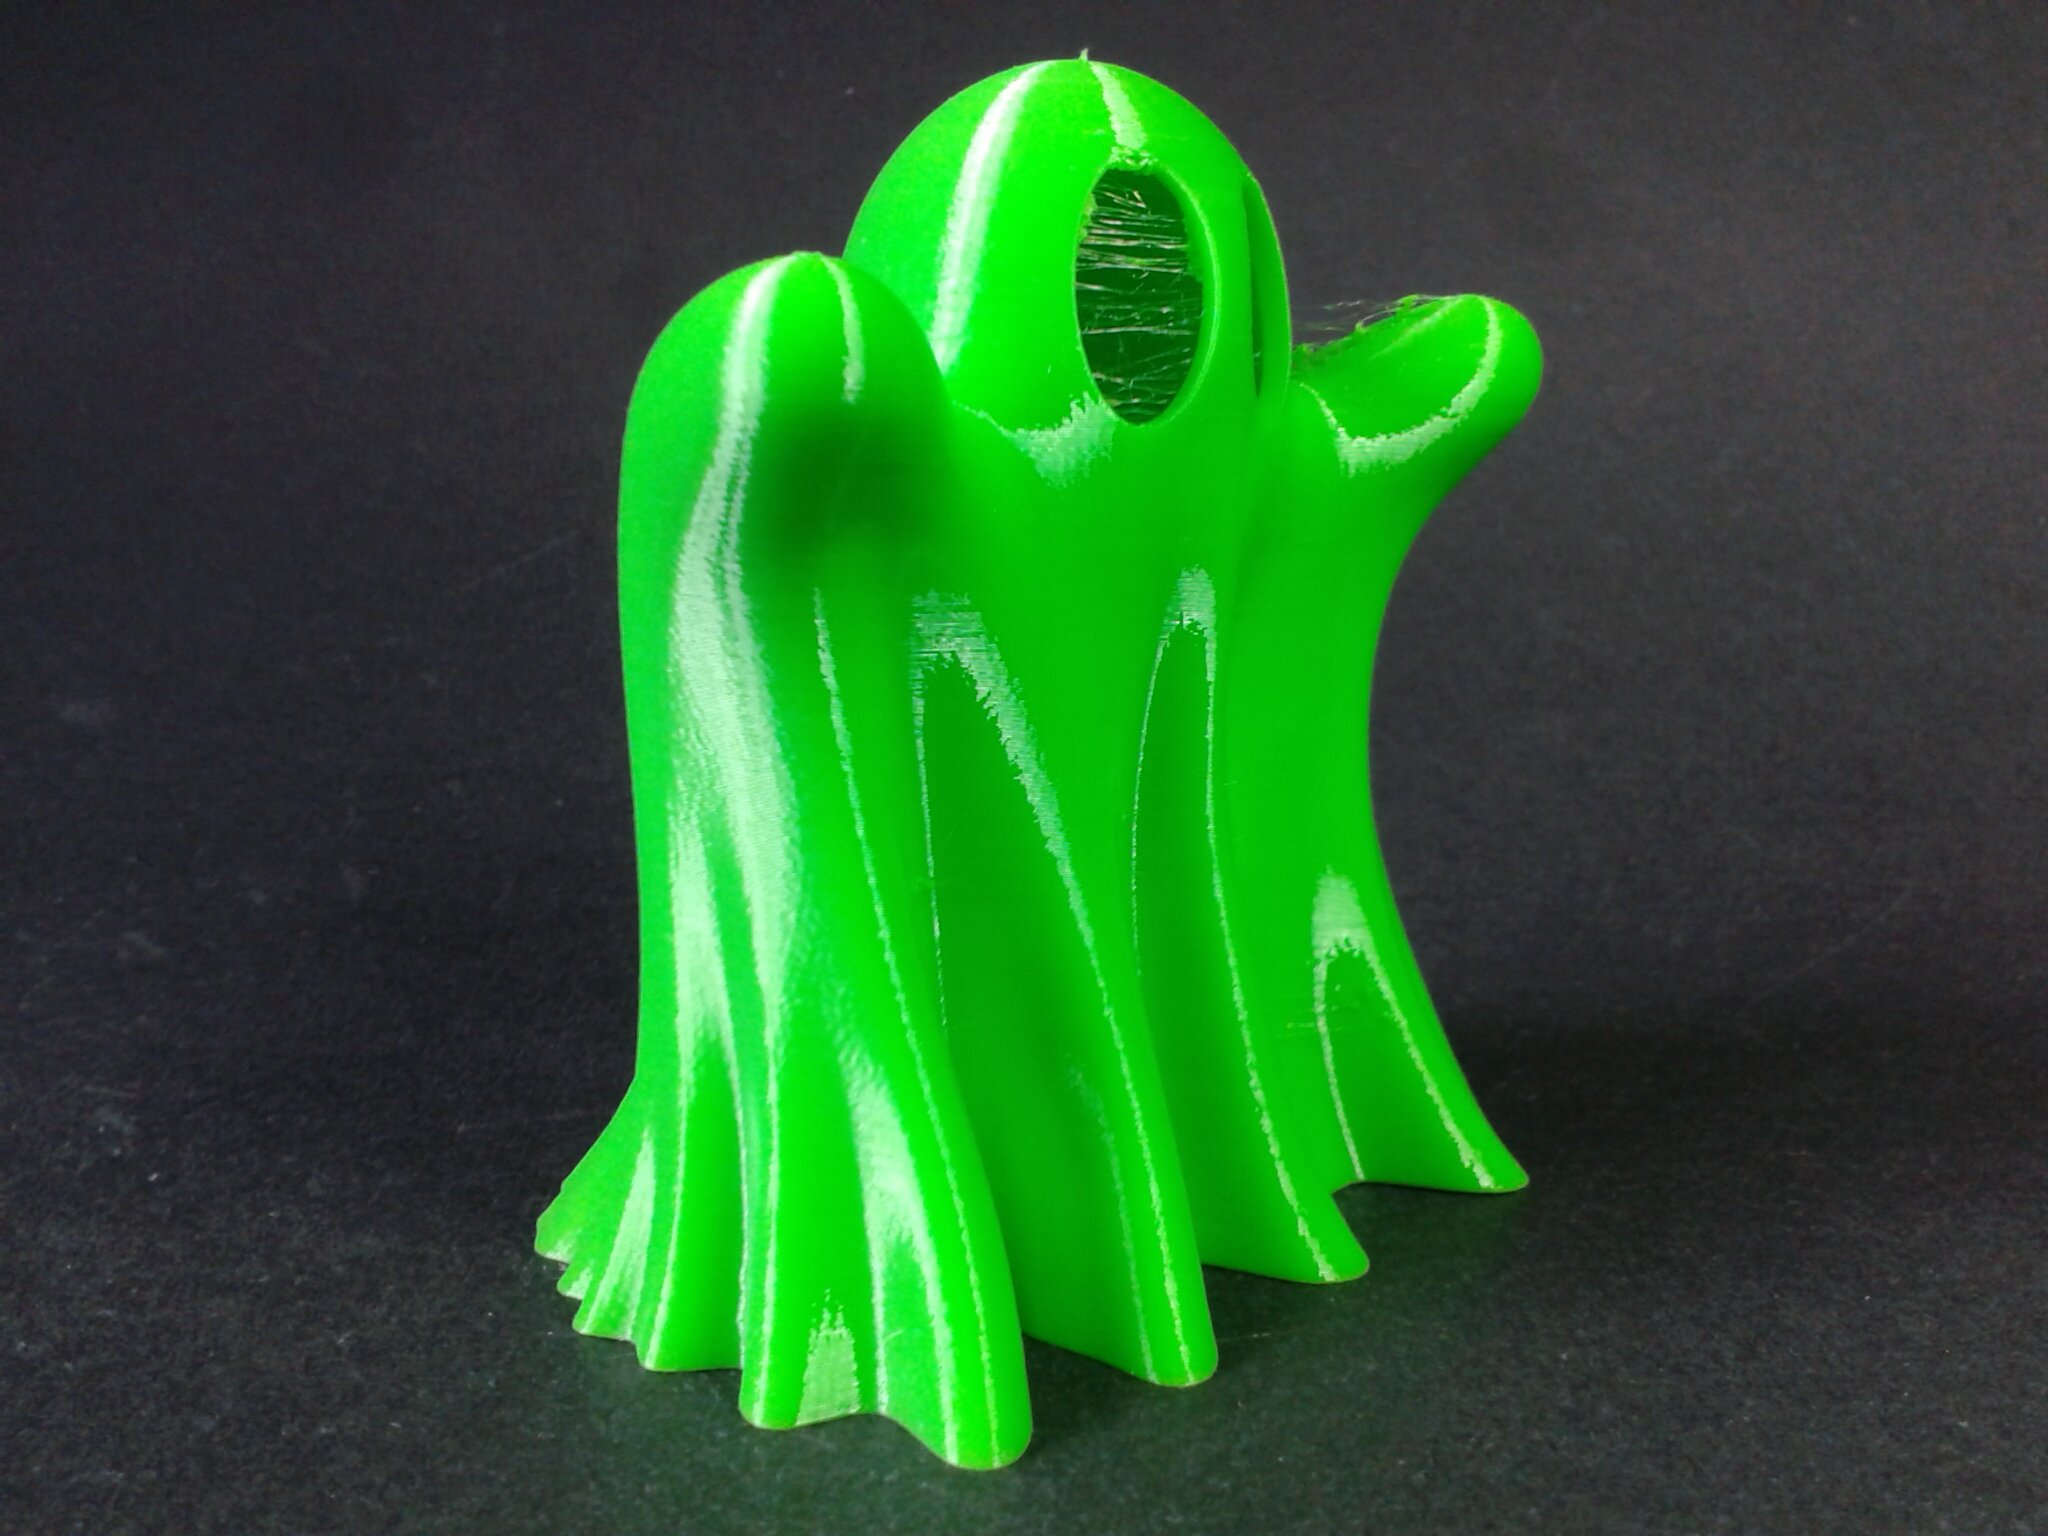
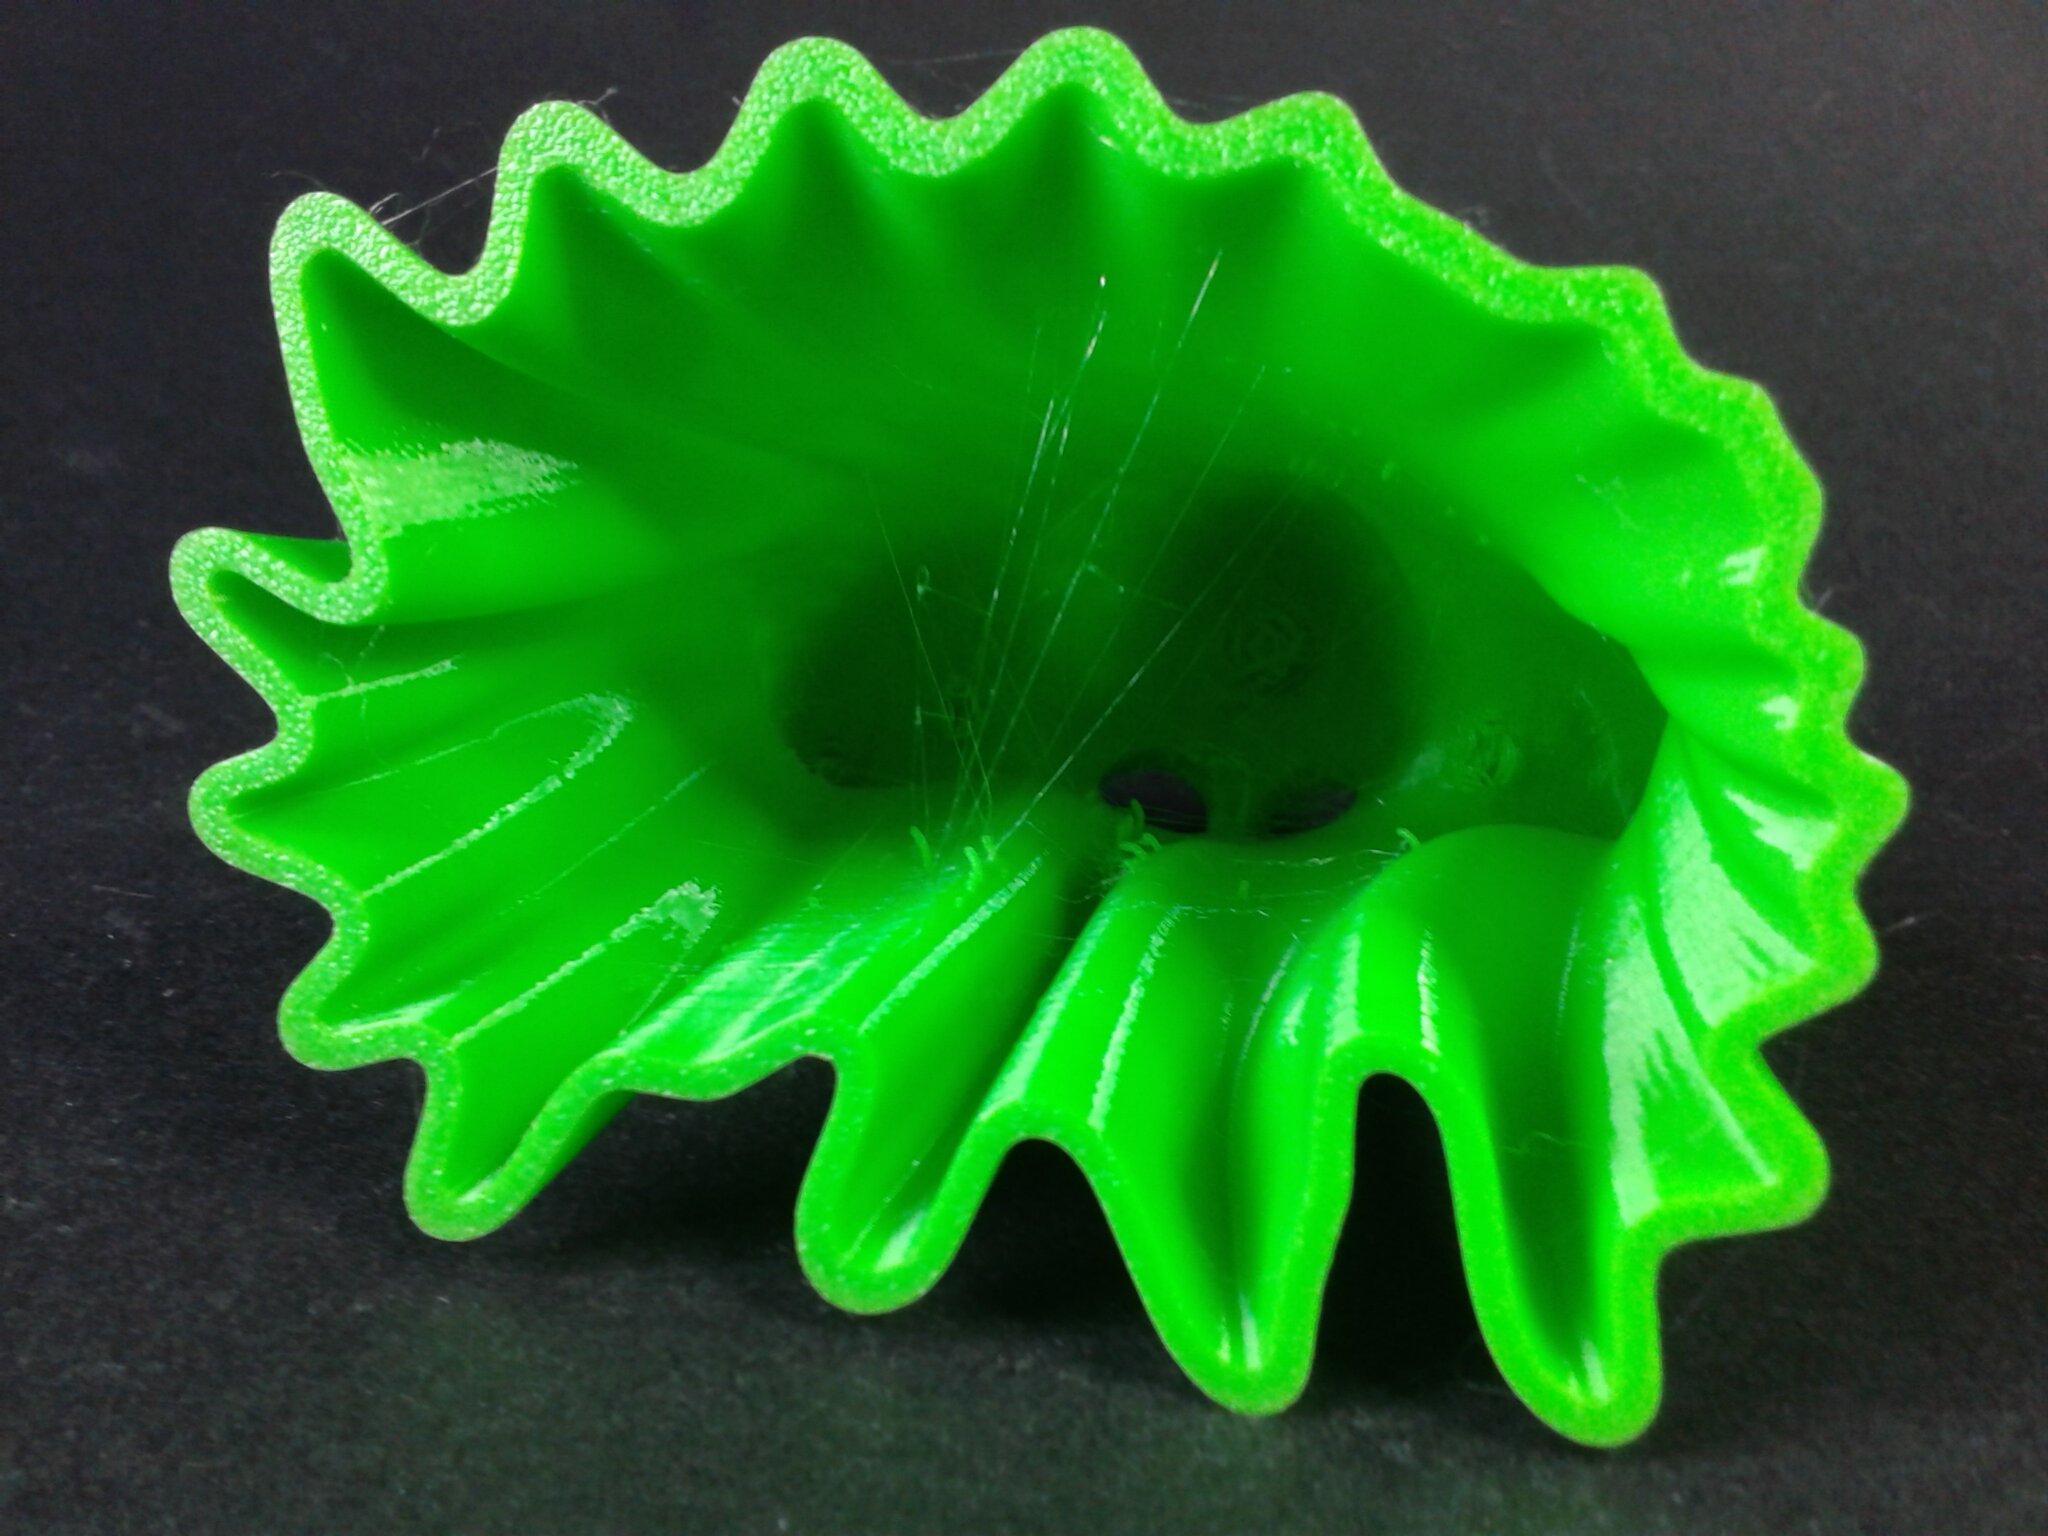
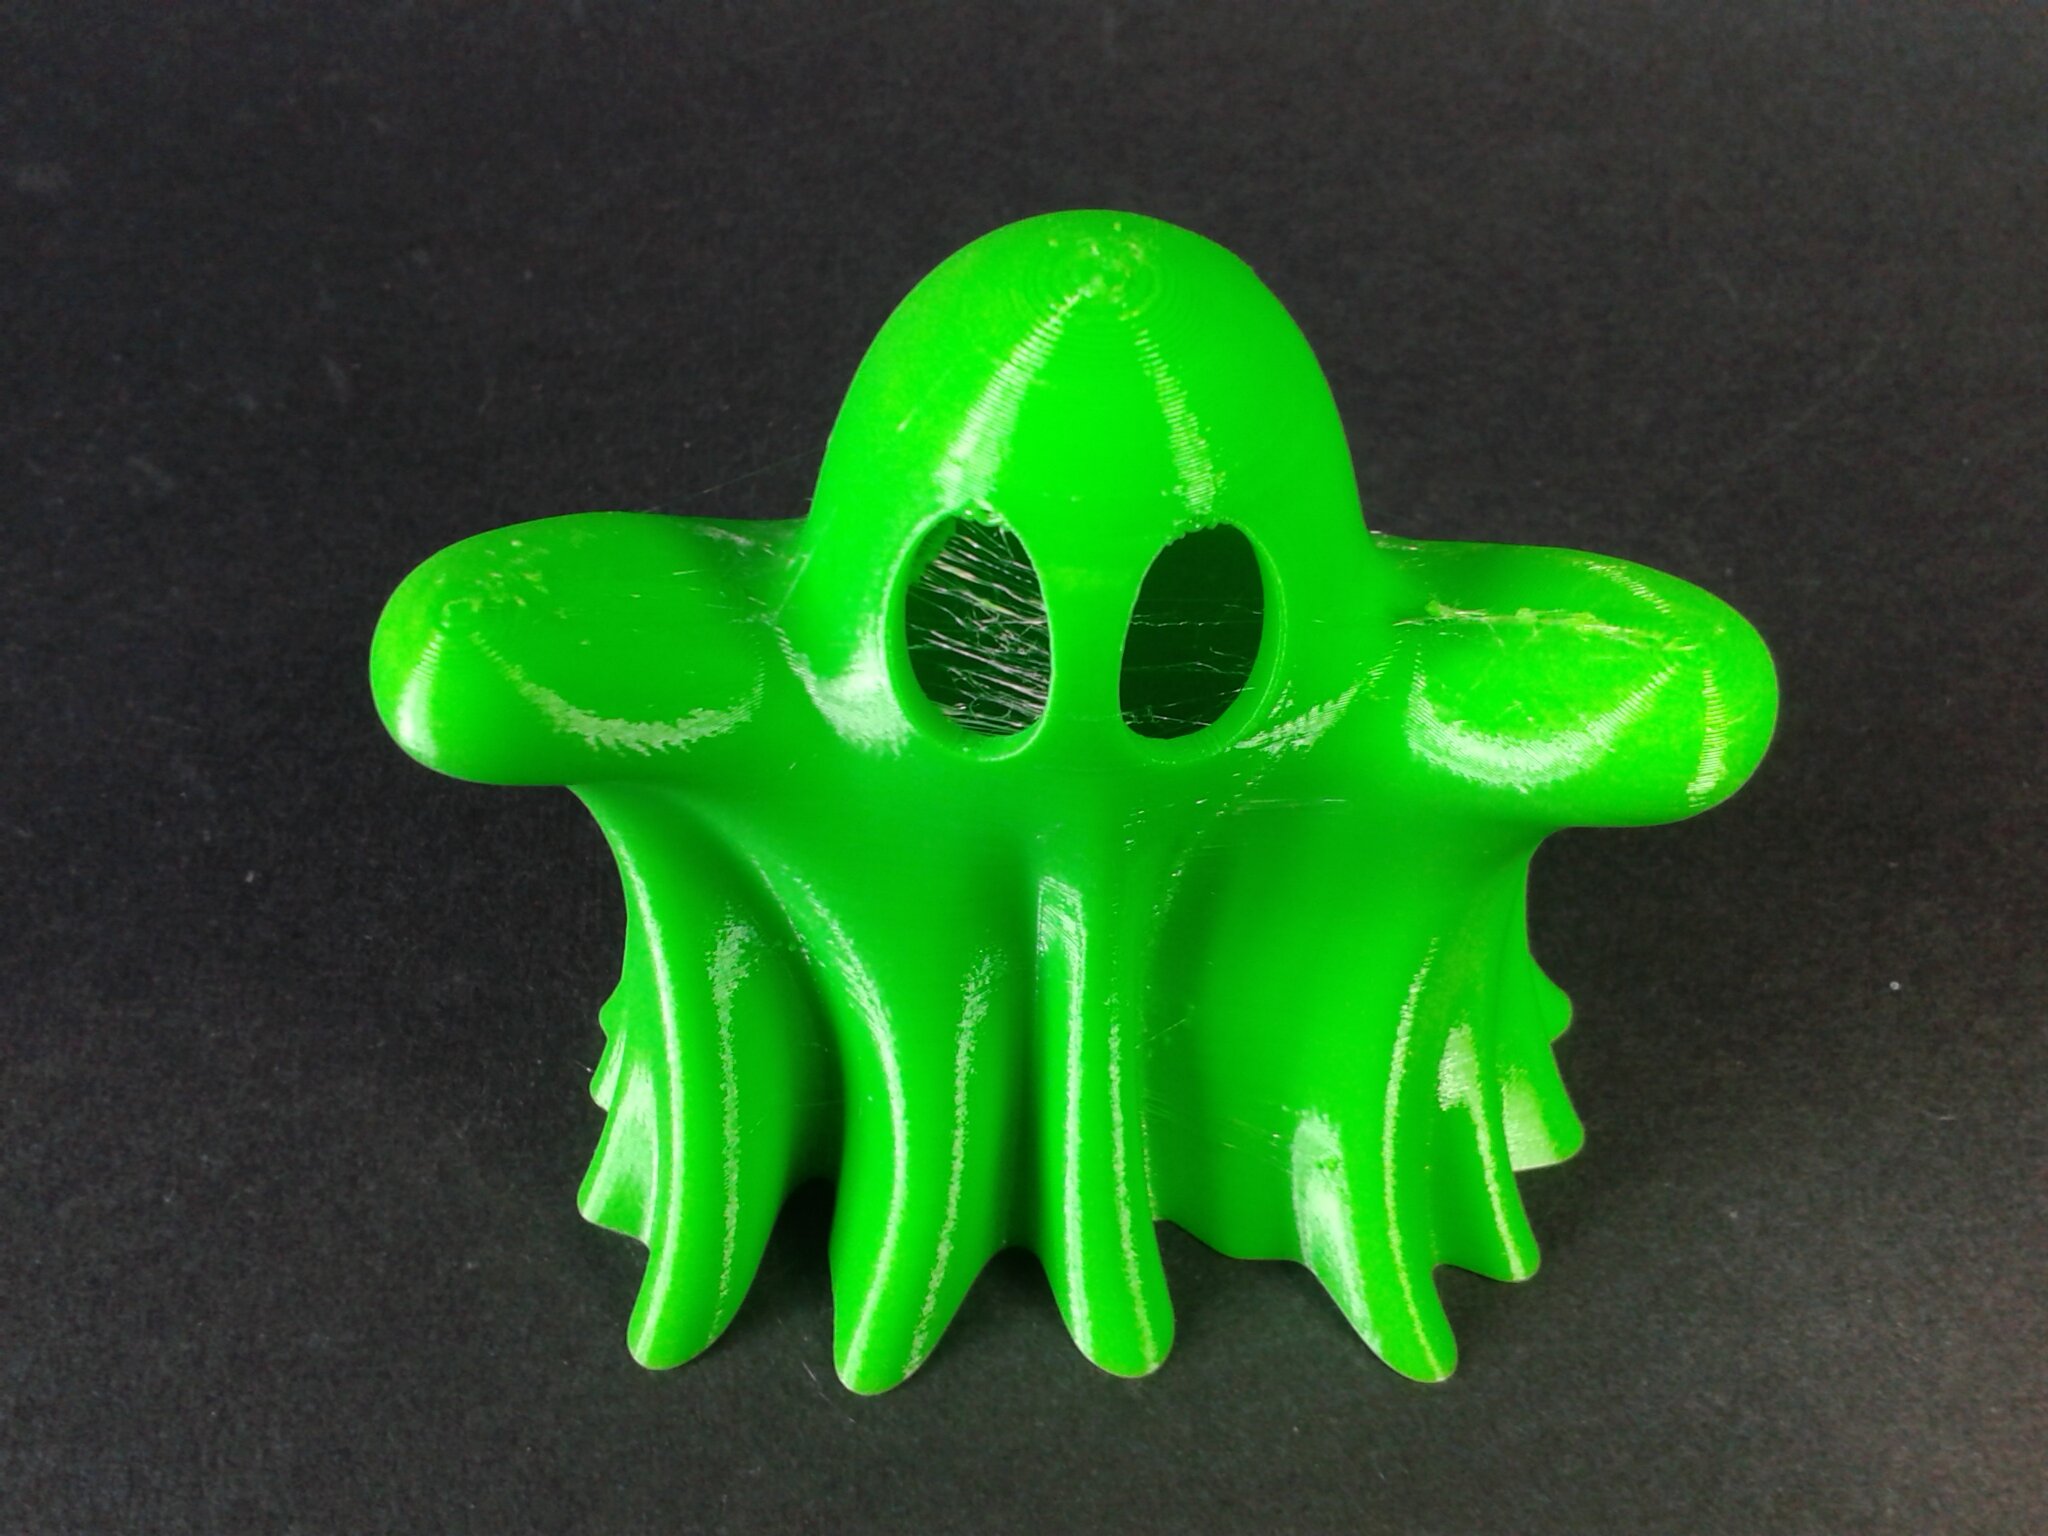
Ghost
“Ghost Booh” de “BODY-3D” (gratuit).
Environ 3 h 42 min d’impression.
Filament CR-TPU Green Creality
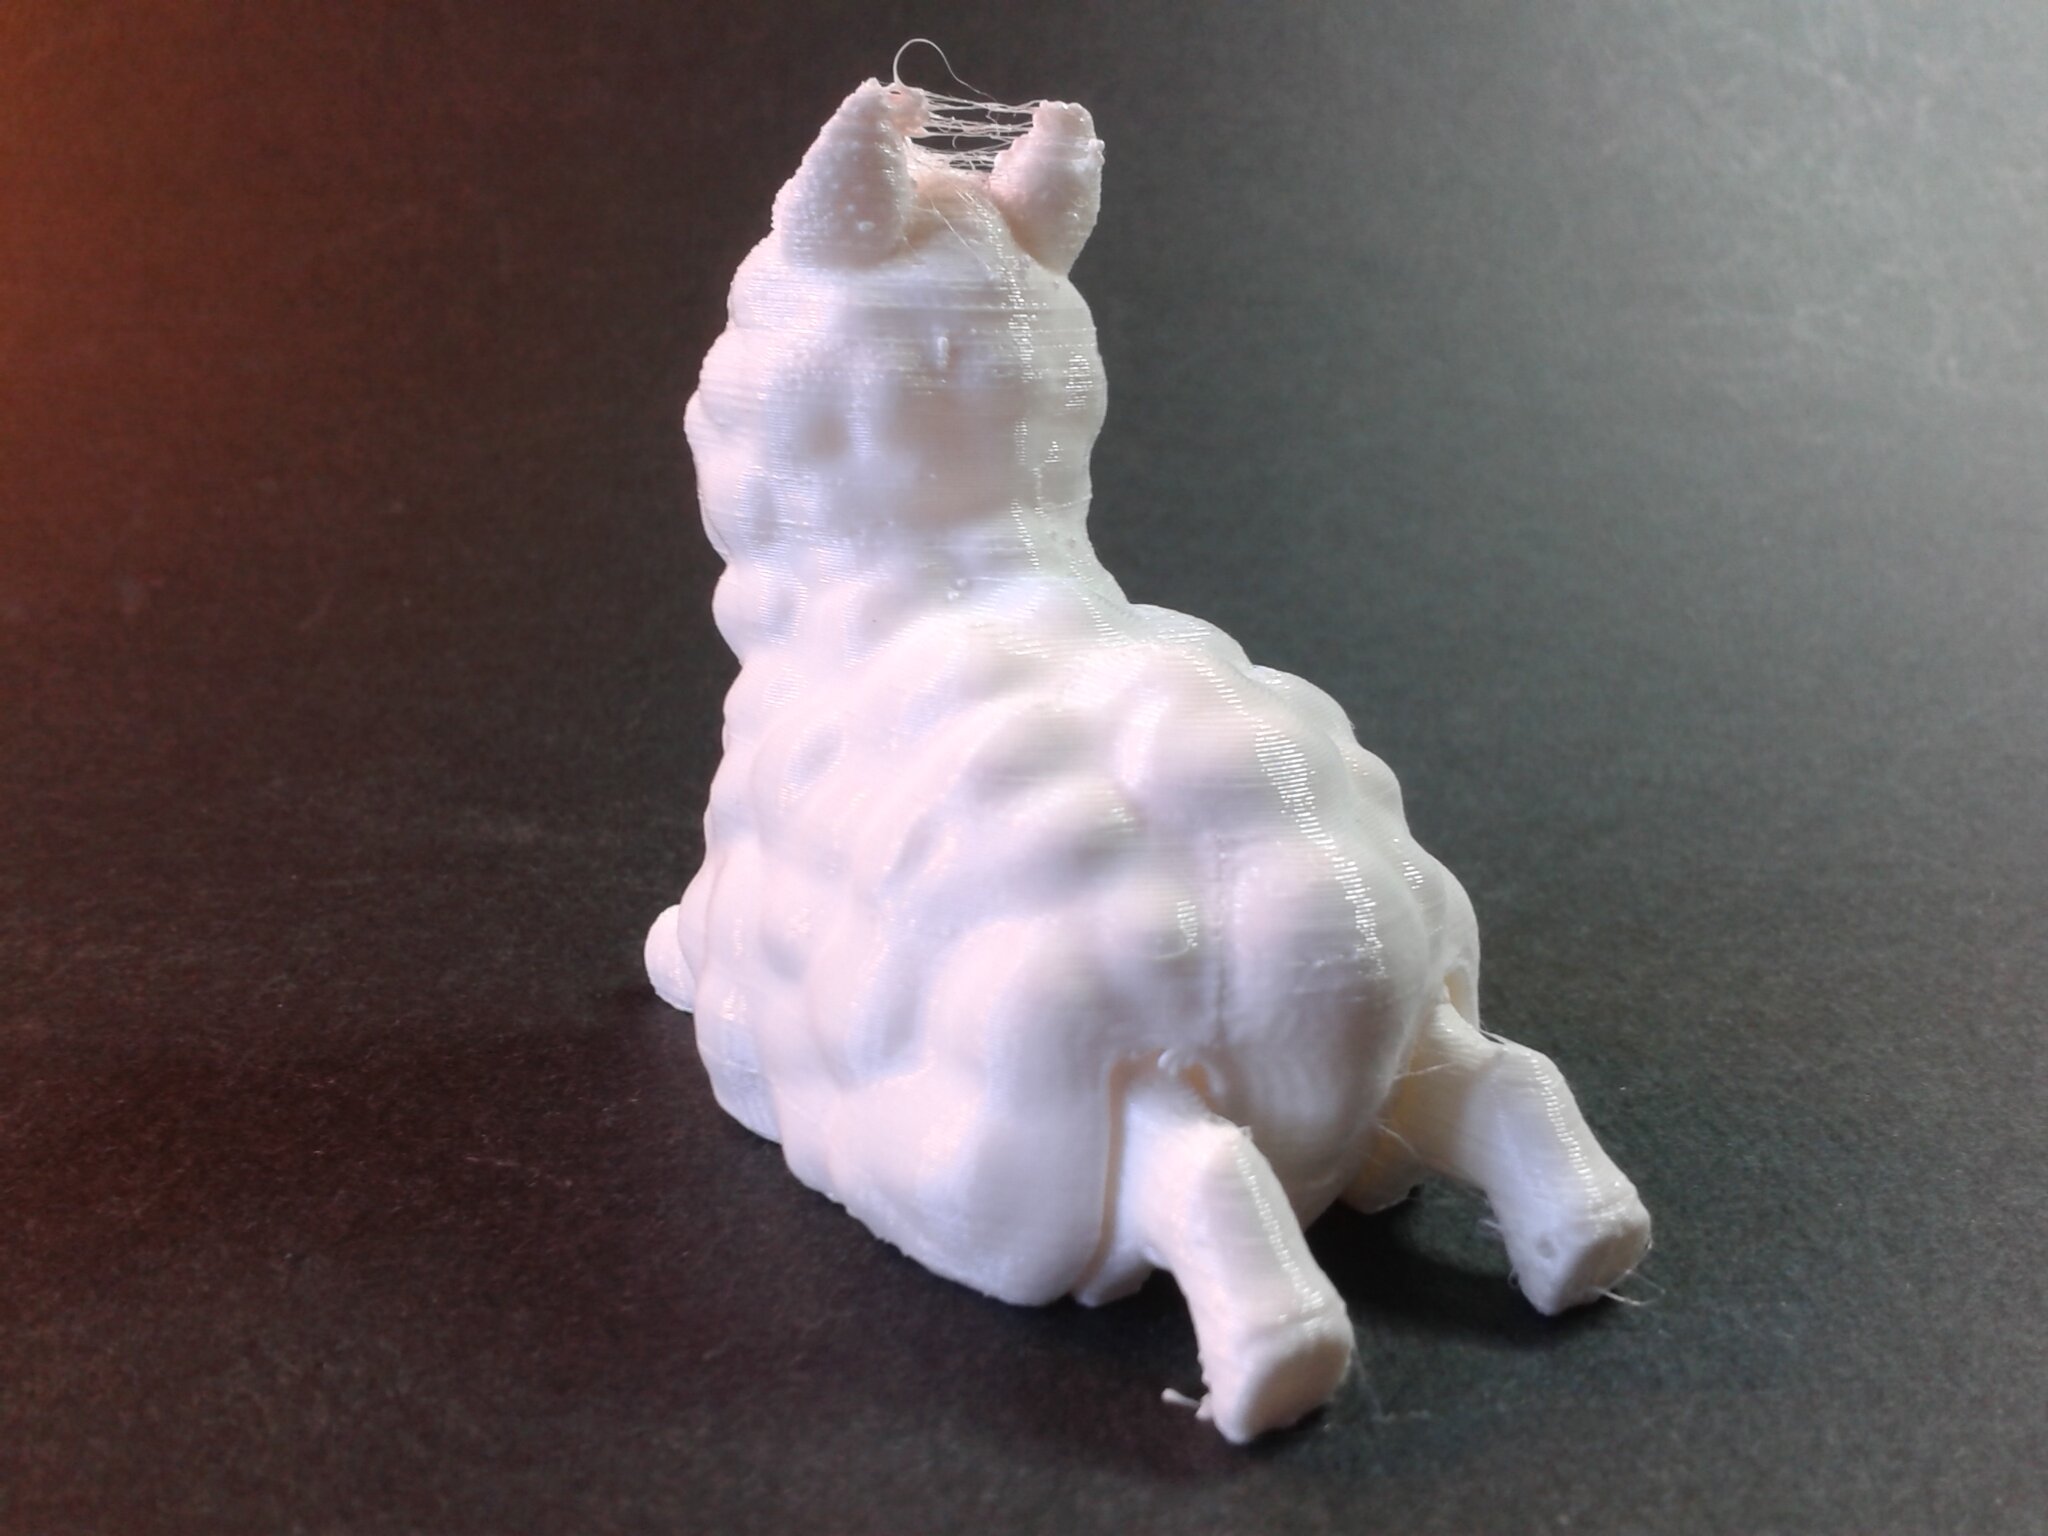
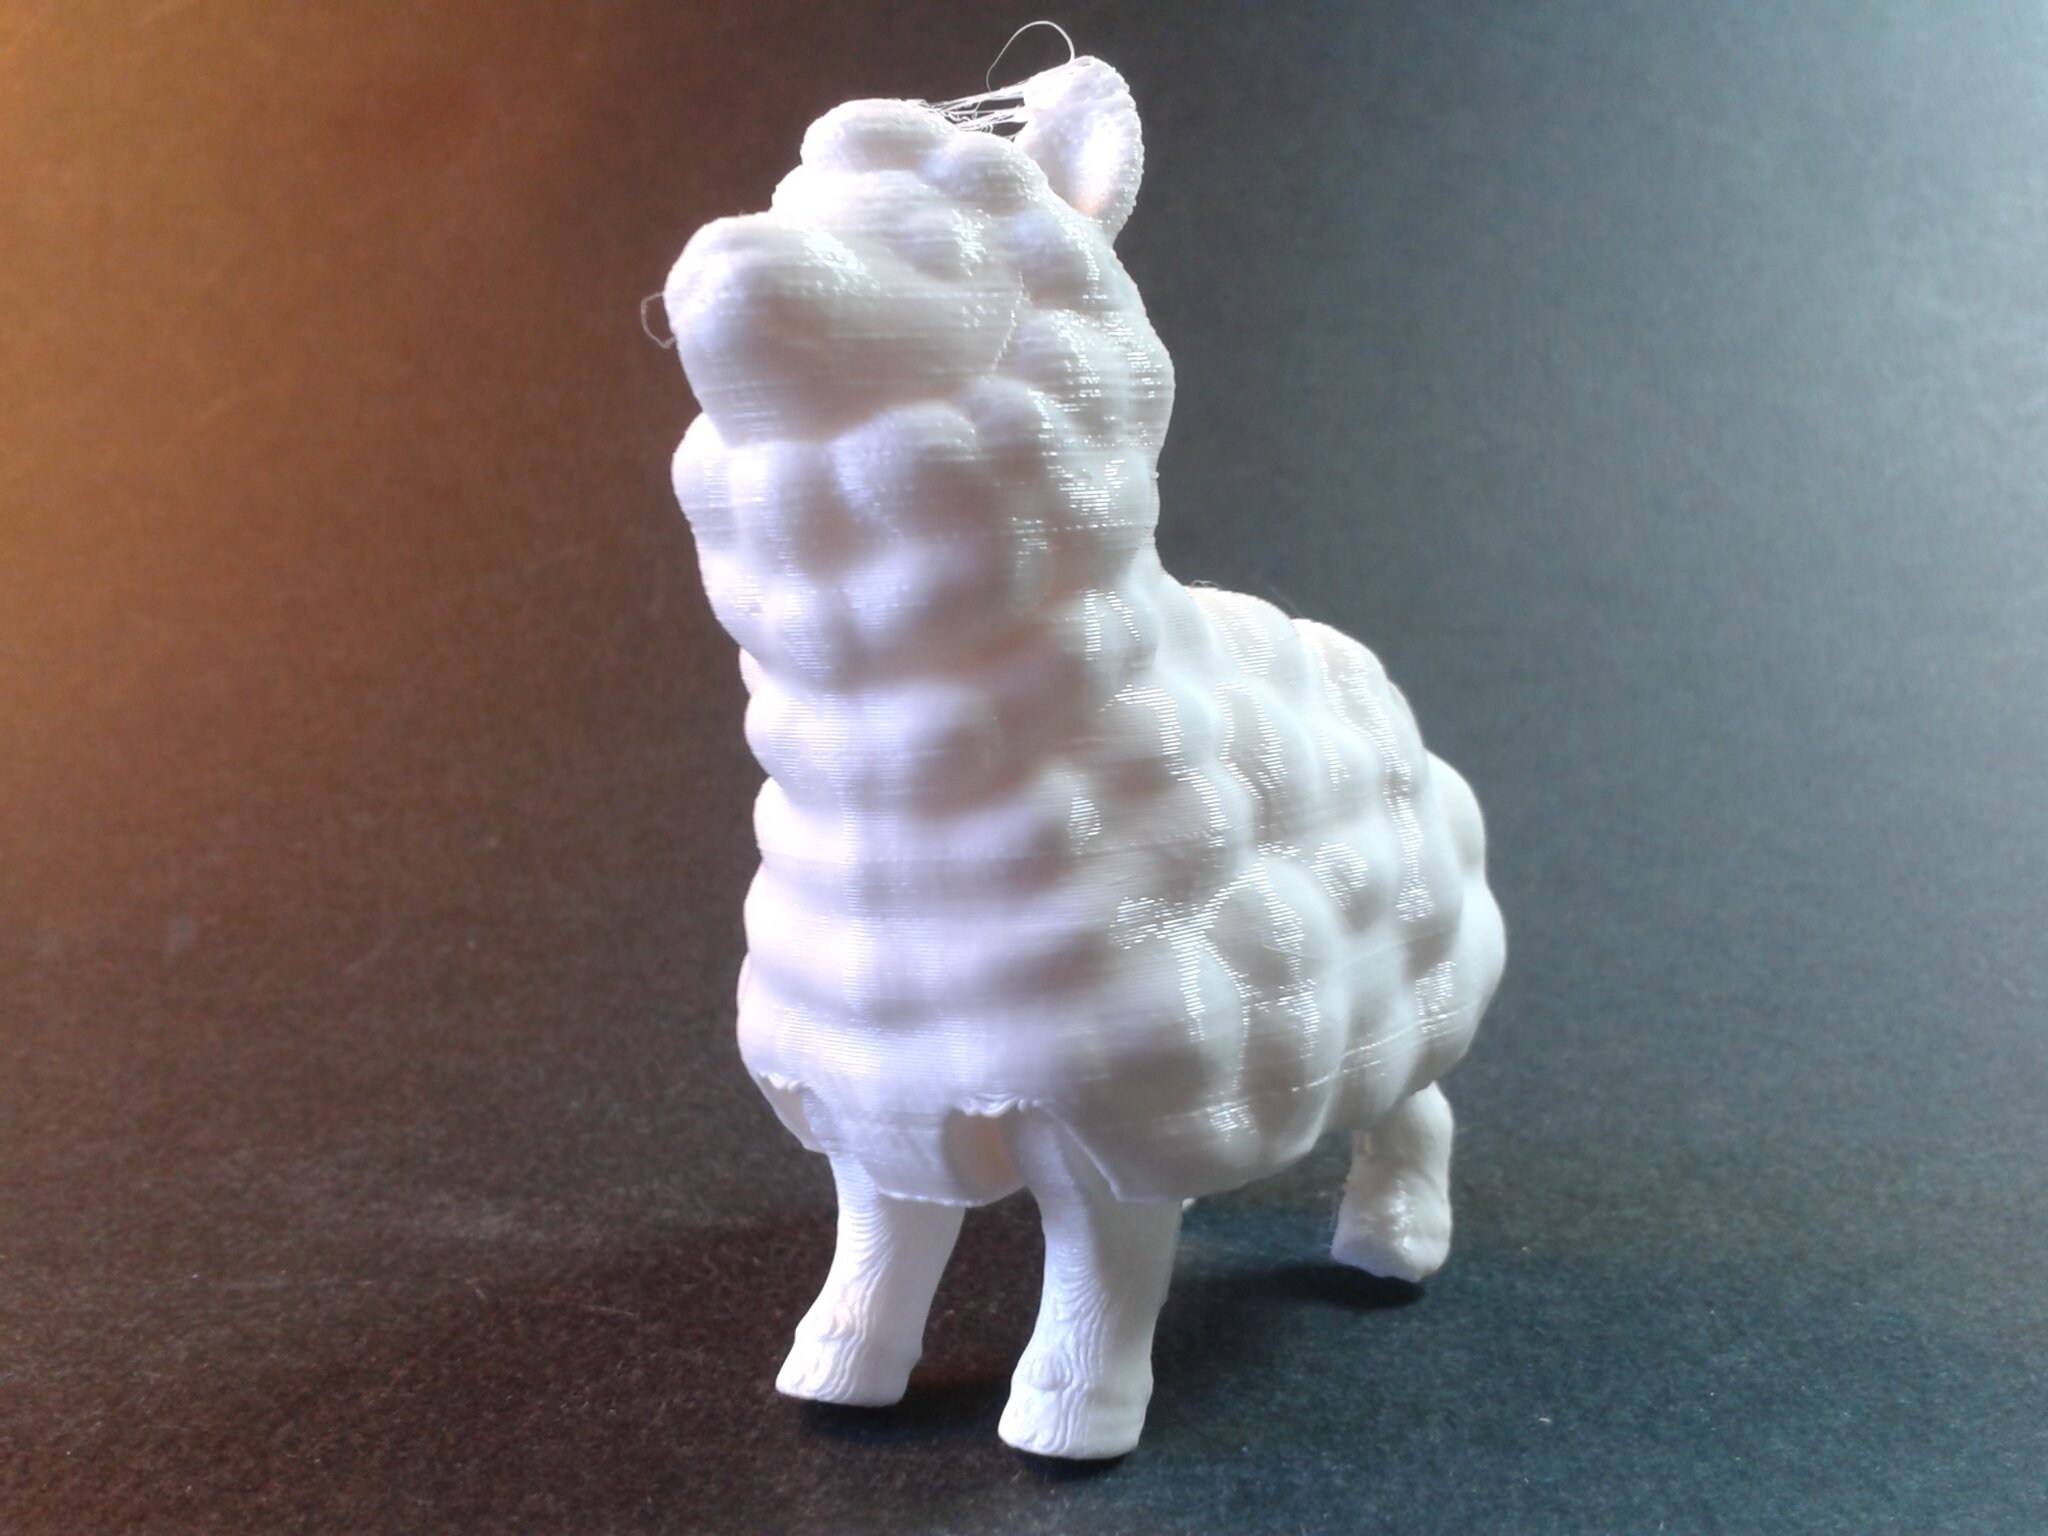
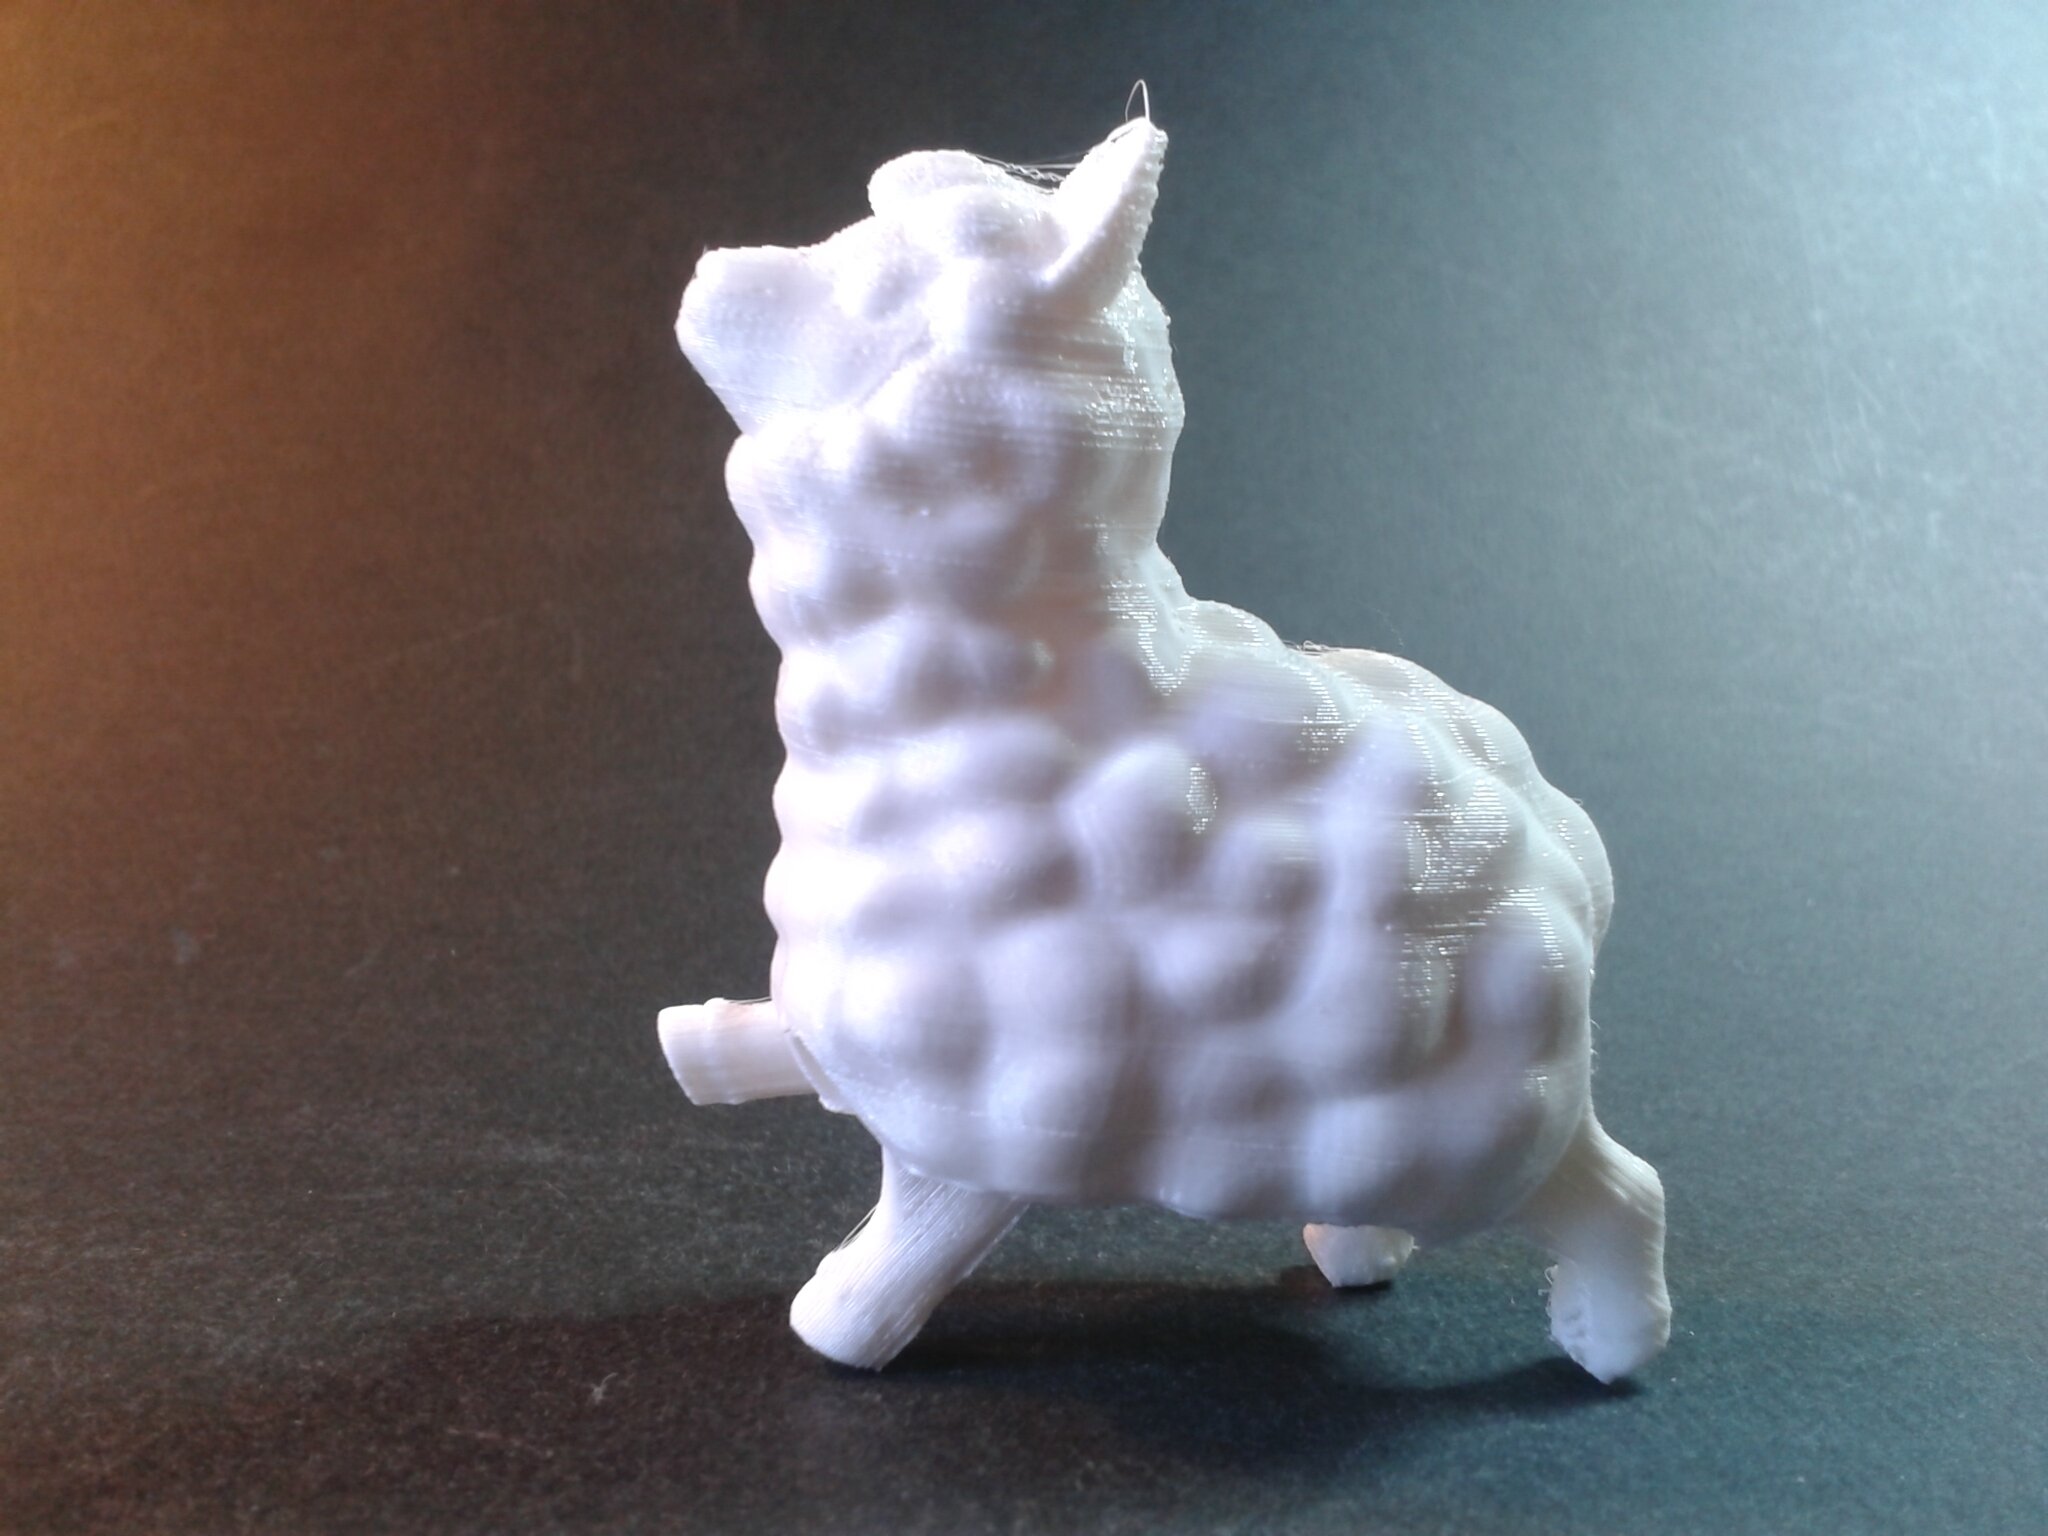
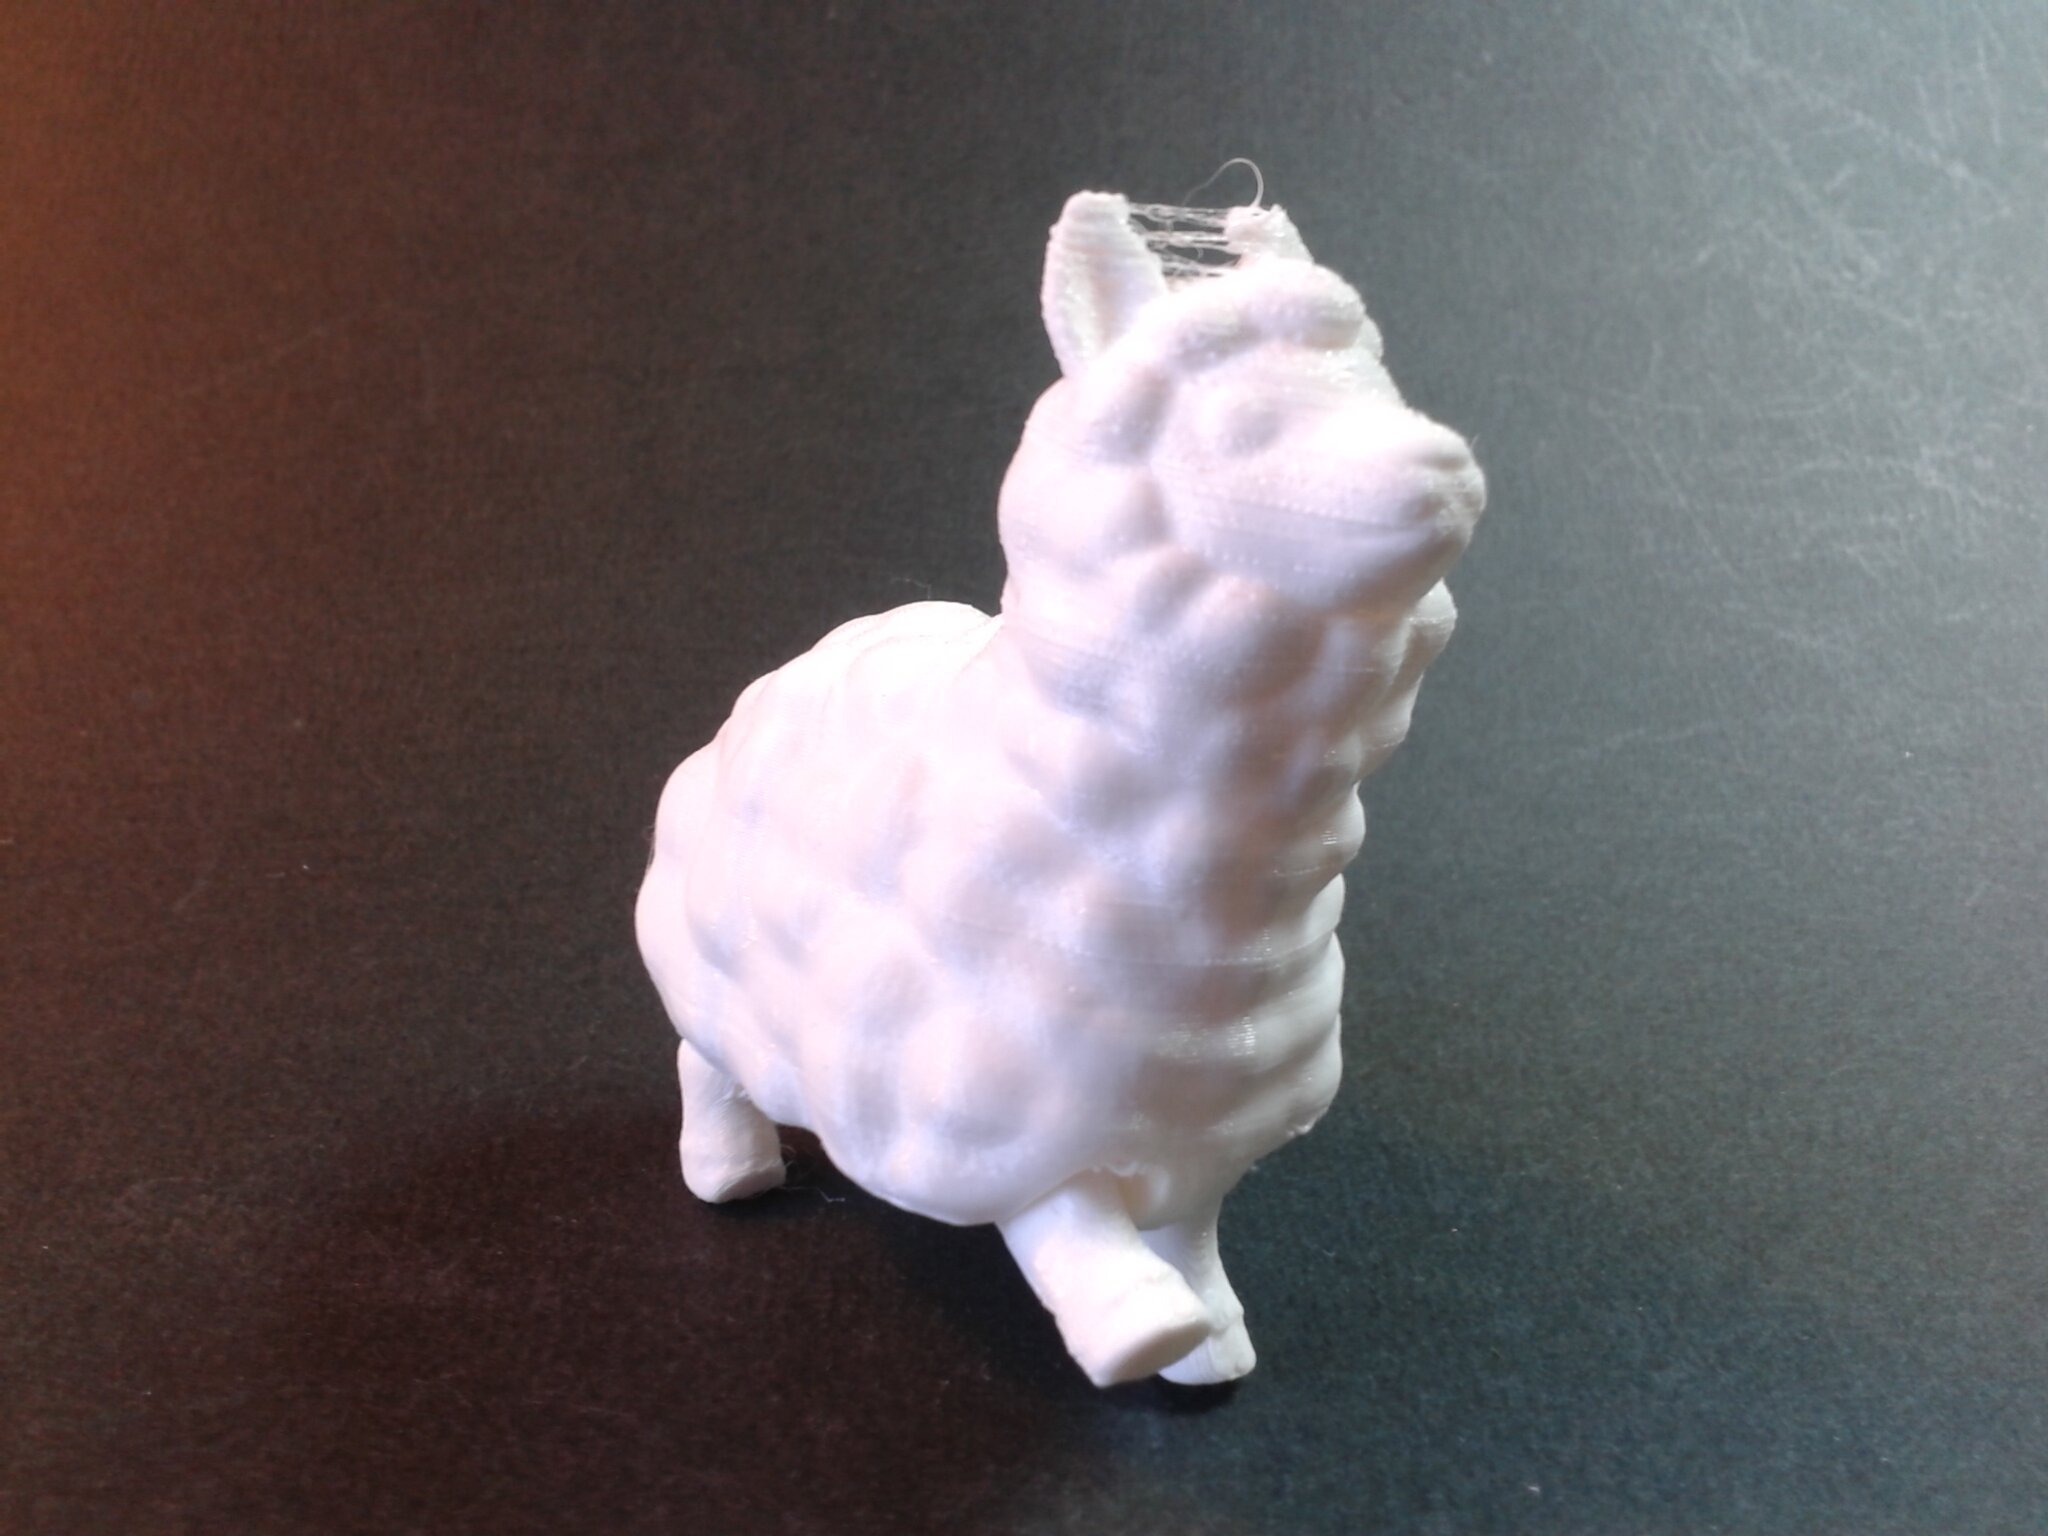
Llama
“Cute Llama – Flexi Articulated Animal (print-in-place)” de “IXPatch” (gratuit).
Je vous passe rapidement le détail de mes échecs d’impression avec du filament TPU-95A Transparent ArianePlast (voir dans ce commentaire de mon sujet de découverte).
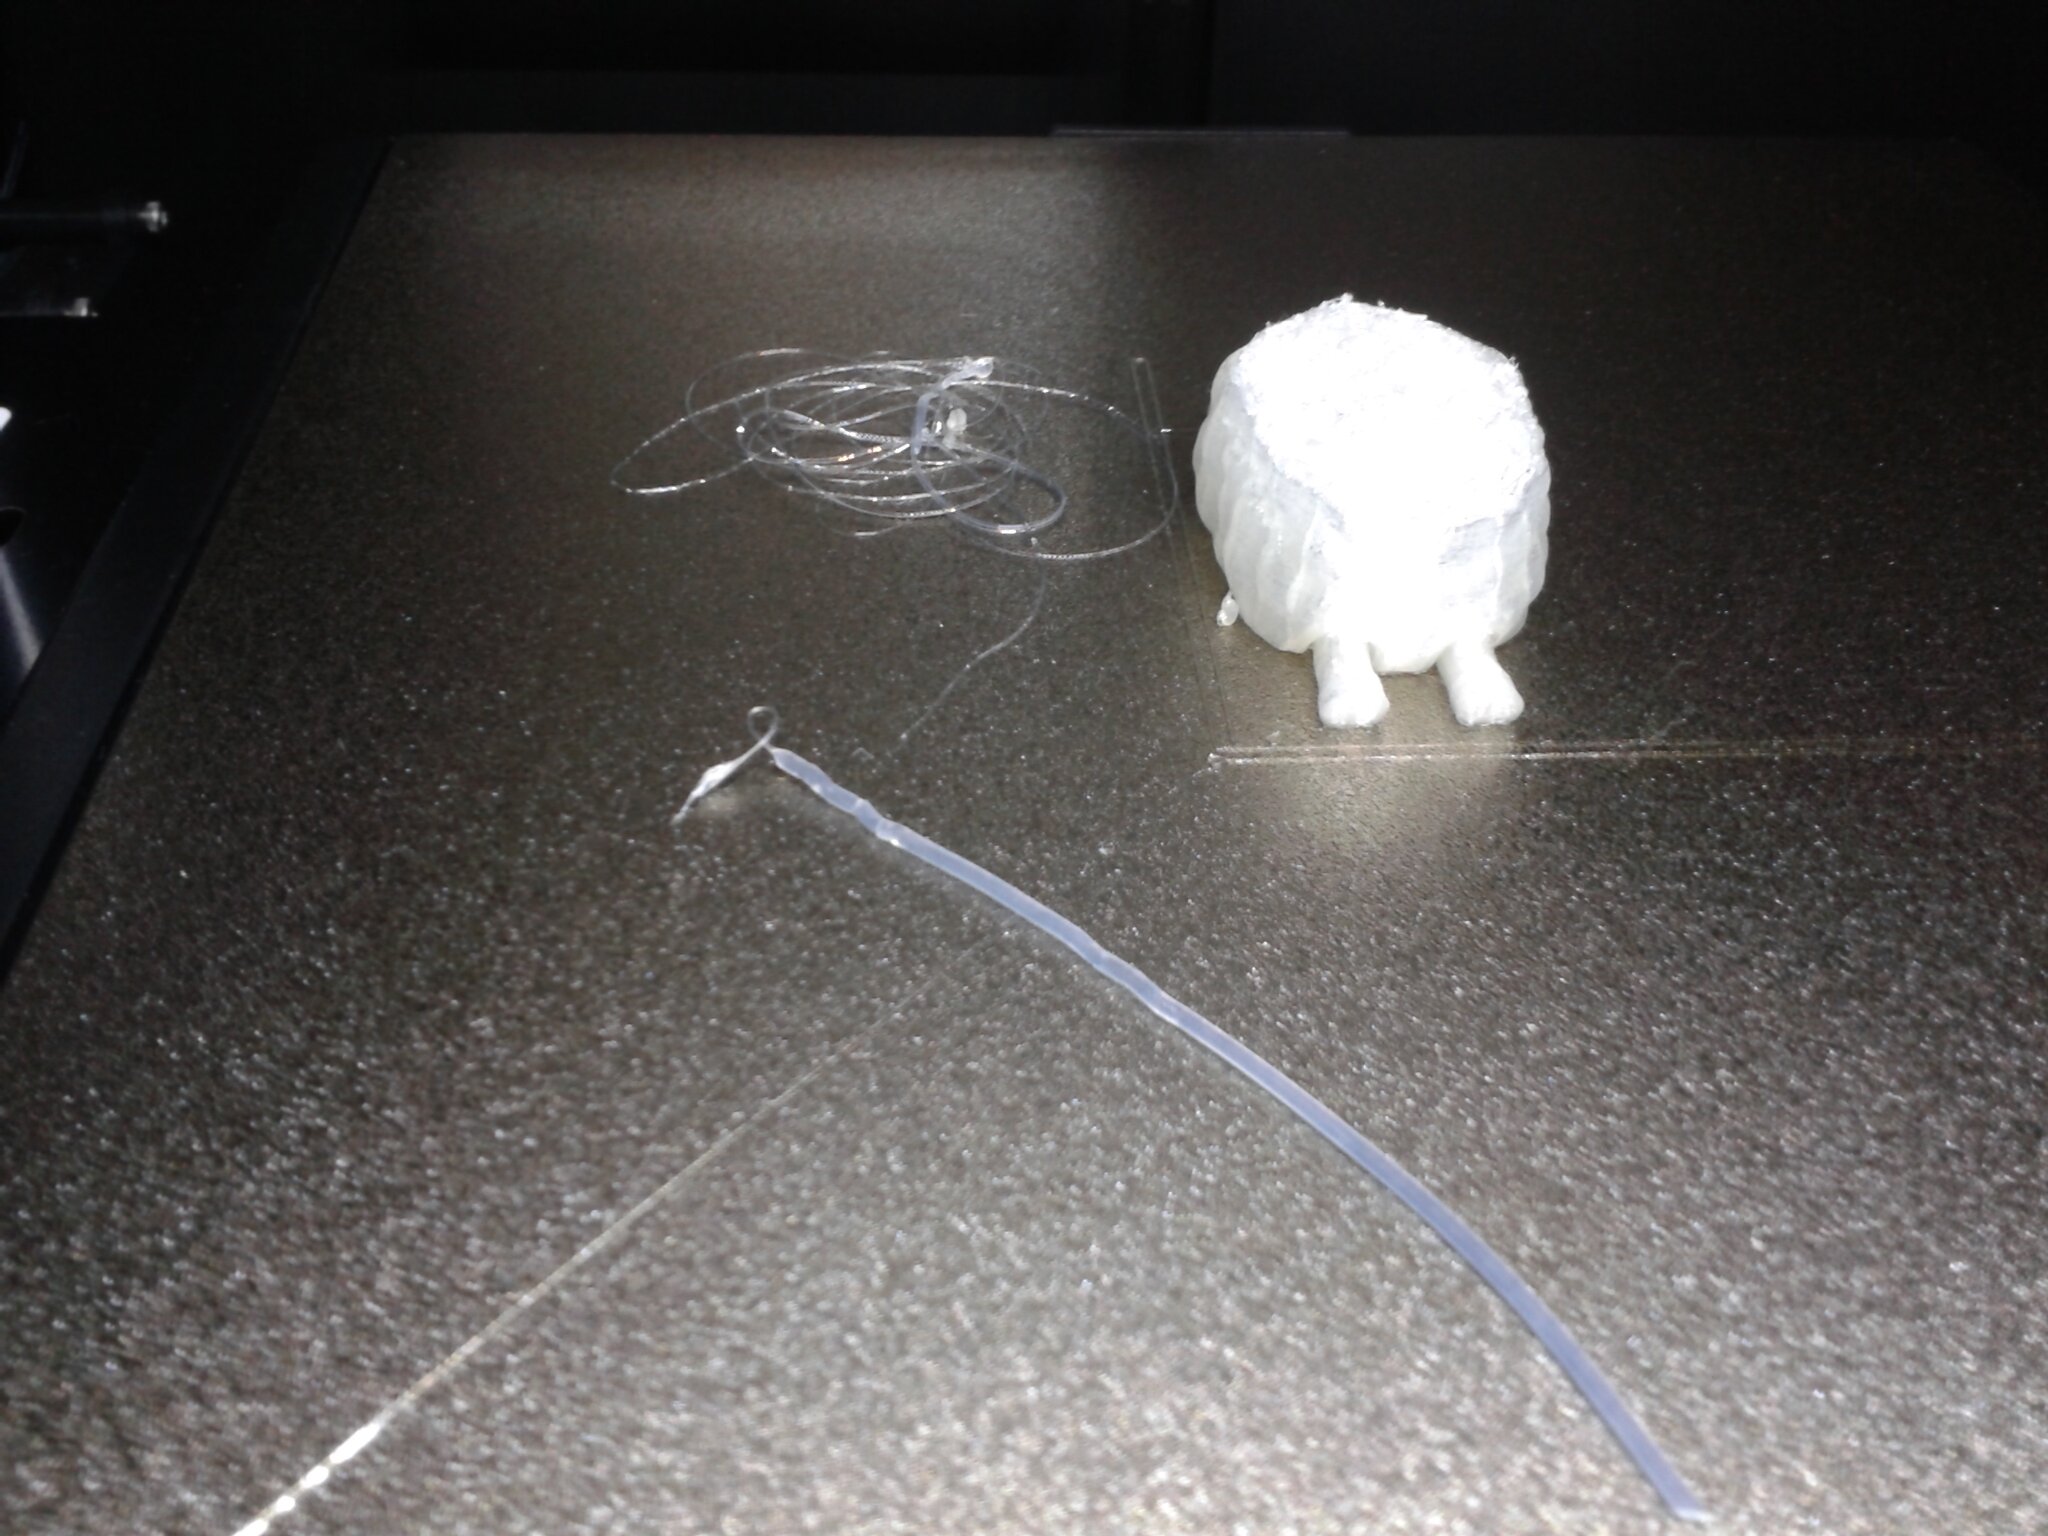

Filament CR-TPU White Creality
Environ 1 h 34 min d’impression.


Impression en PETG
Pour ce test PETG avec la Qidi Q1 Pro, j’ai utilisé le profil filament “Generic PETG” modifié (Buse 240°C, Plateau 80°C, Vitesse volumétrique maximale 9 mm³/s).
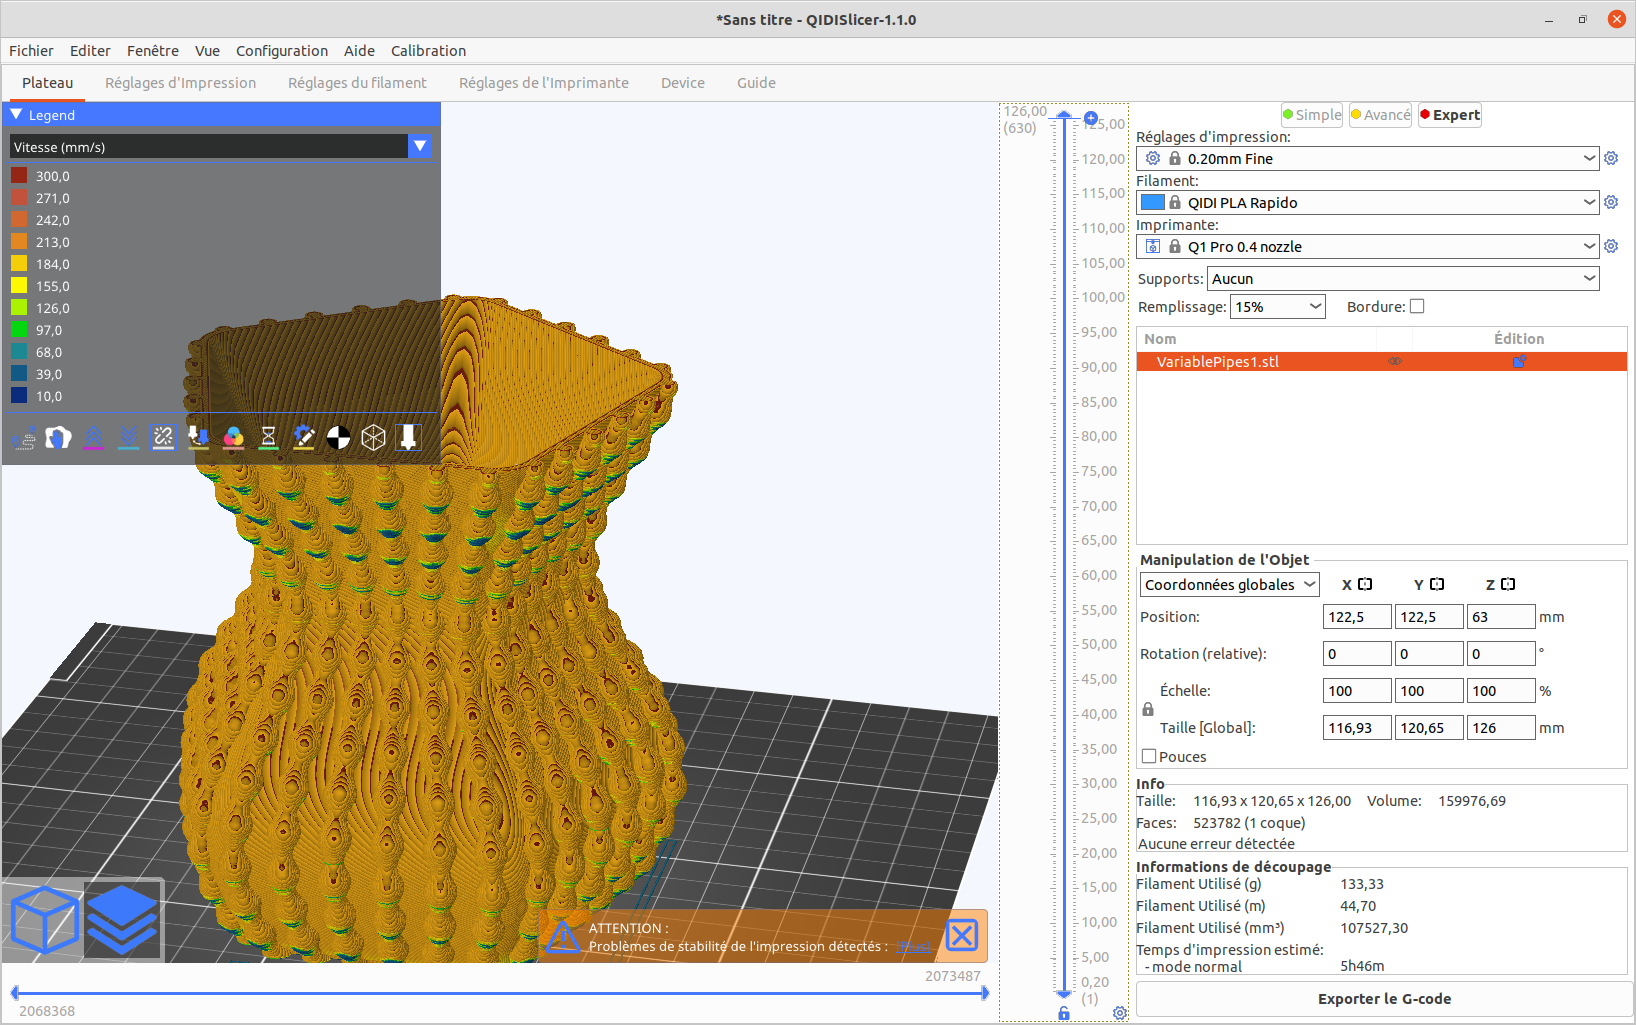
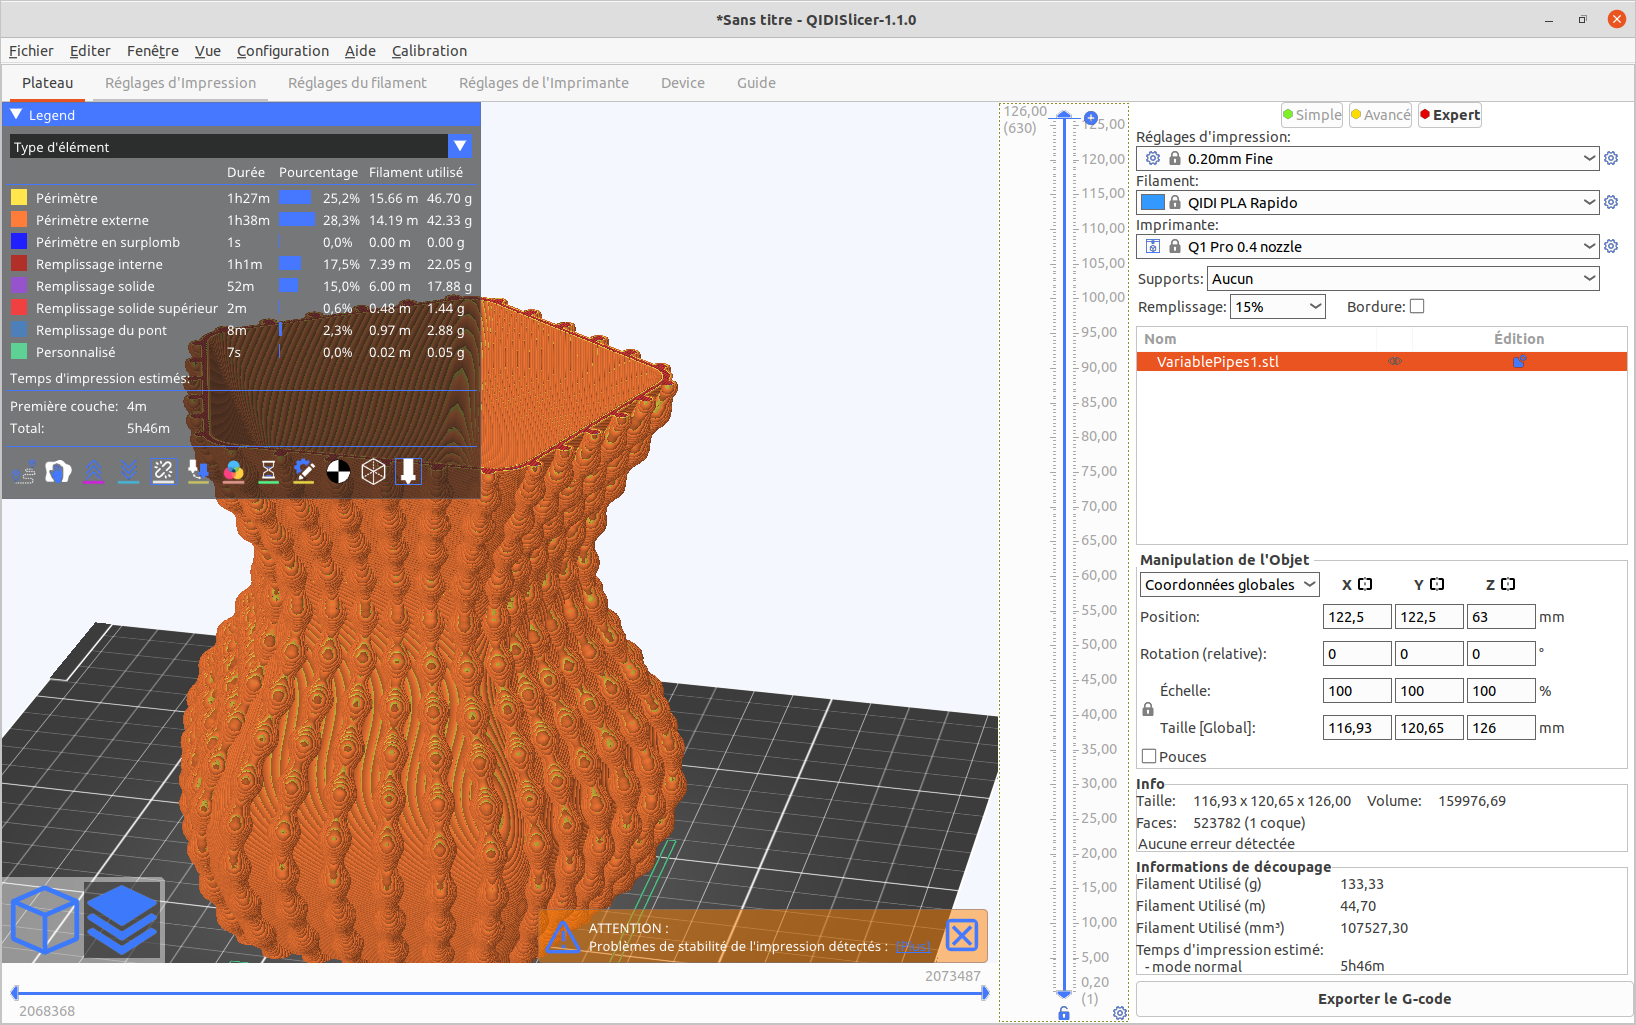
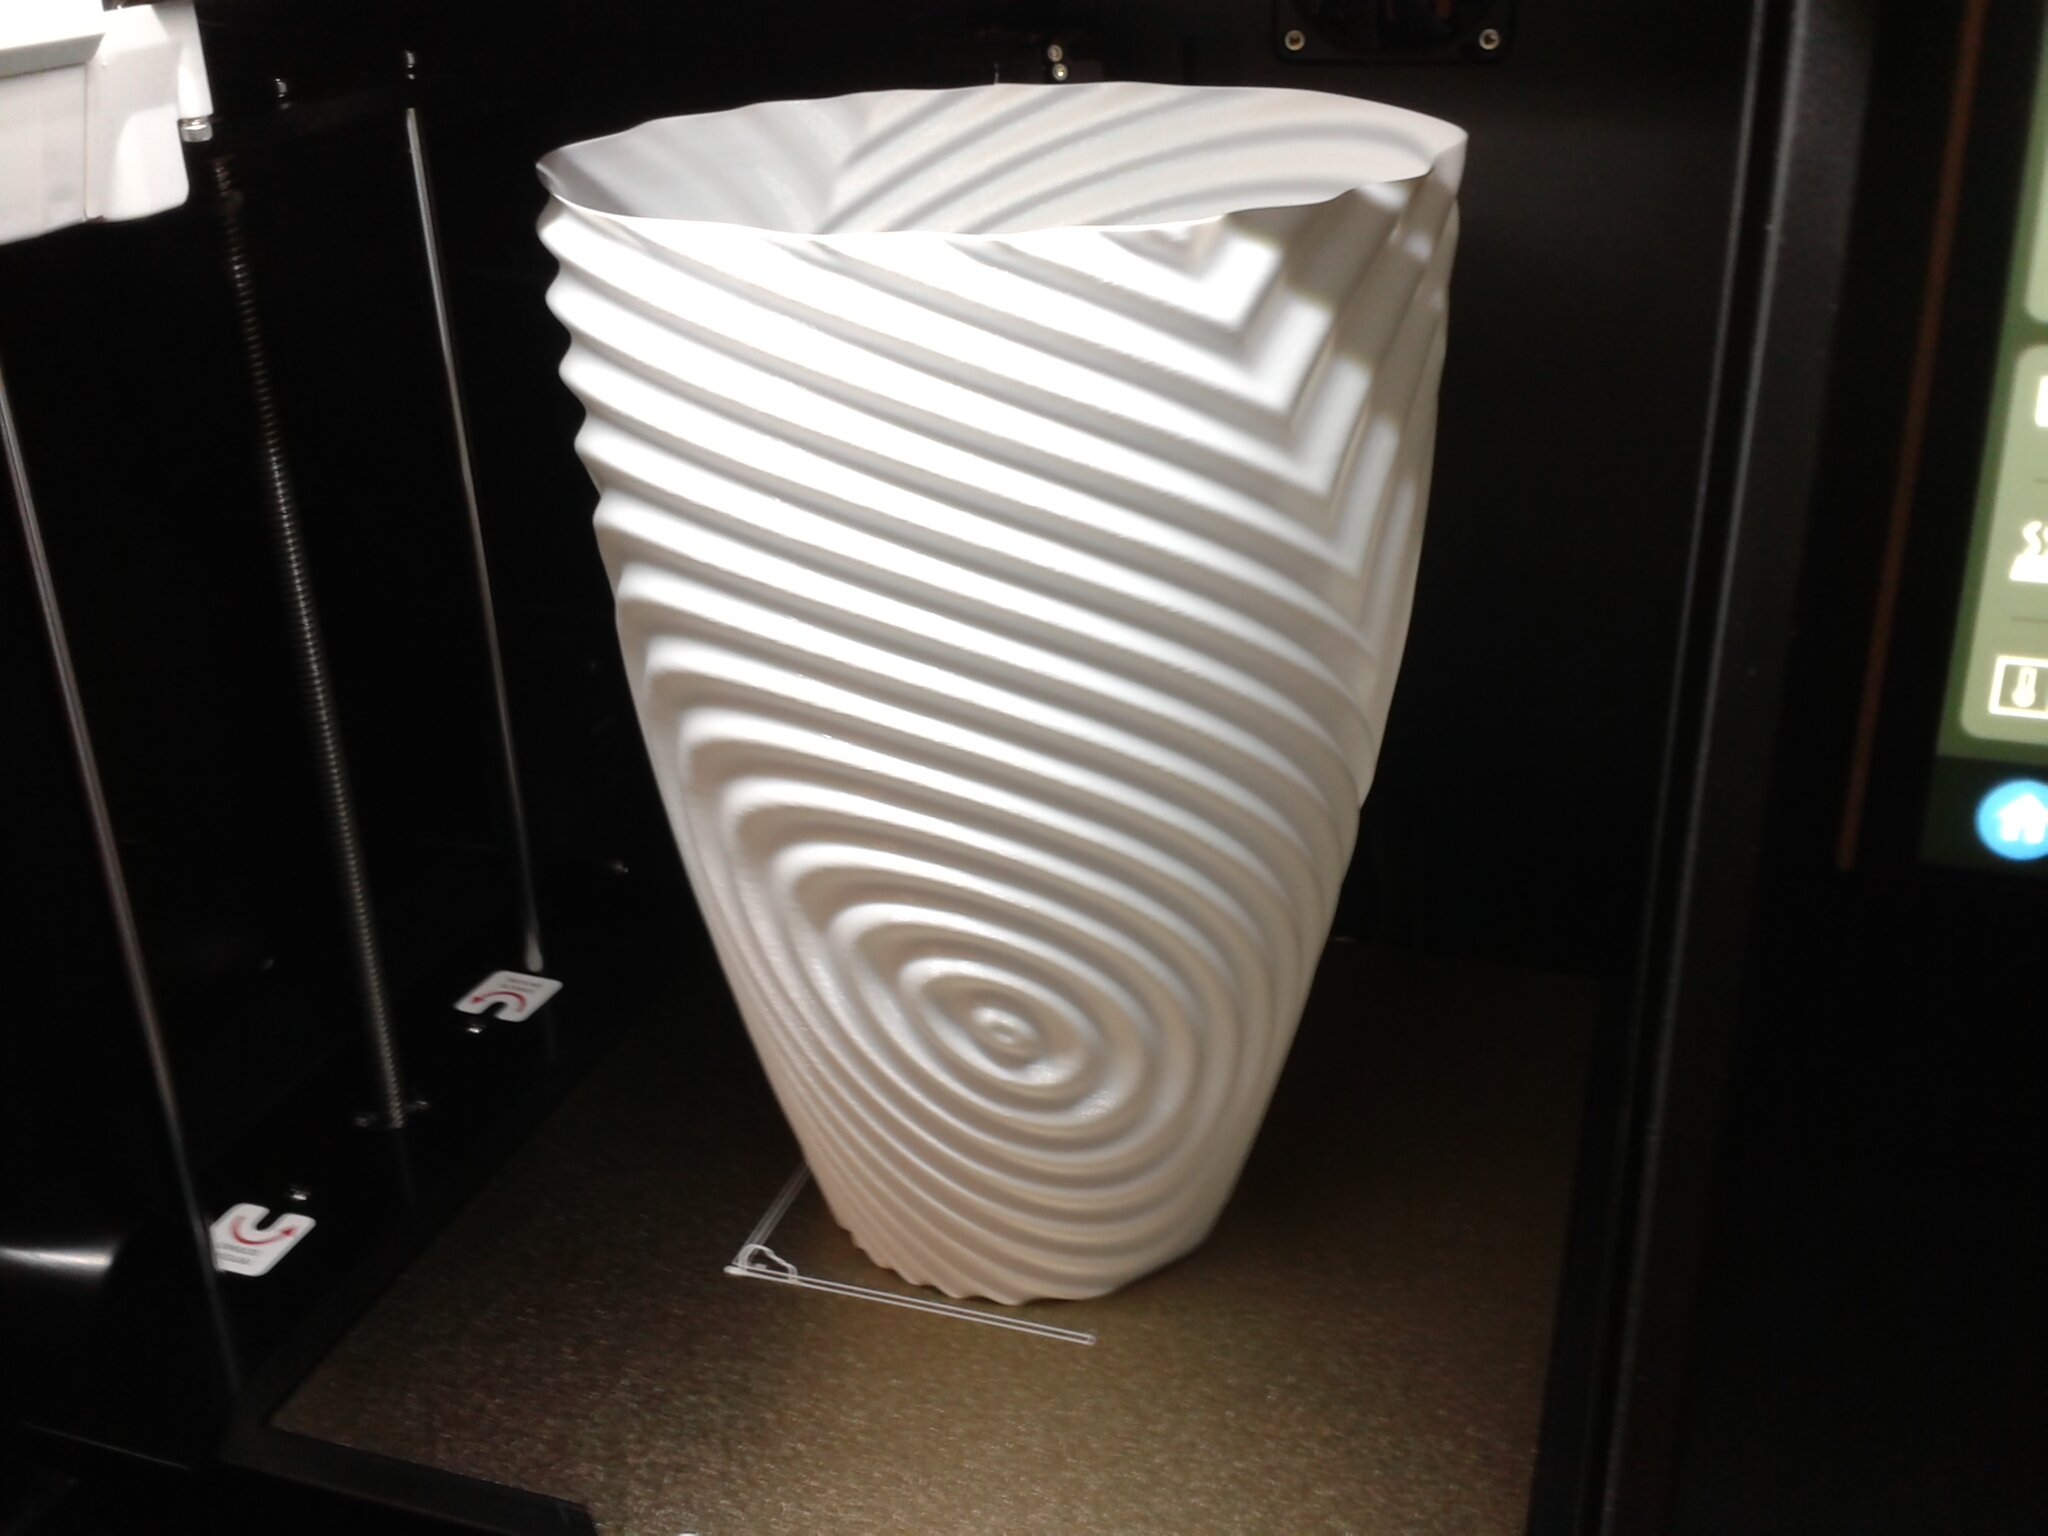
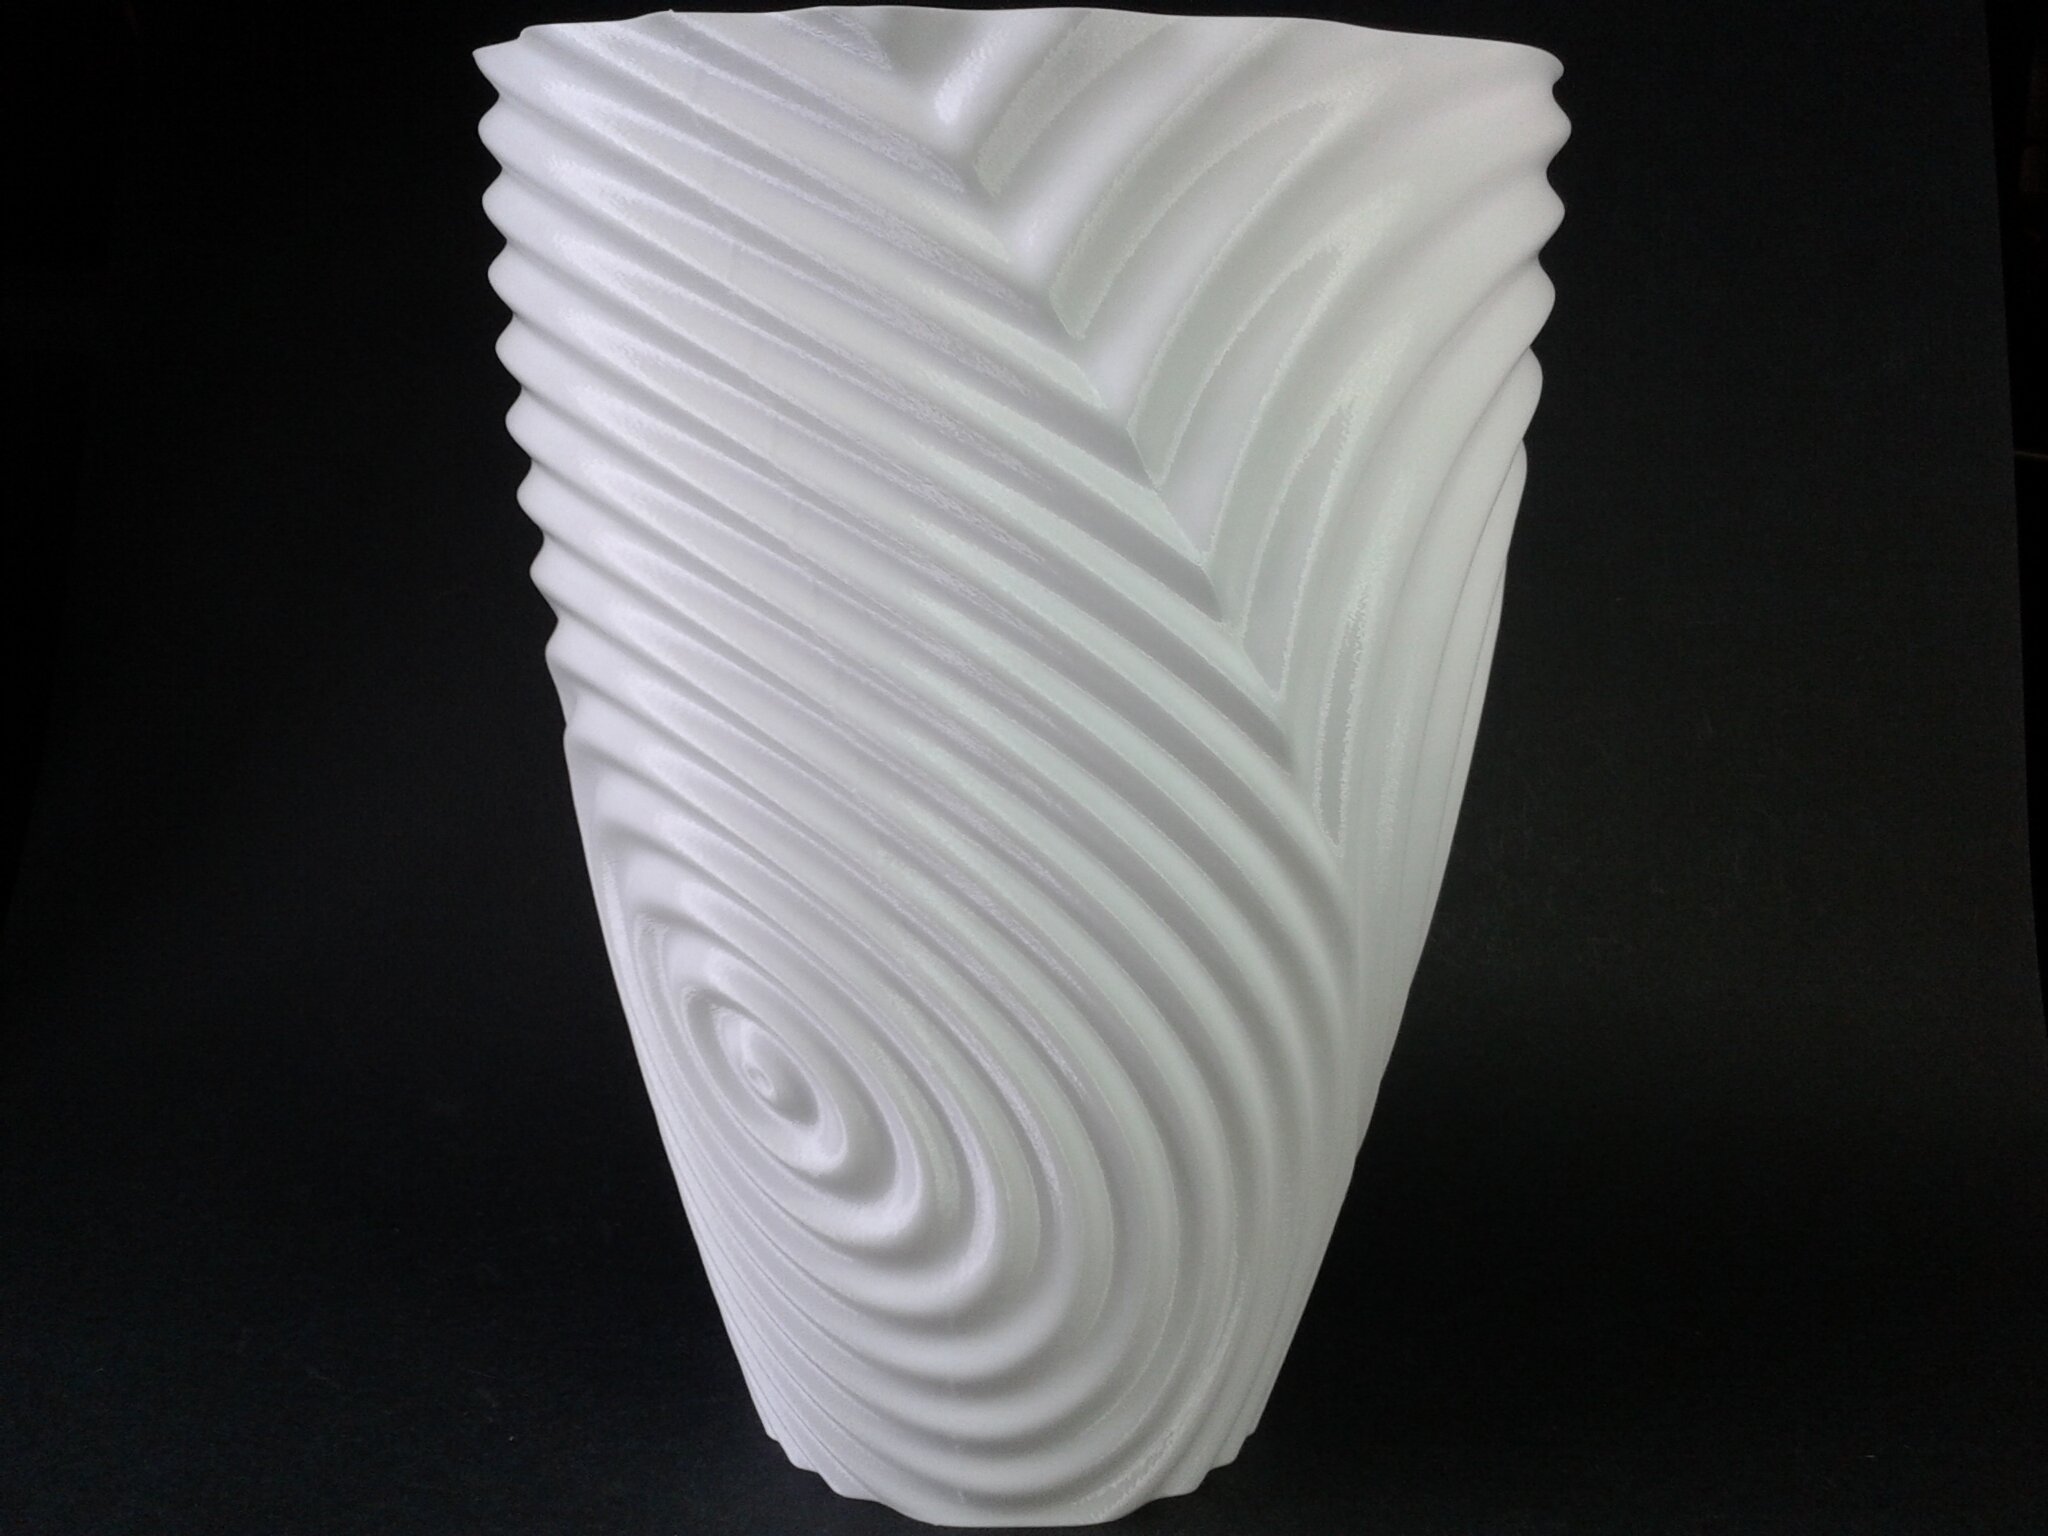
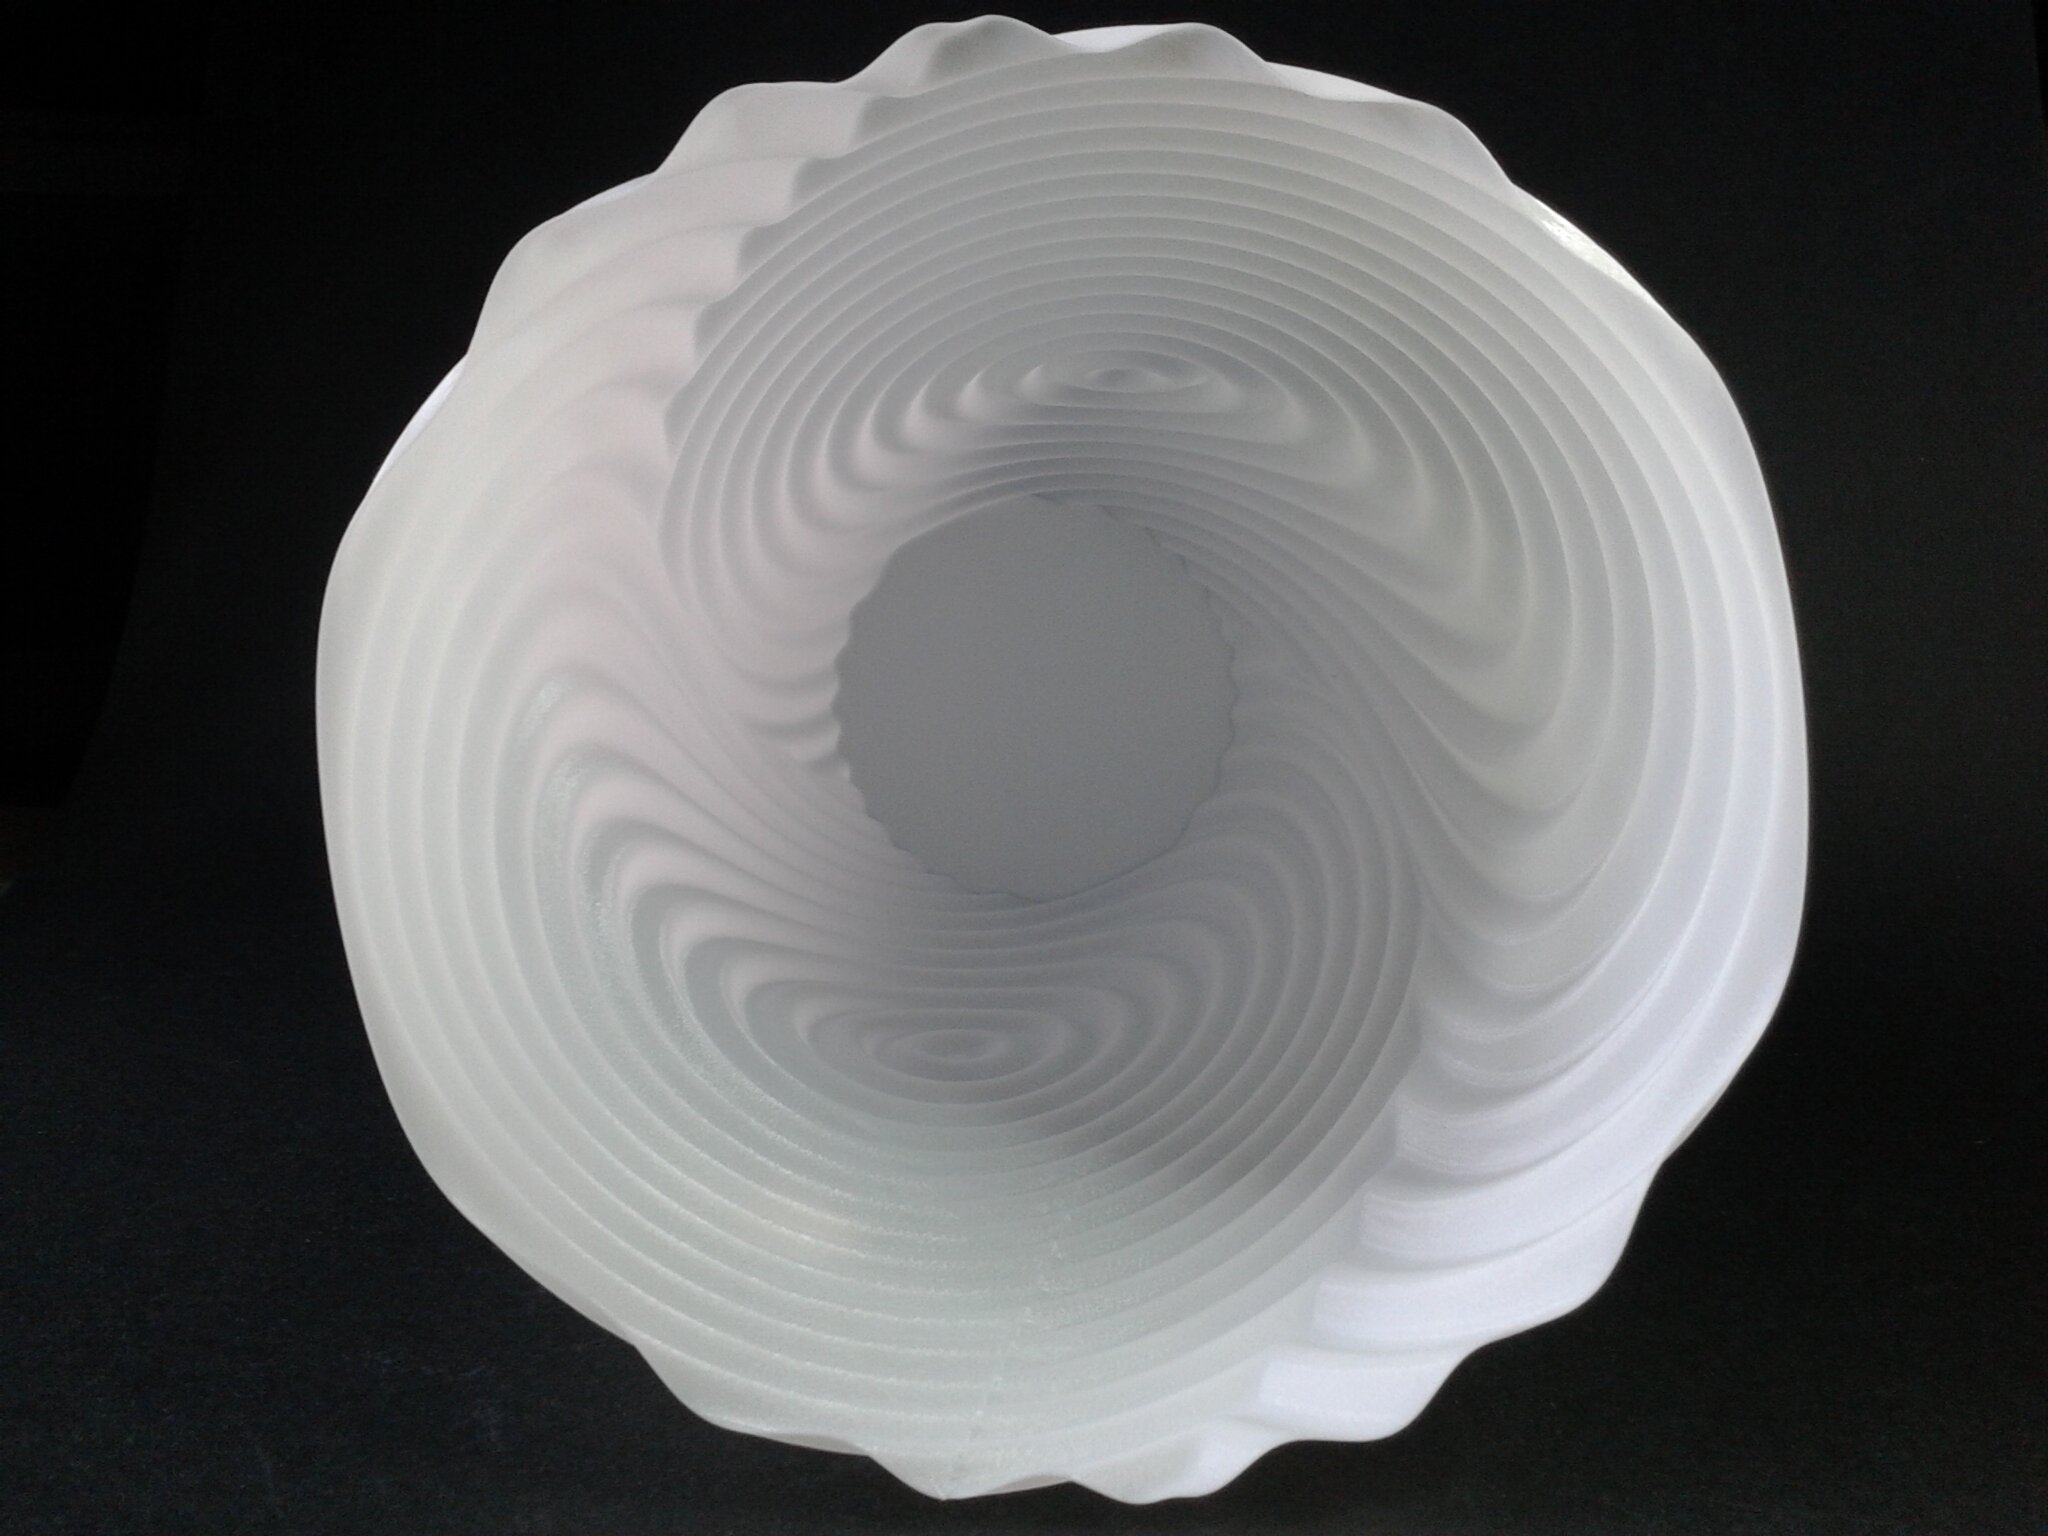
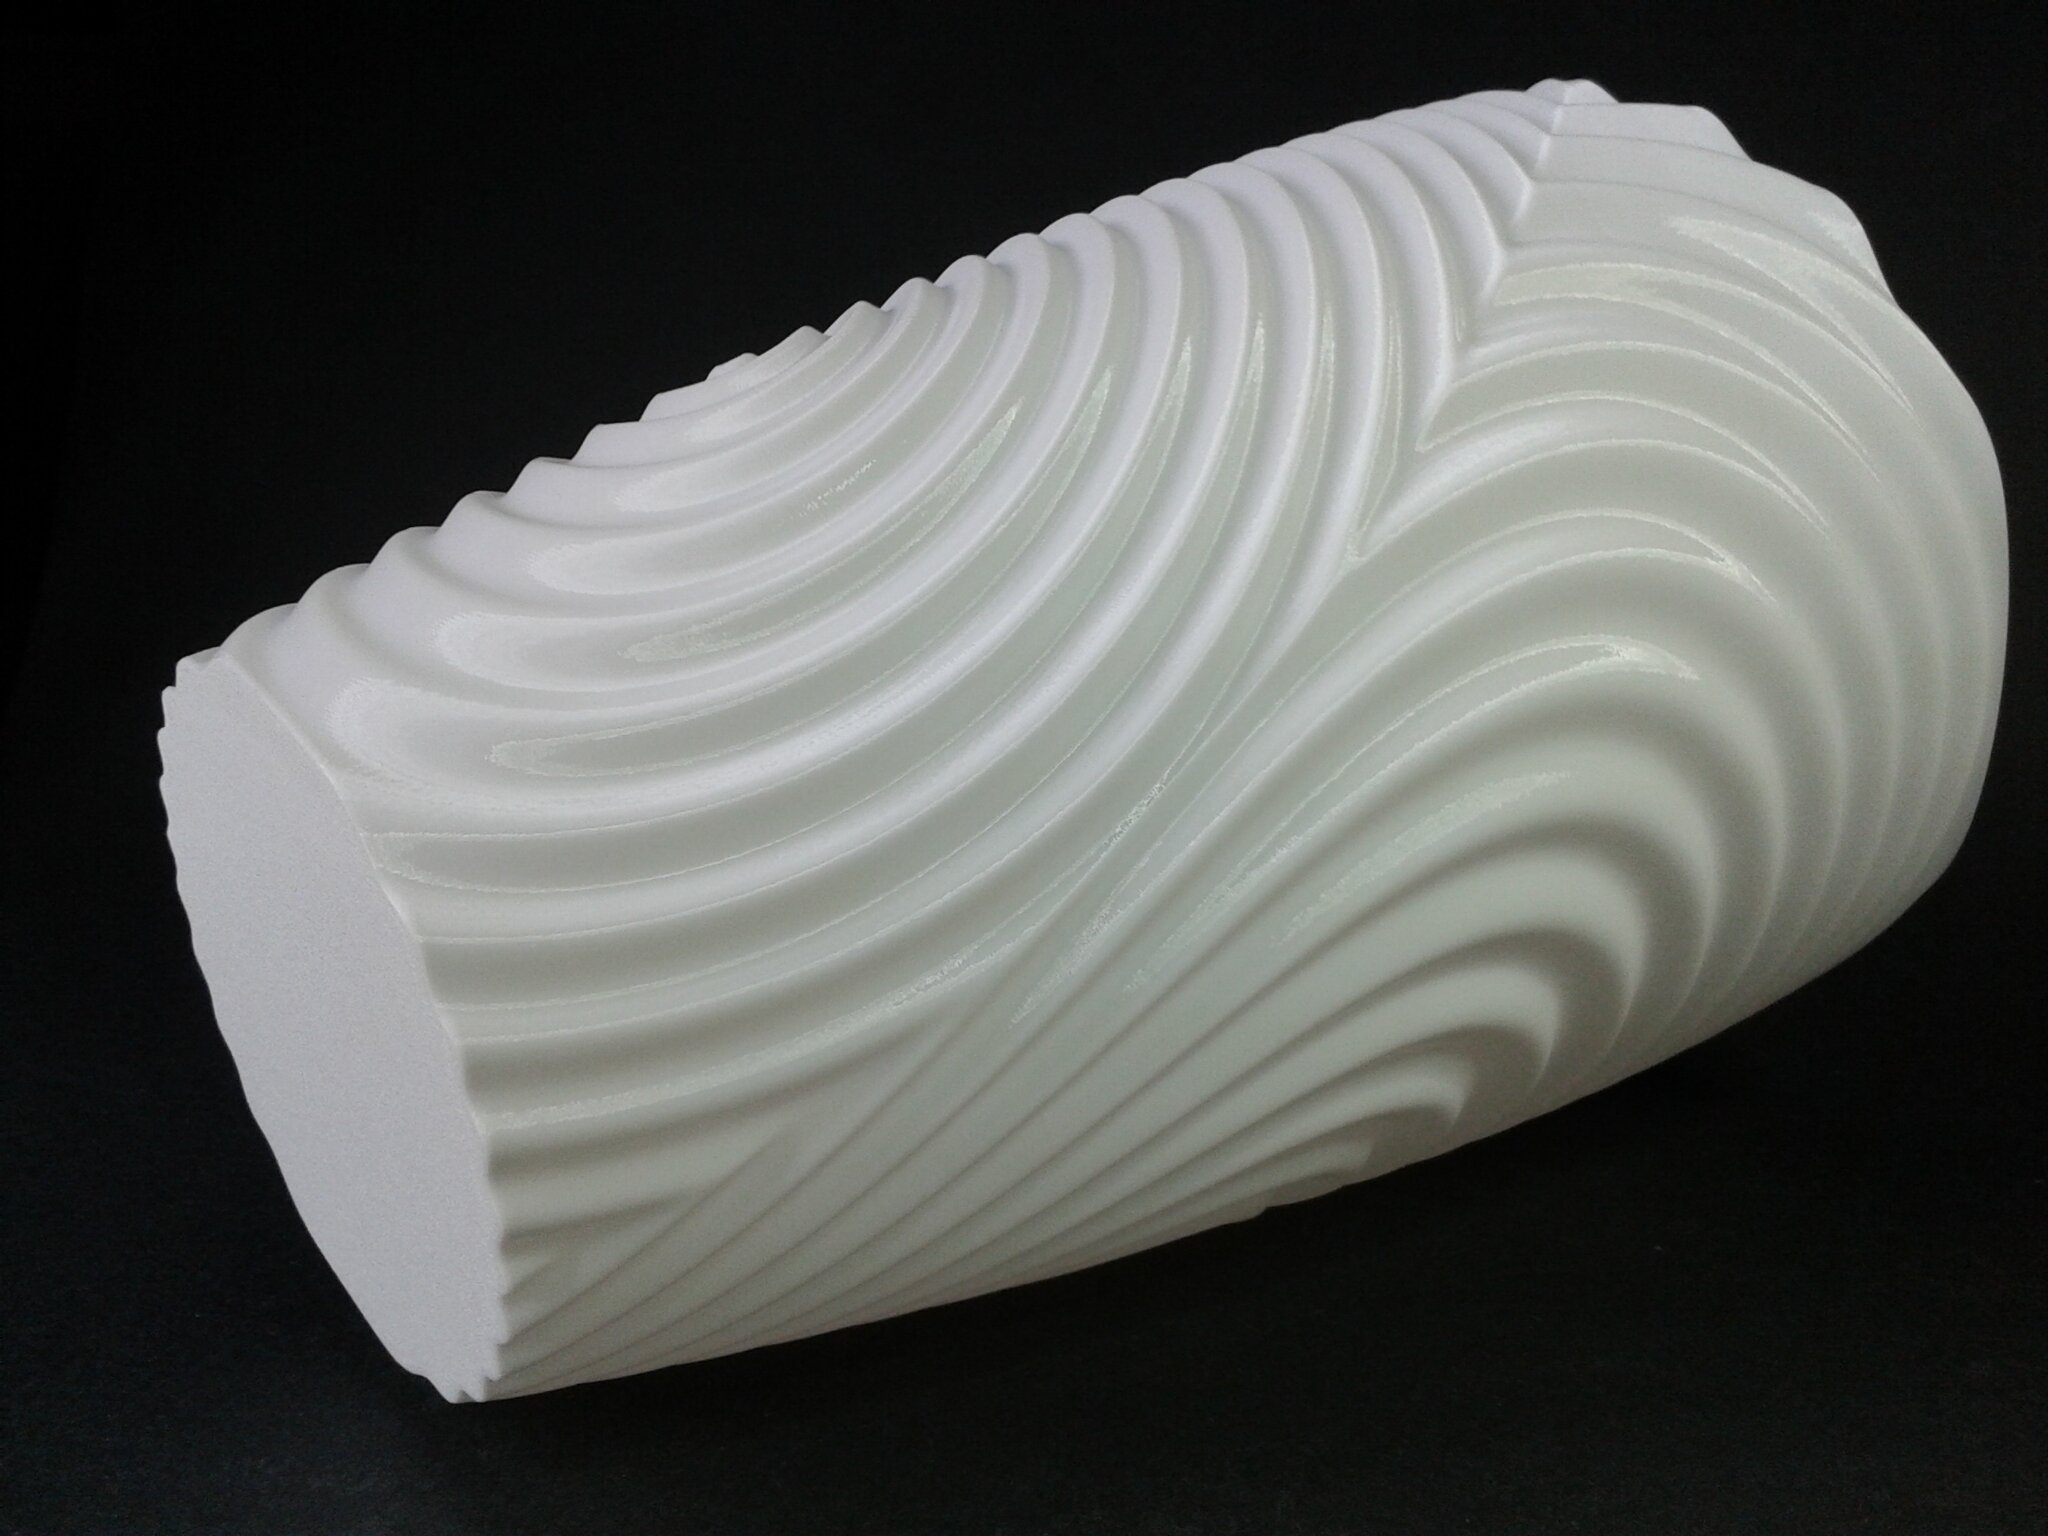
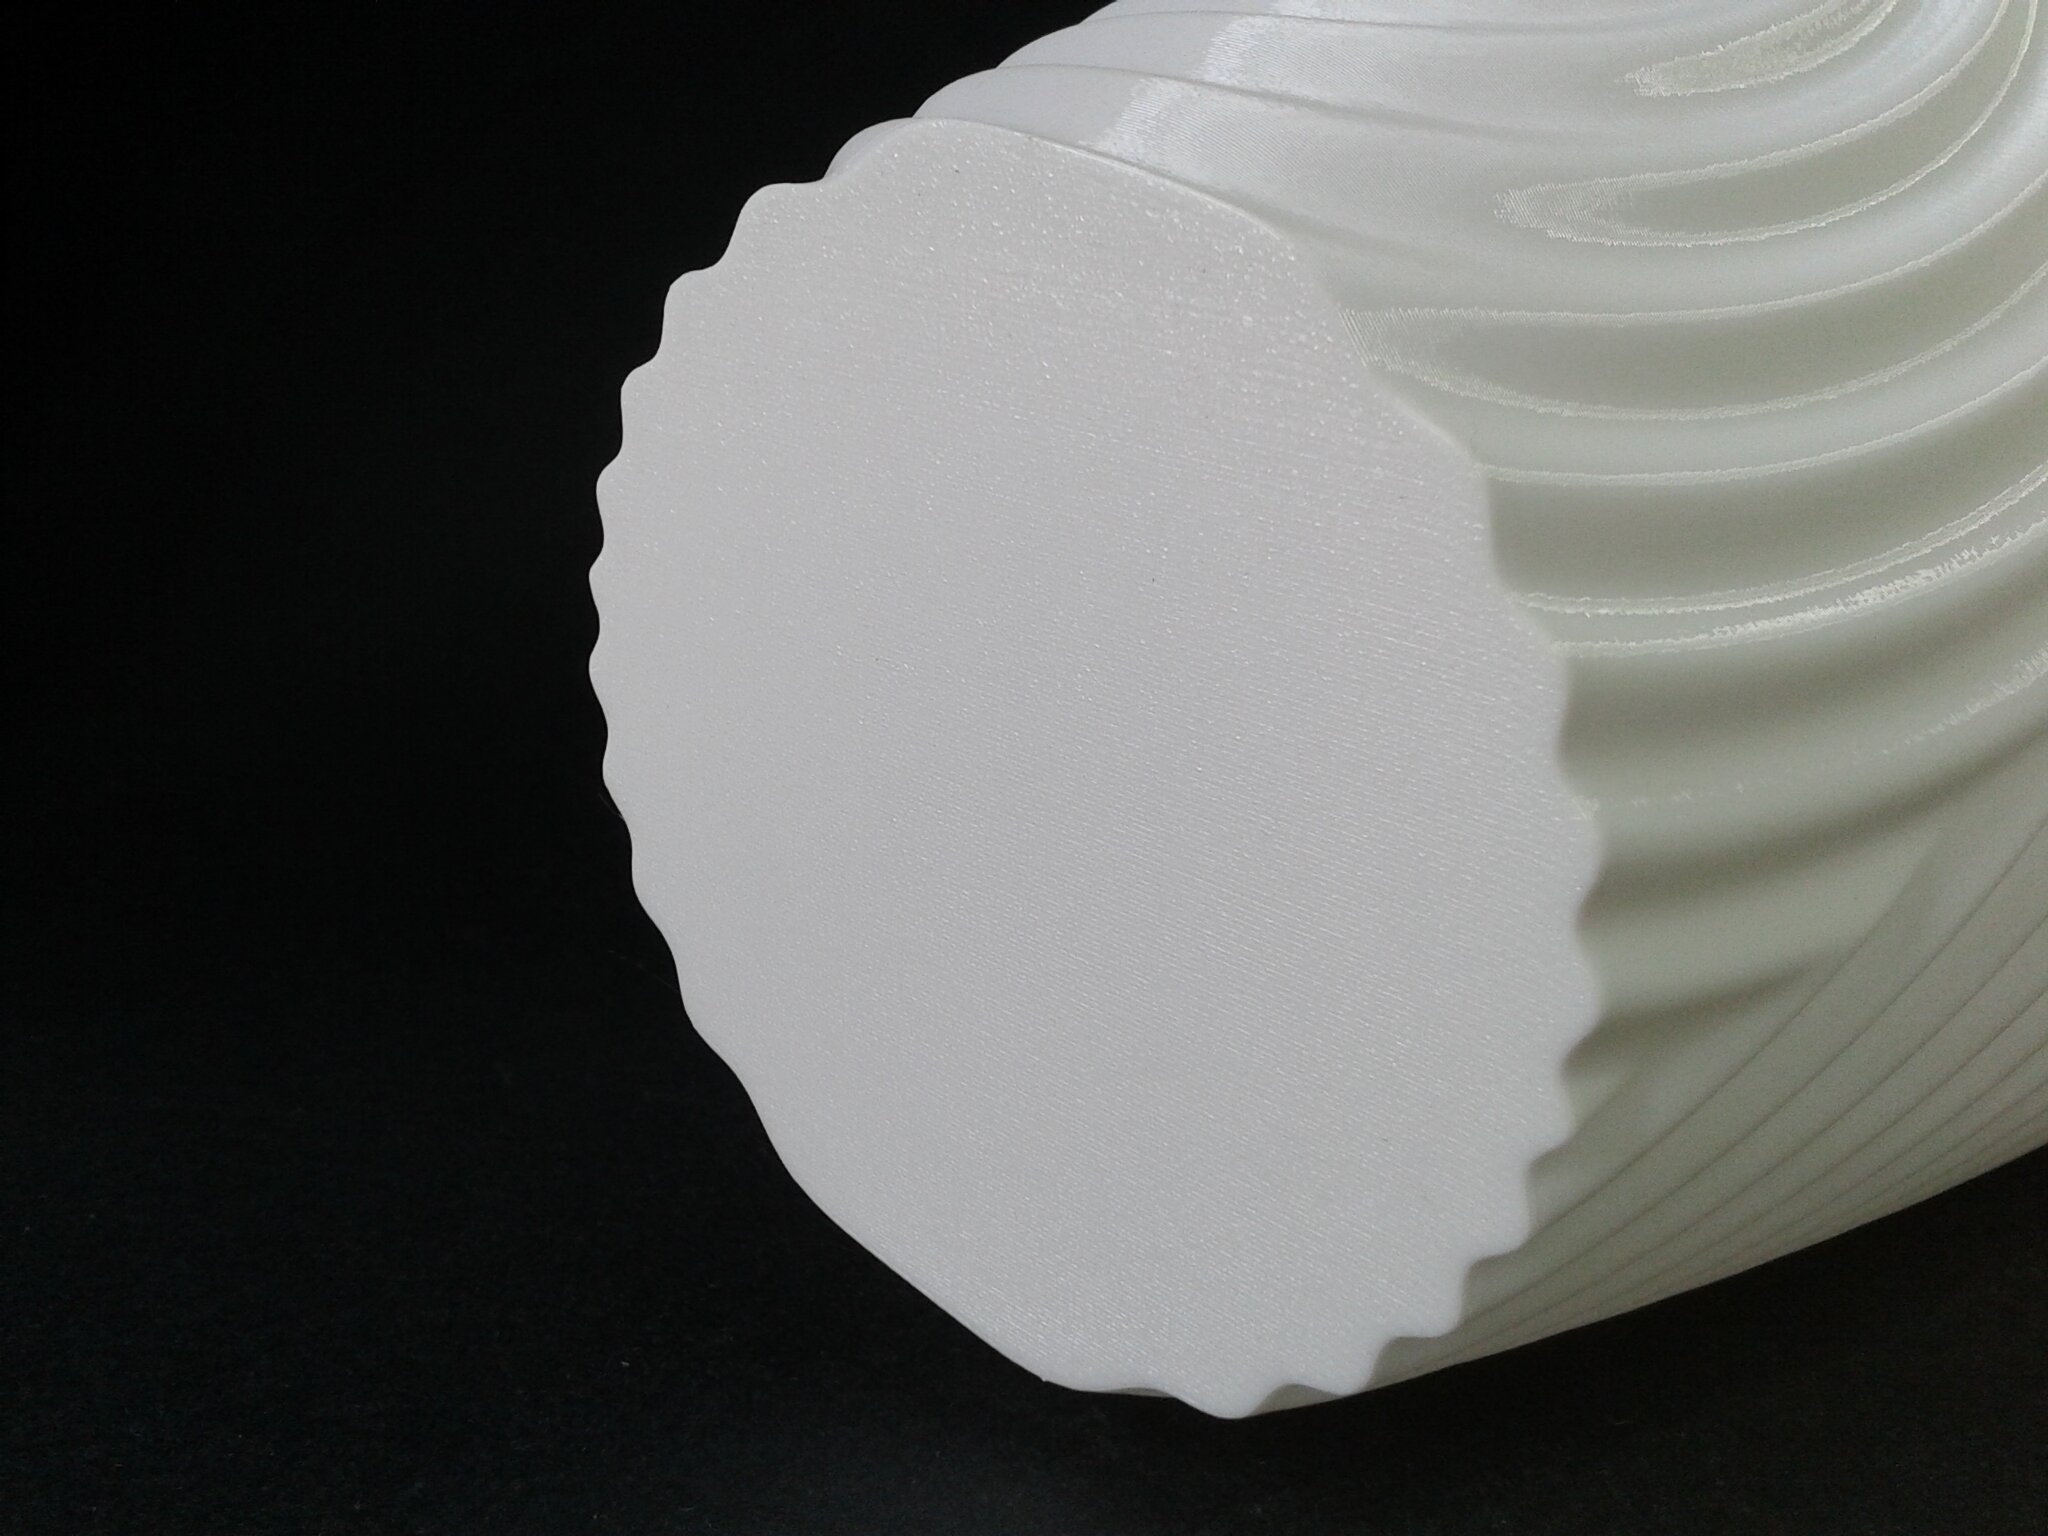
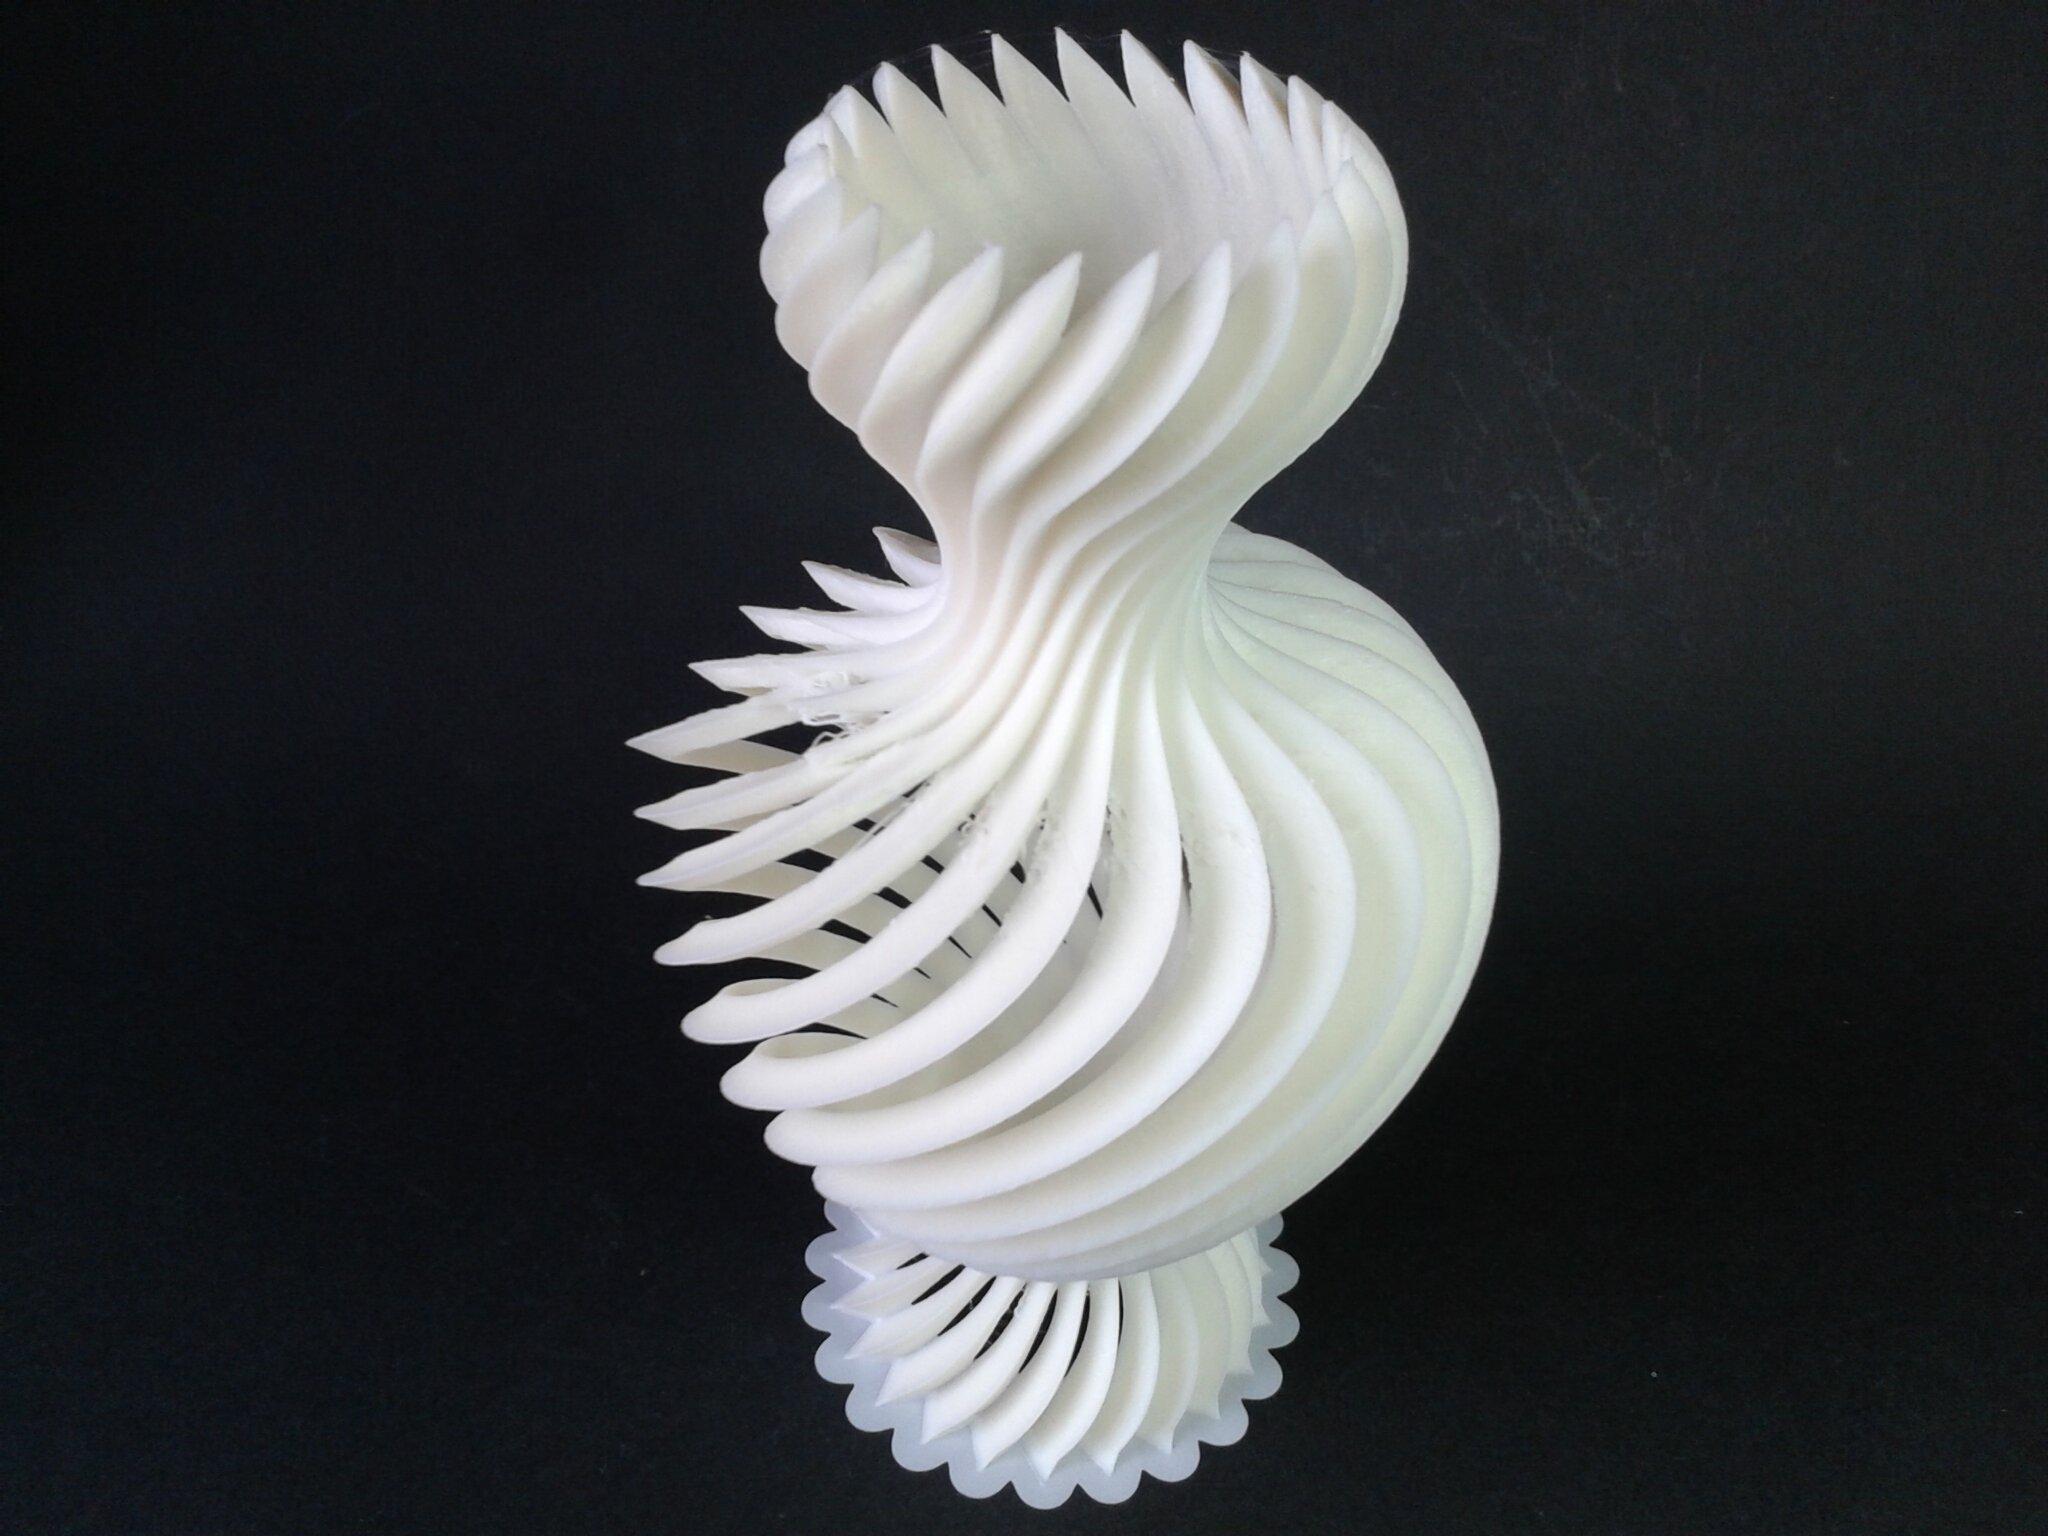
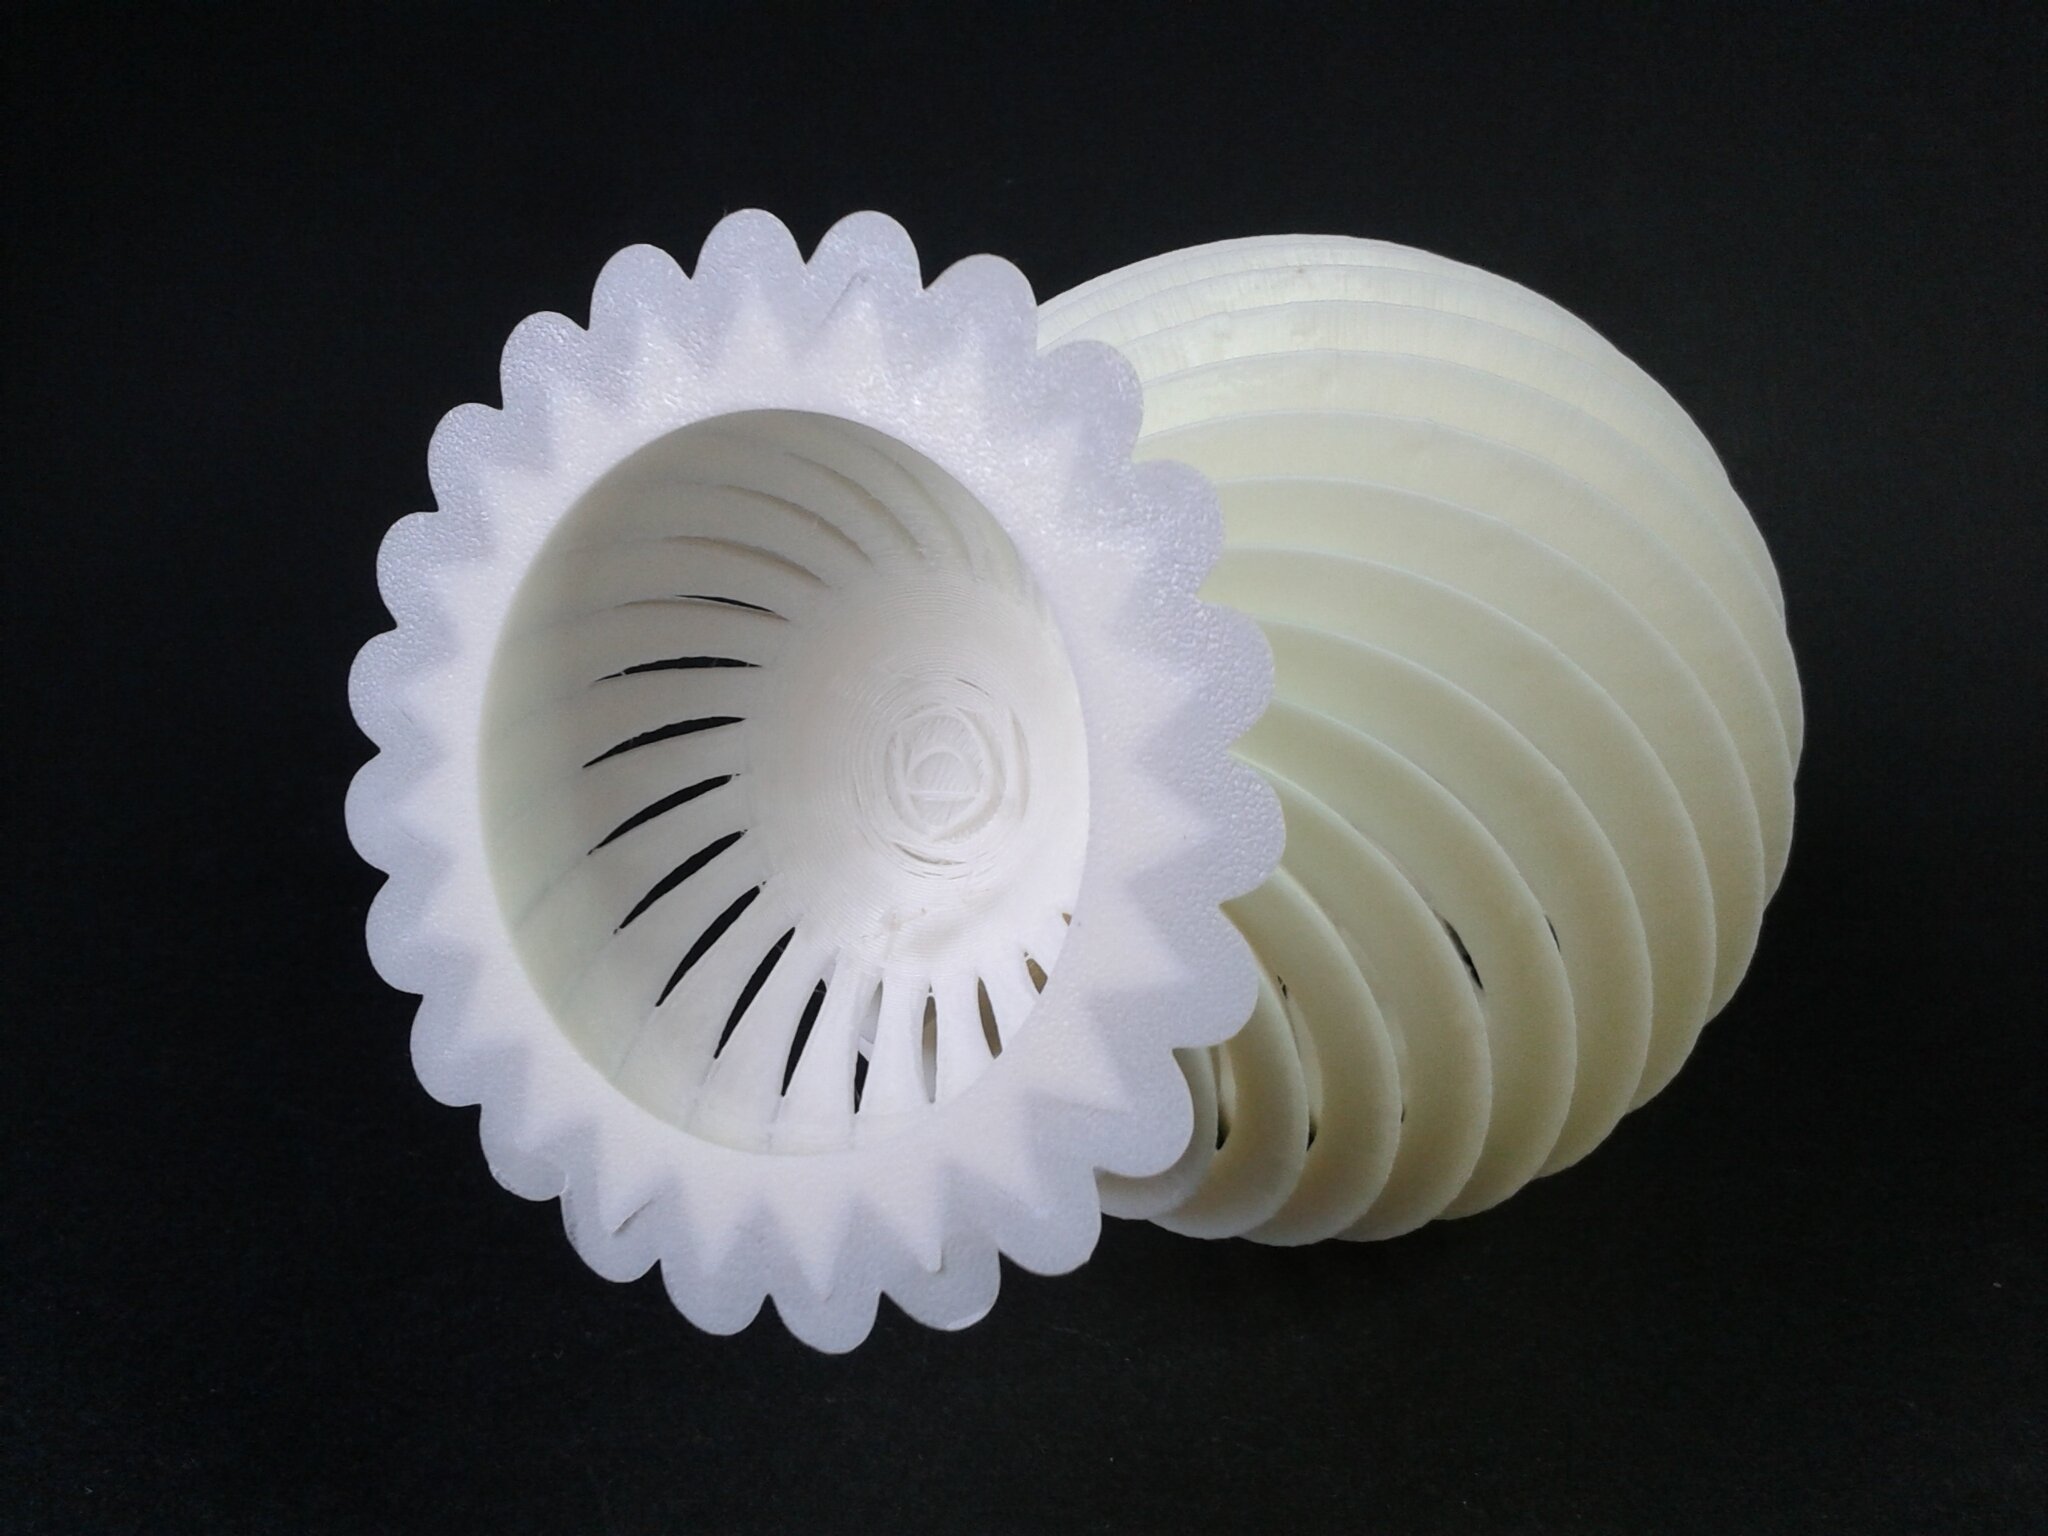
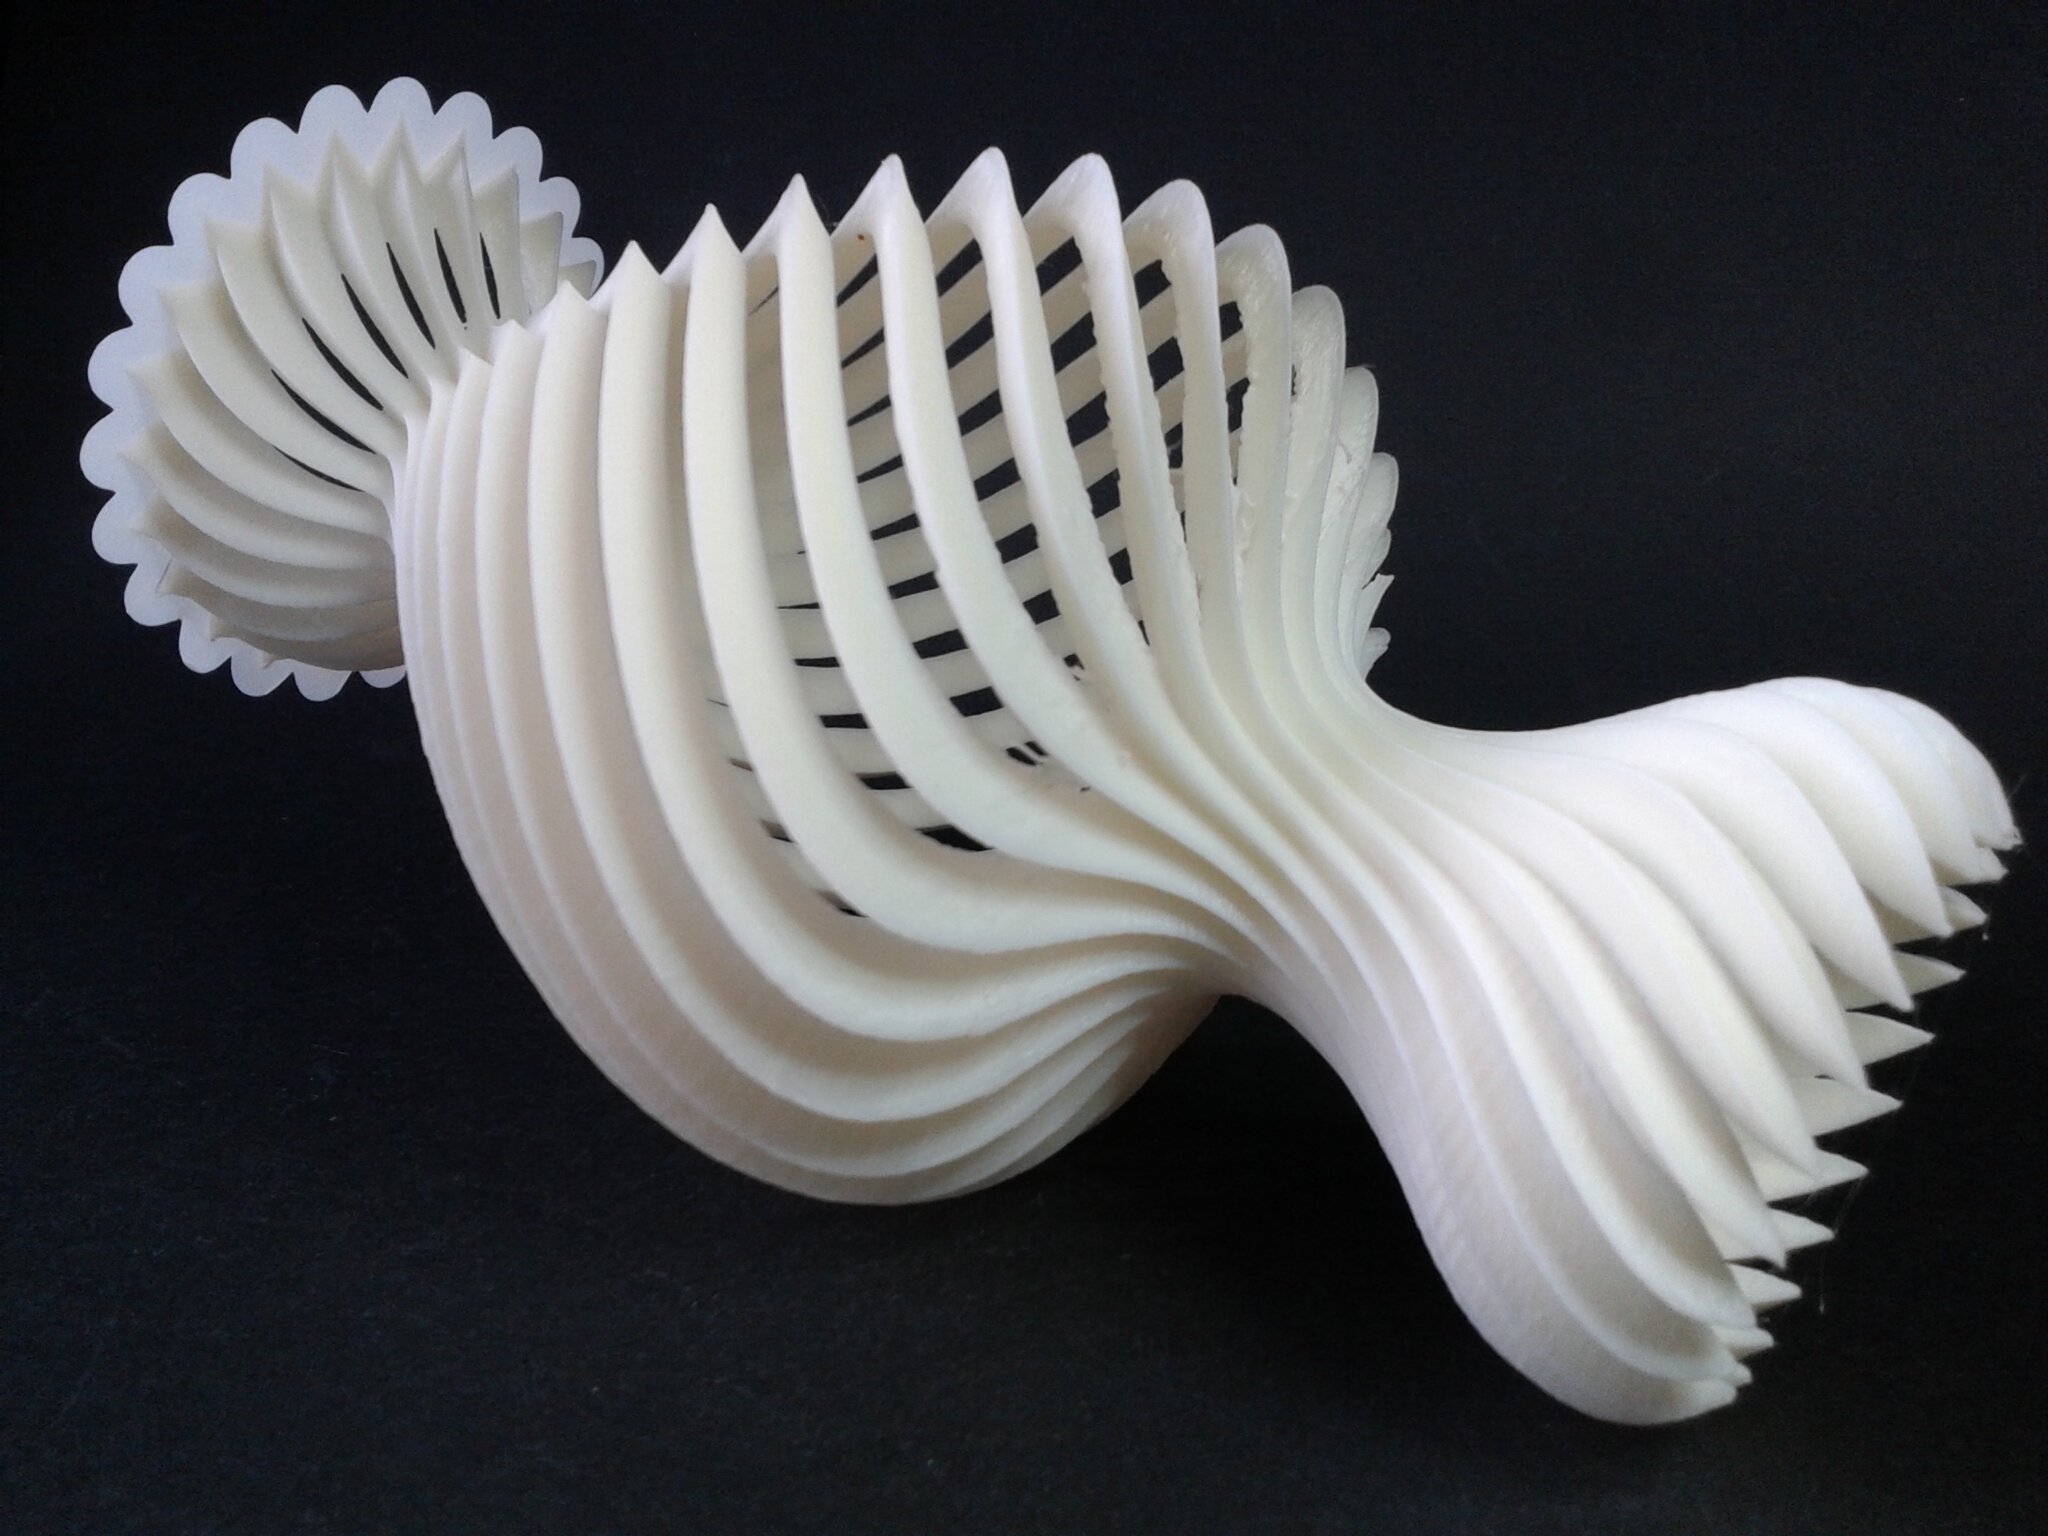
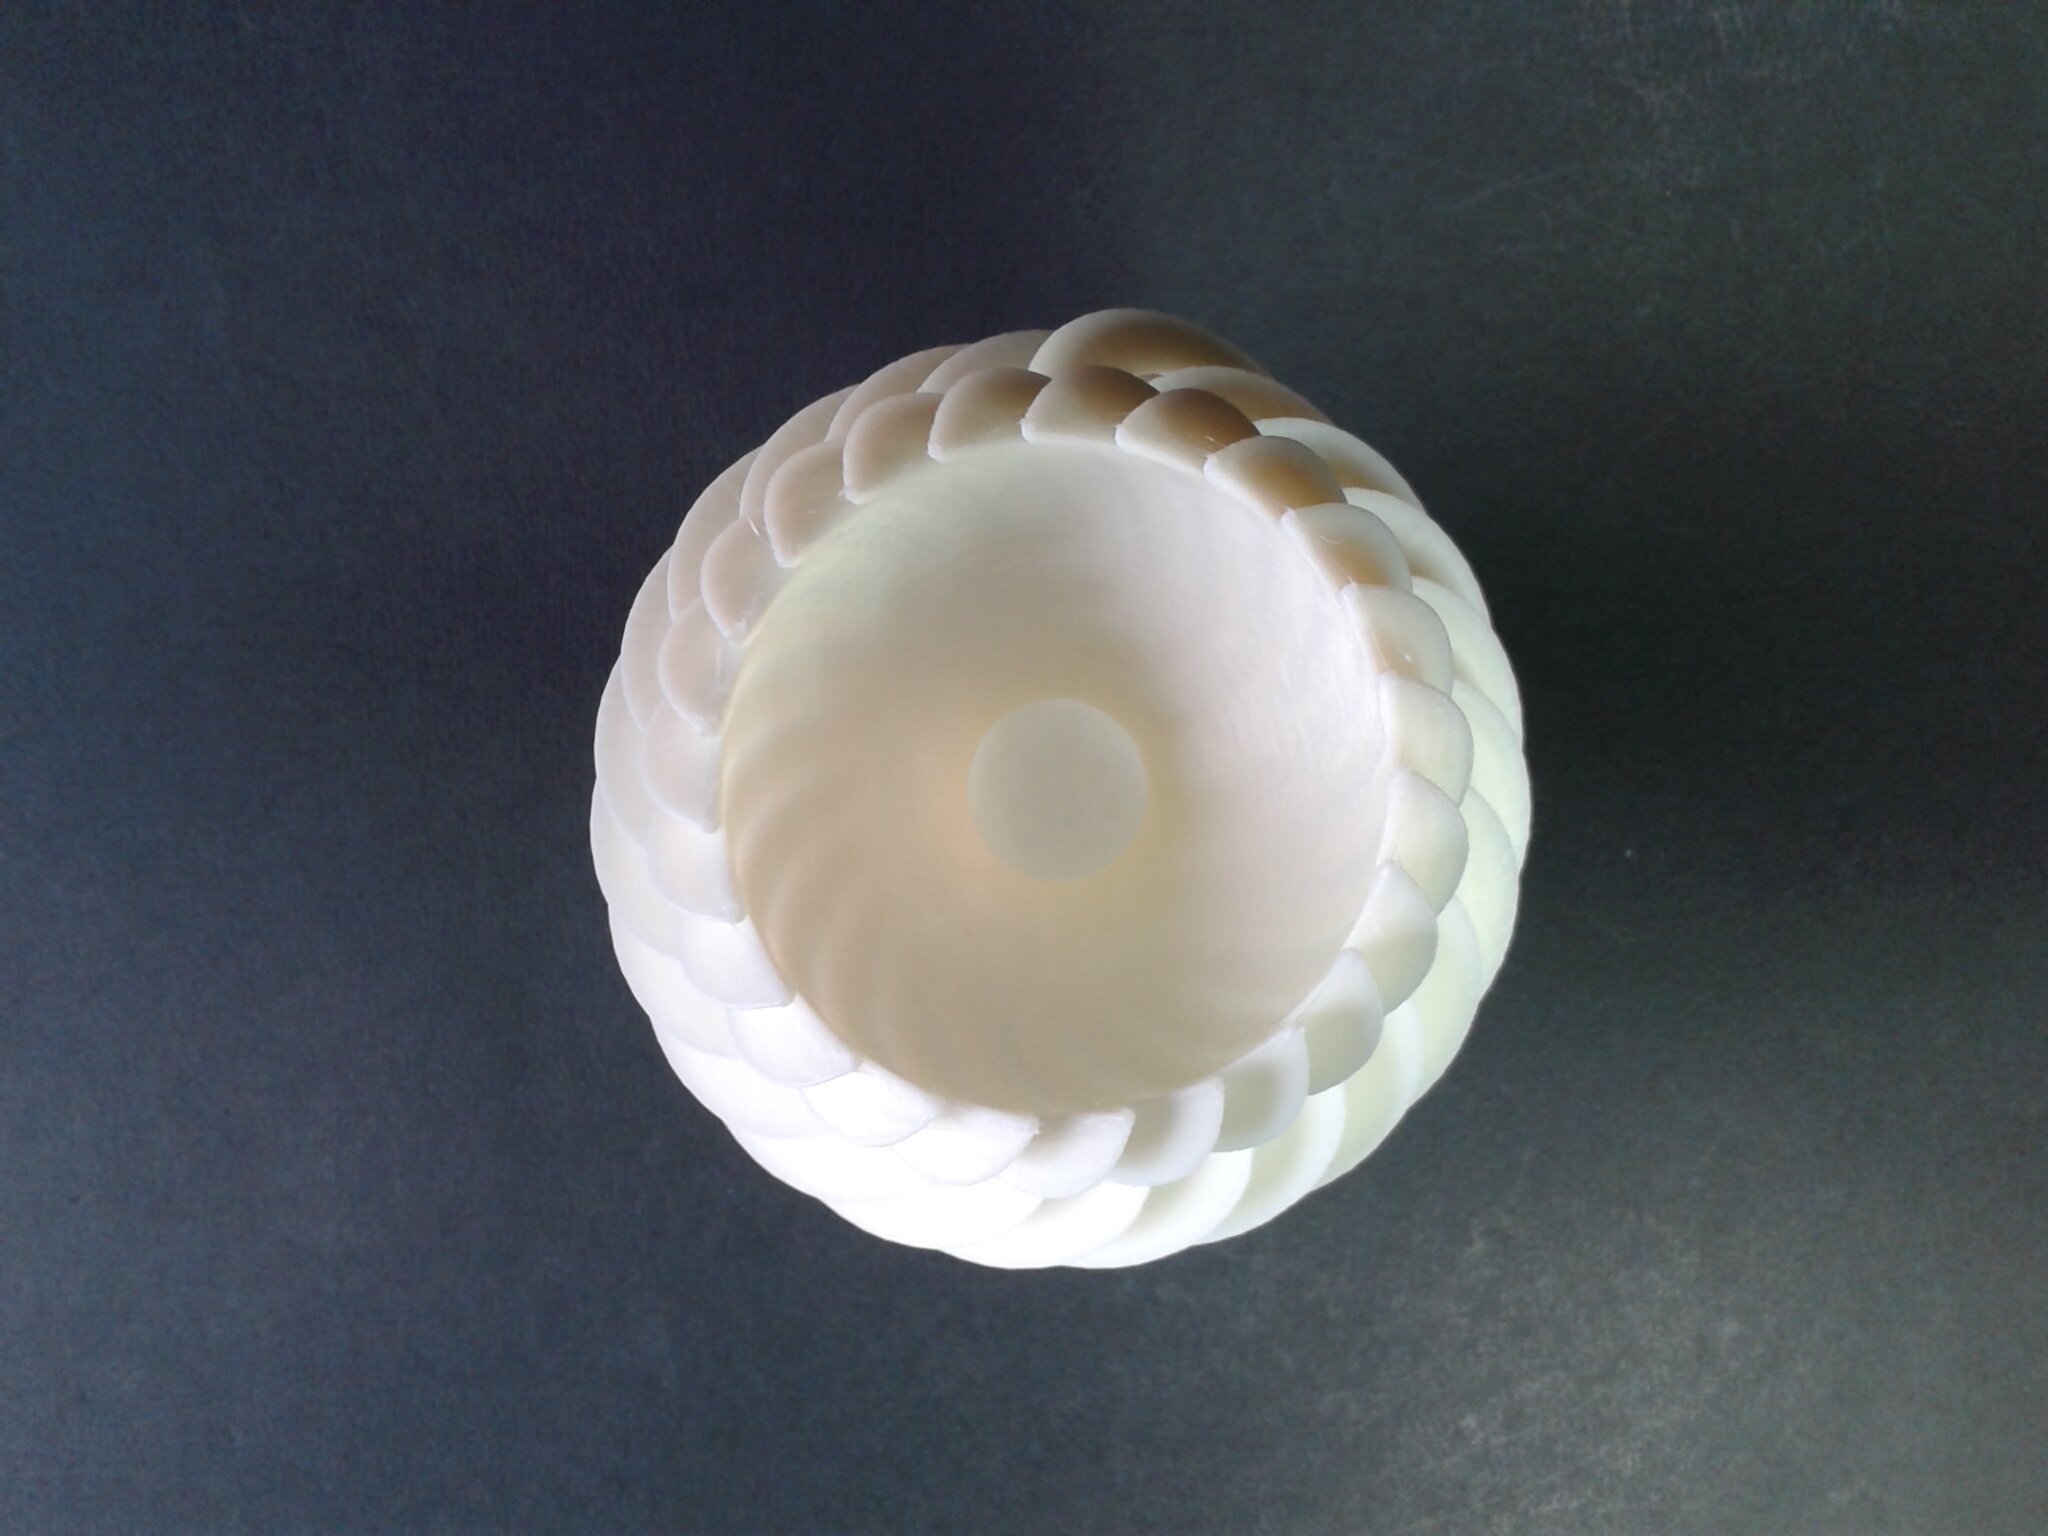
Vase gMax
“Vase torsadé gMax pour vase à ondulation torsadée 🏺” de “gCreate” (gratuit).
Fichier “ripple_twist_vase_dense_high_quality.stl”,
Echelle ~188.99% pour avoir un vase de 240 mm de hauteur.
QidiSlicer v1.1.0, “0.2 mm Fine” (modifié, Vase spirale, 5 couches solides du dessous)
Environ 2 h 25 min d’impression.
Filament CR-PETG White Creality

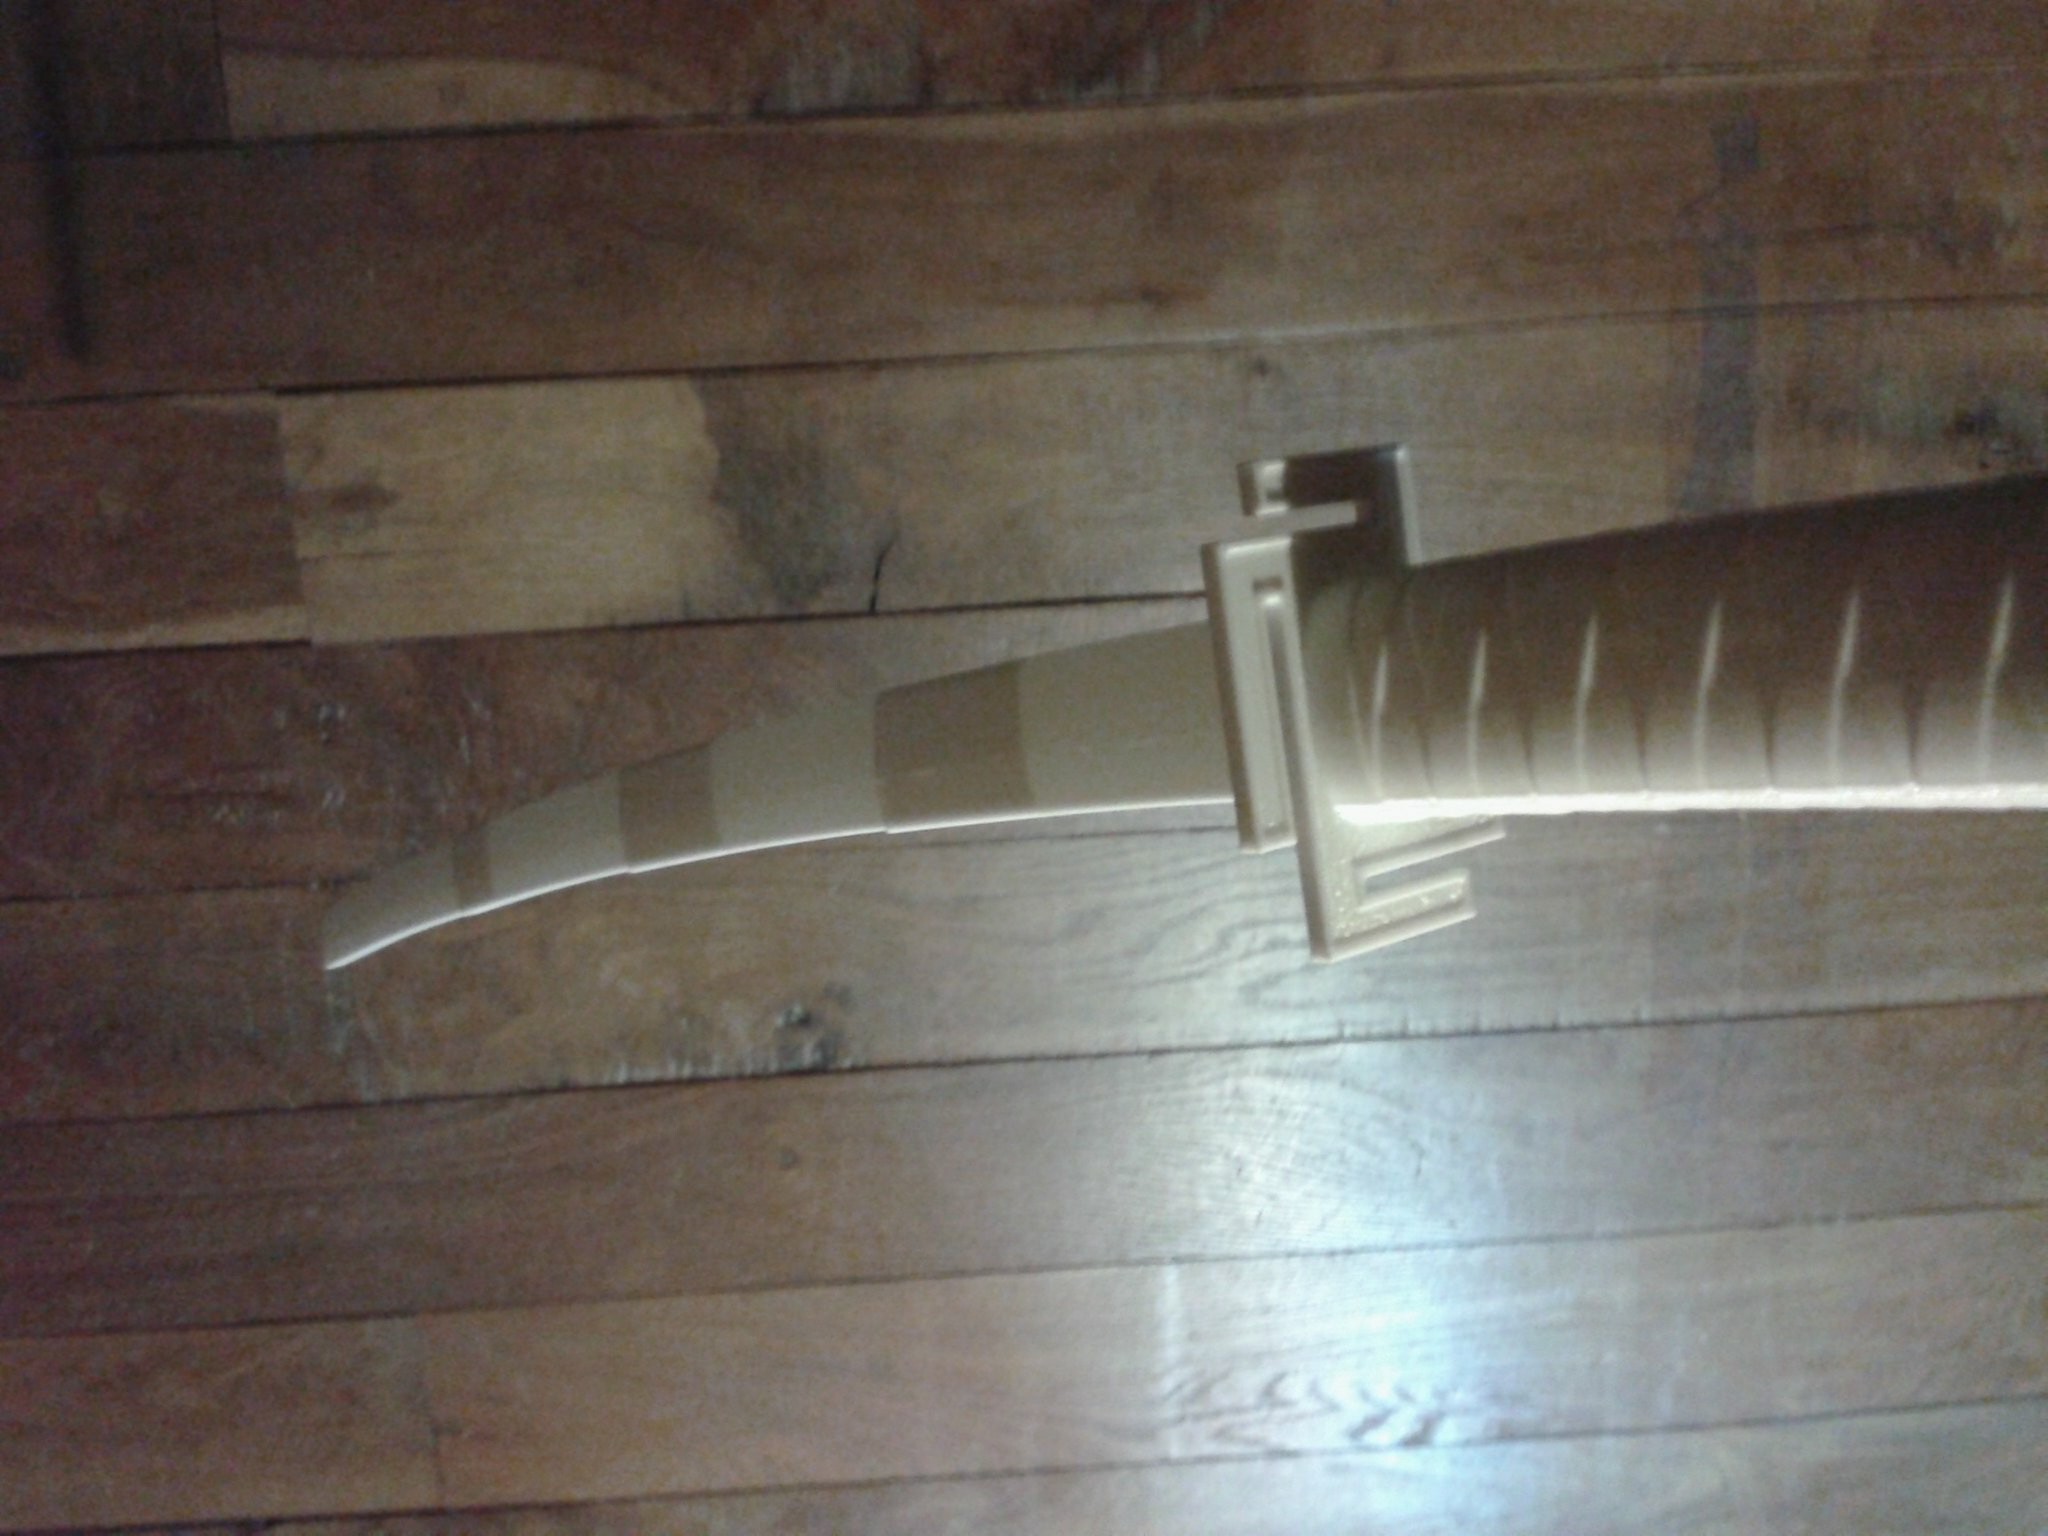
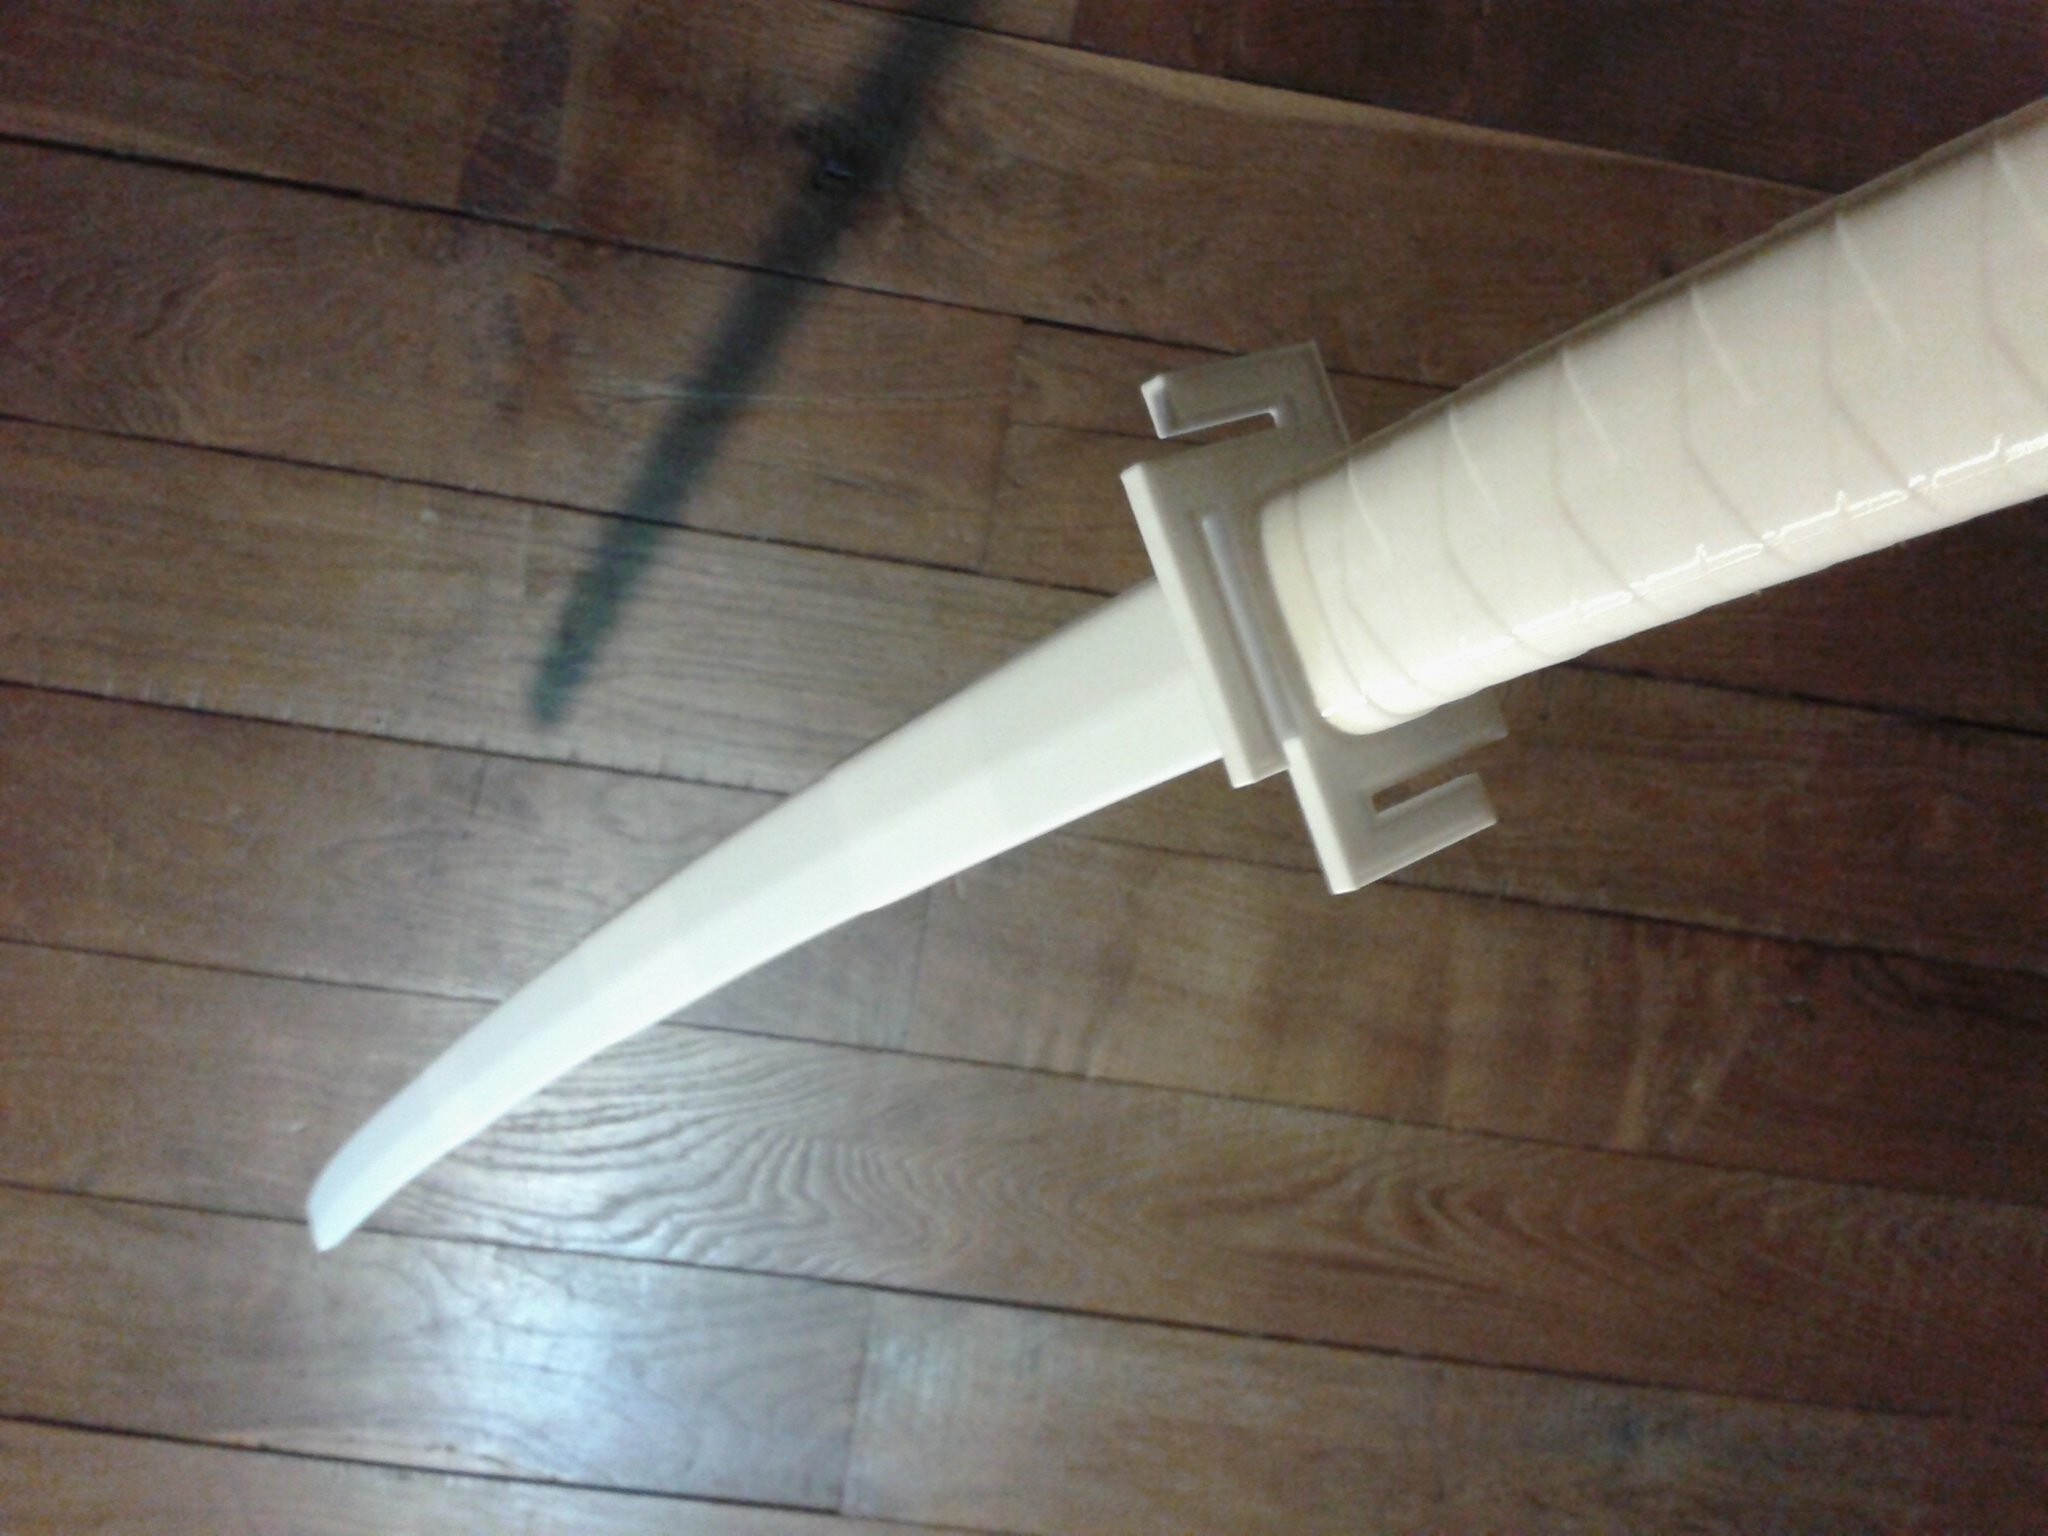
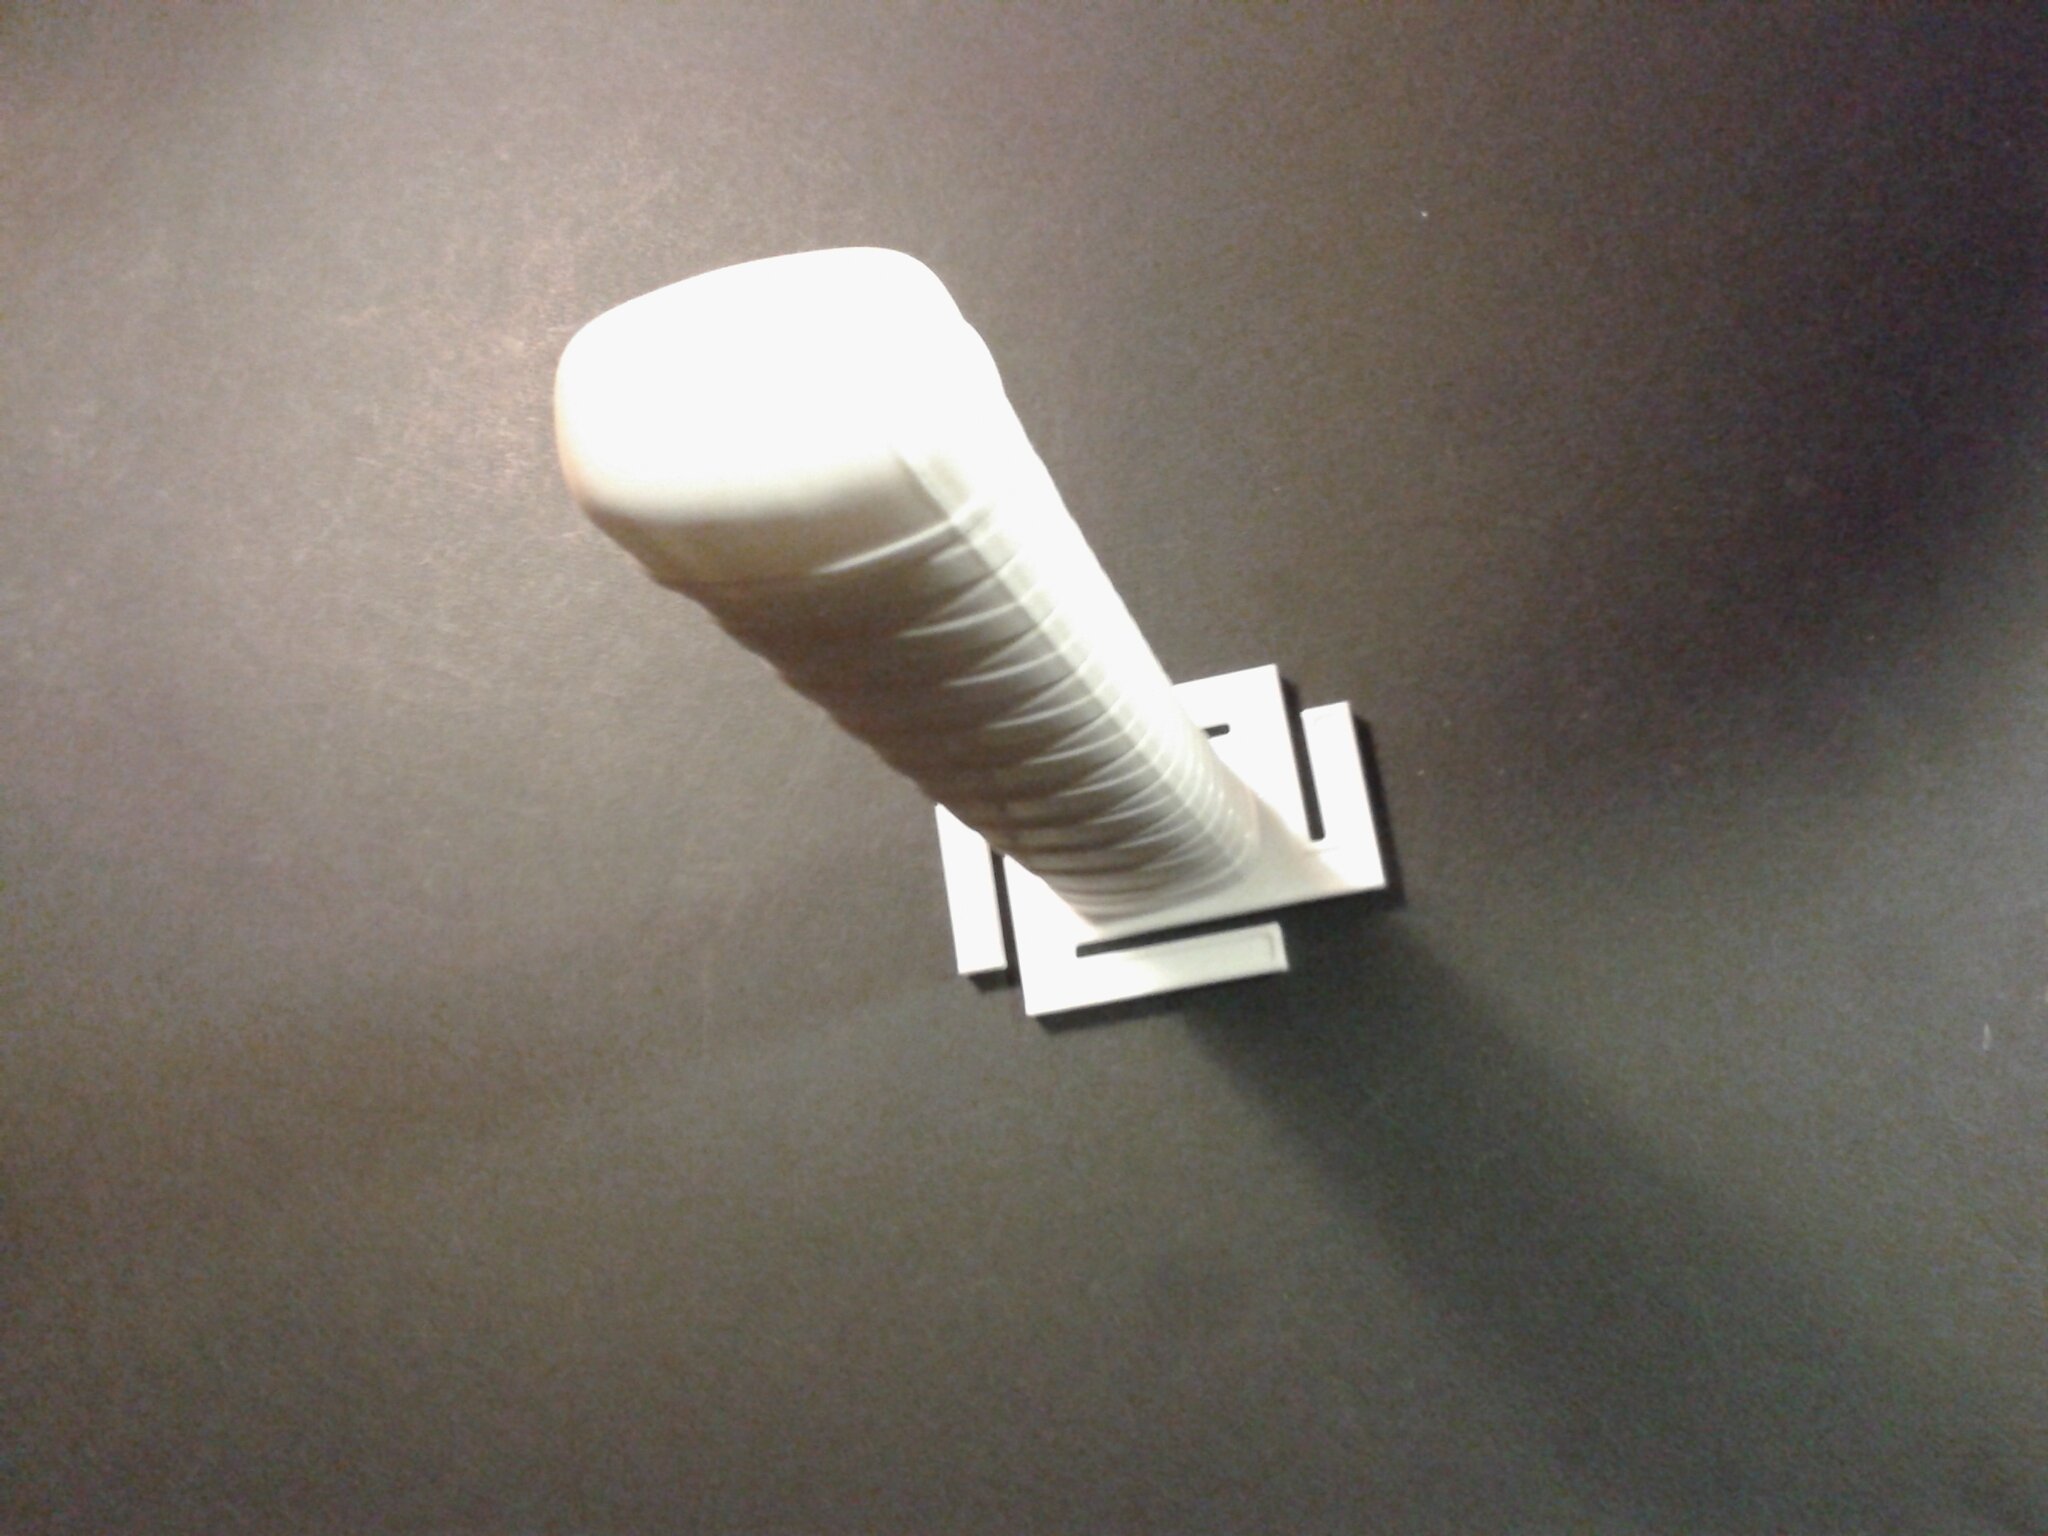
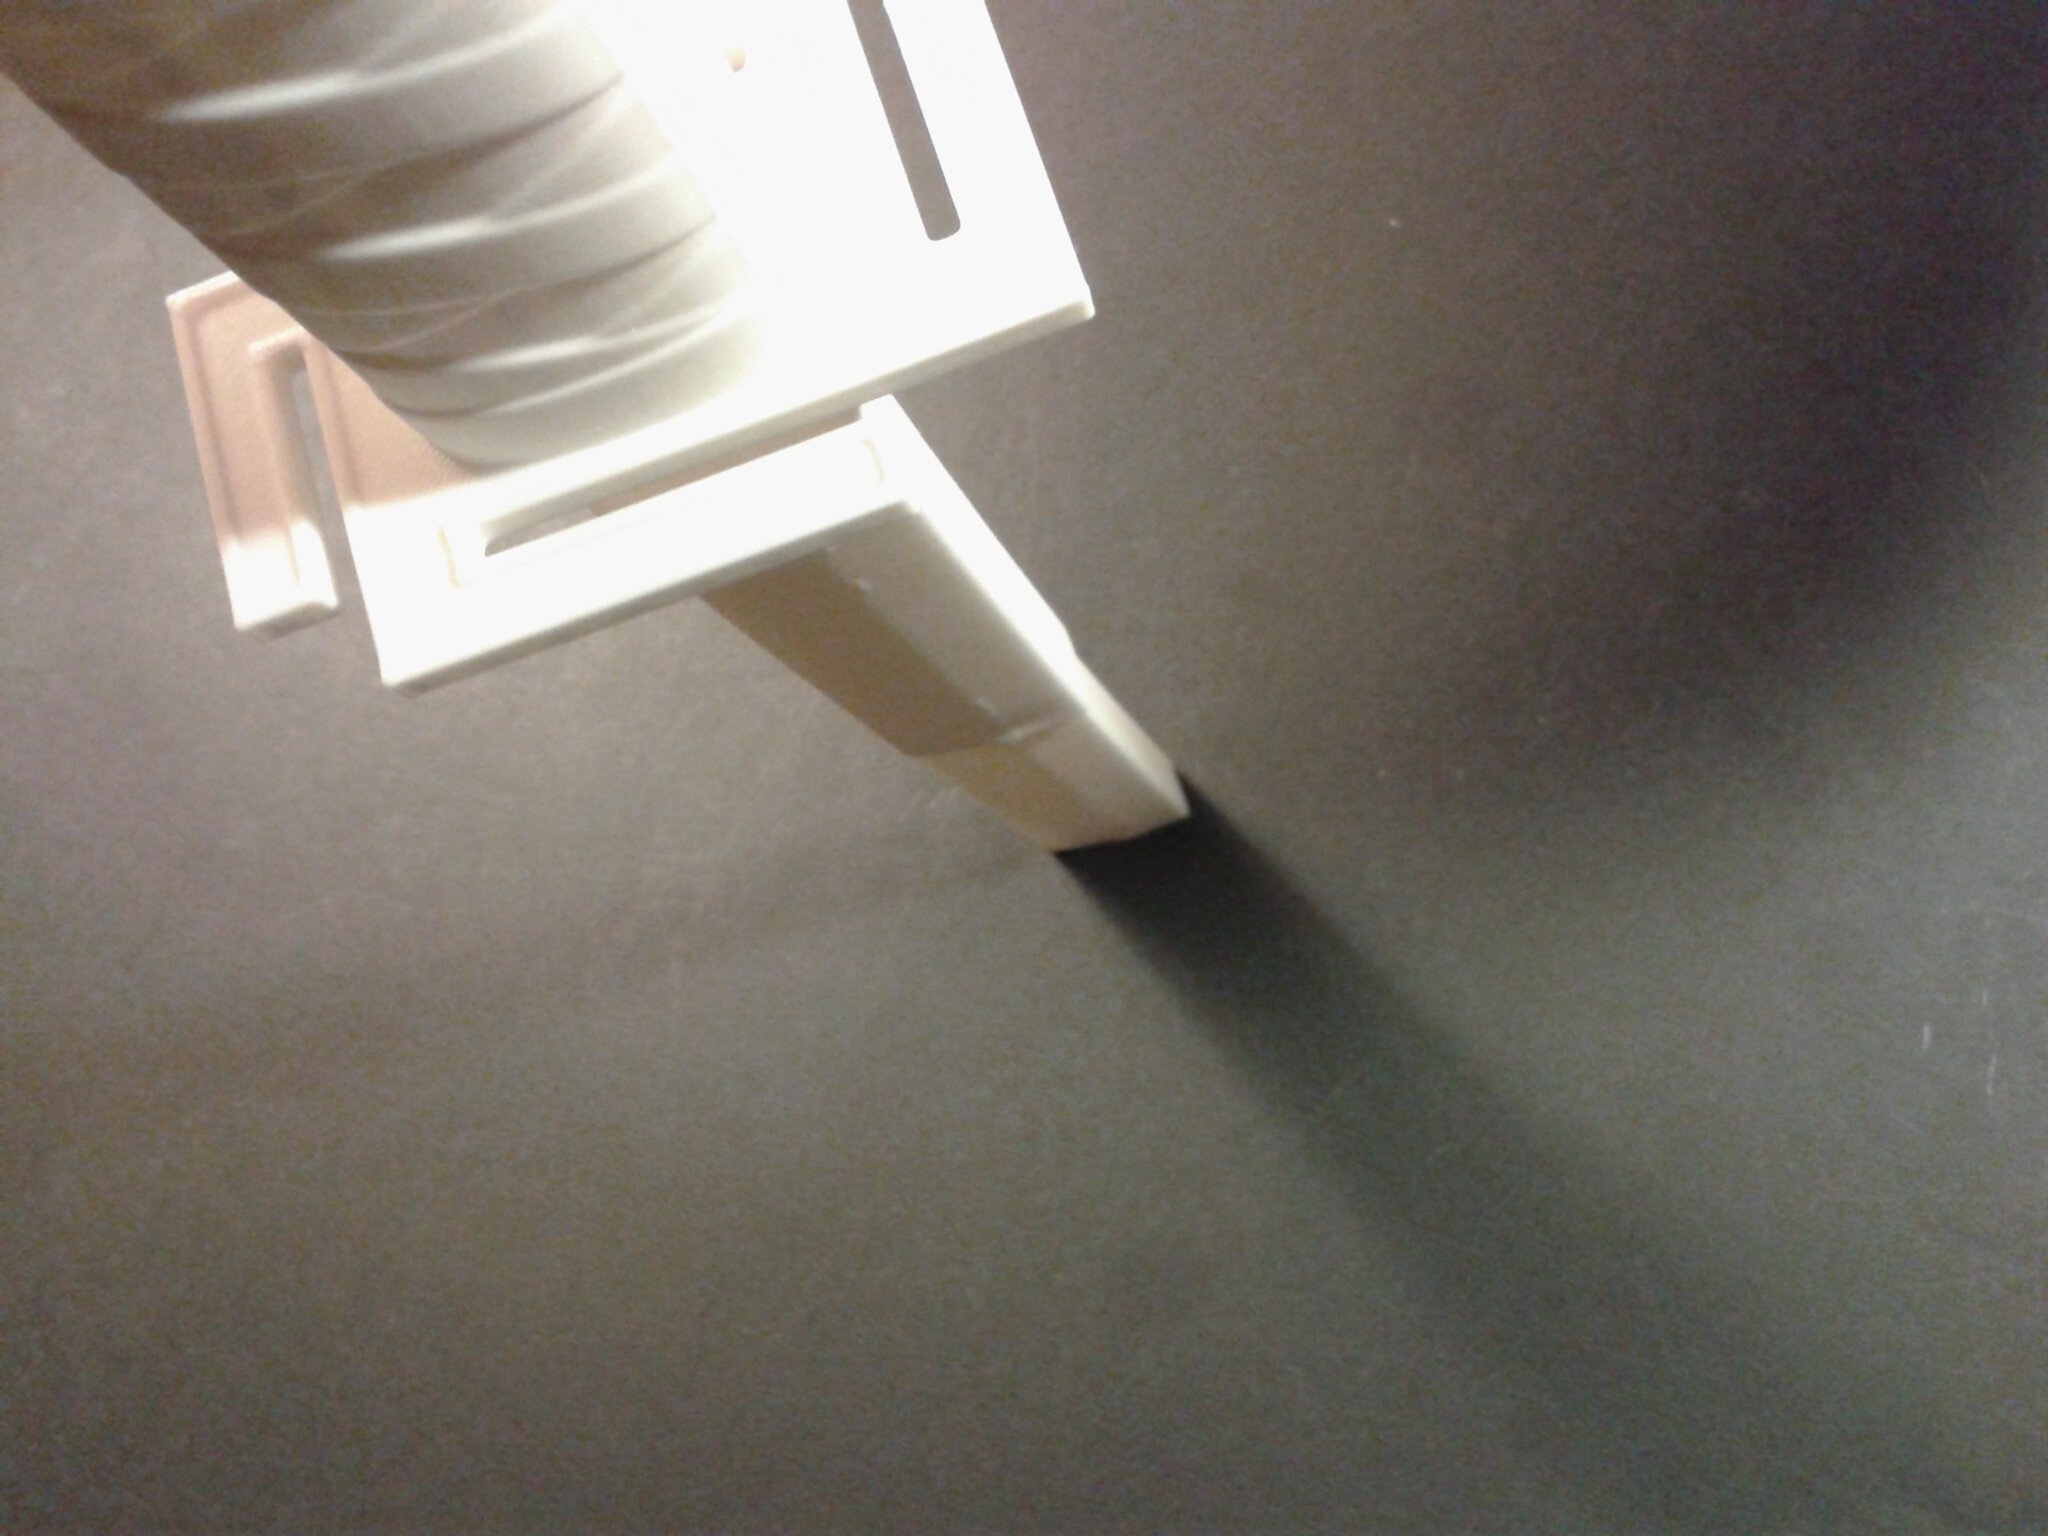
Katana de Ichigo
“Collapsing katana” de “Devylsadvocate” (gratuit).
Echelle ~96.6% pour avoir un objet de 240 mm de hauteur
QidiSlicer v1.1.0, “0.2 mm Fine”
Environ 5 h 25 min d’impression.
Filament CR-PETG White Creality
Impression en ABS
Je n’avais encore jamais imprimé d’ABS, je suis donc inexpérimenté dans l’impression de ce matériau que je sais relativement difficile à imprimer sans un plateau chauffant, un caisson chauffé et pour lequel il faudrait préférer ne pas activer la ventilation de refroidissement de l’impression ou ne pas dépasser le 20-30% de puissance de ventilation au risque d’avoir une dé-lamination des couches.
Je vous passe le détail de mes essais et échecs dus à mon inexpérience (voir dans ce commentaire de mon sujet de découverte), en partant du profil “Generic ABS” de QidiSlicer pour arriver à une impression que ne se décolle pas du plateau.
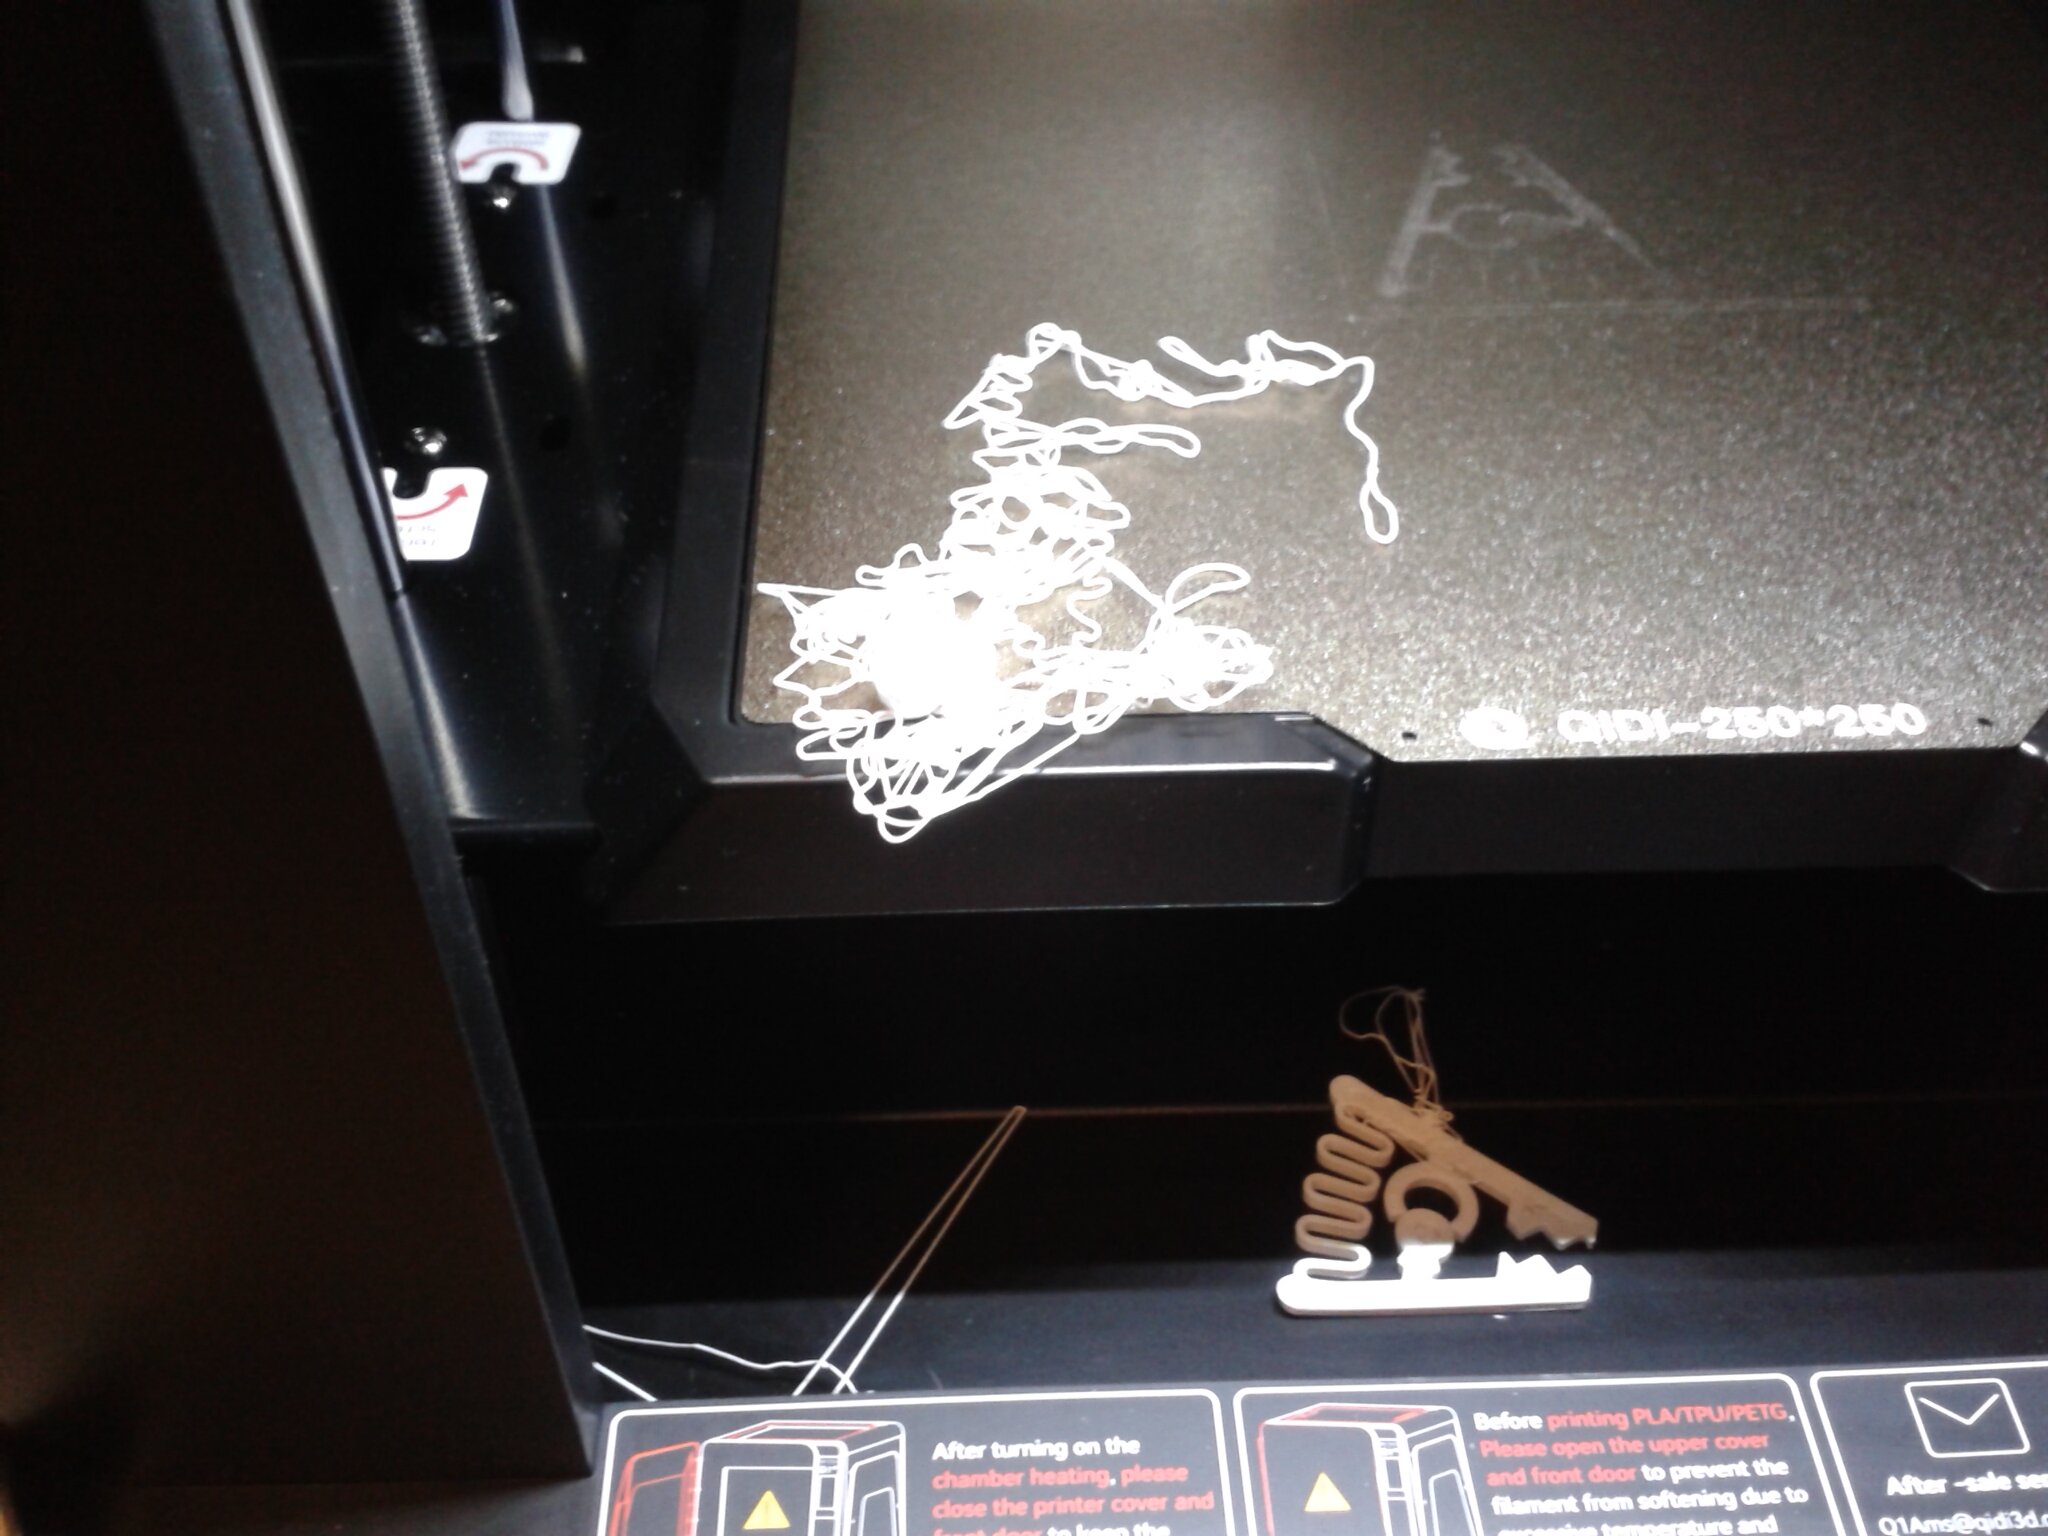
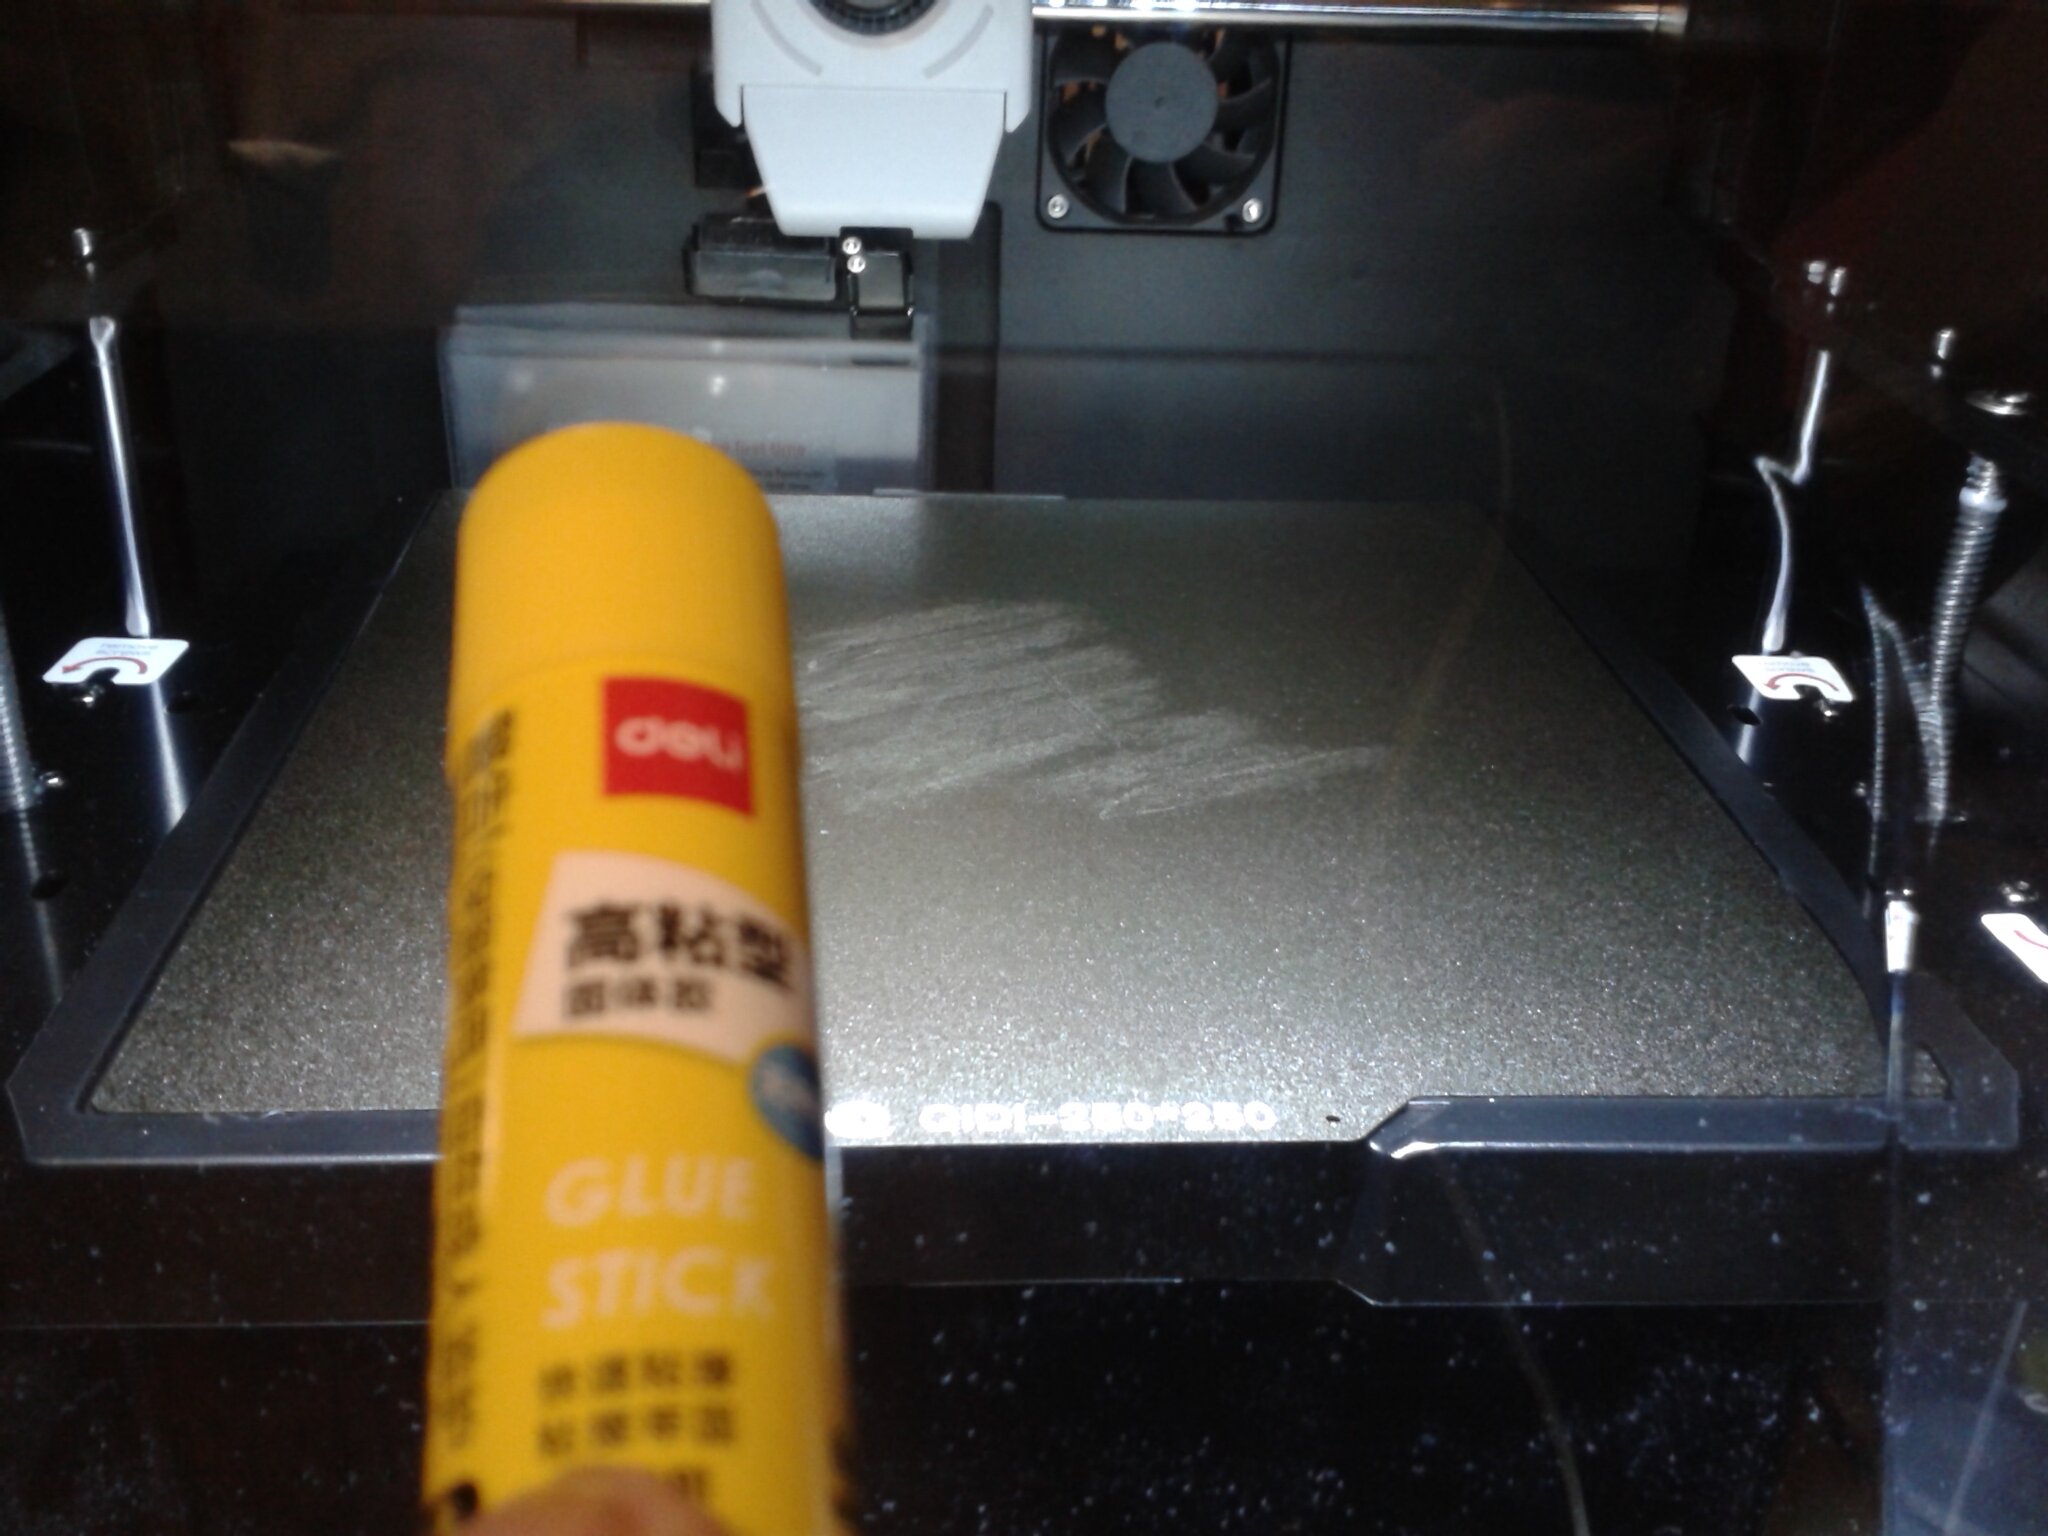

Il faut préférablement :
- appliquer une couche du bâton de colle fourni sur le plateau flexible magnétique PEI texturé
- utiliser une bordure d’impression (un “brim”)
Ceci pour garantir une bonne adhérence de l’ABS au plateau et éviter un décollement en cours d’impression.
Finalement, sur un modèle plus difficile à imprimer, je me rends compte que mon profil doit être retravaillé pour correctement réaliser les pontages.
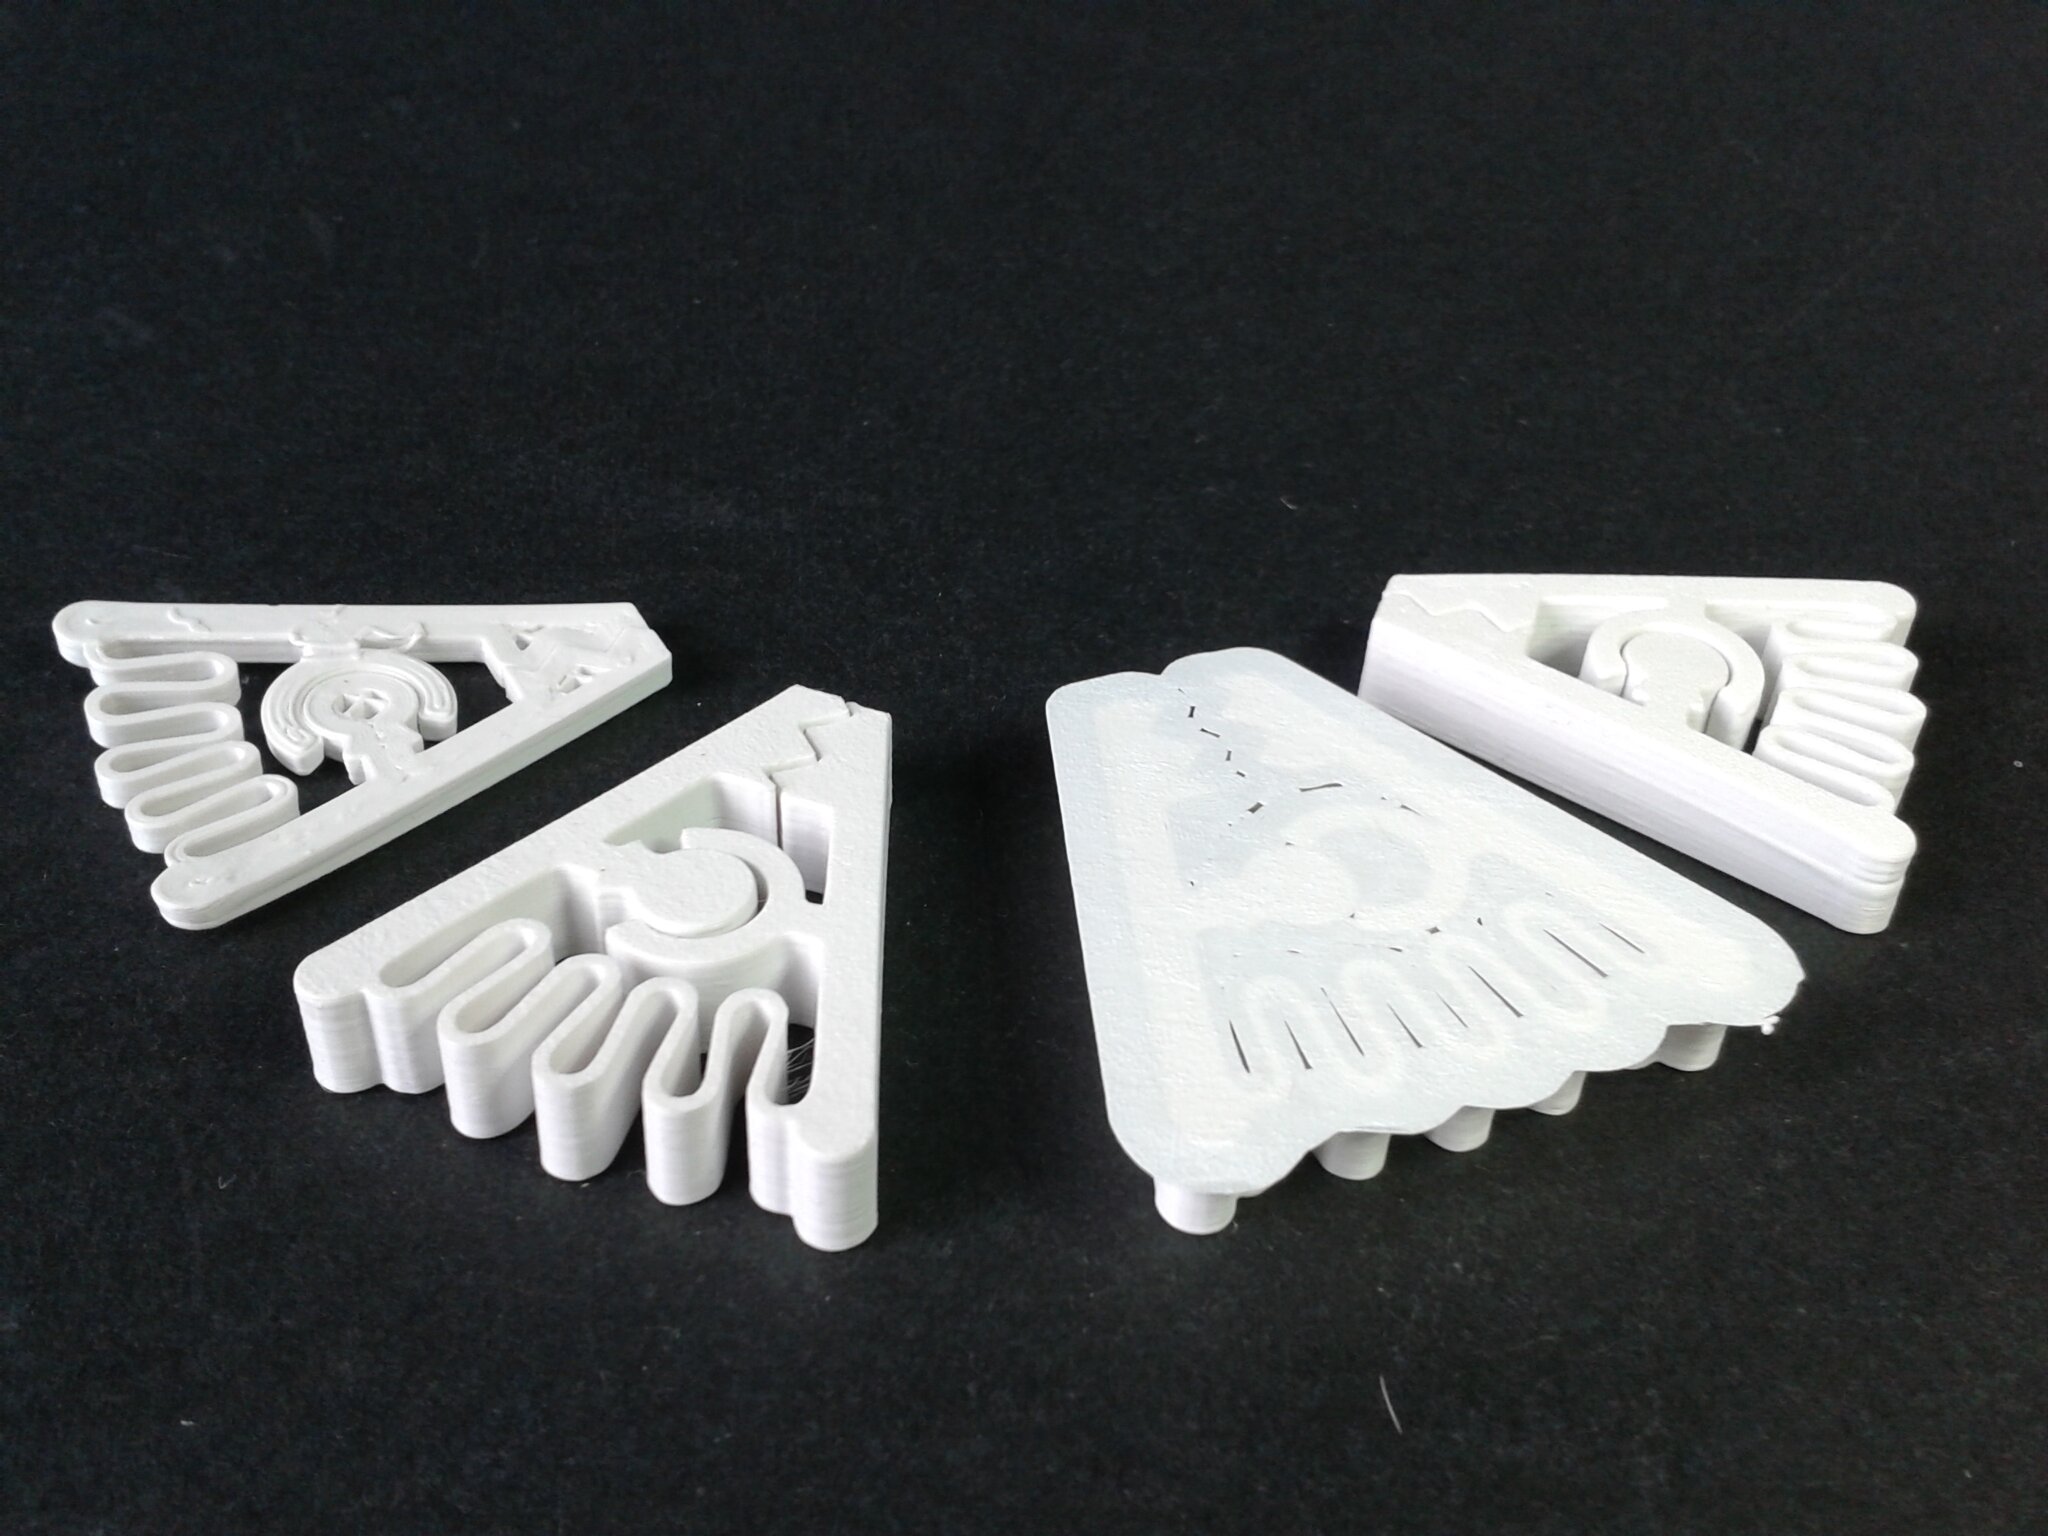
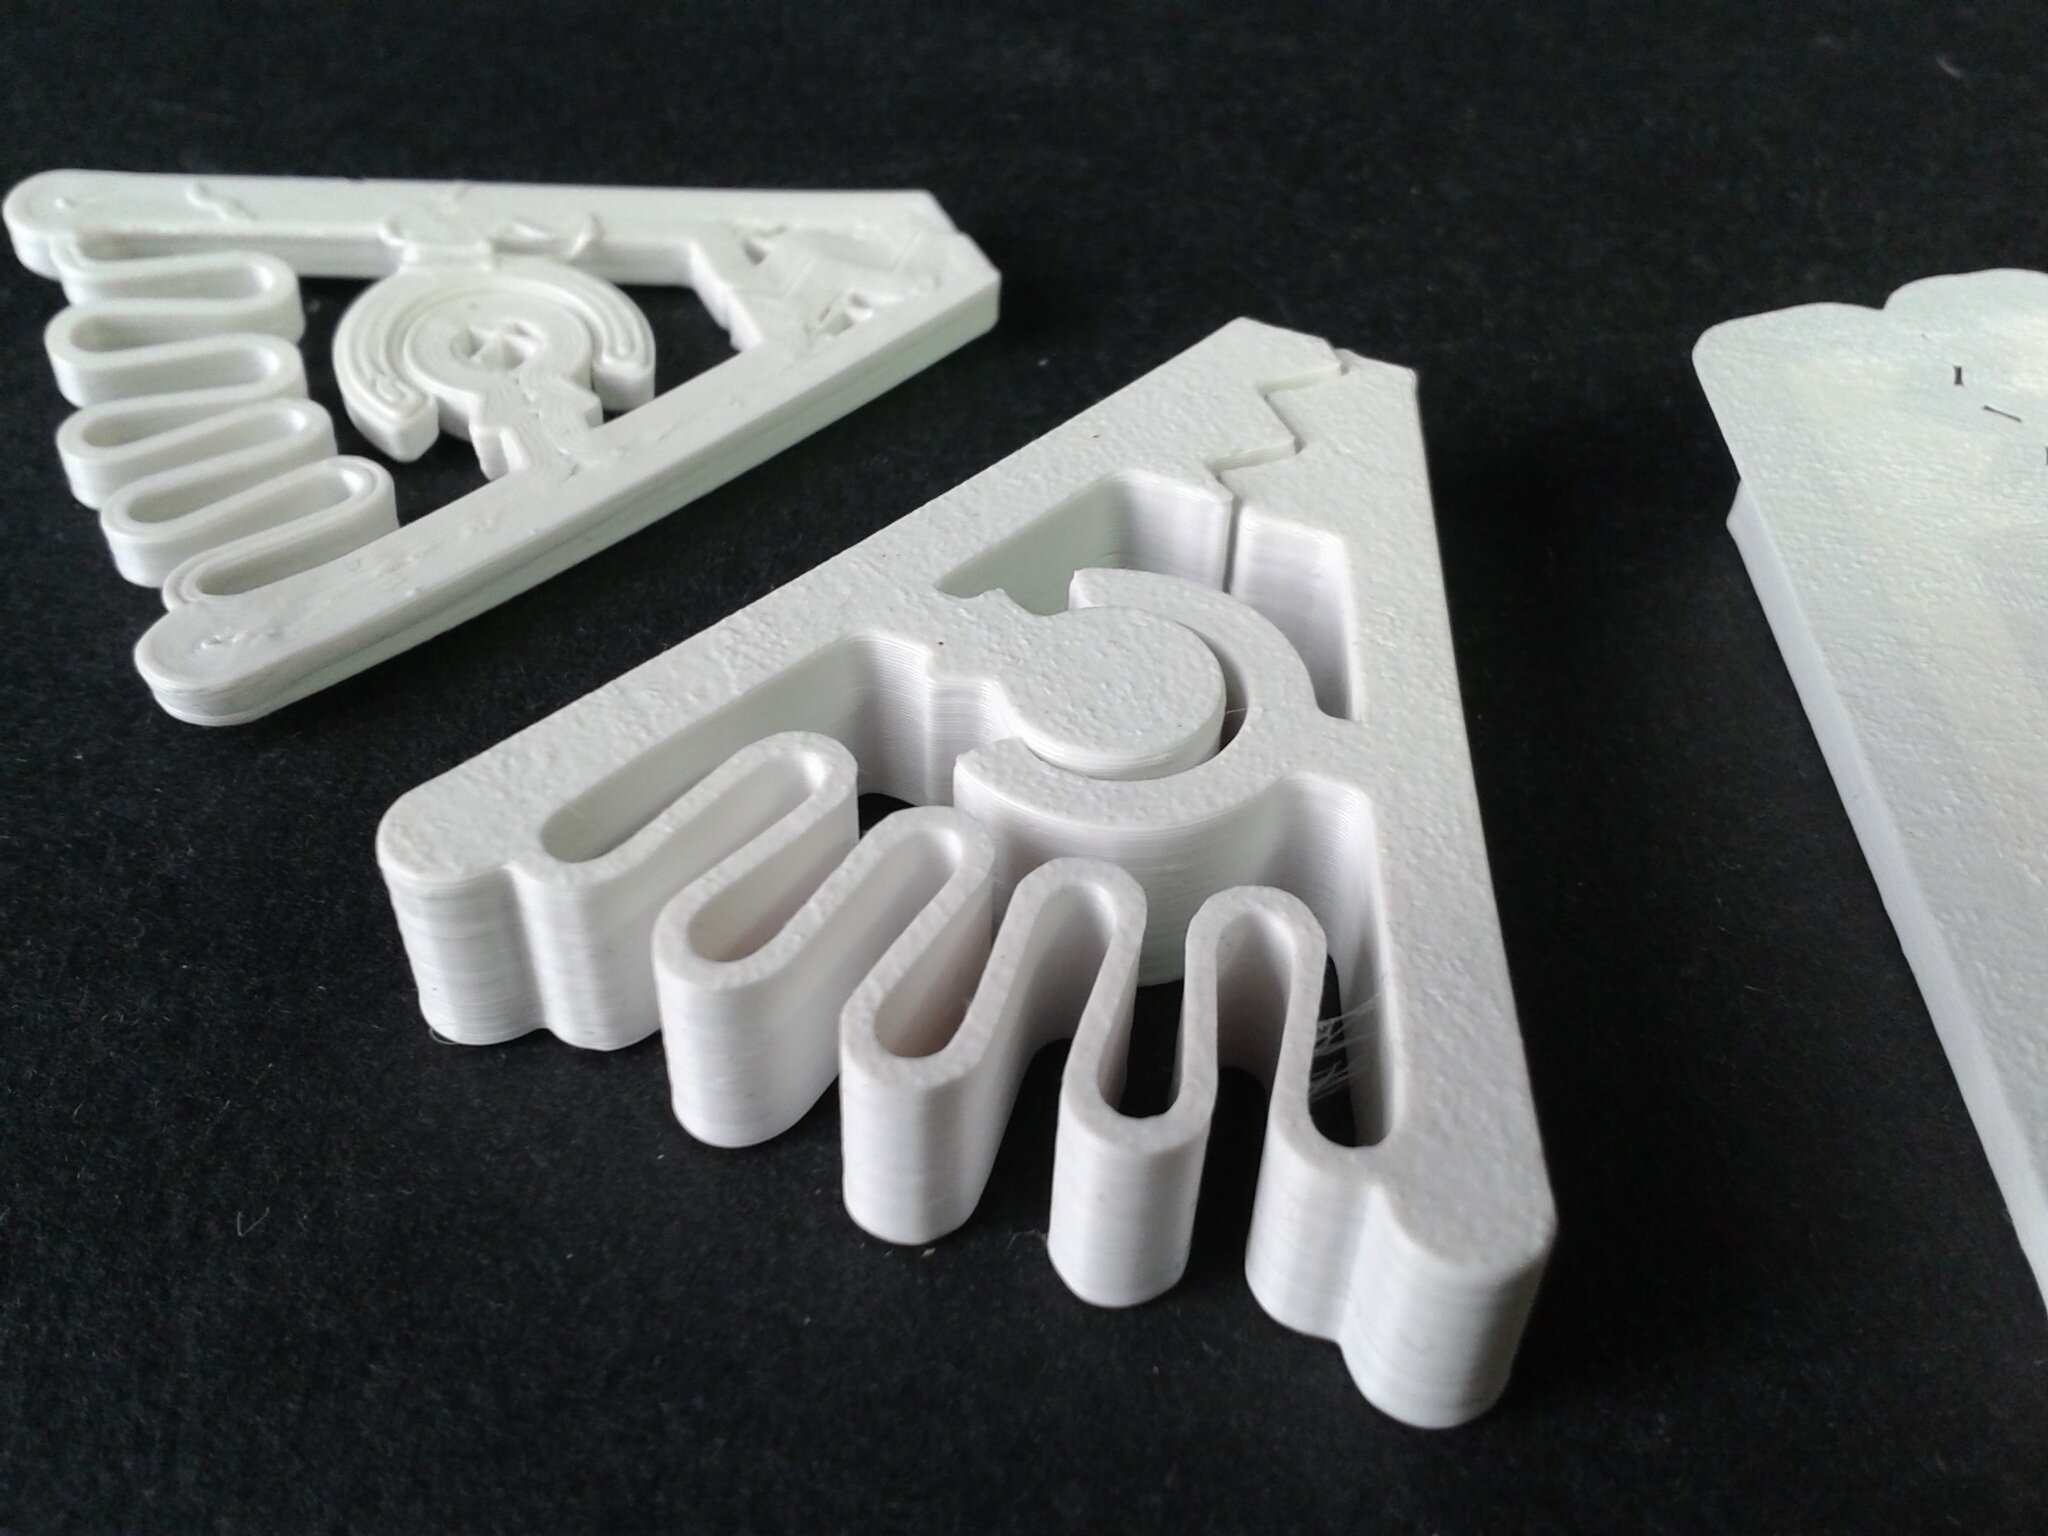
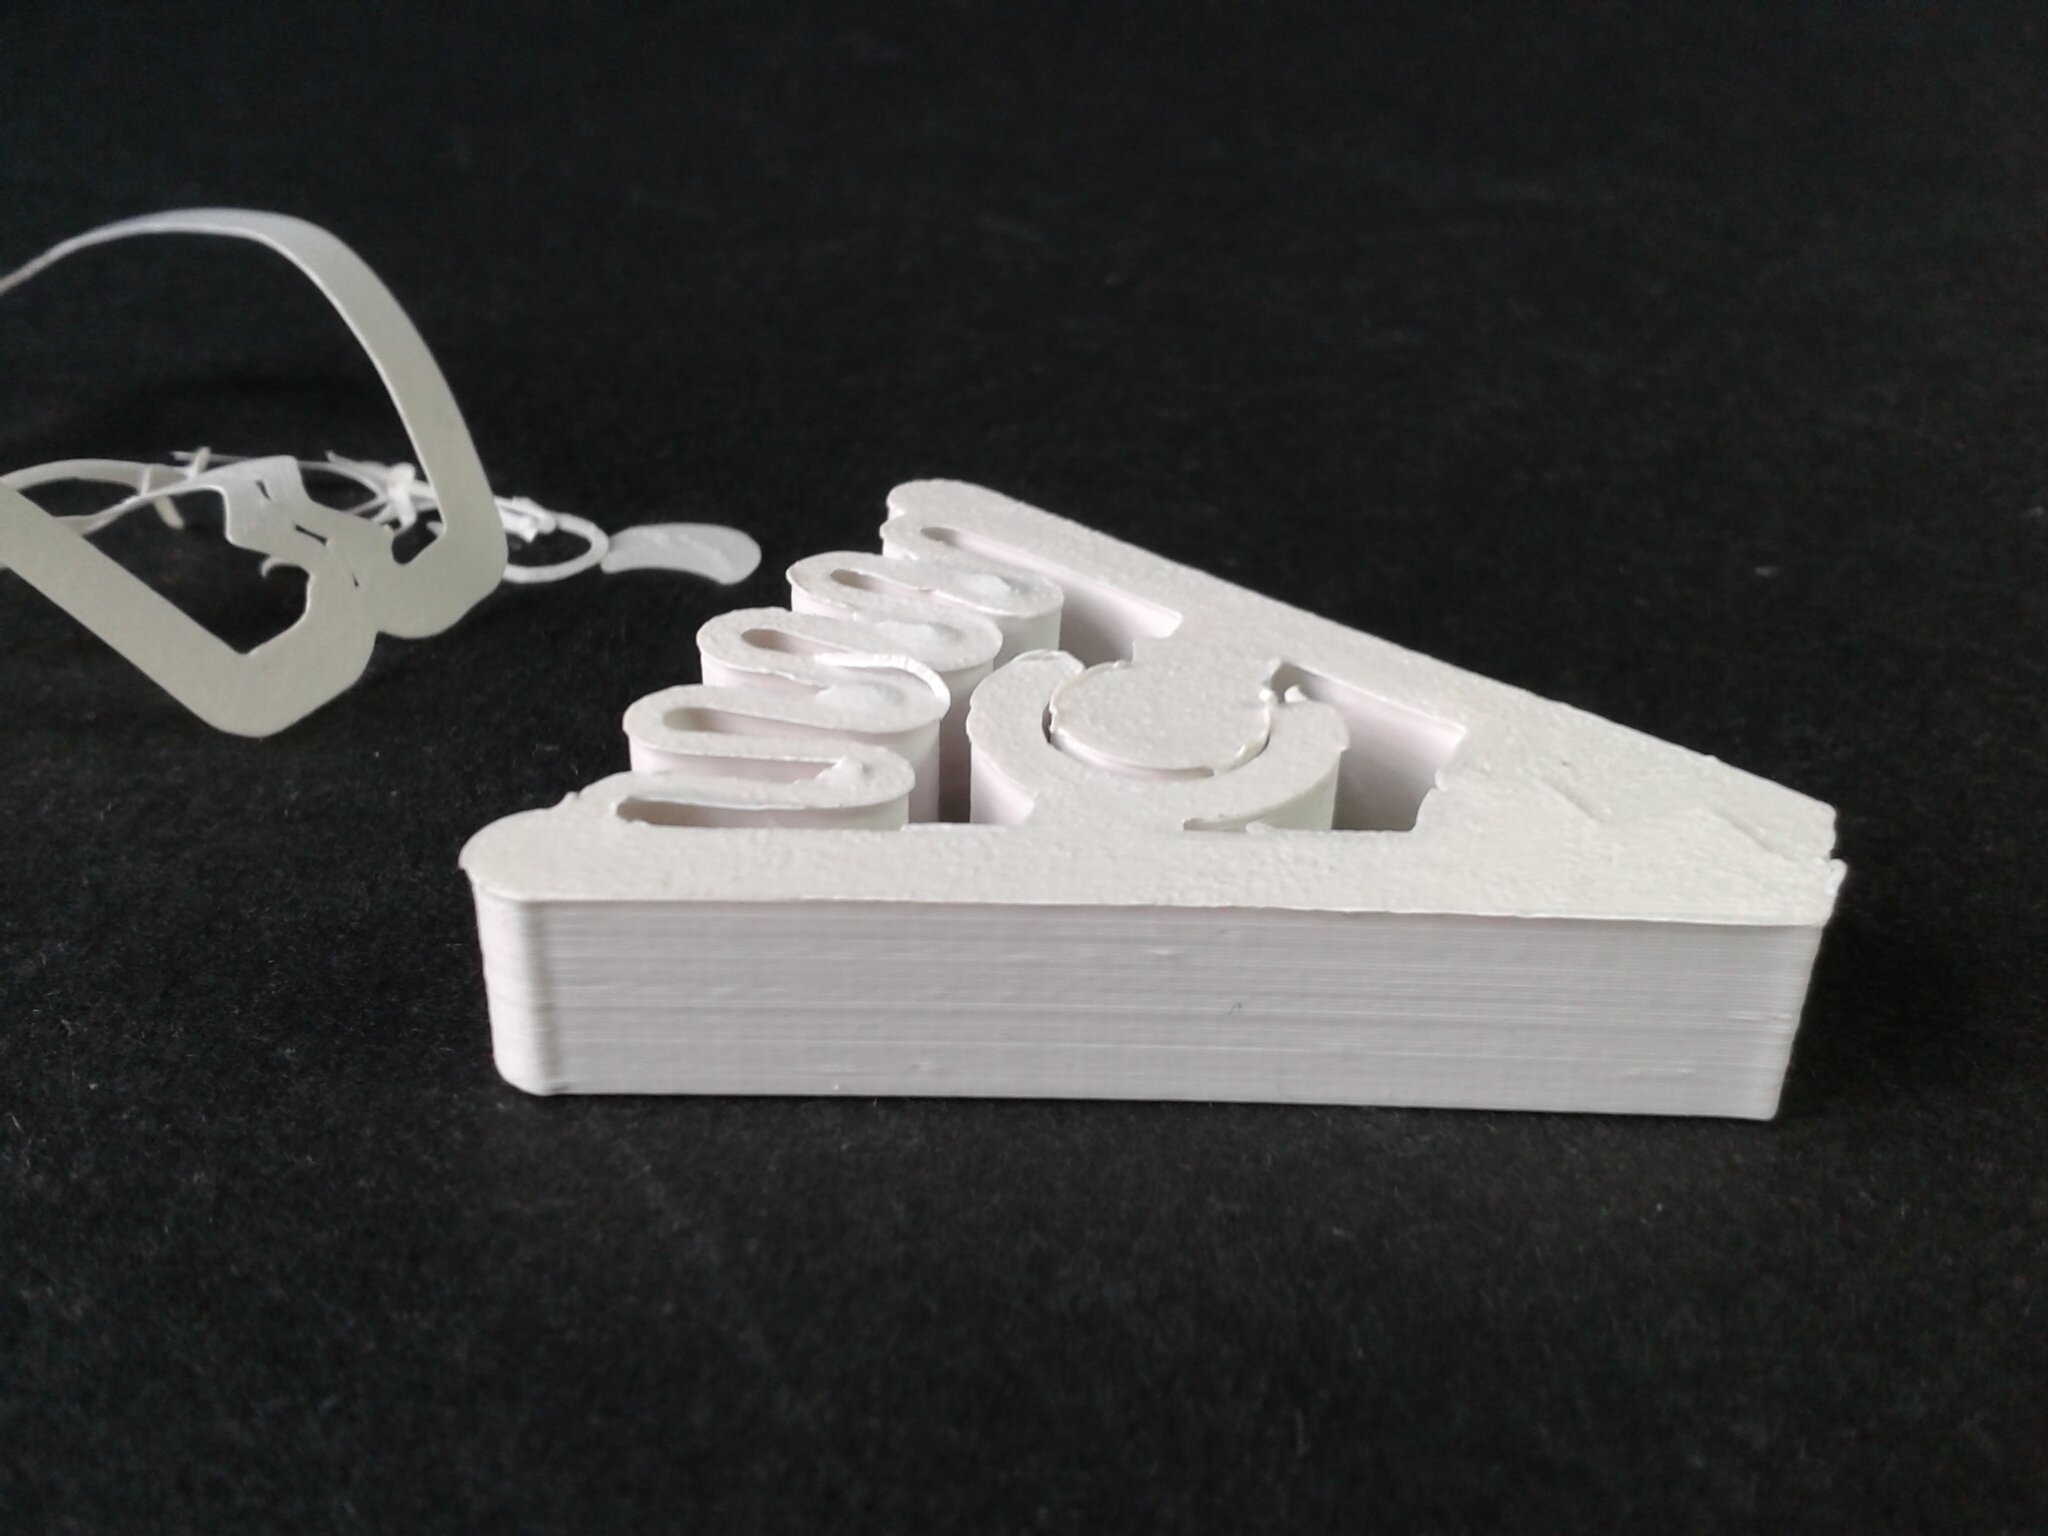
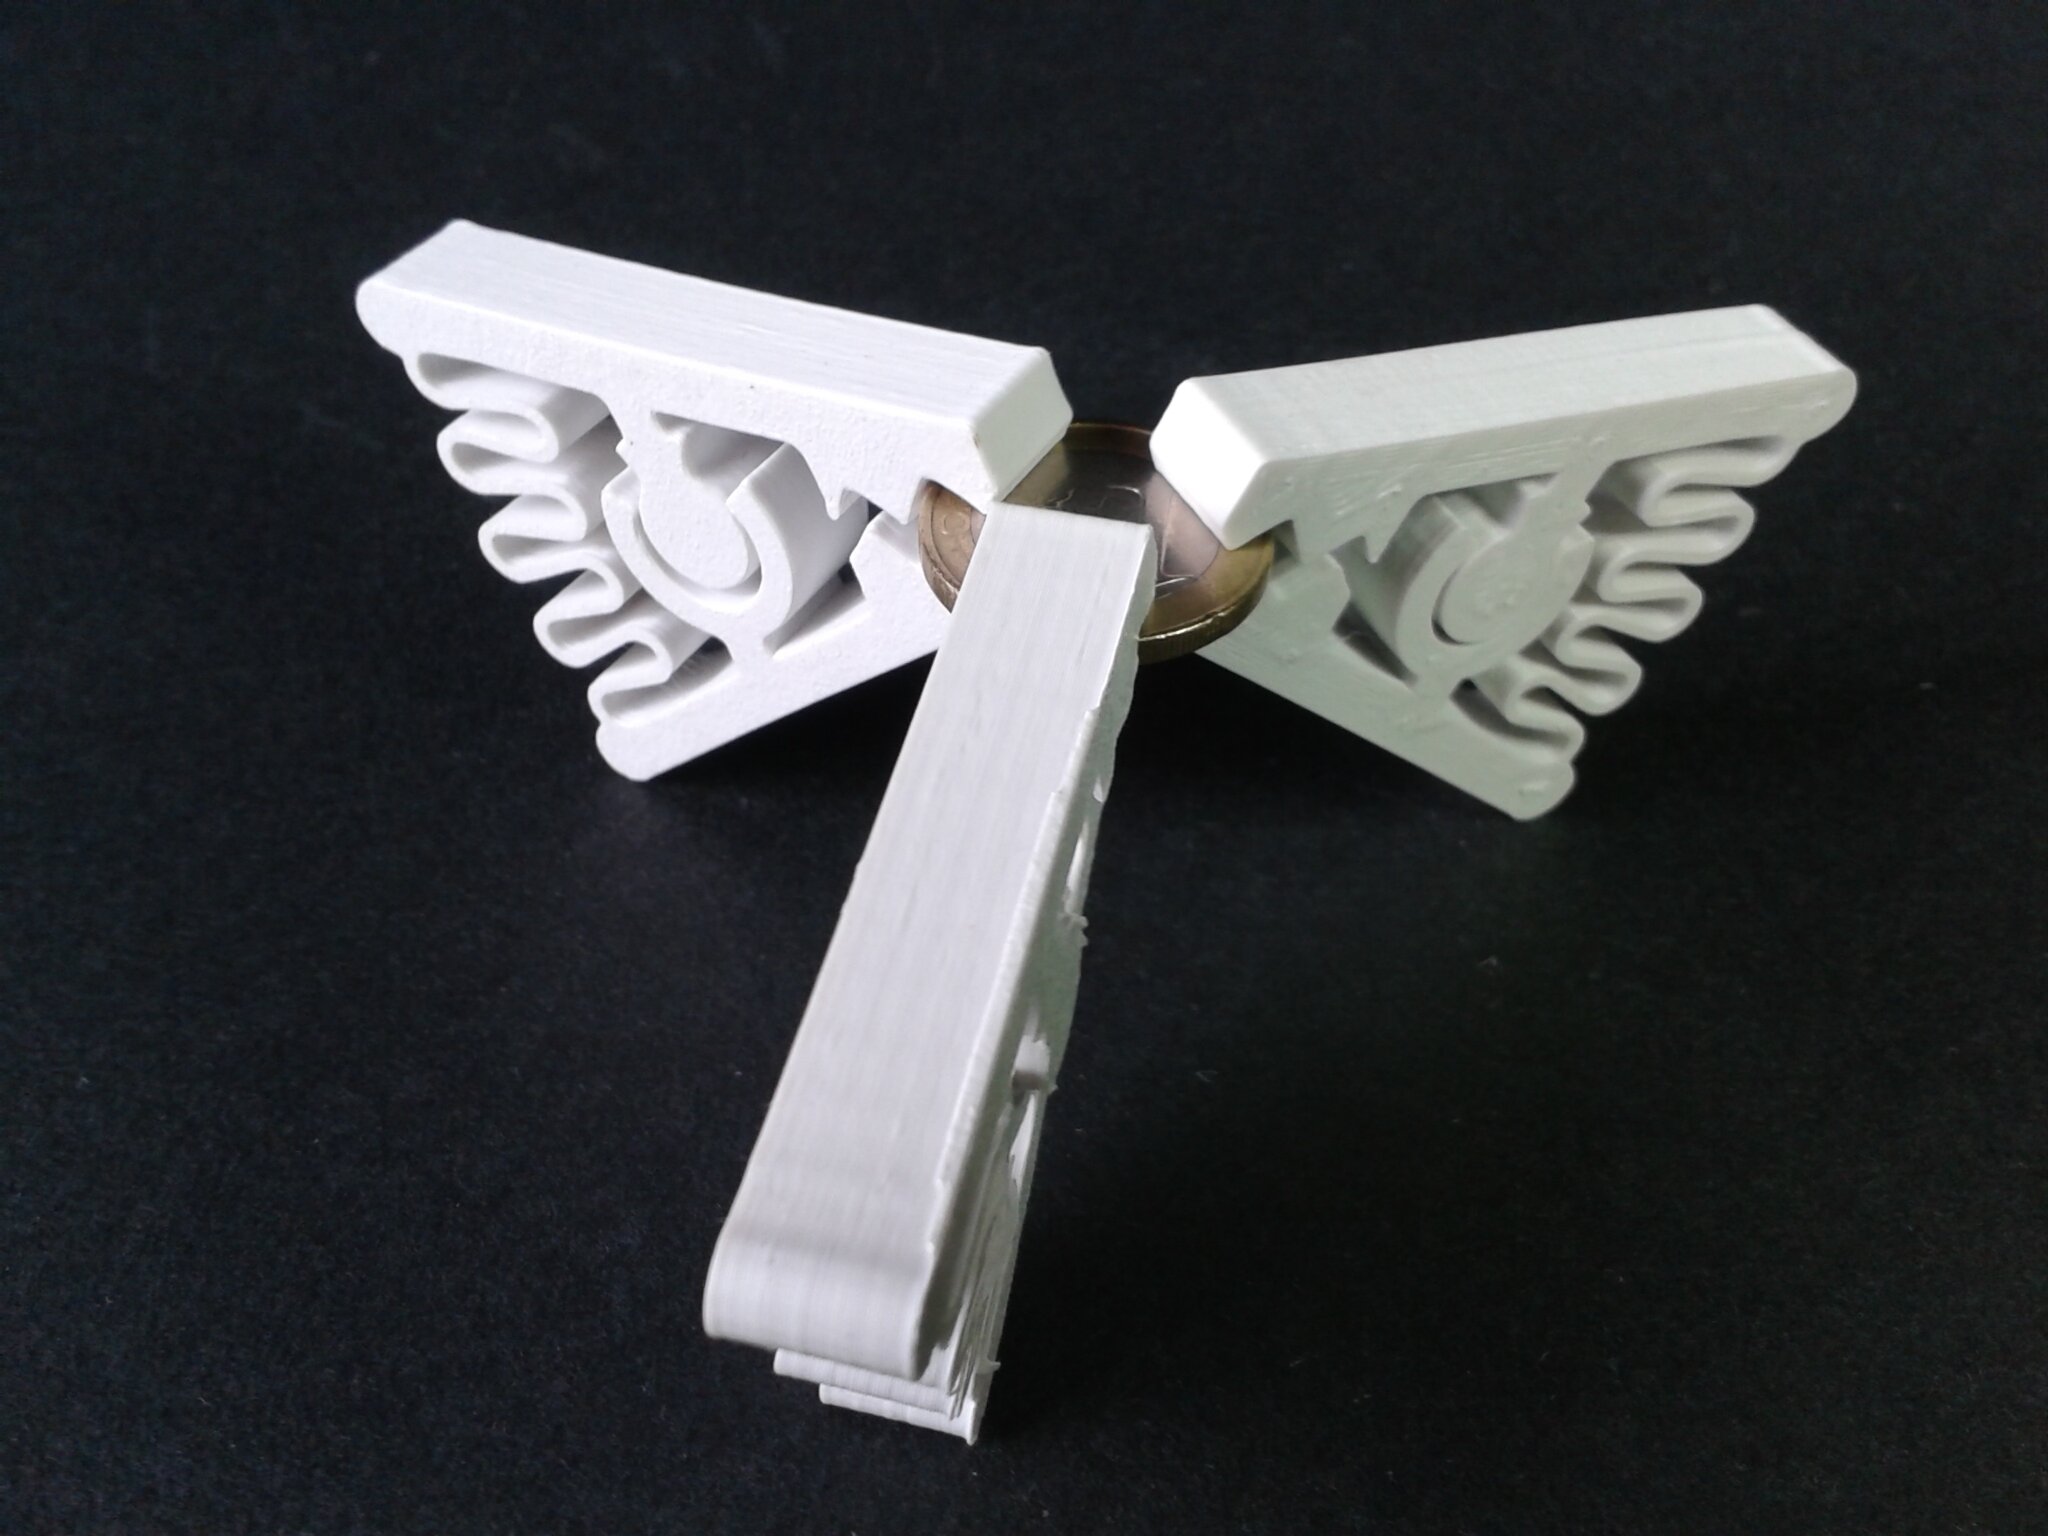
Pince à ressort
“Spring Clip – ABS version” de “jouda” (gratuit).
Différents essais de paramètres de tranchage et d’impression pour arriver à :
QidiSlicer v1.1.0, “0.20 mm Fine” (remplissage 100%), “Generic ABS” Modifié (Buse 240°C, Plateau 100°C, Chambre 50°C, Vitesse volumétrique maximale 11 mm³/s) + colle en bâton sur le plateau.
Durée d’impression d’environ 22 minutes pour la pince du dernier essai.
Filament ABS Blanc Velleman

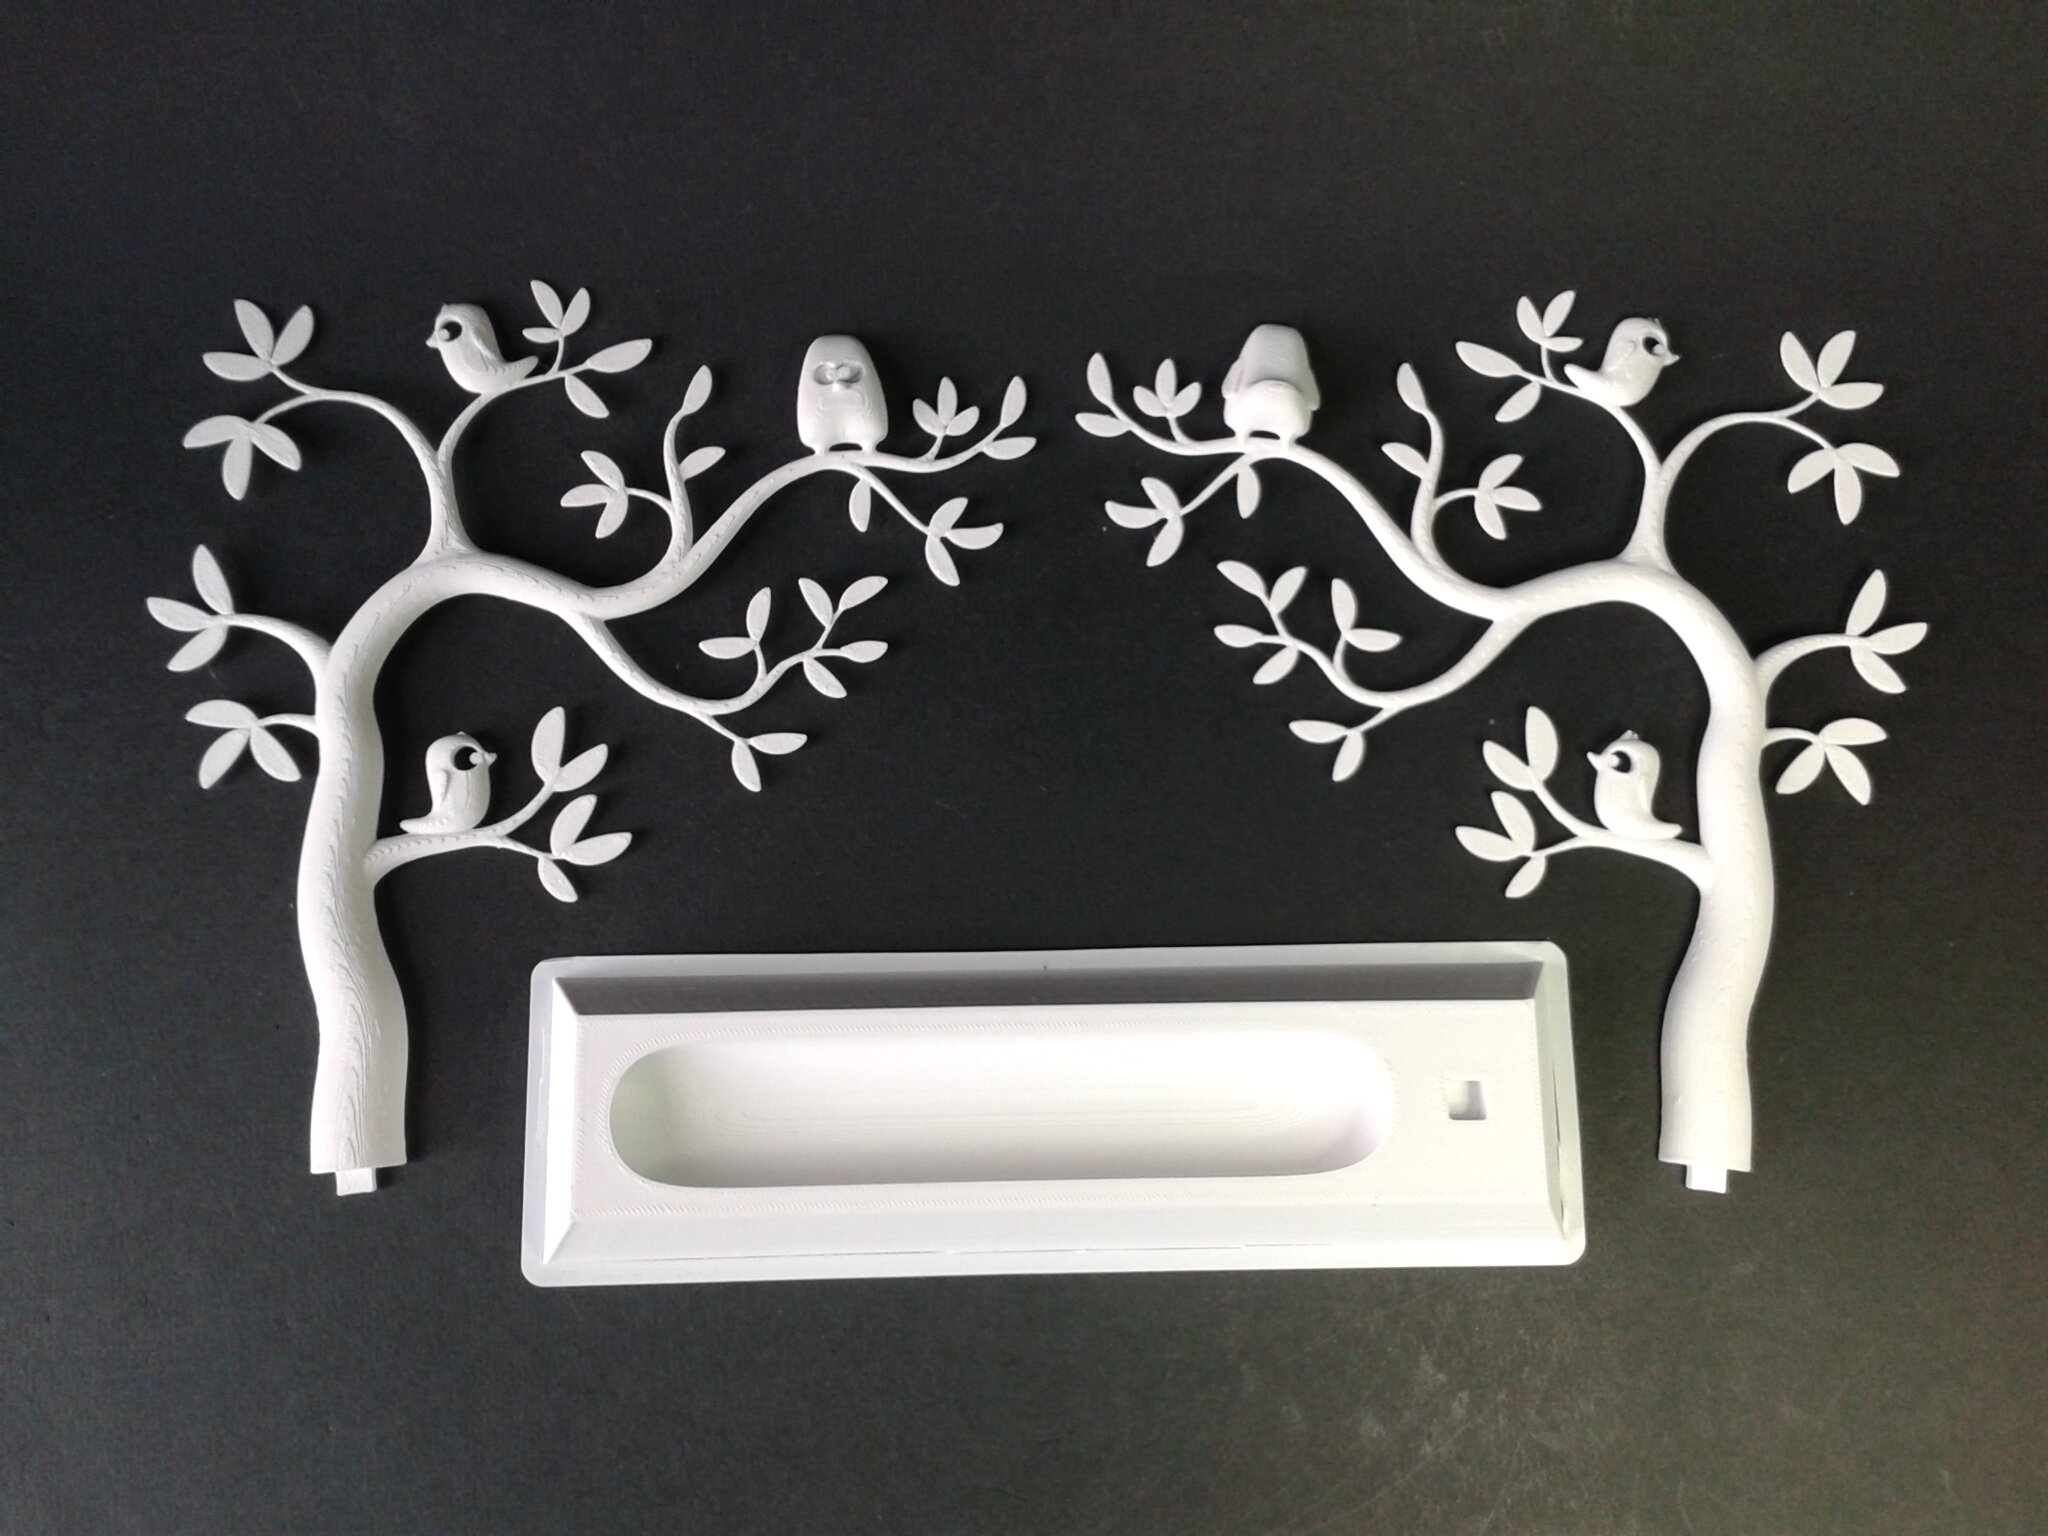
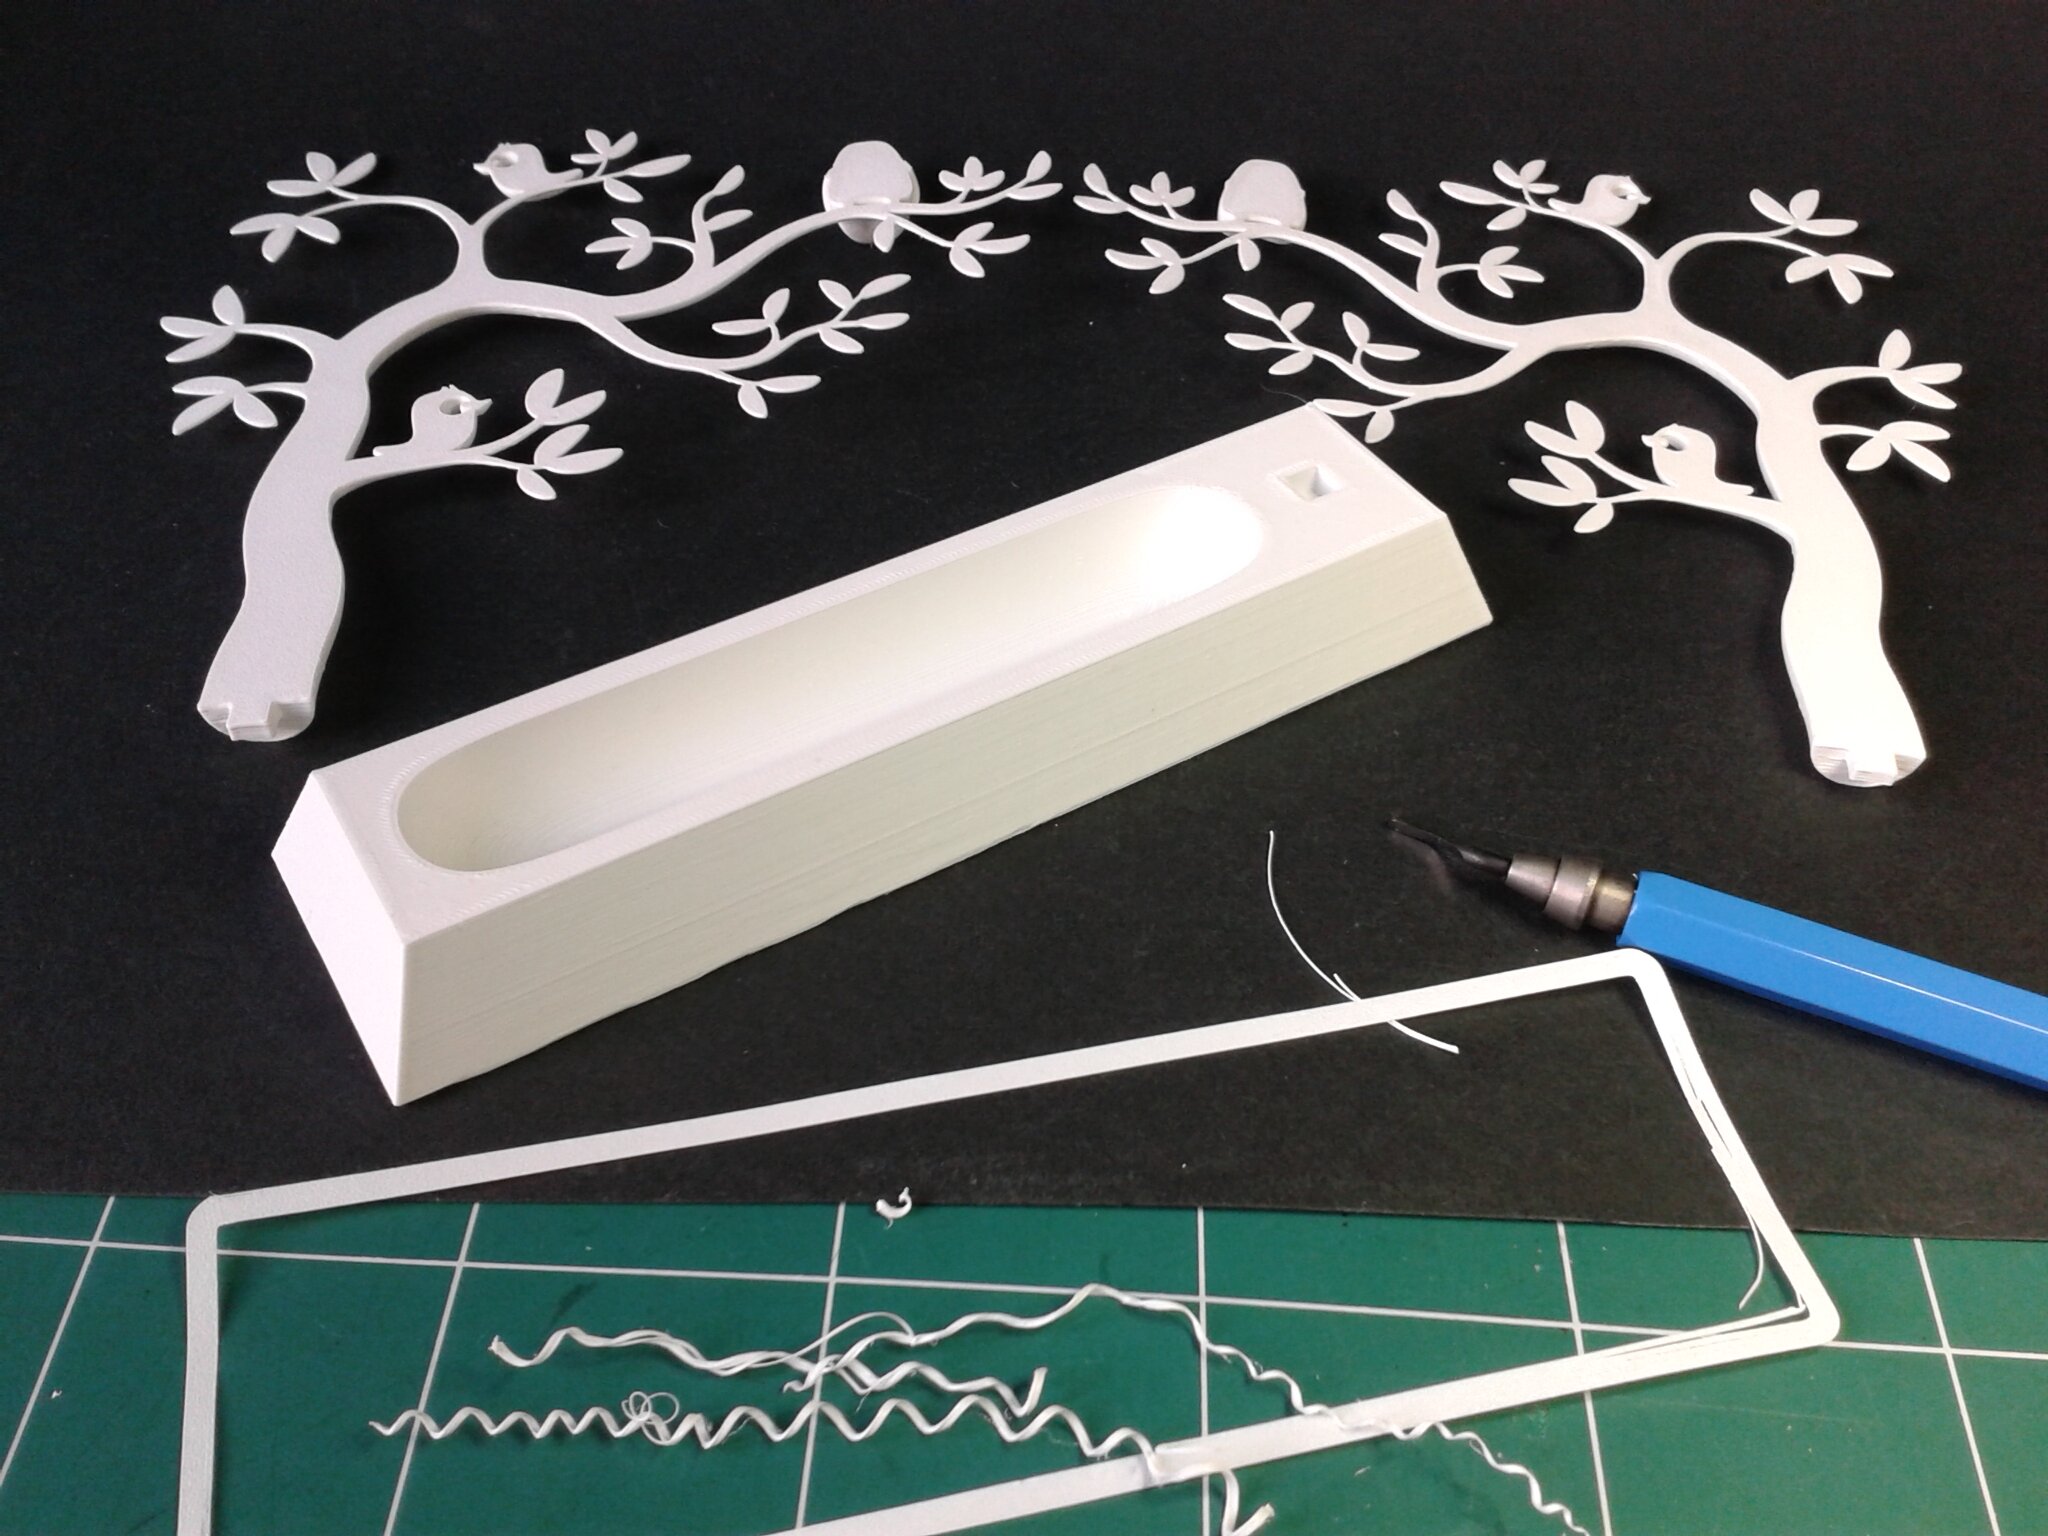
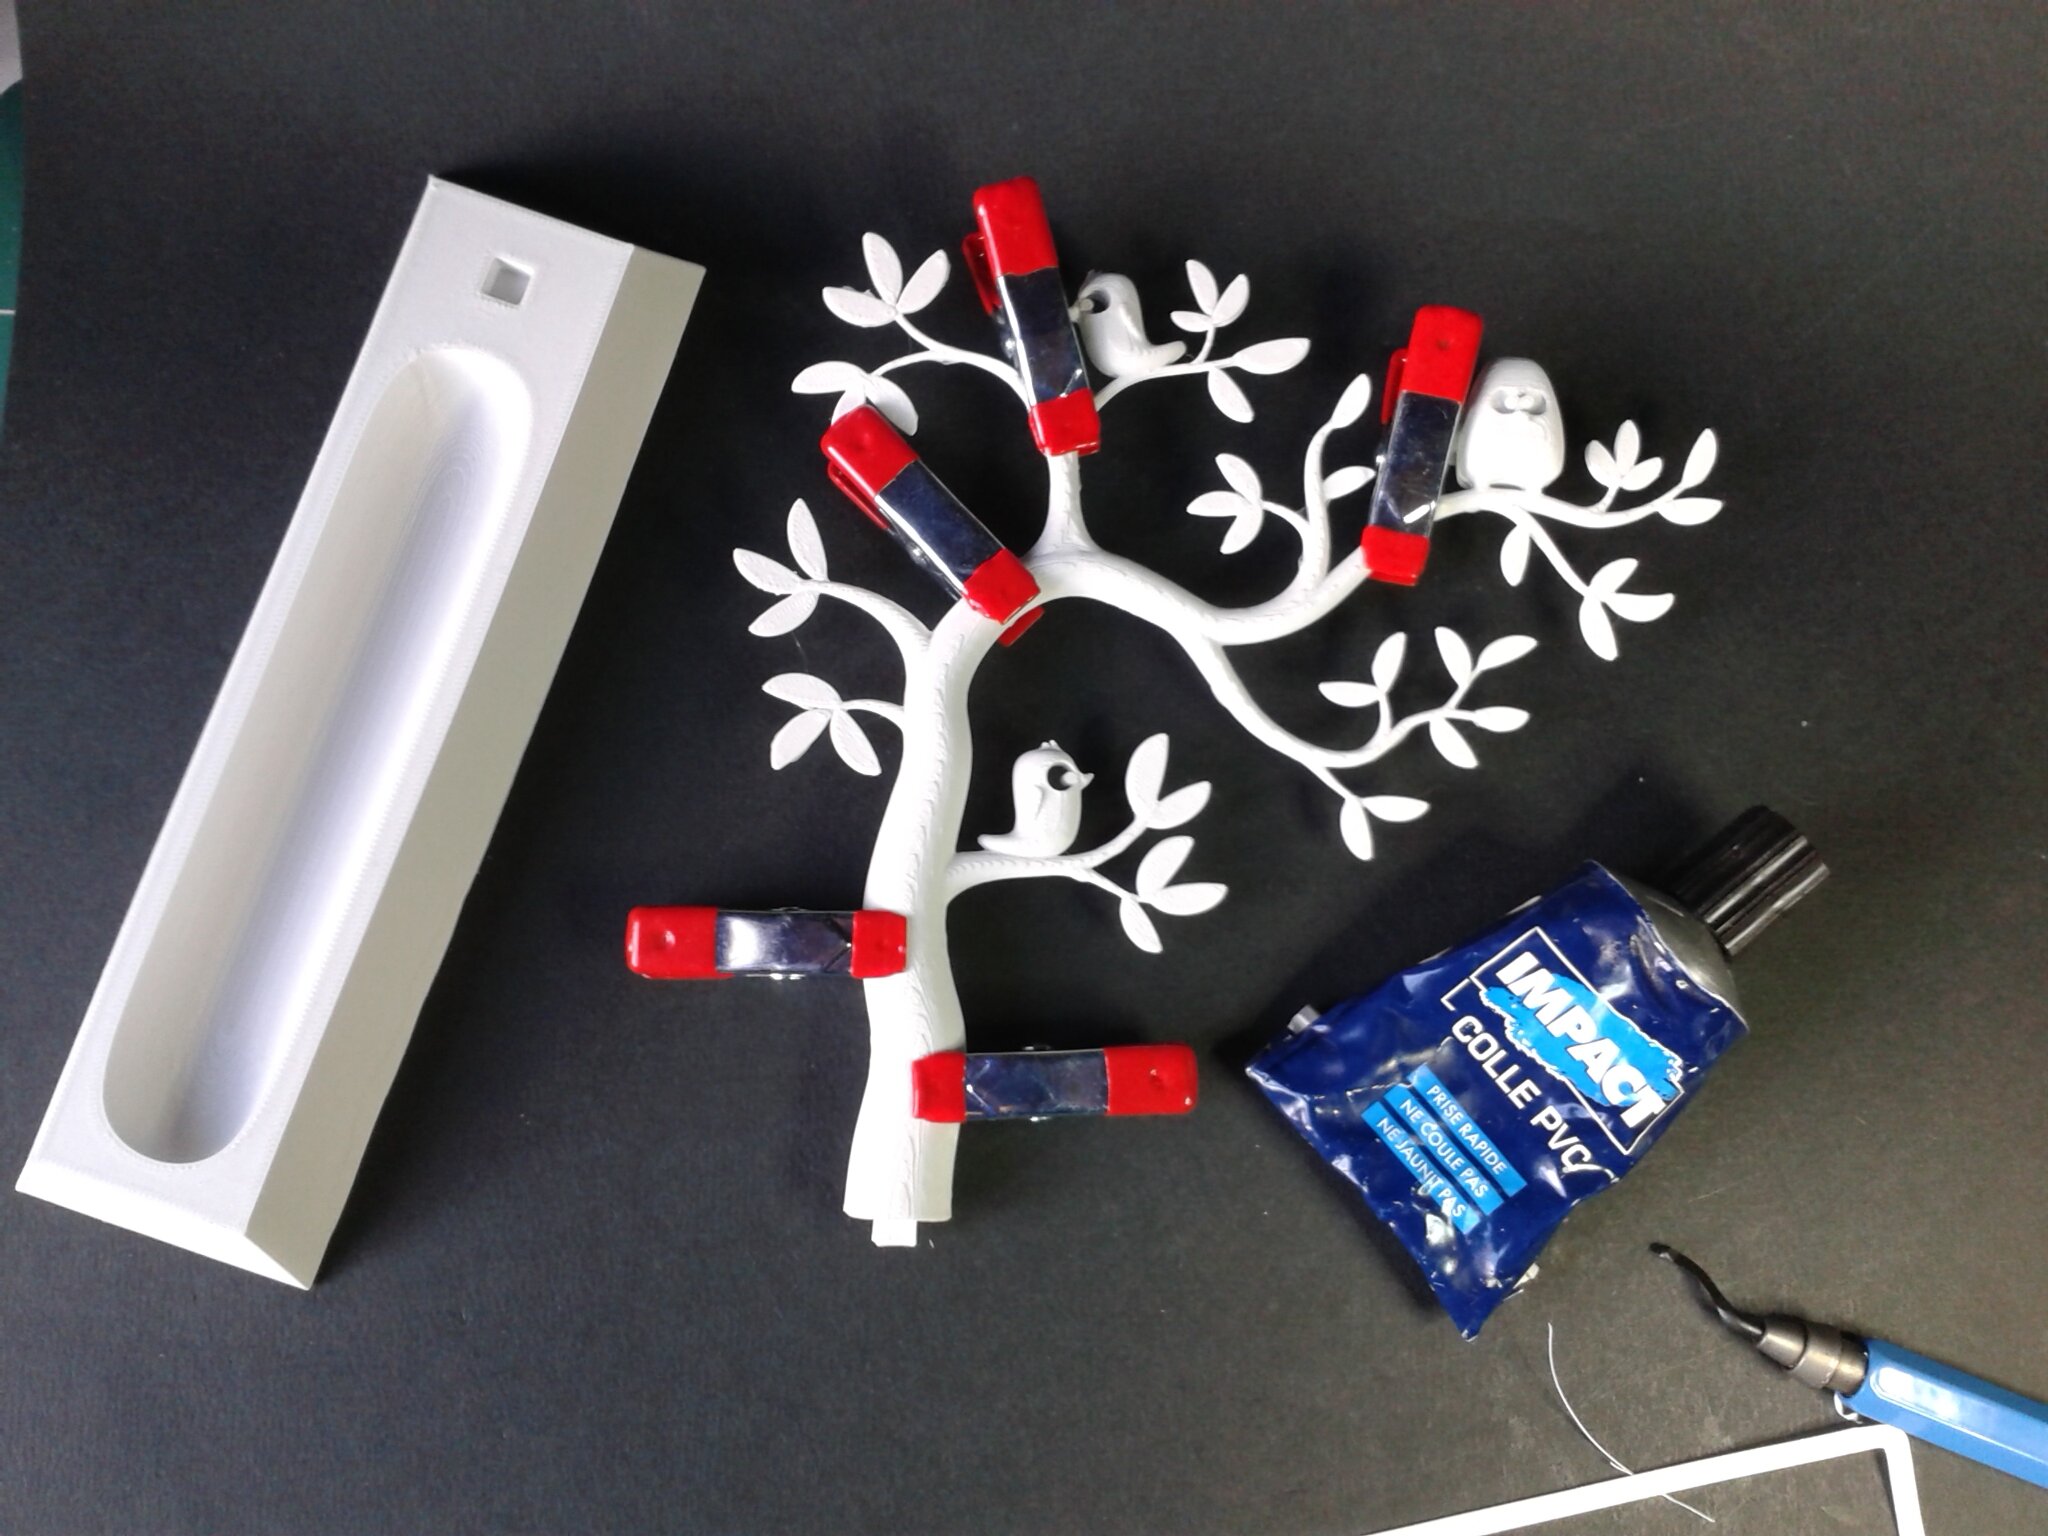
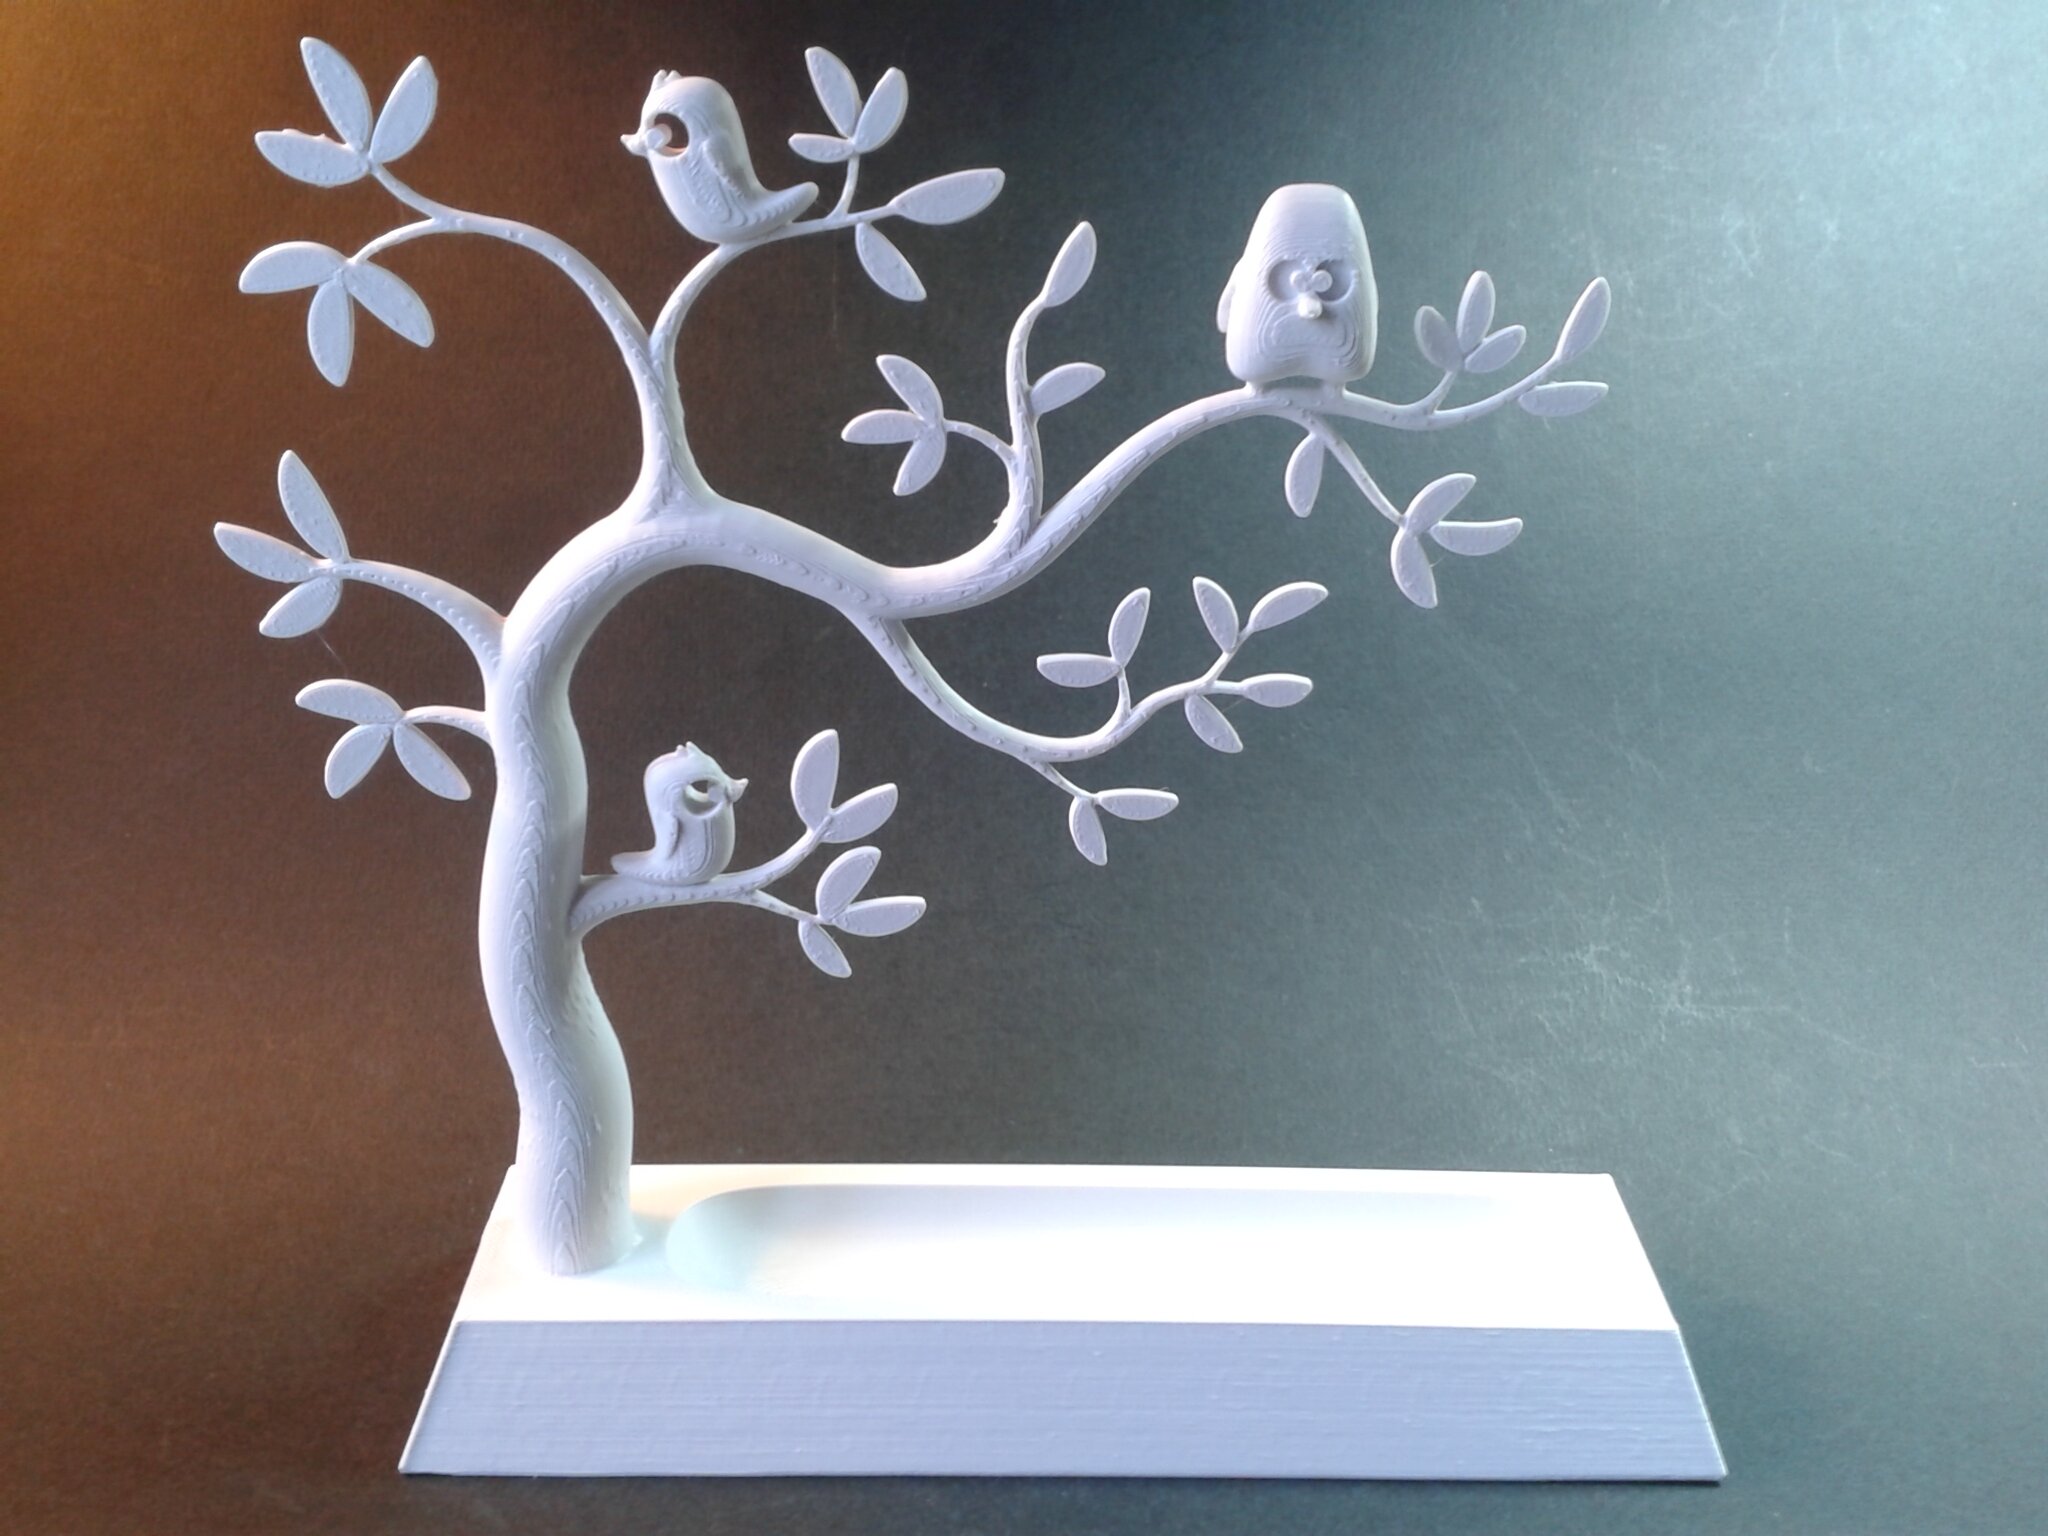
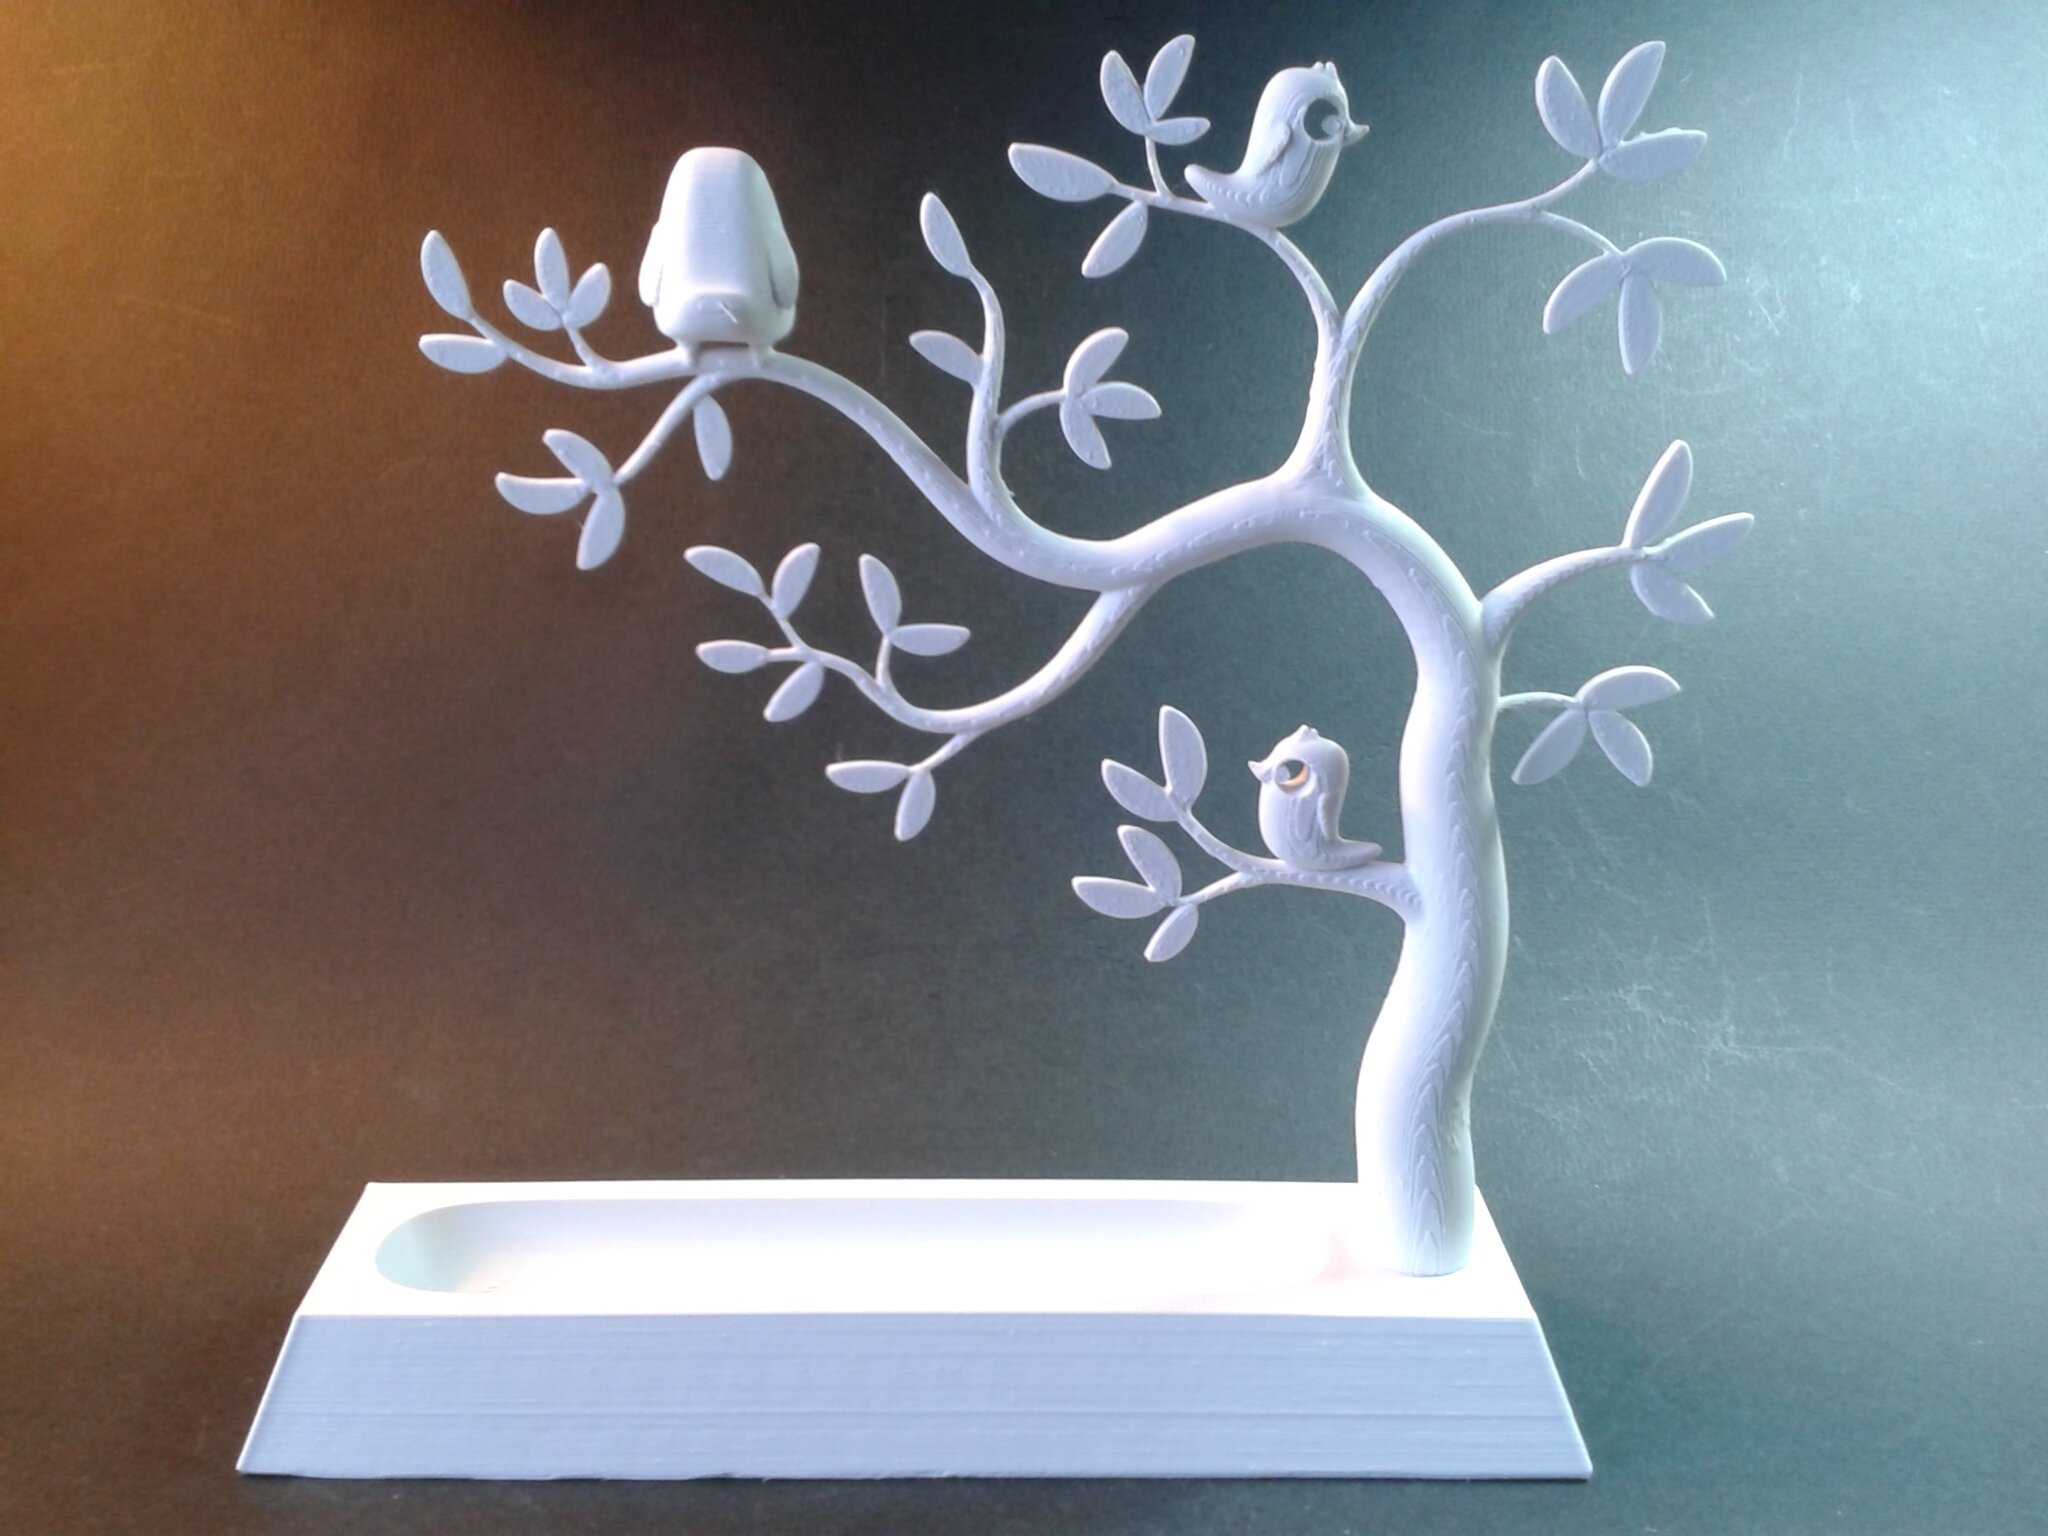
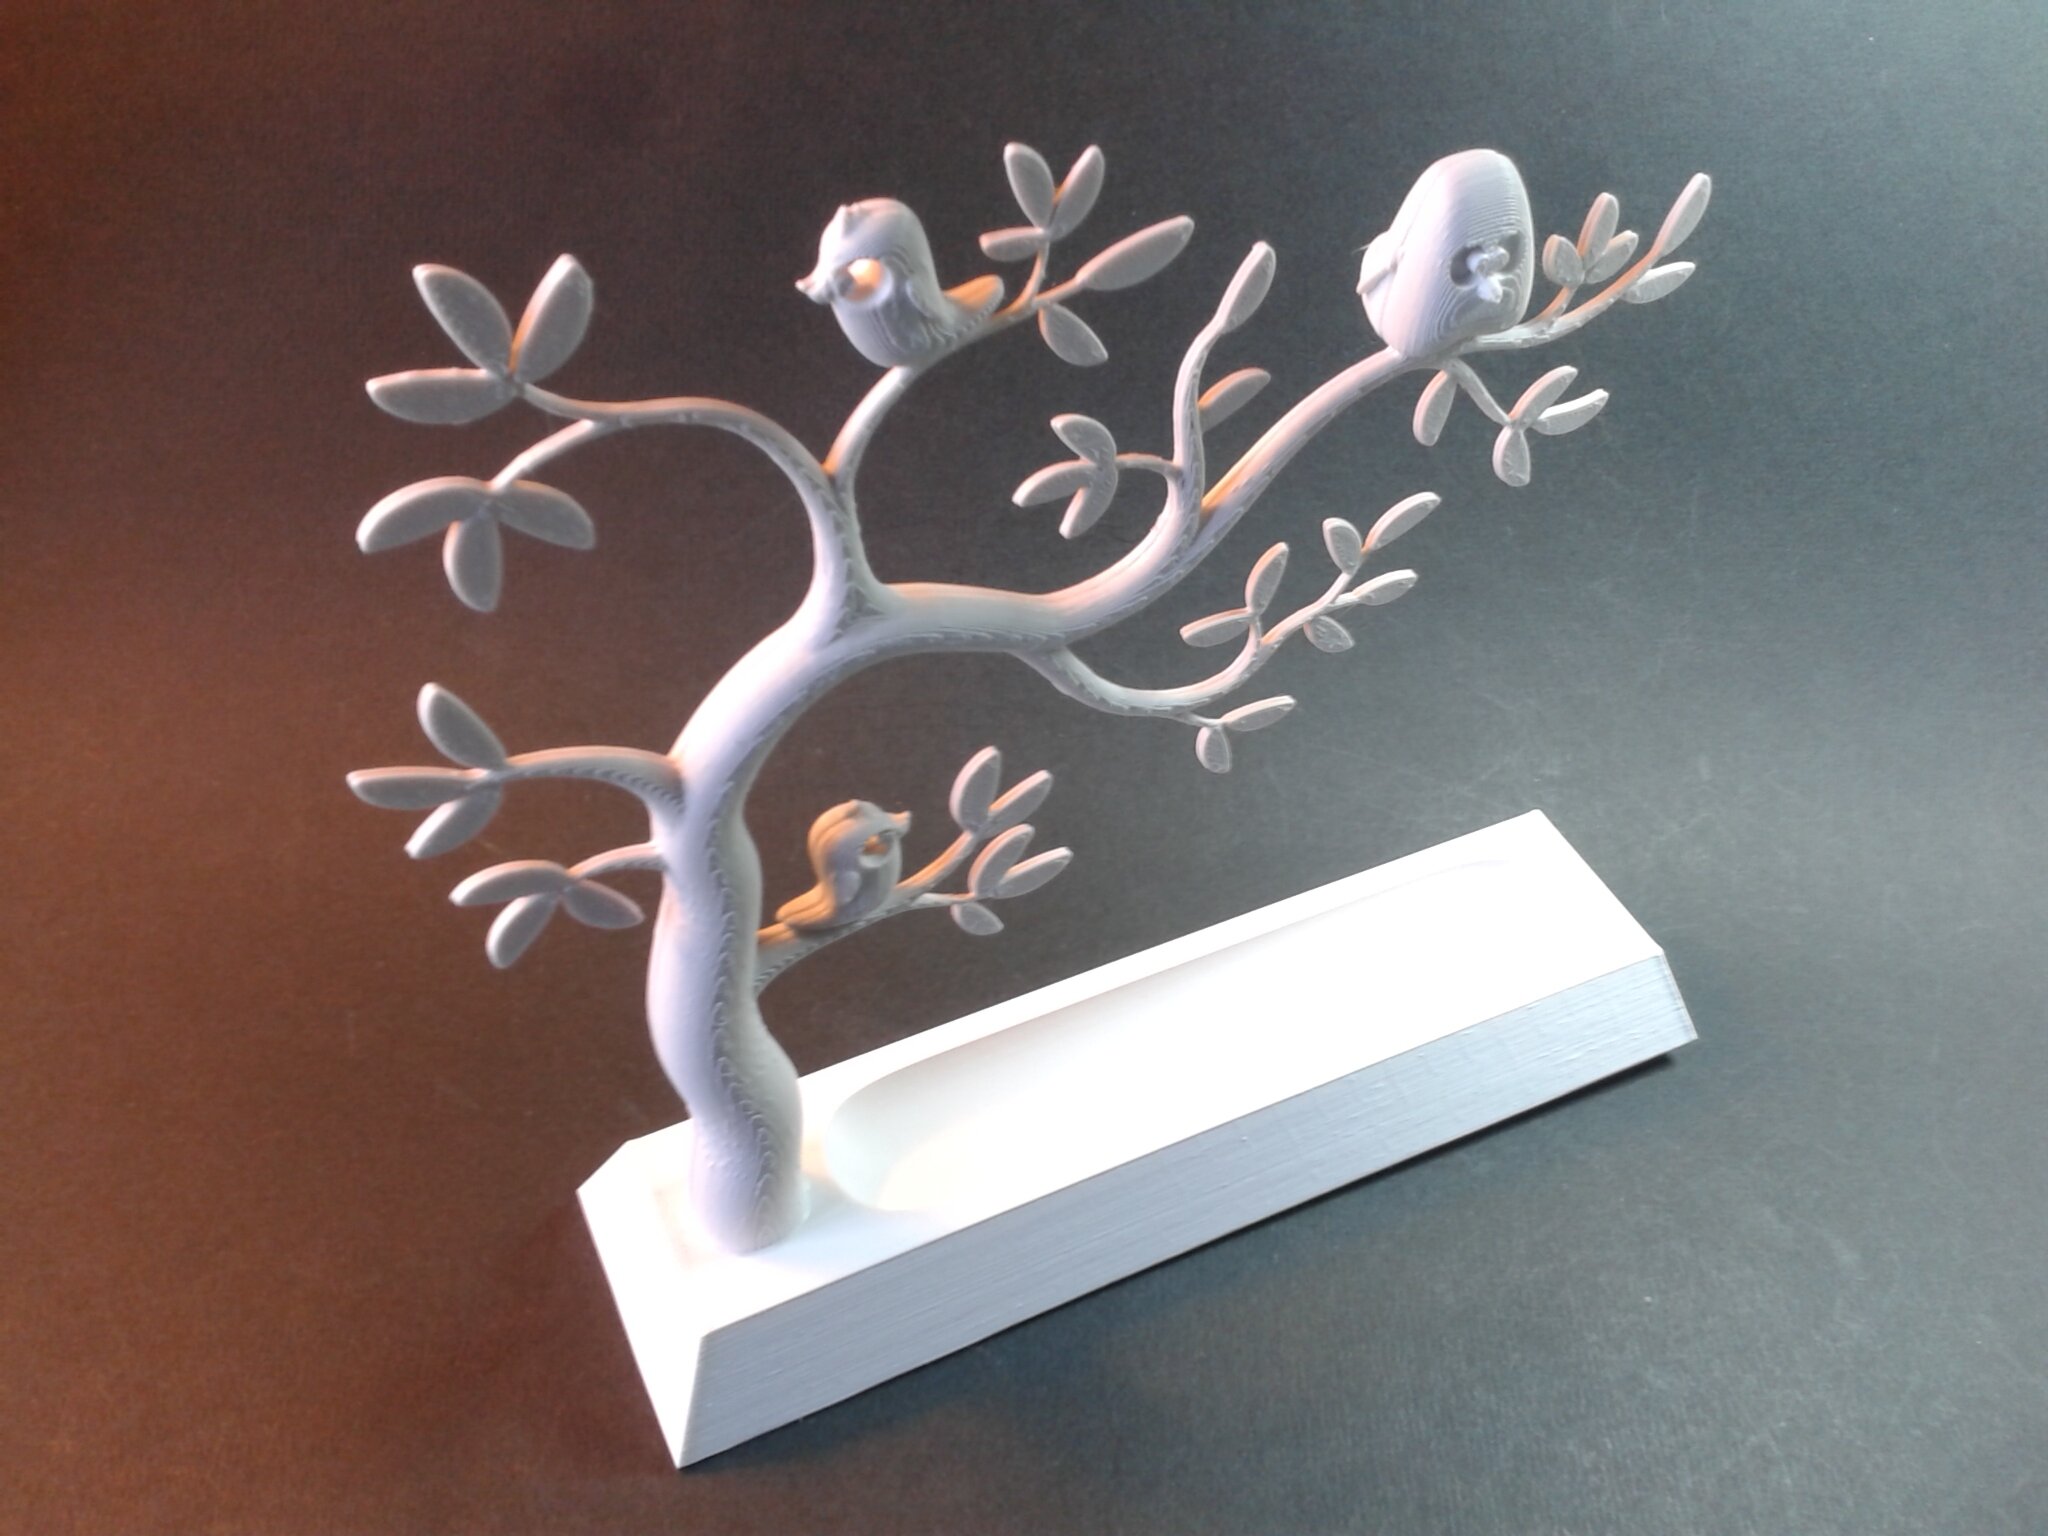
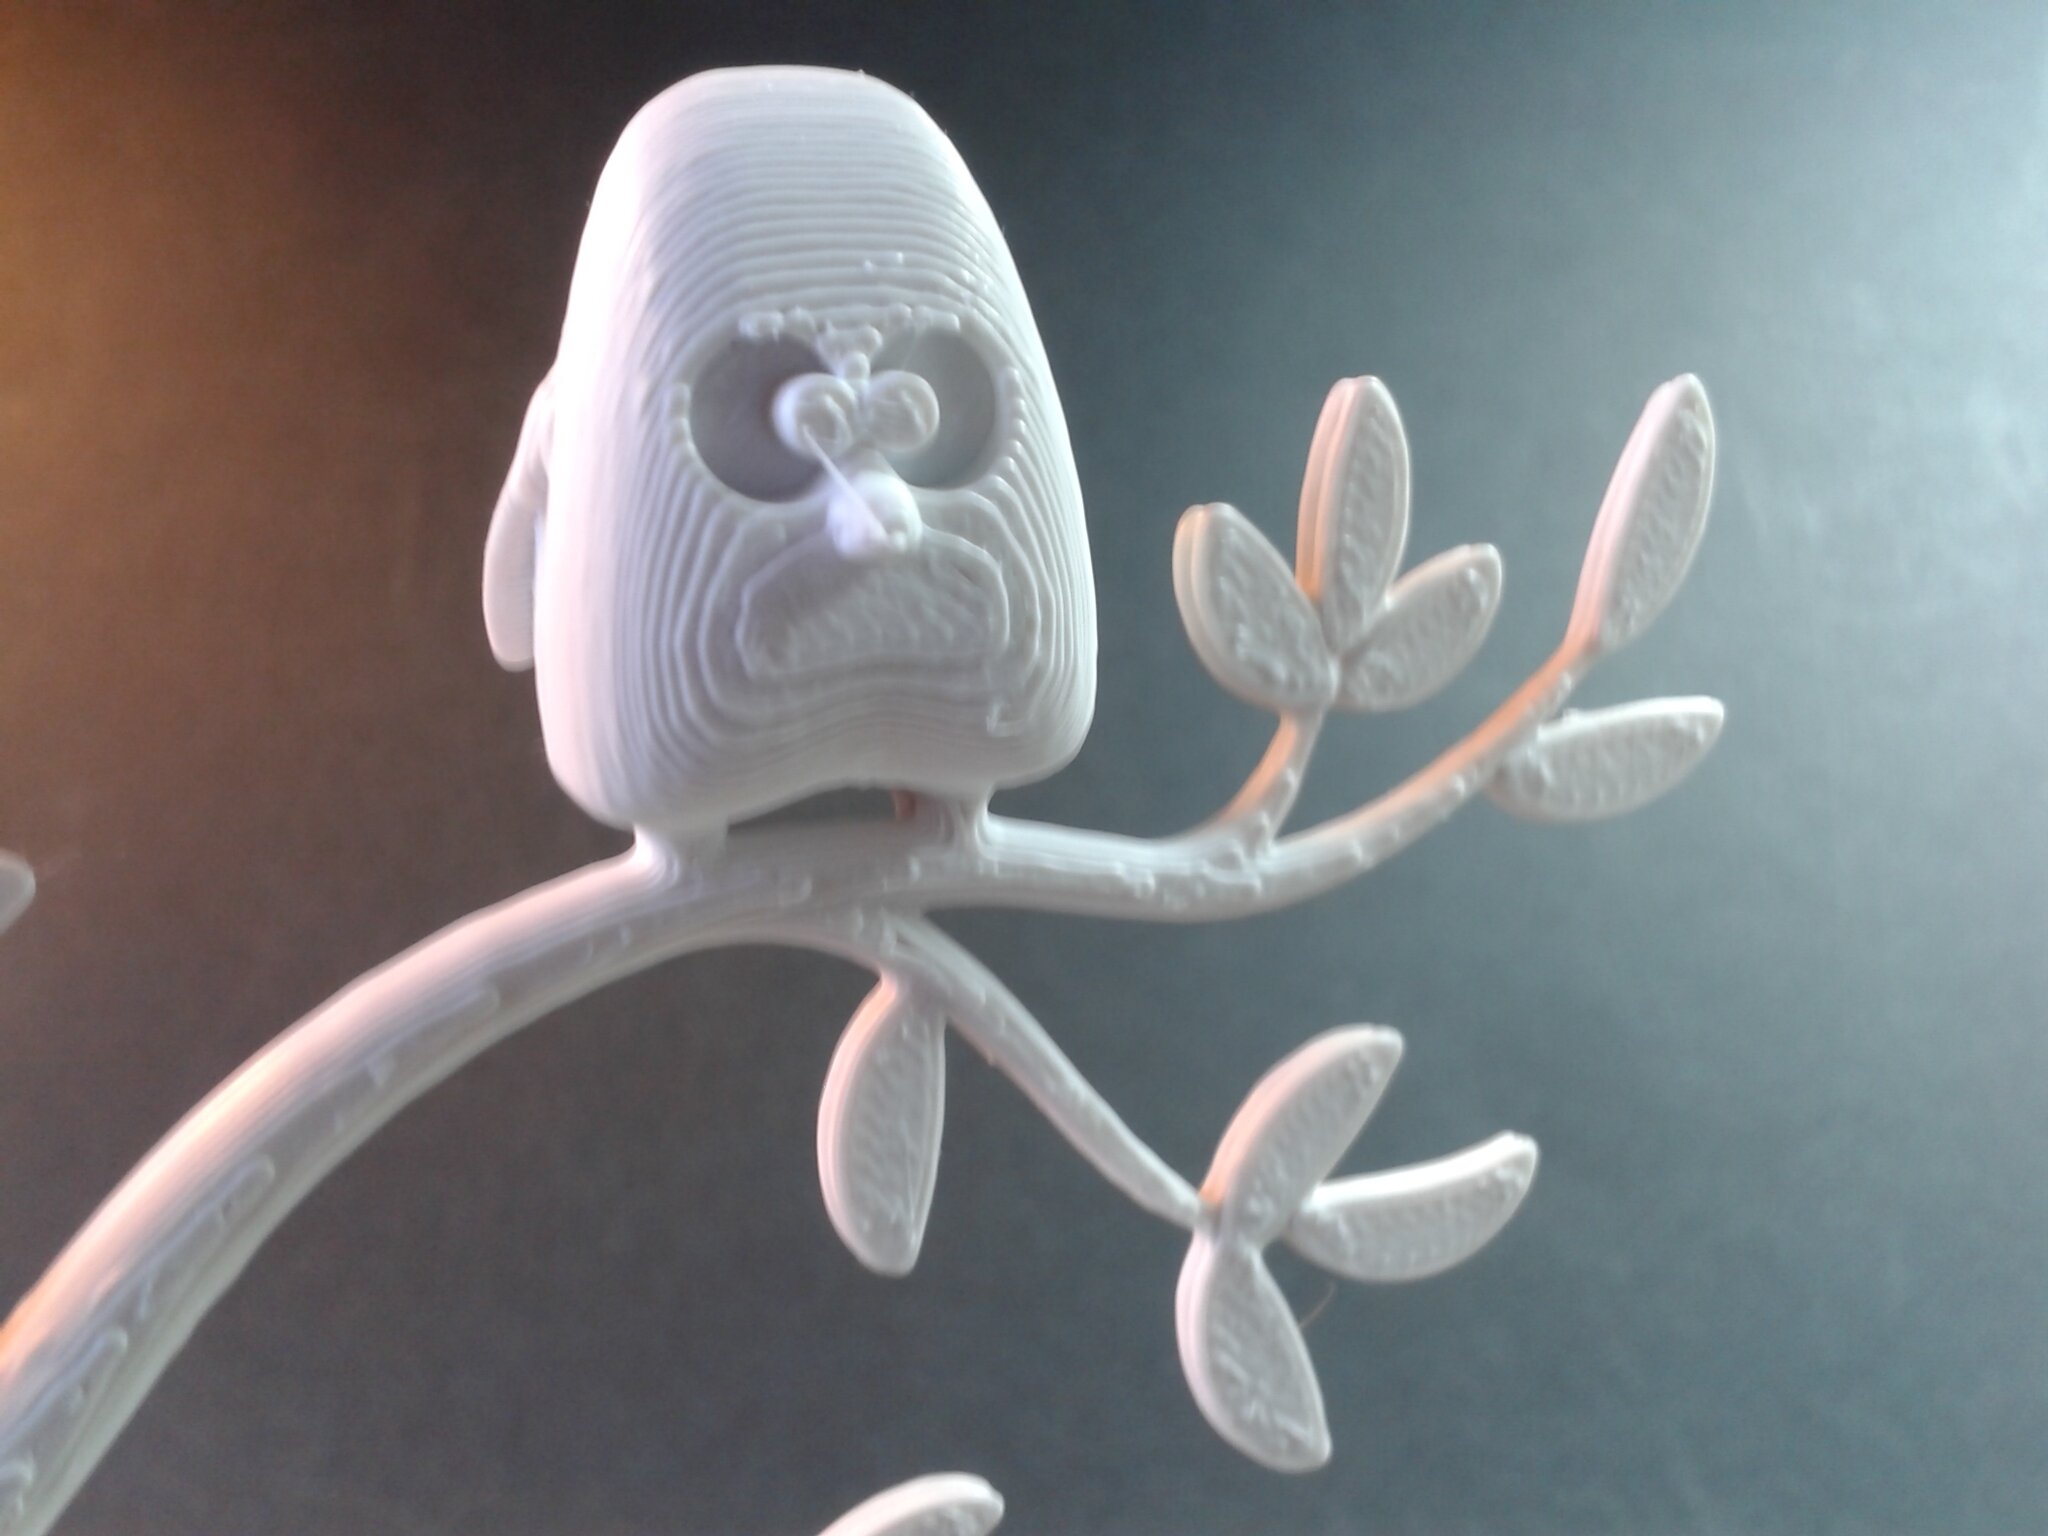
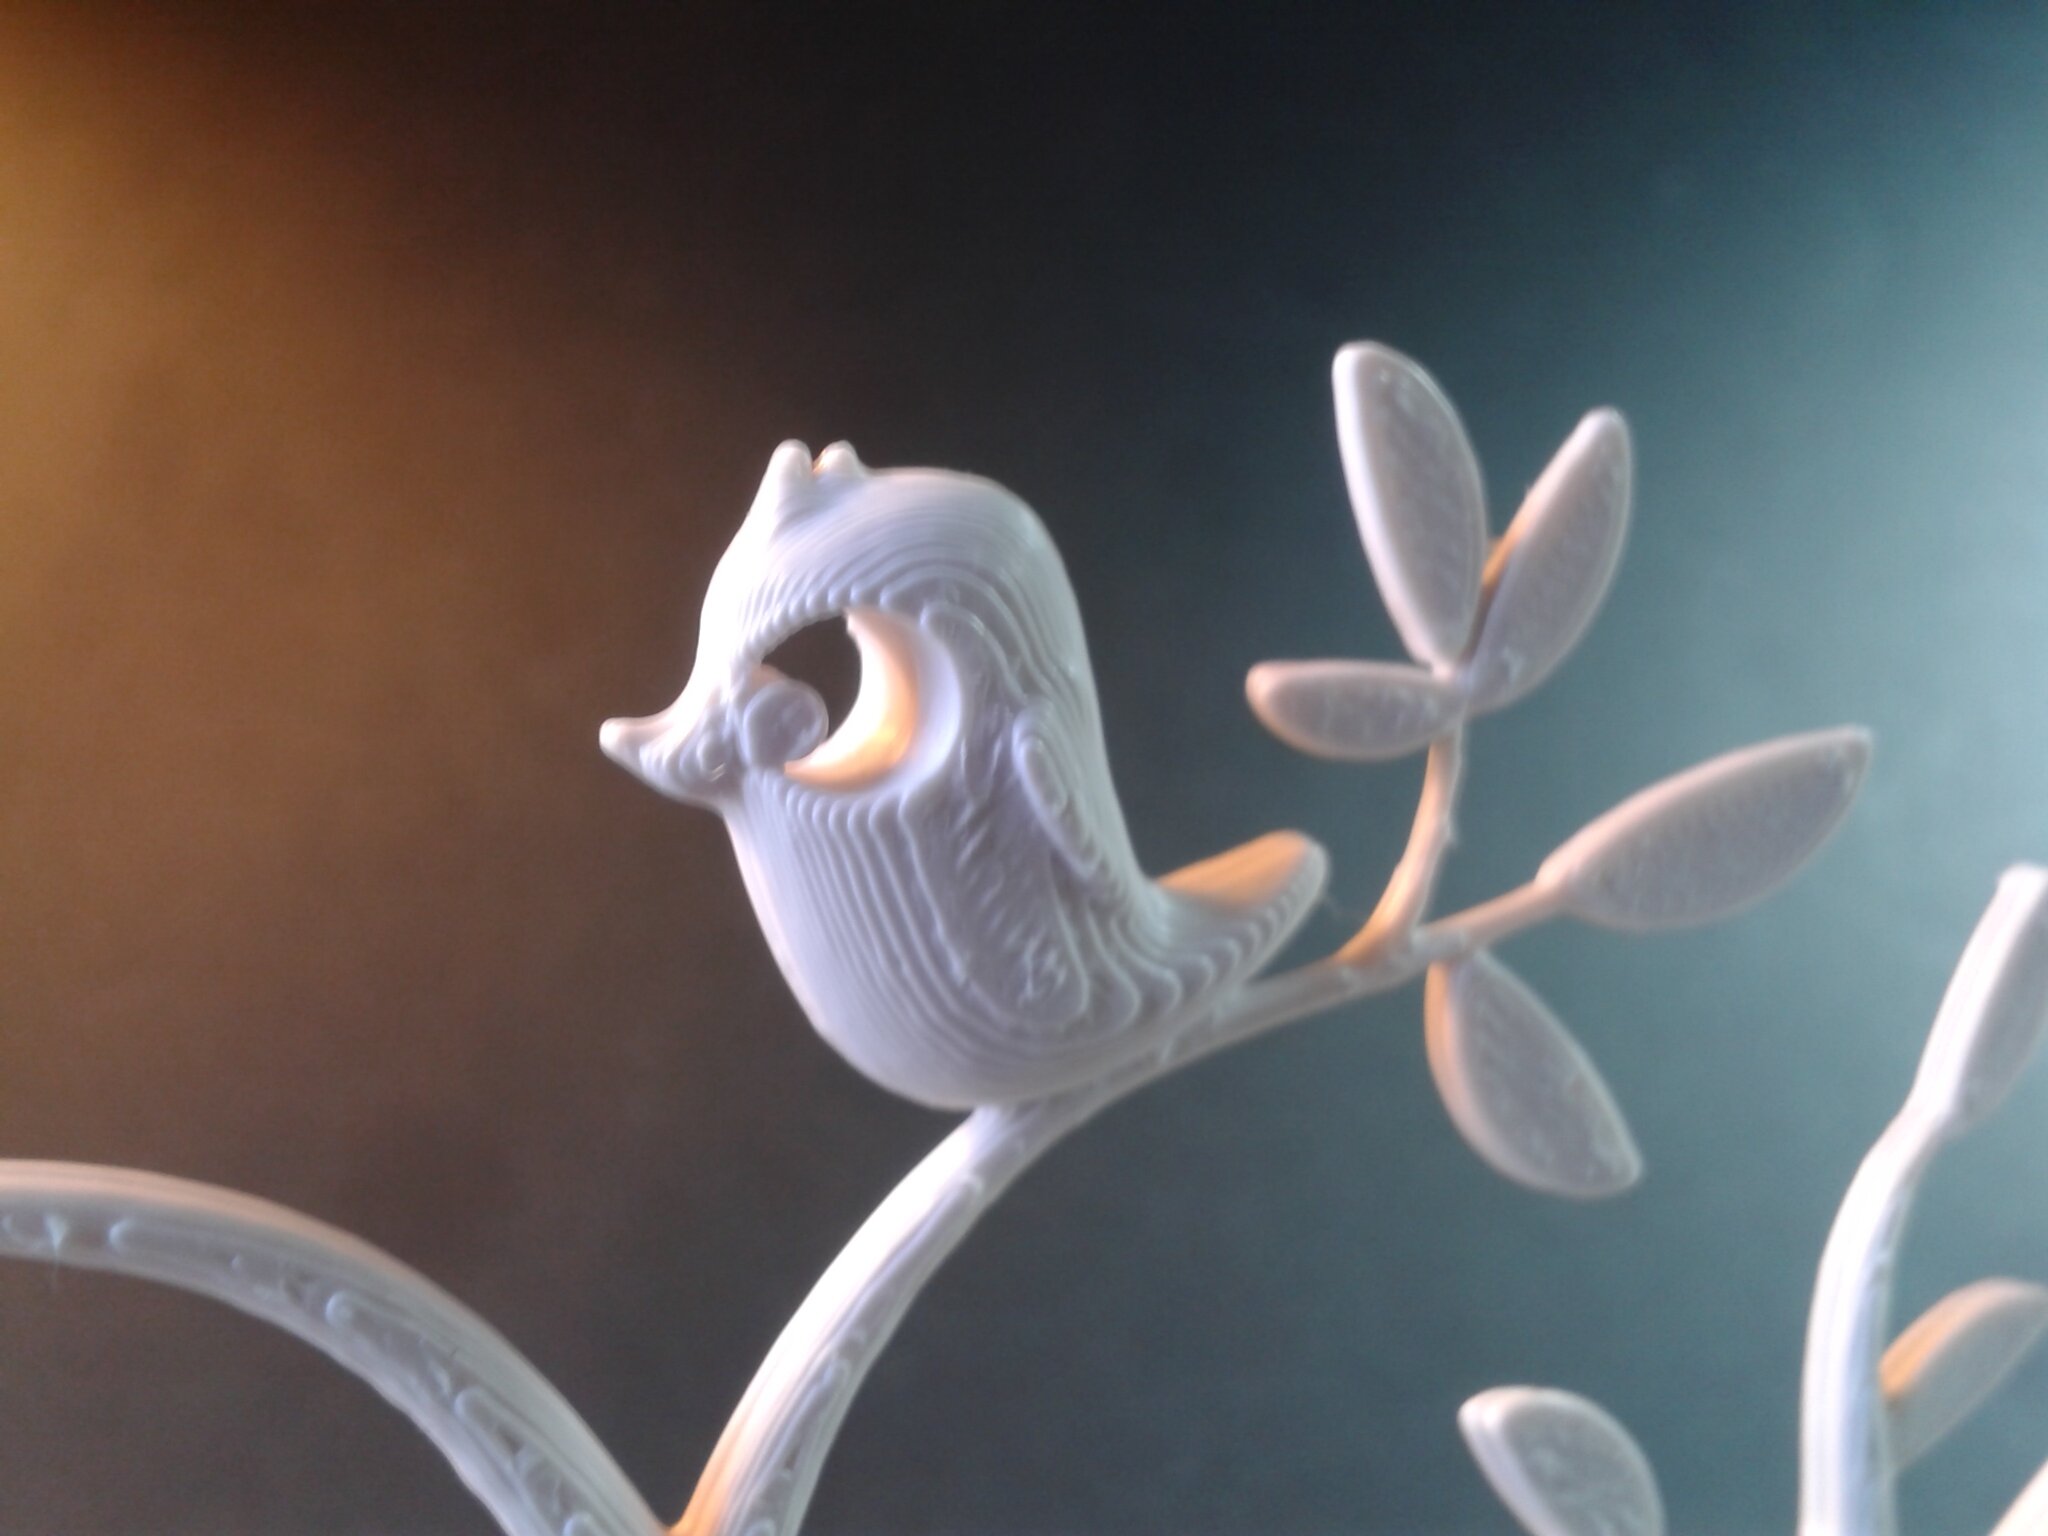
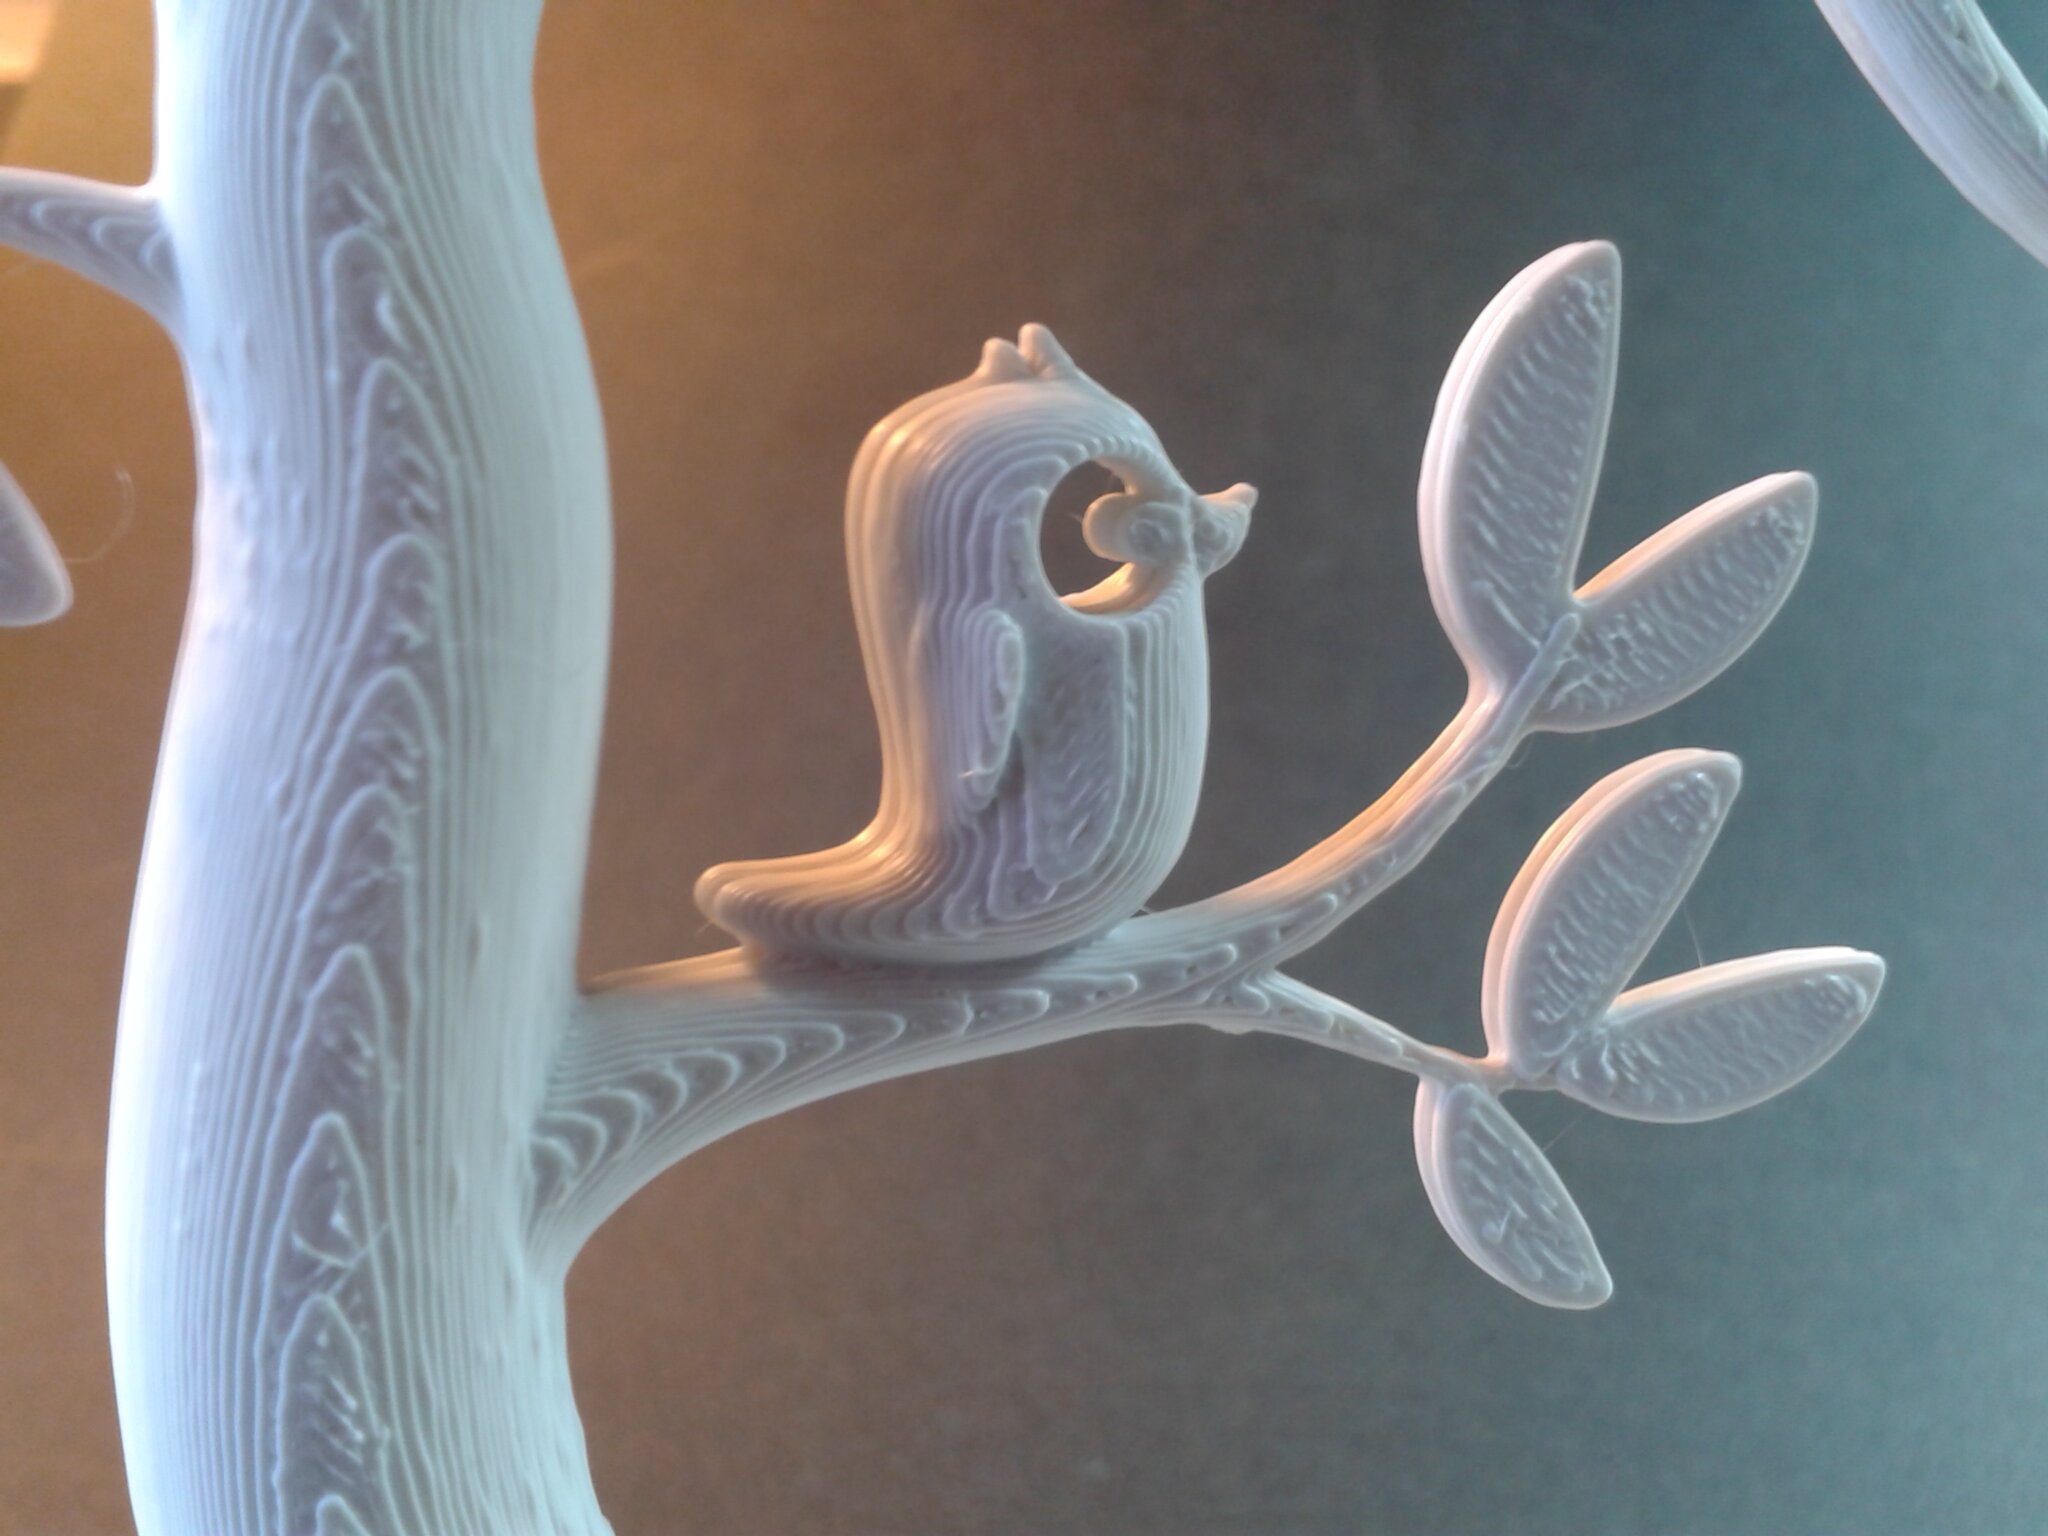
Arbre à bijoux
“Jewellery tree” de “AlexNZ” (gratuit).
En 3 plateaux, pour un total d’environ 3 h 9 min d’impression.
QidiSlicer v1.1.0, “0.20 mm Fine”, “Generic ABS” Modifié (Buse 240°C, Plateau 100°C, Chambre 50°C, Vitesse volumétrique maximale 11 mm³/s)
Filament ABS Blanc Velleman
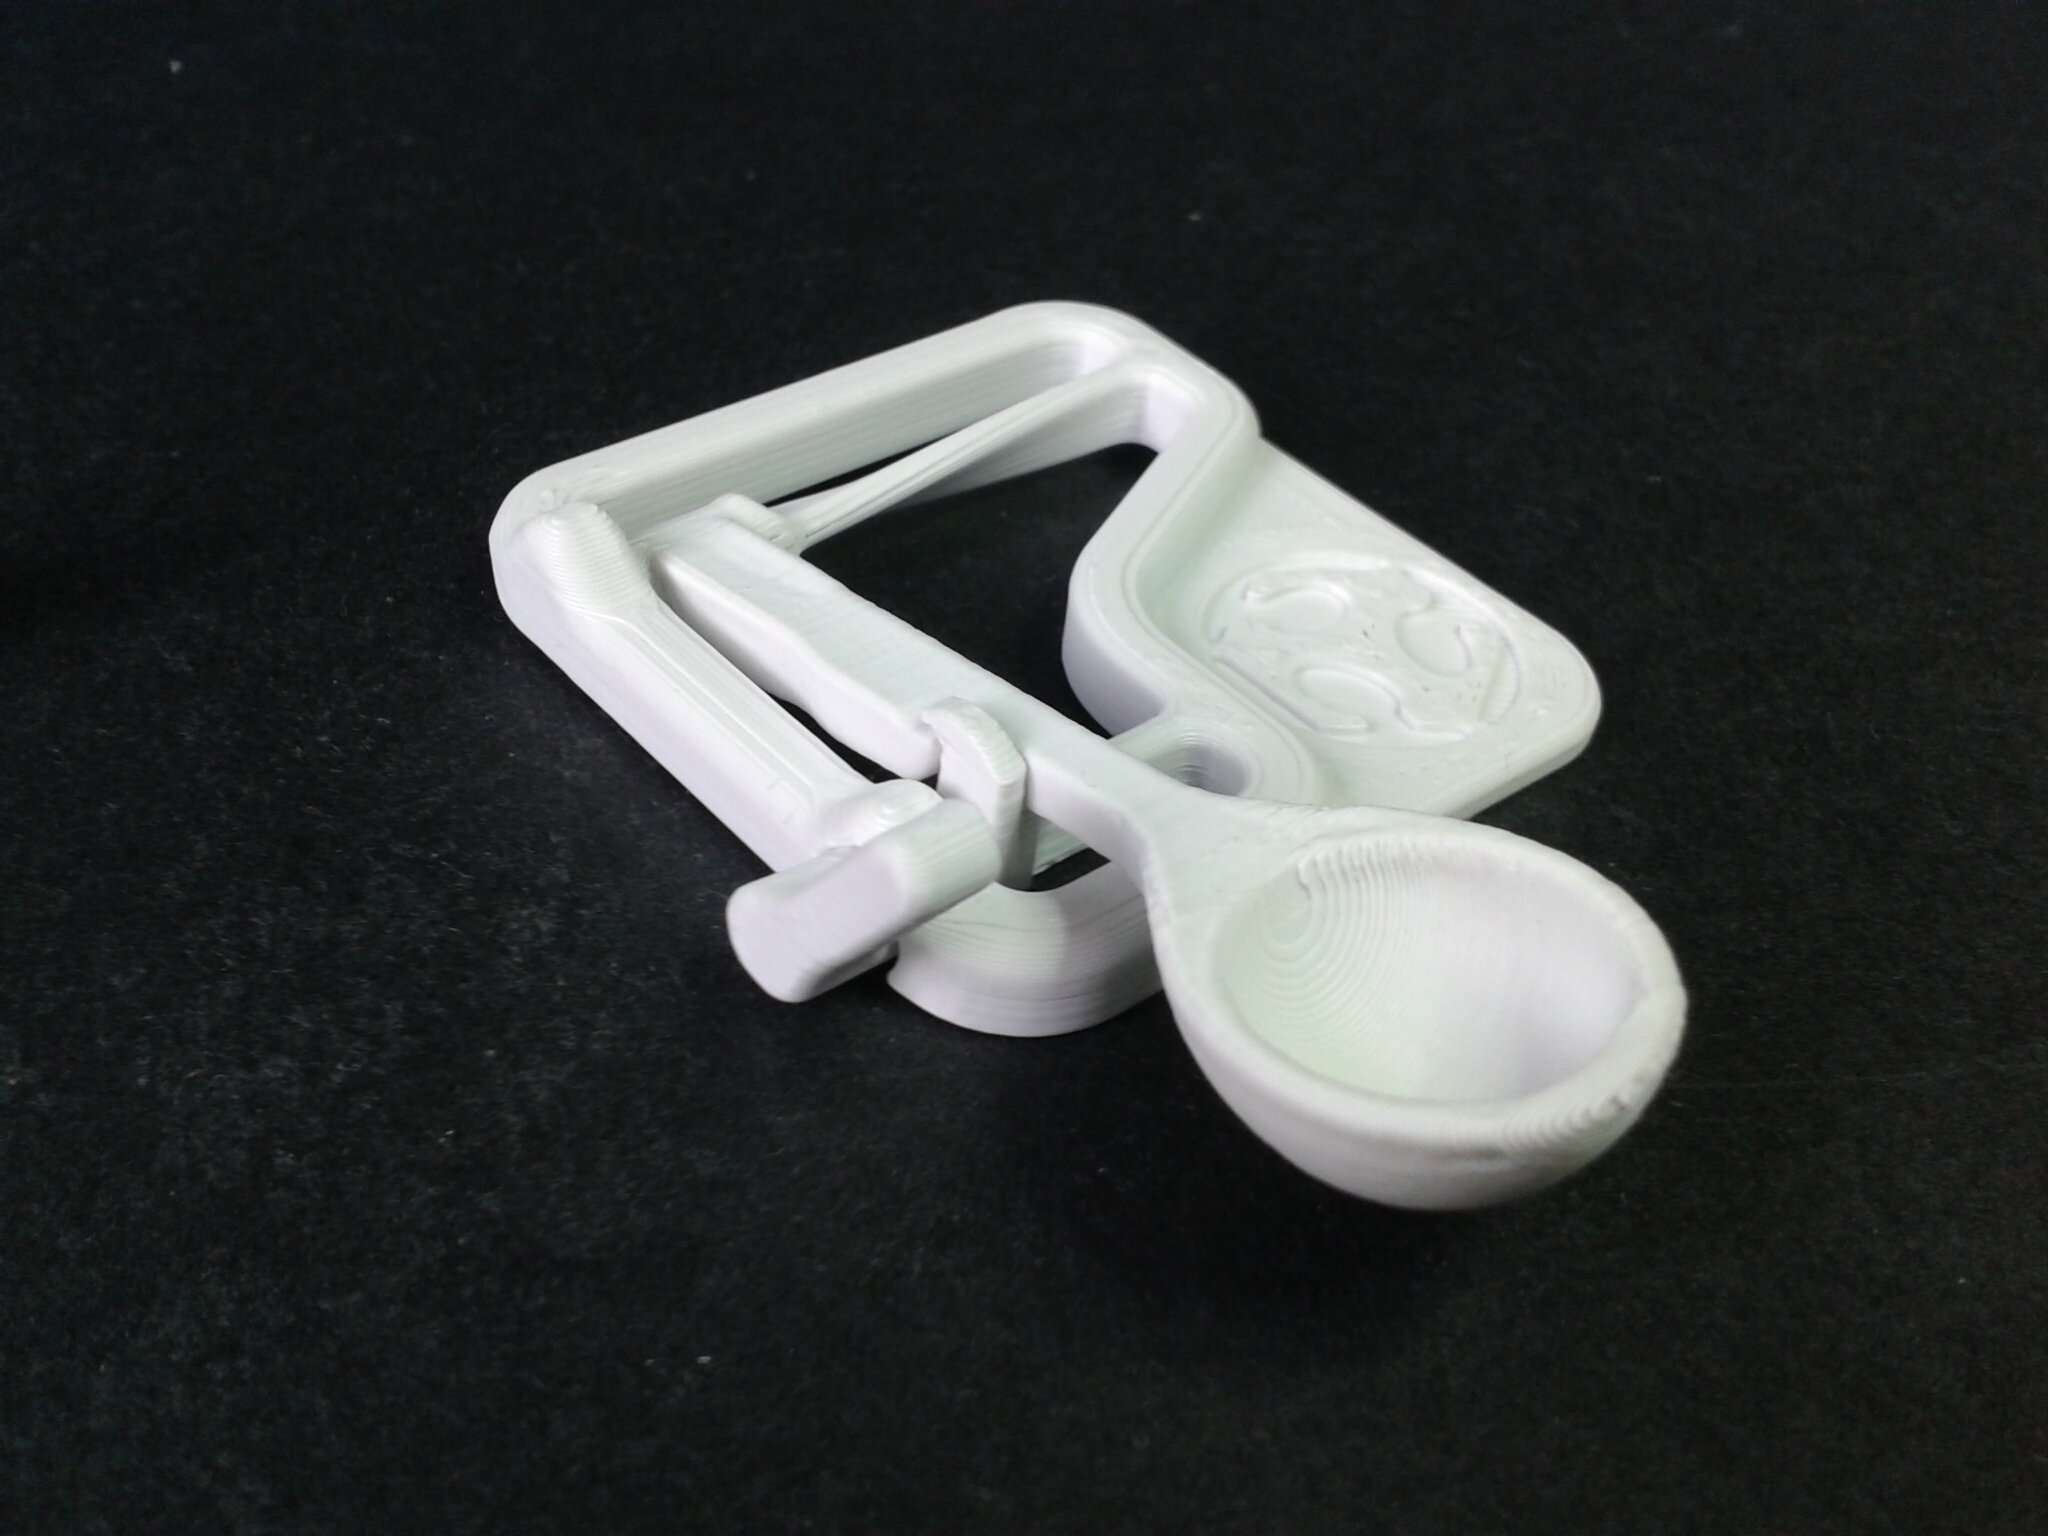
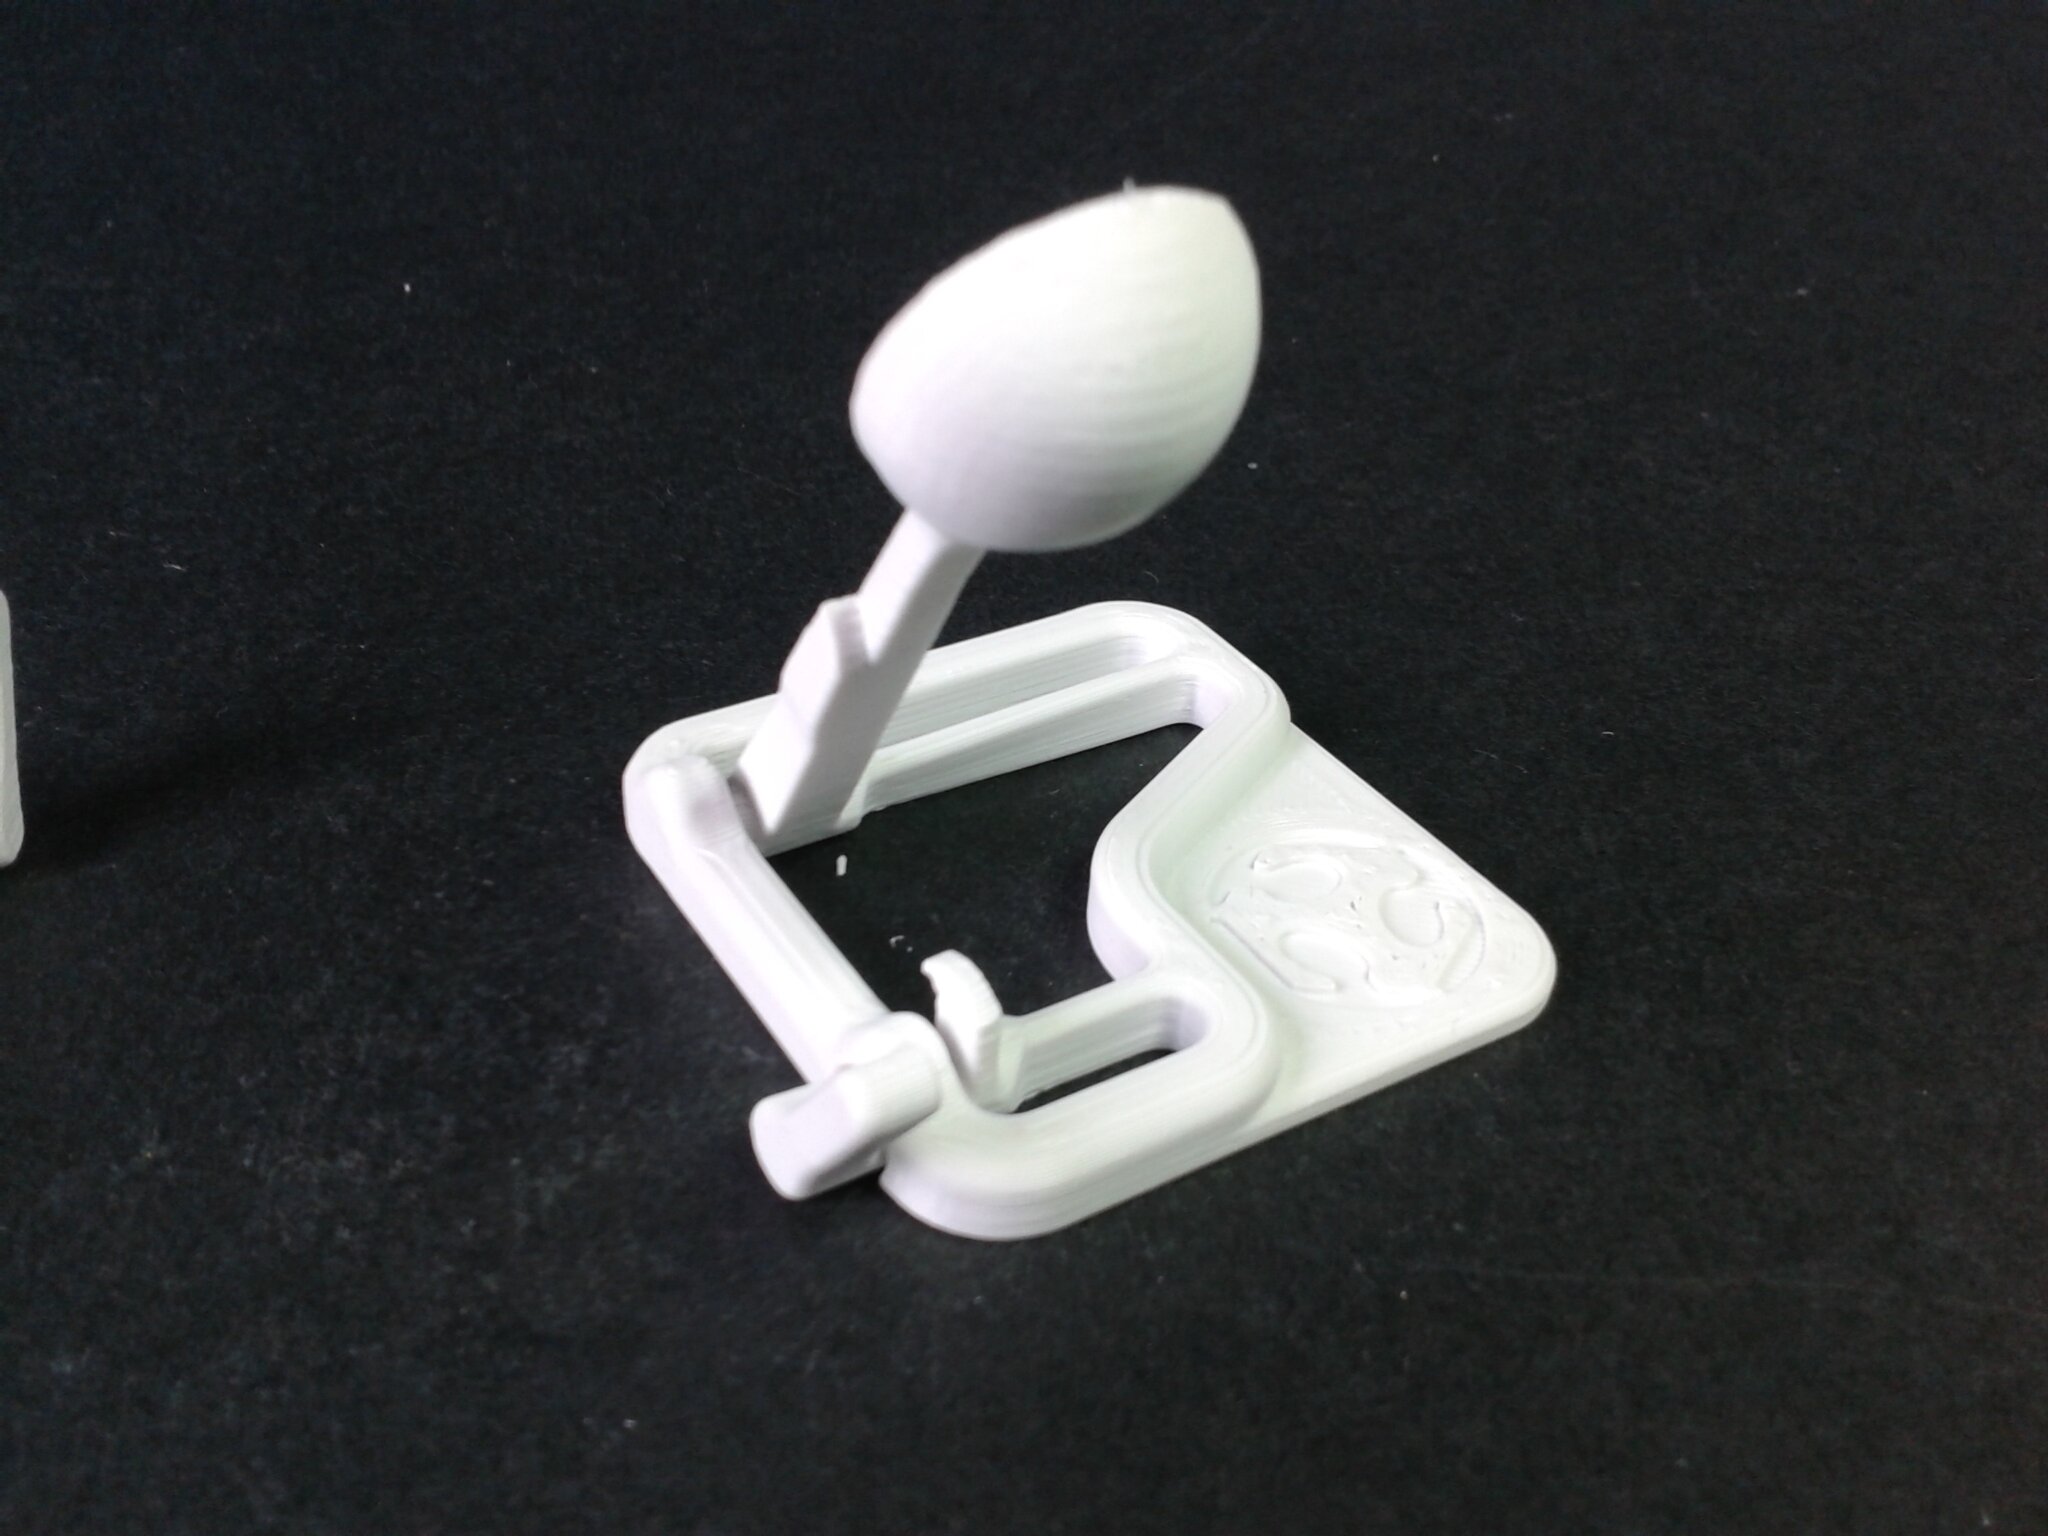
Micro-catapulte
“Micro Catapult” de “LukeTansell” (gratuit).
J’ai imprimé les deux versions, fichiers .stl. Les deux catapultes de mon premier tranchage “0.20 mm Fine” se sont de suite ou très vite cassées.
L’impression d’un second tranchage (Strengt) qui a durée 1h08 m’a donné une catapulte qui résiste pour l’instant.
QidiSlicer v1.1.0, “0.20 mm Strengt”, “Generic ABS” Modifié (Buse 240°C, Plateau 100°C, Chambre 50°C, Vitesse volumétrique maximale 11 mm³/s)
Filament ABS Blanc Velleman
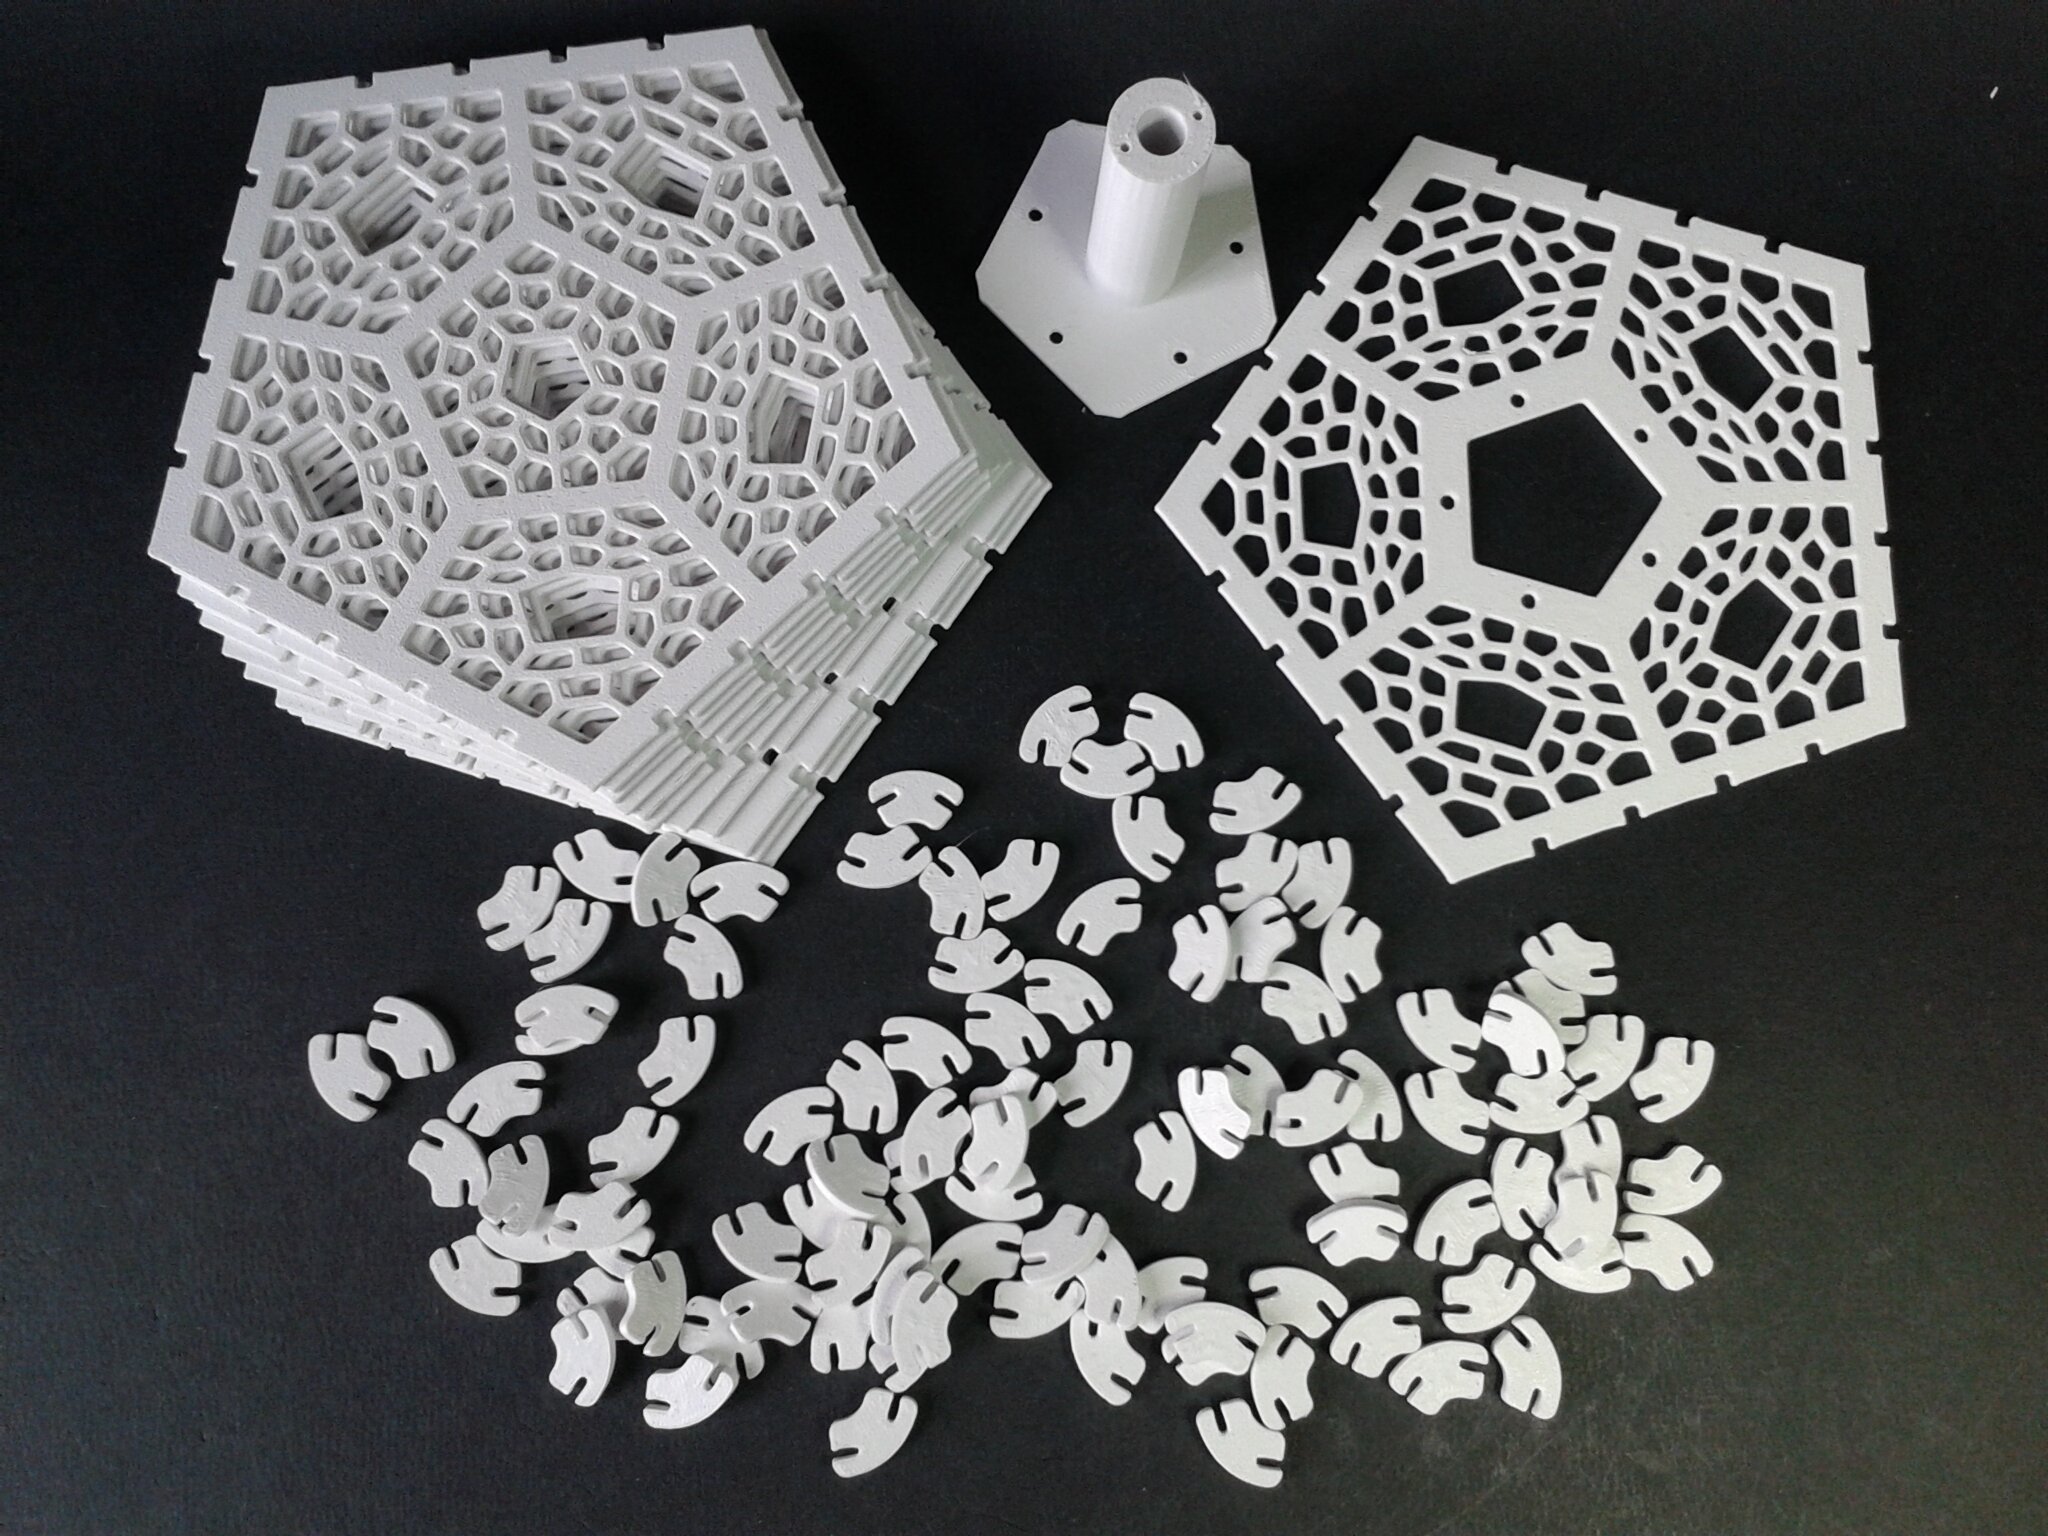
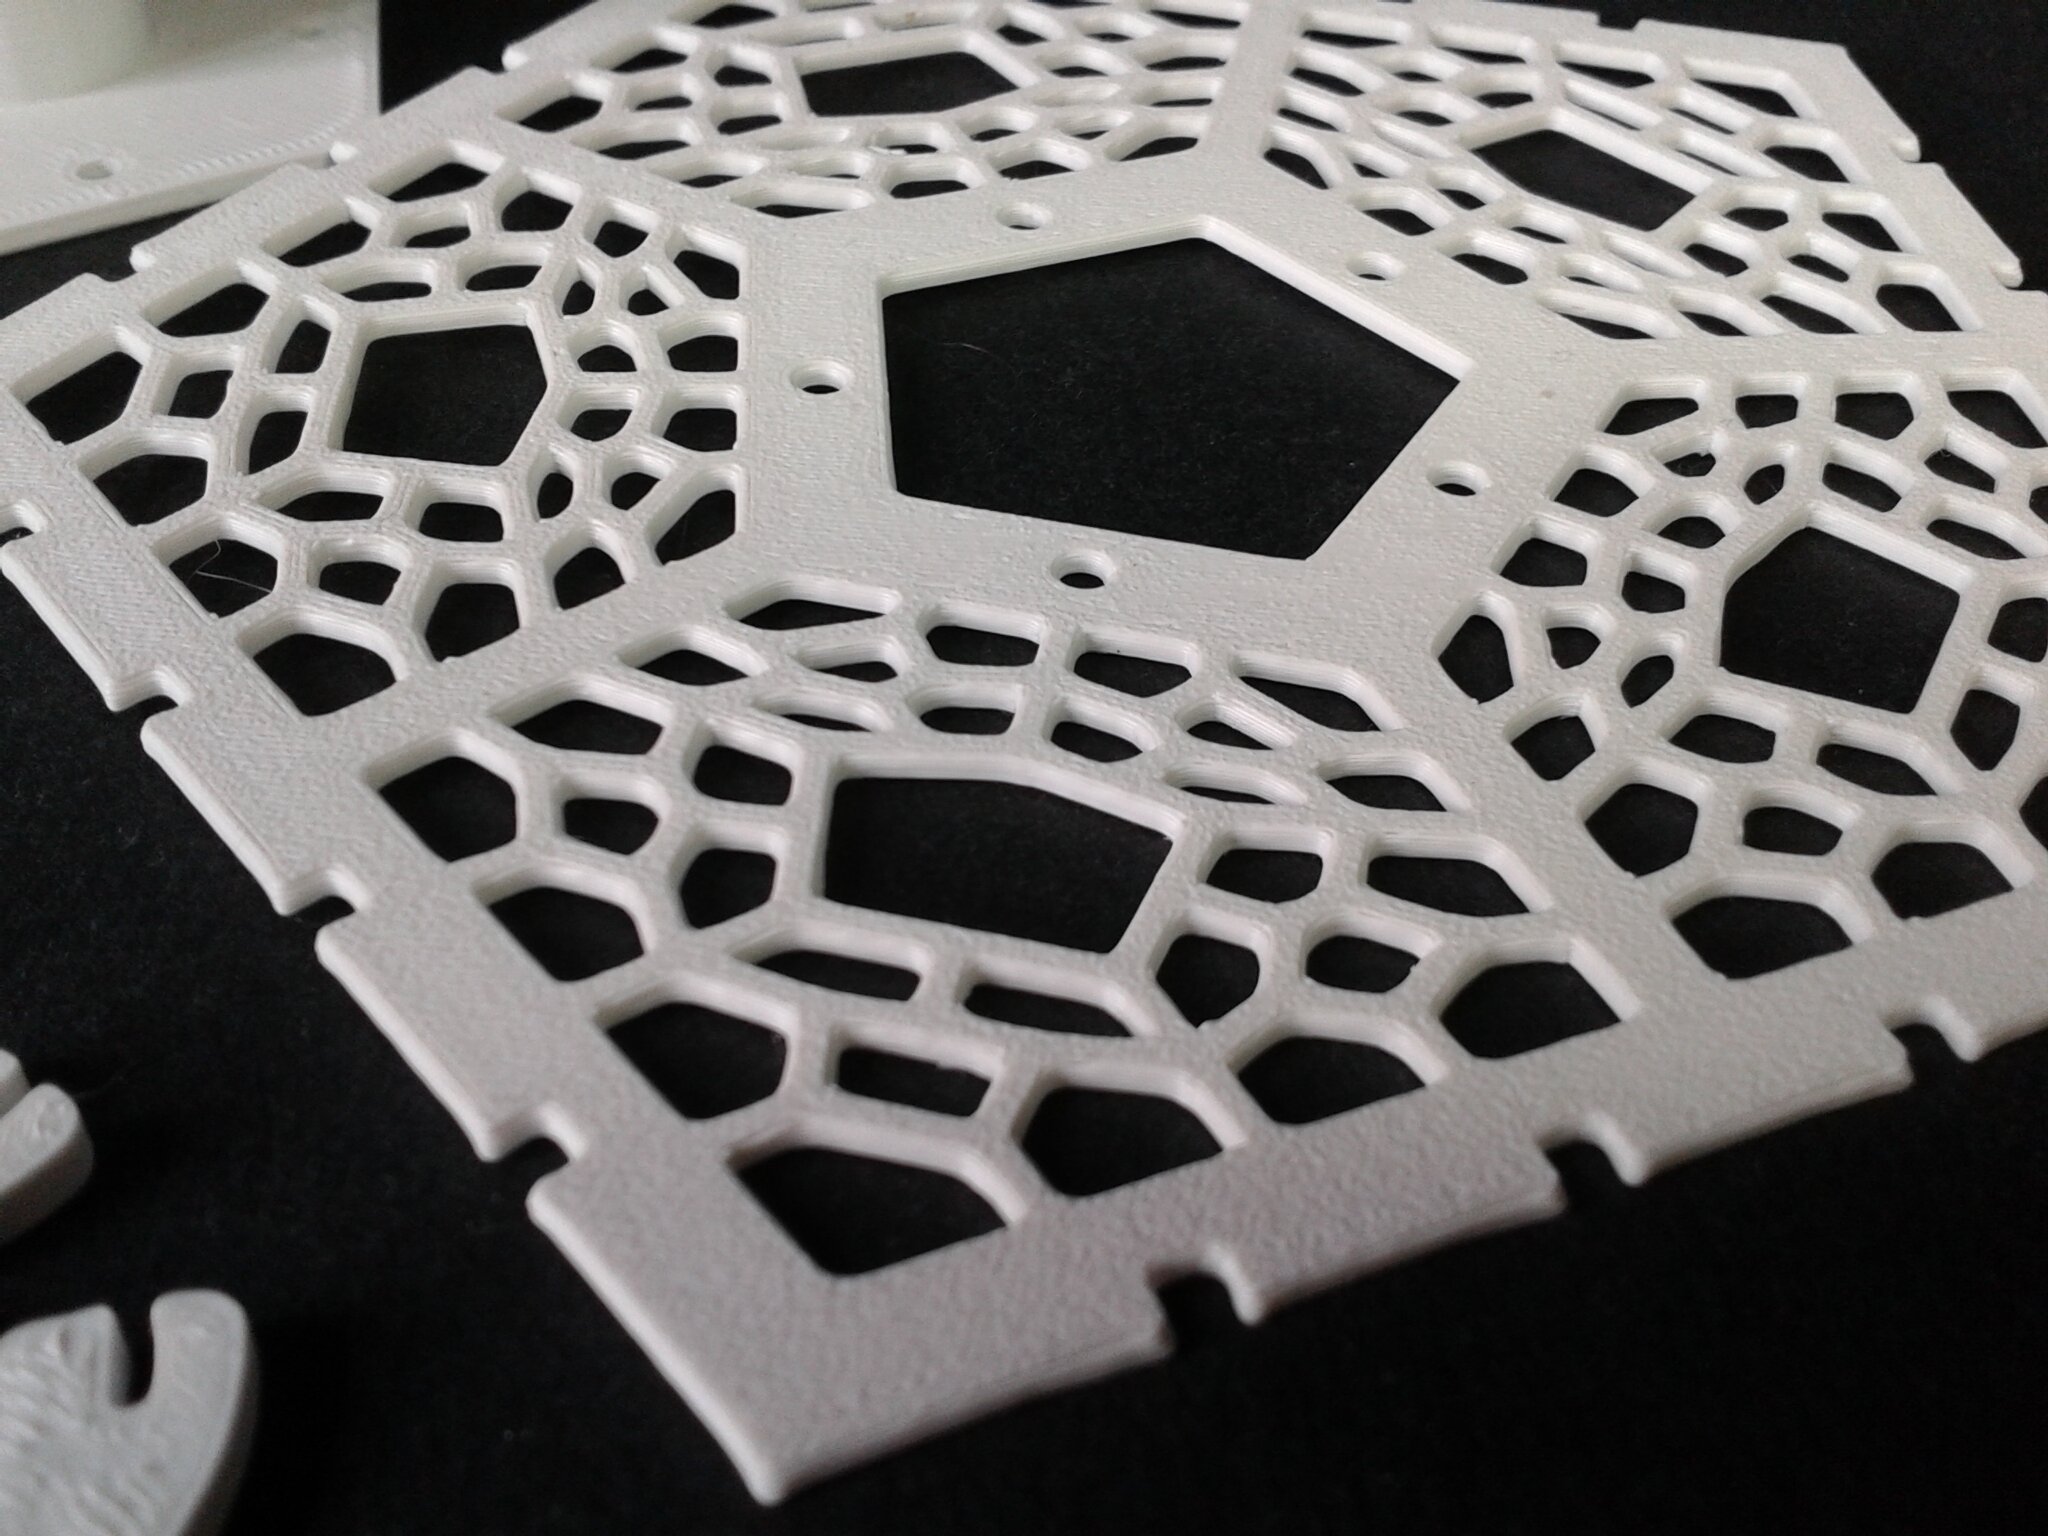
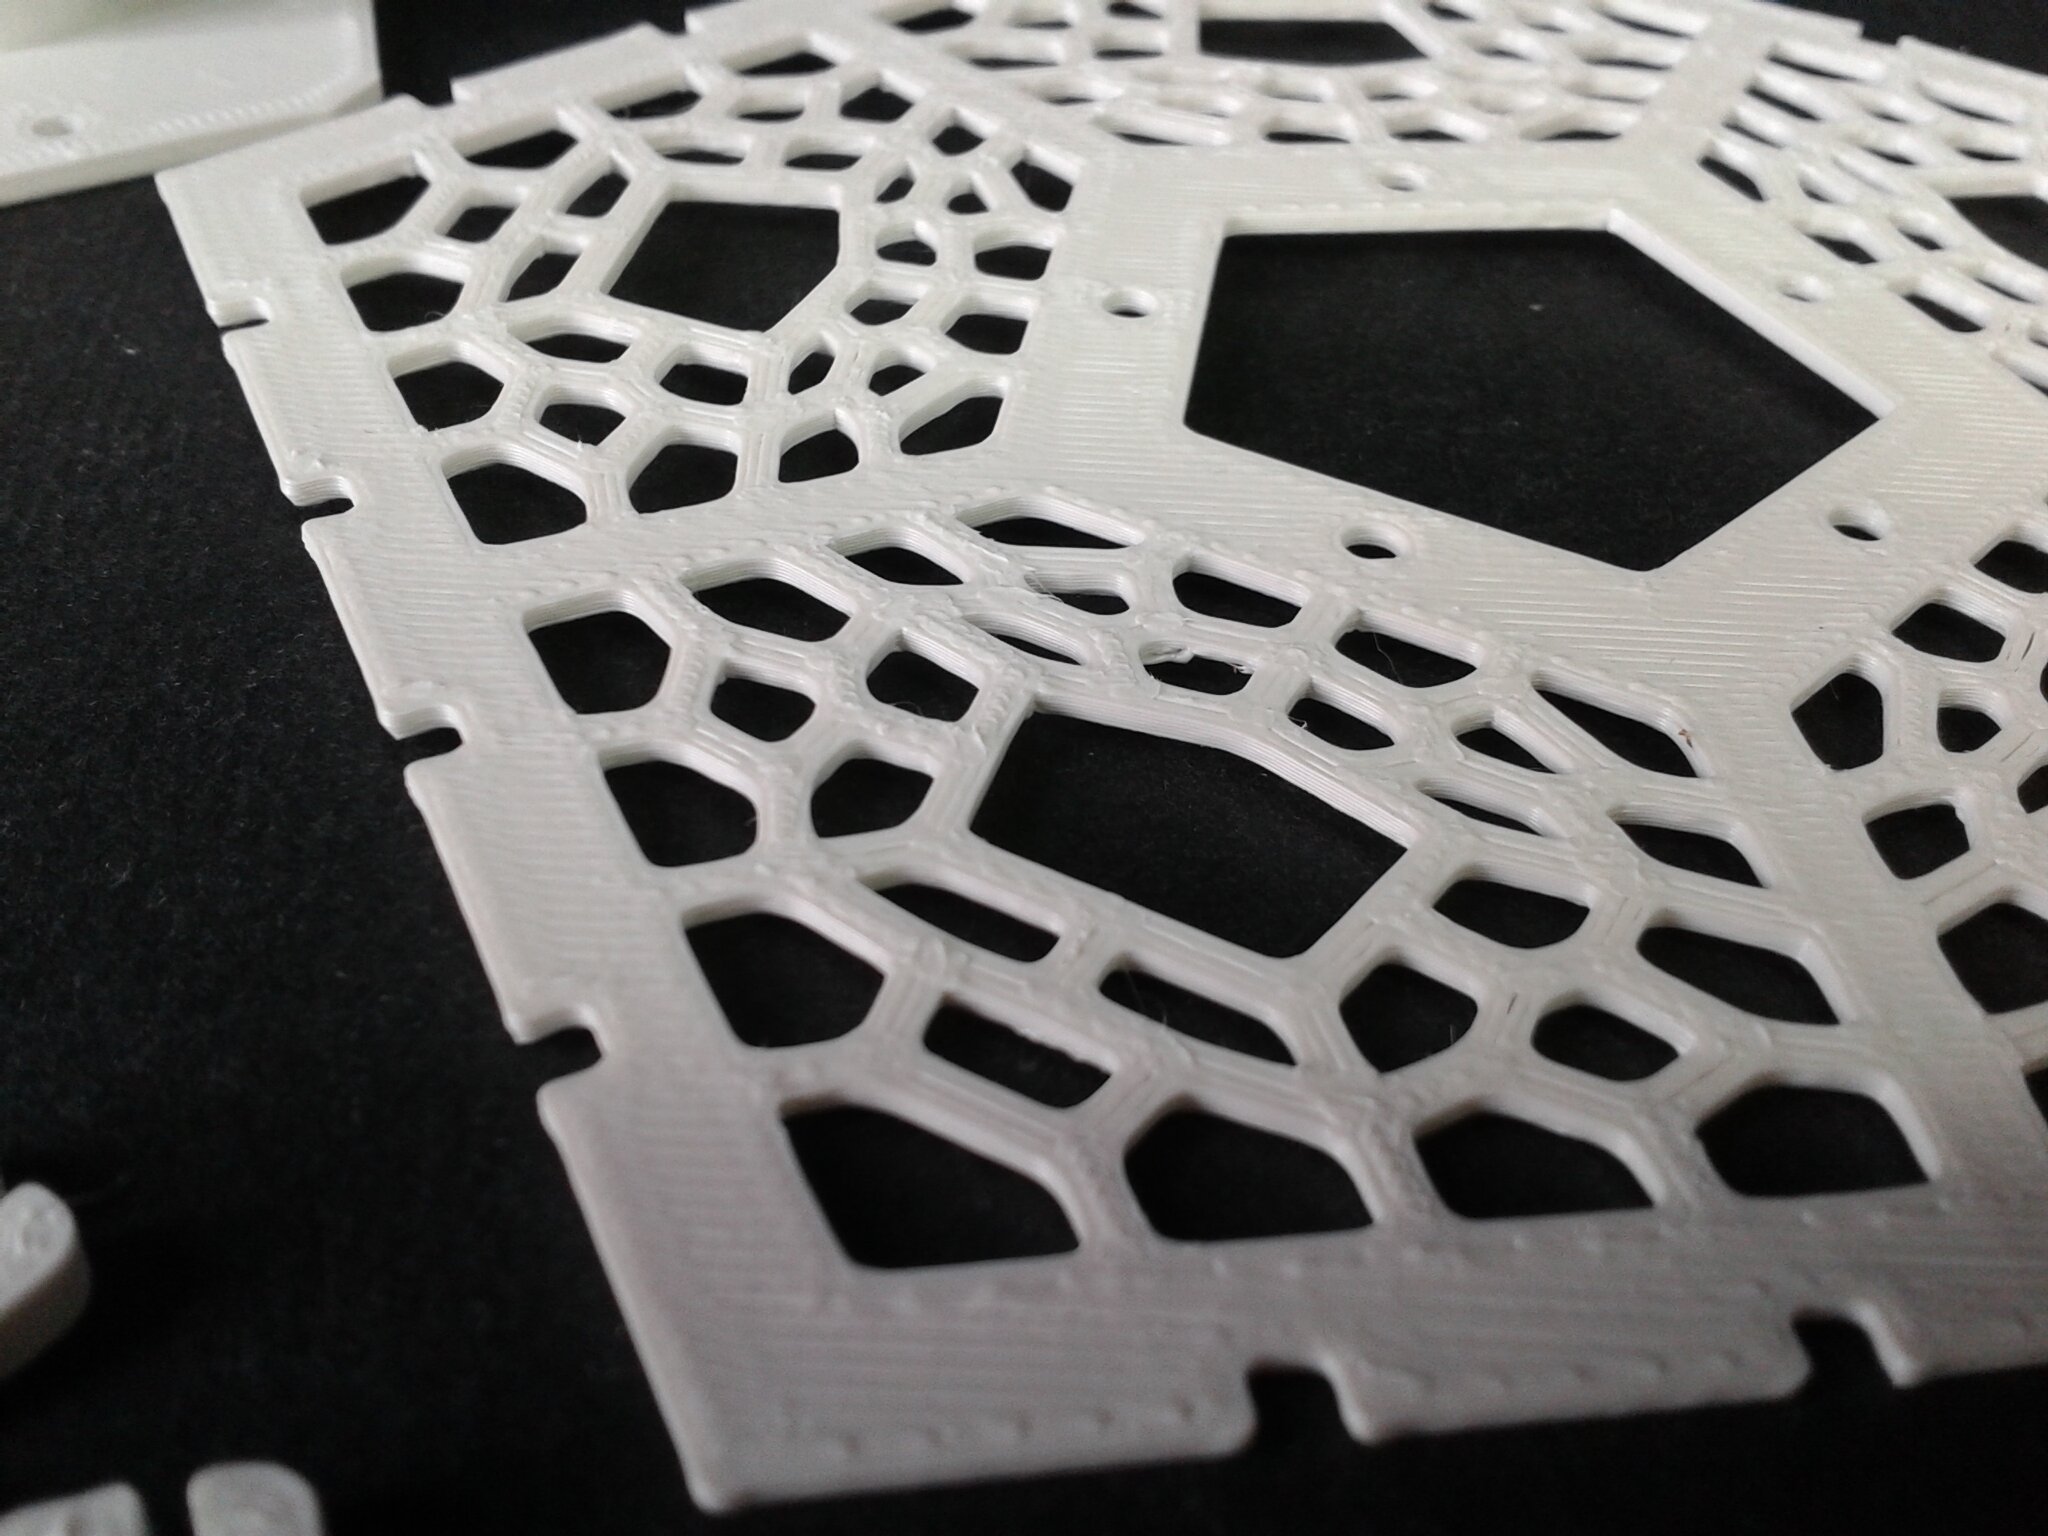
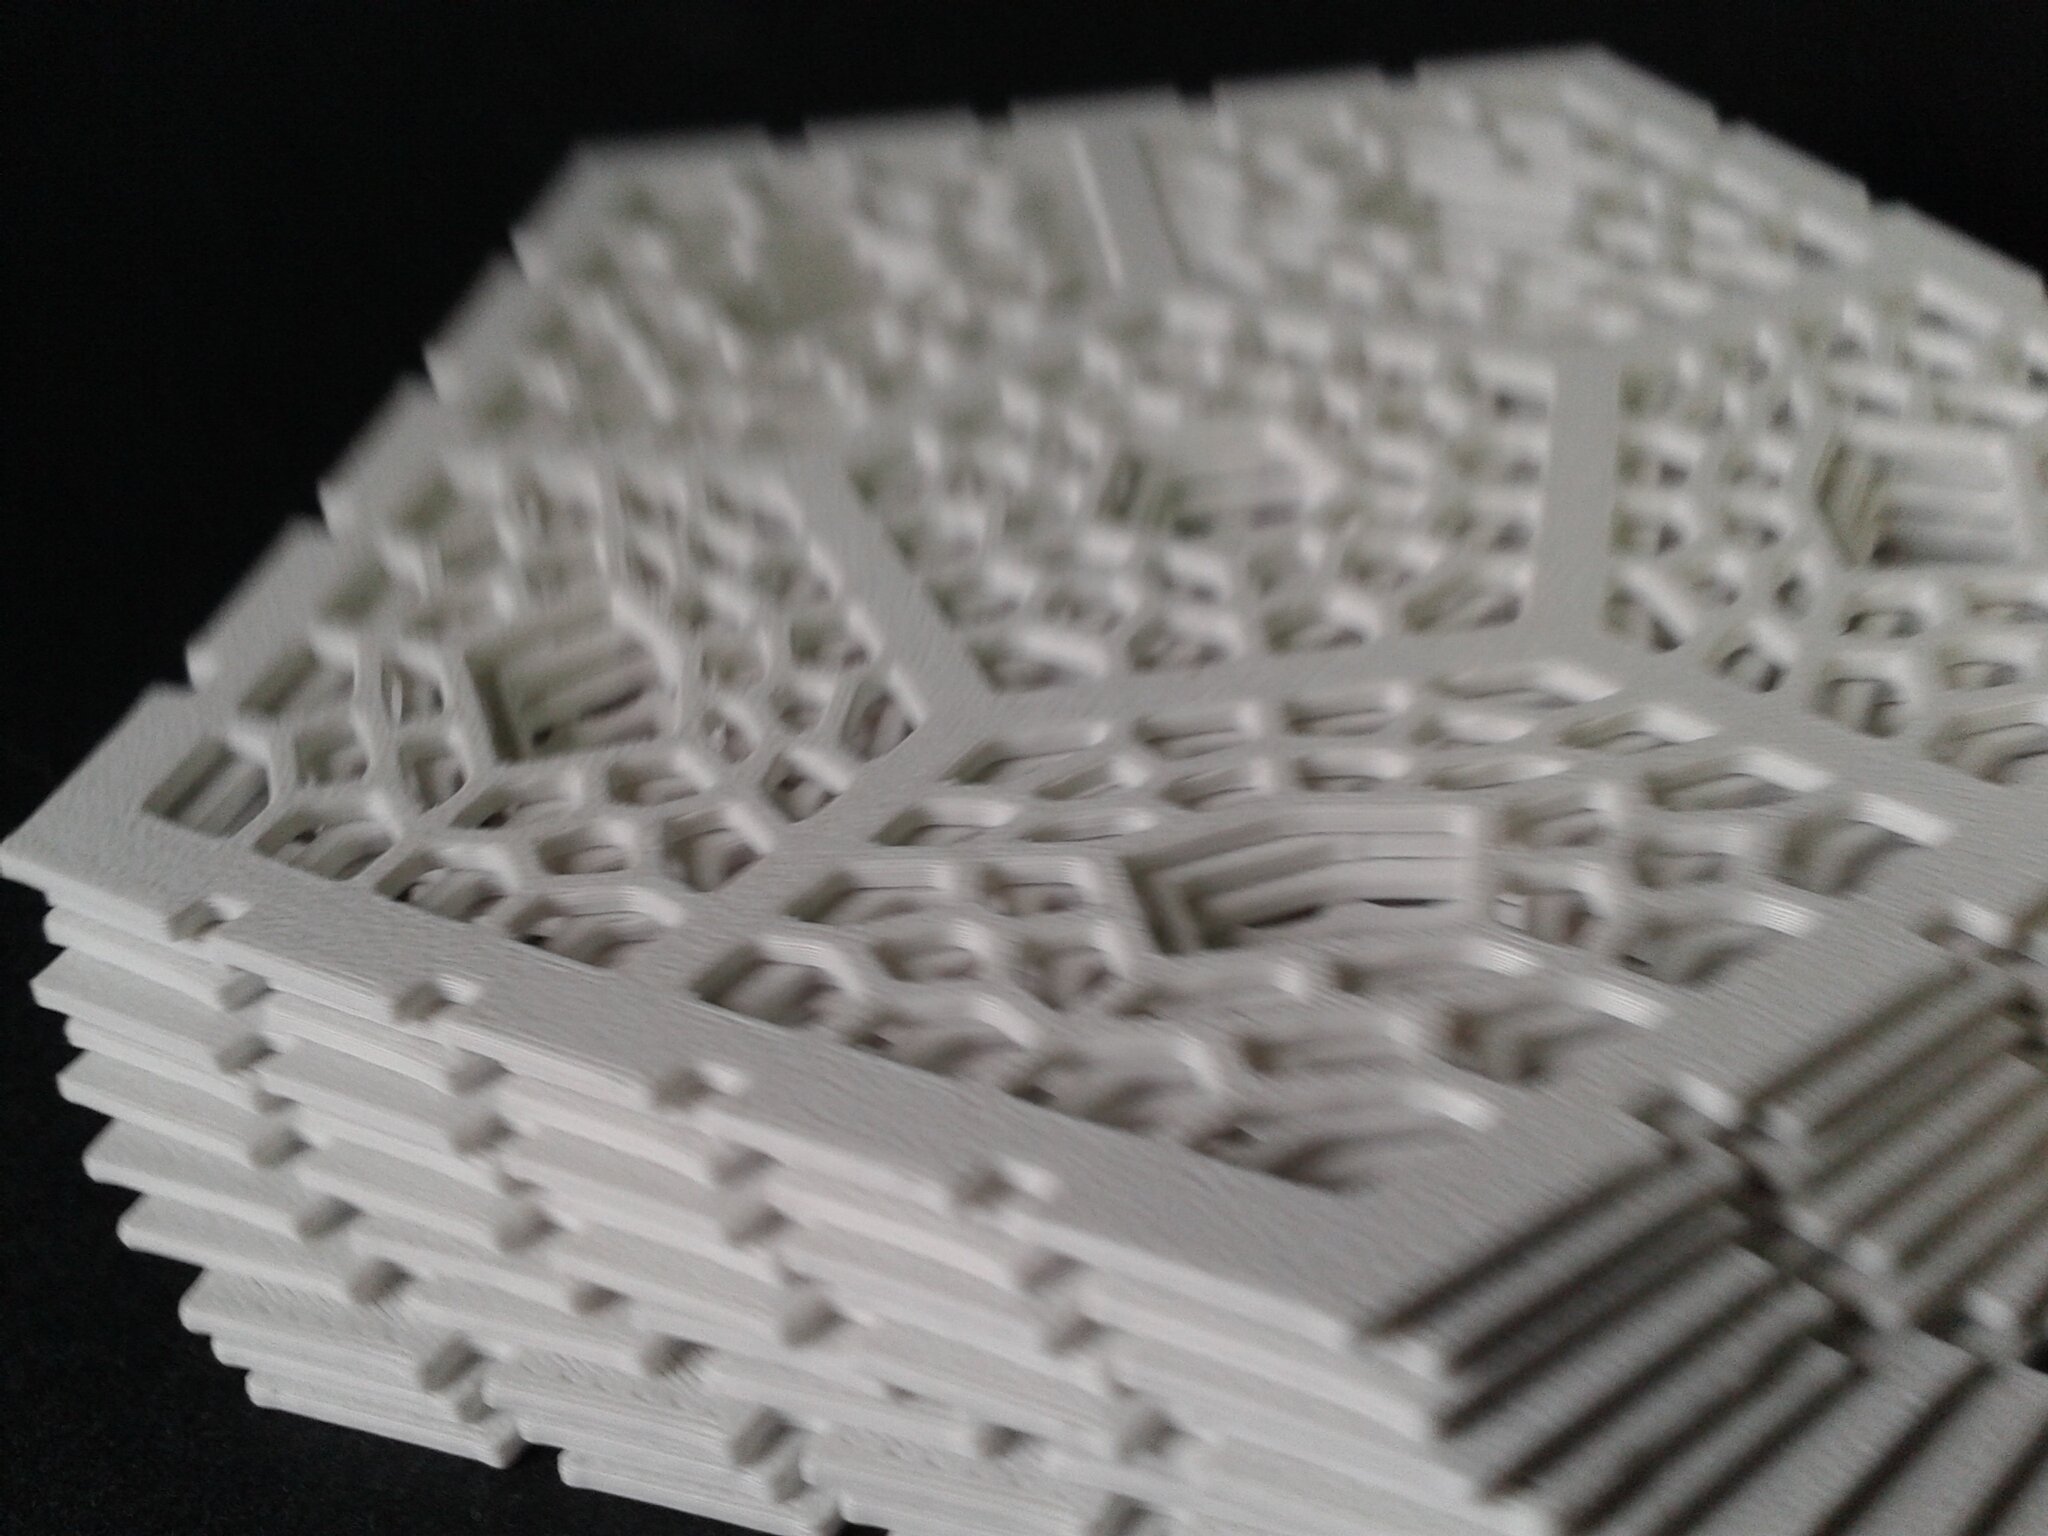
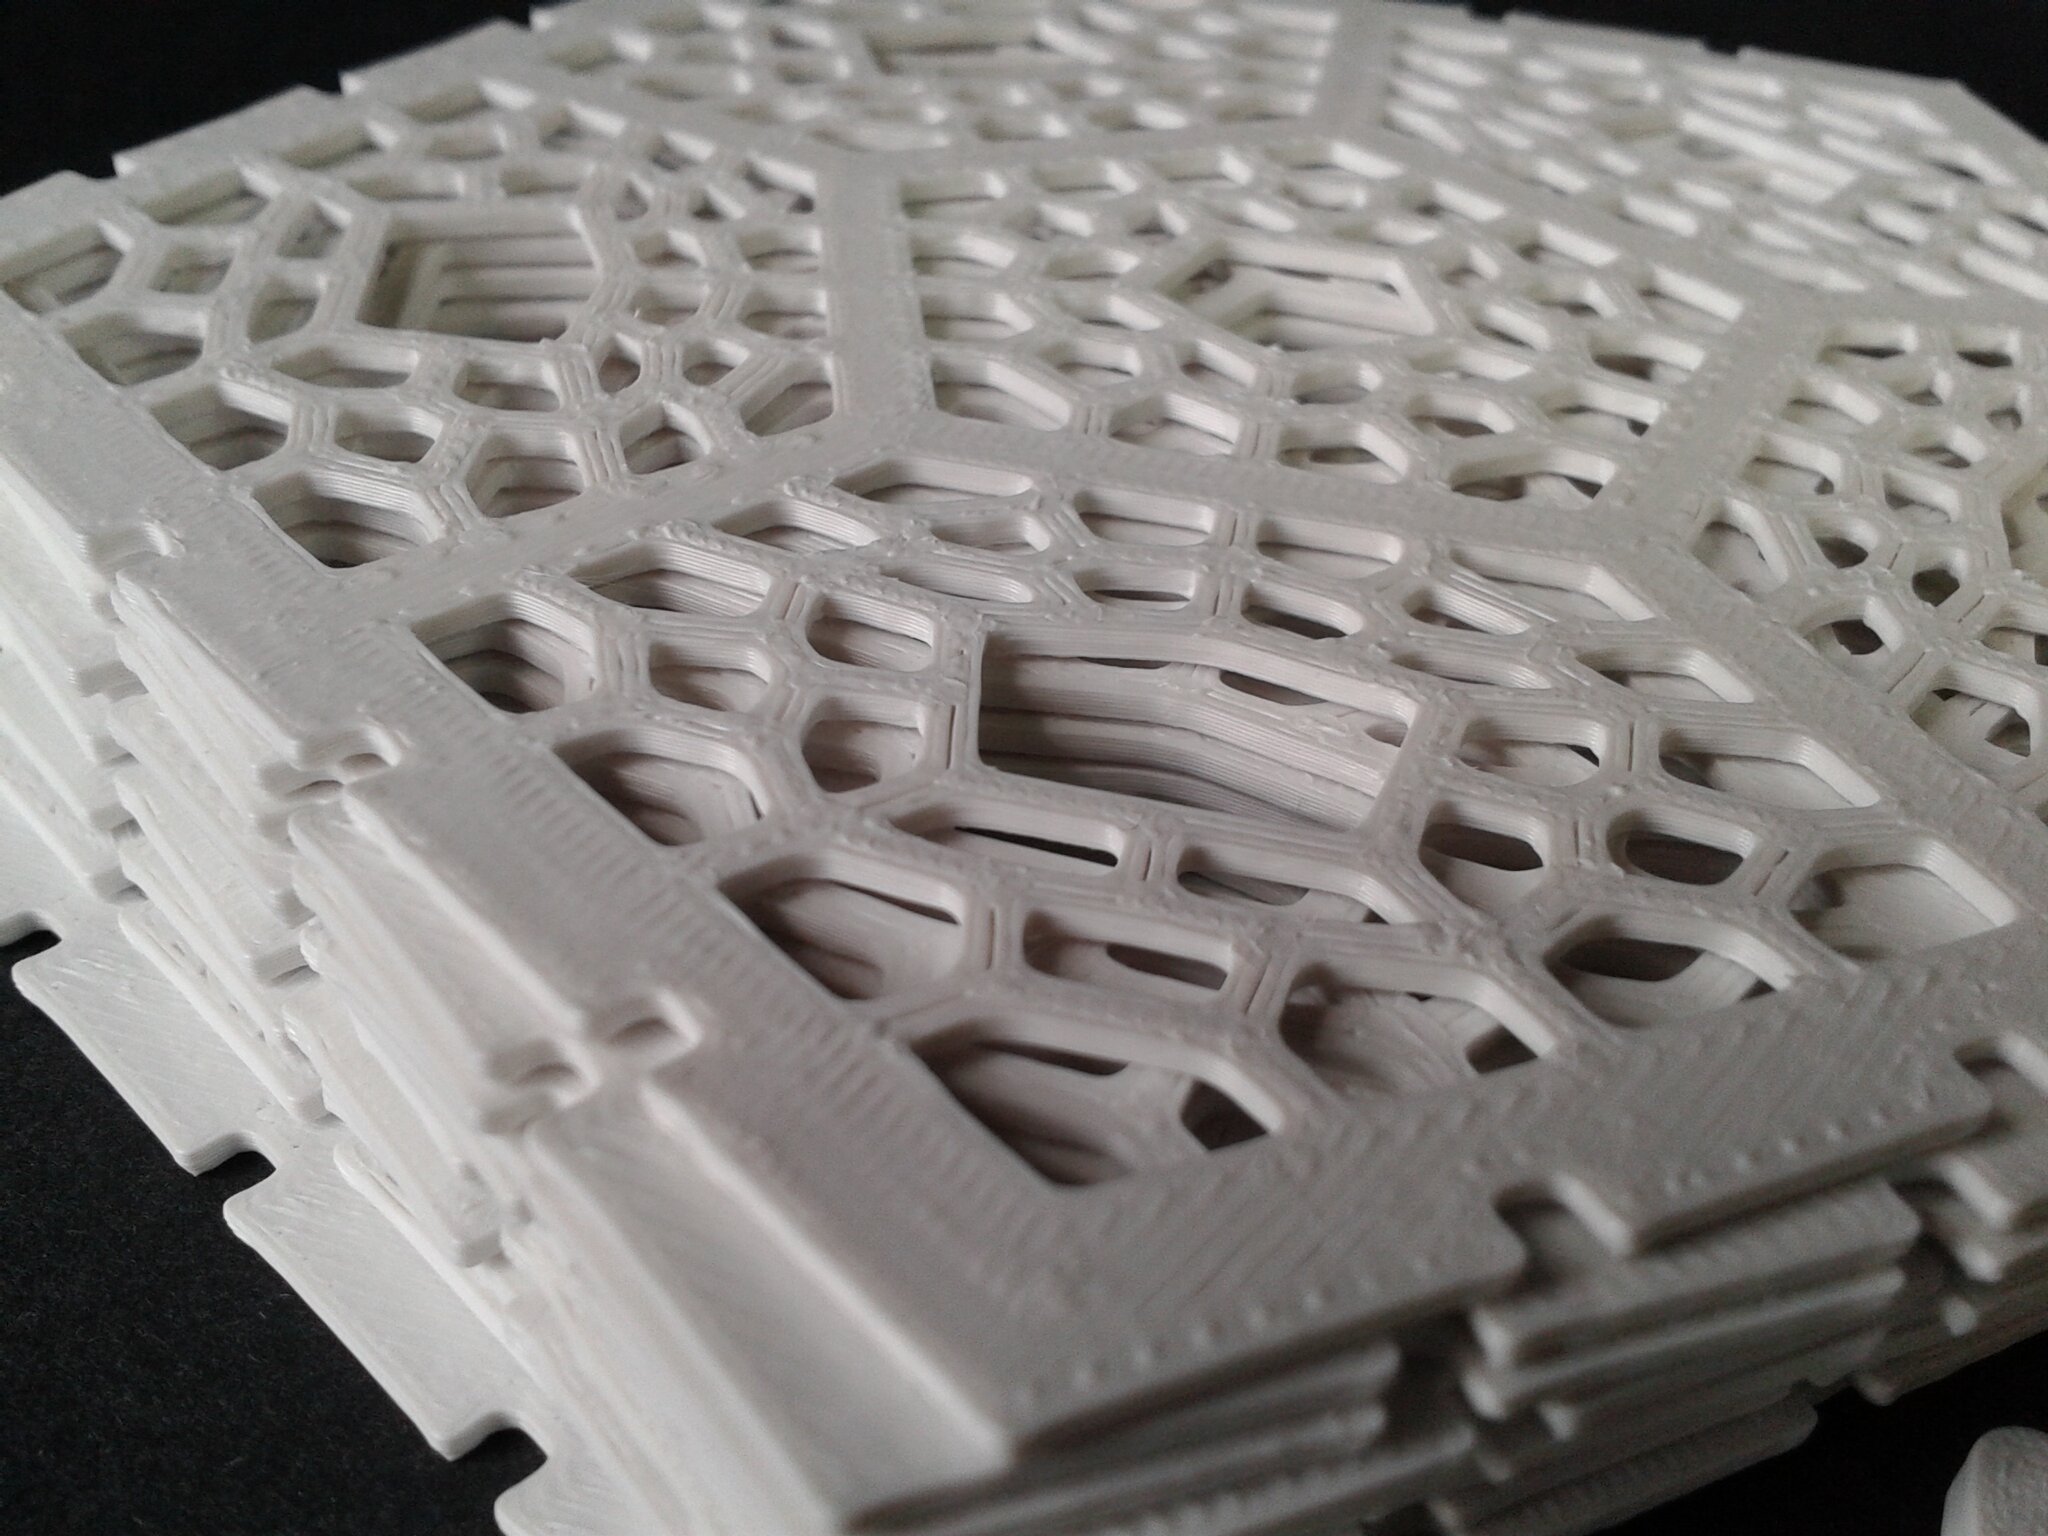
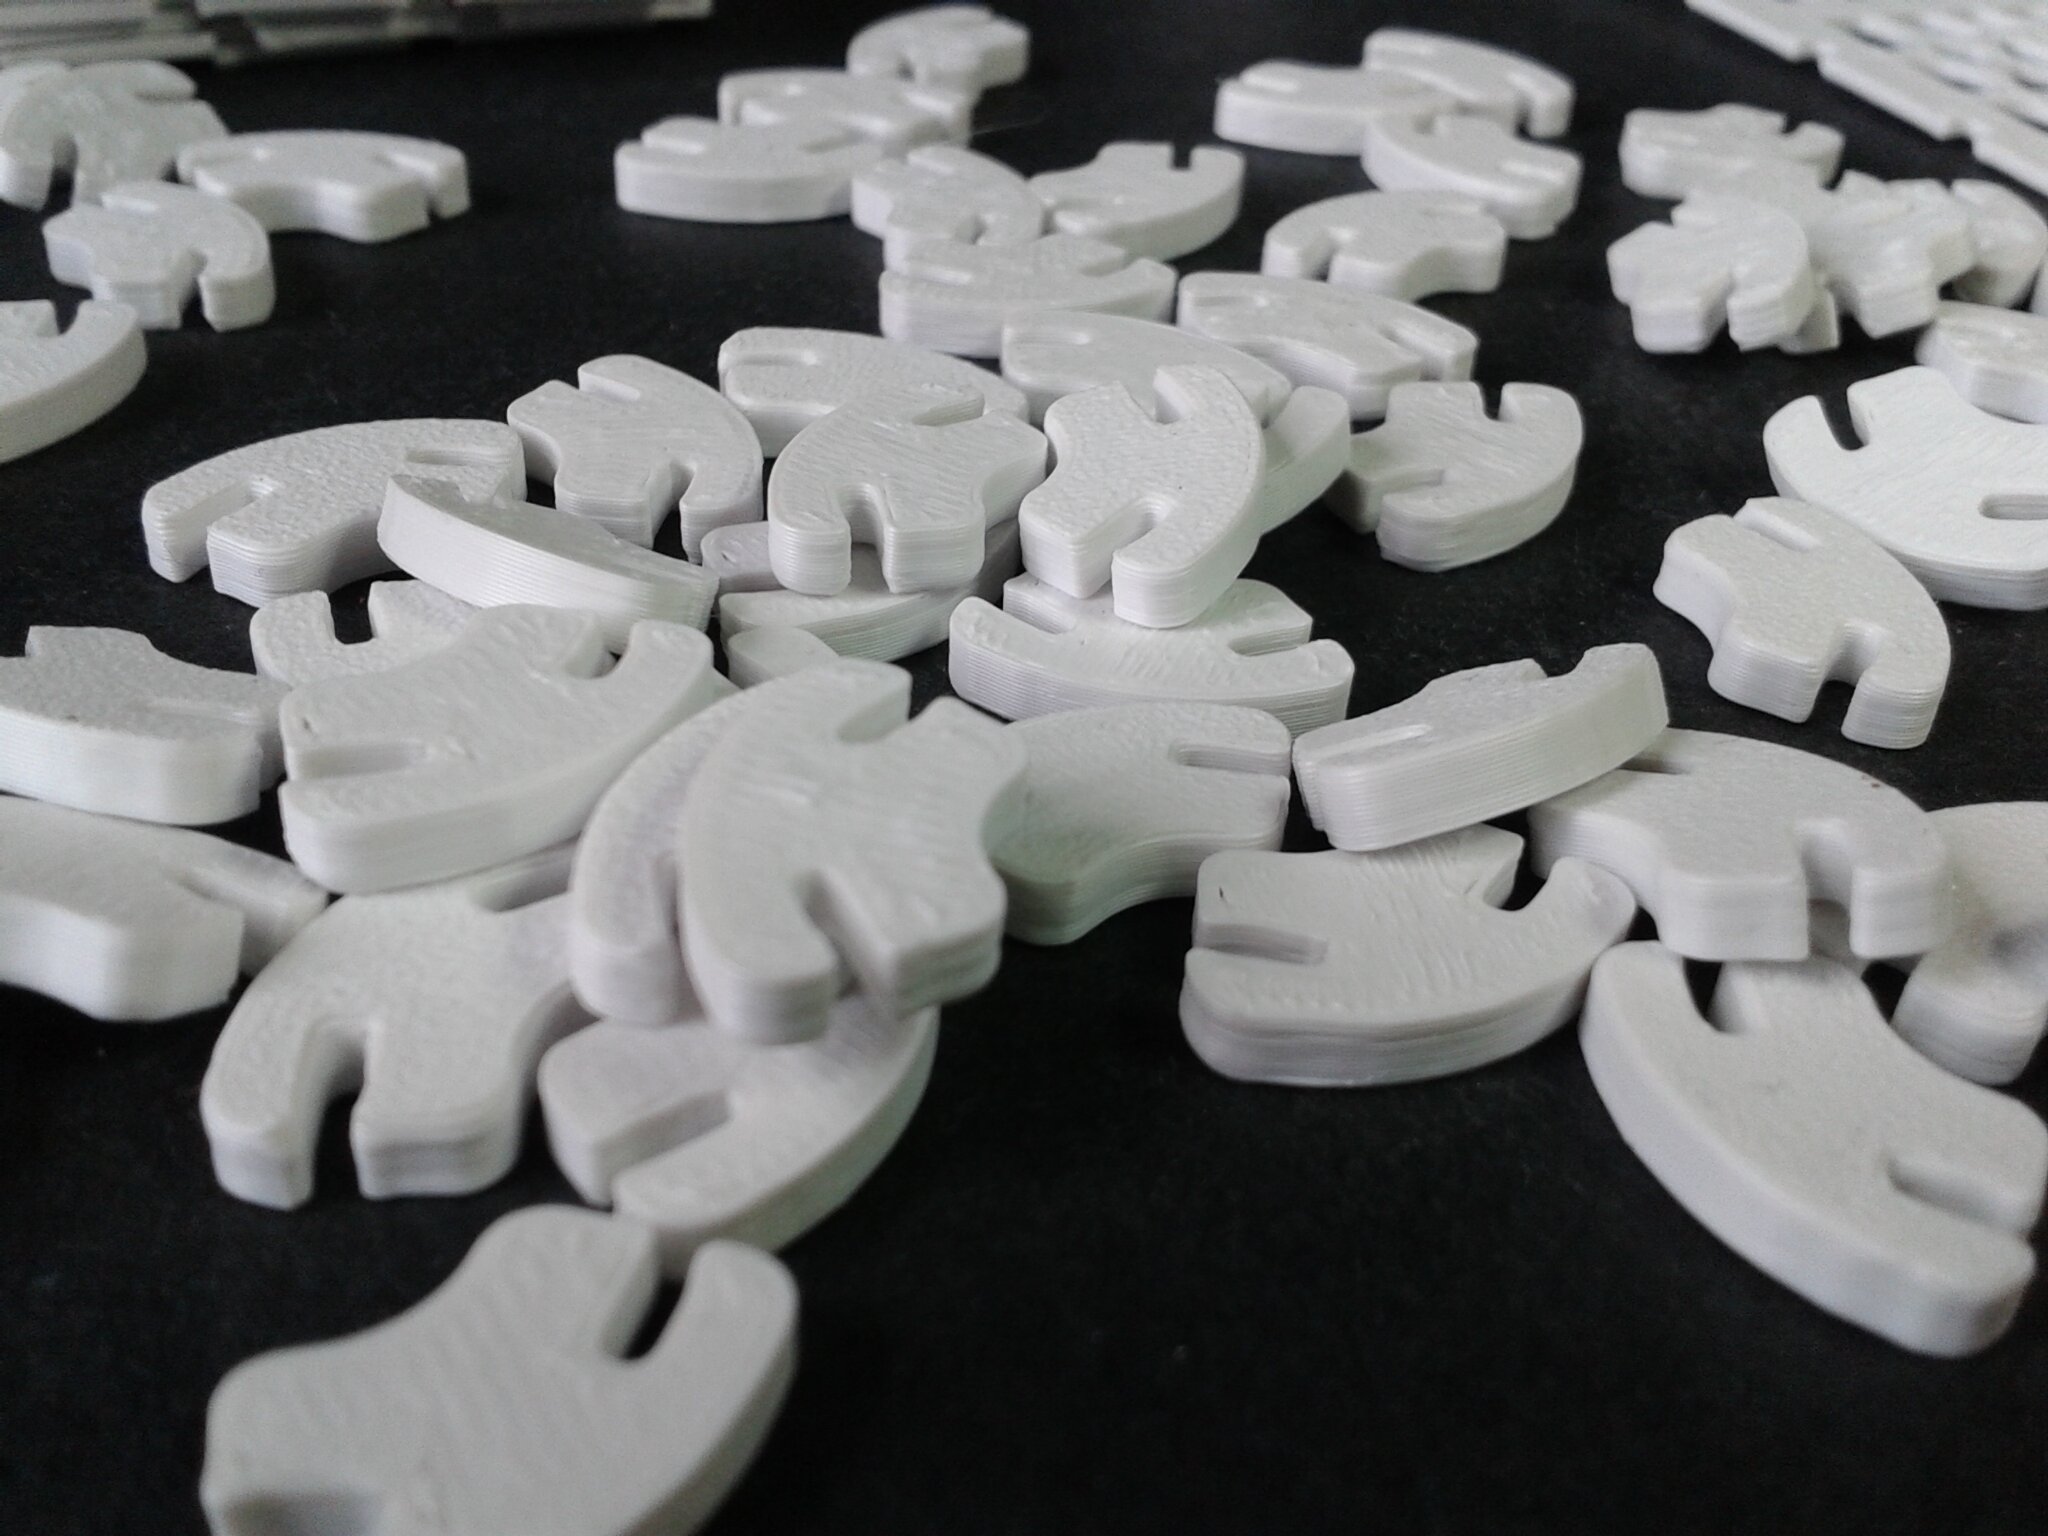
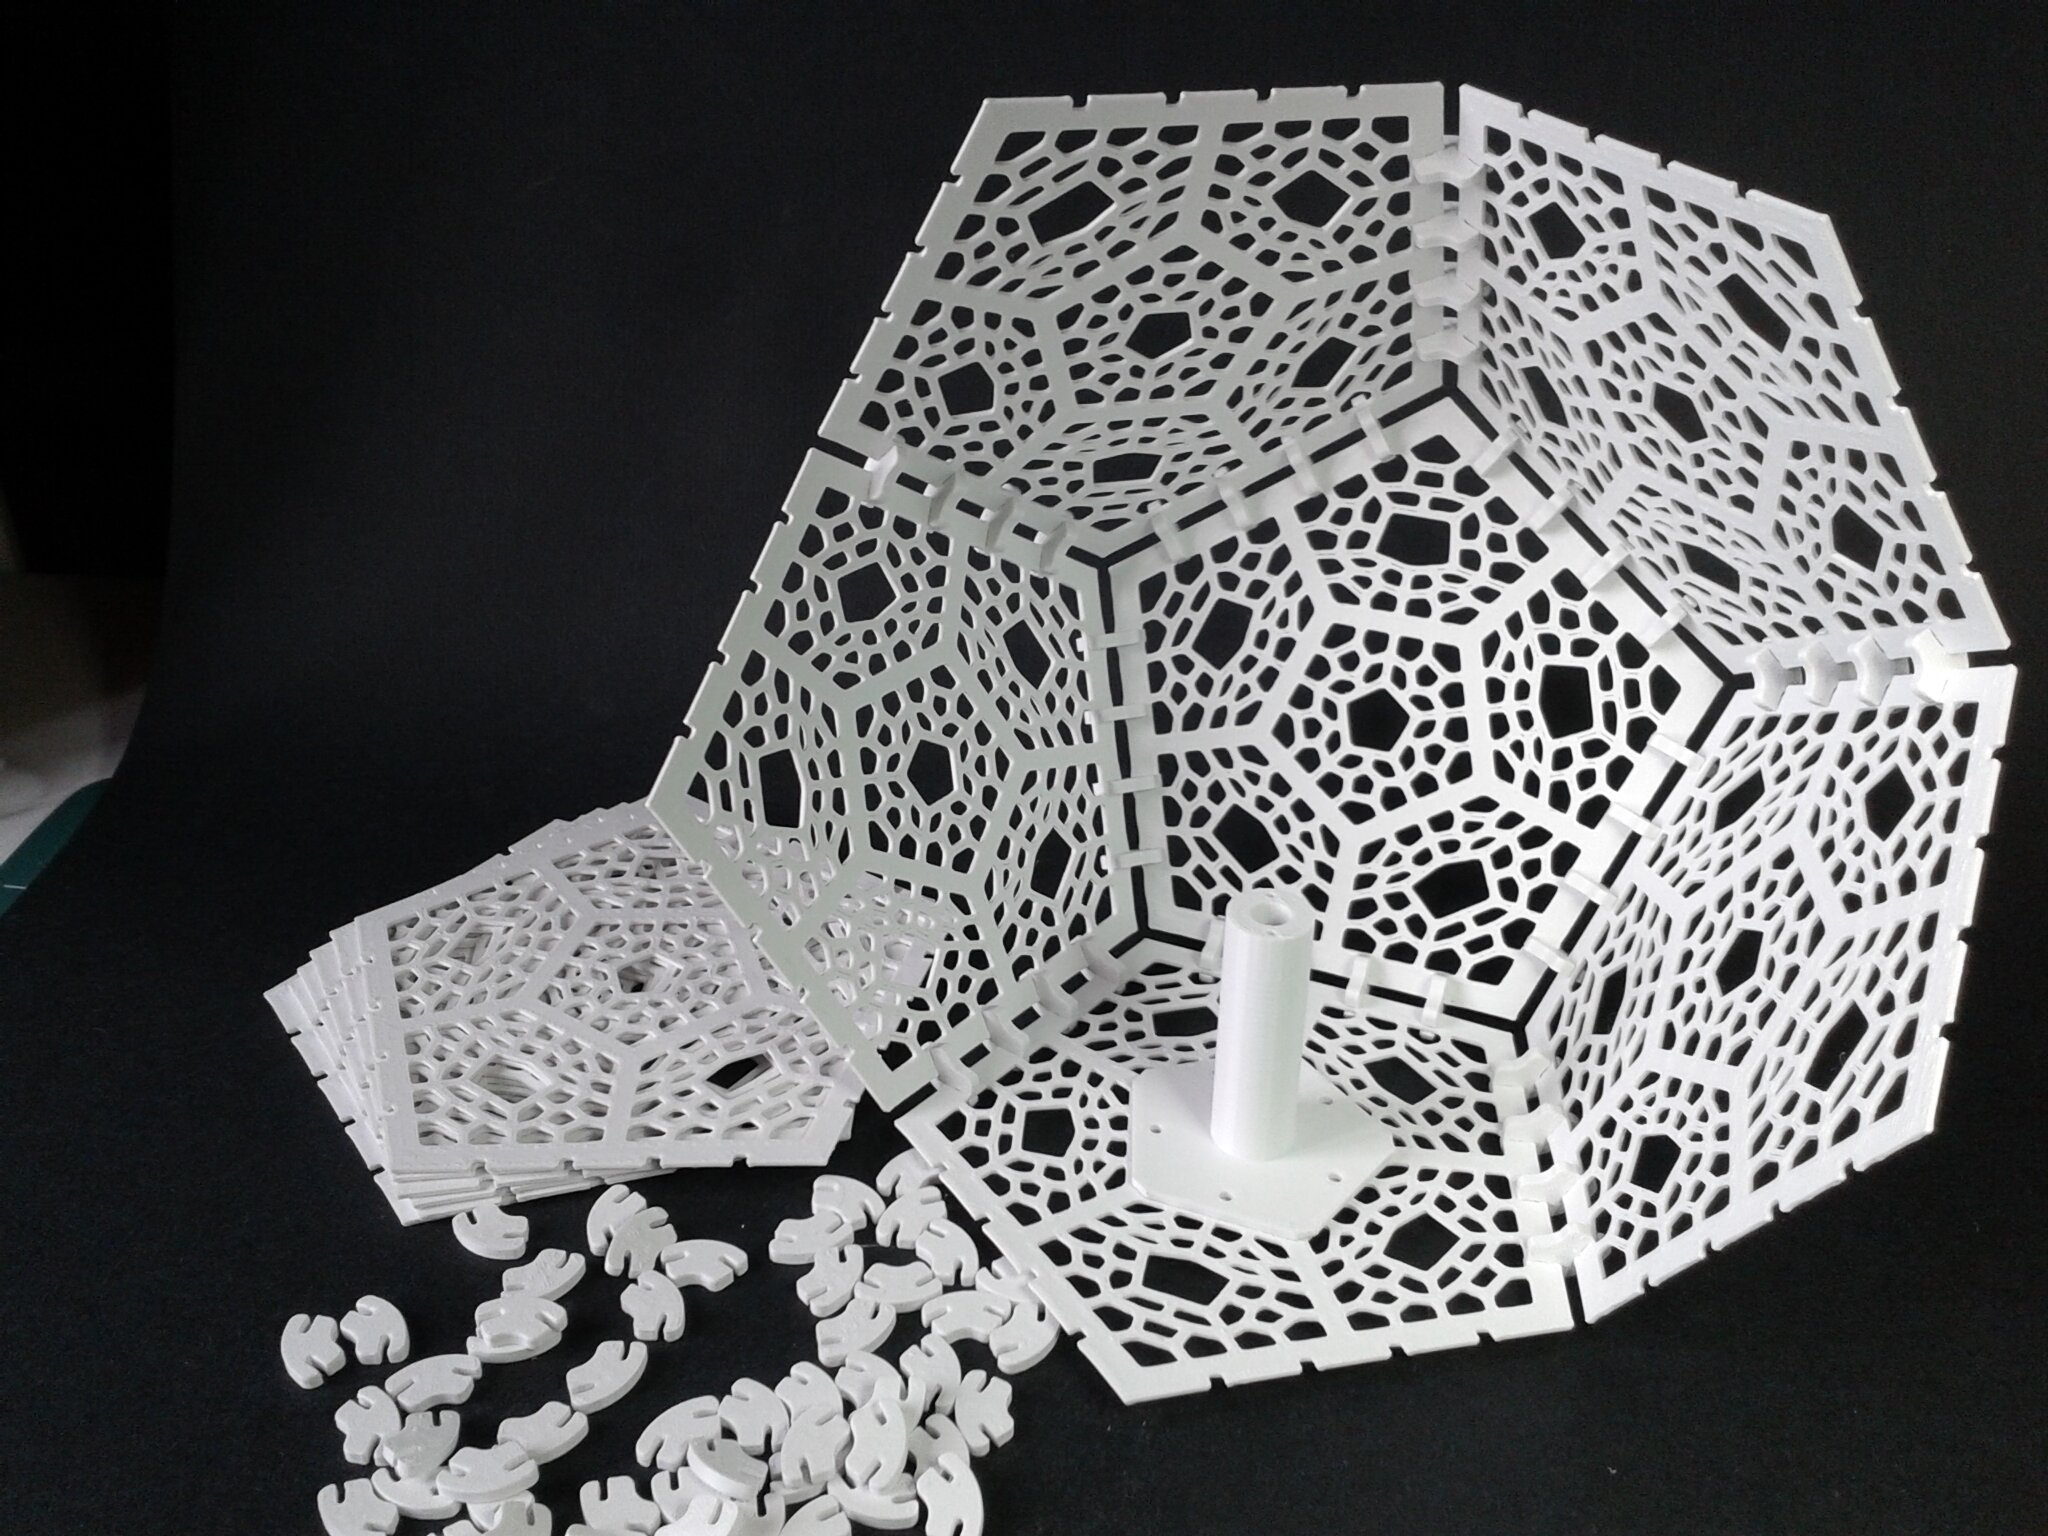
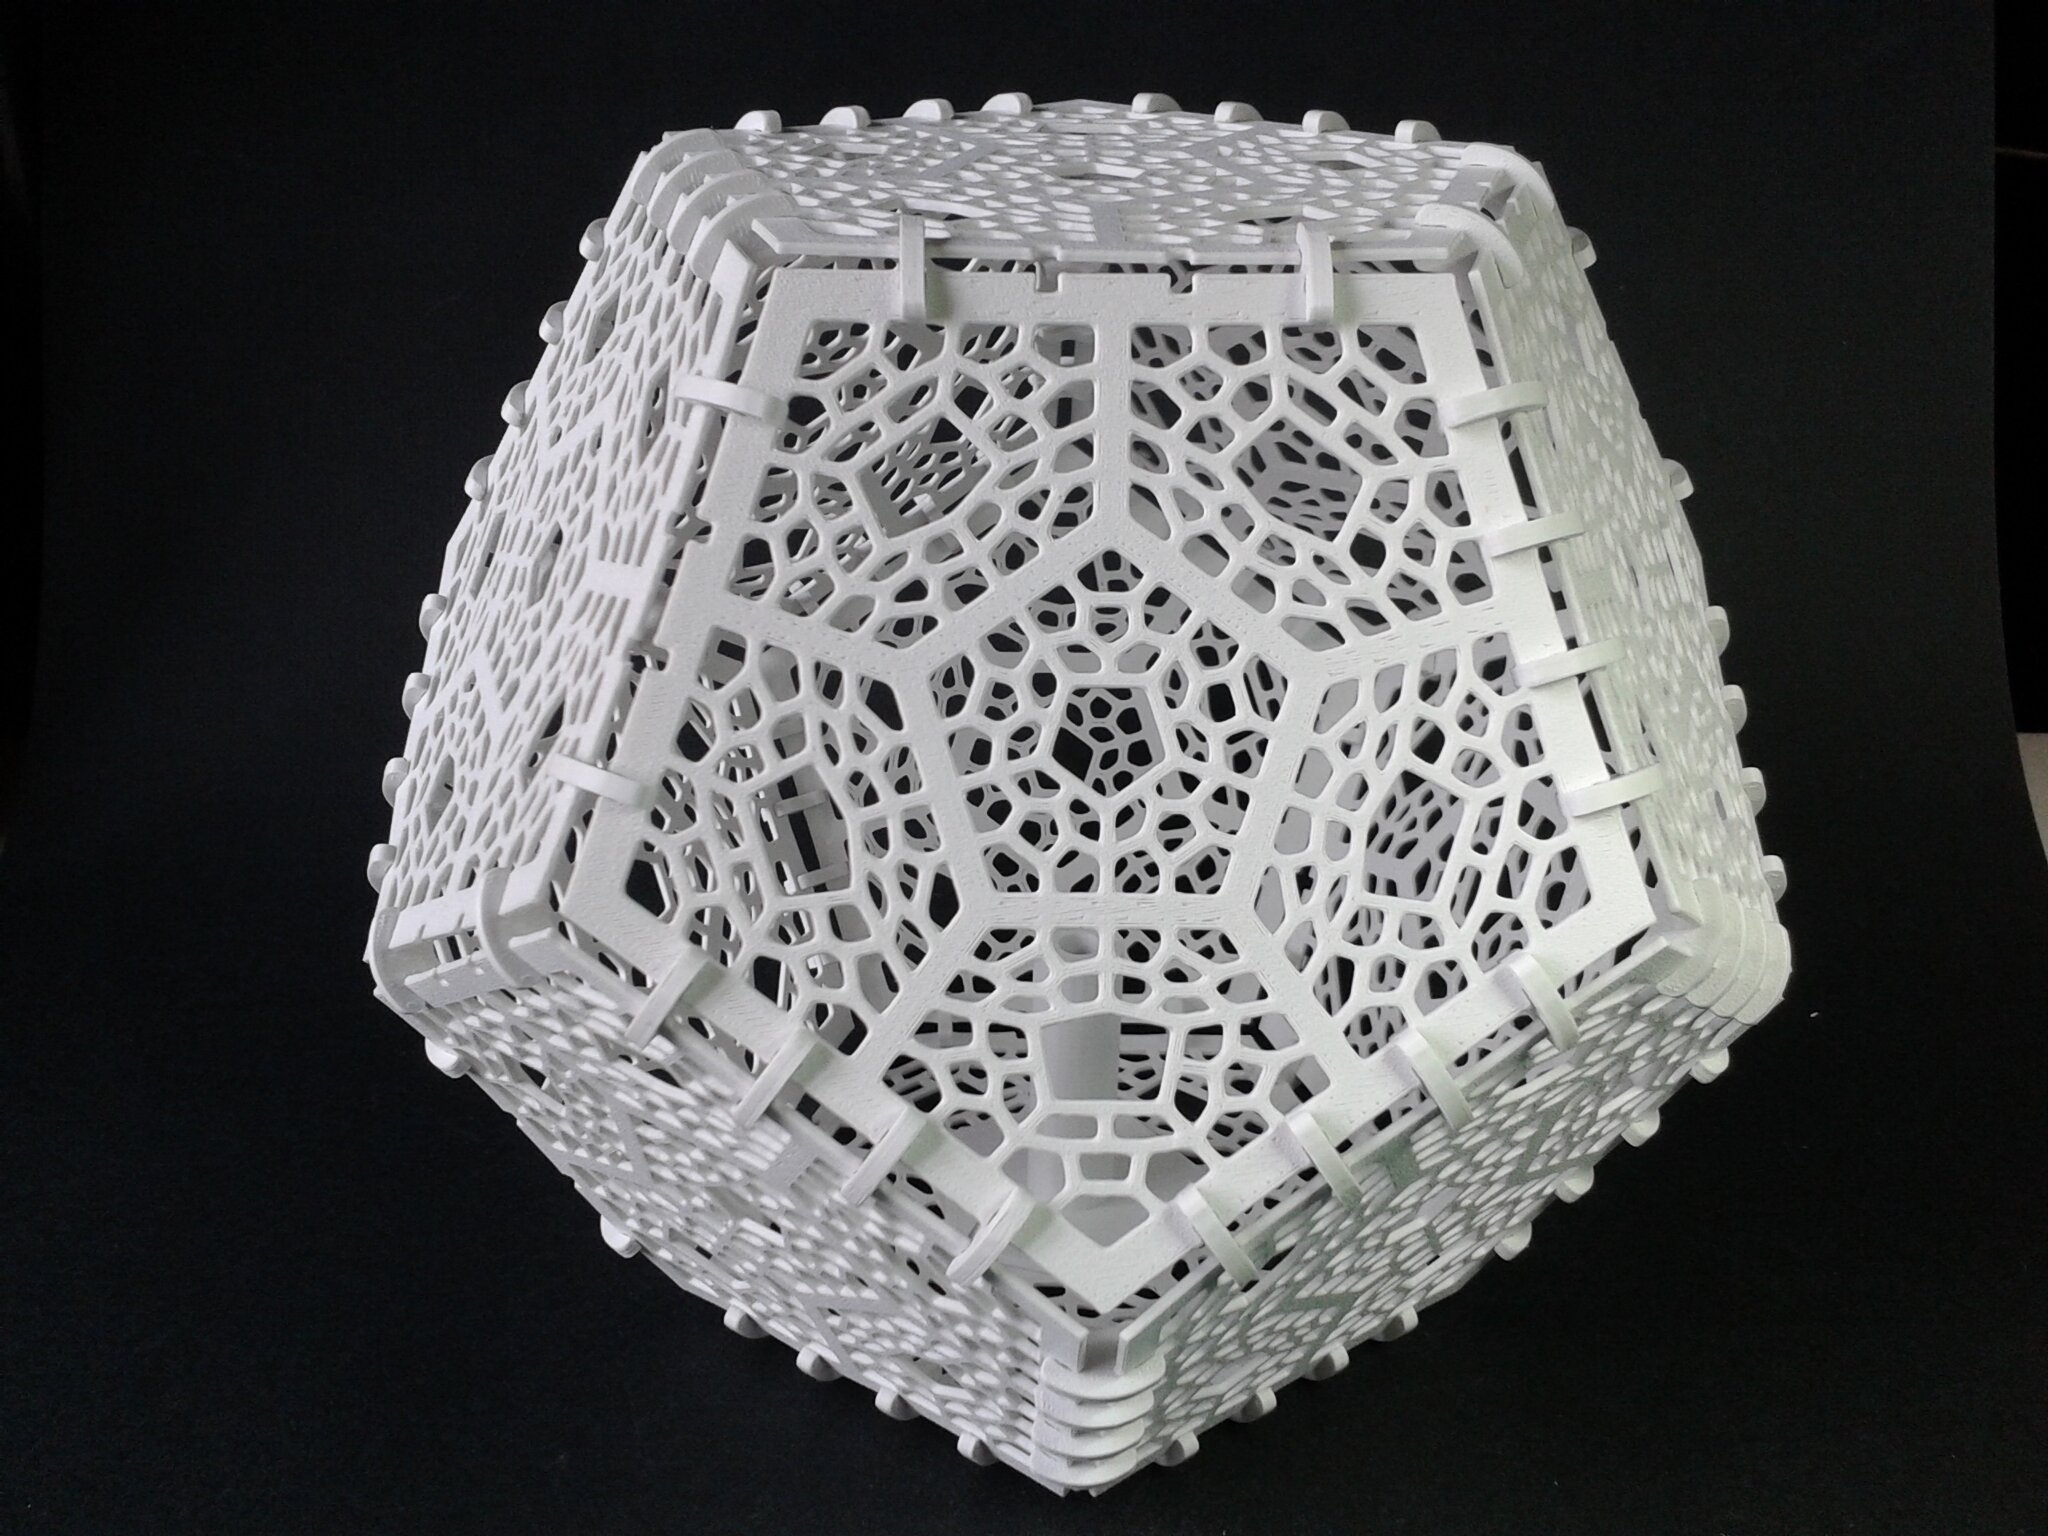
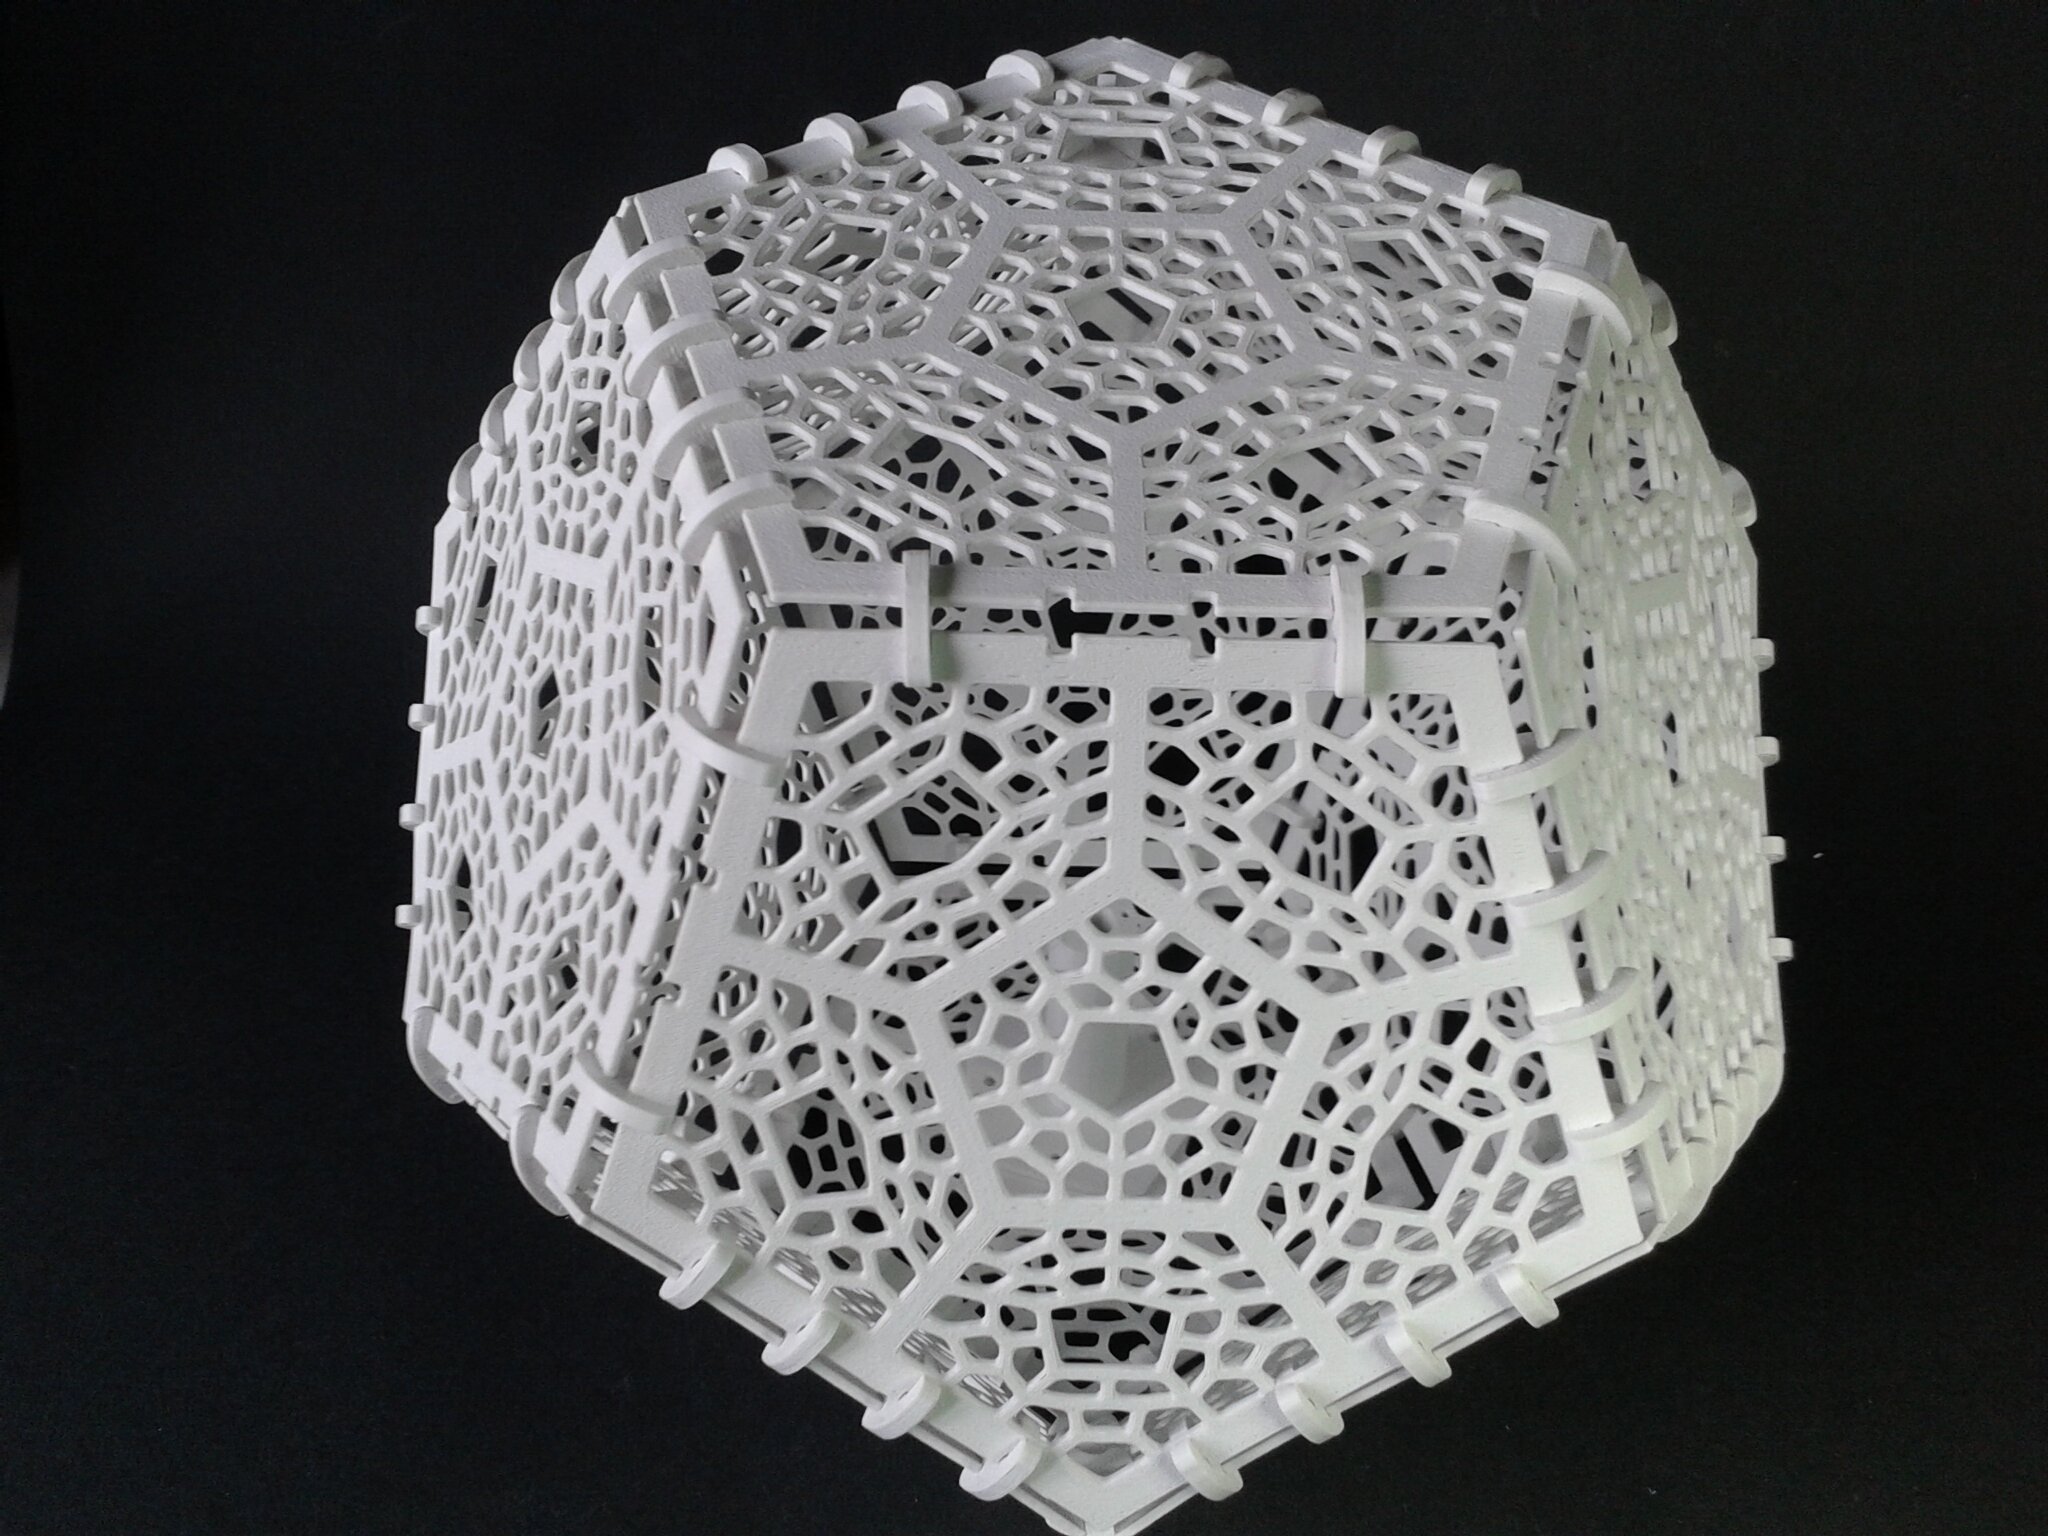
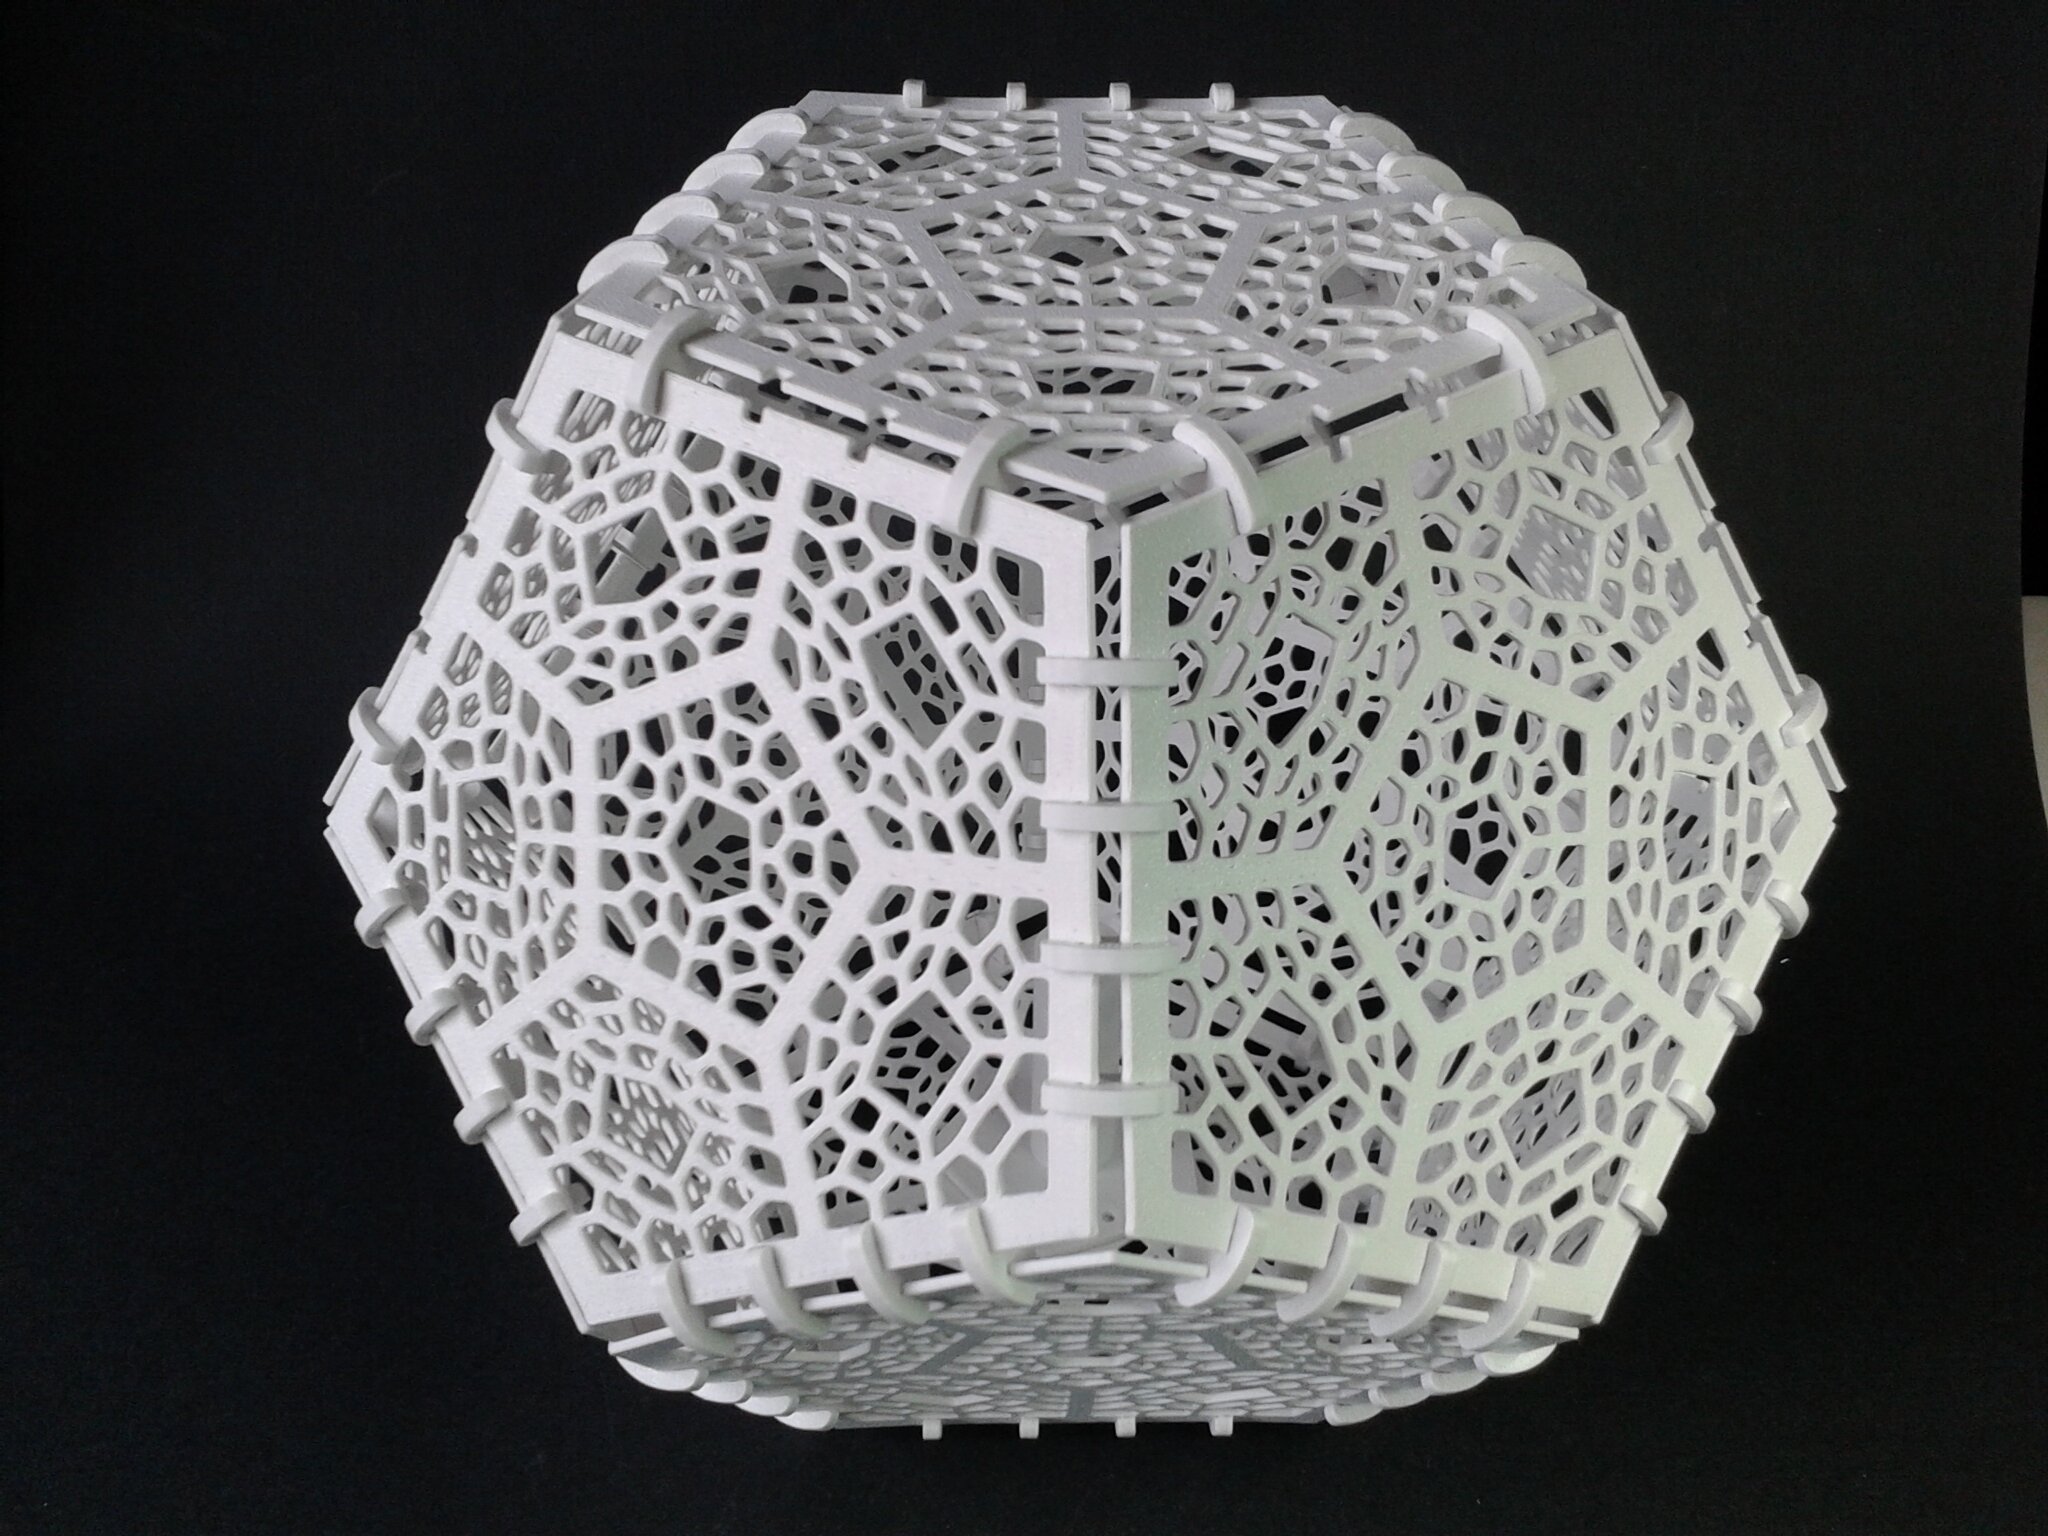
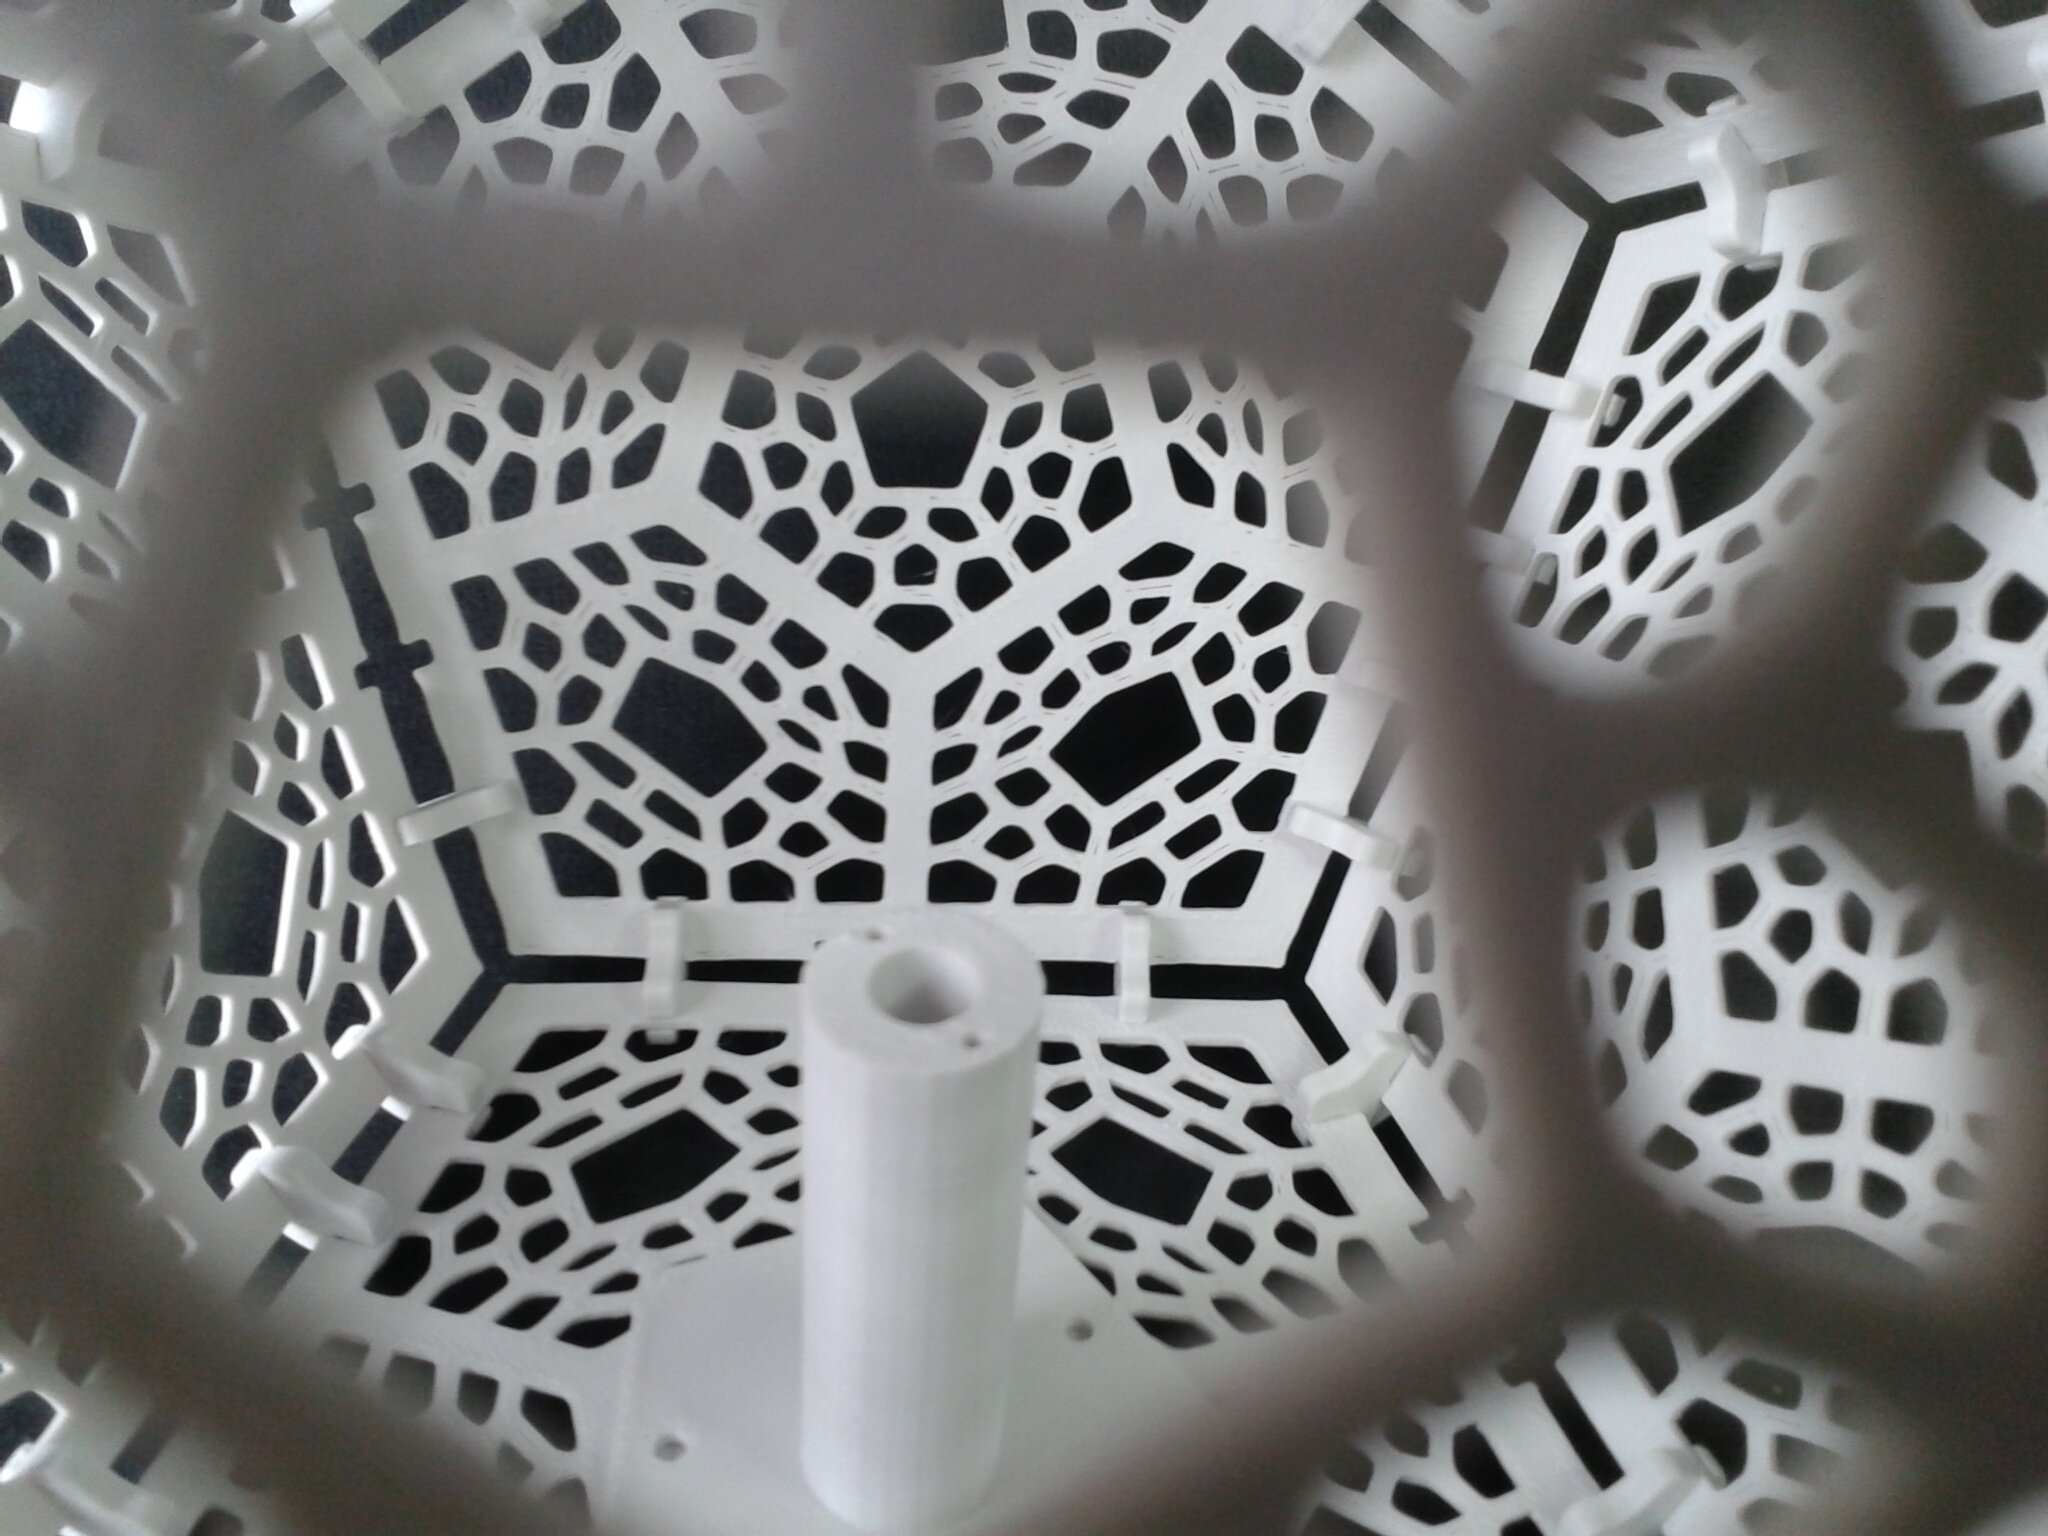
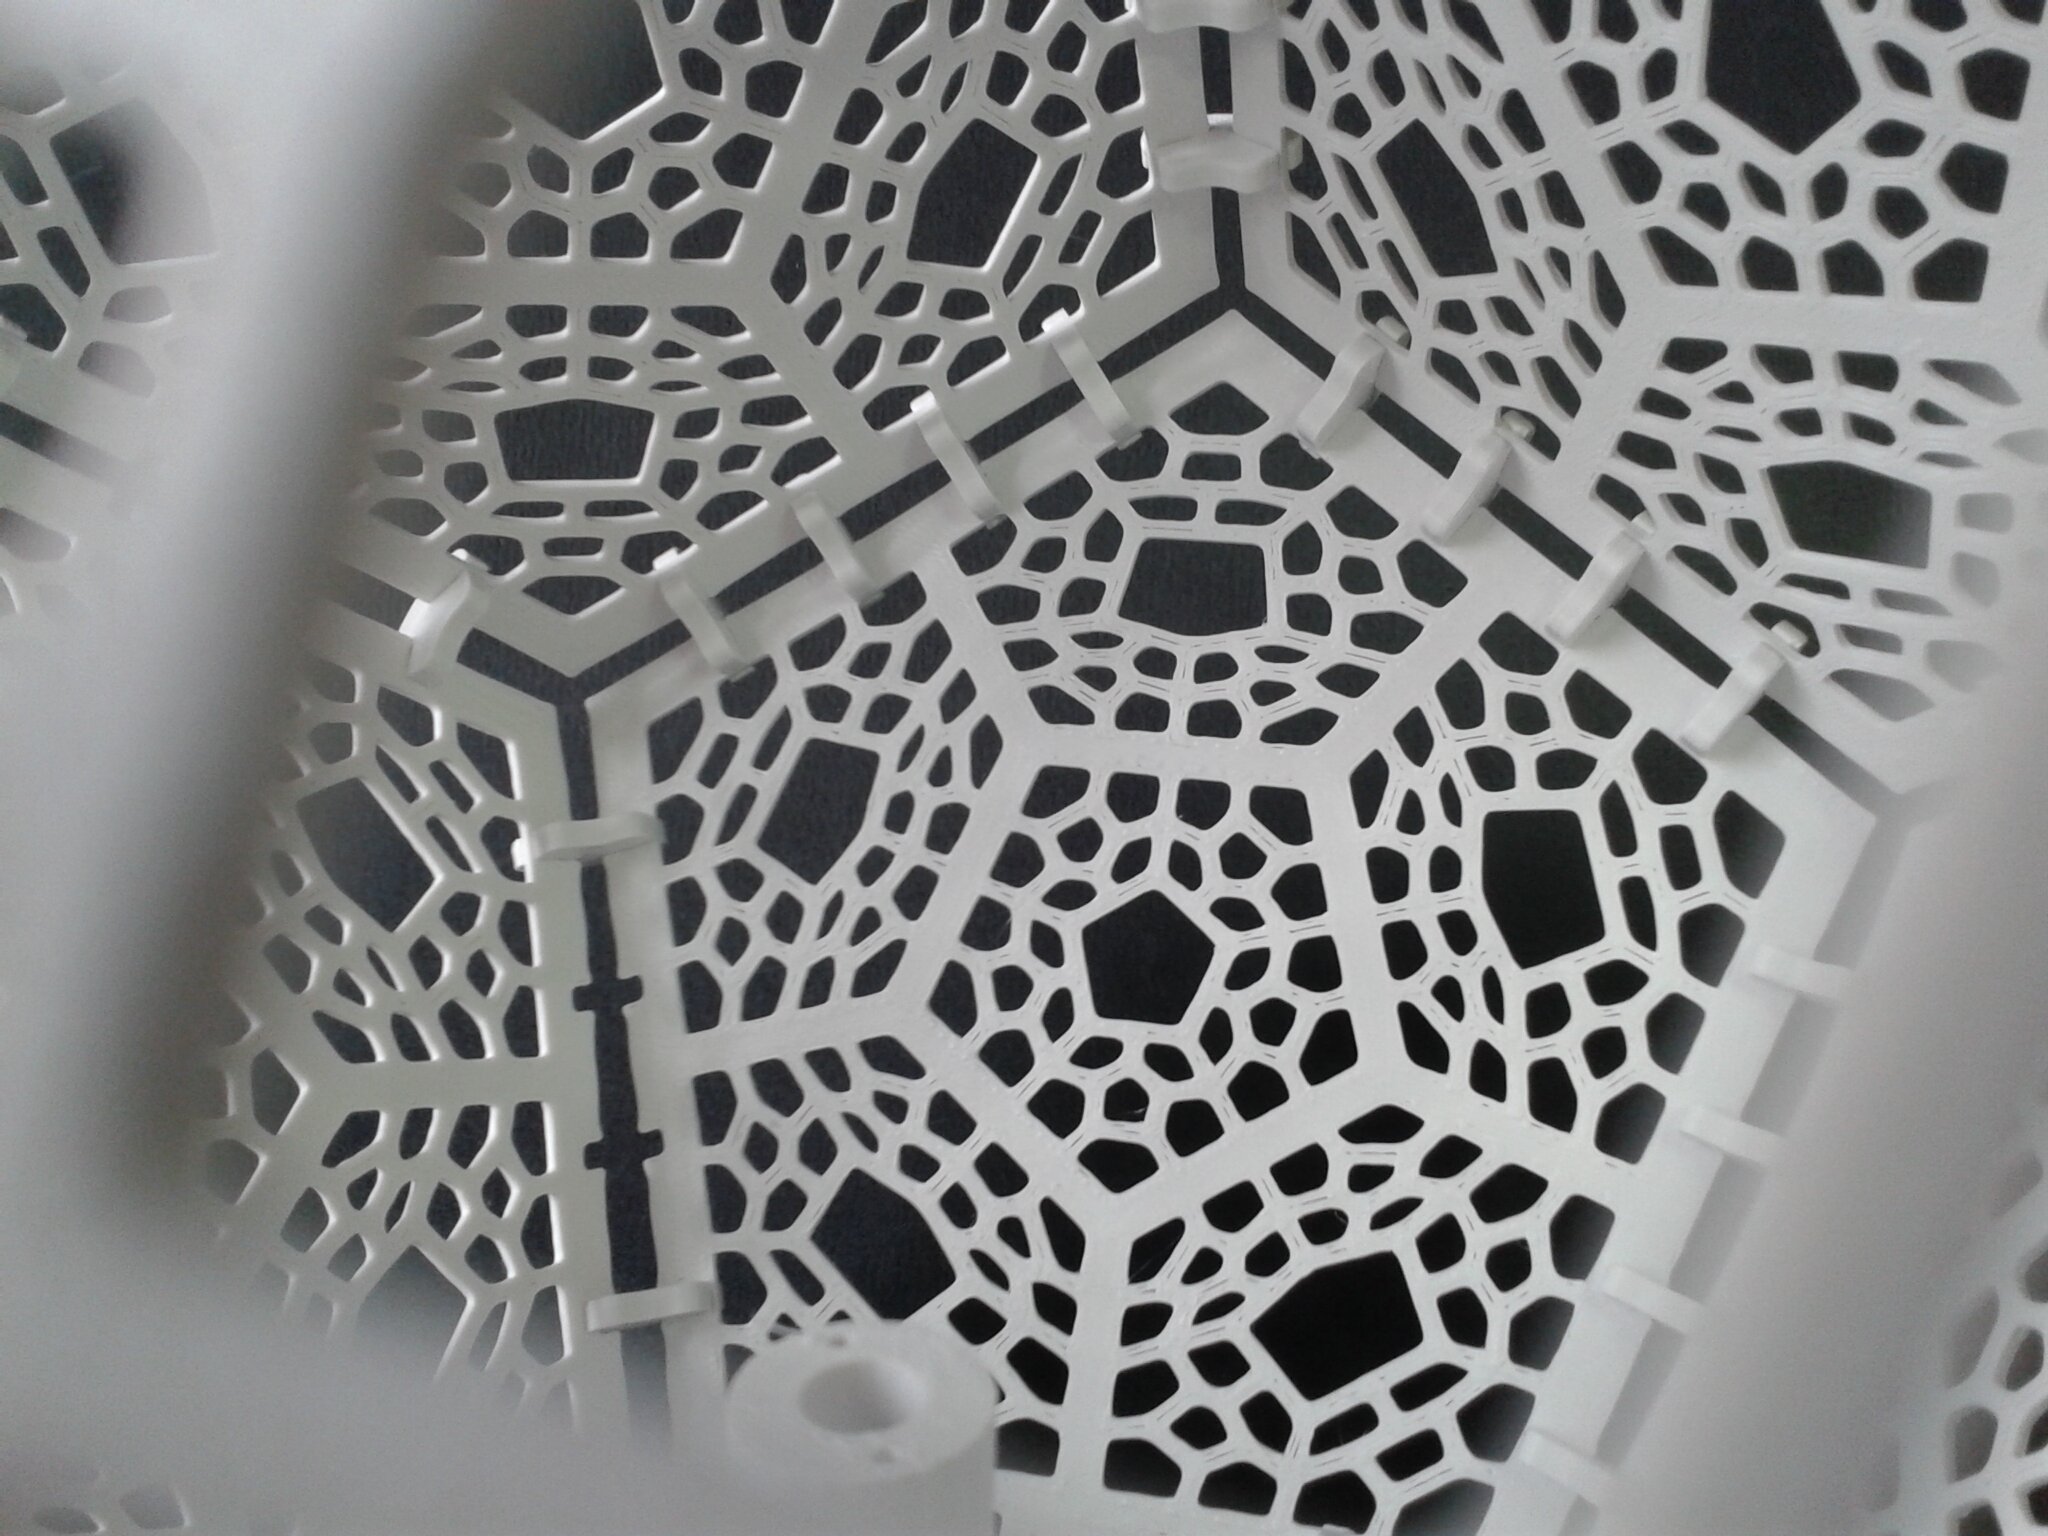
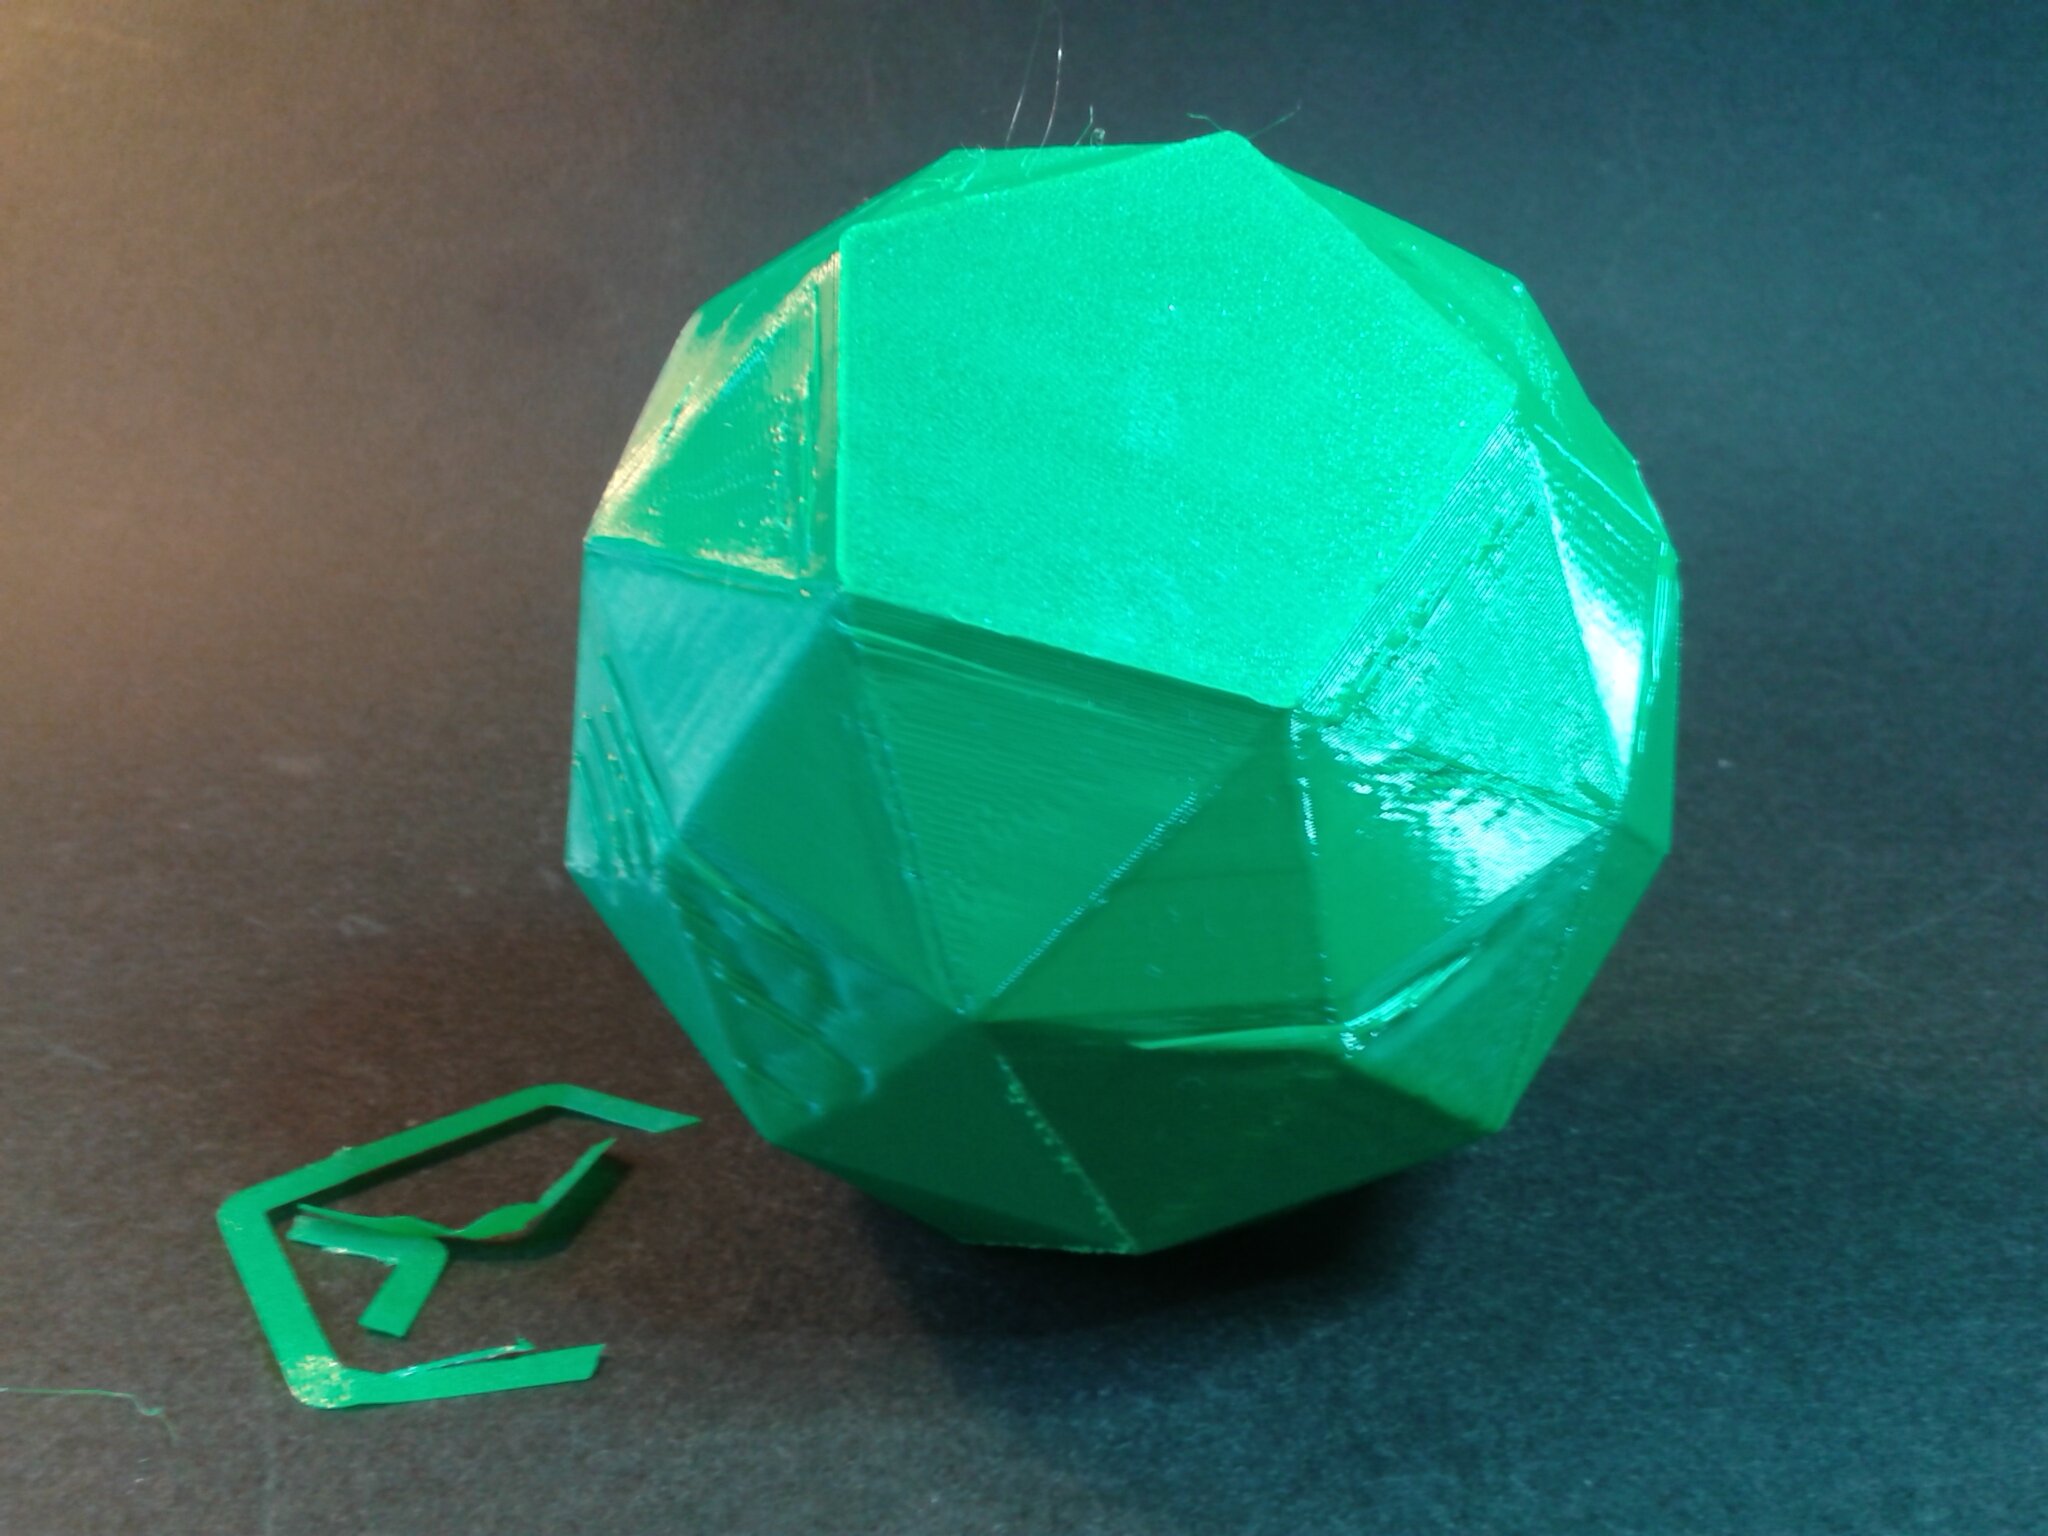
Lampe ombre dodécaèdre
“Dodecahedron Shadow Lamp Printable” de “KasperKro” (gratuit).
En 11 plateaux, pour un total d’environ 13 h 09 min d’impression (mais j’ai oublié d’imprimer 20 connecteurs)
QidiSlicer v1.1.0, “0.20 mm Fine”, “Generic ABS” Modifié (Buse 240°C, Plateau 100°C, Chambre 50°C, Vitesse volumétrique maximale 11 mm³/s)
Filament ABS Blanc Velleman

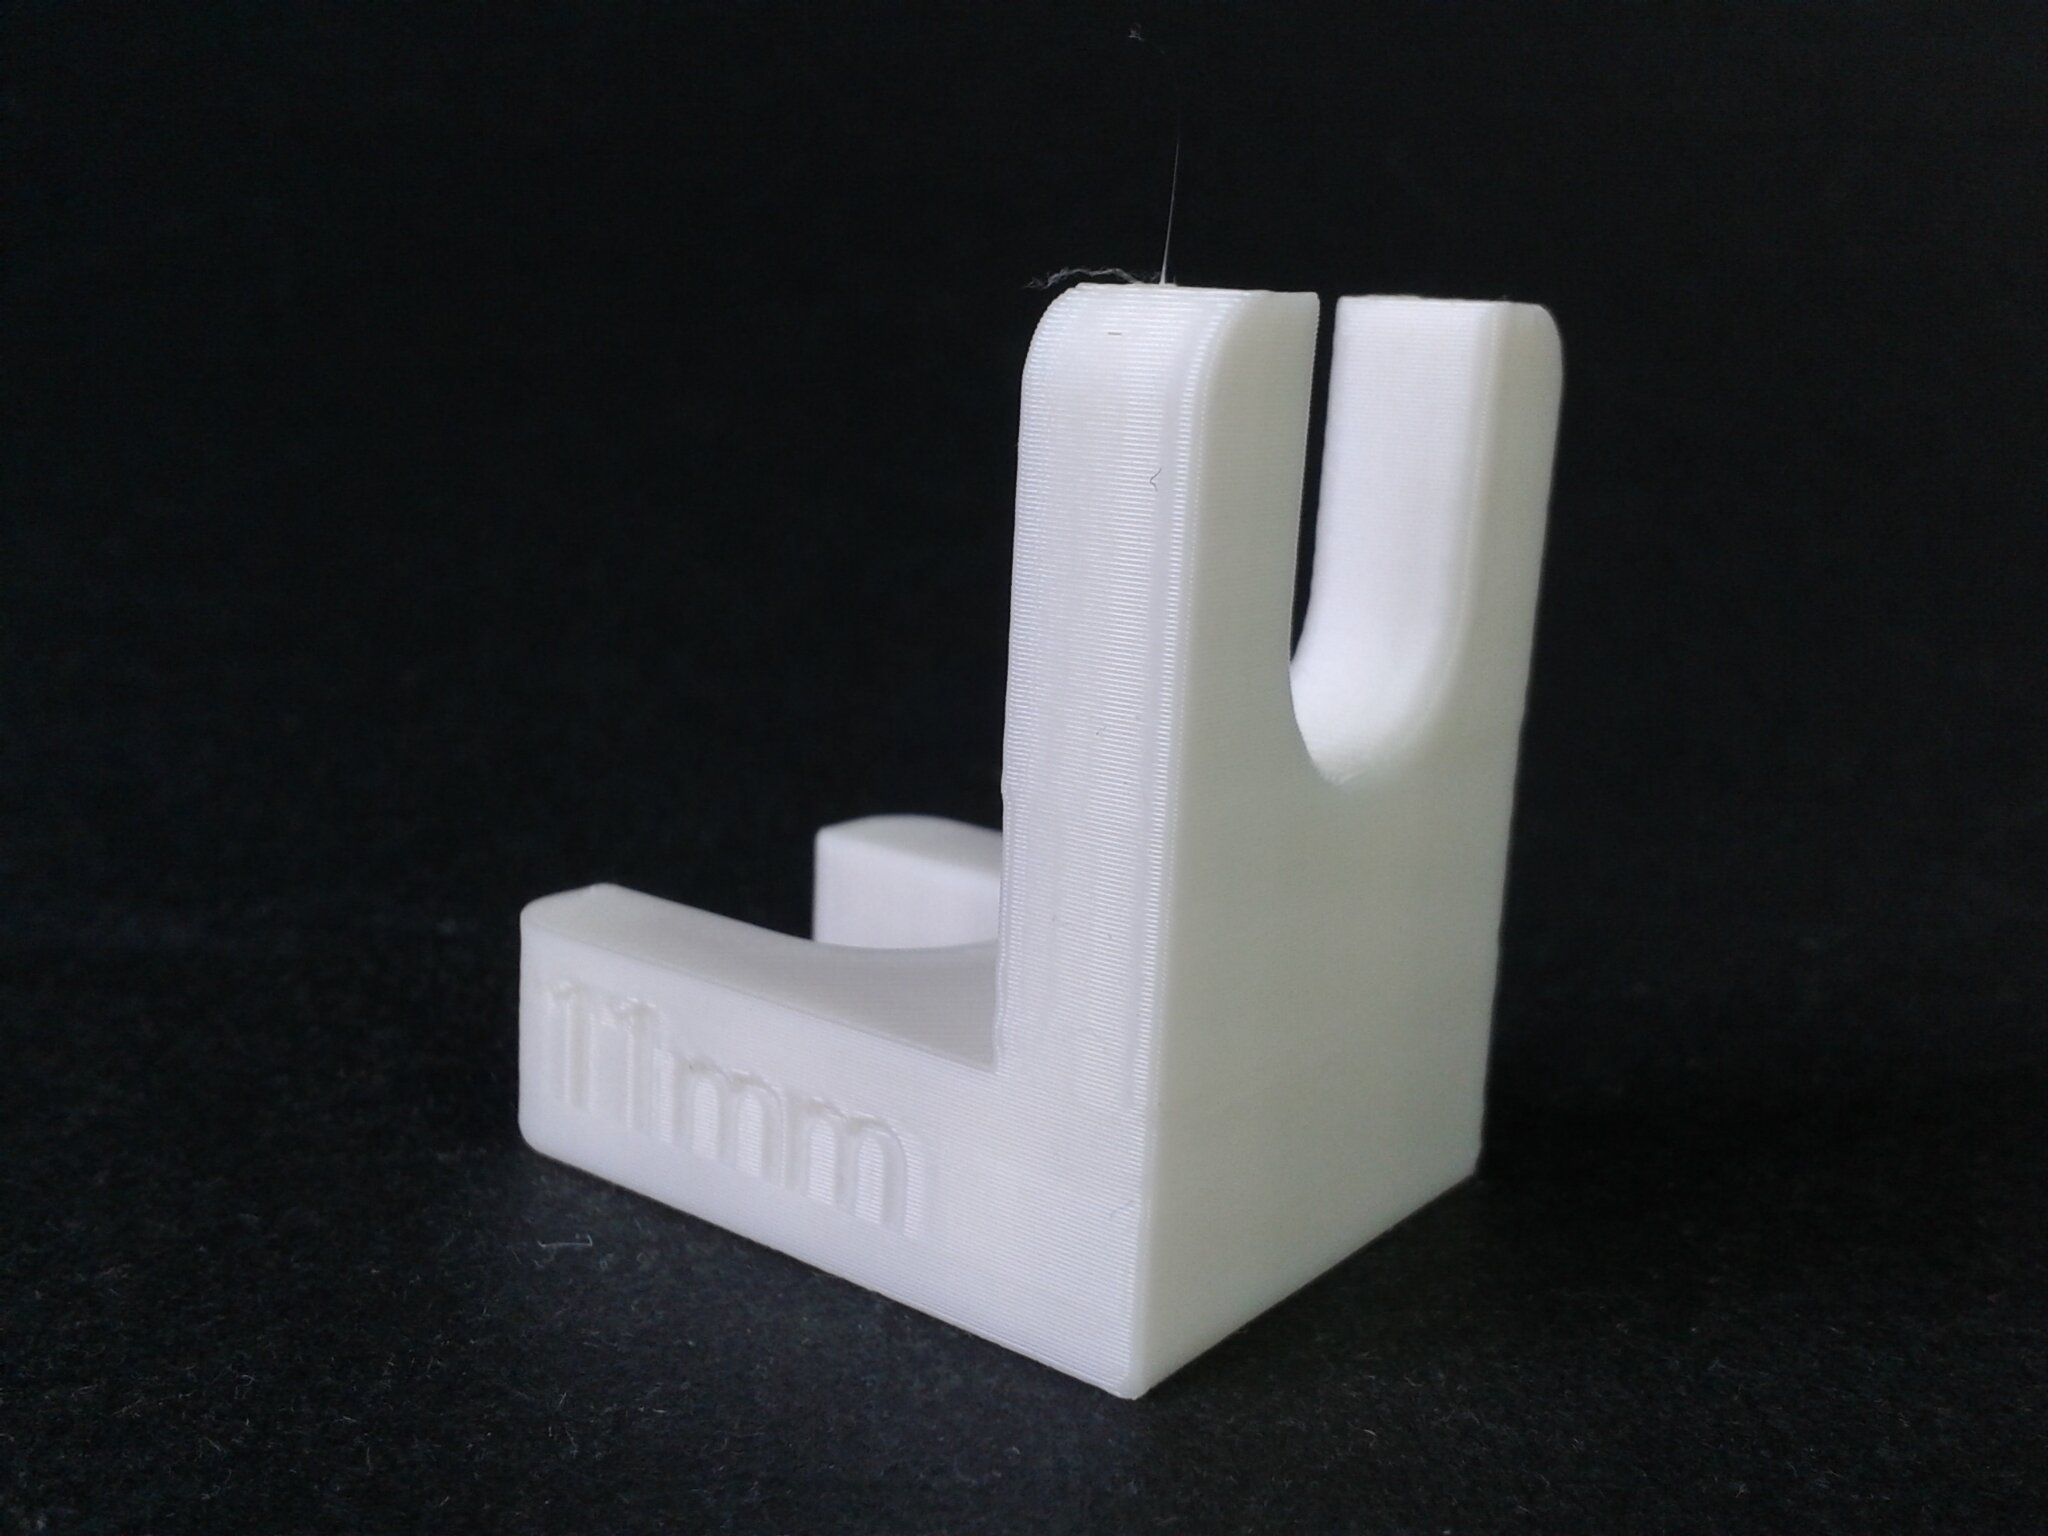
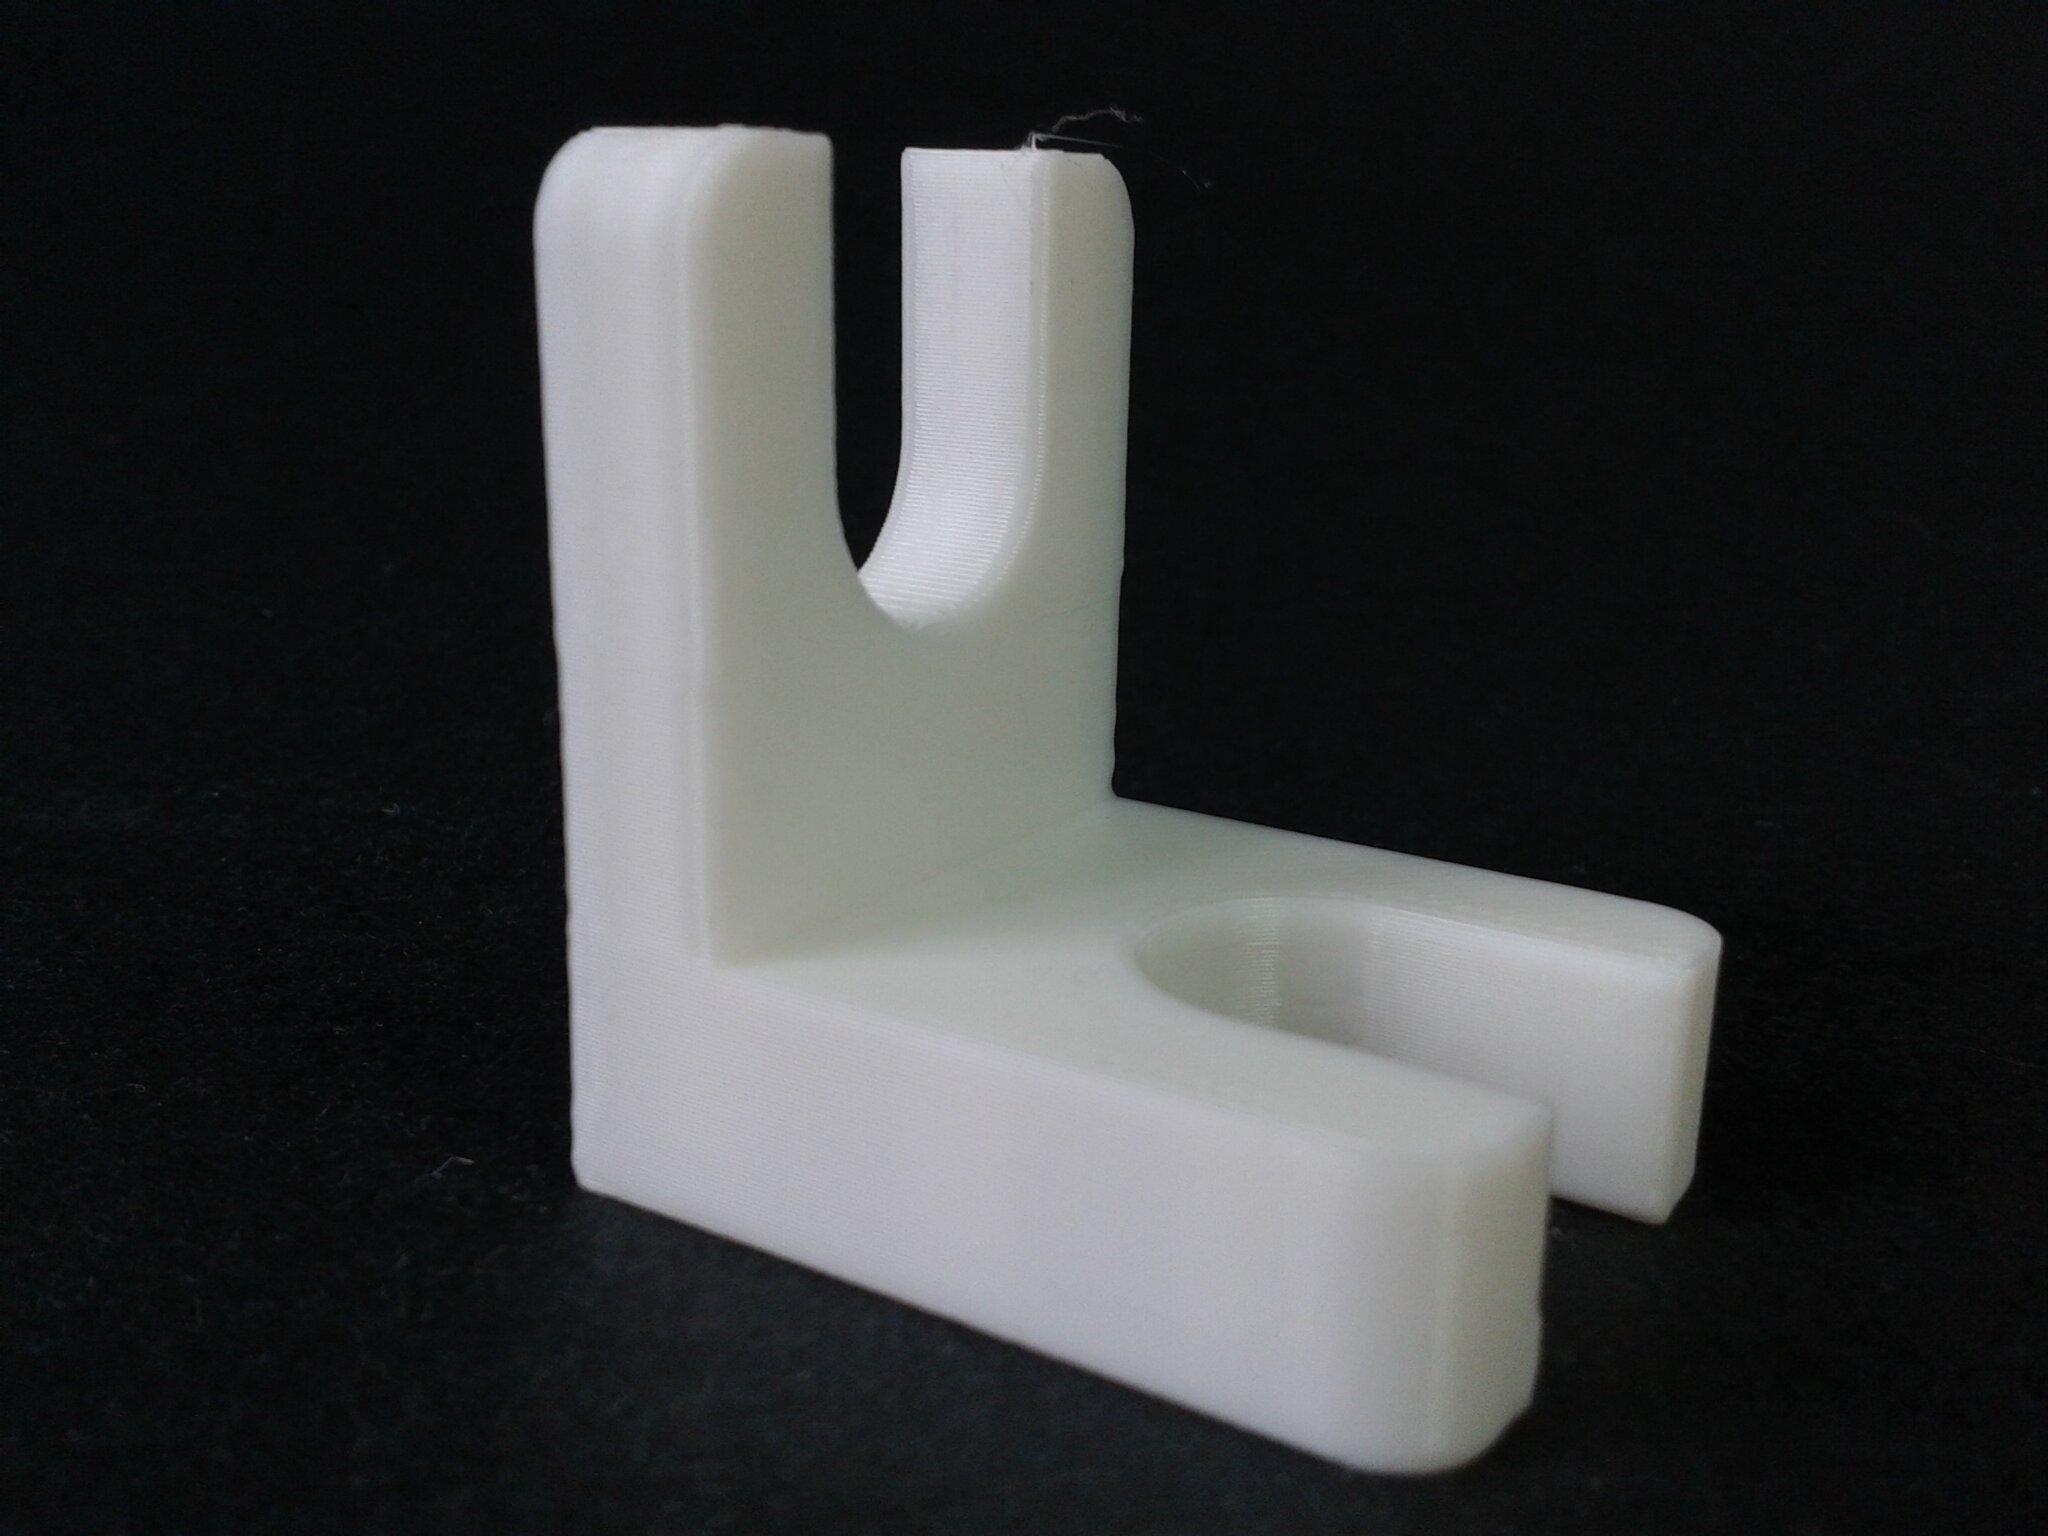
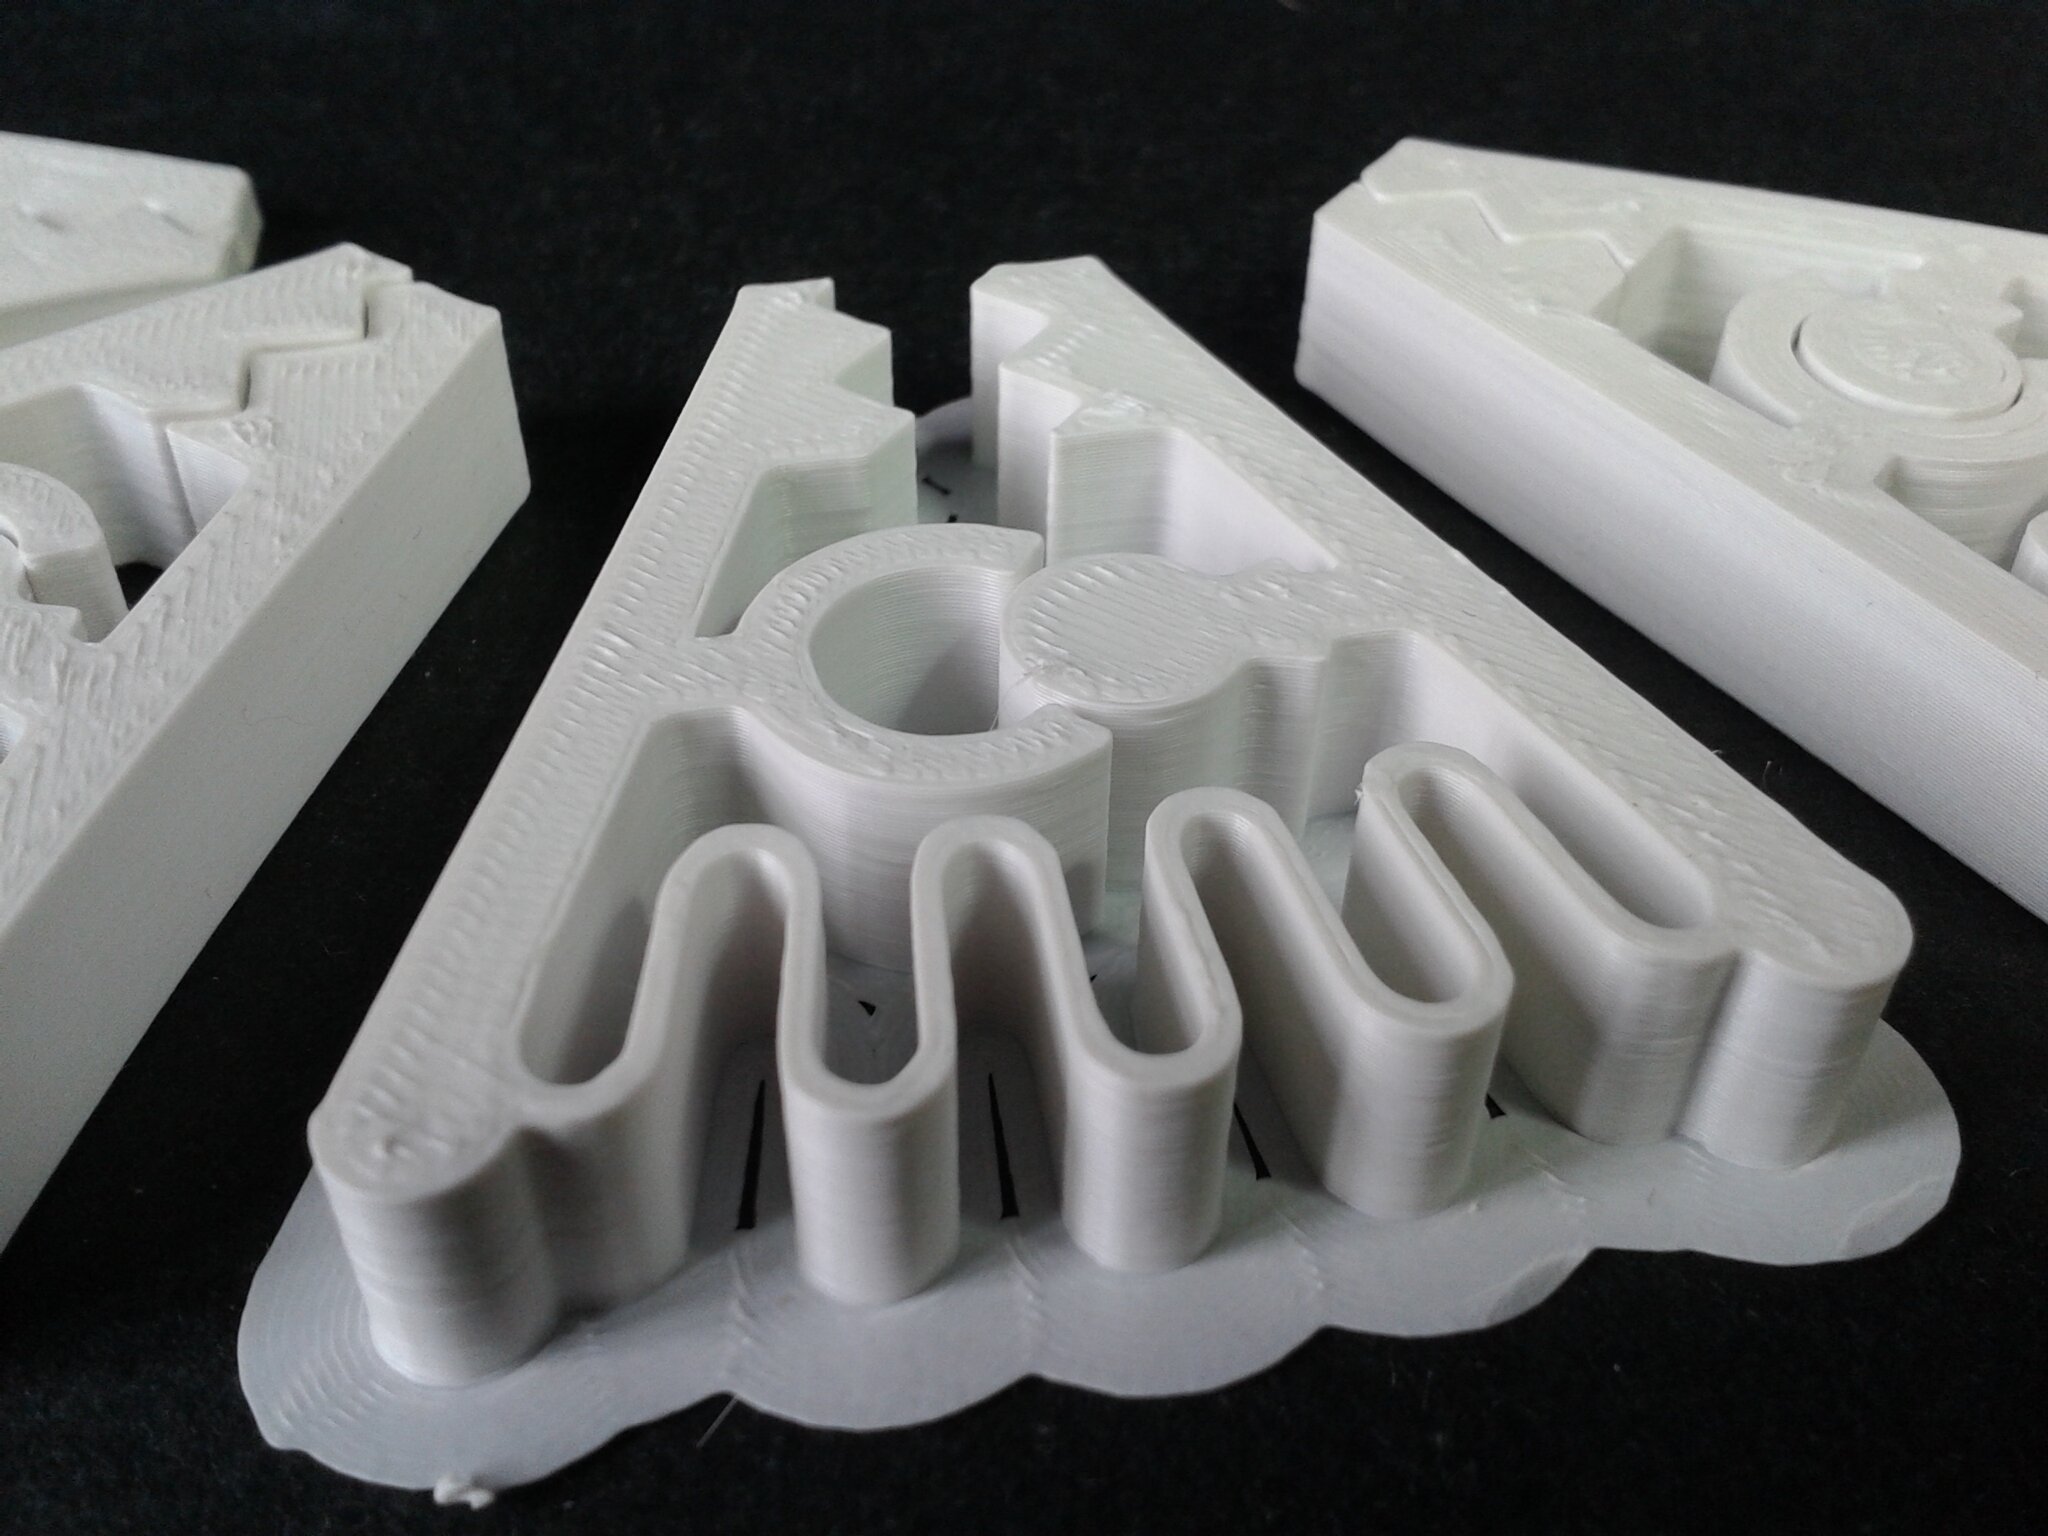
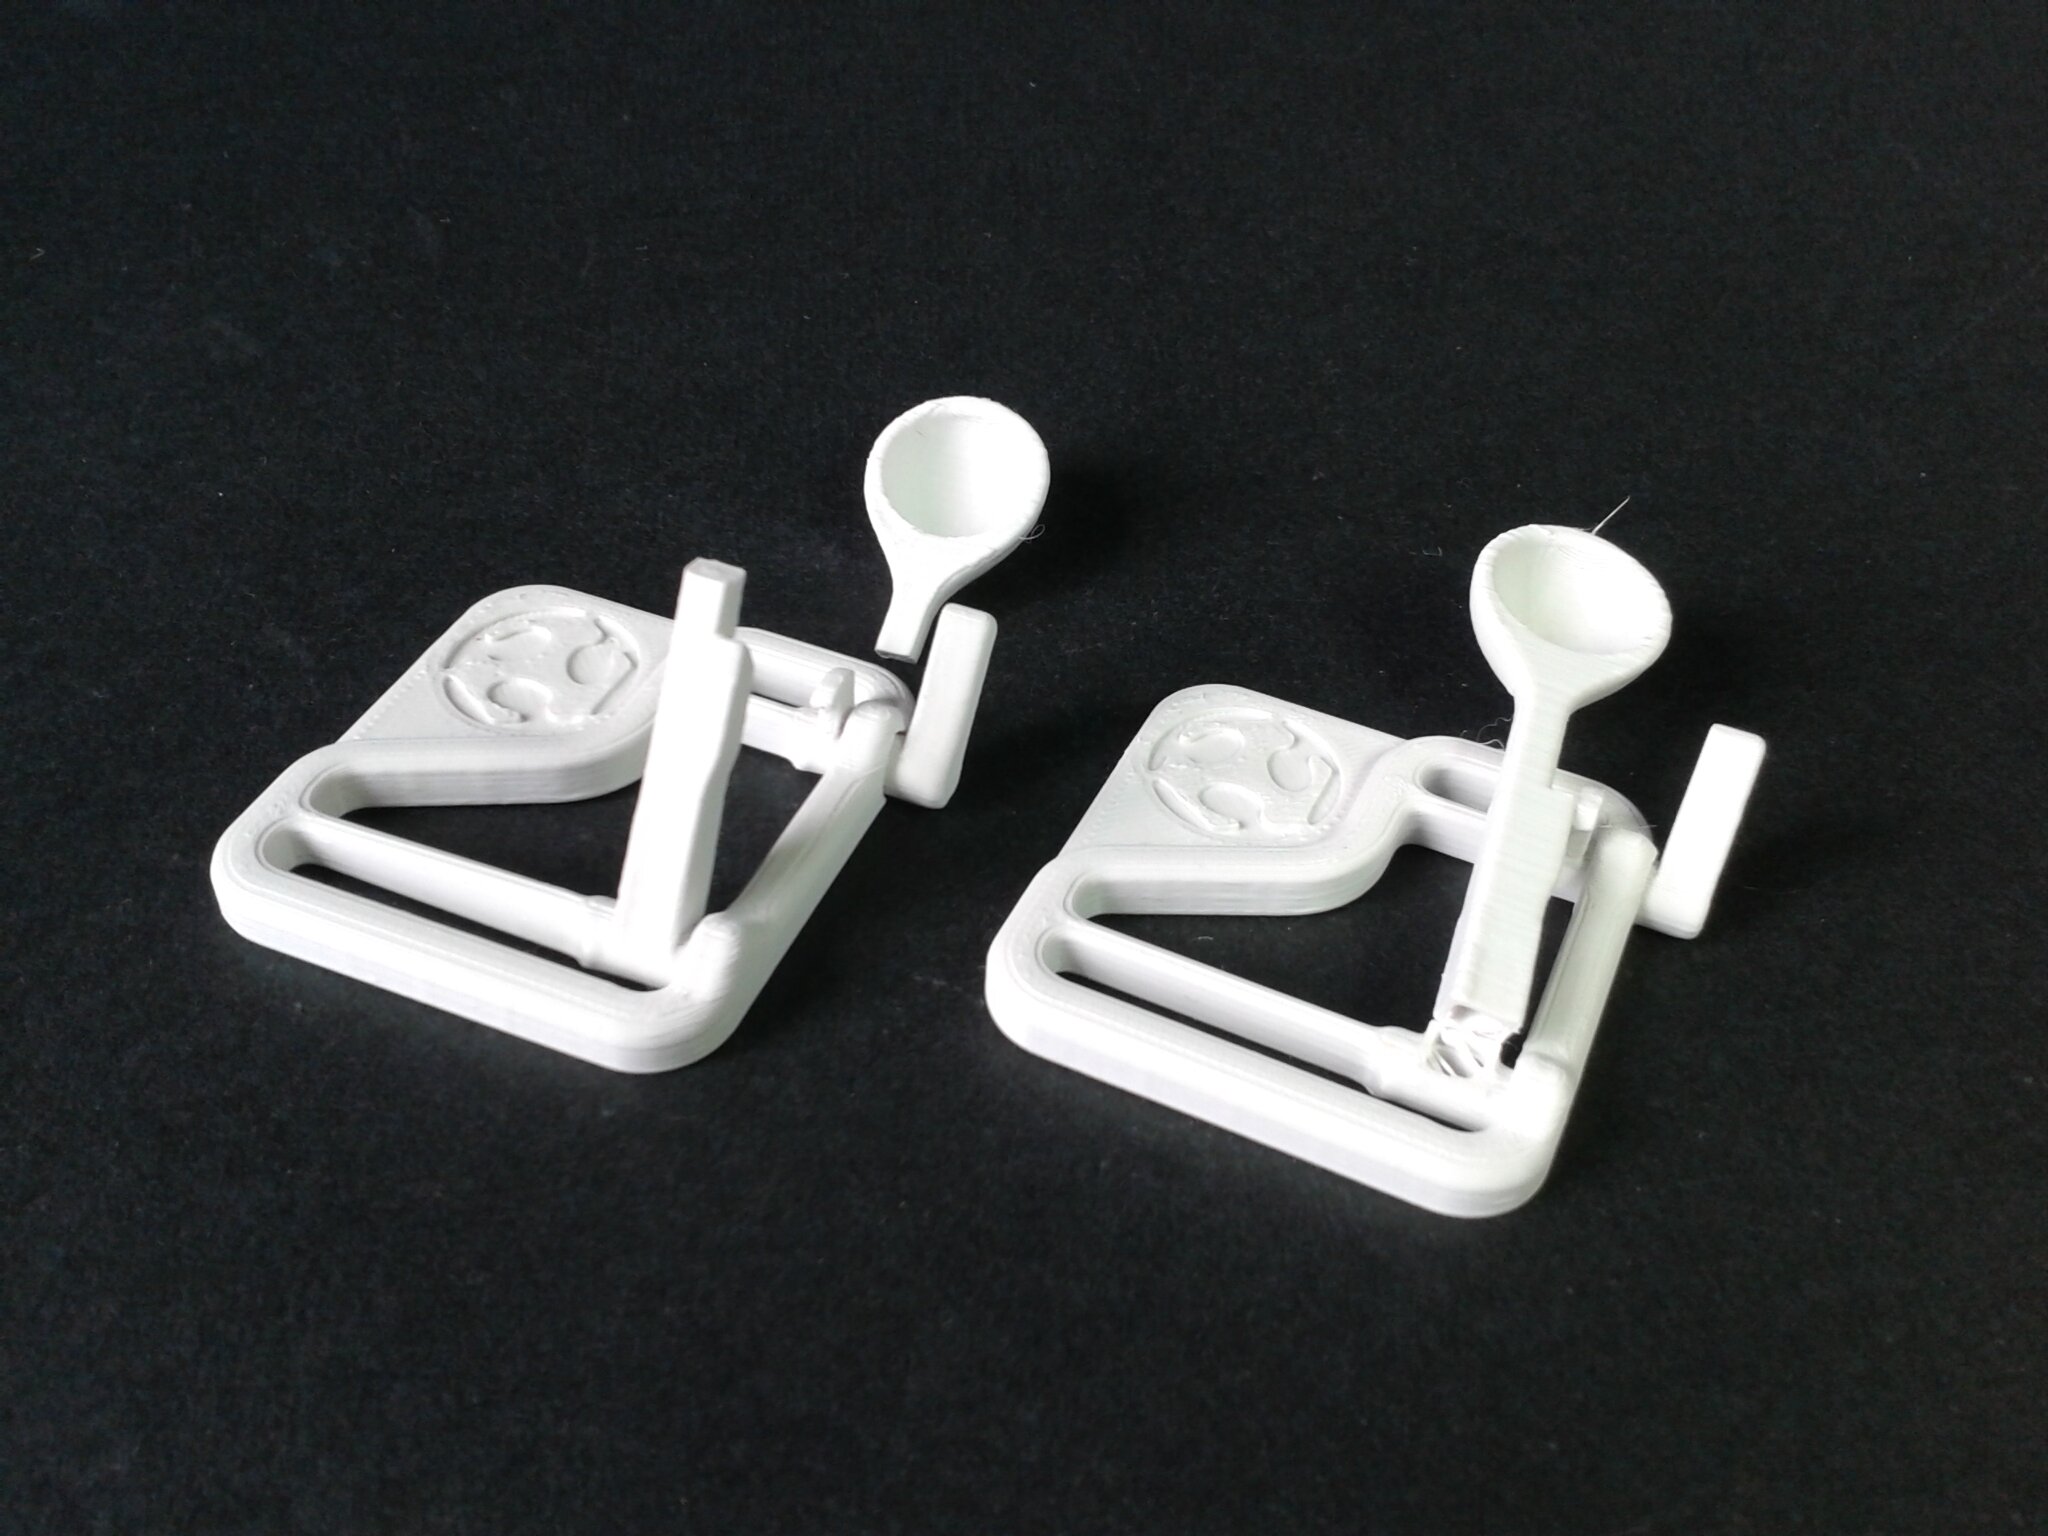
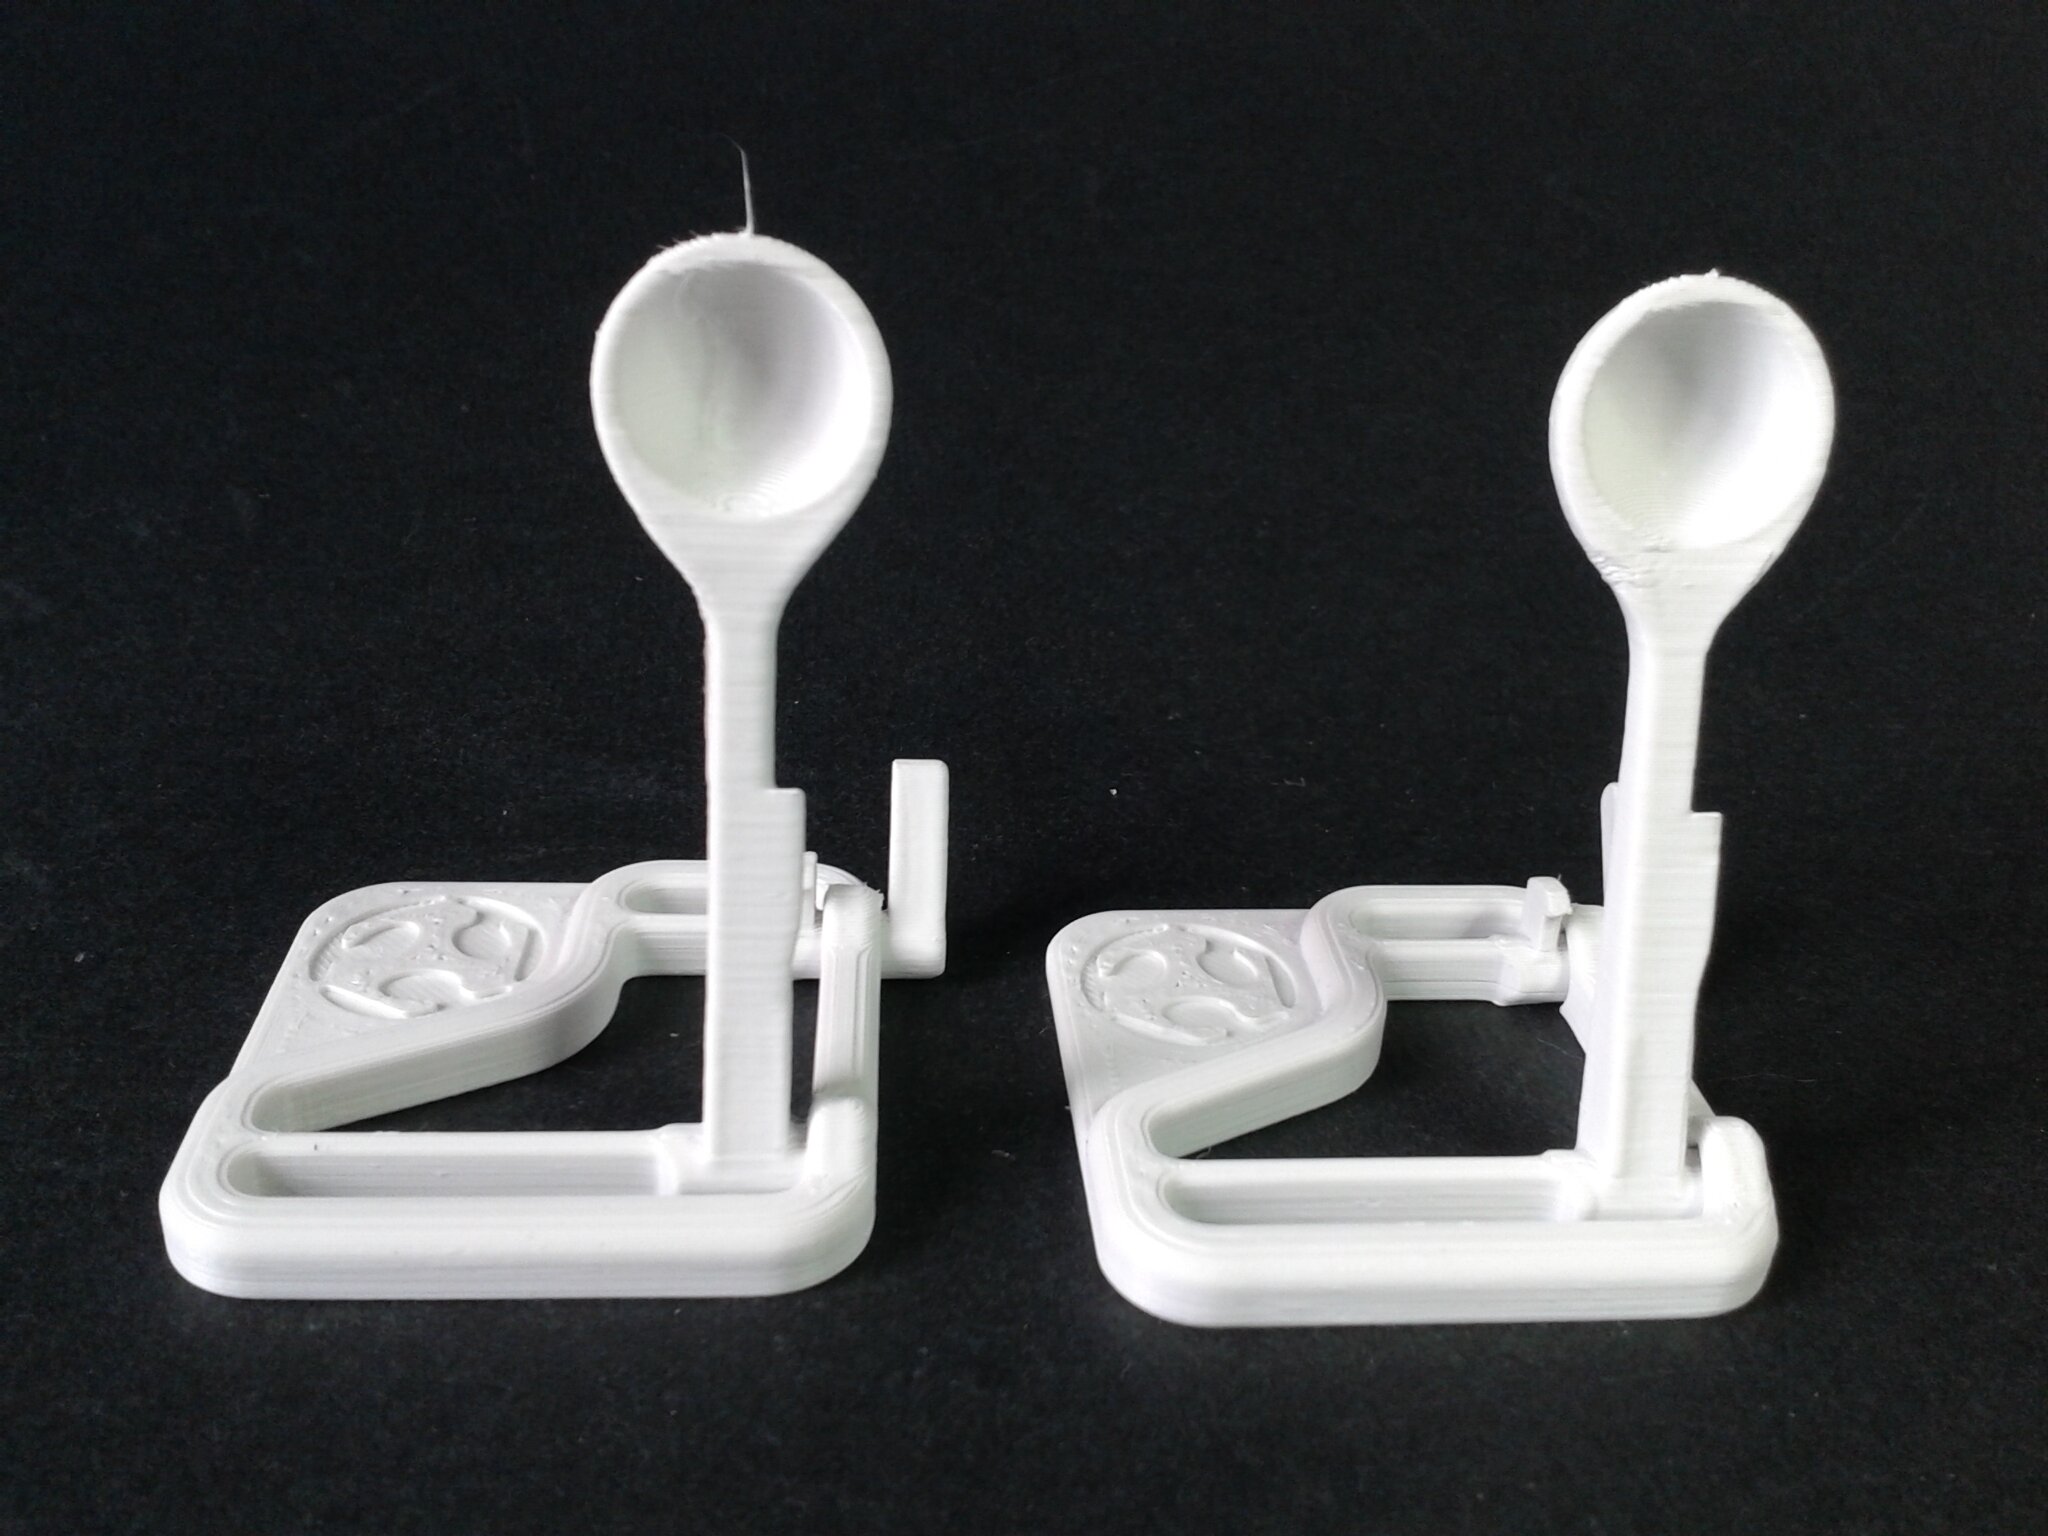
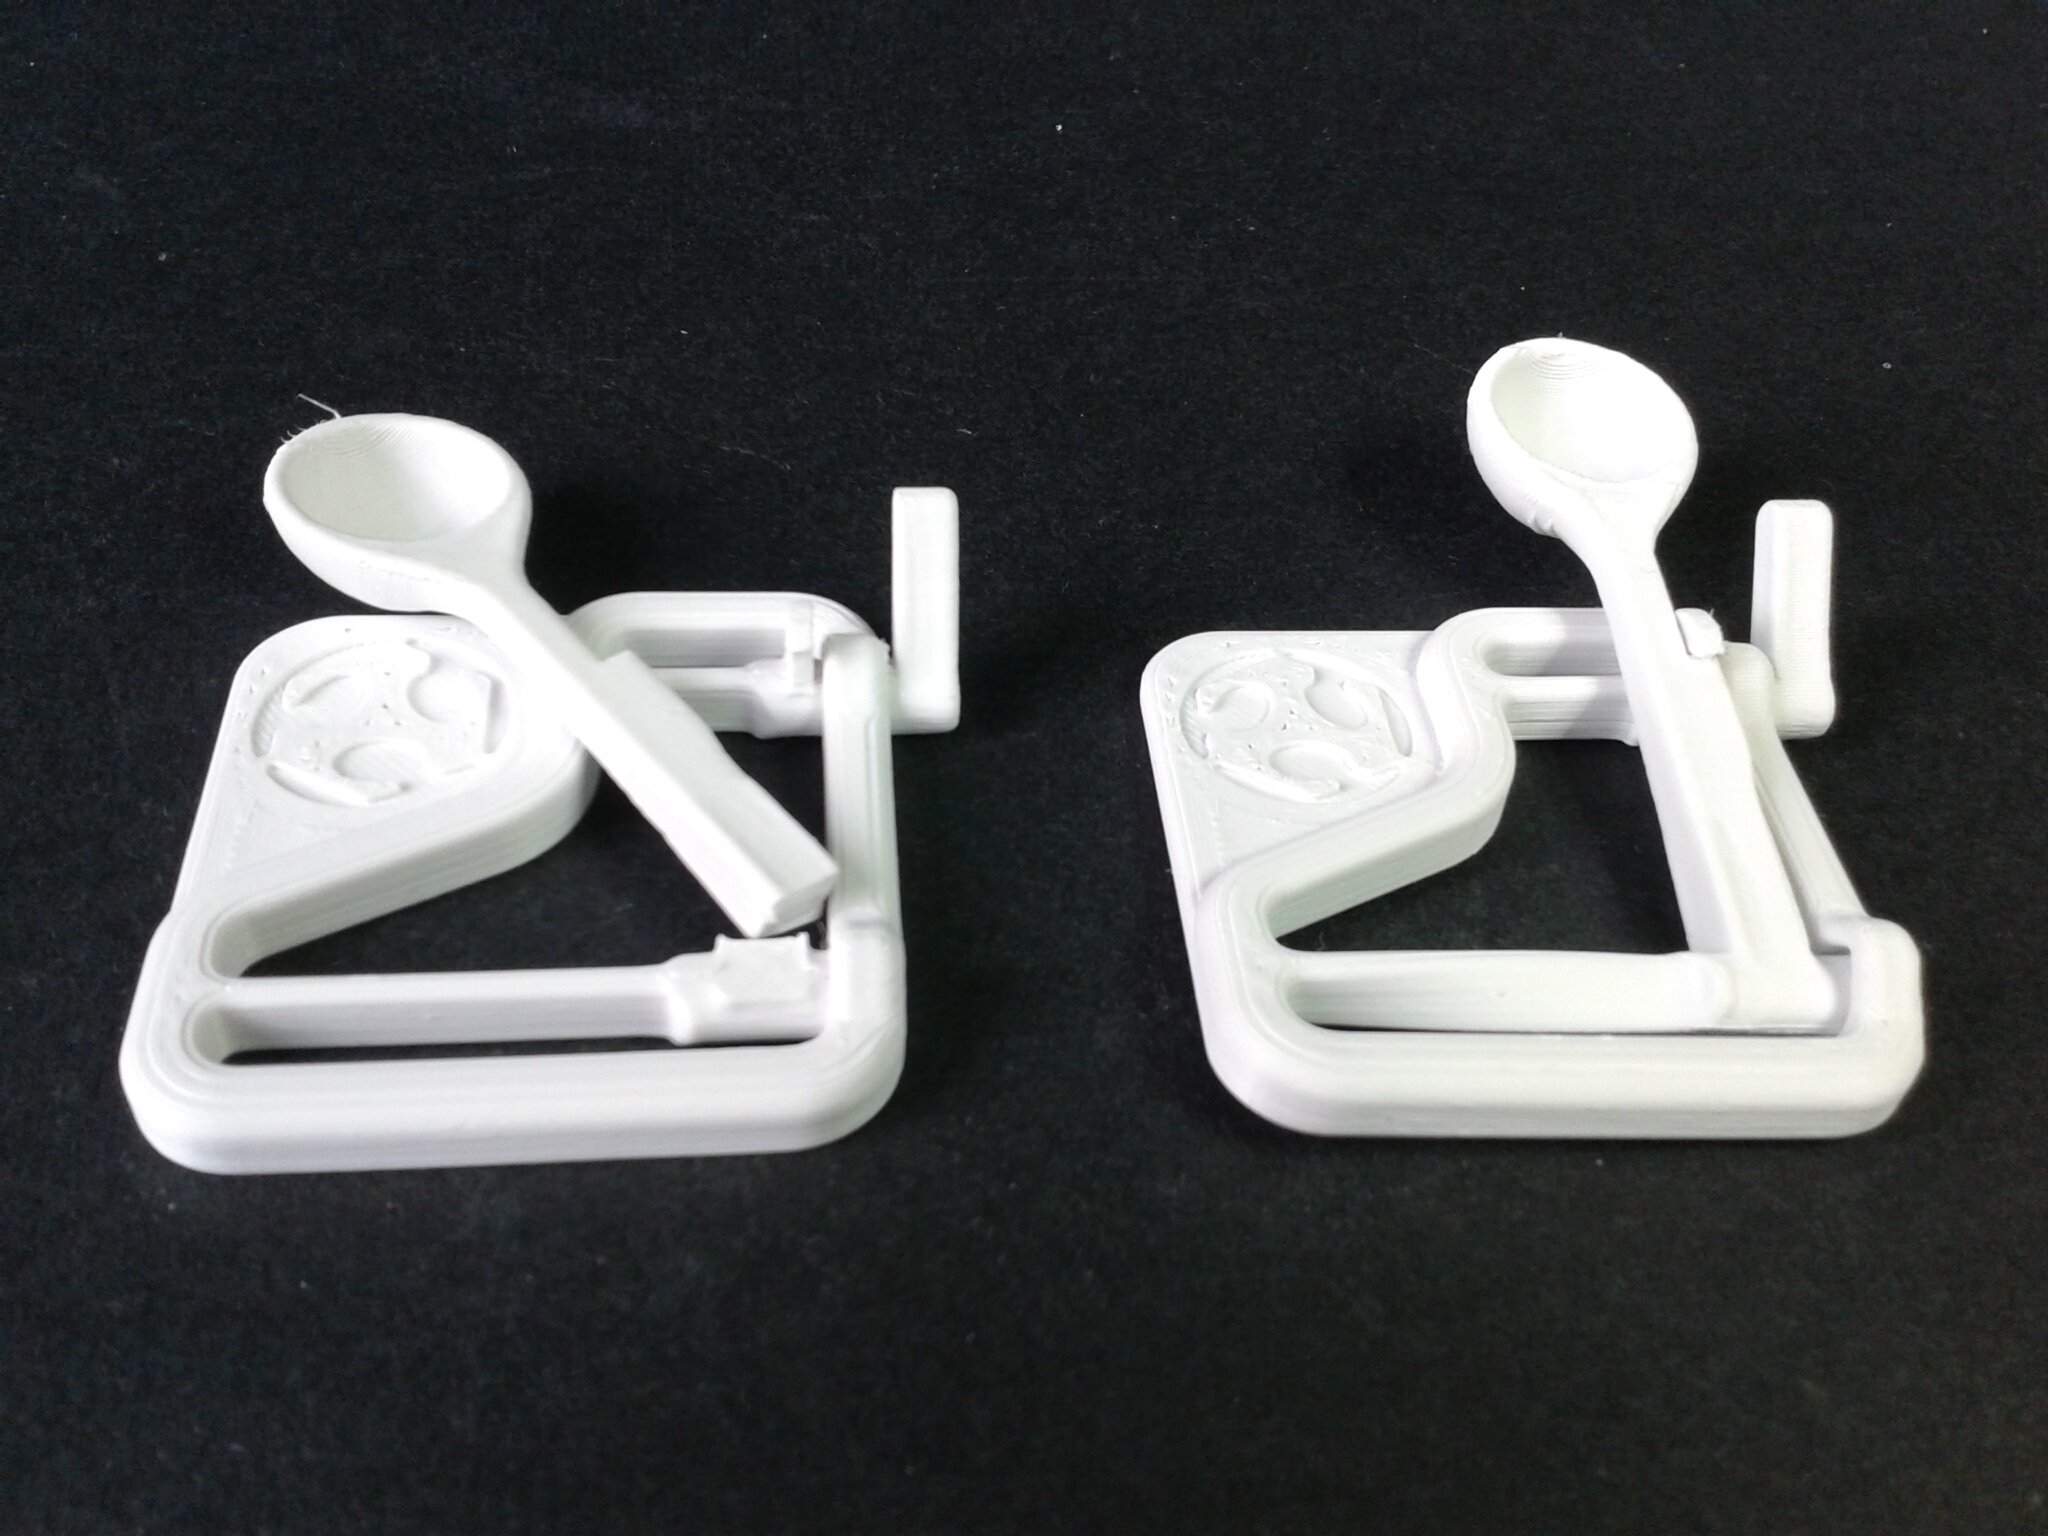
Cric de plateforme à plaque plus épaisse pour l’impression ABS
“Thicker plate Platform Jack for ABS Printing” de “piercet” (gratuit).
QidiSlicer v1.1.0, “0.20 mm Fine” (+bordure), “Generic ABS” Modifié (Buse 240°C, Plateau 100°C, Chambre 50°C, Vitesse volumétrique maximale 11 mm³/s)
Durée d’impression : 3 heures 37 minutes
Filament ABS Blanc Velleman
Mais c’est un échec. Il me faut revoir mon profil pour correctement réaliser les pontages, condition critique pour que ce modèle soit fonctionnel.


Impression en ASA
Je n’avais encore jamais imprimé avec du filament ASA mais je n’ai pas rencontré de difficultés avec le profil “Generic ASA” de QidiSlicer et ce matériau durant ce test de la Qidi Q1 Pro, malgré mon inexpérience.
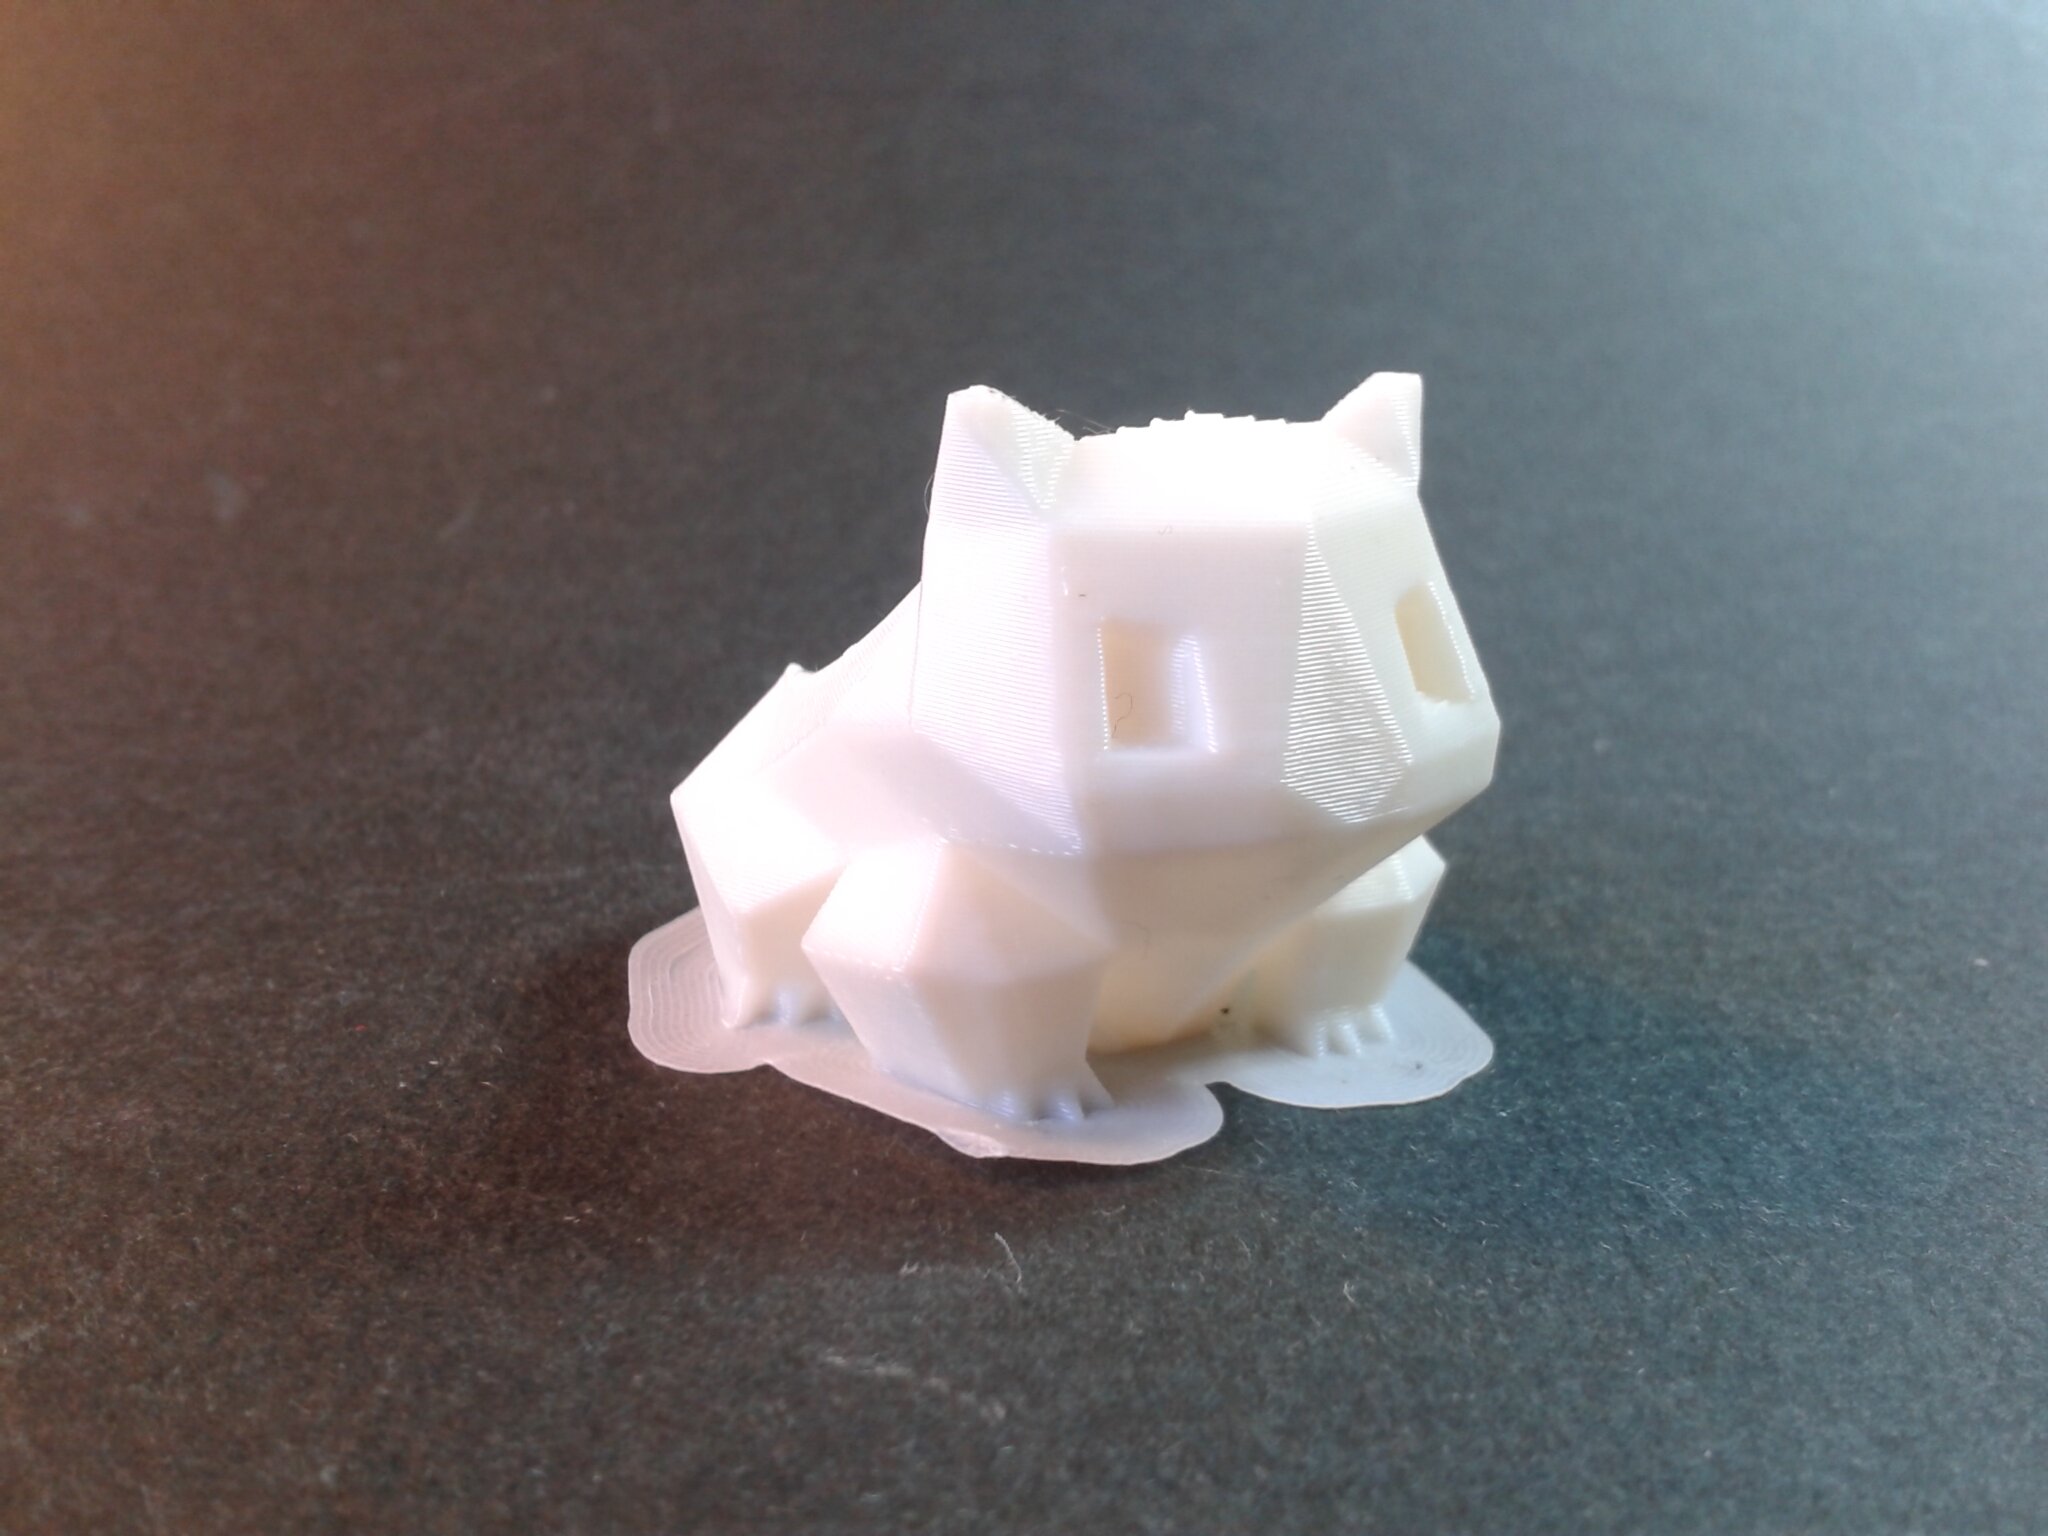
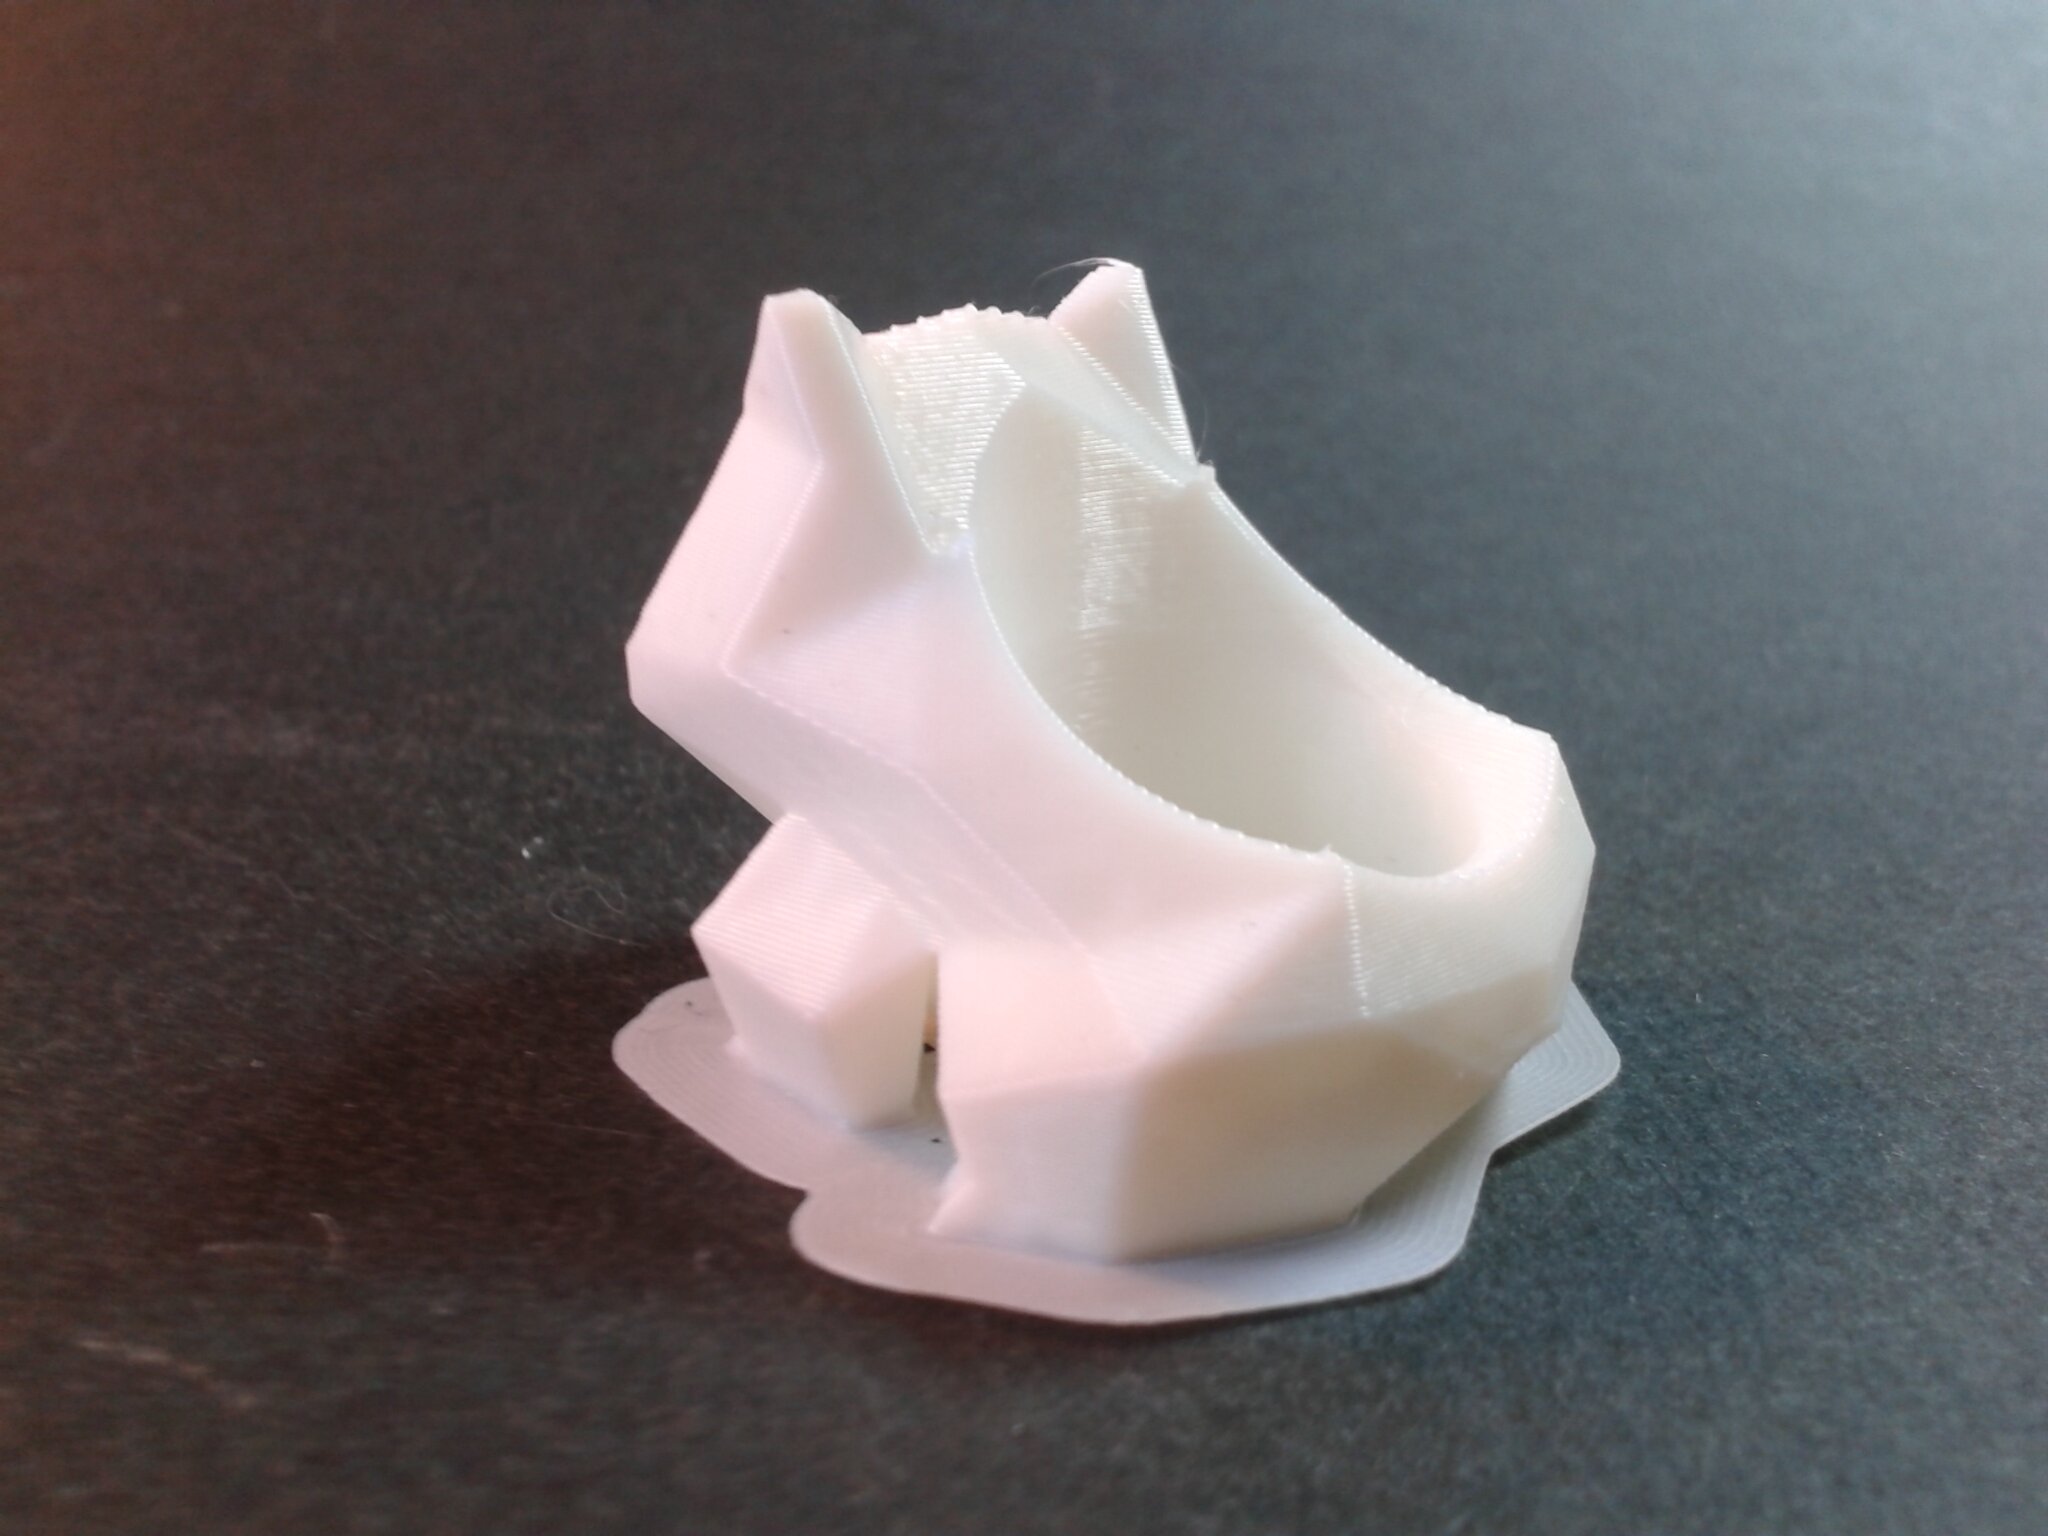
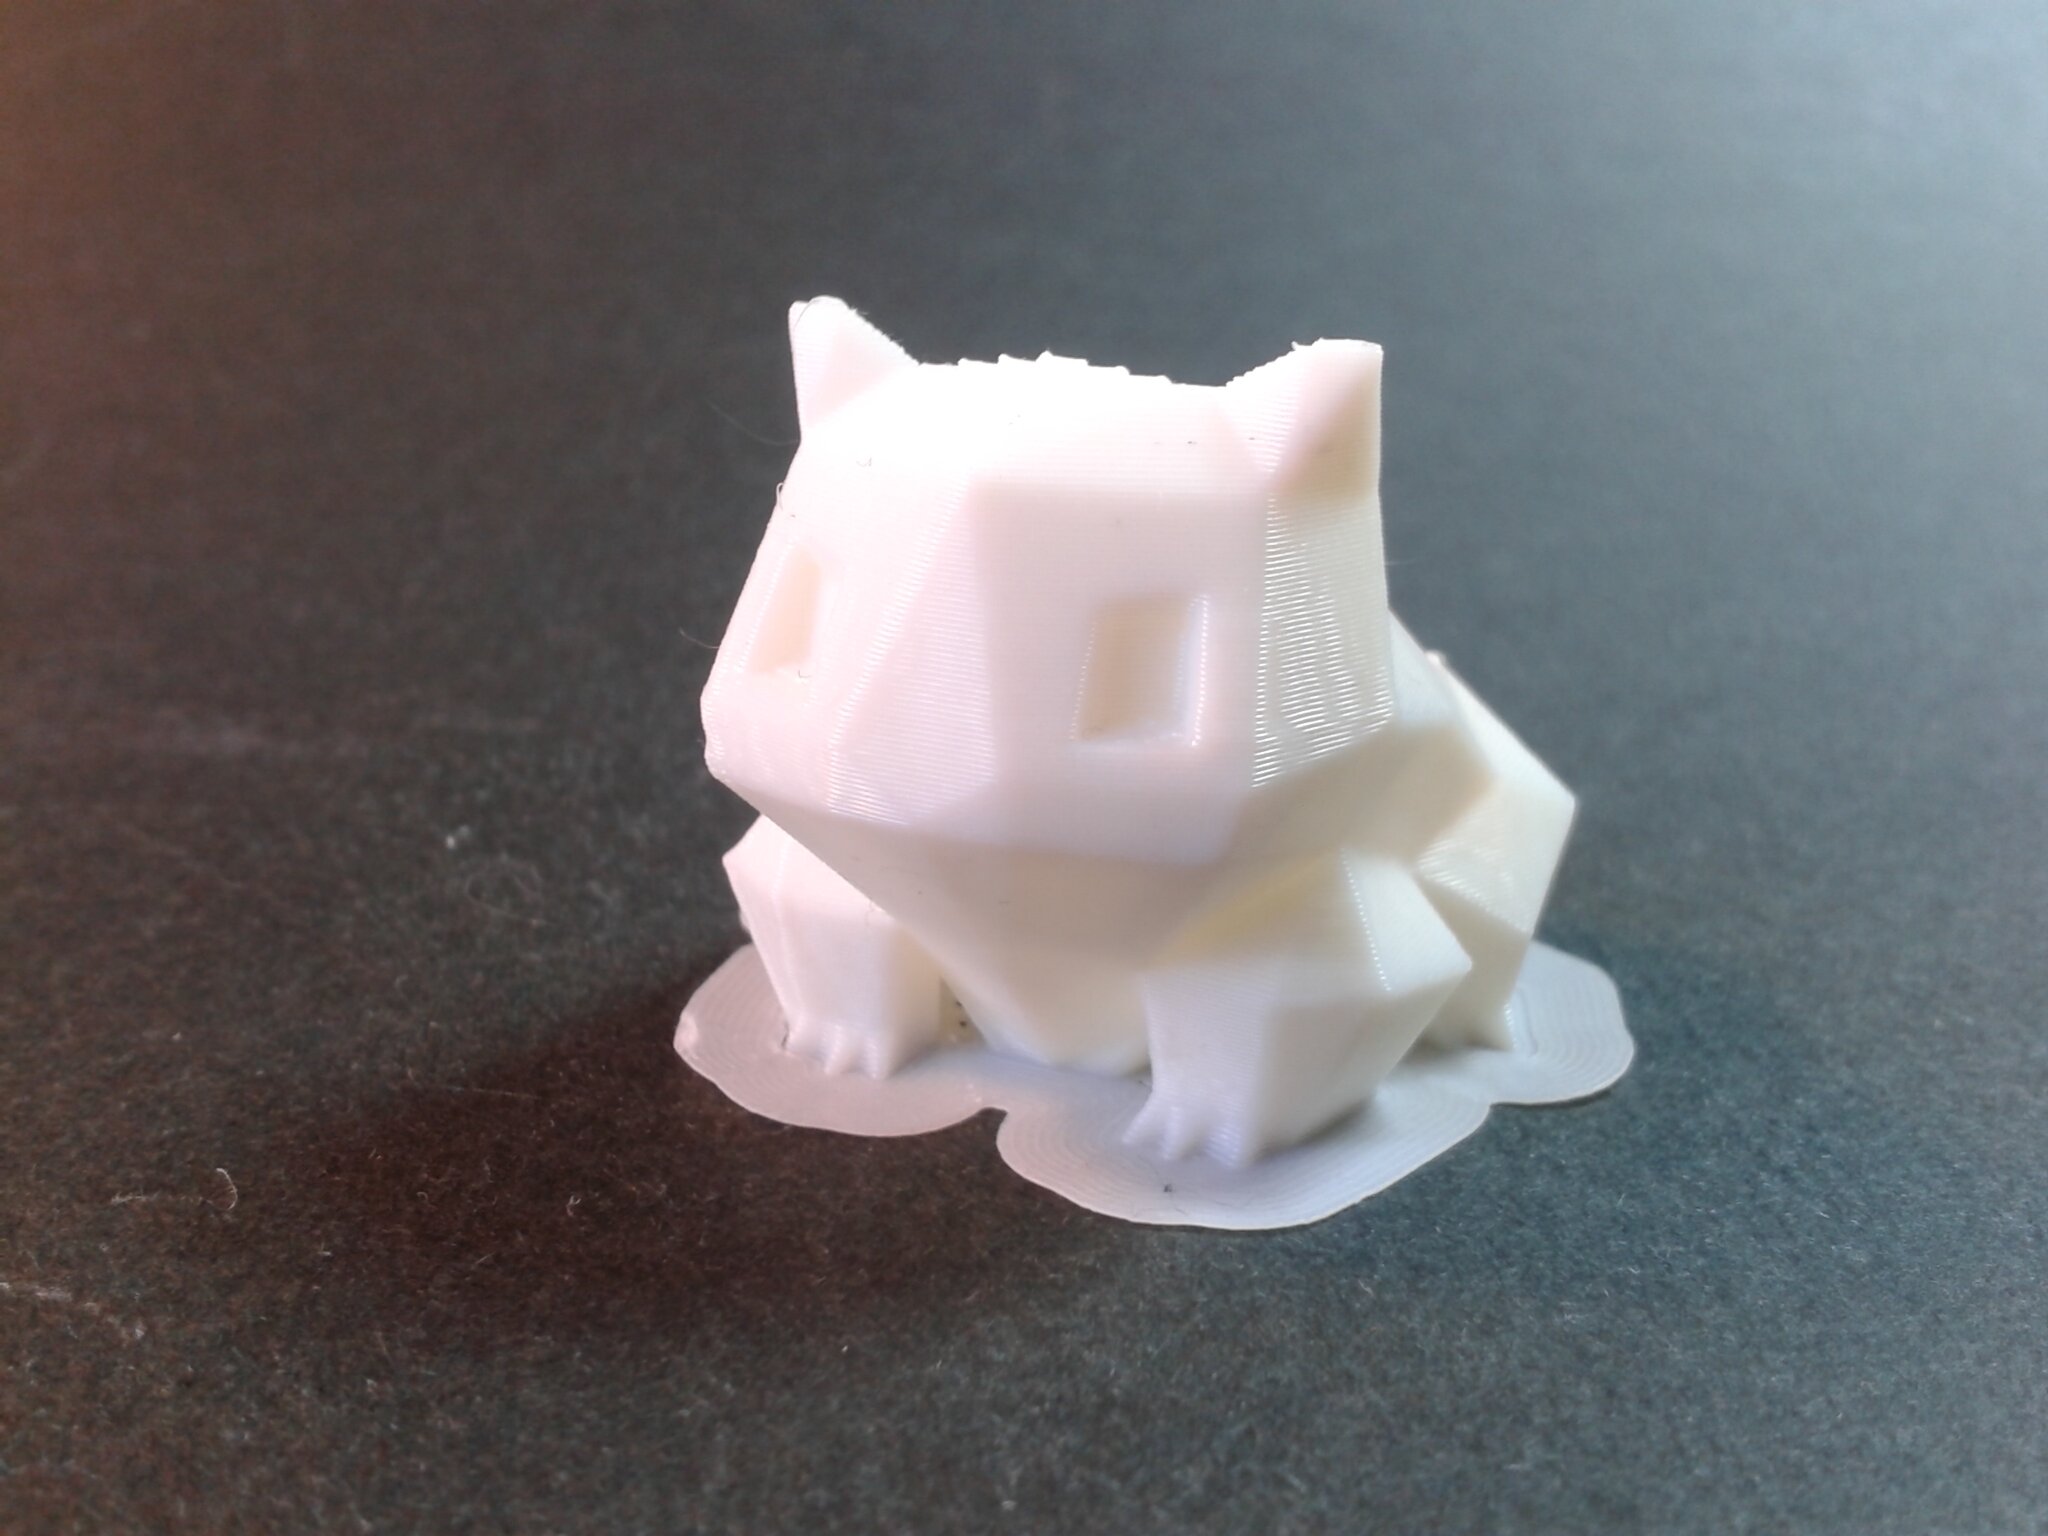
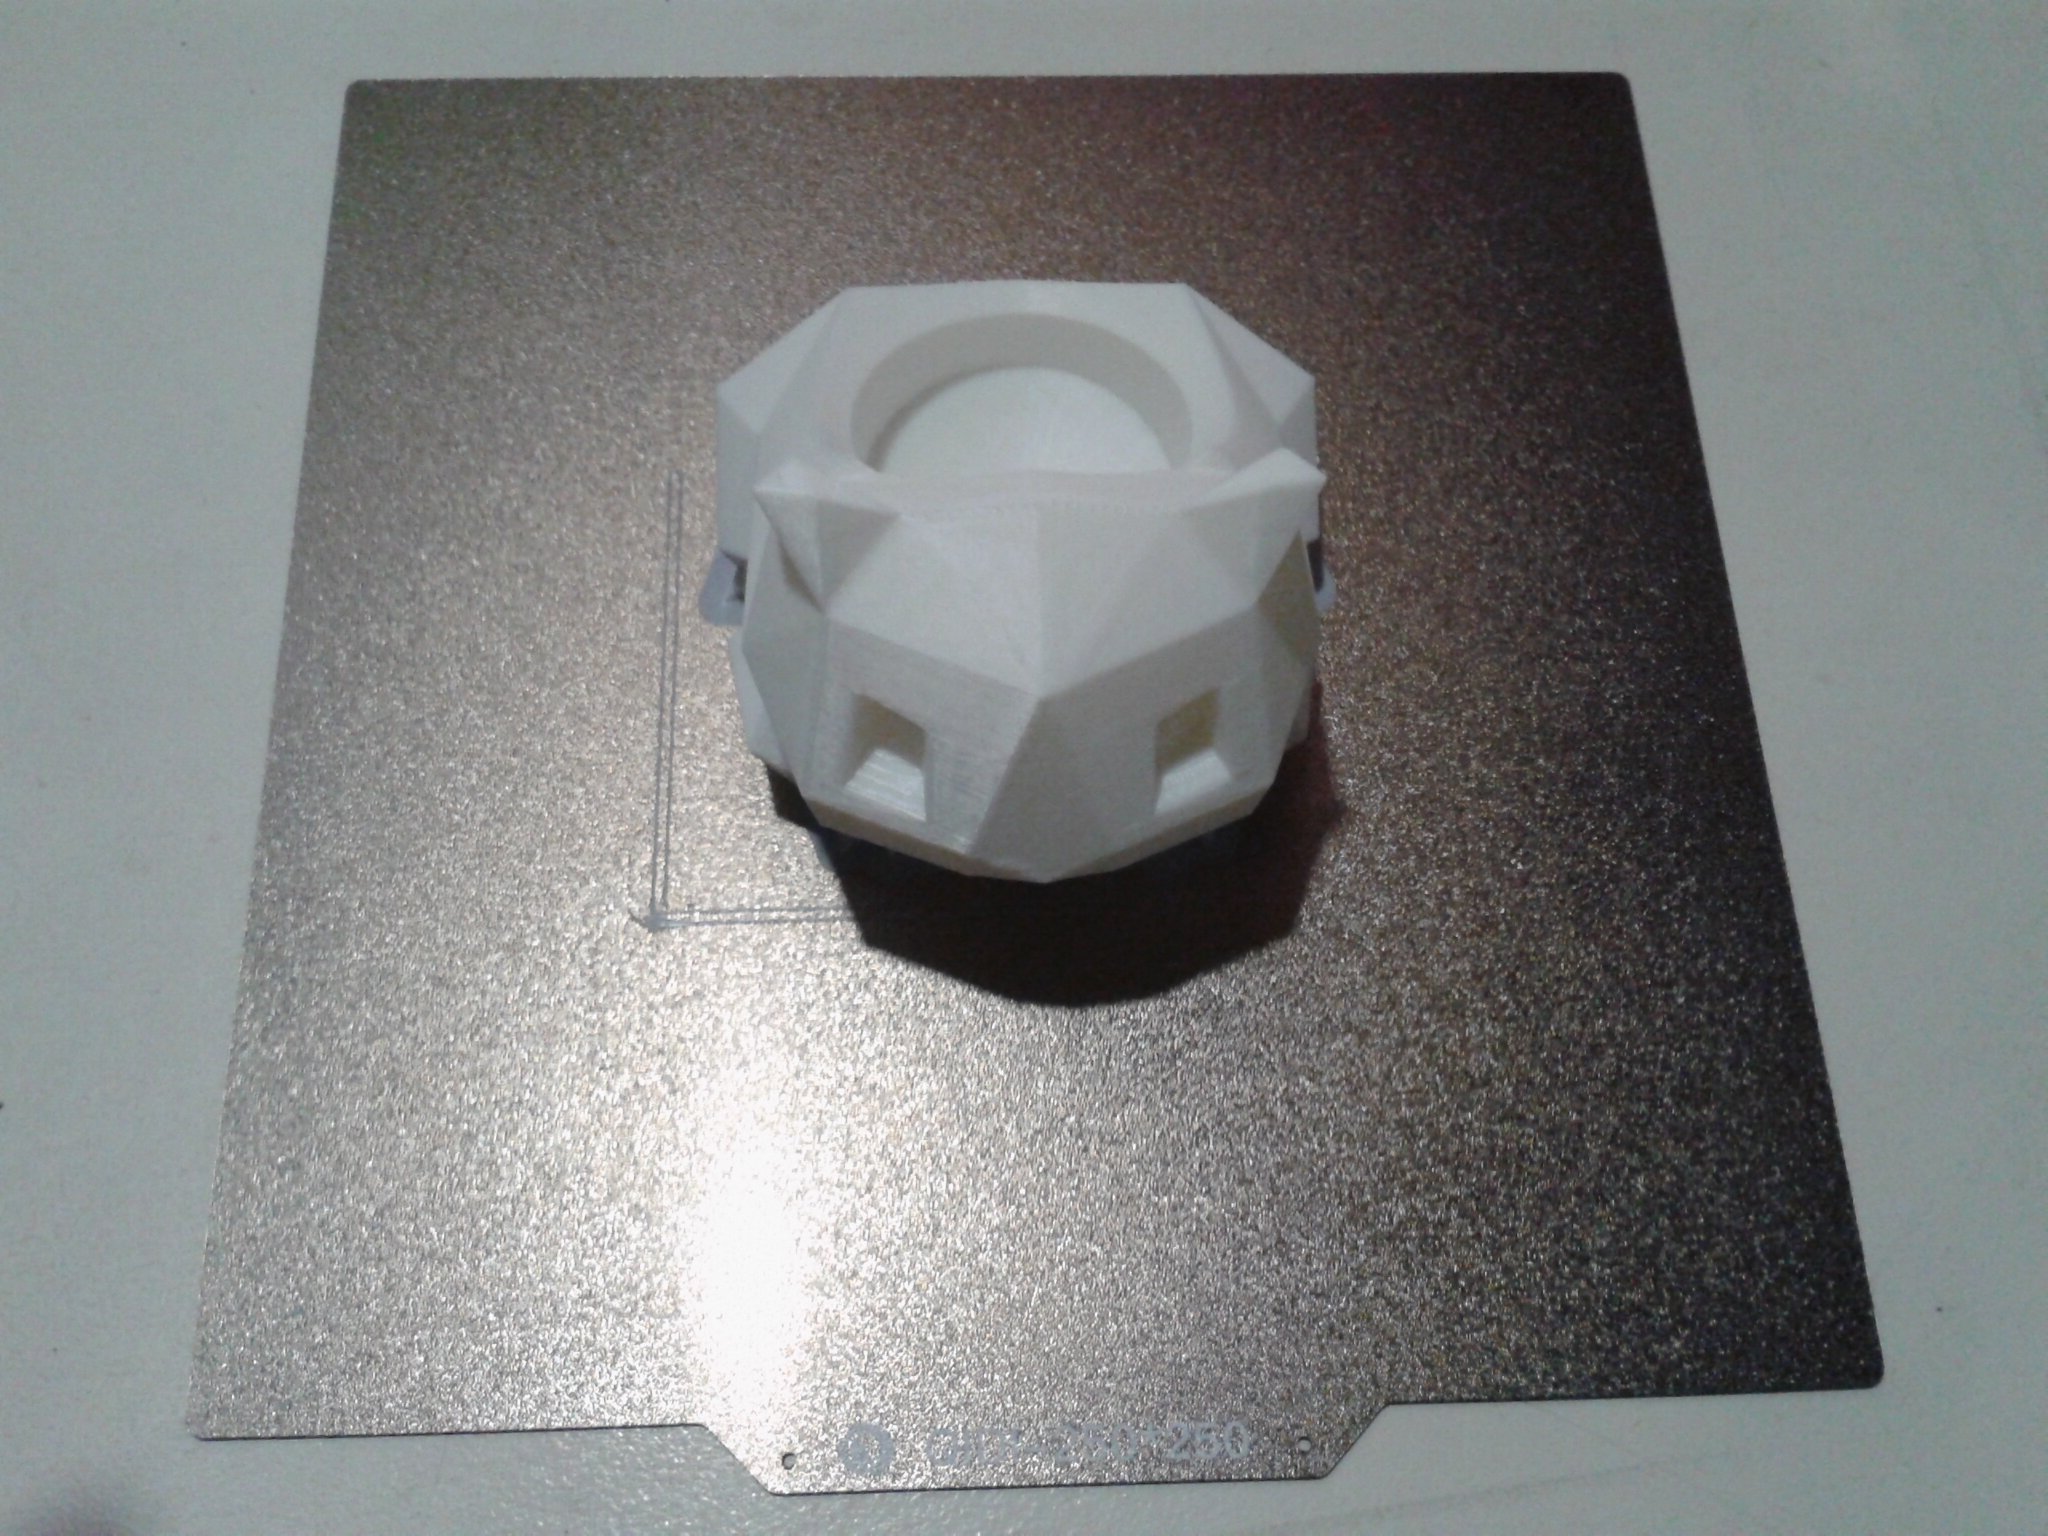
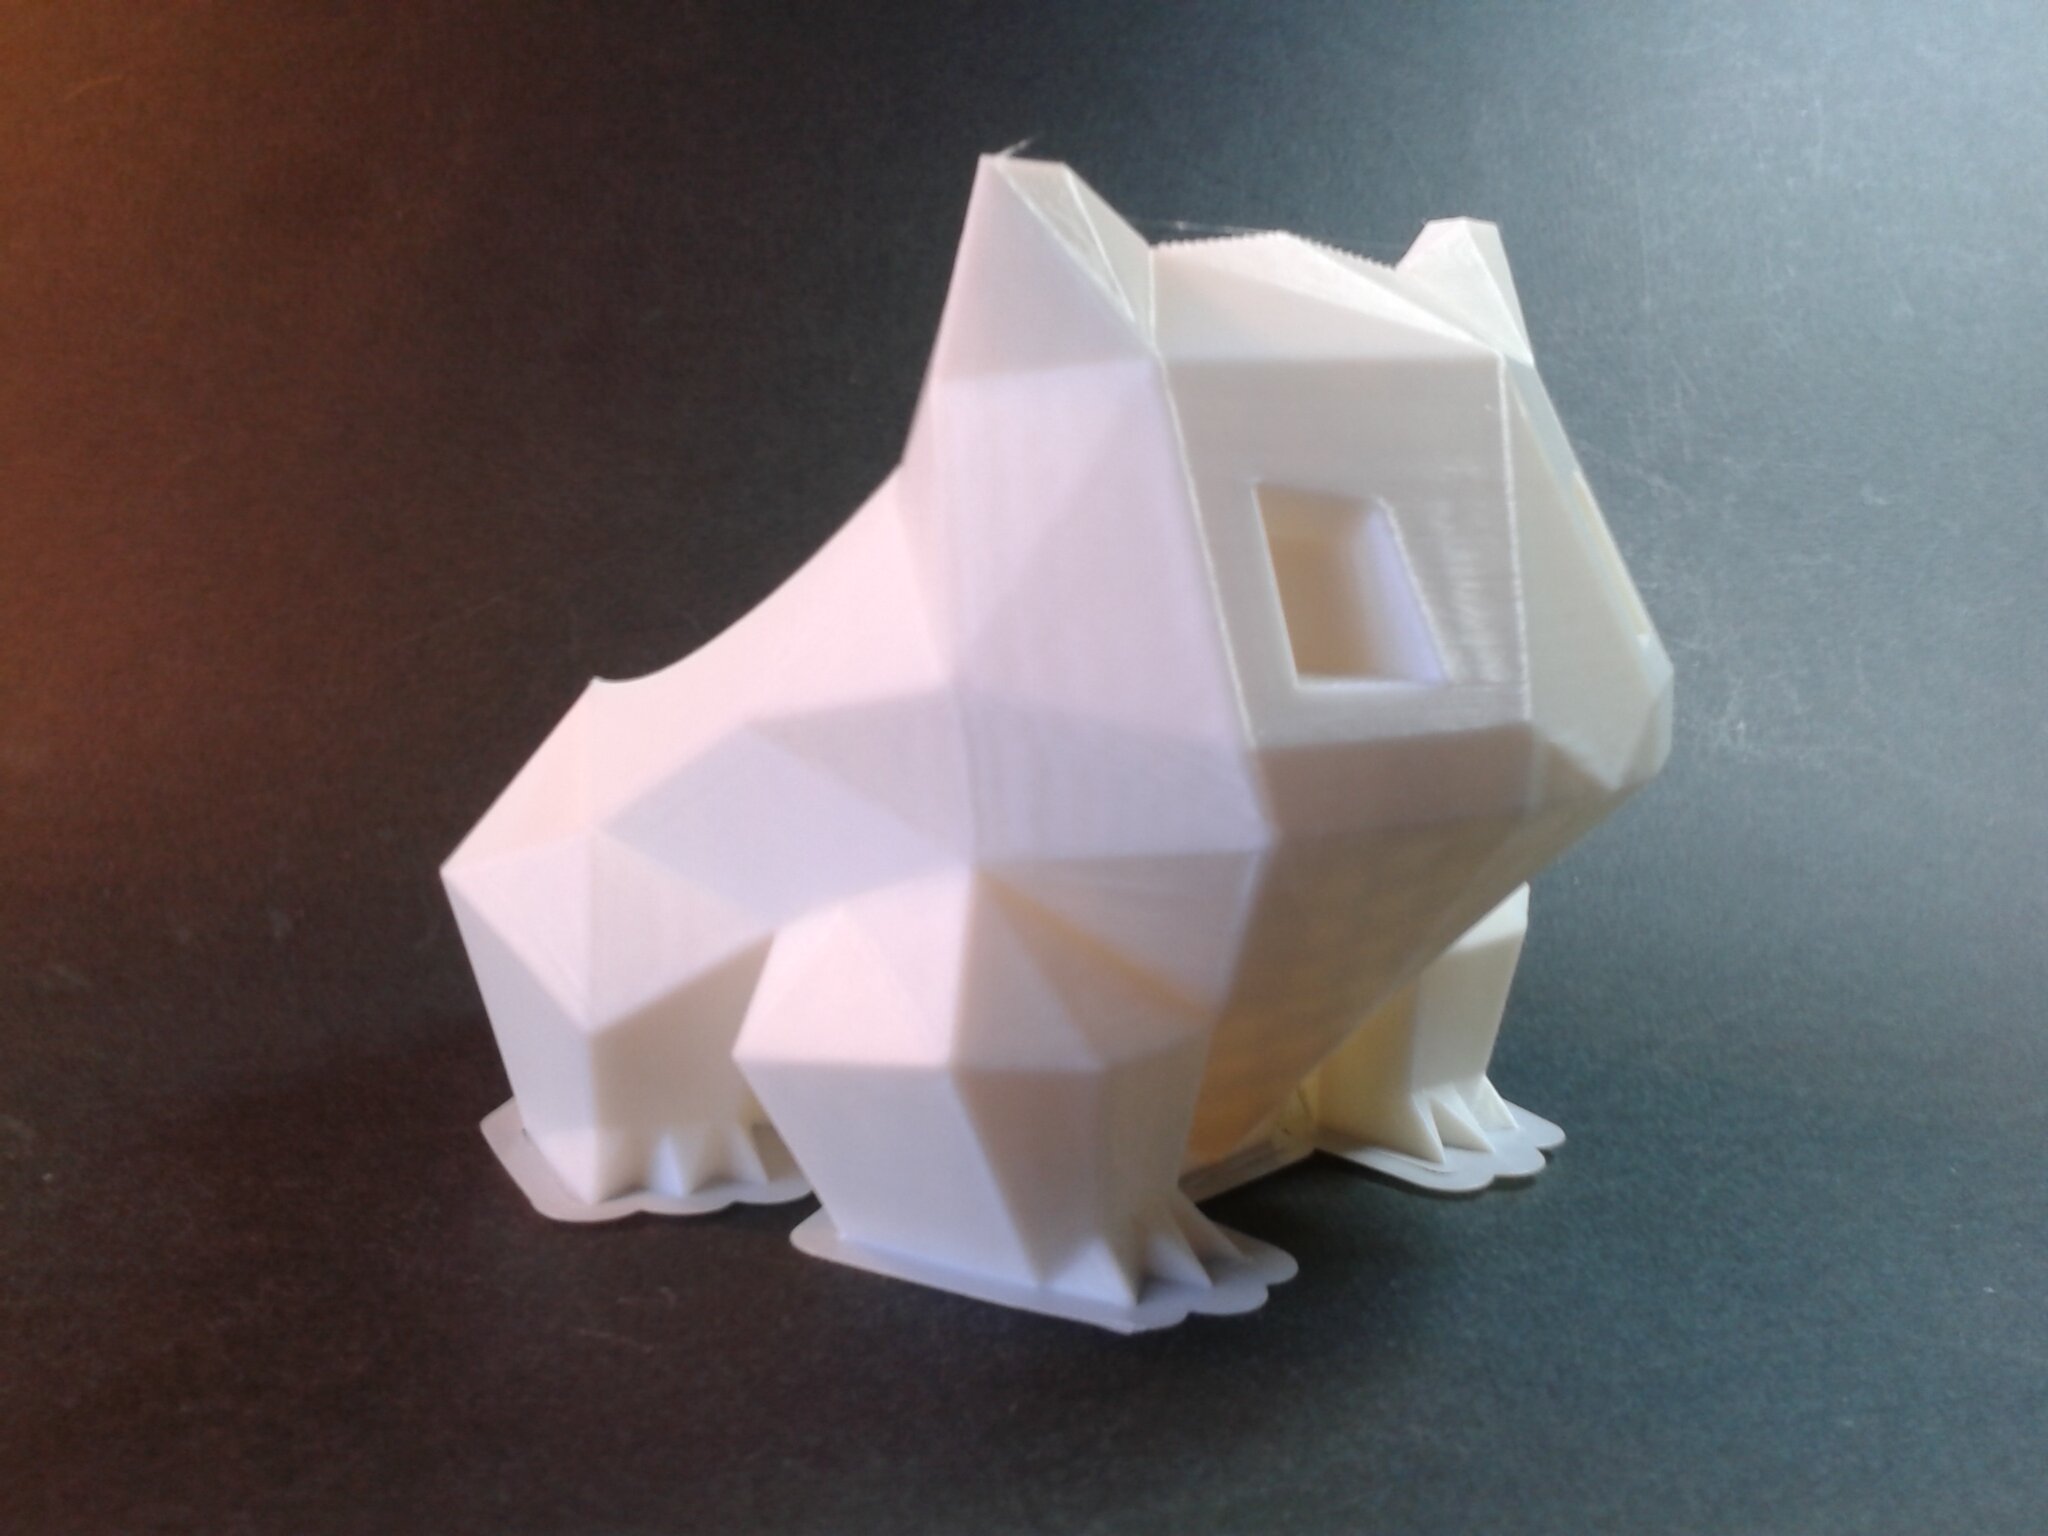
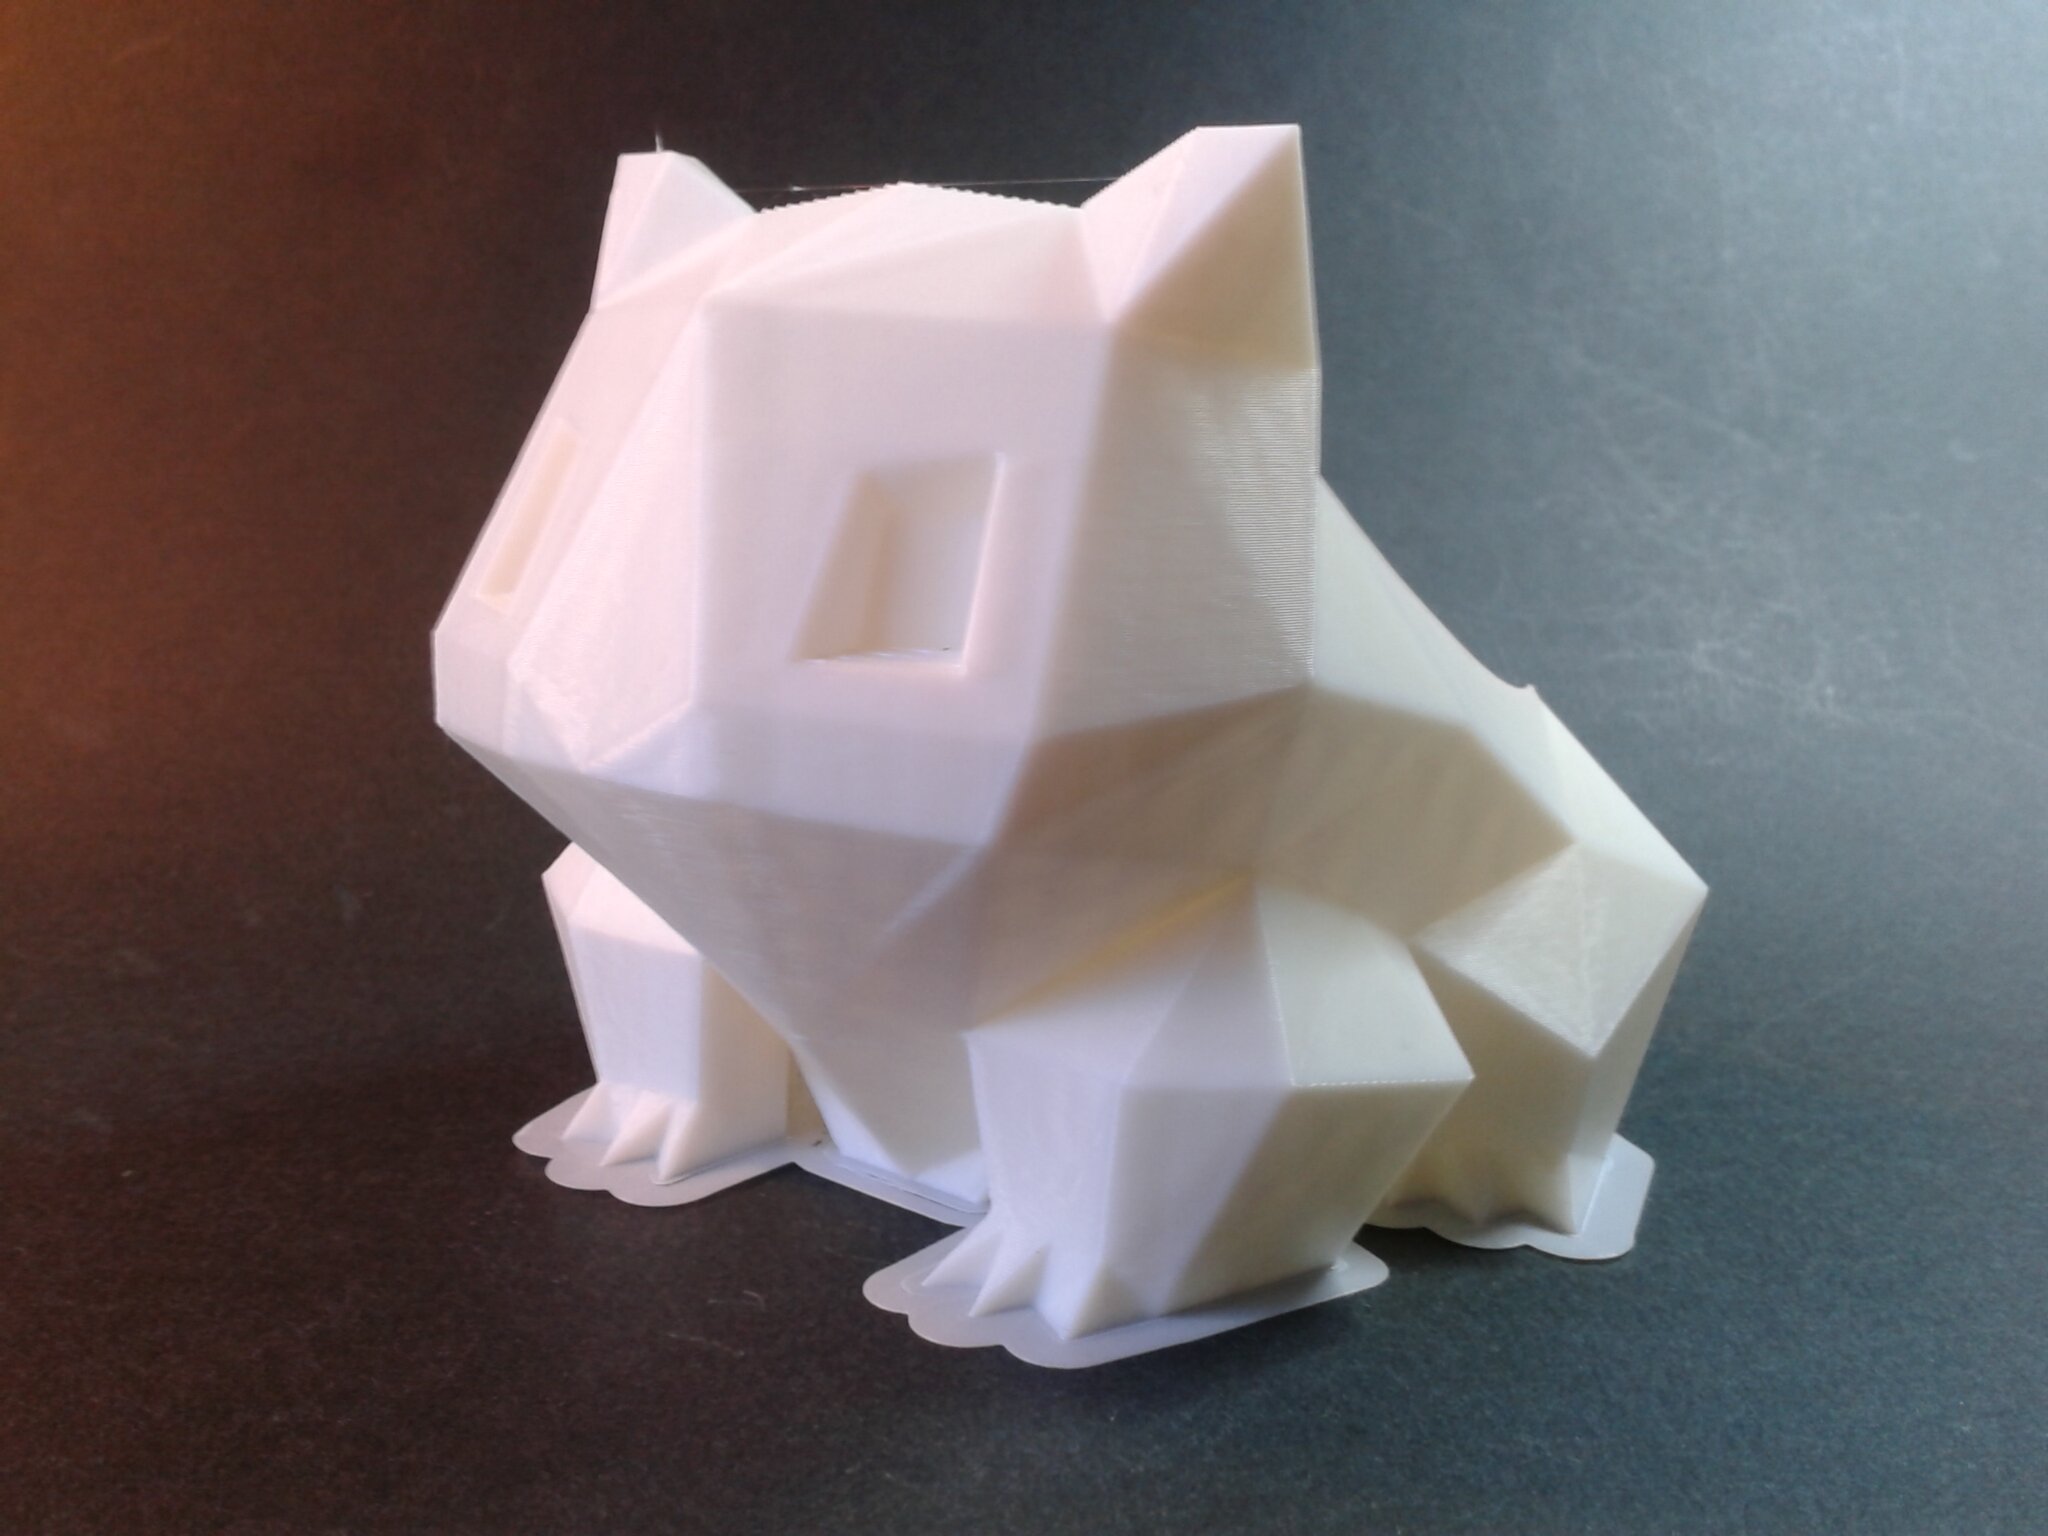
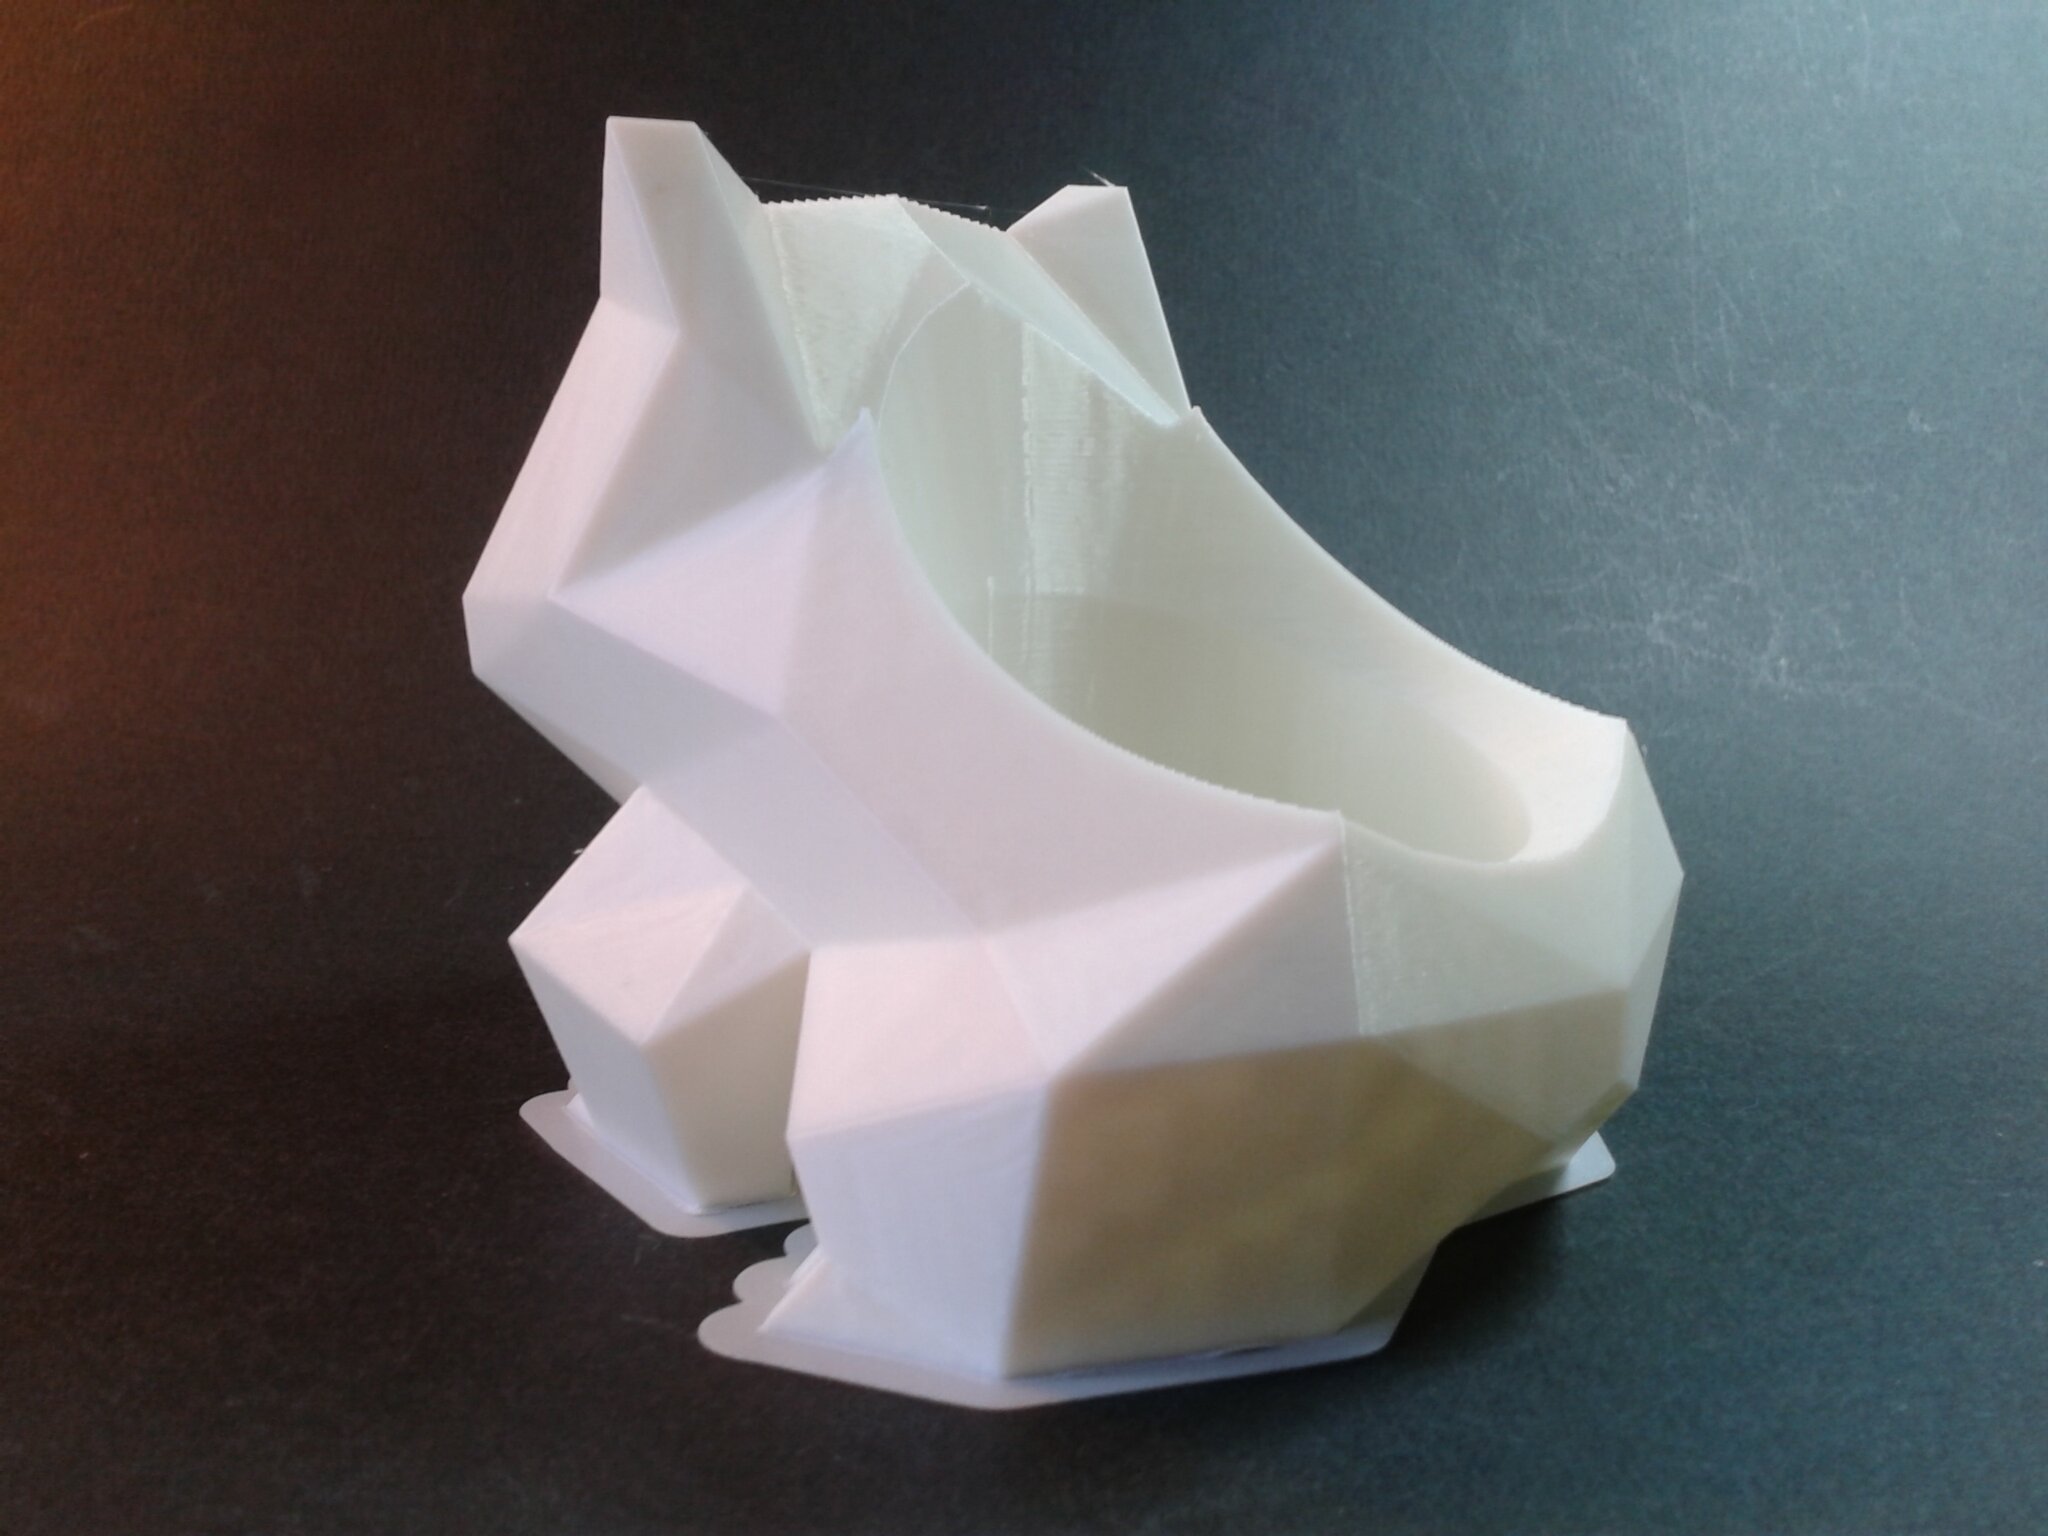
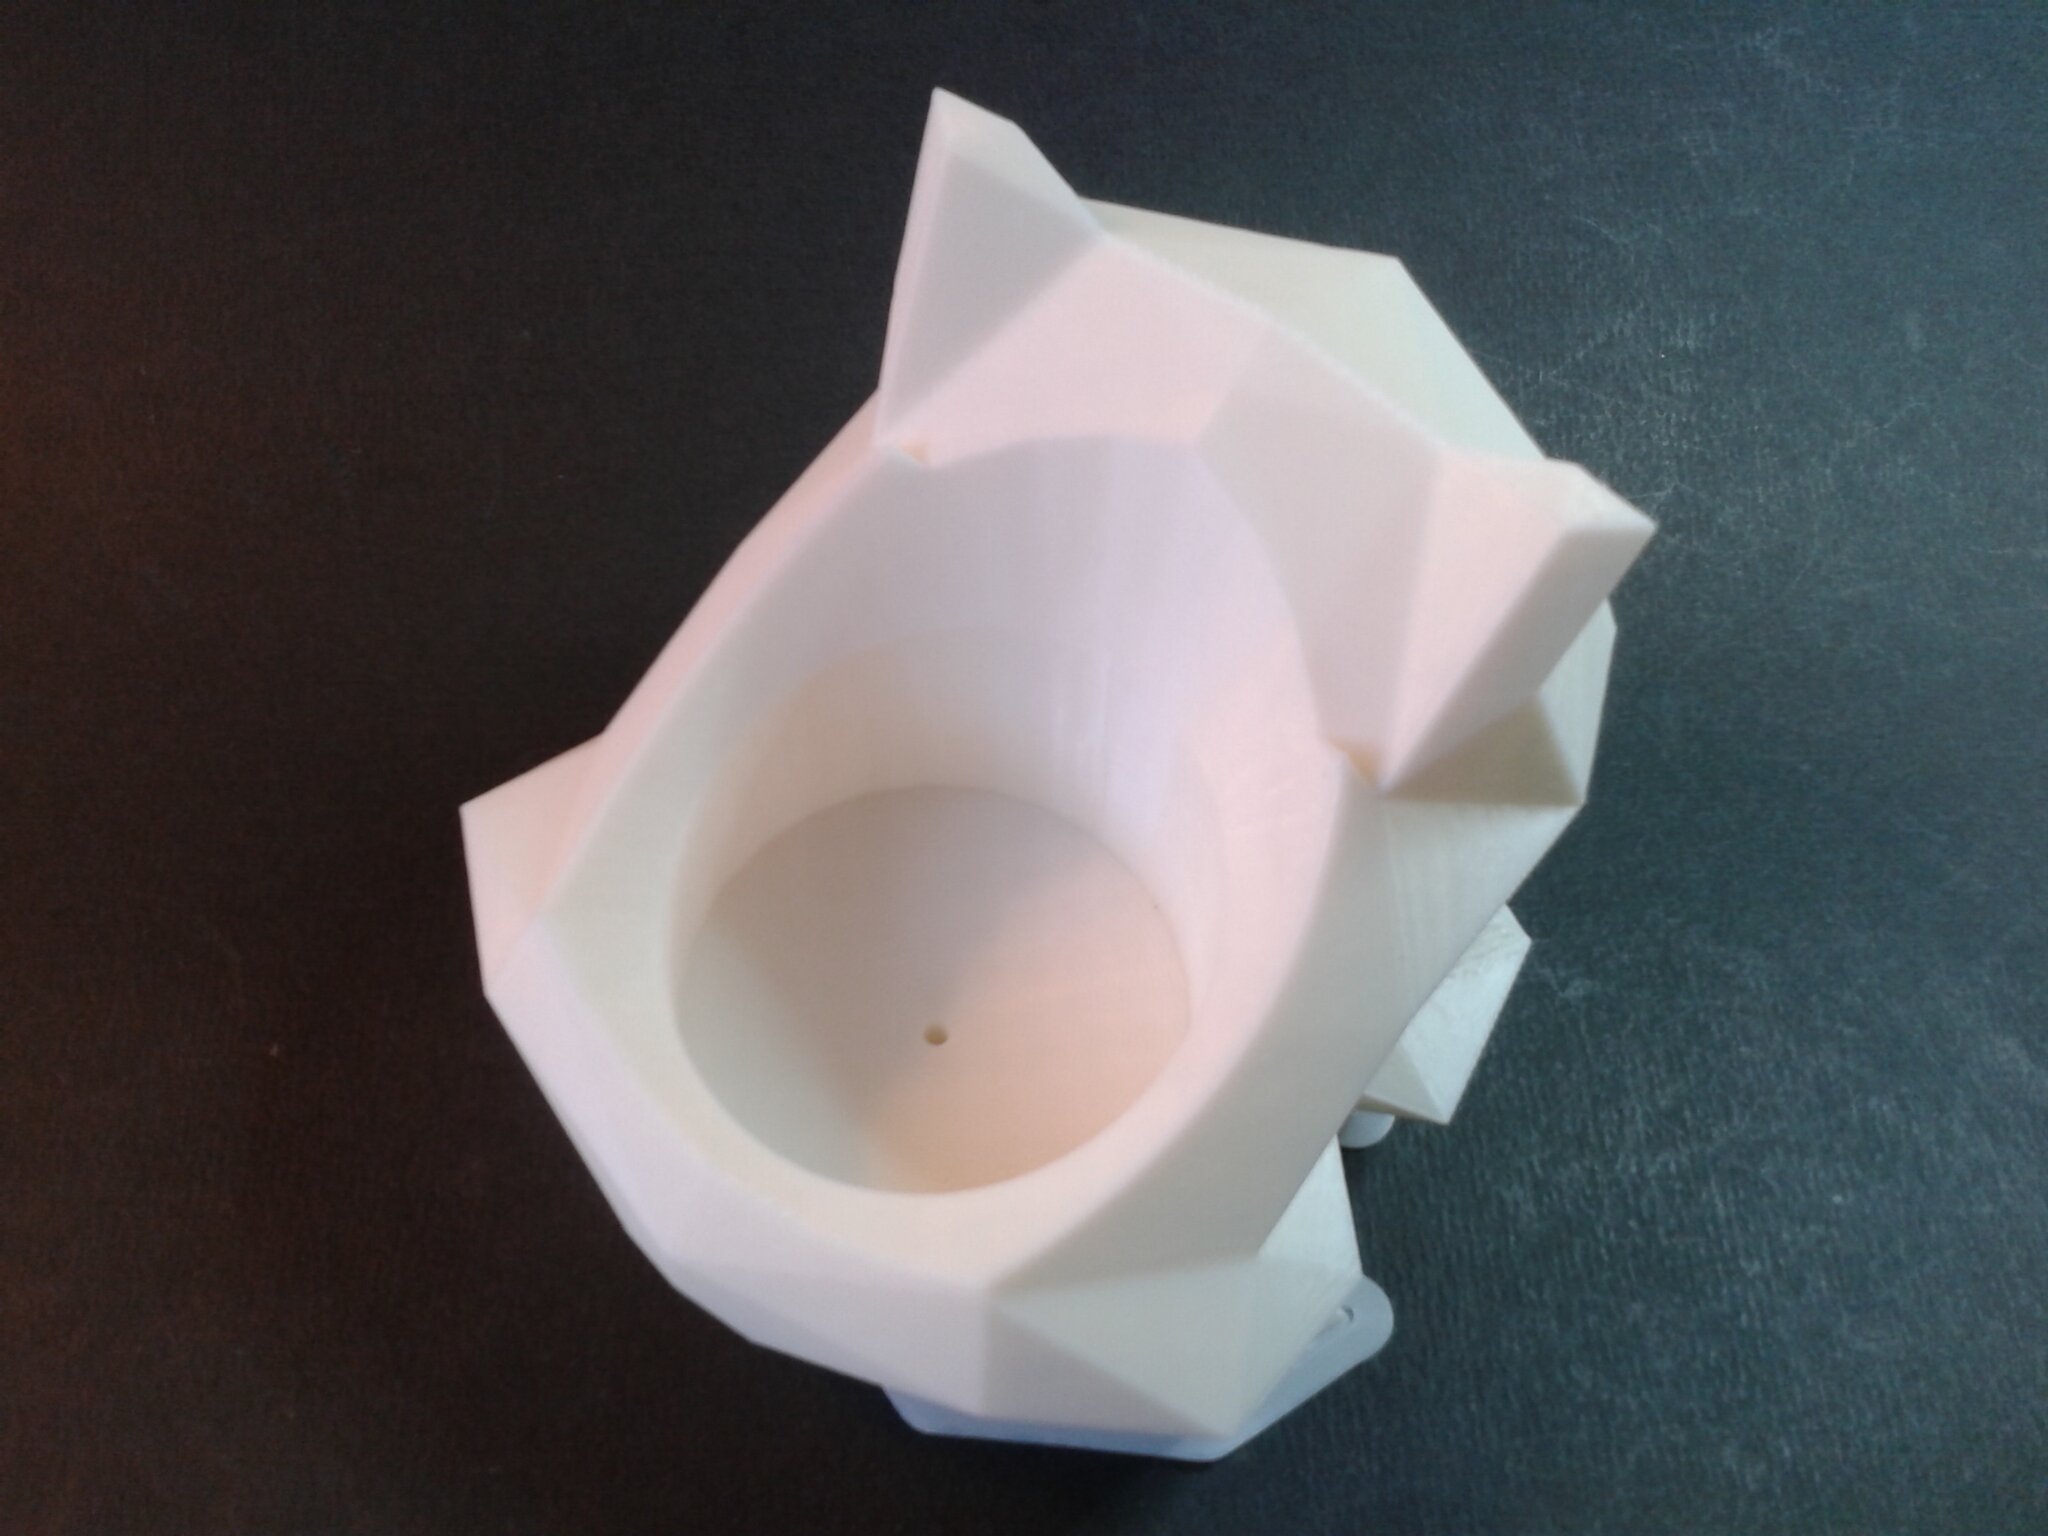
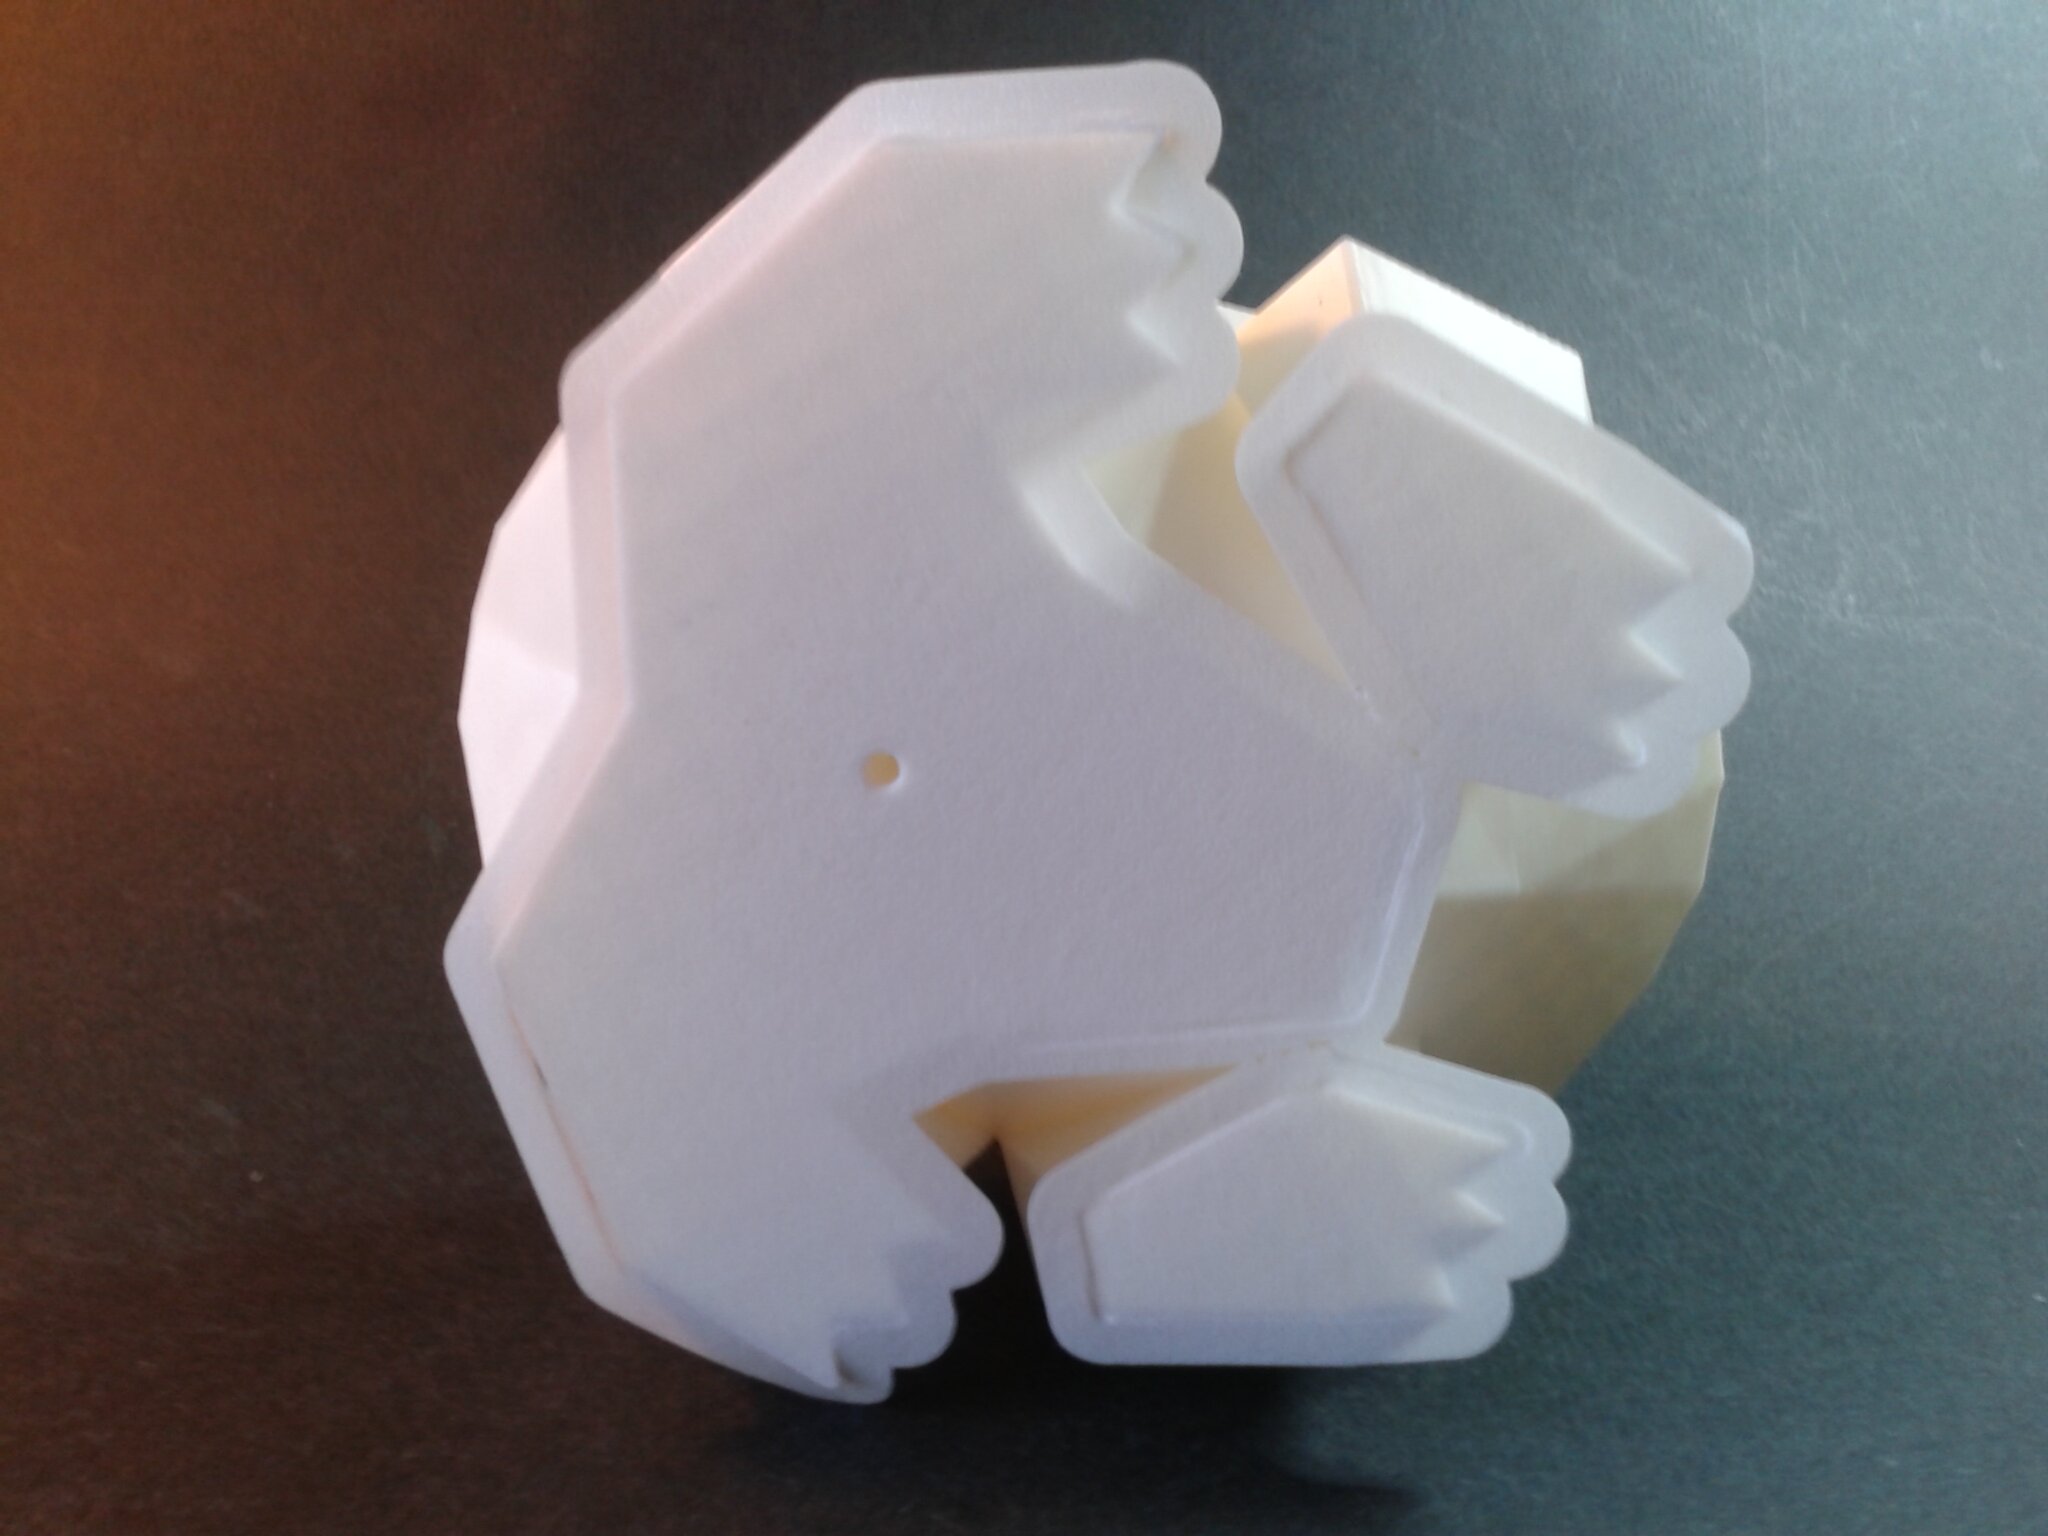
Pot Bulbasaur Low Poly
“Low Poly Bulbasaur Planter” de “Hitsman” (gratuit).
Echelle 100%, bordure, environ 25 minutes d’impression.
Filament ASA Anti-UV blanc ArianePlast
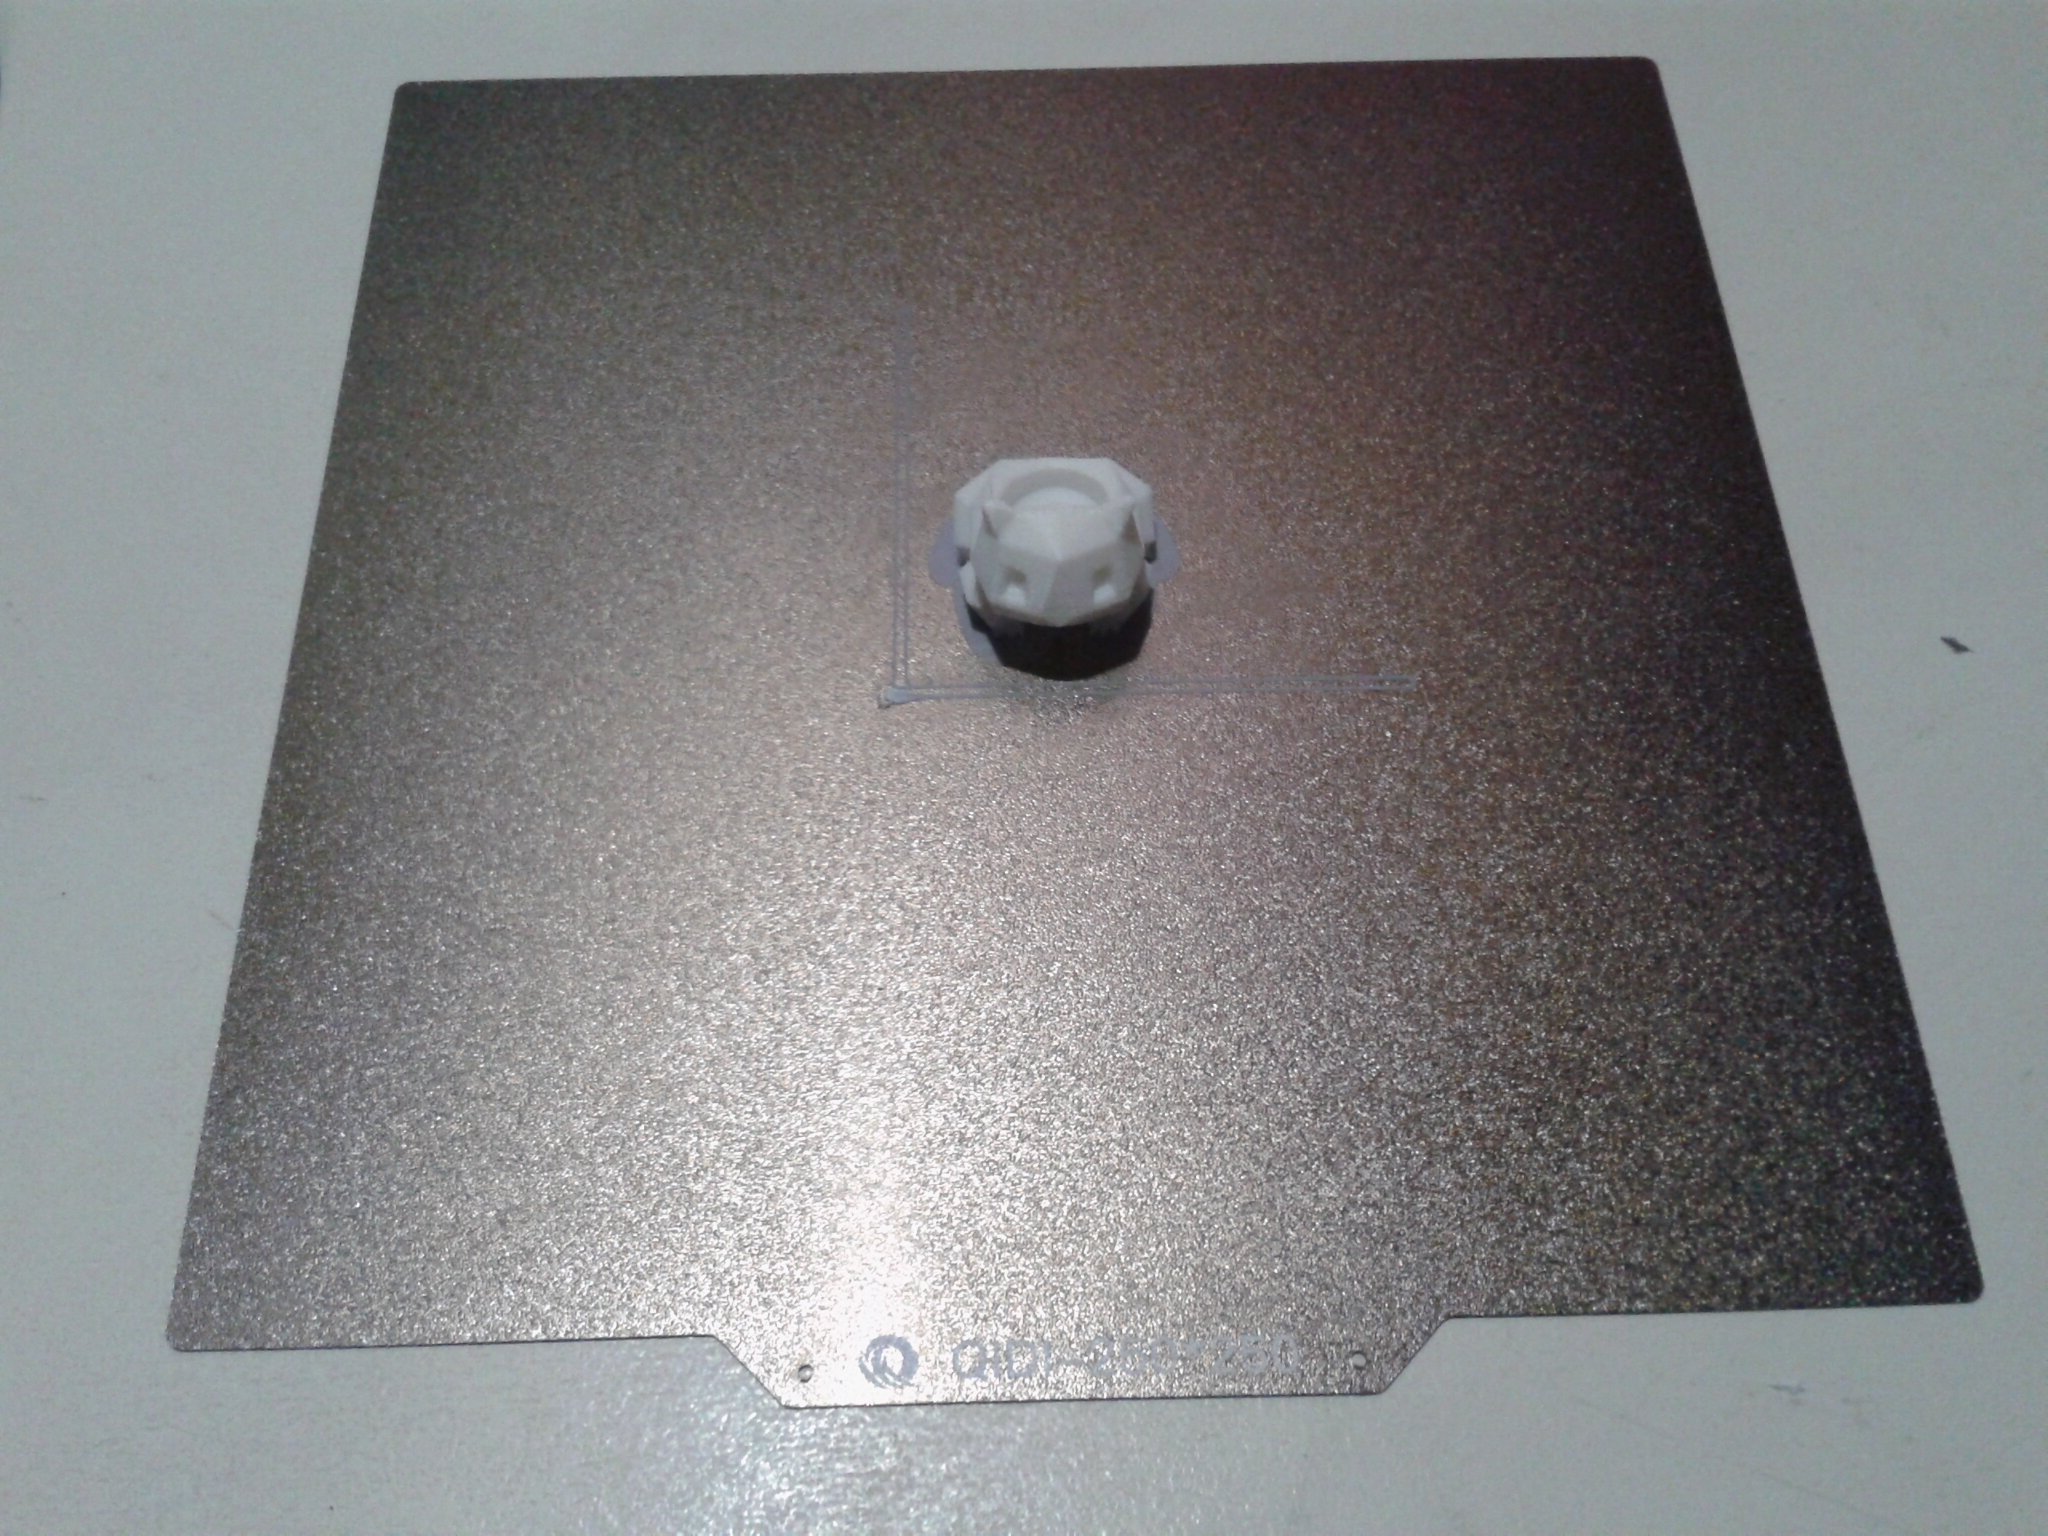

Echelle 300%, bordure, environ 2 heures 35 minutes d’impression. Même filament.
Vase en spirale
“Spiral Vase” de “Mahir” (gratuit).
Echelle 100%, 3 périmètres, bordure, environ 11 heures et 9 minutes d’impression.
Filament ASA Anti-UV blanc ArianePlast

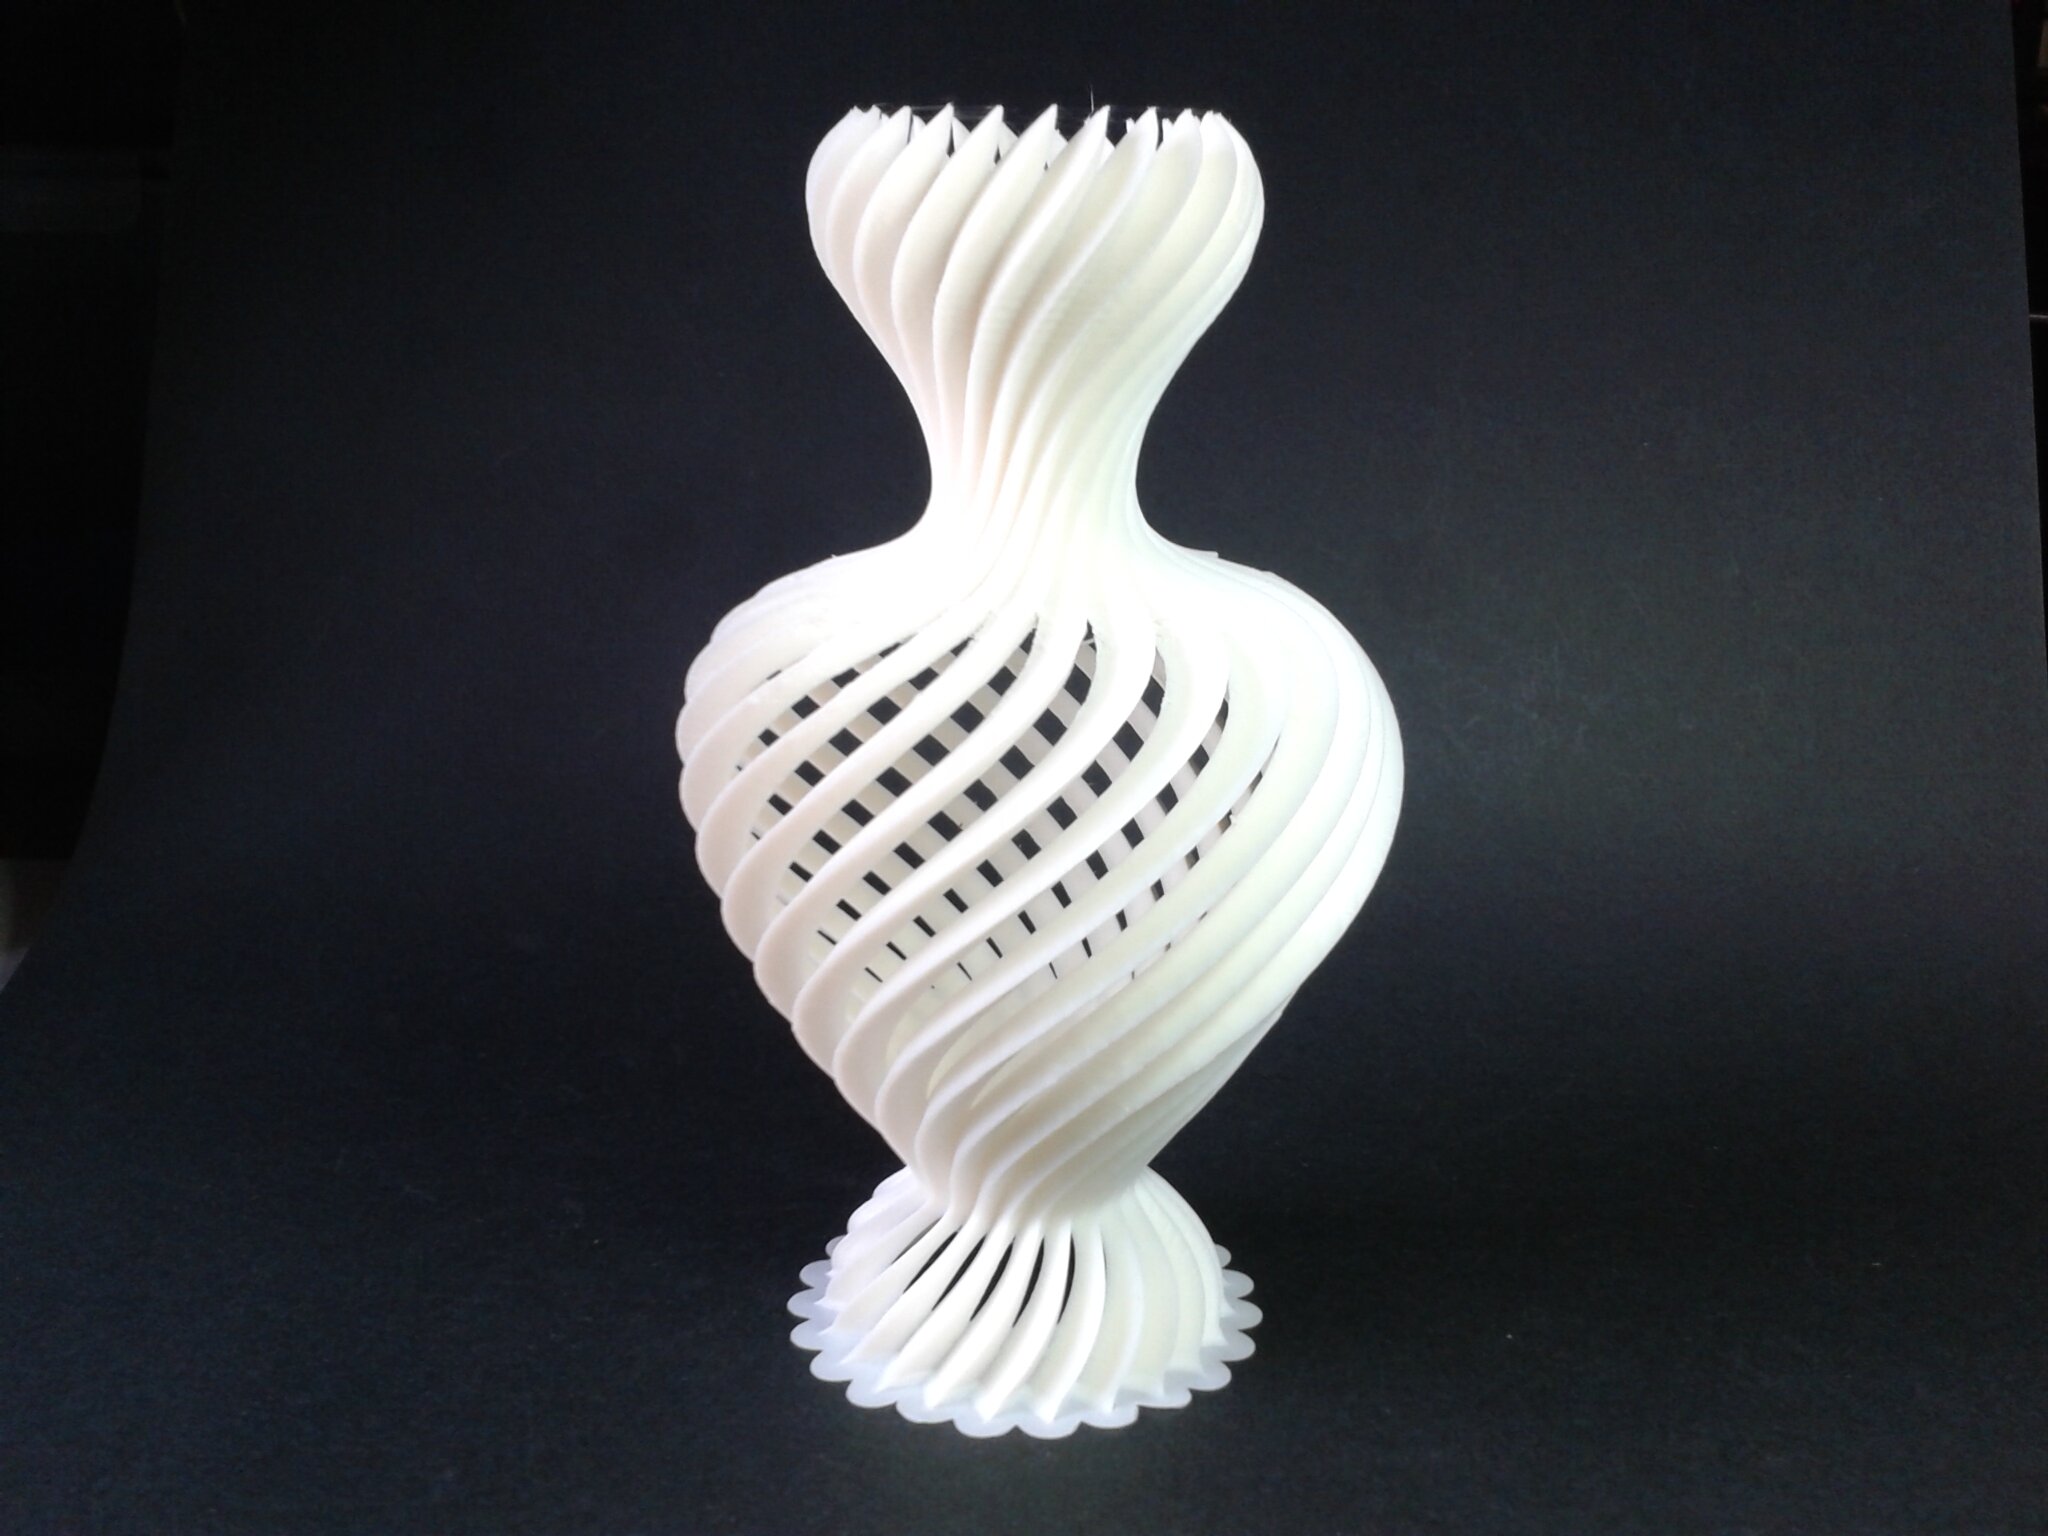
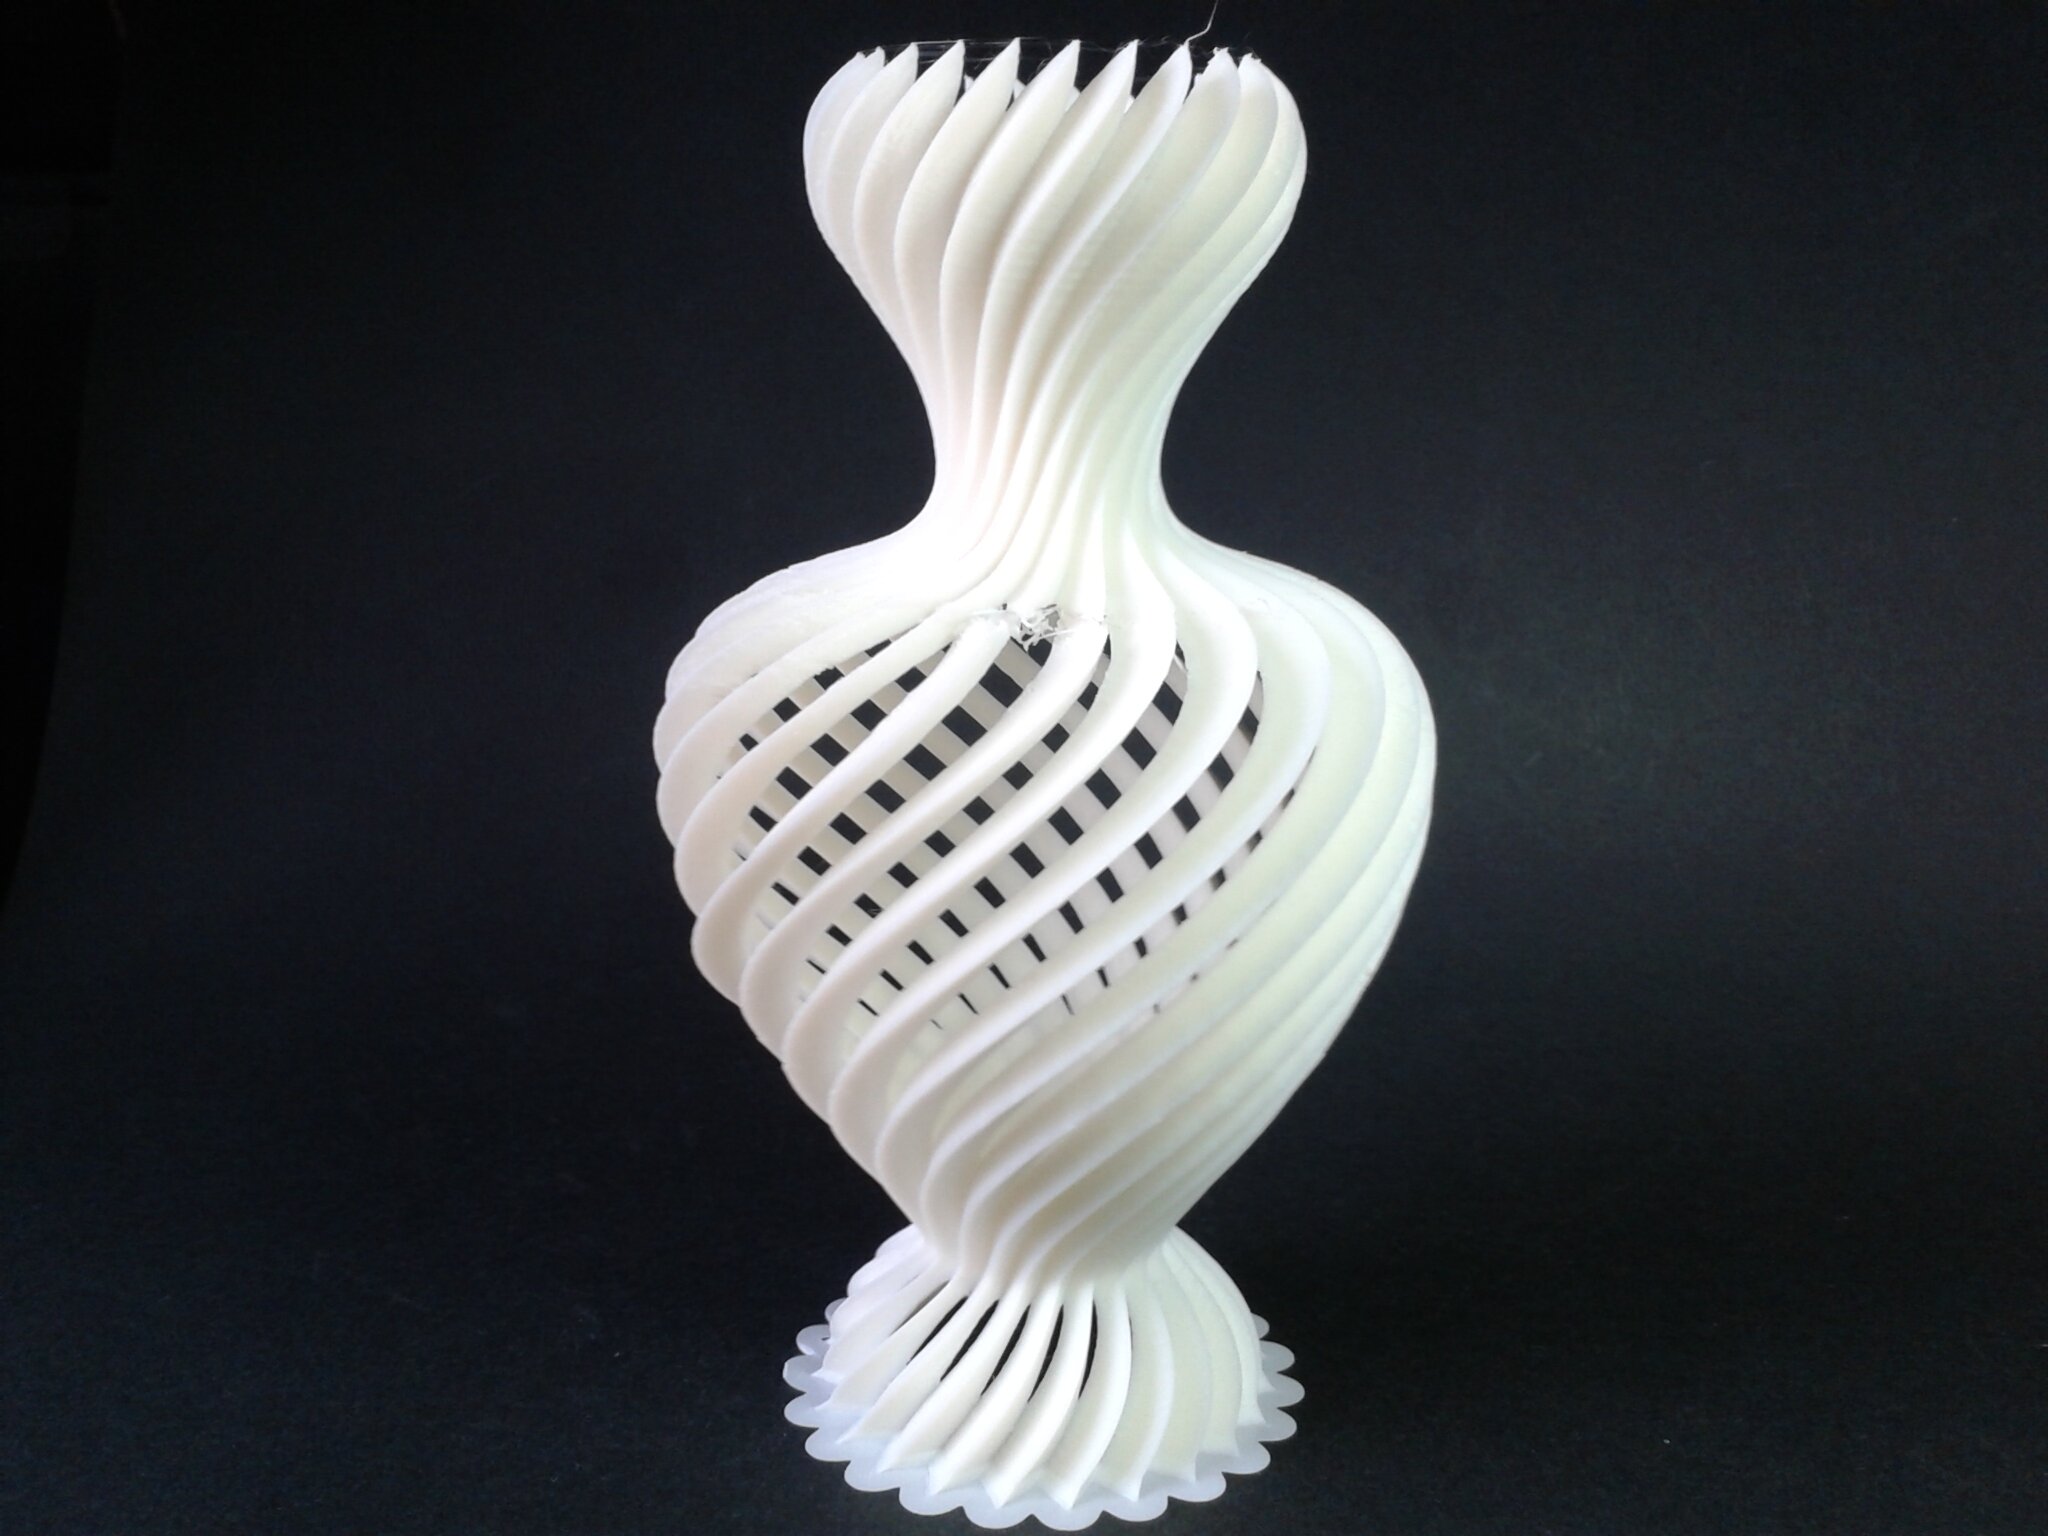
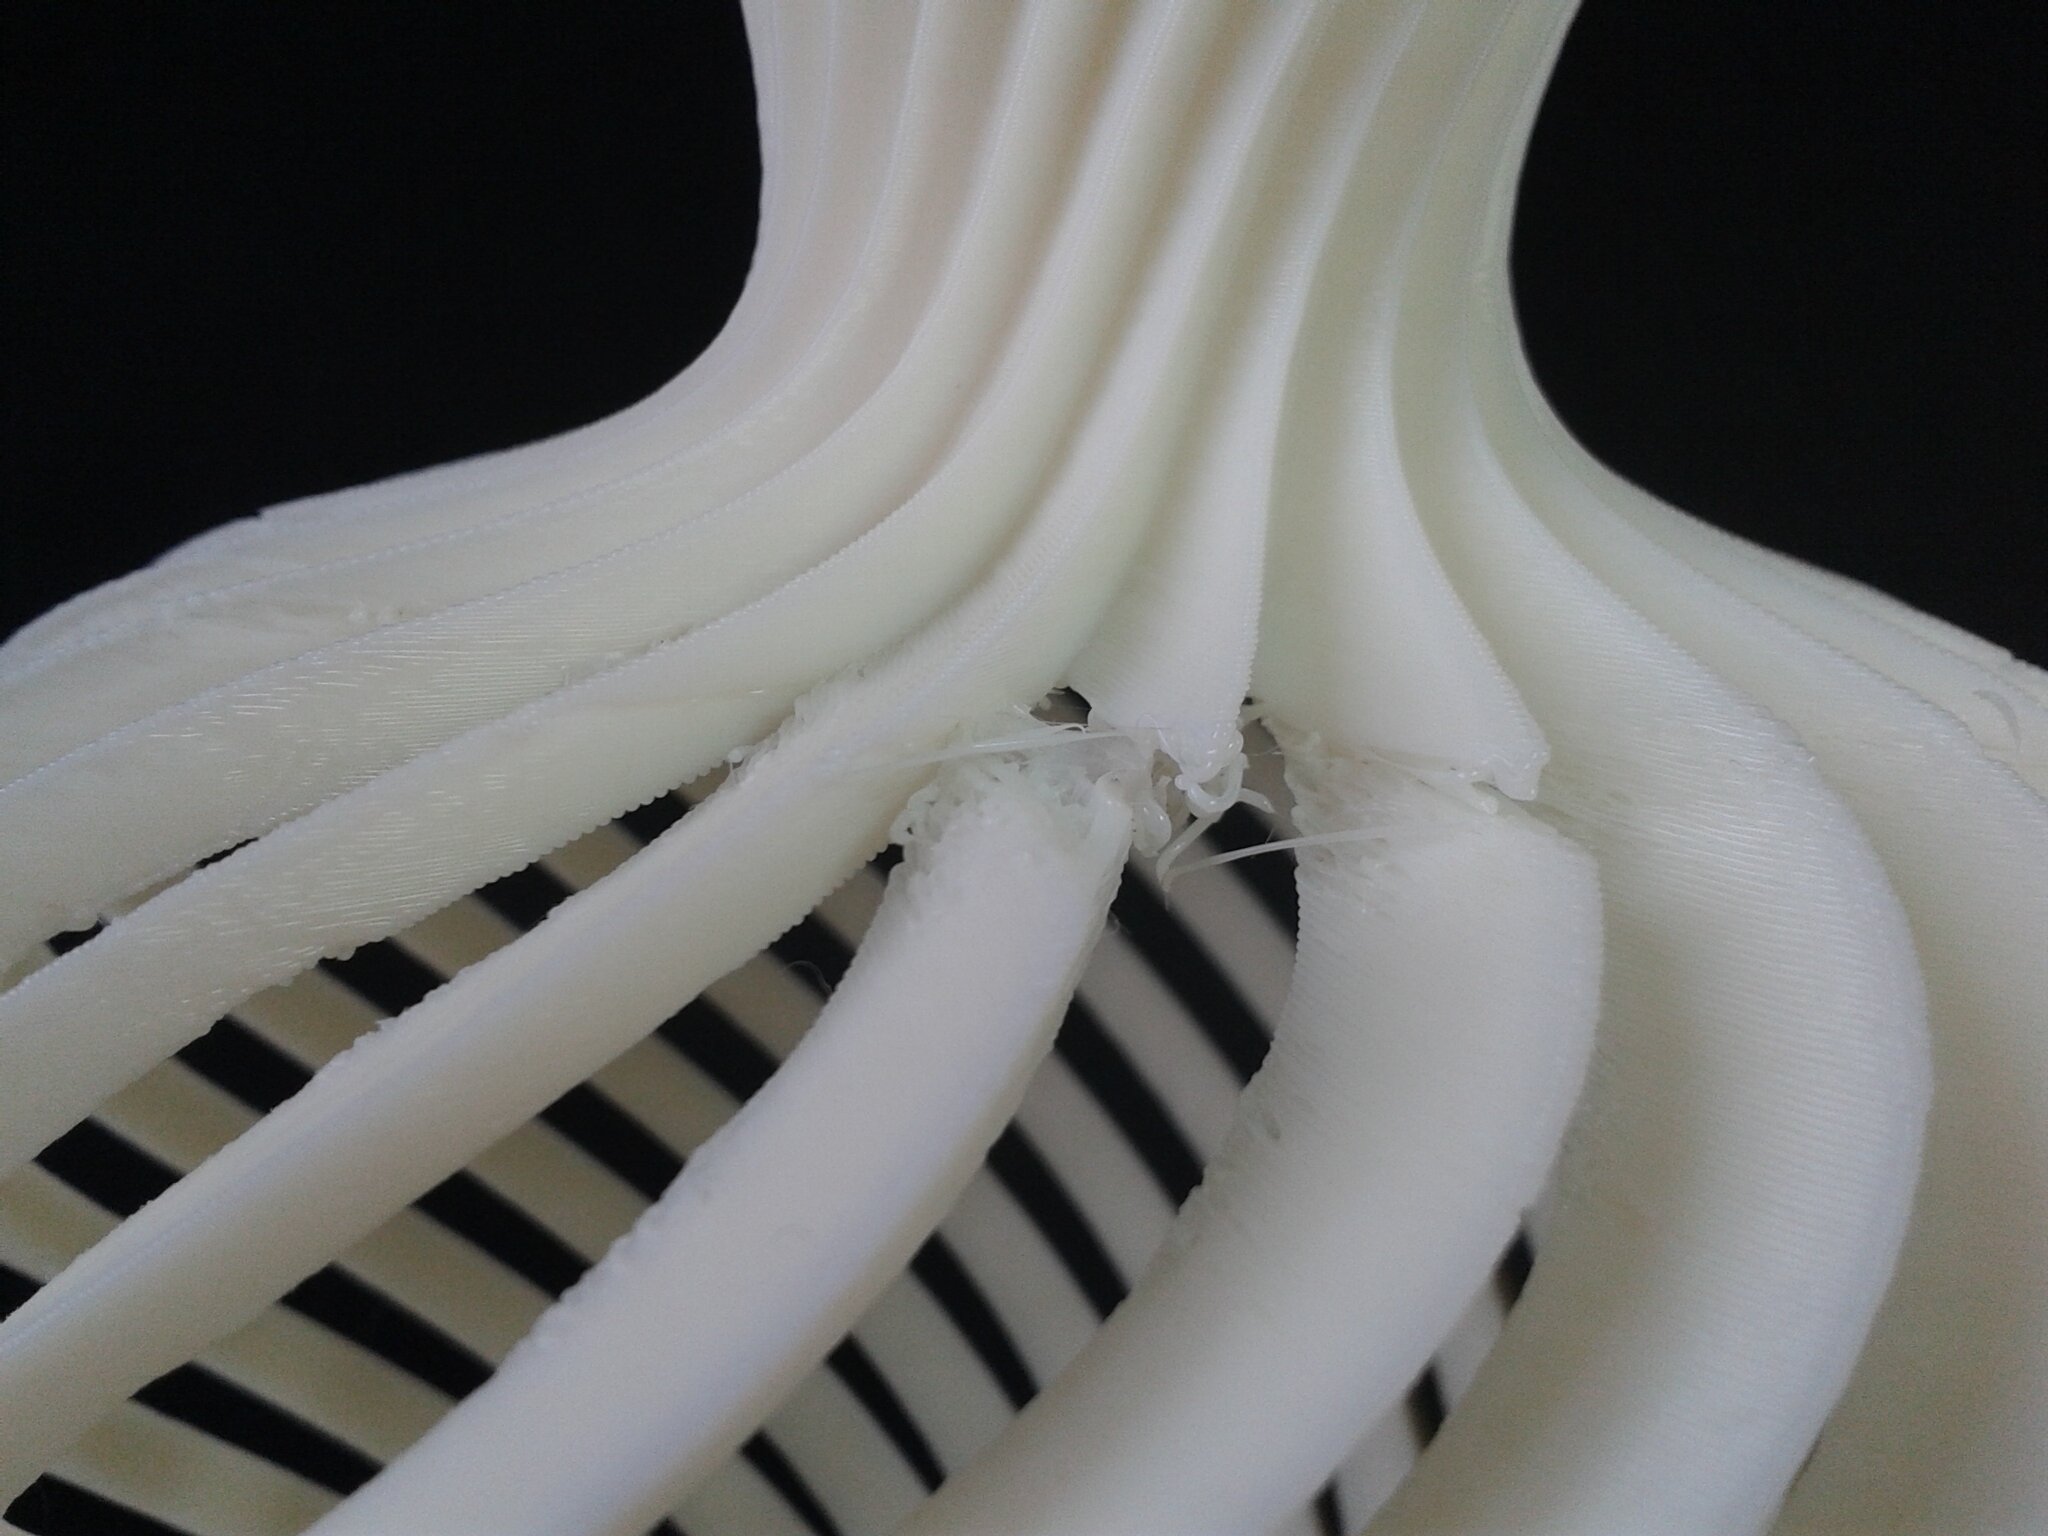
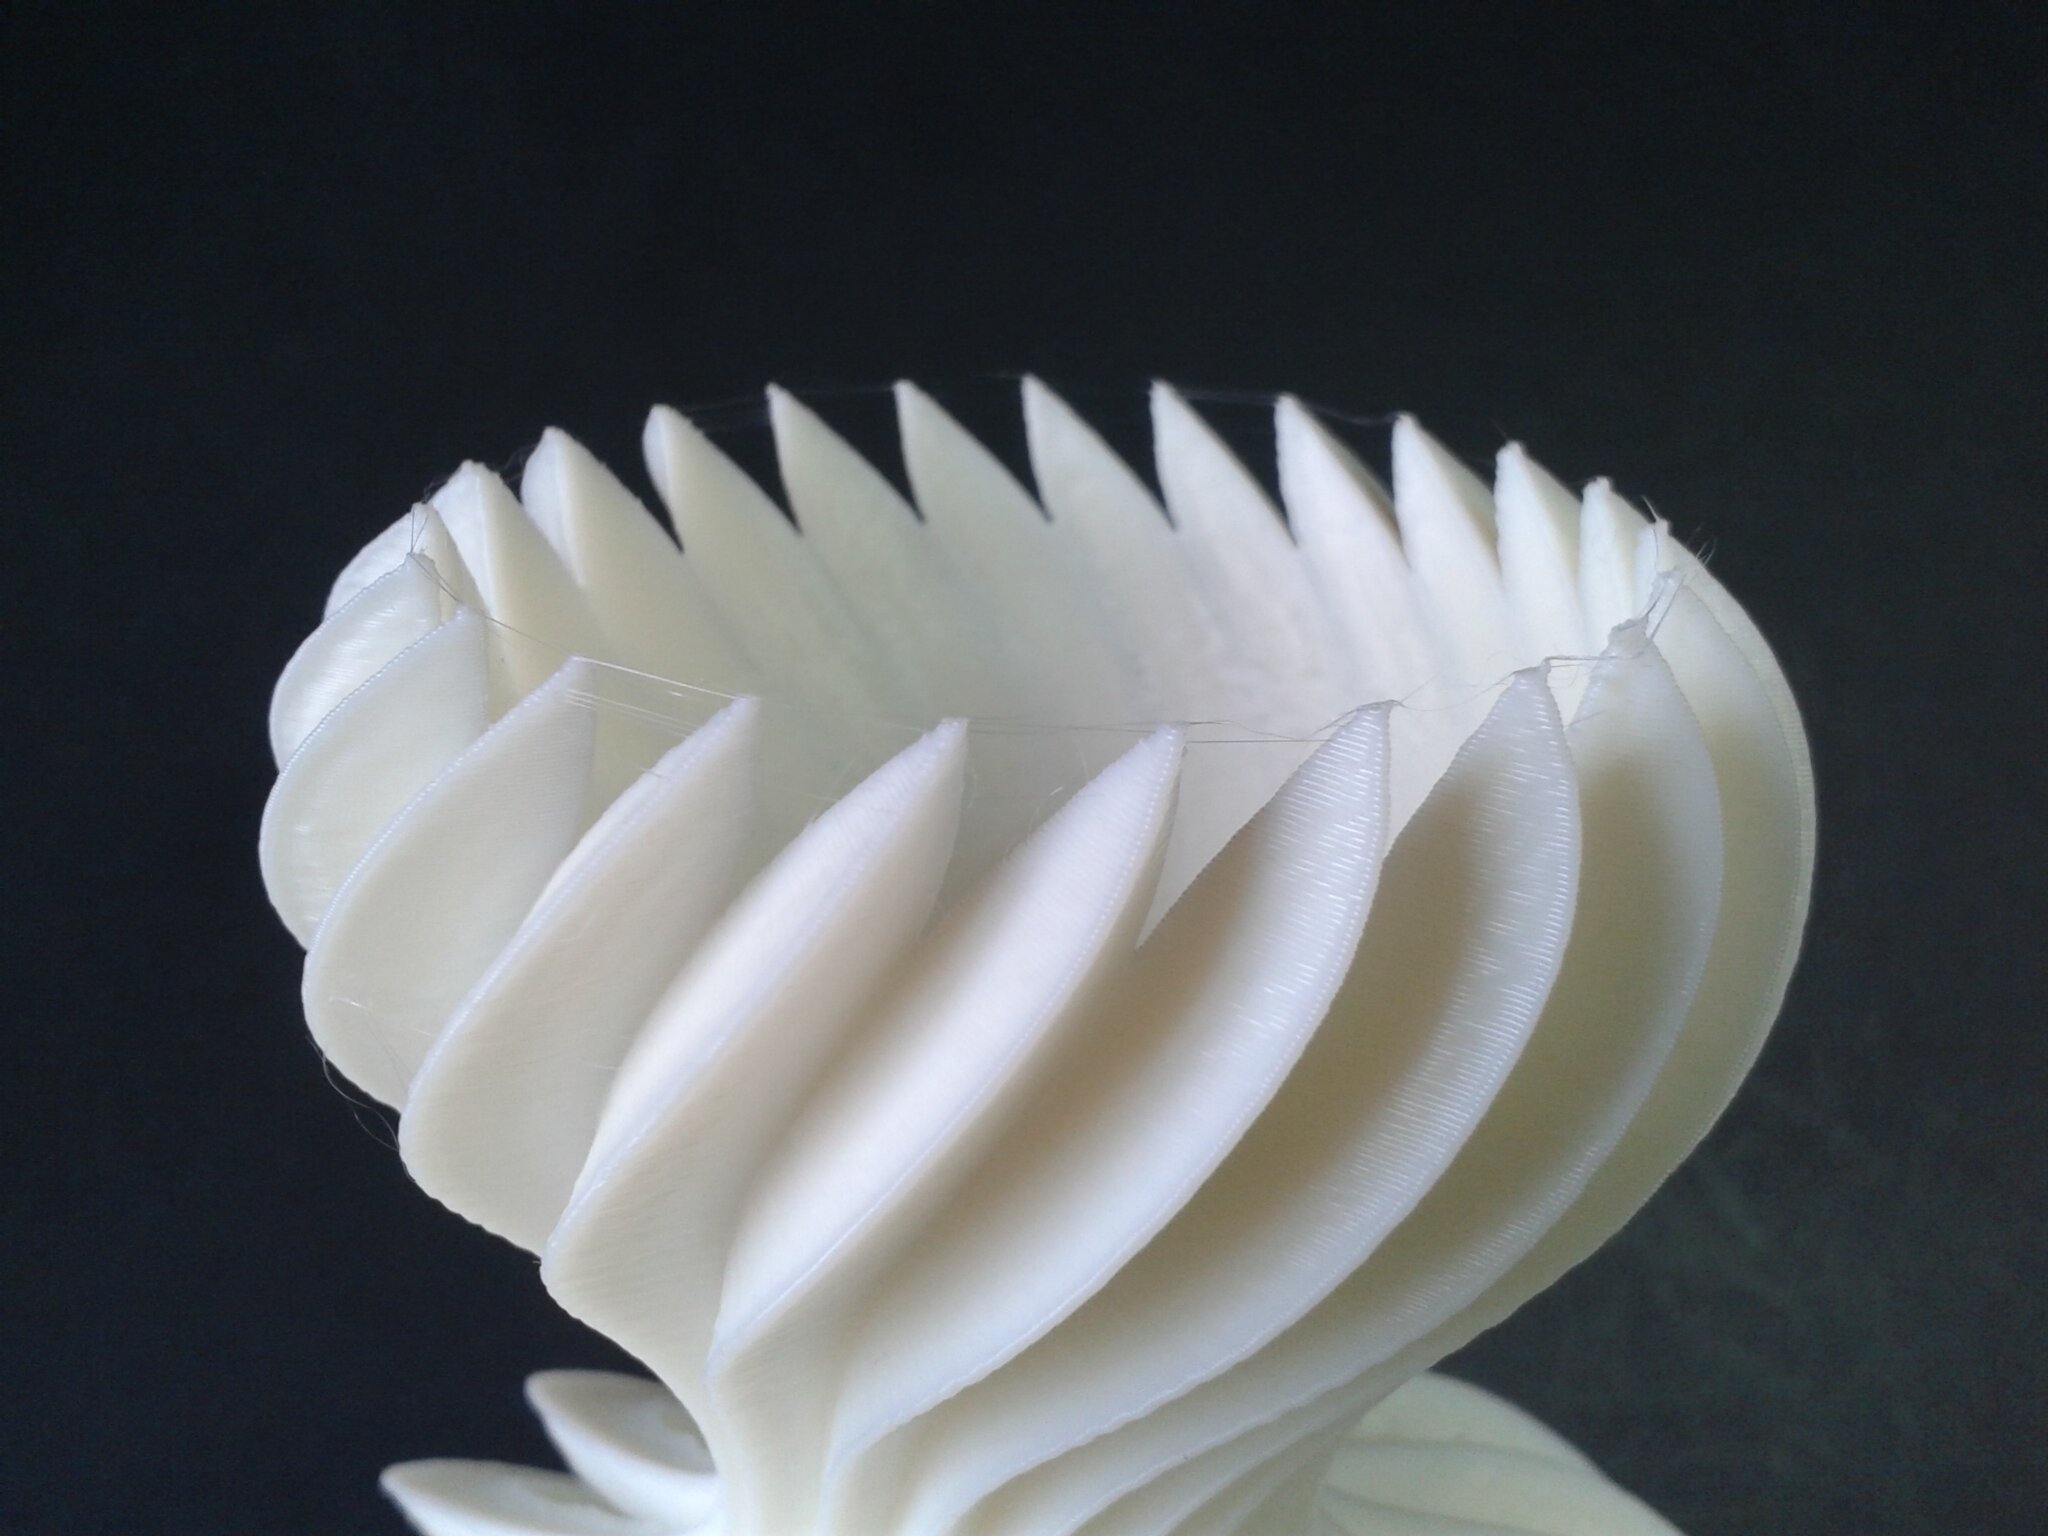
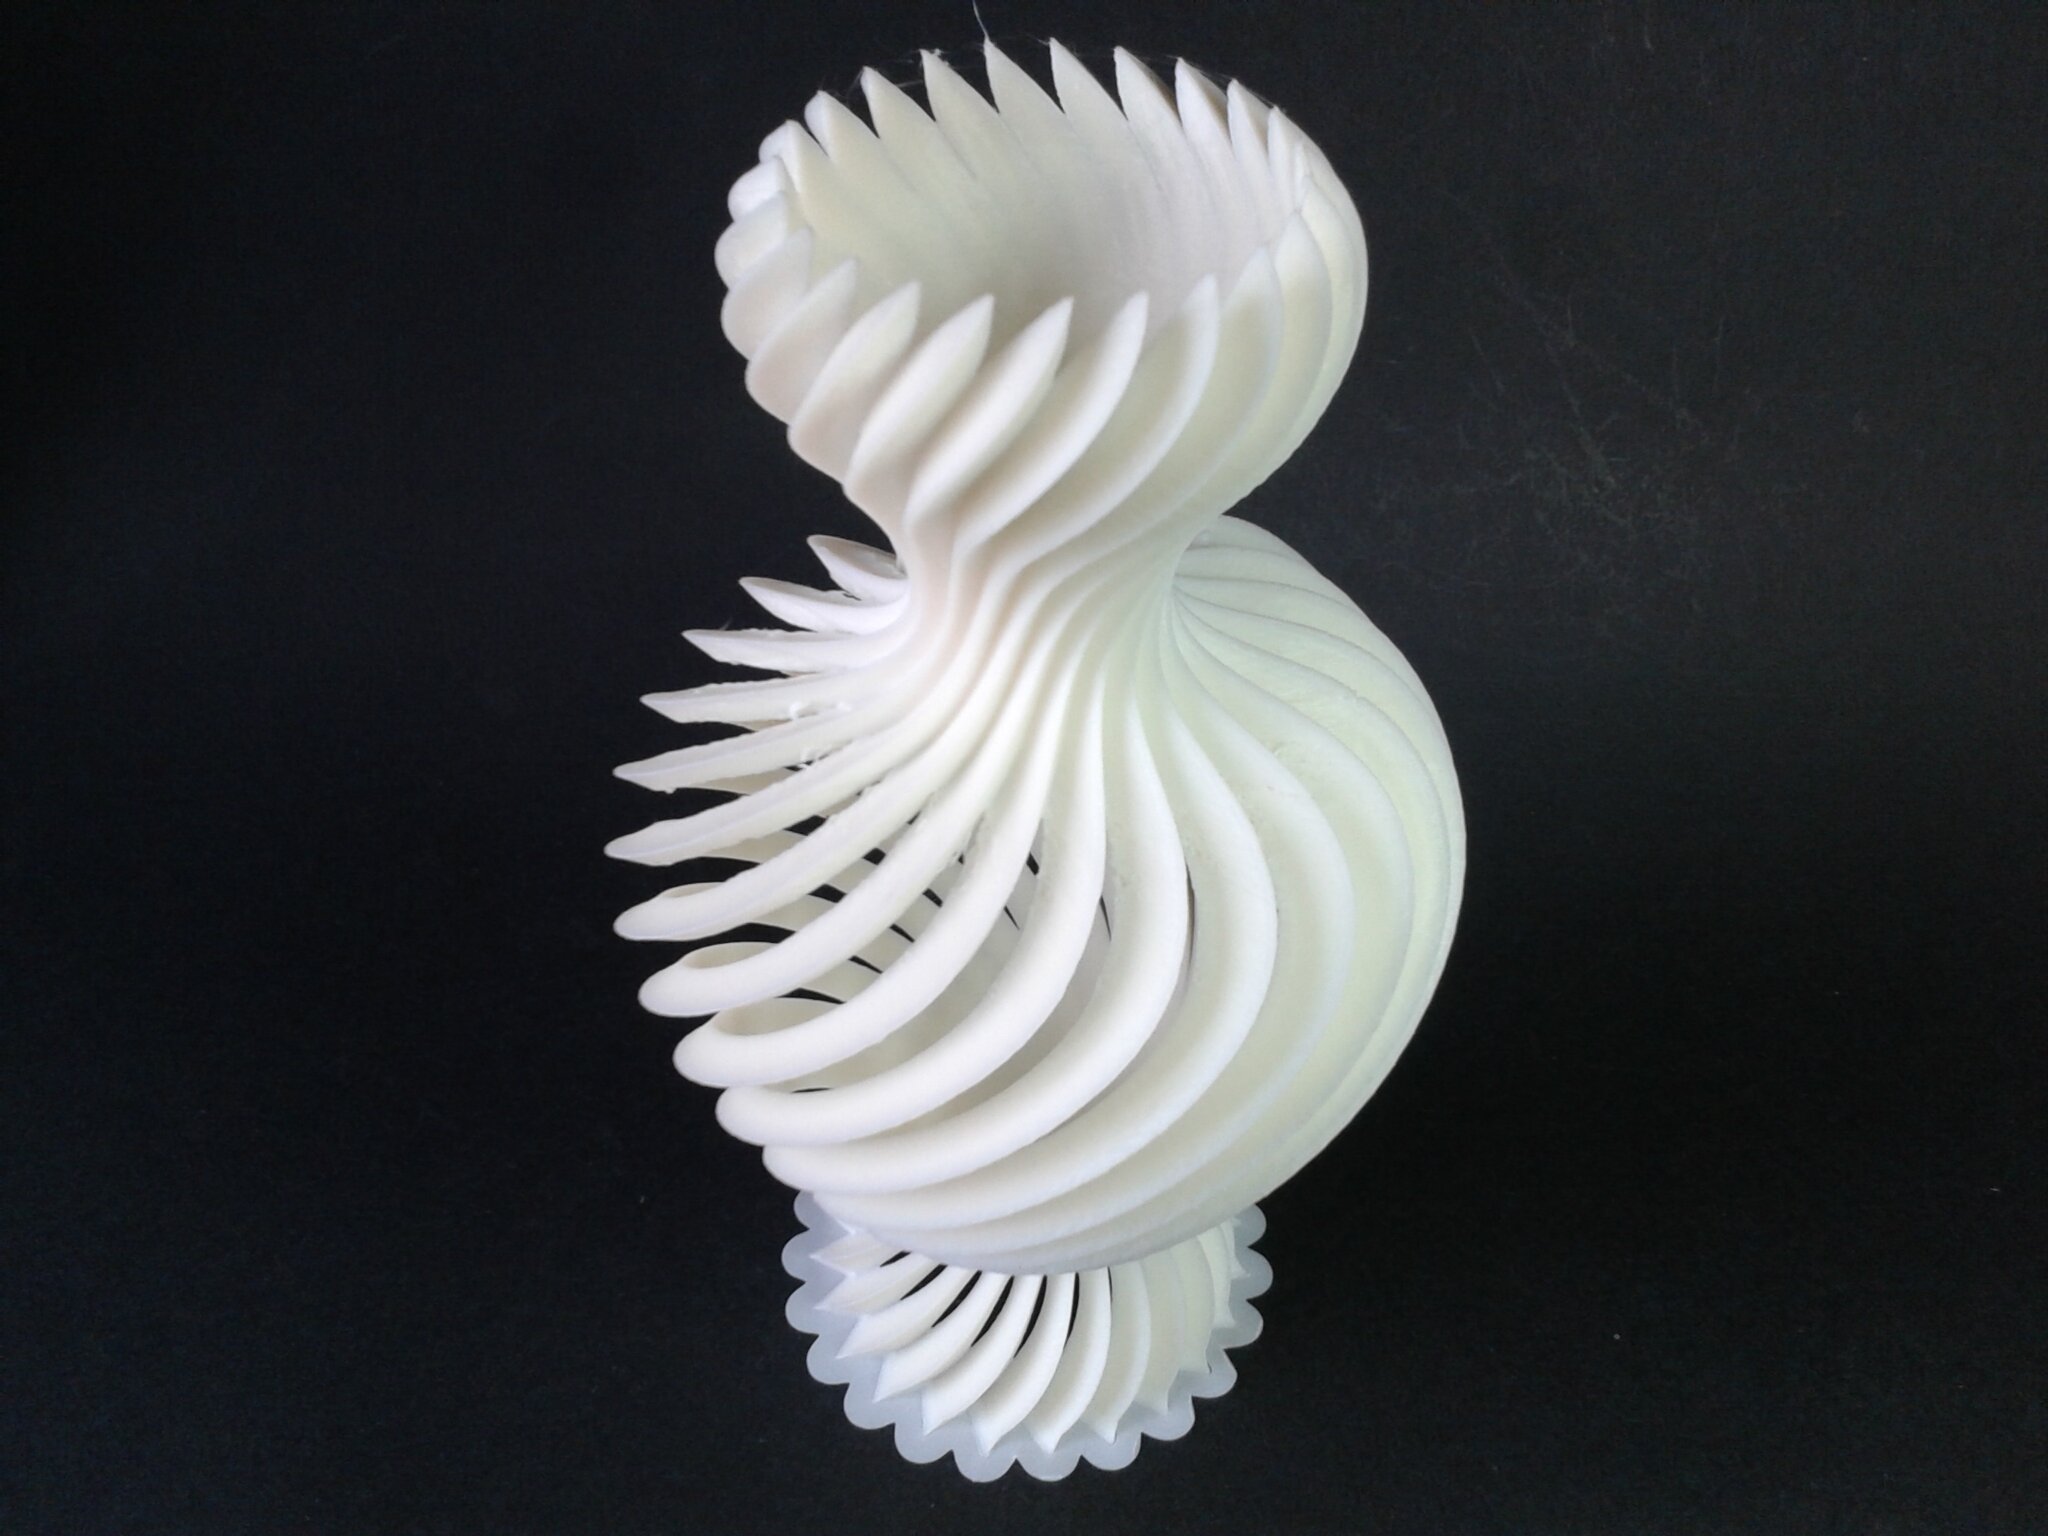
Certains défauts d’impression sont visibles mais il s’agit d’un modèle relativement difficile à imprimer à haute vitesse car le moindre curling ou les moindres vibrations vont faire osciller les pales qui, lors de l’impression, sont libres et montent sur une grande hauteur avant de se rejoindre et peuvent donc avoir une grande amplitude d’oscillation.
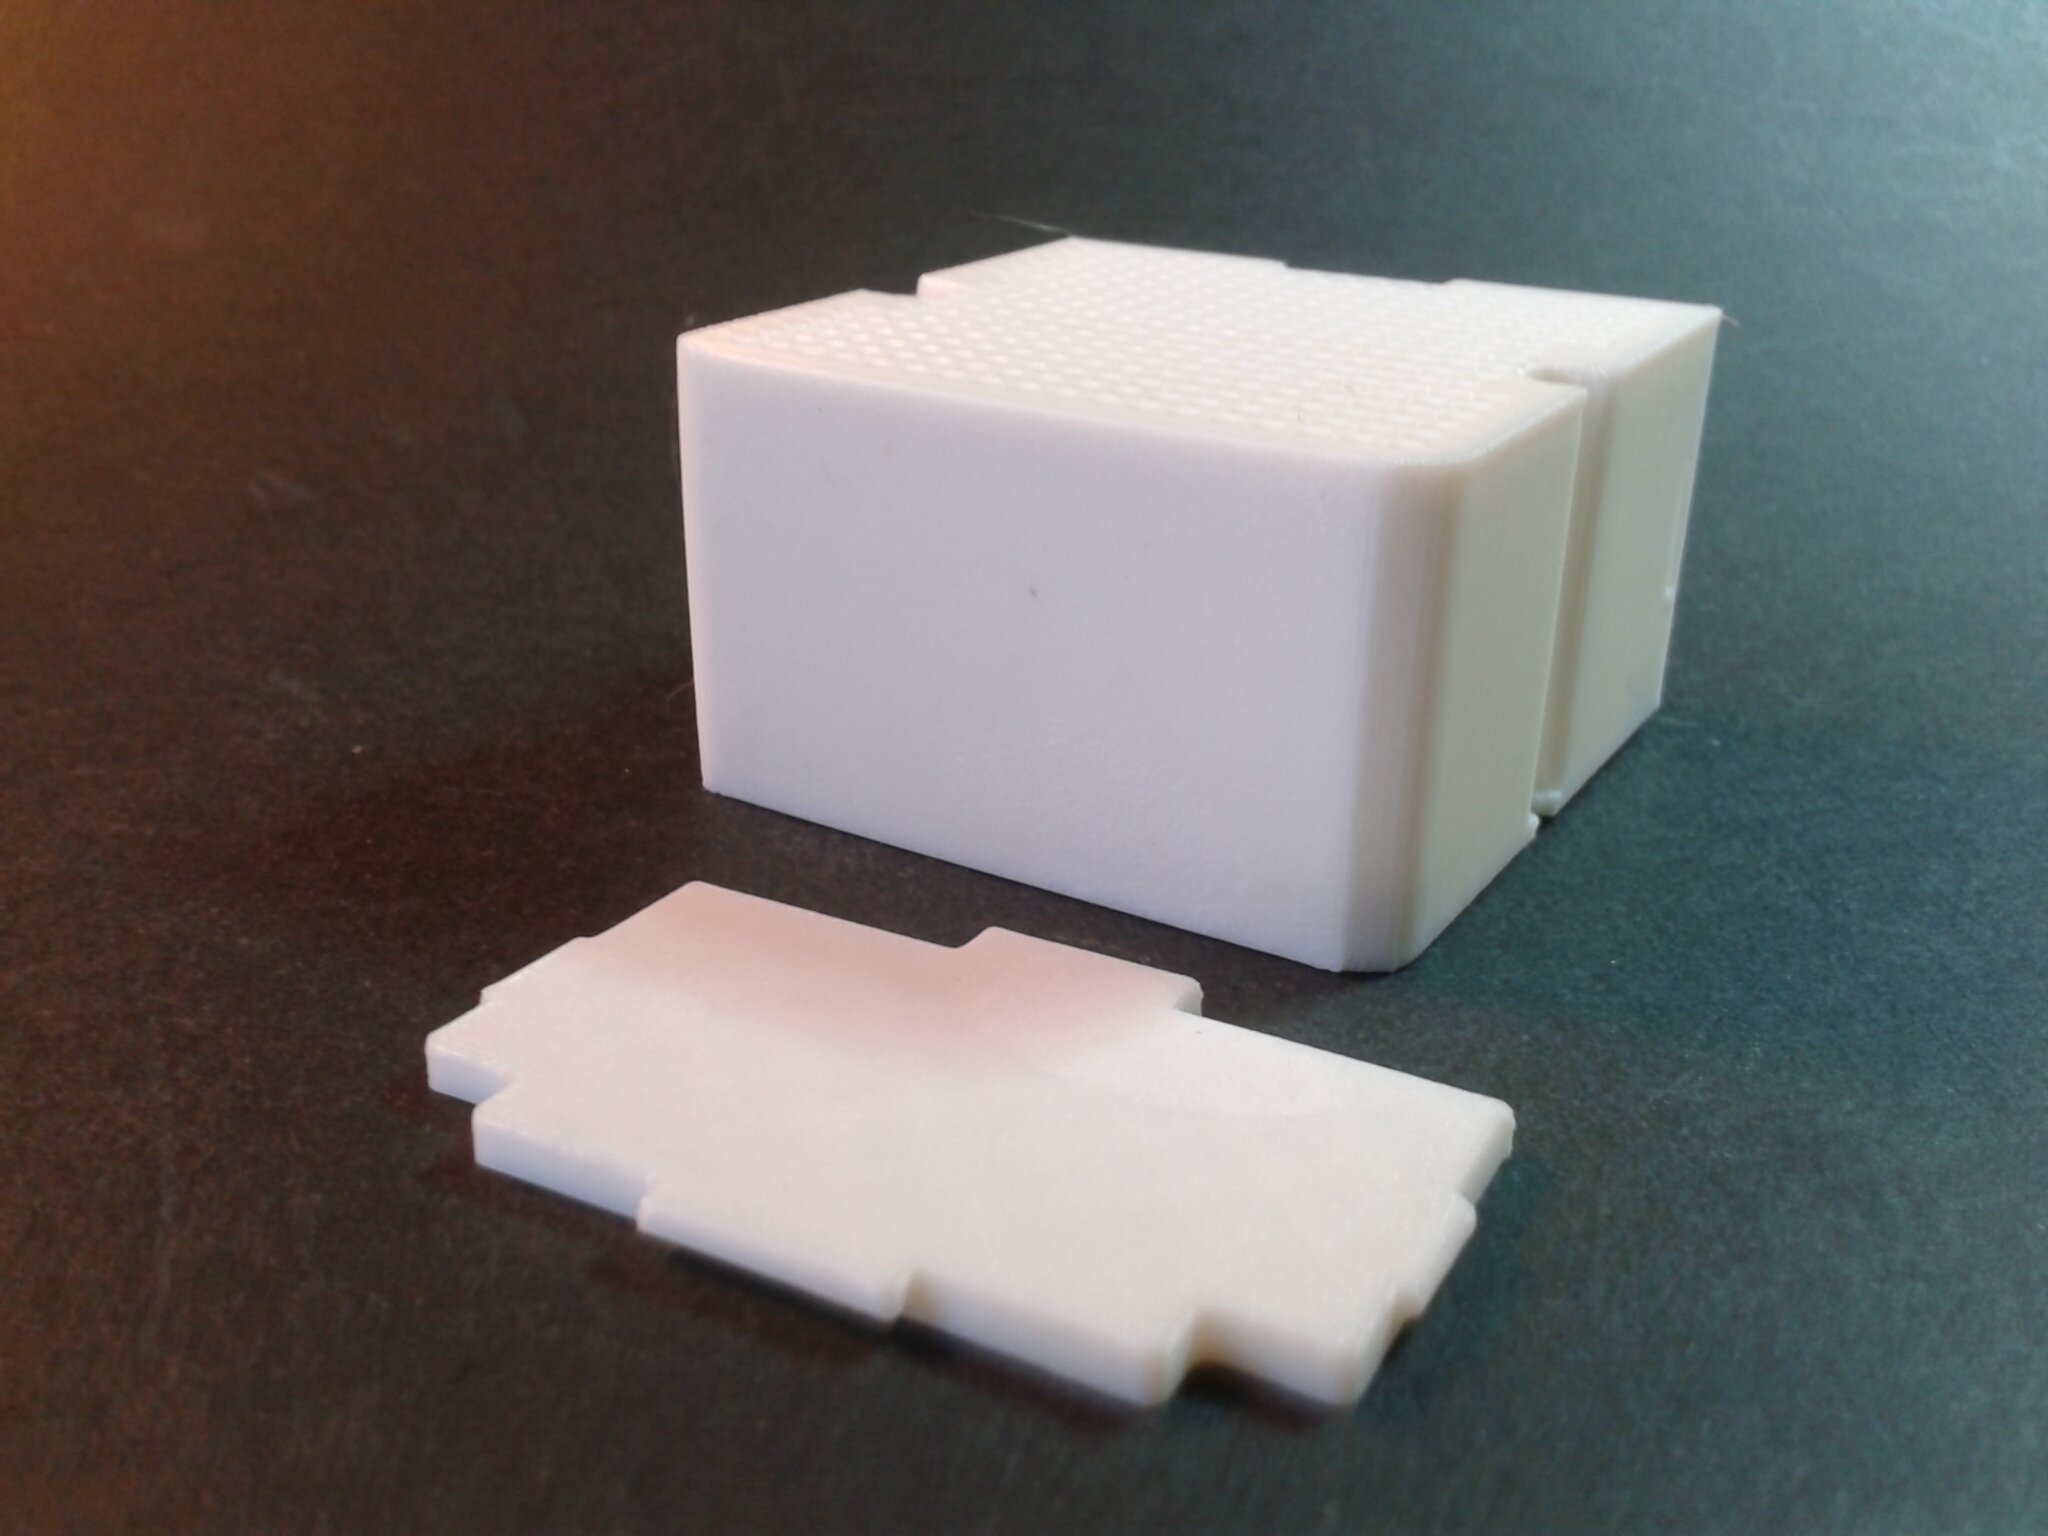
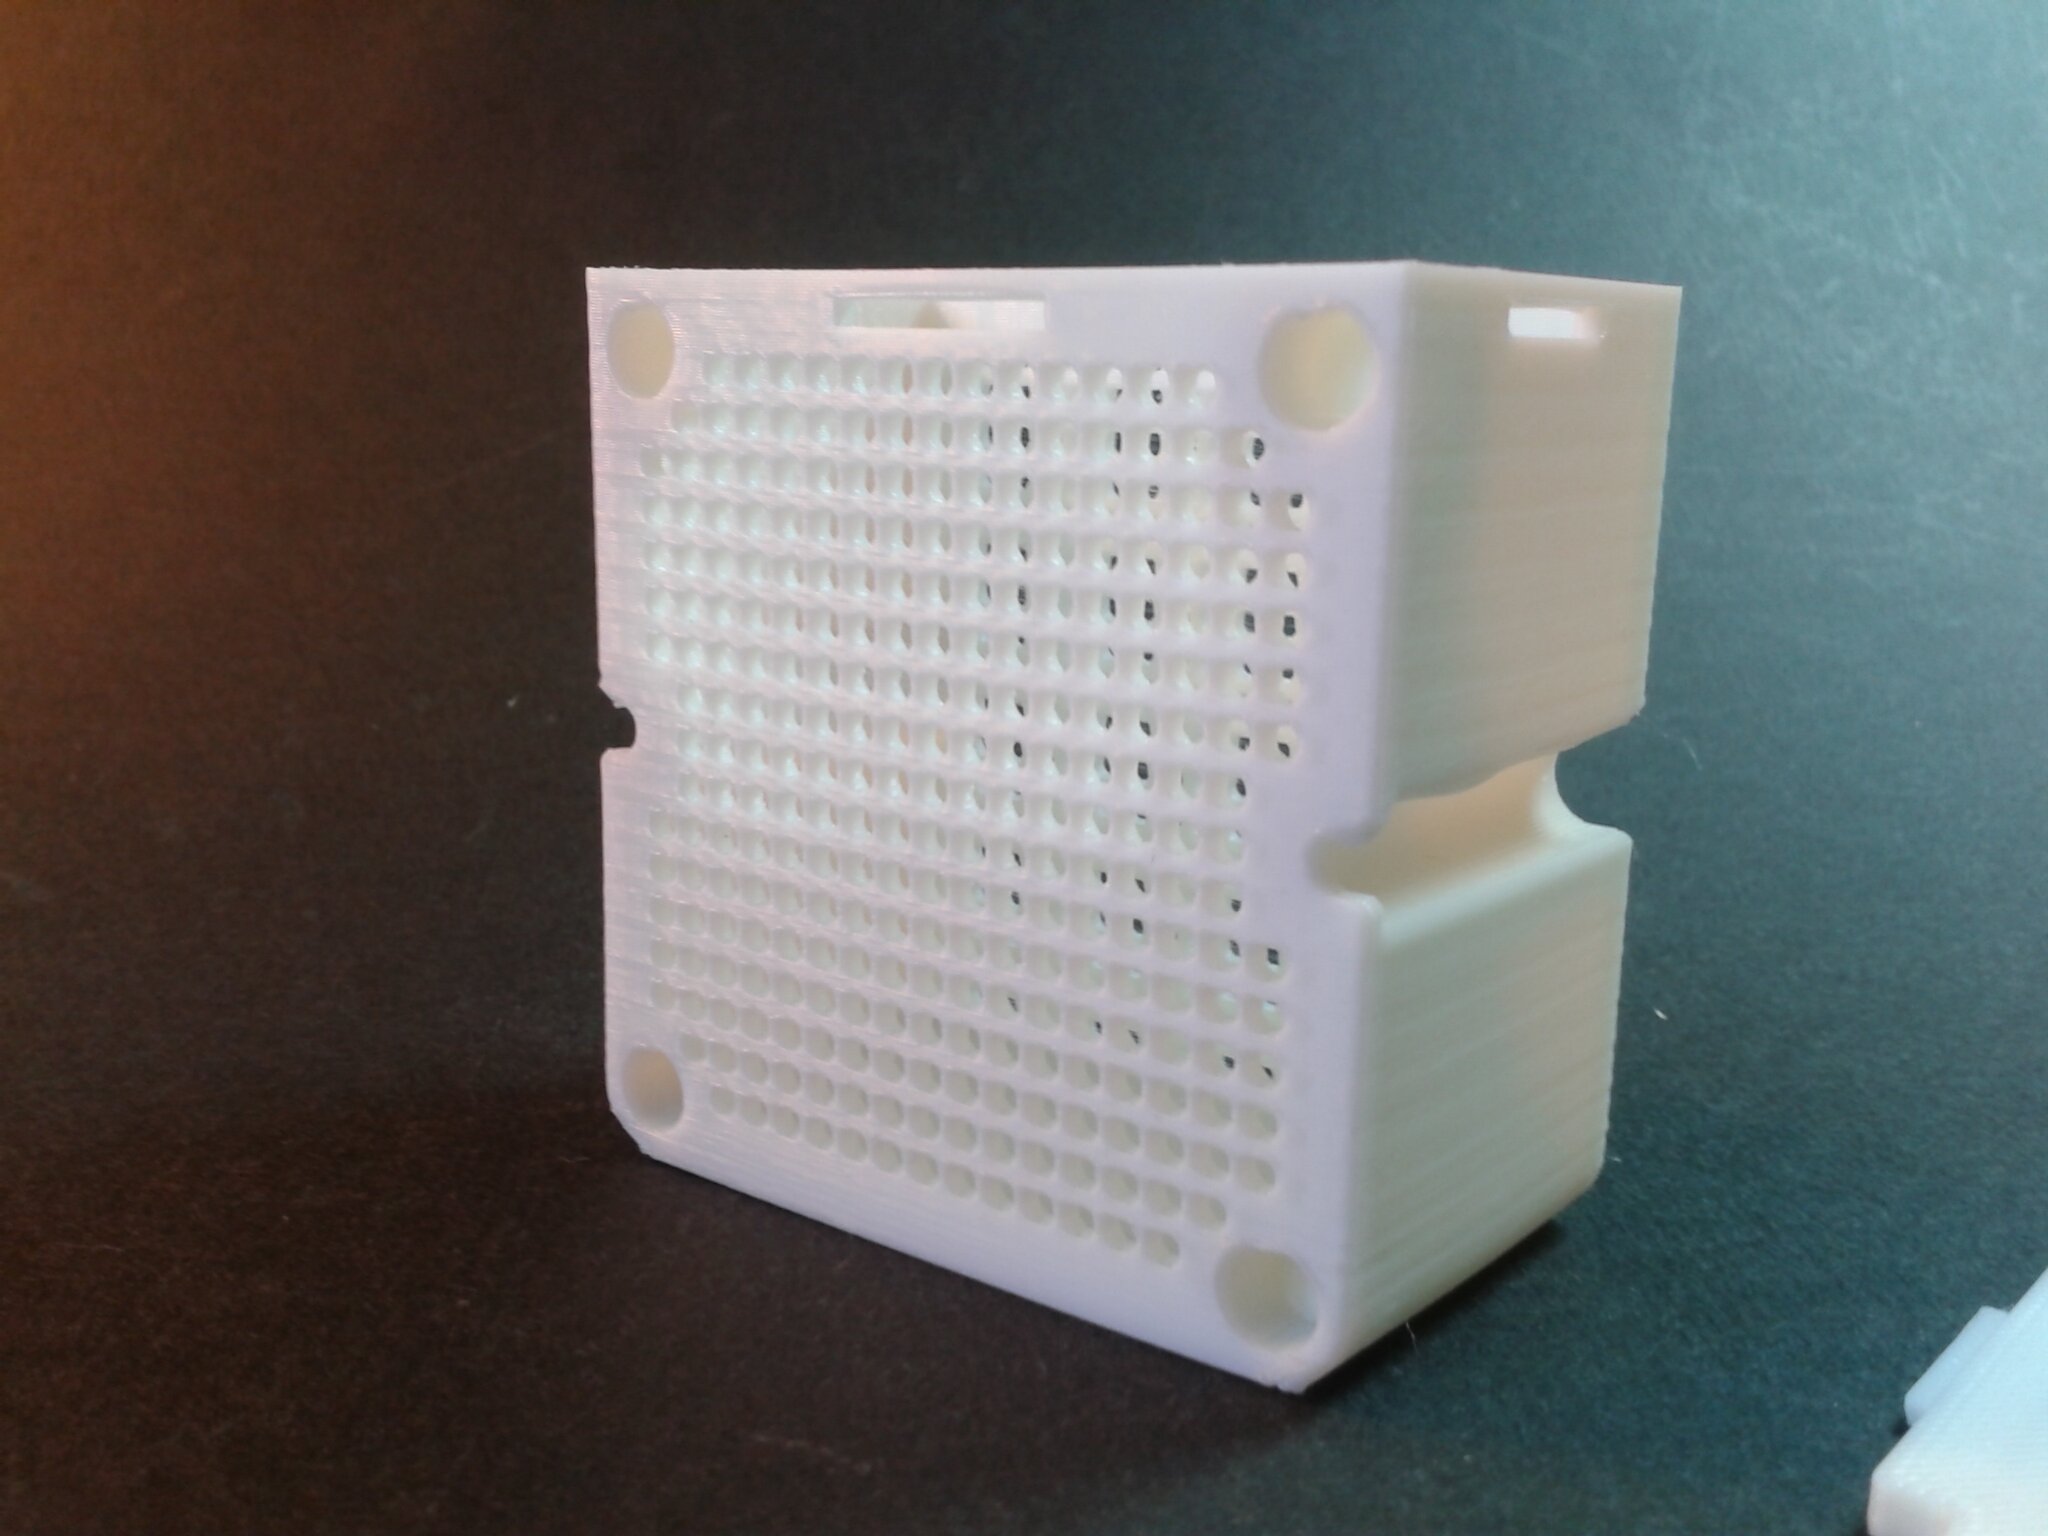
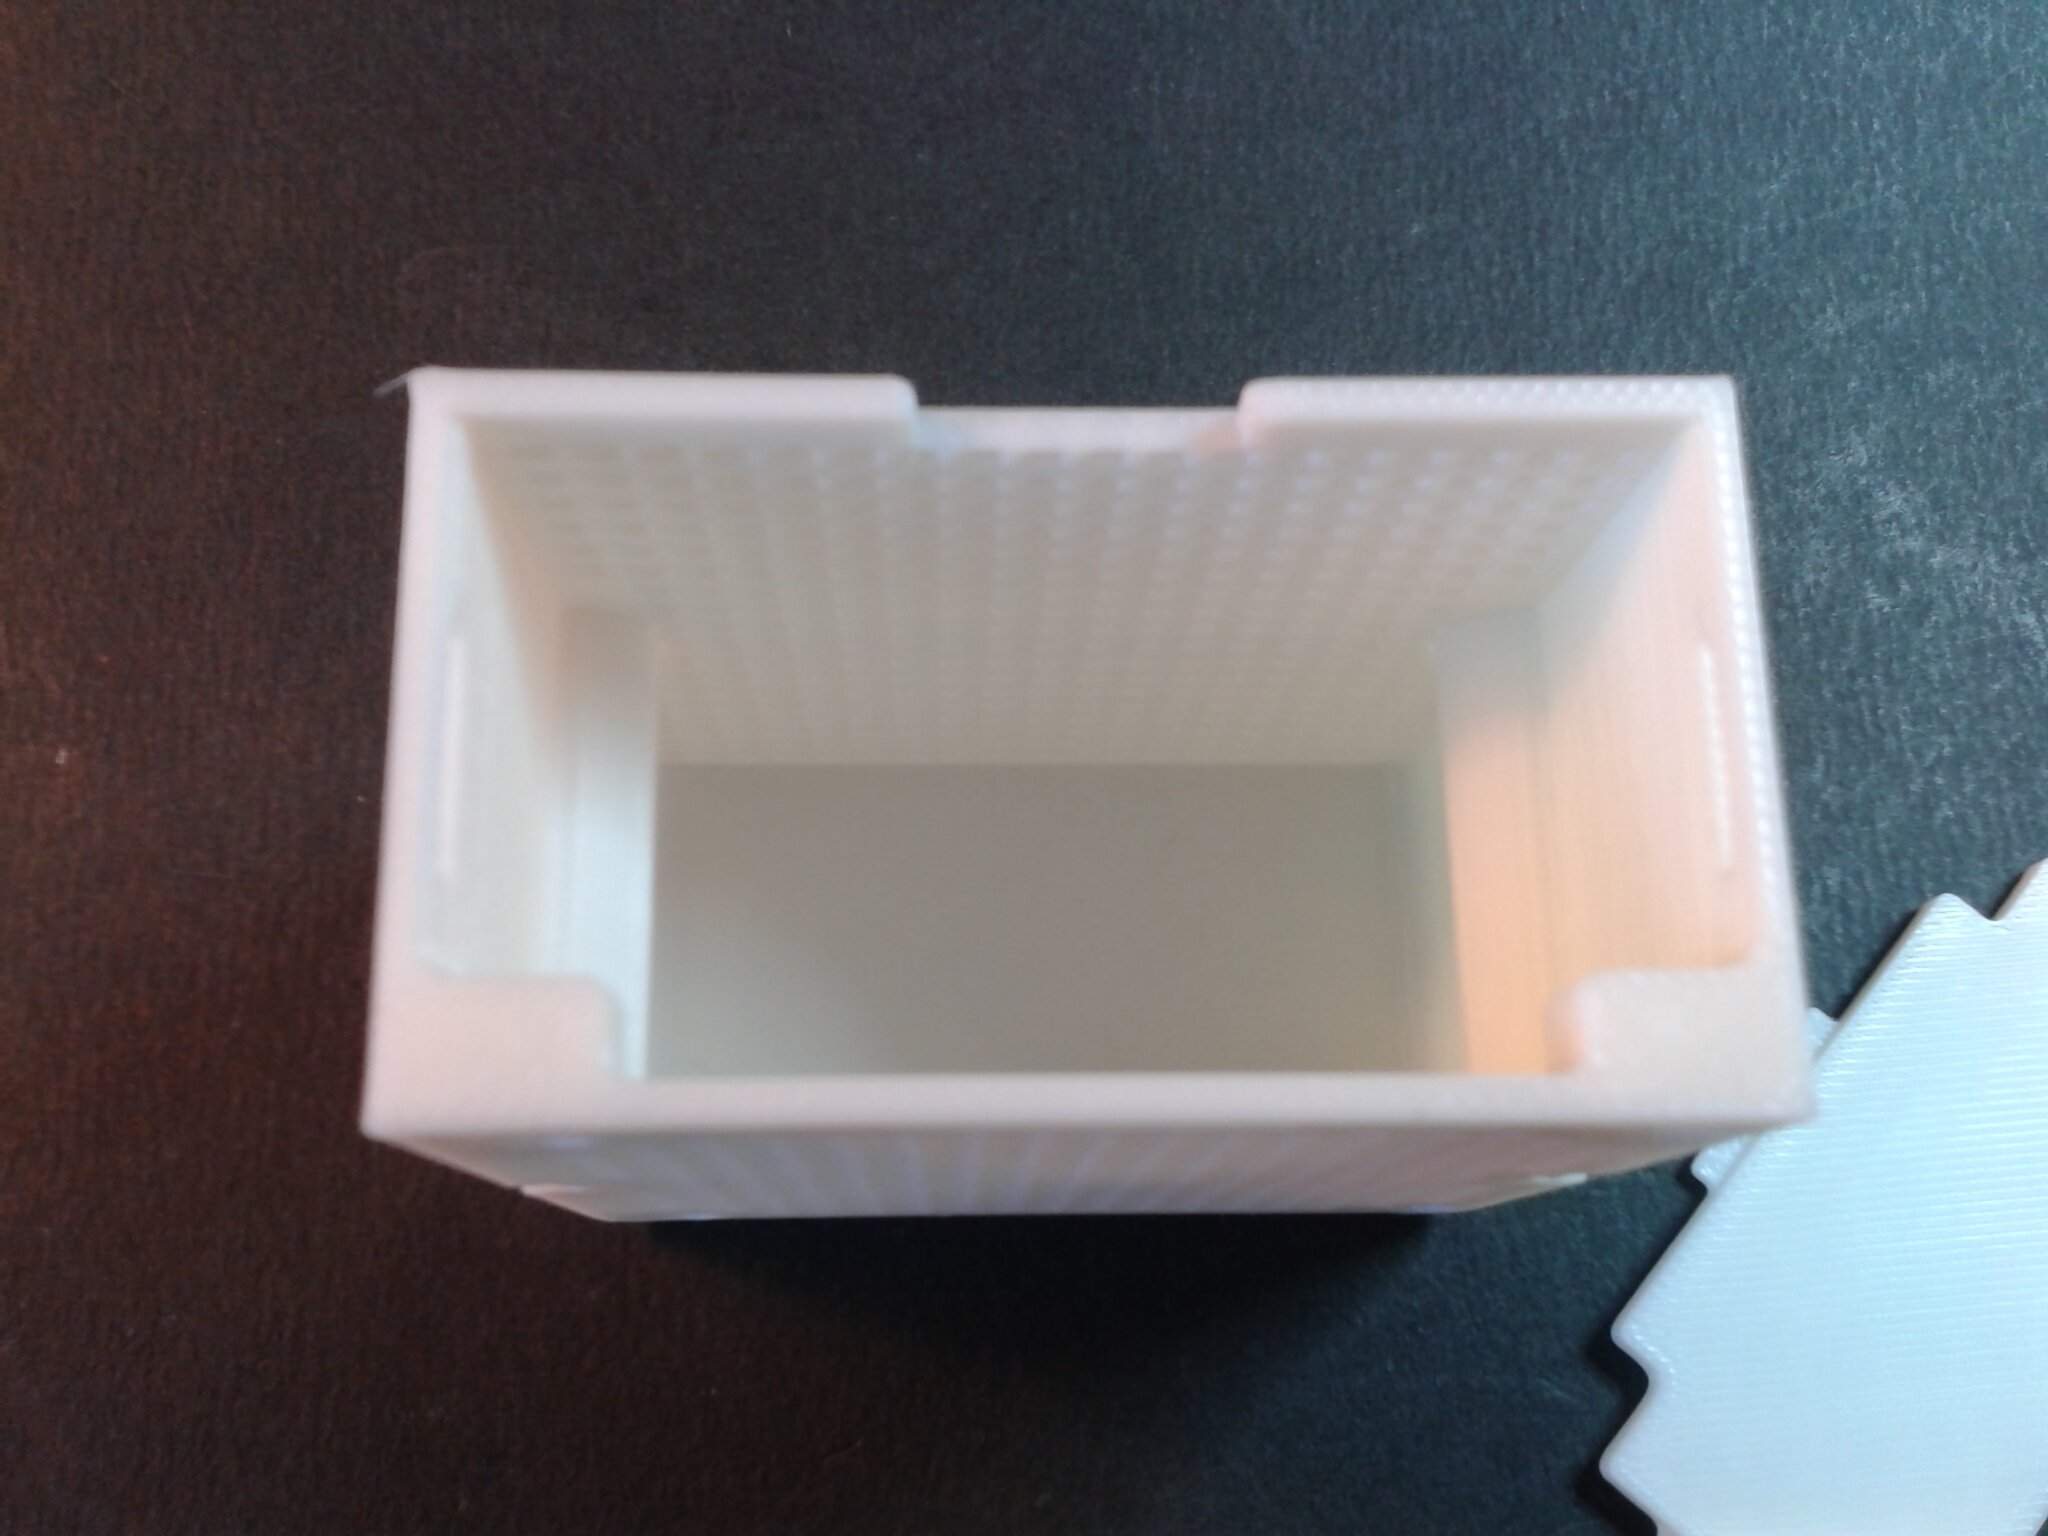
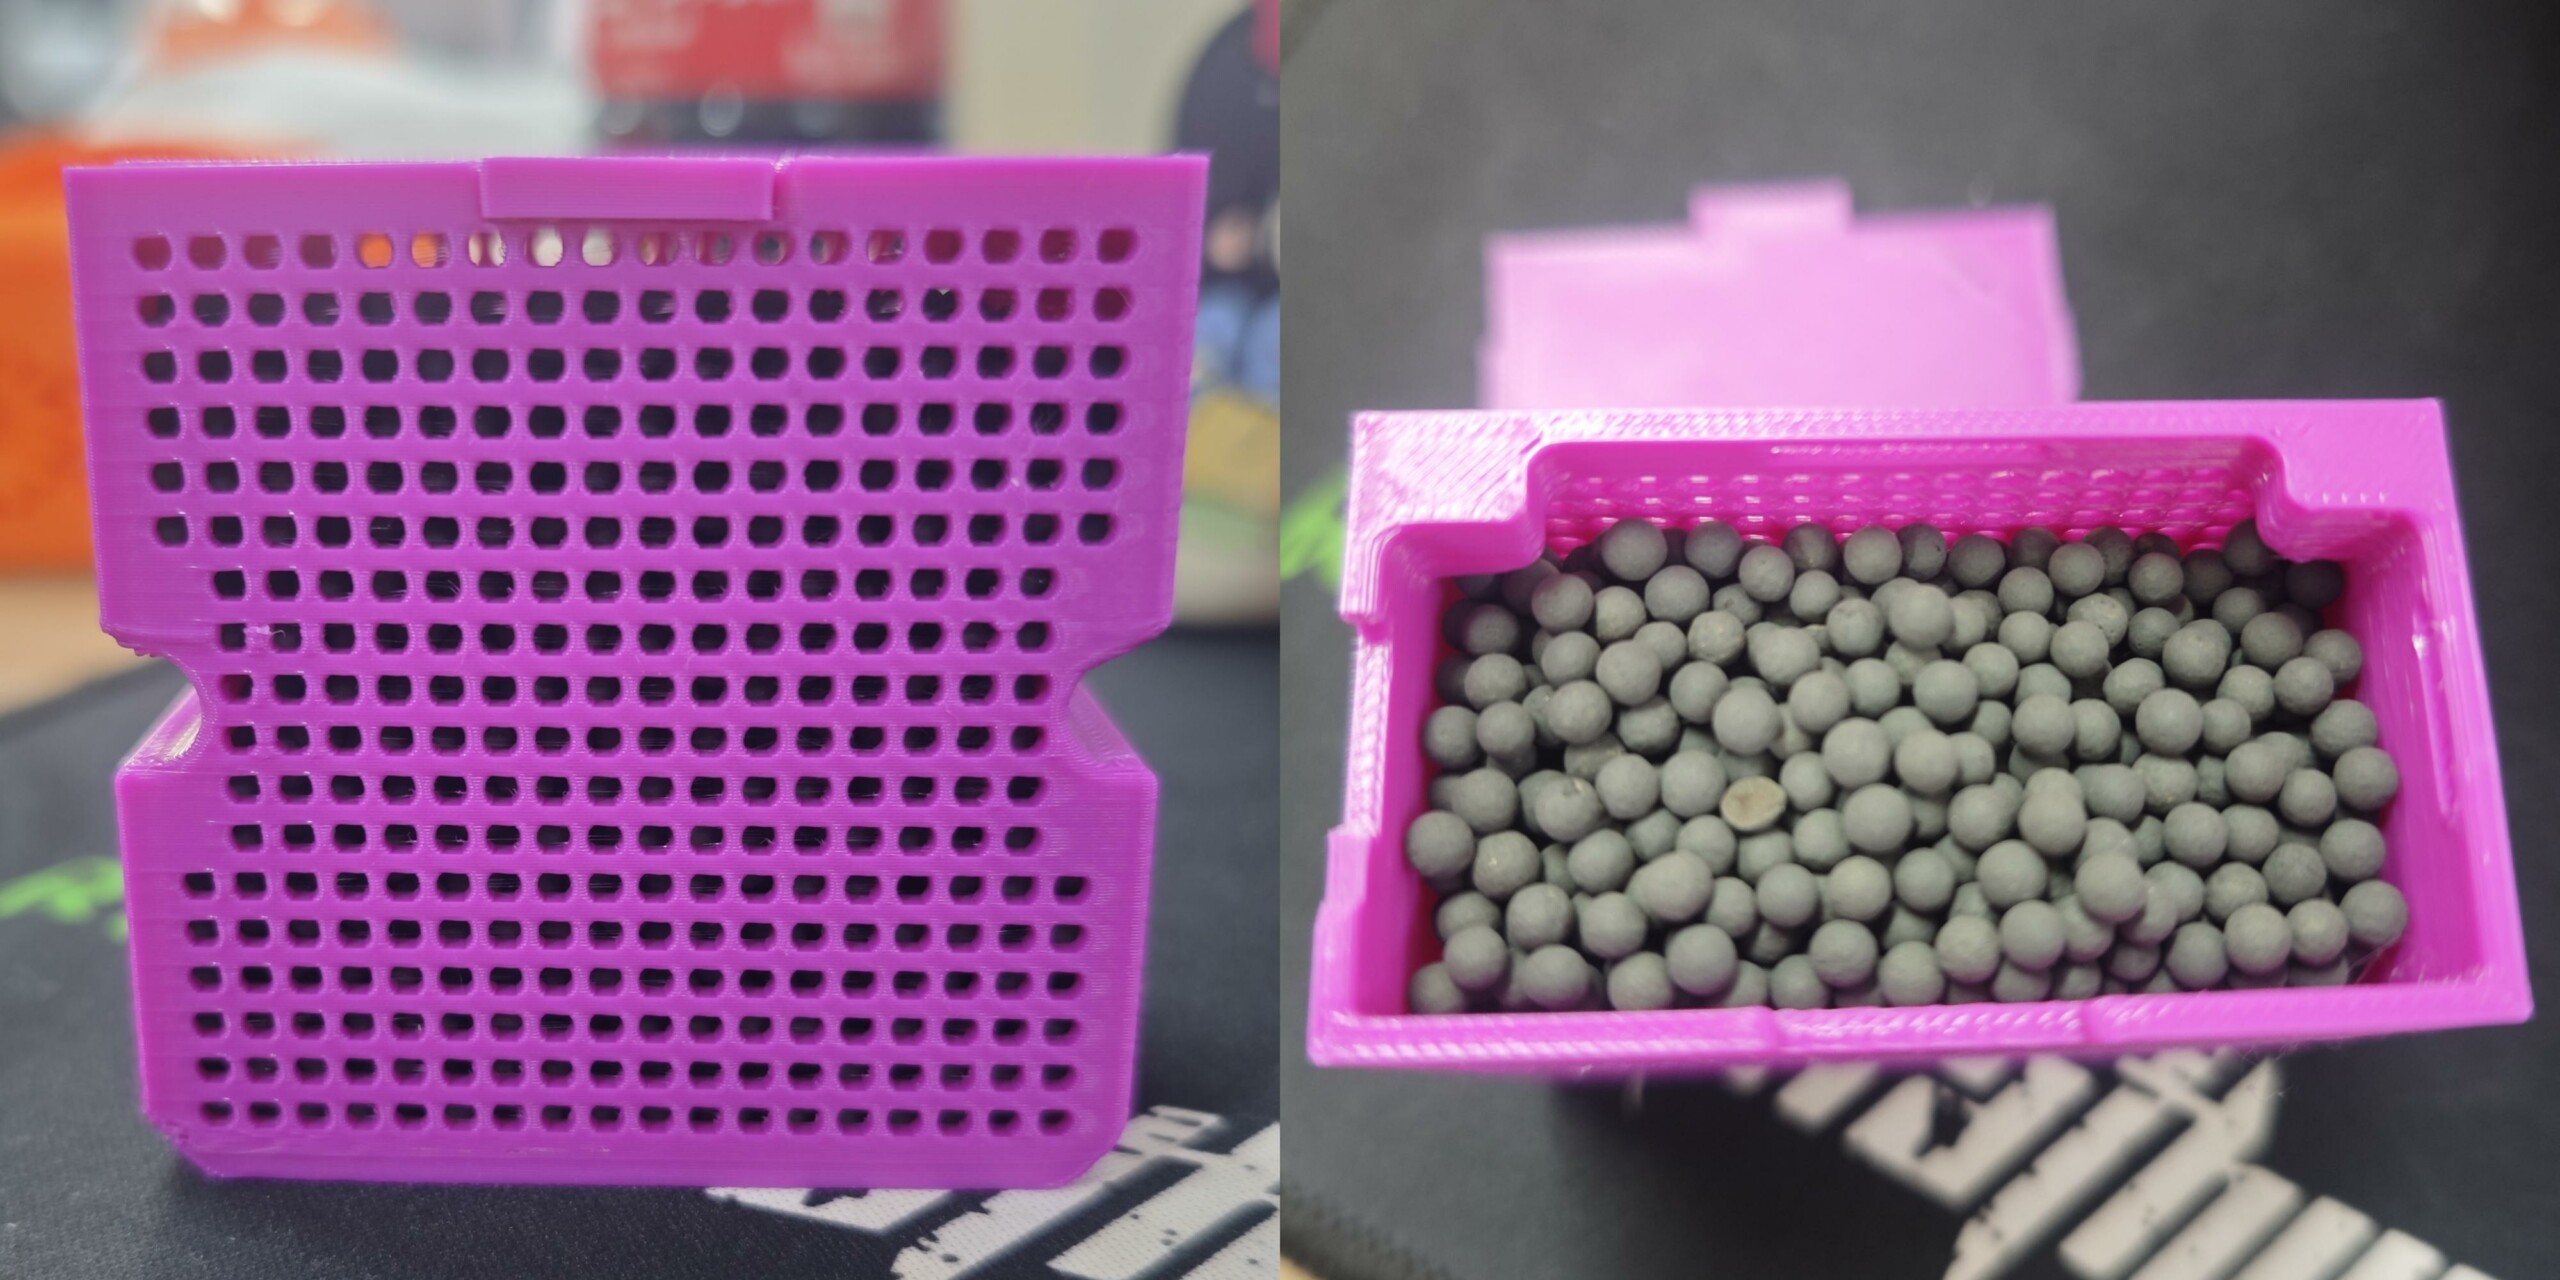
Boîte de filtration à charbon actif pour la Q1 Pro
“Activated Carbon BOX” de la page “Optional components” de la Q1 Pro sur le wiki de Qidi Tech.
Echelle 100%, environ 1 h 33 min d’impression.
Filament ASA Anti-UV blanc ArianePlast

Allez au dernier chapitre “Améliorations et upgrades” pour voir son installation sur la Qidi Q1 Pro.
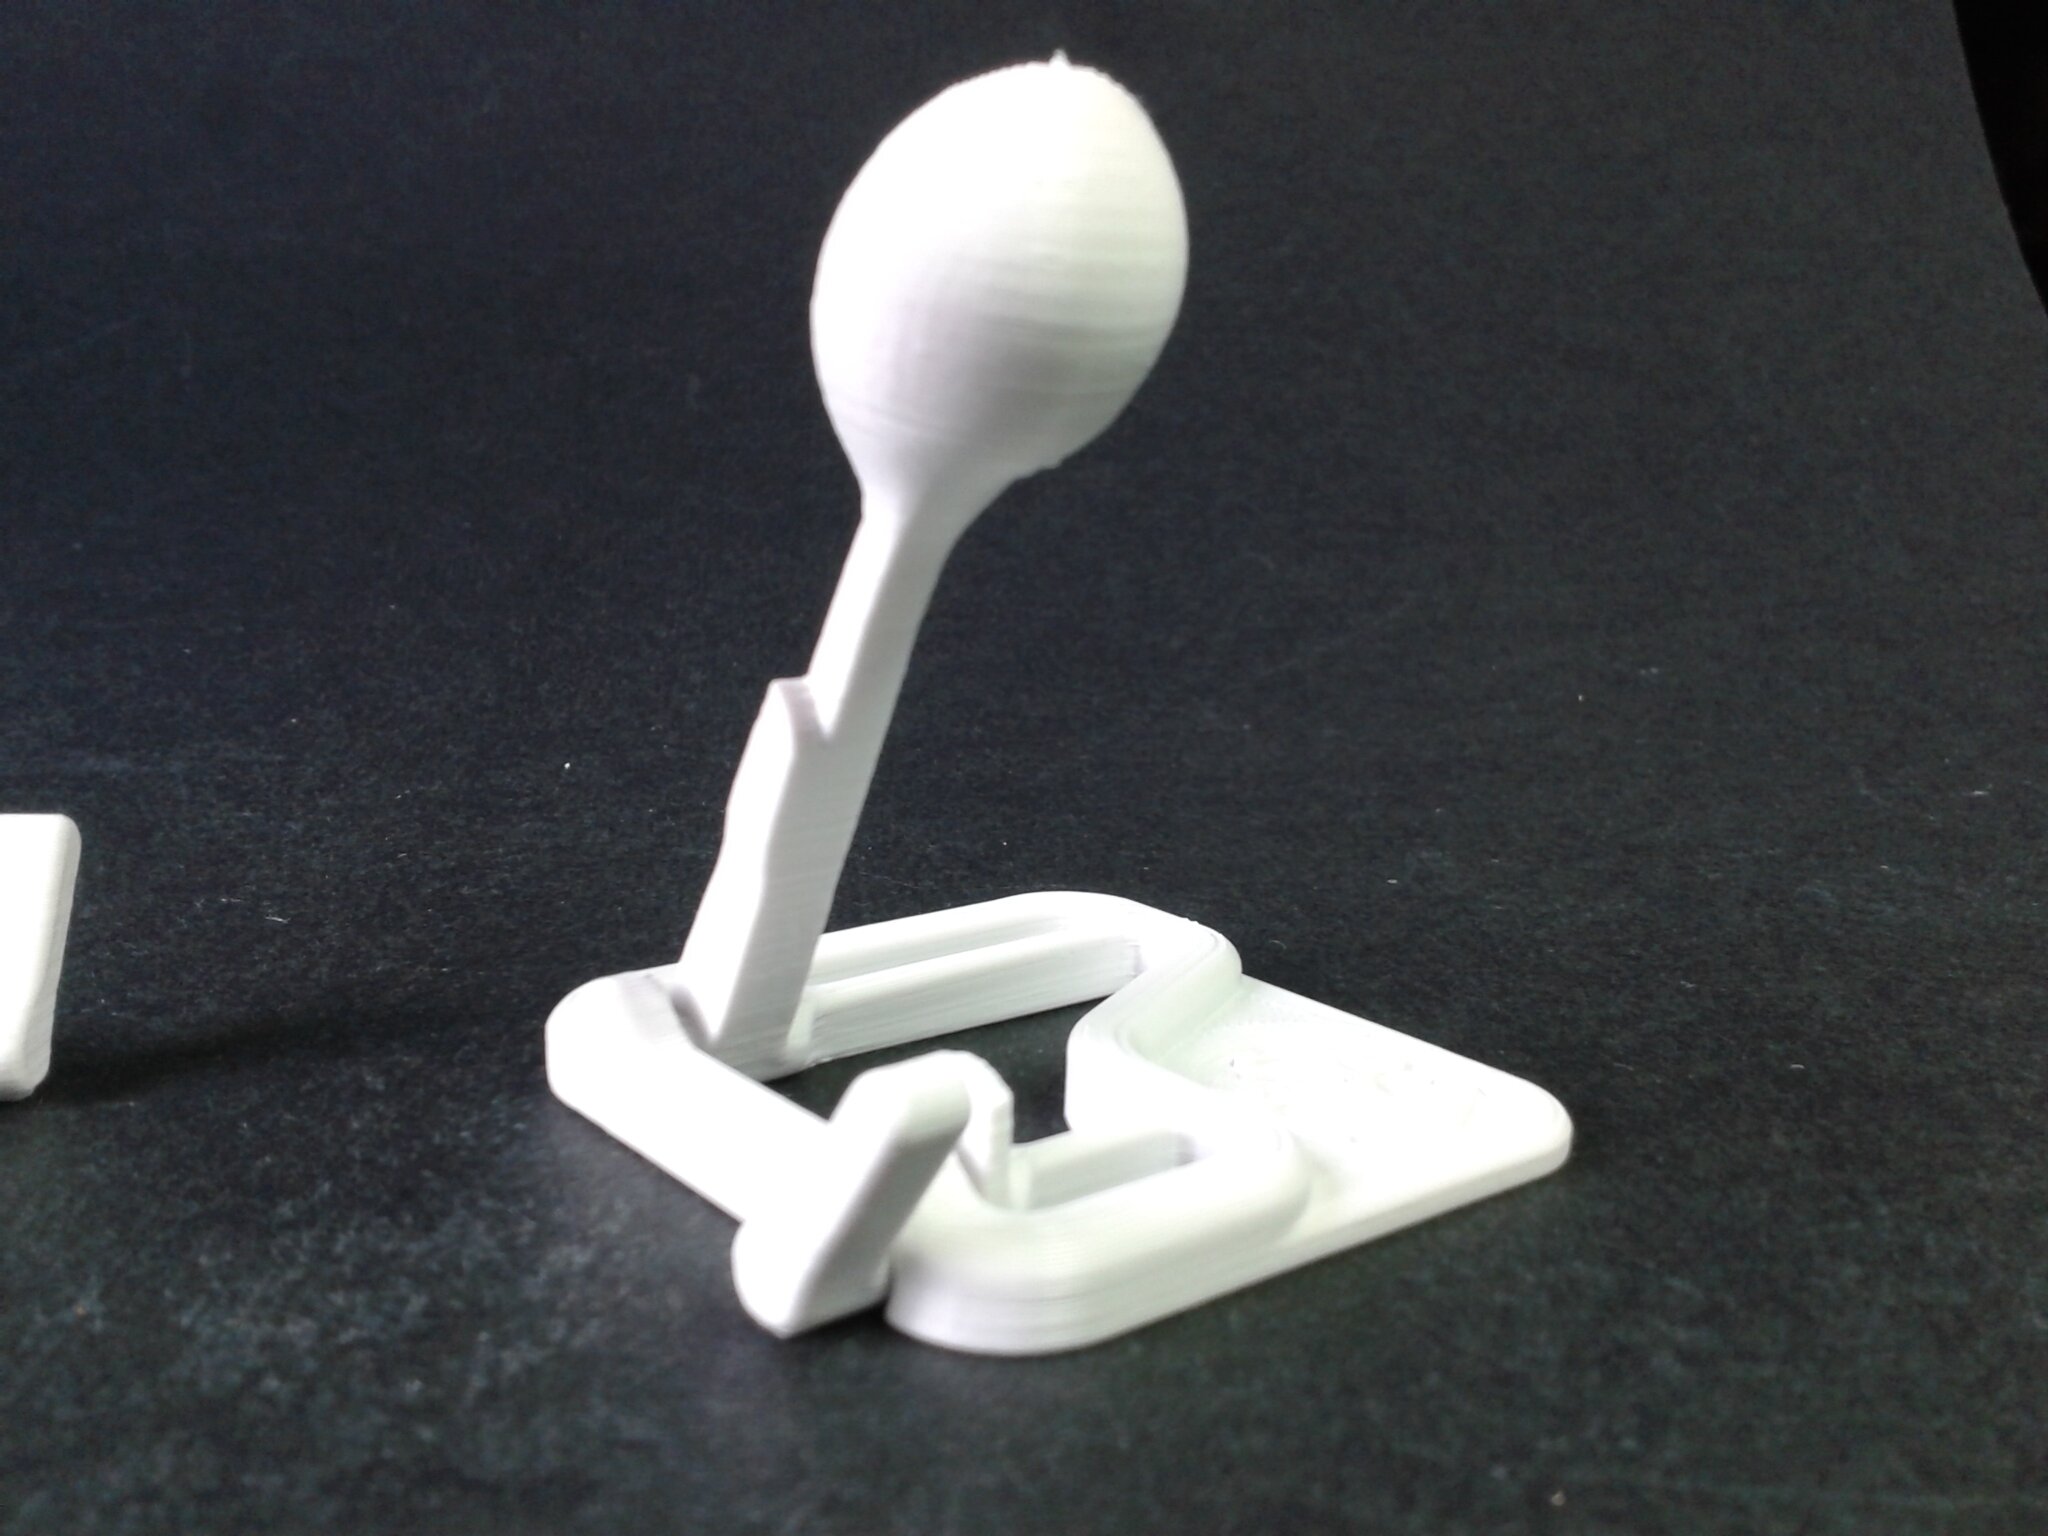
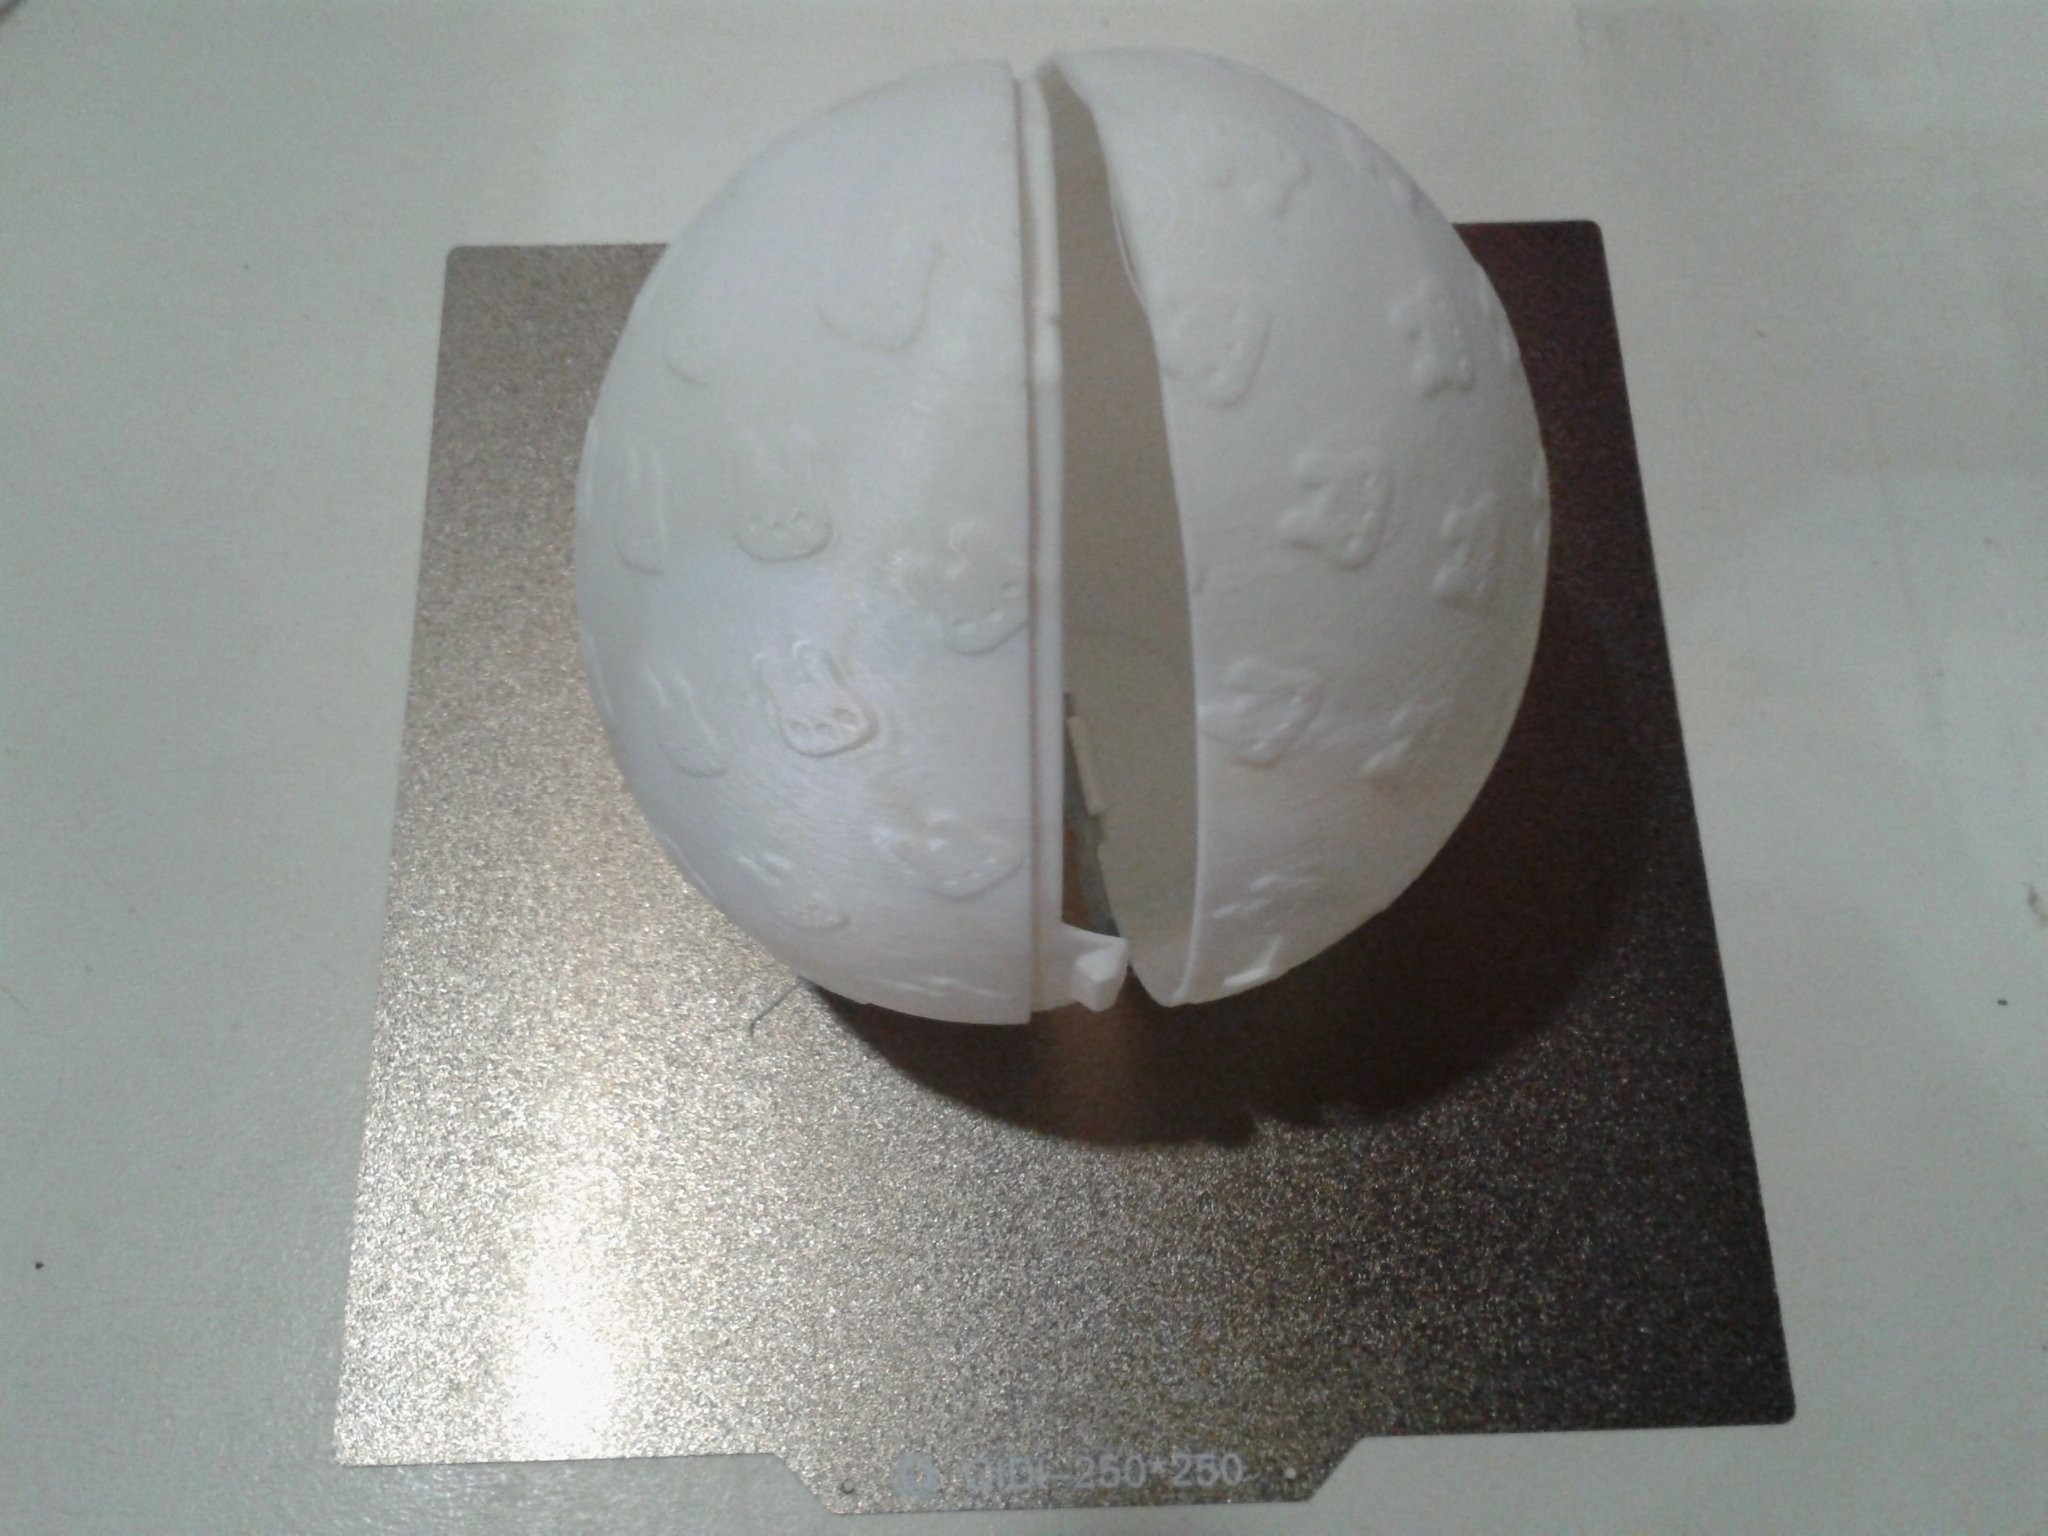
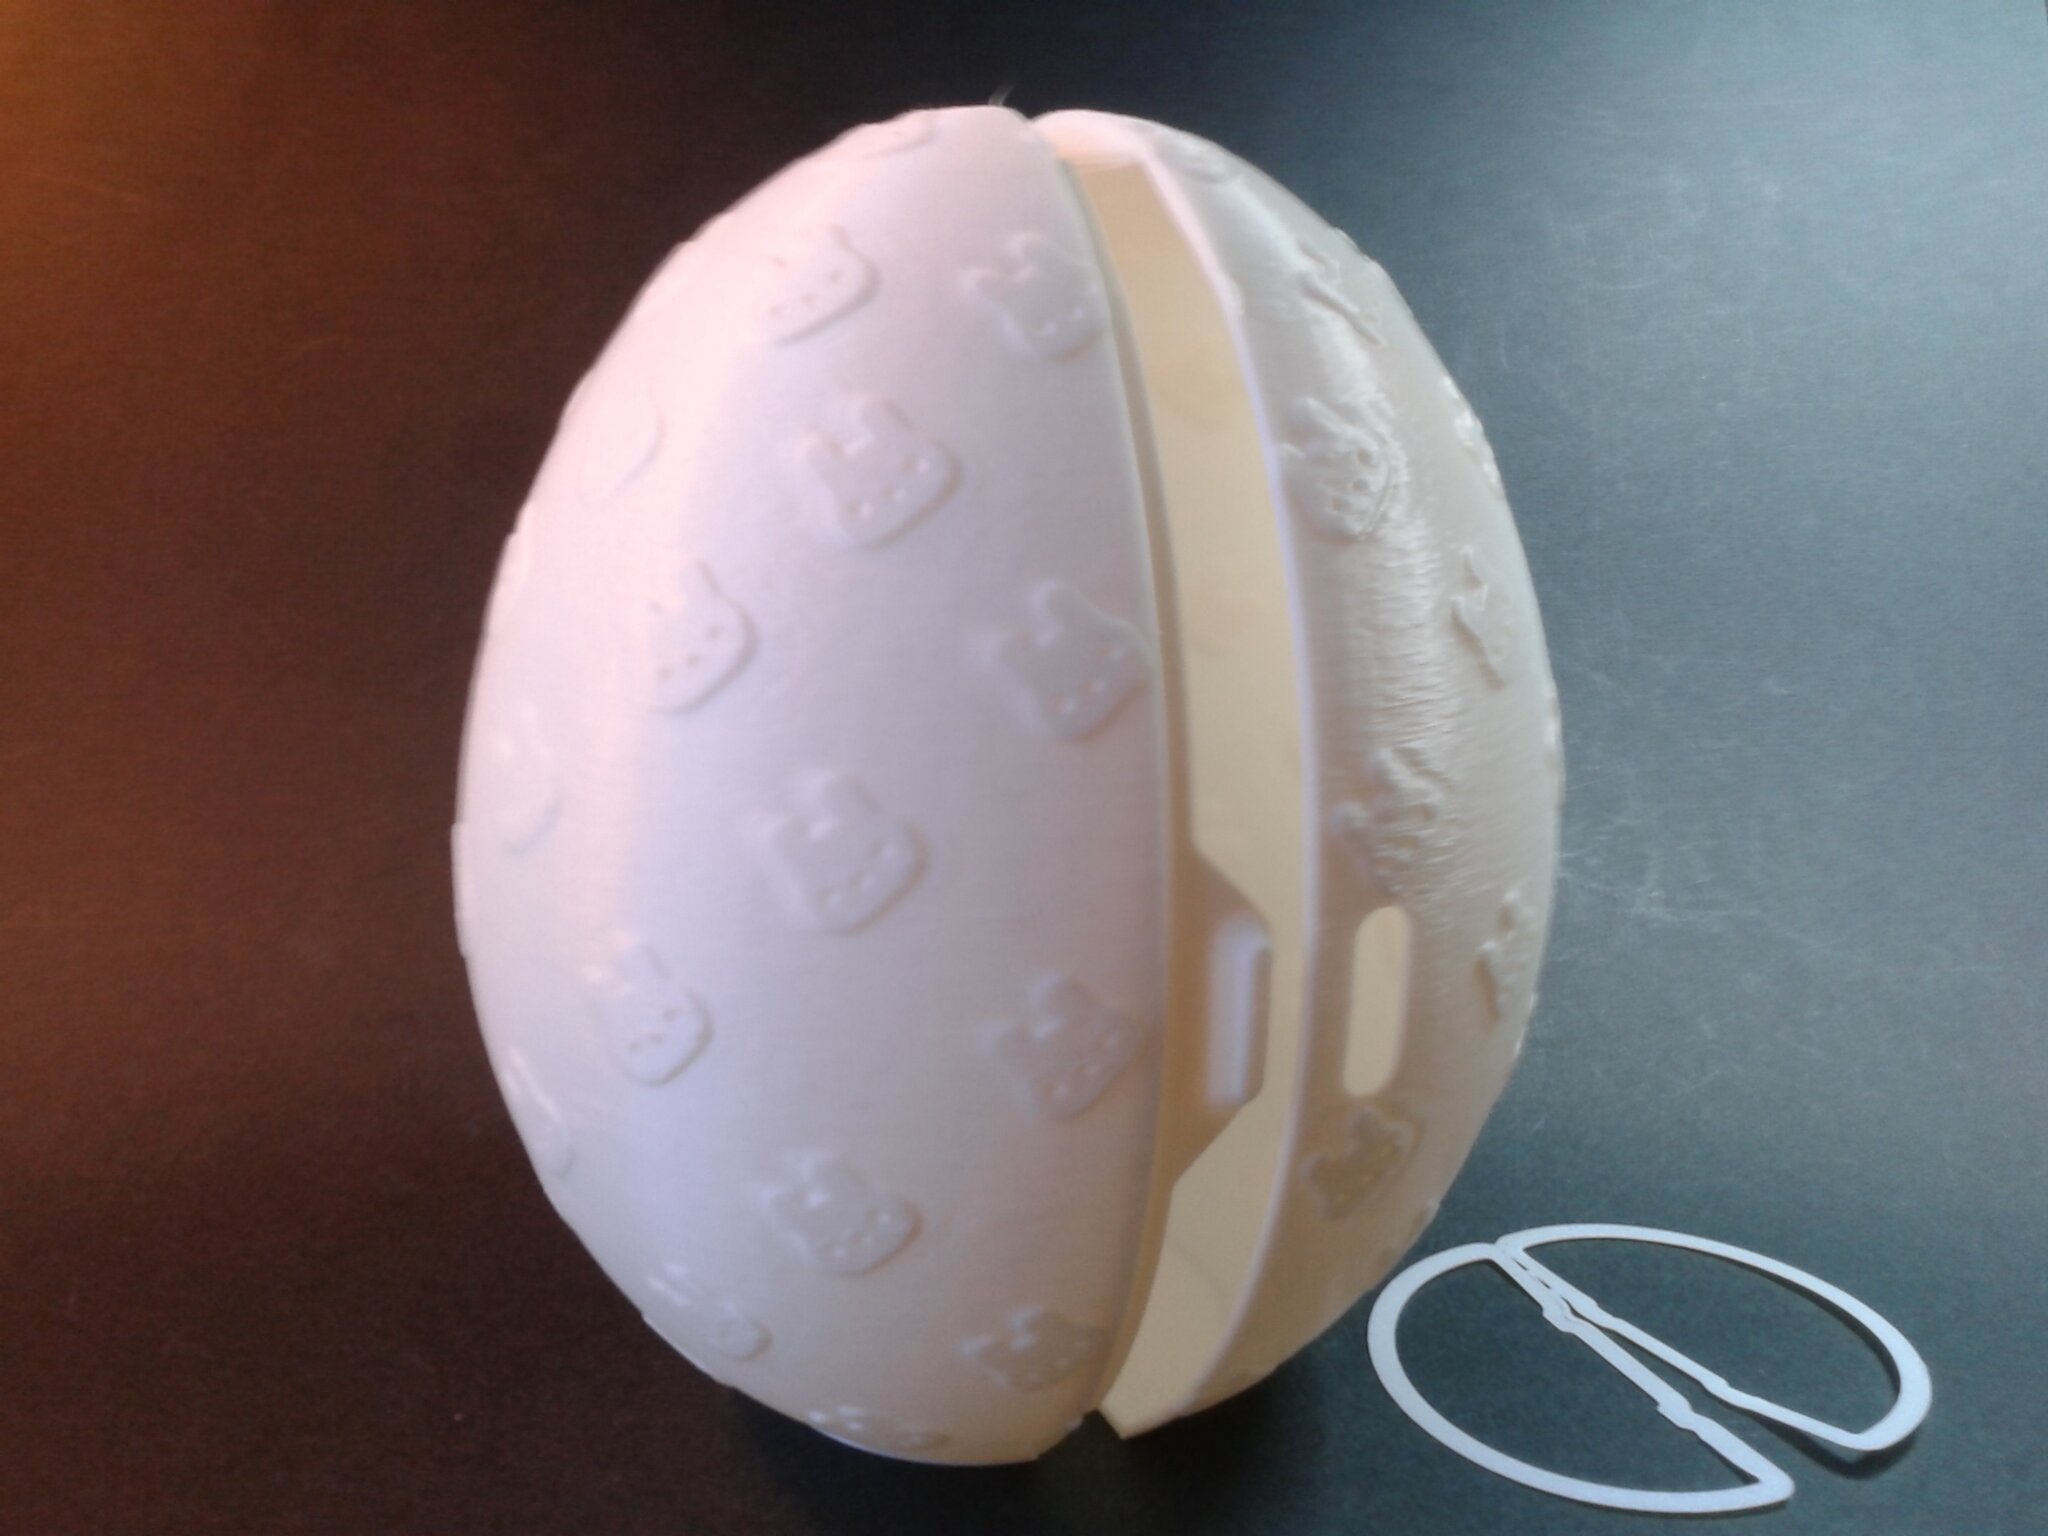
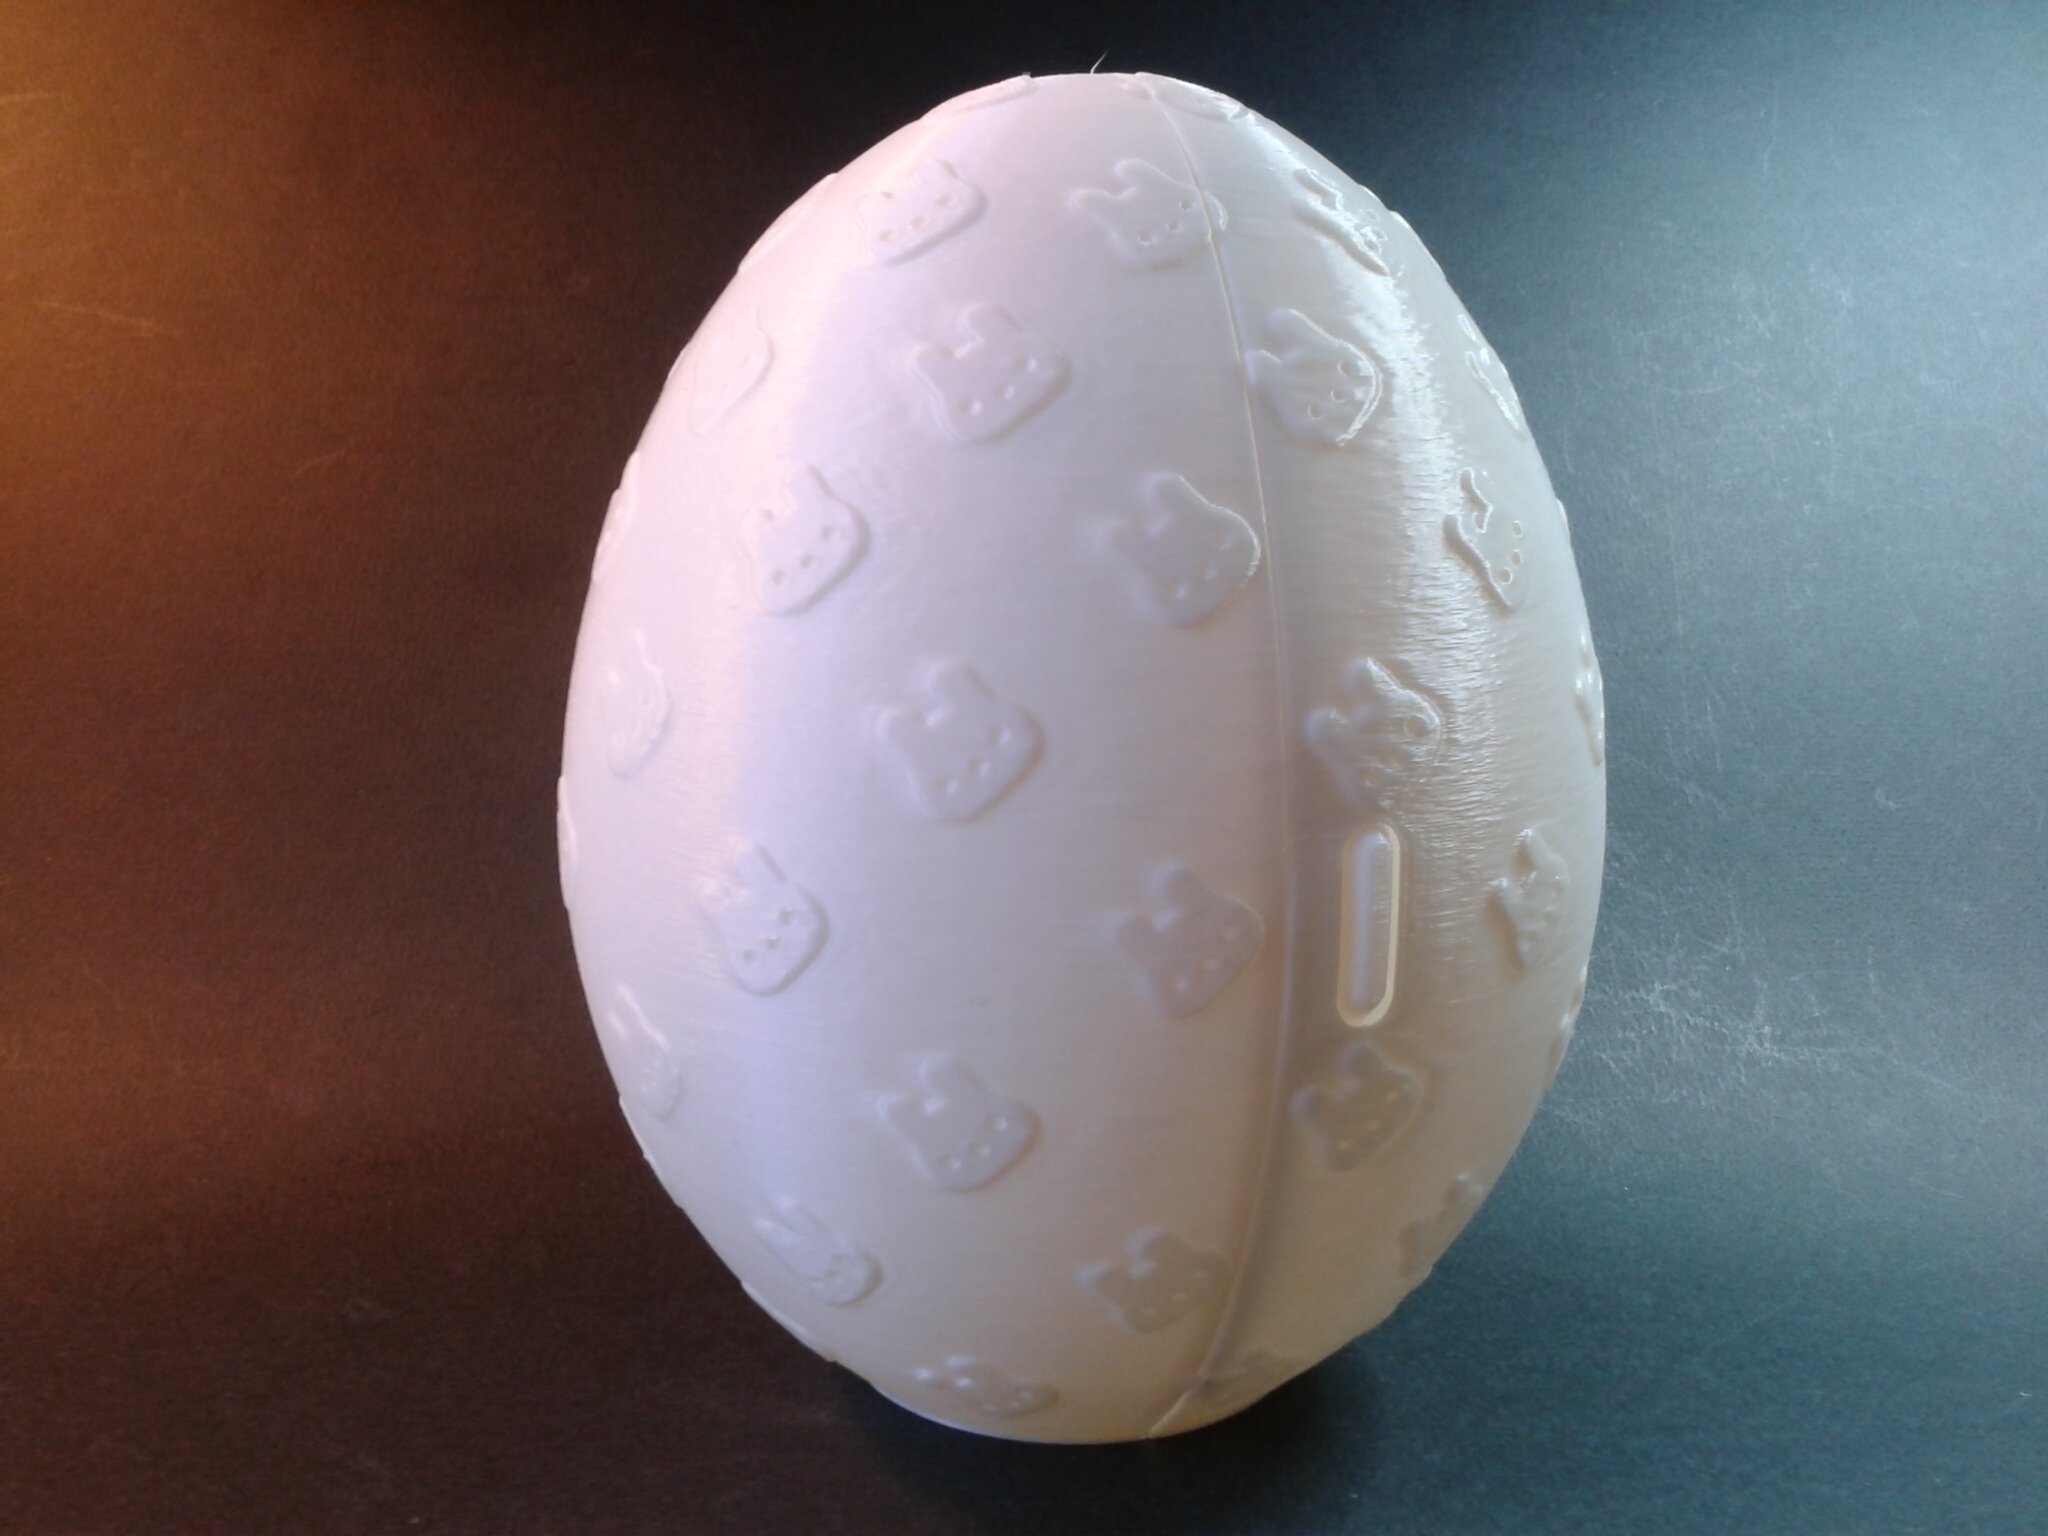
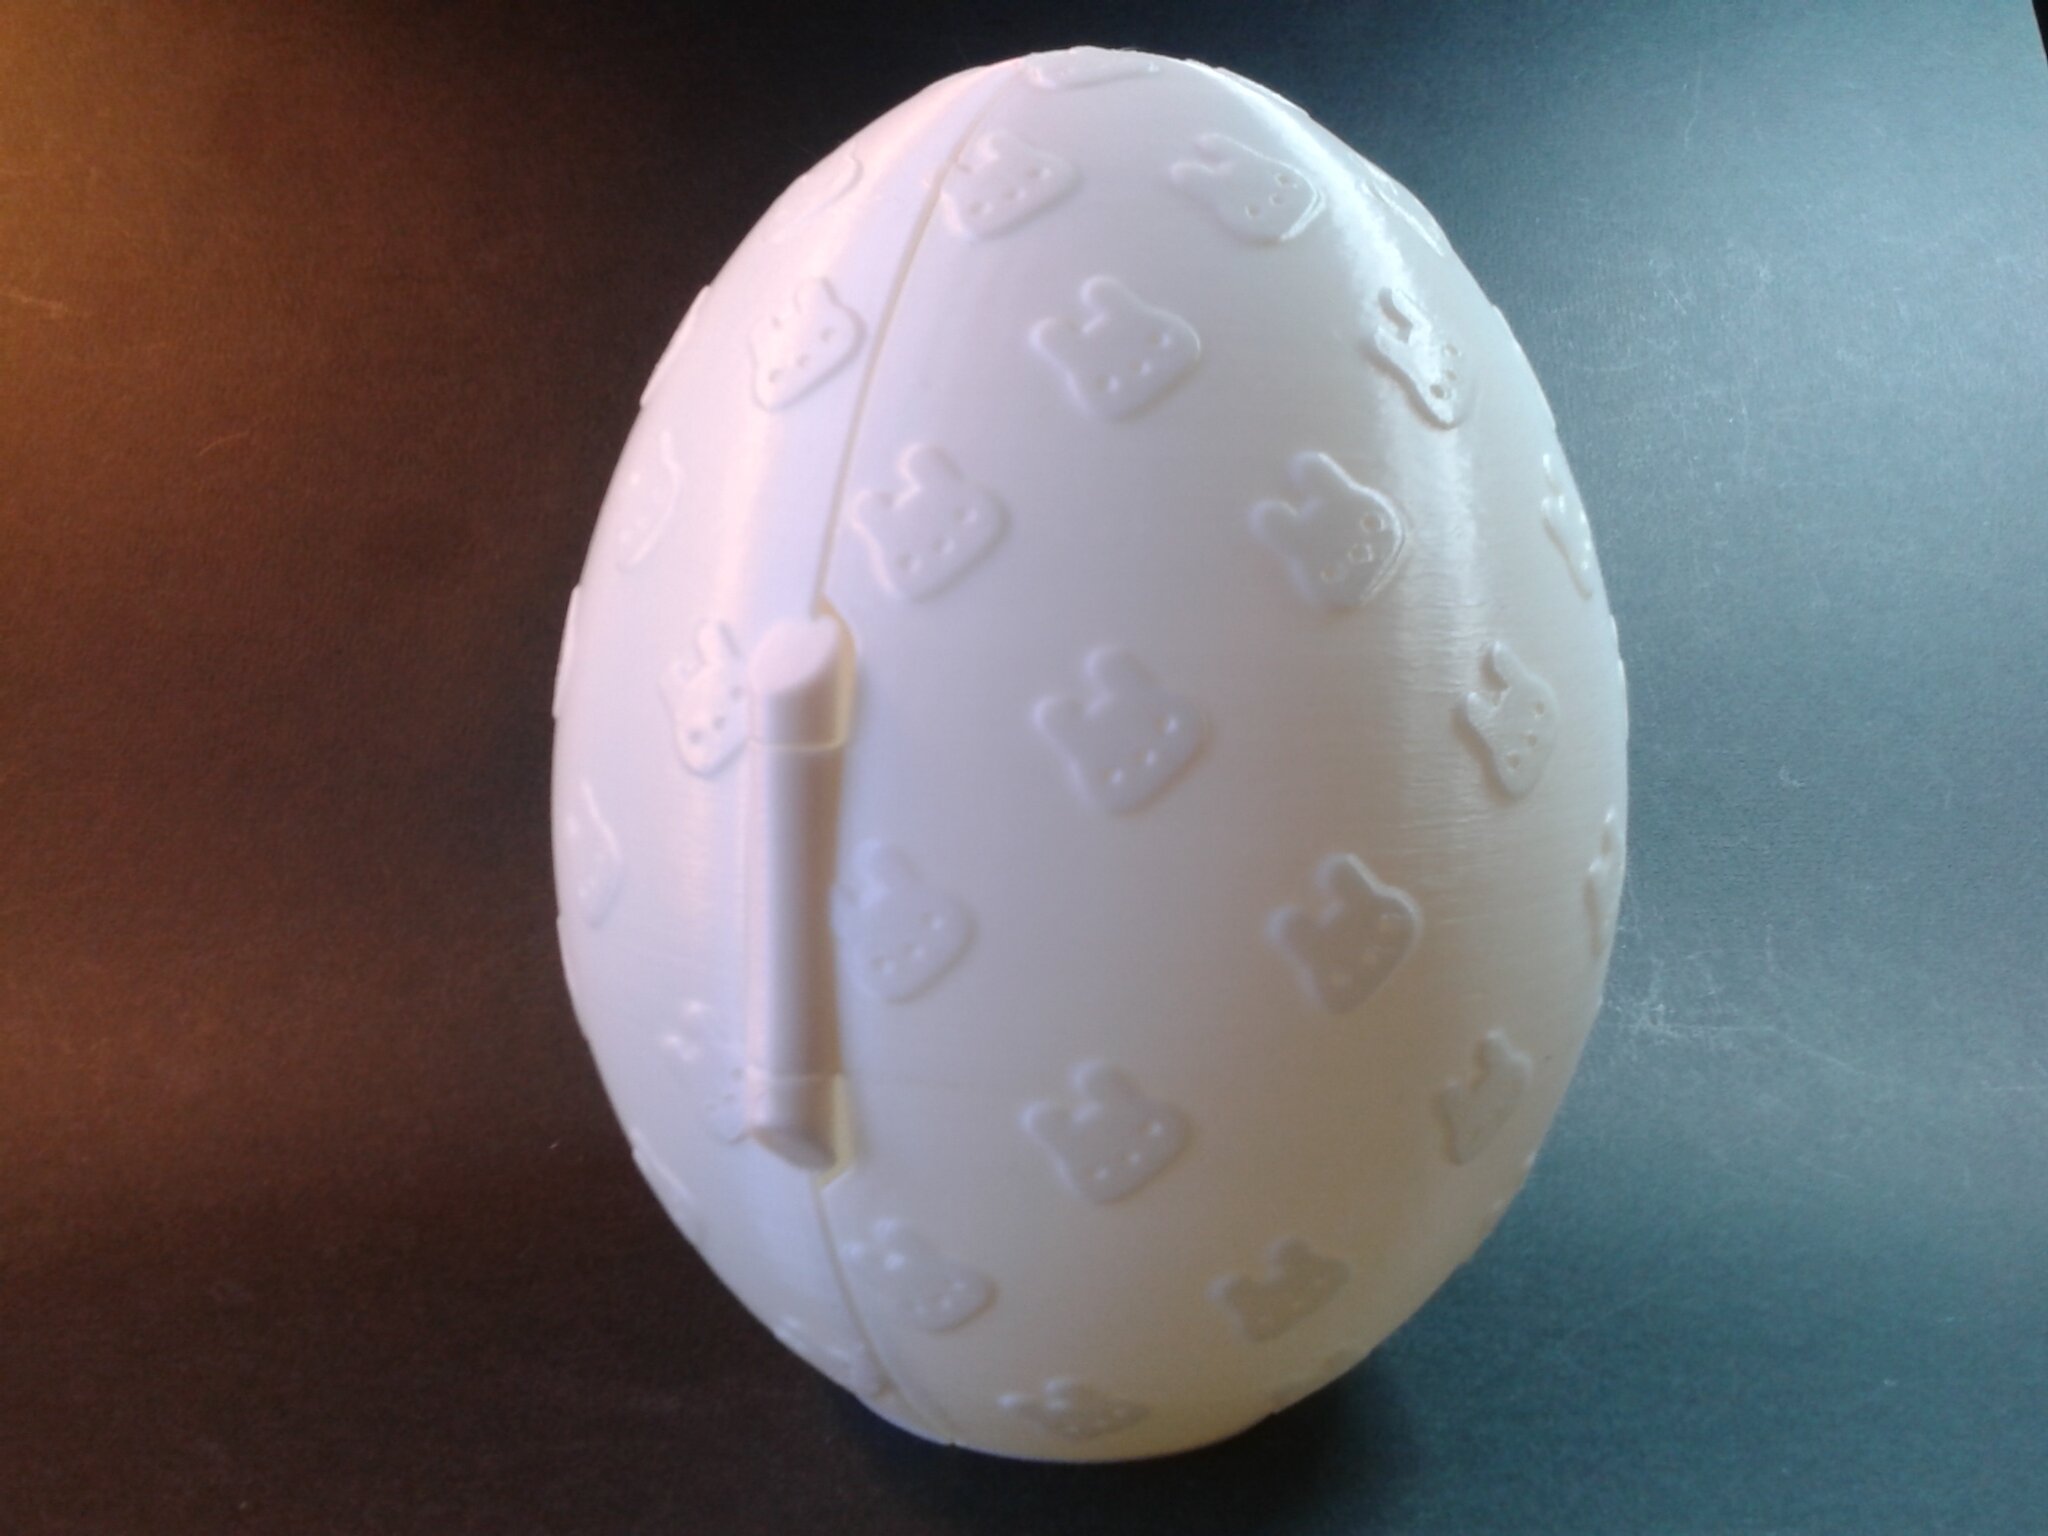
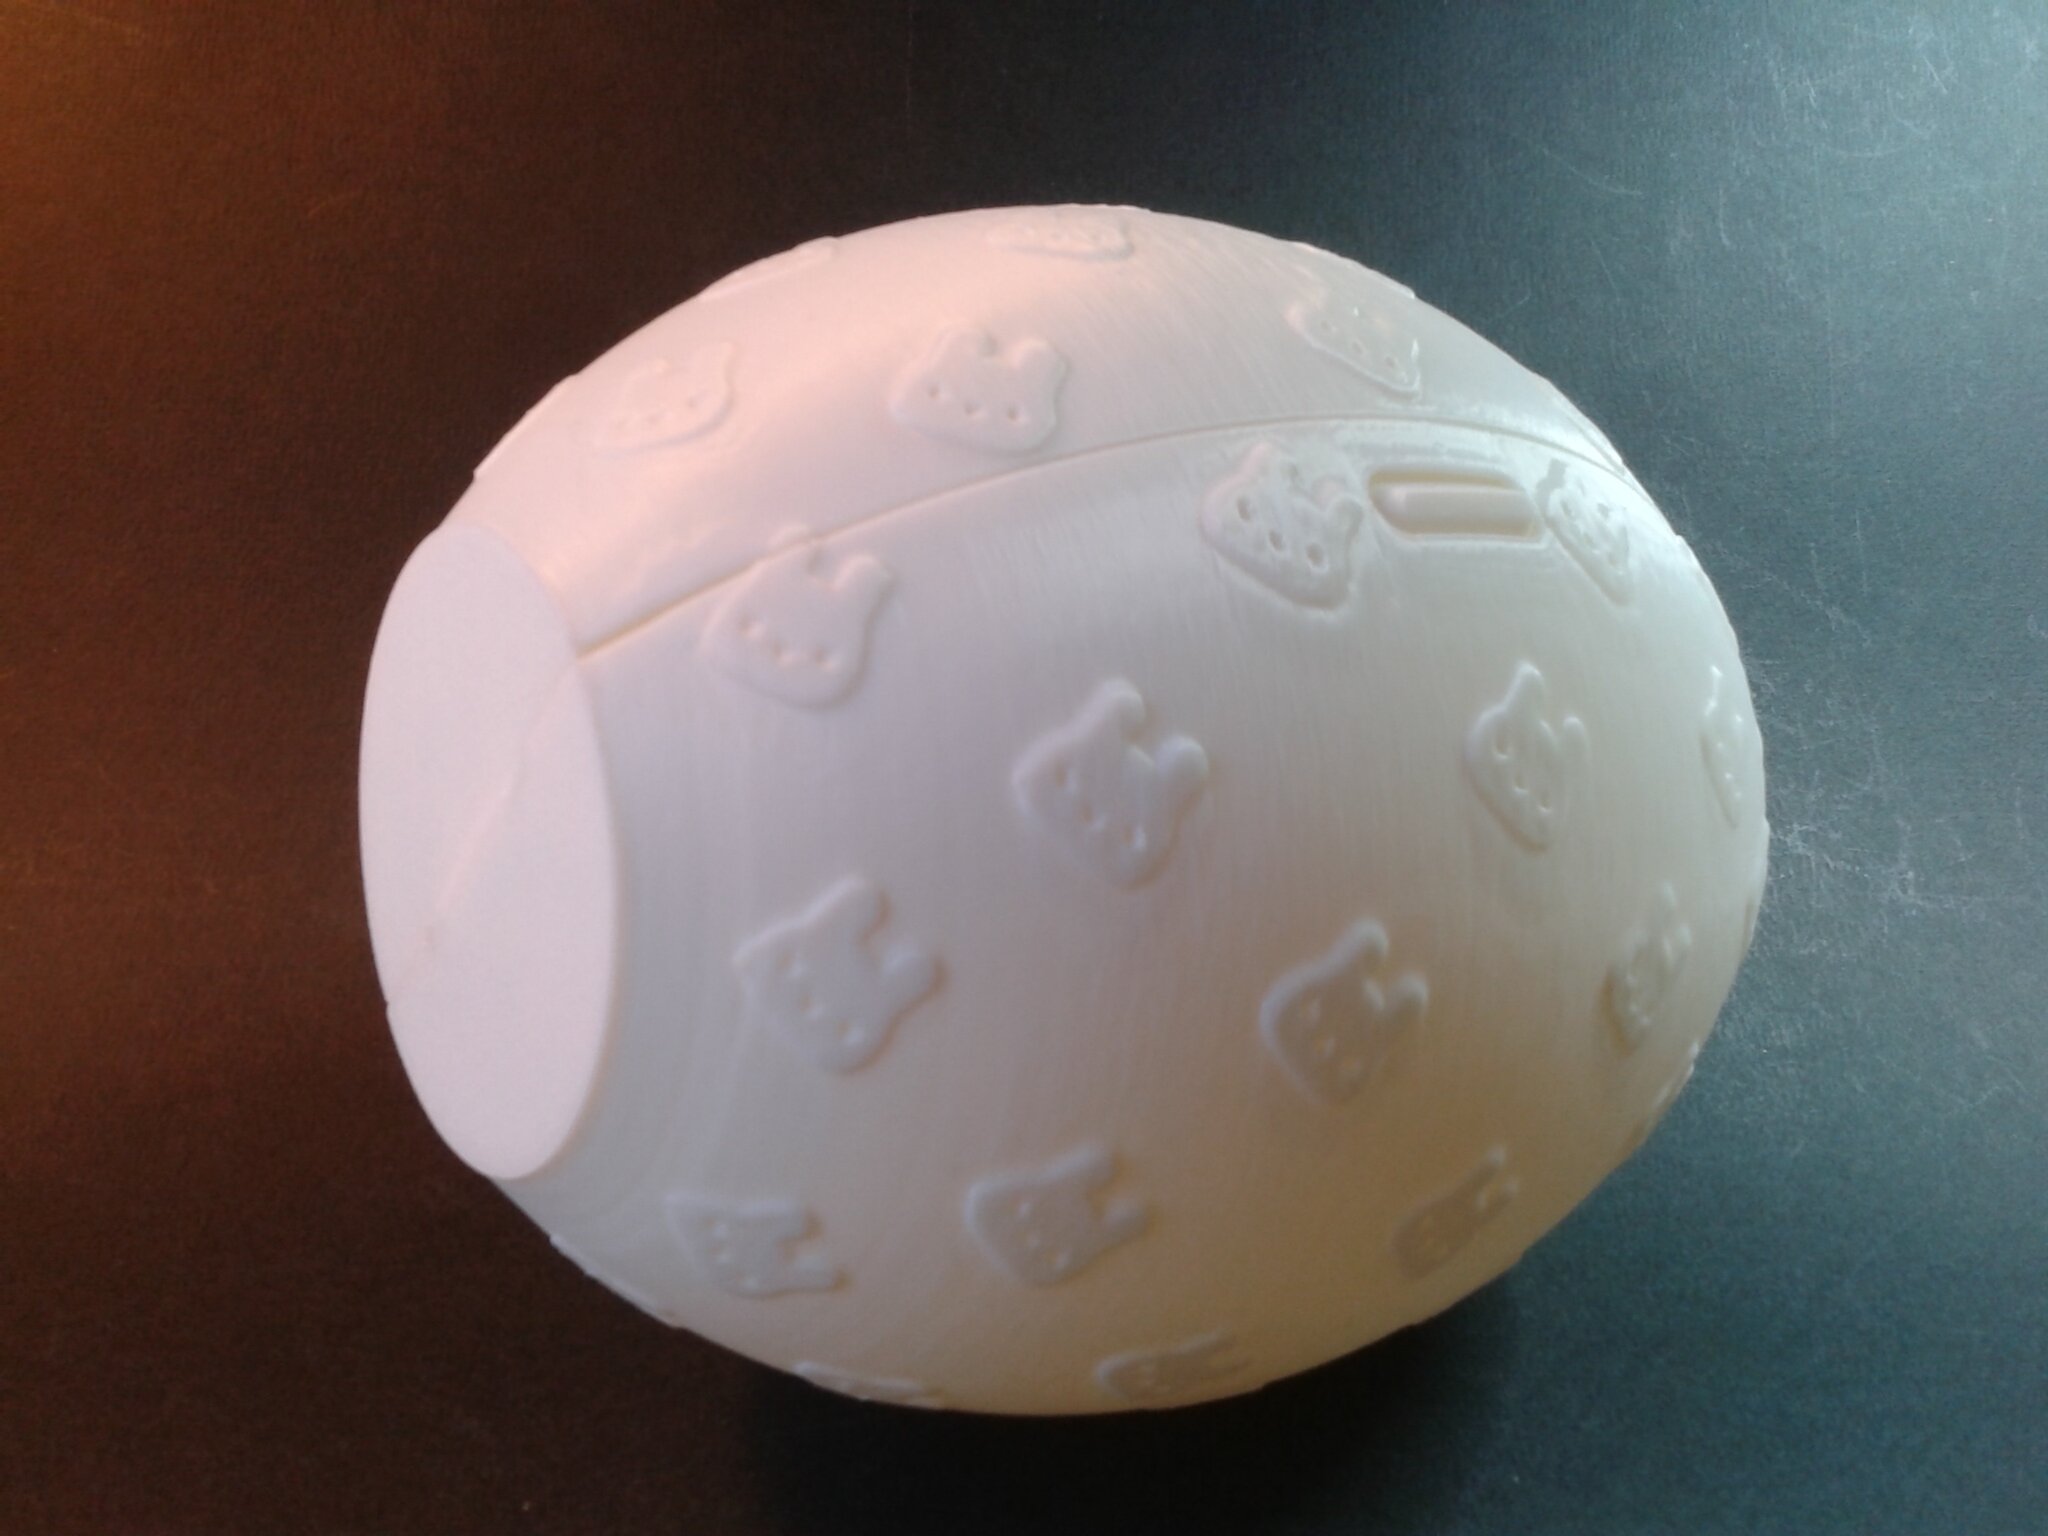
Conteneur en forme d’œuf
“Egg-shaped container” de “IL3D” (gratuit).
Echelle 100%, bordure, environ 3 h 40 min d’impression.
Filament ASA Anti-UV blanc ArianePlast

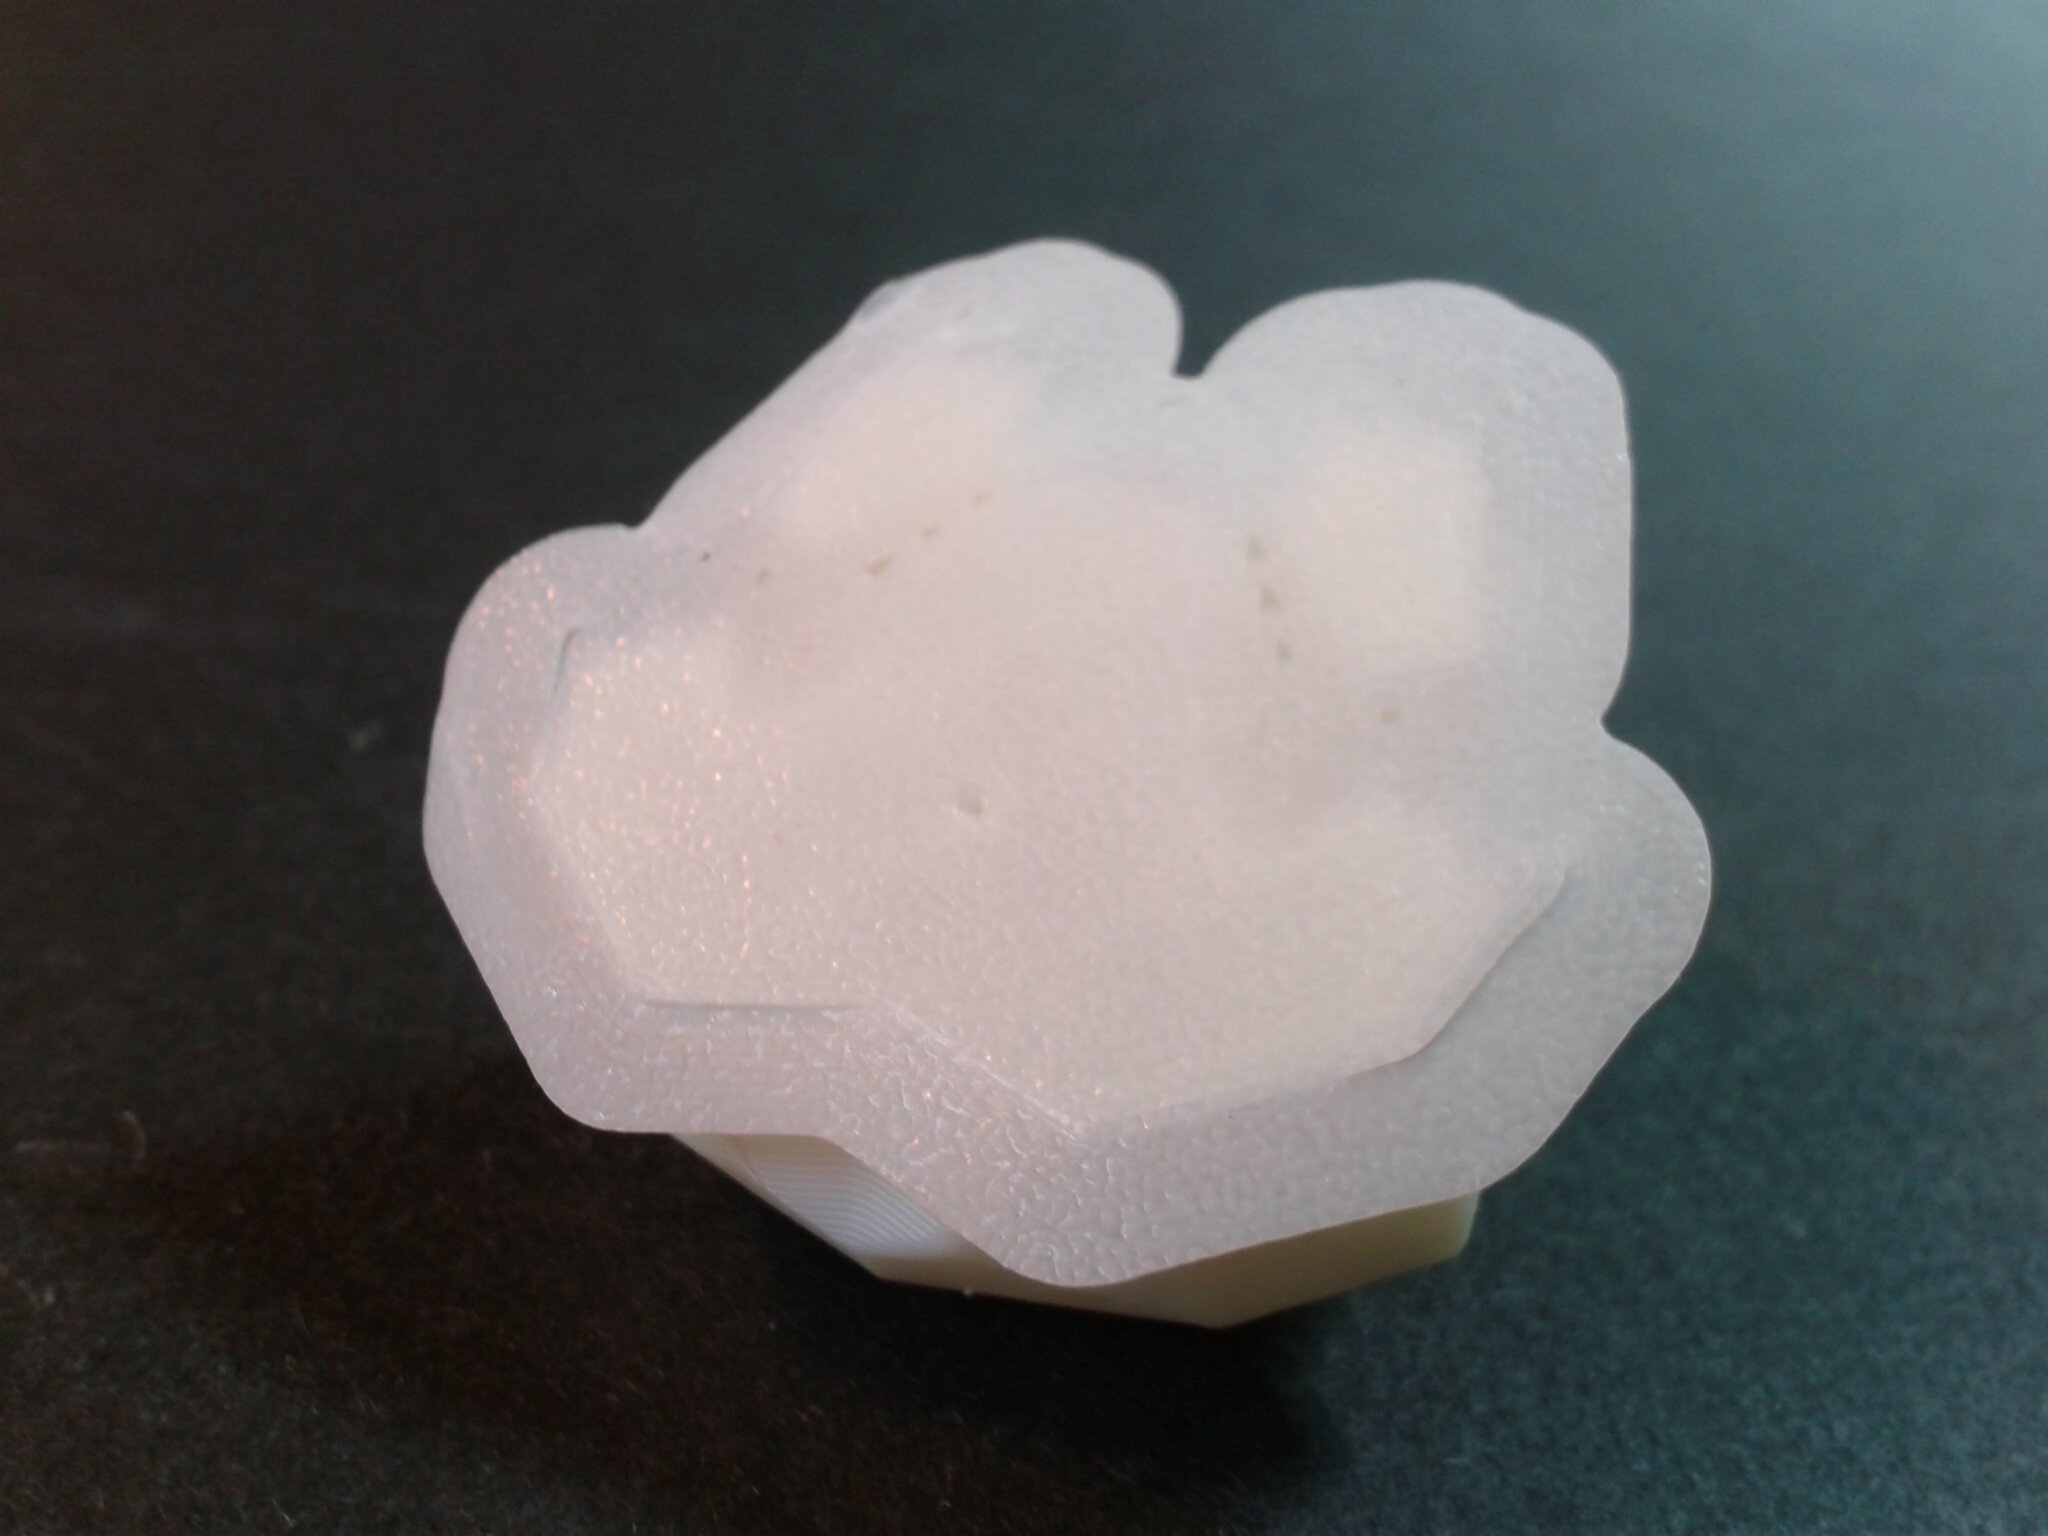
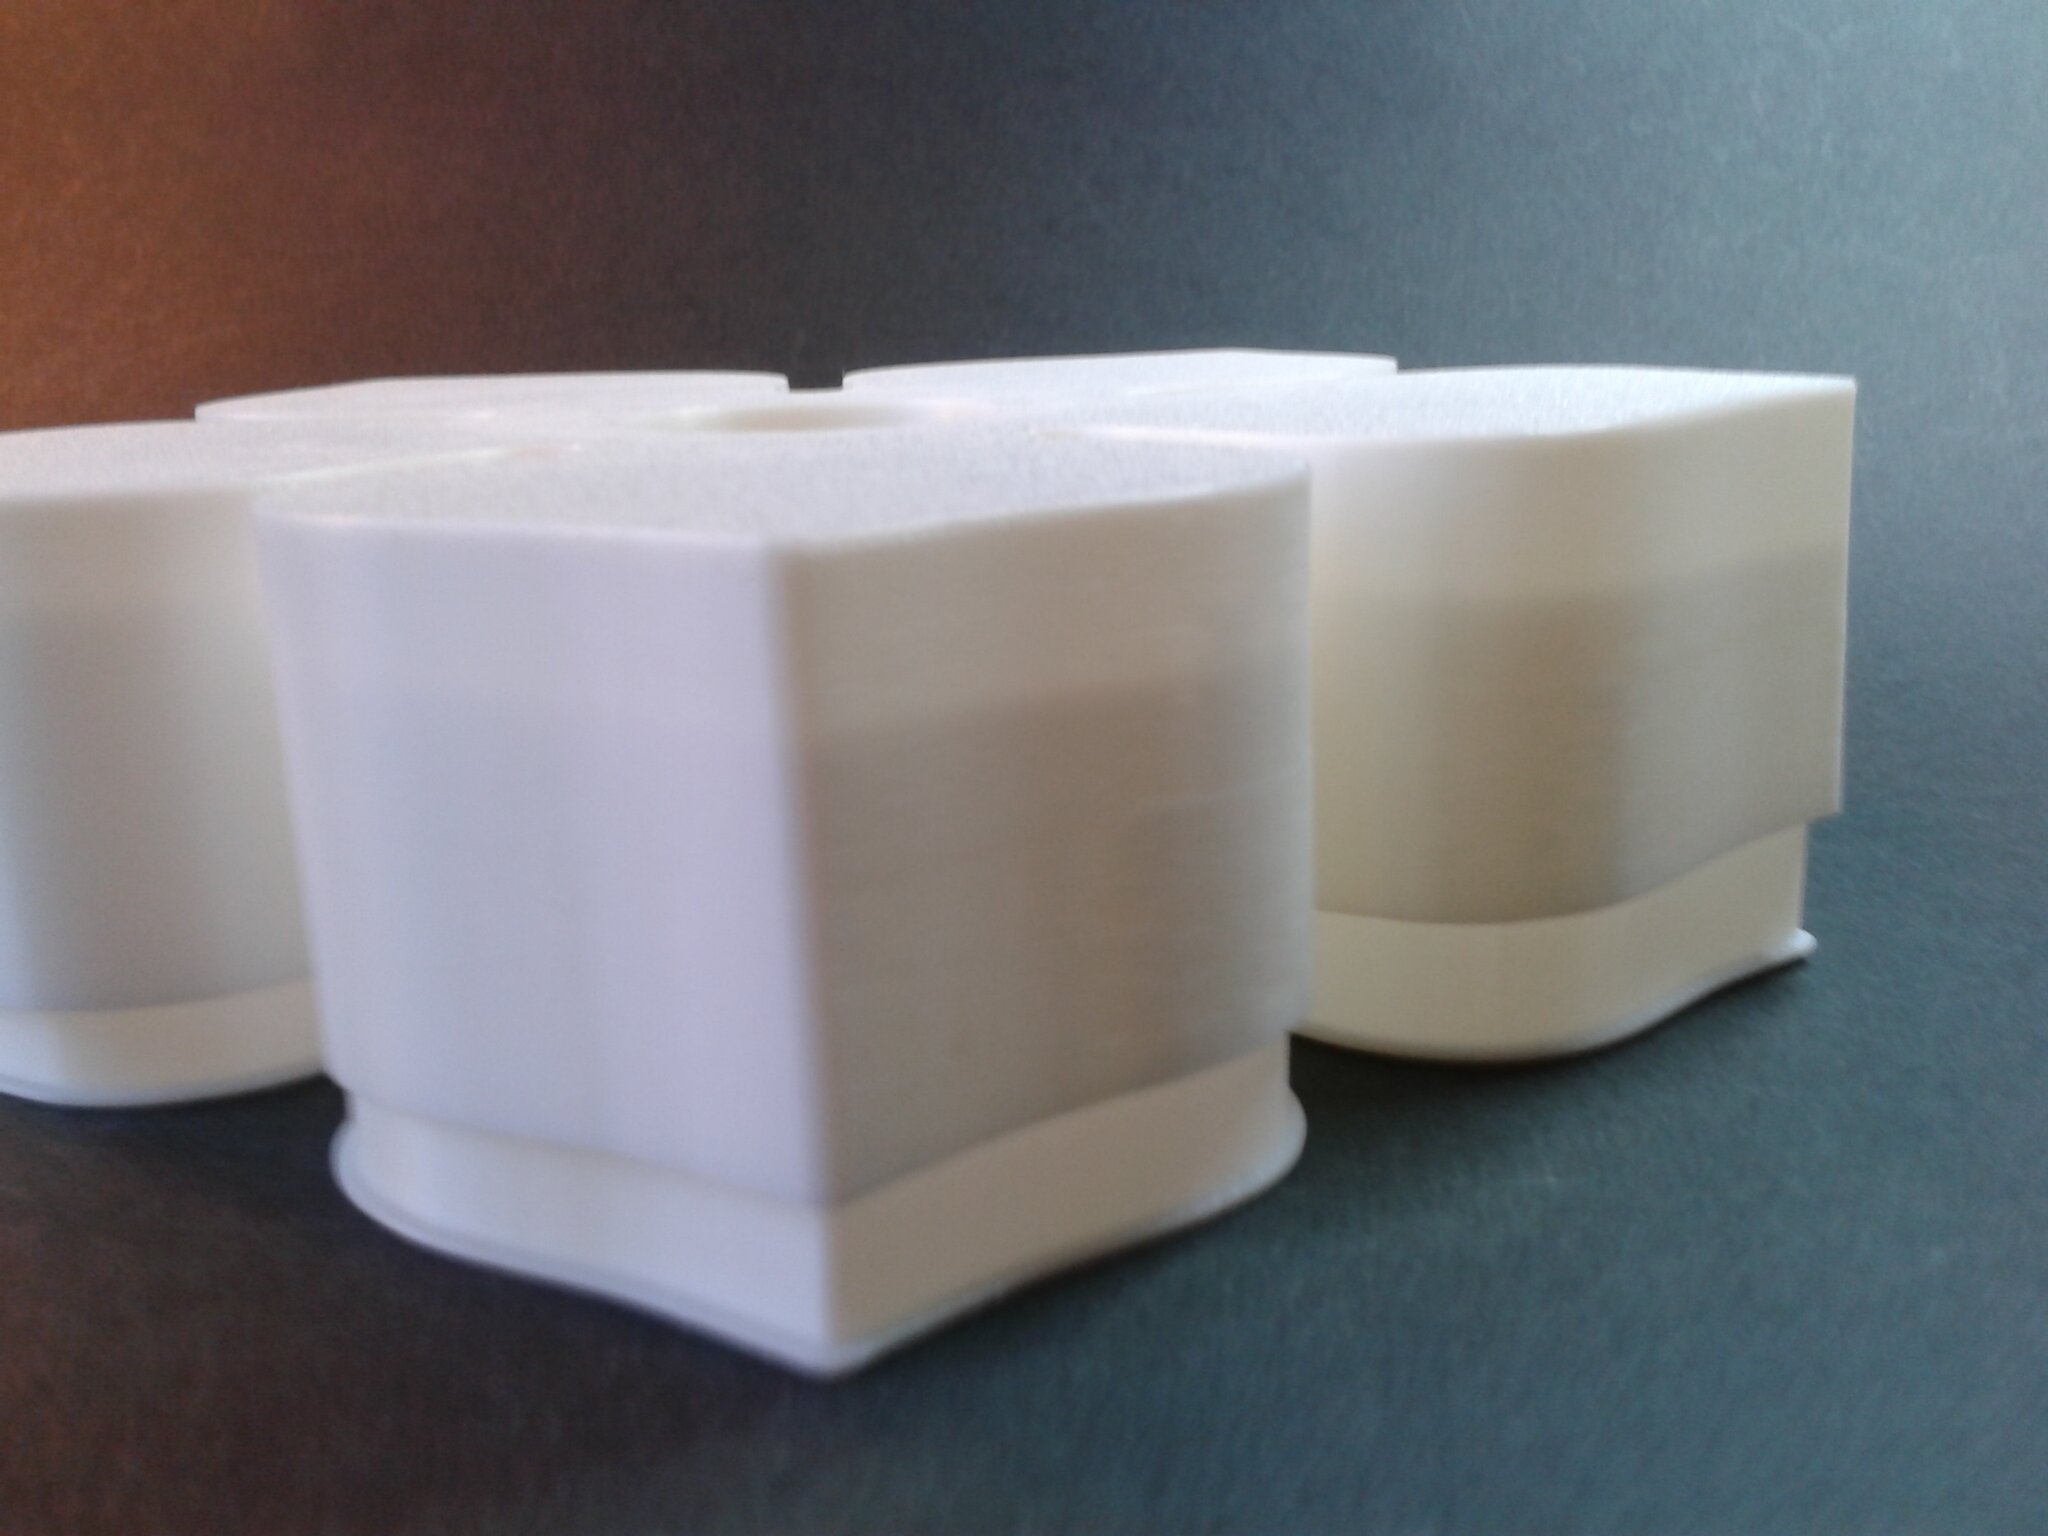
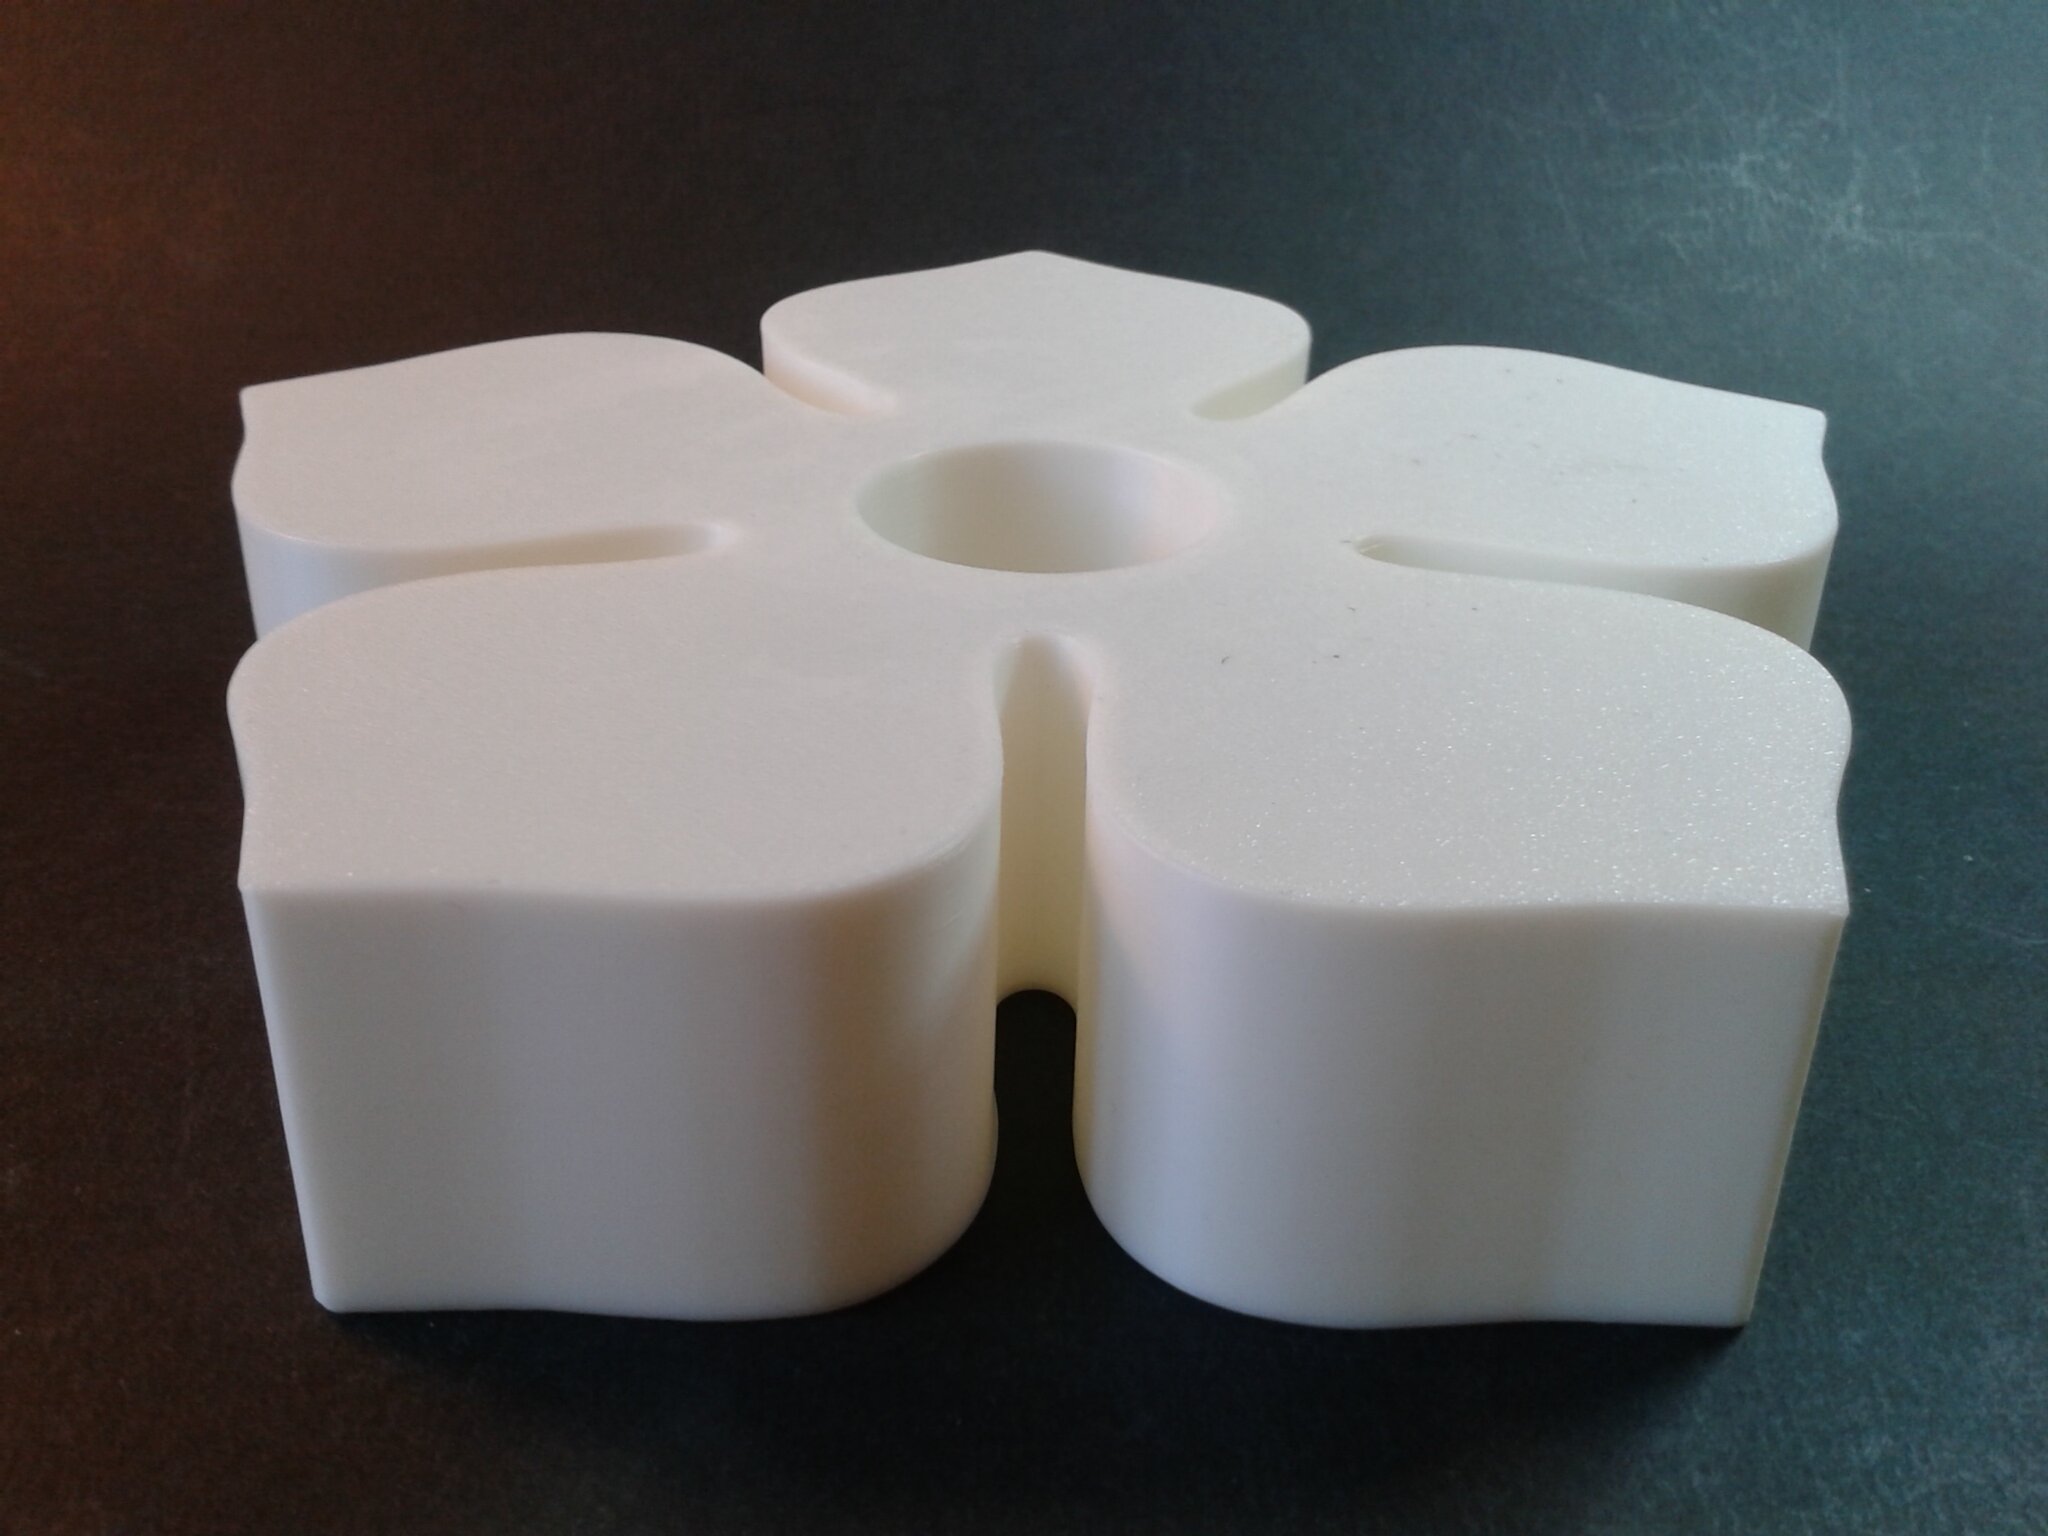
Boîte simpliste en forme de fleur
“PentaFower02, nestable box (v2)” de “PPAC” (gratuit).
Echelle 100%, en 2 plateaux, pour un total d’environ 2 h 12 min d’impression.
Filament ASA Anti-UV blanc ArianePlast
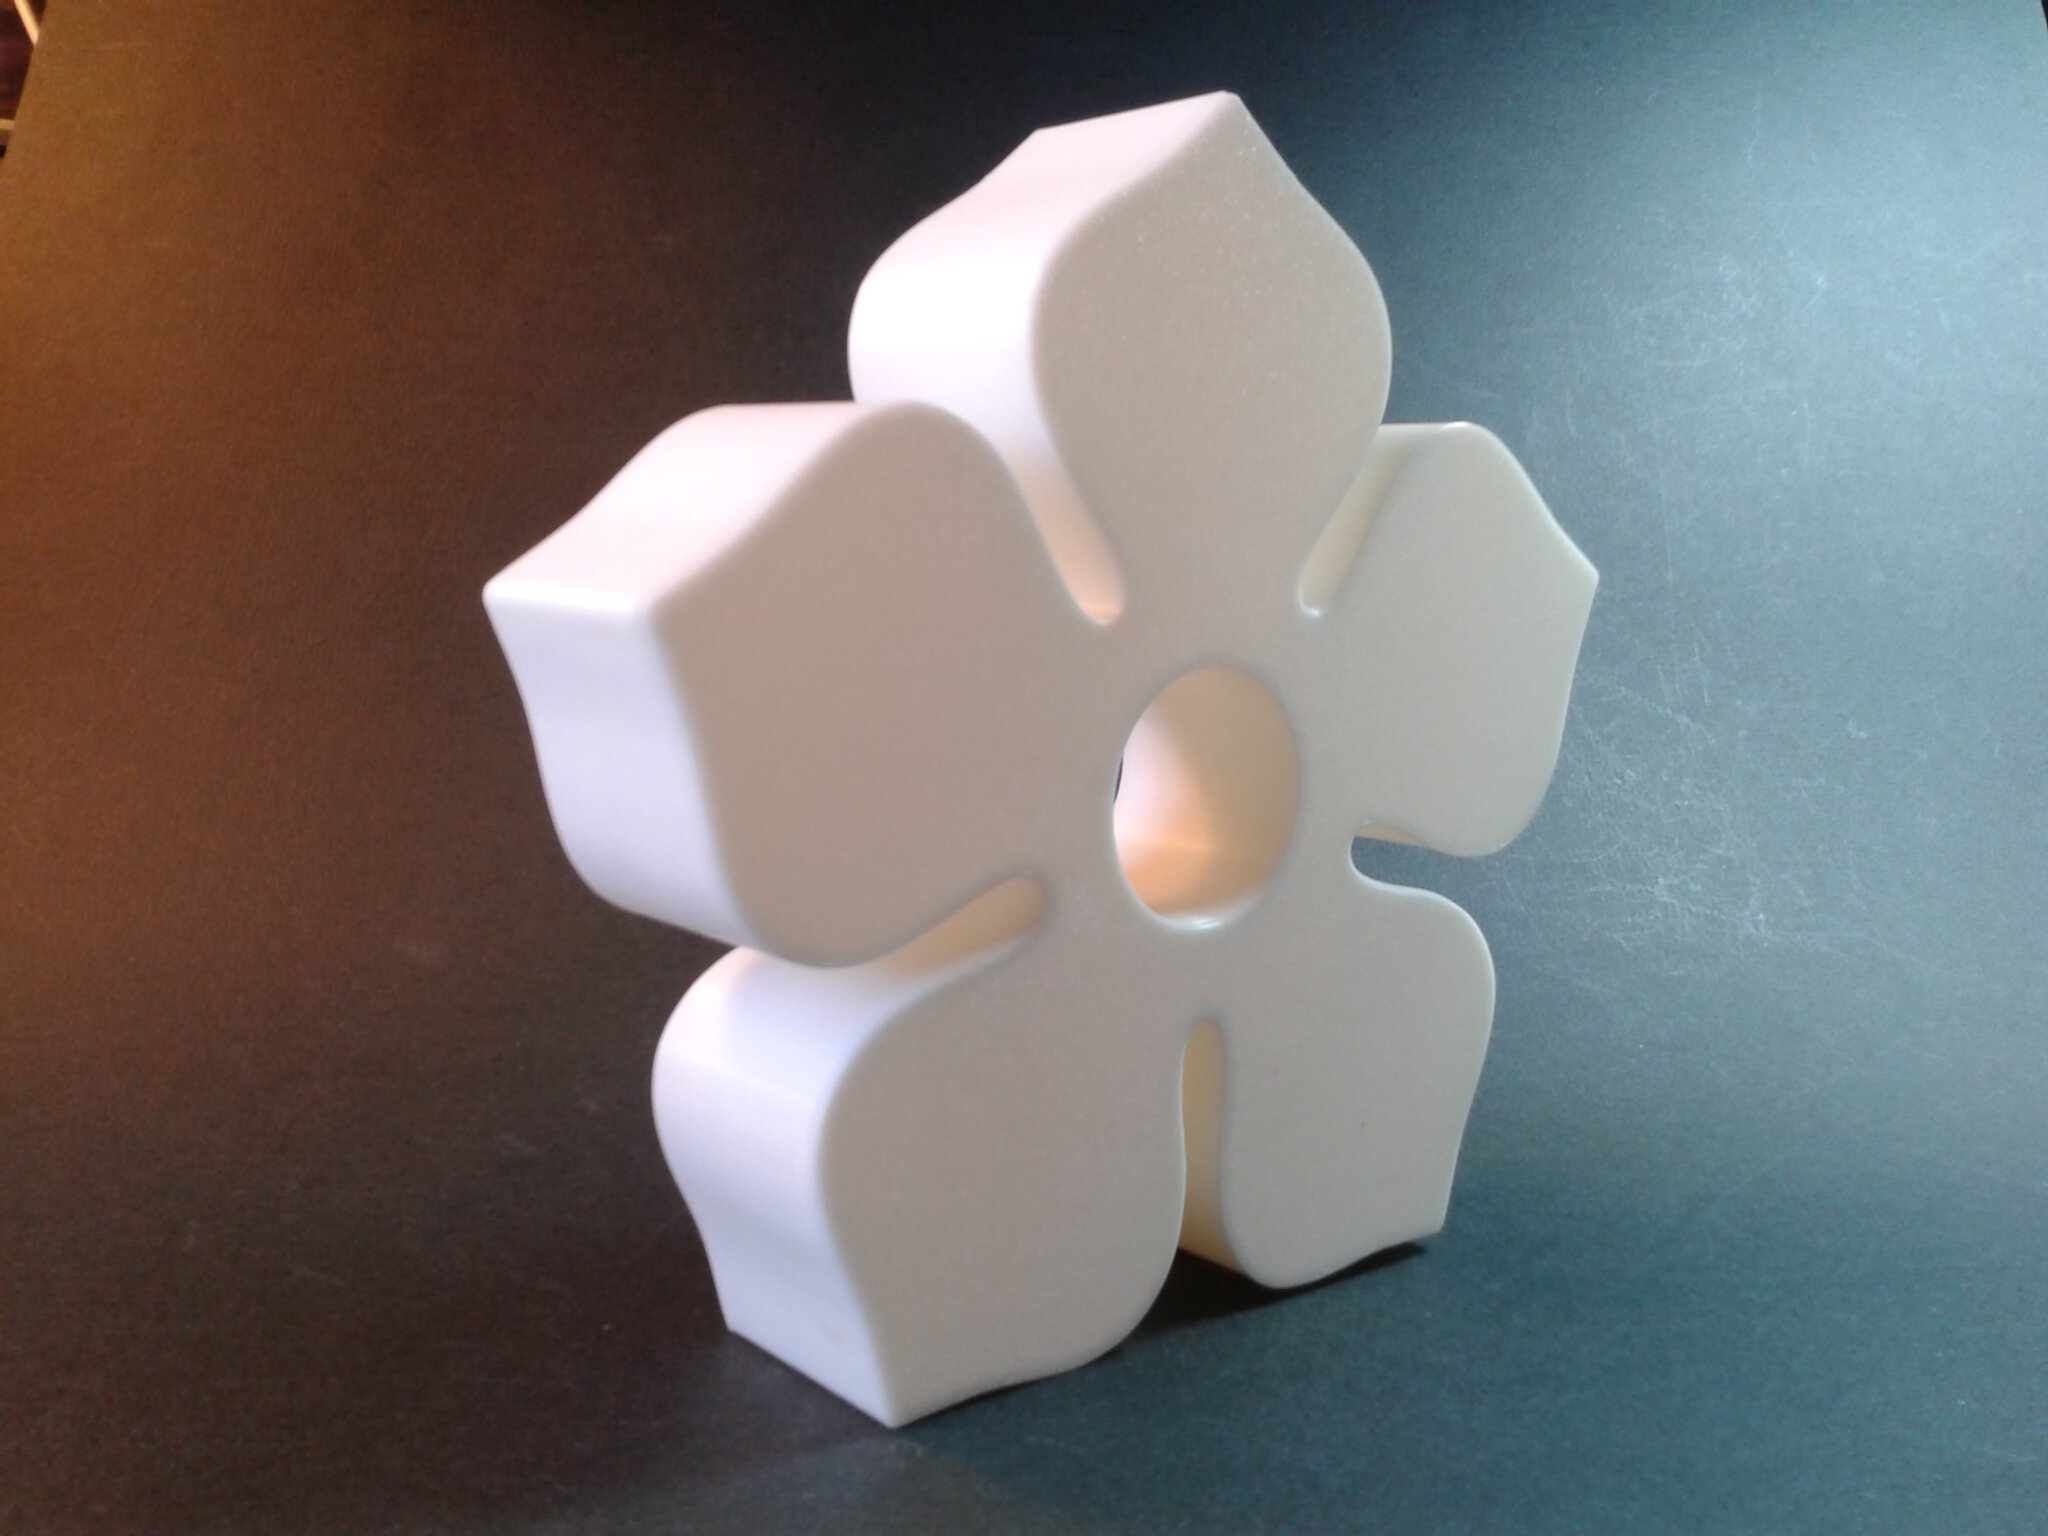
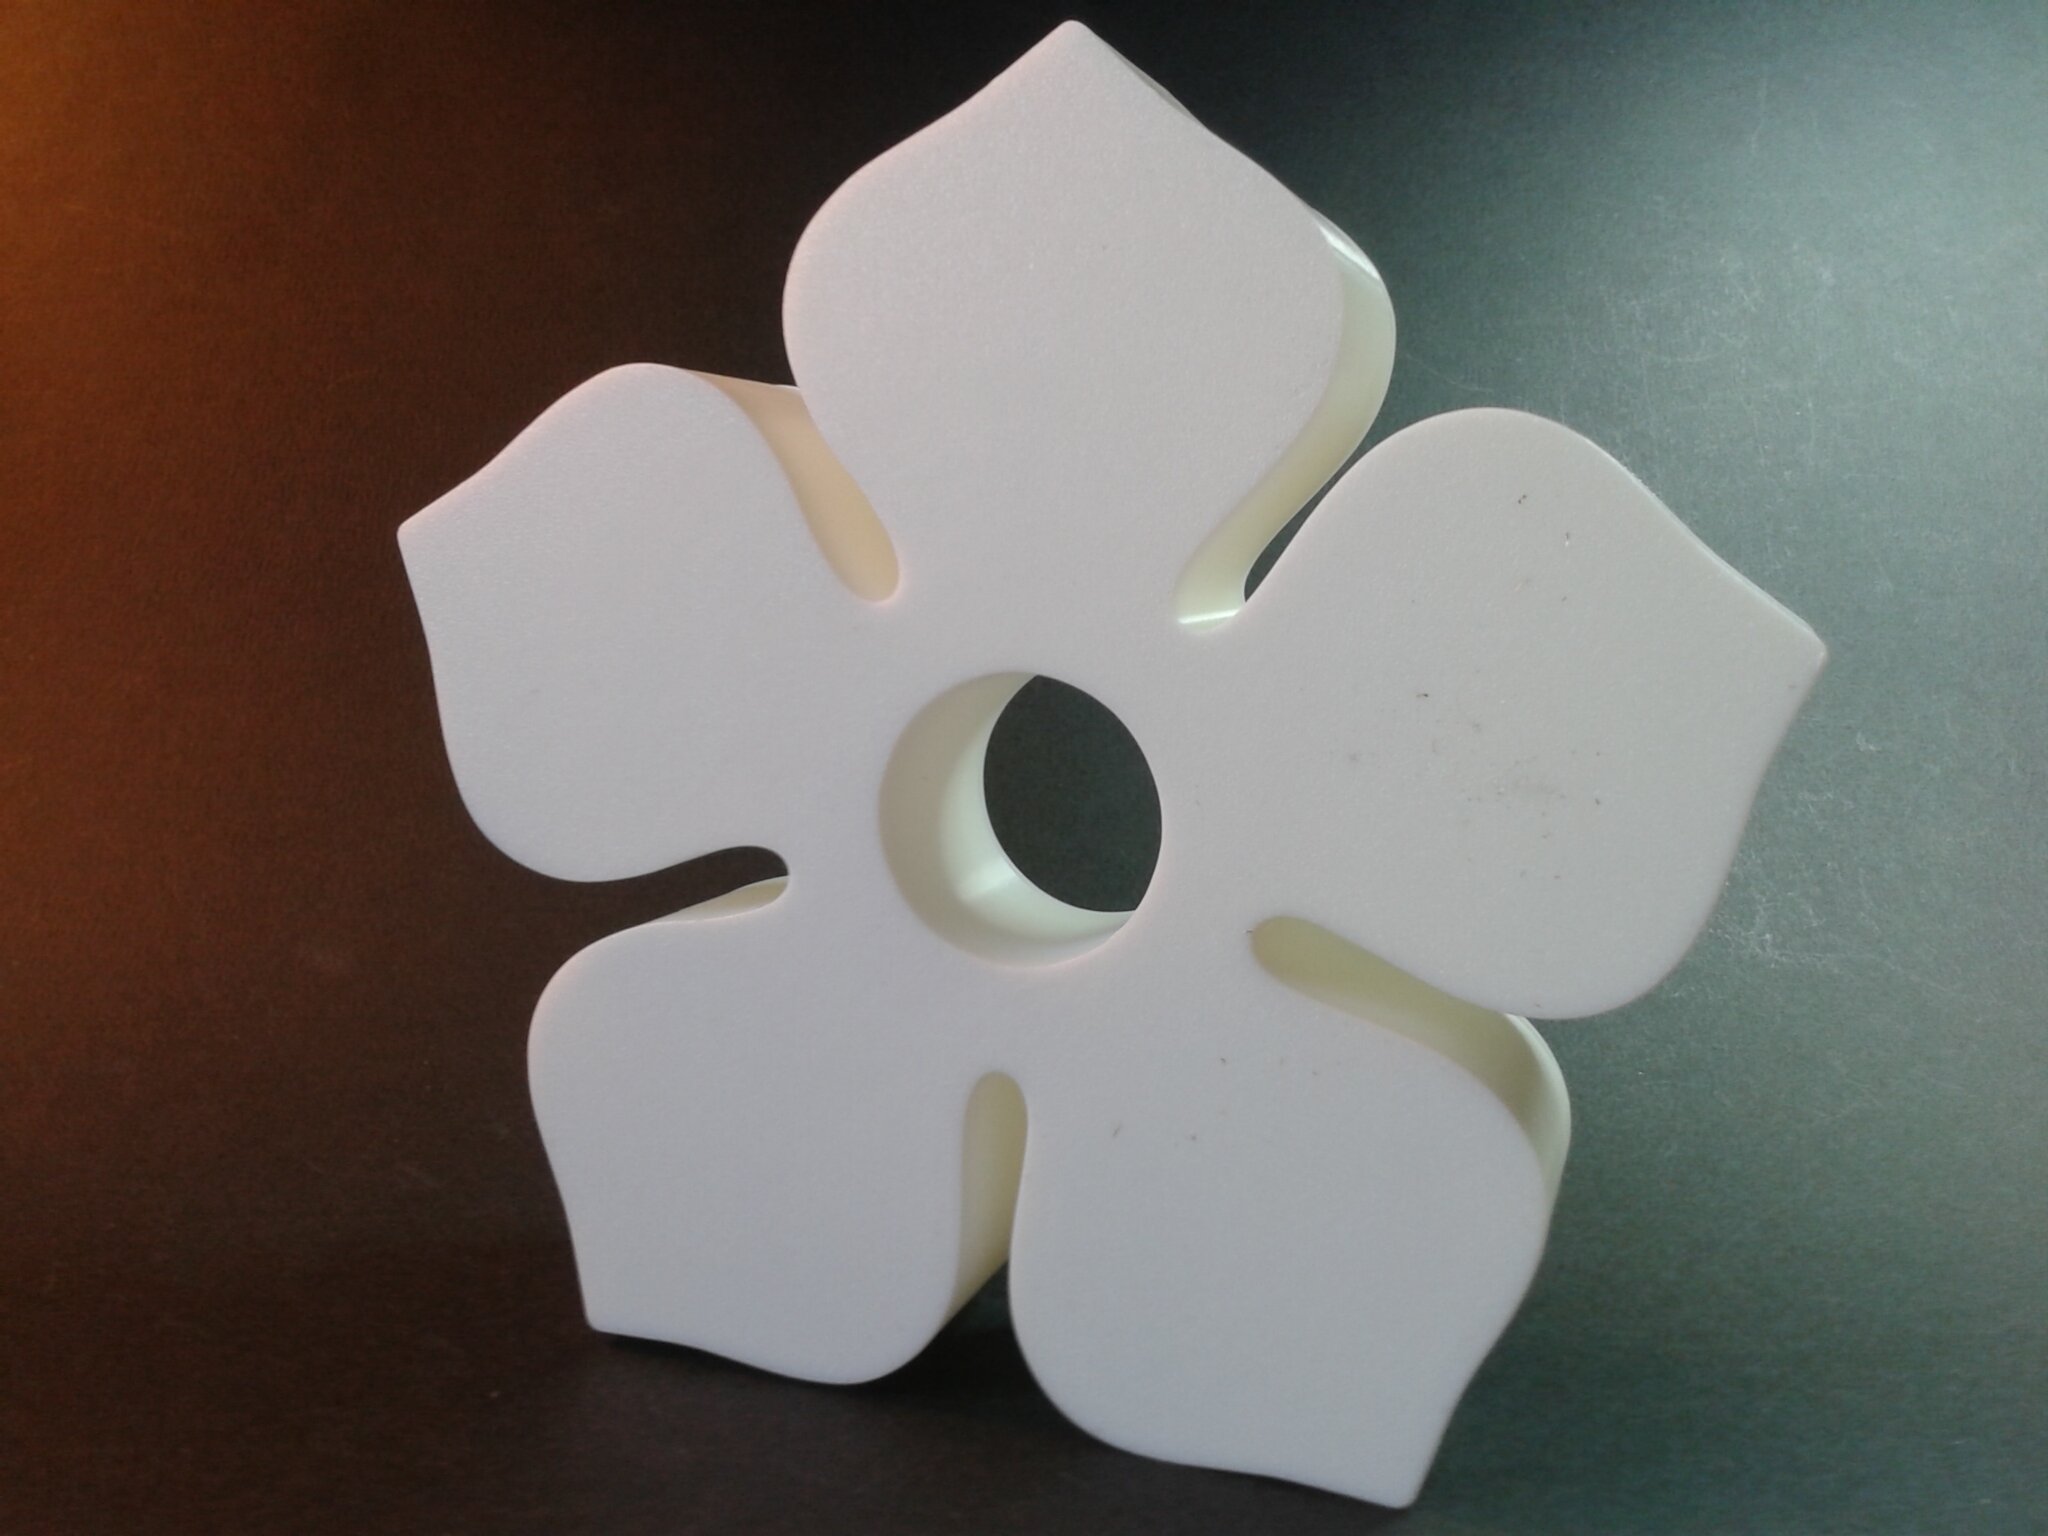
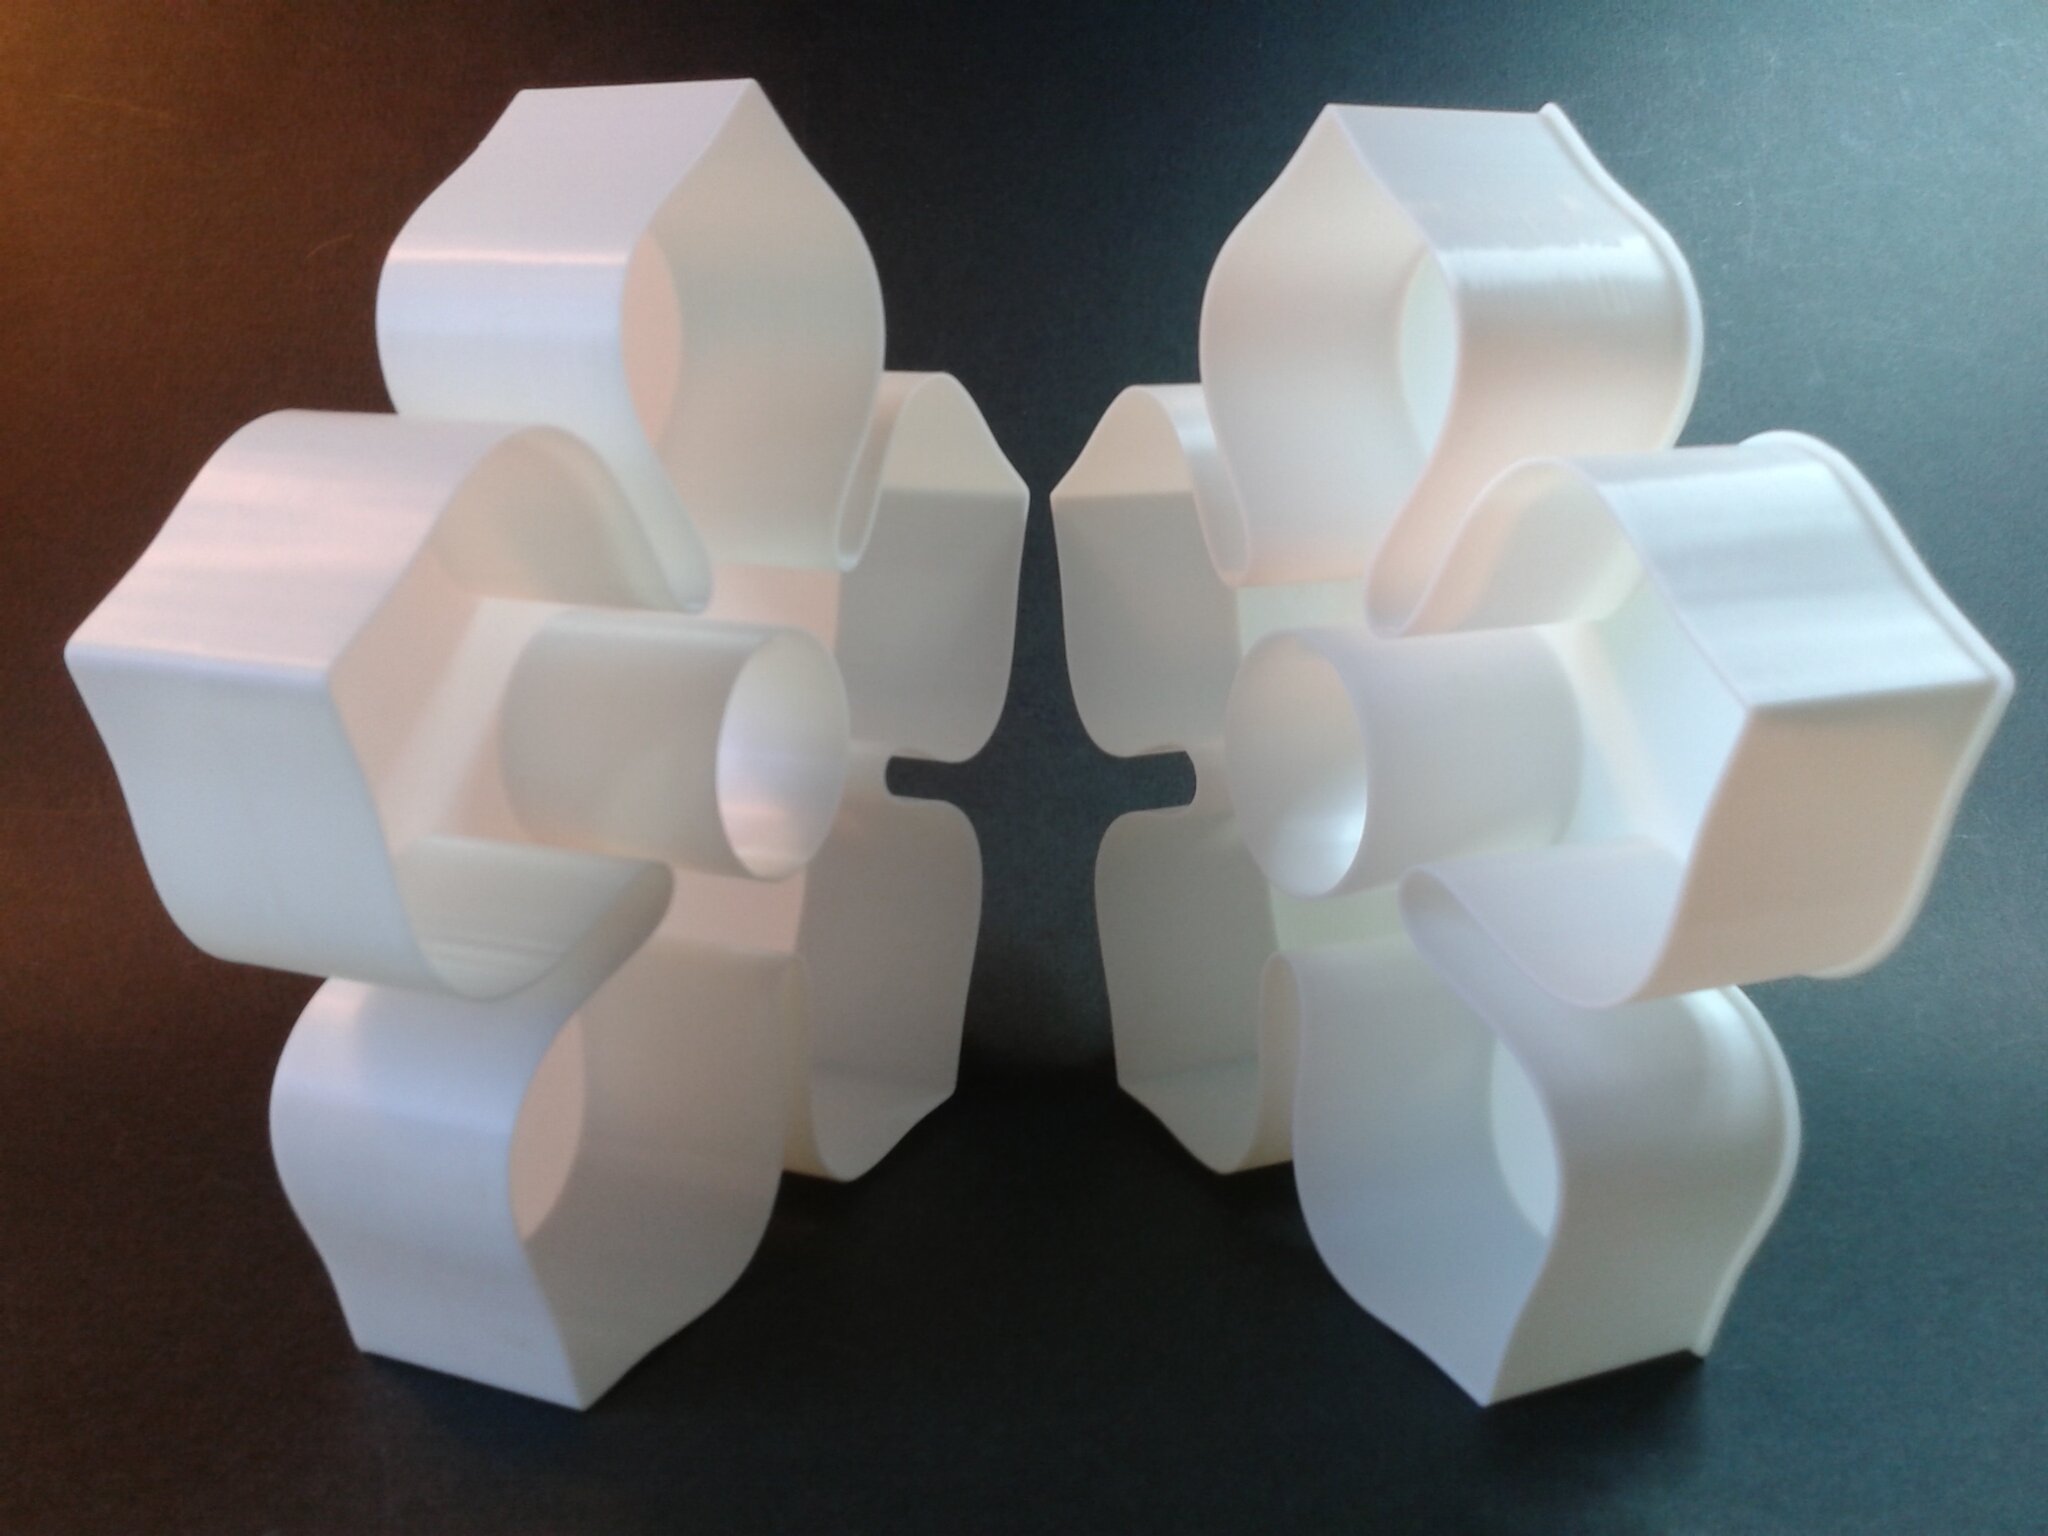
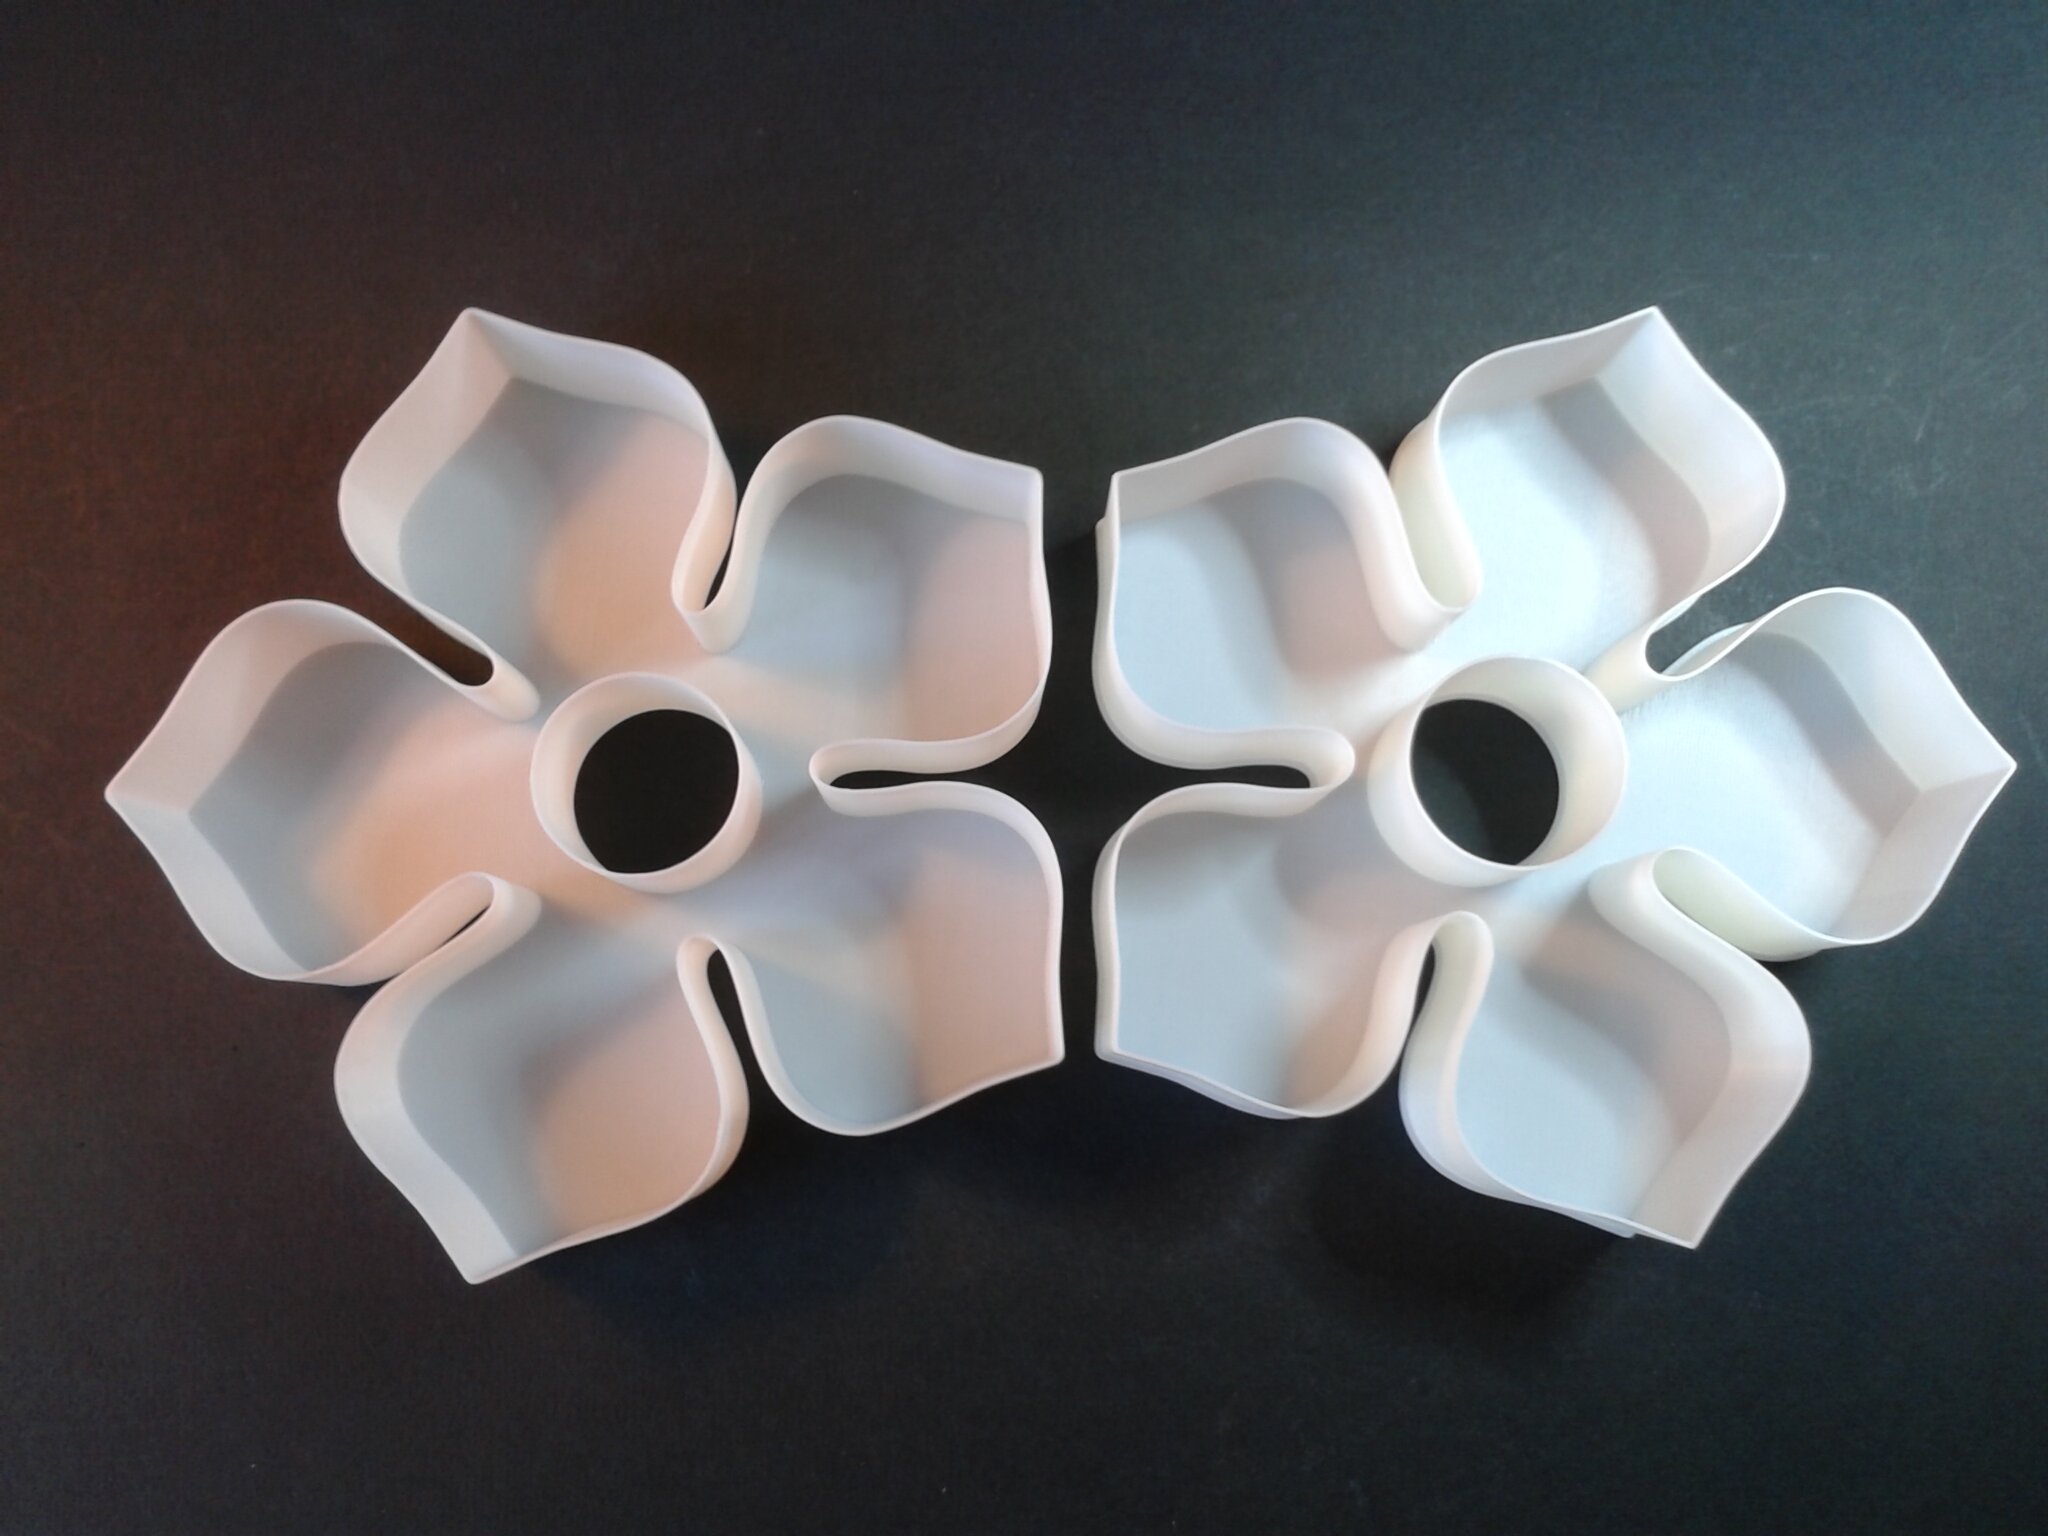
Impression en PCTG
Je n’avais encore jamais imprimé de PCTG et je n’ai pas trouvé de profil spécifique pour ce matériau dans le slicer de Qidi Tech (il s’agit bien de PCTG et non pas de PETG). Je suis donc parti sur un profil “PC/ABS FR” et j’ai fait deux tests pour déterminer la “Vitesse volumétrique maximale” (MVS) pour une température d’impression donnée de 260°C (milieu de la fourchette préconisé par le fabricant 250-270°C, plateau 85°C).

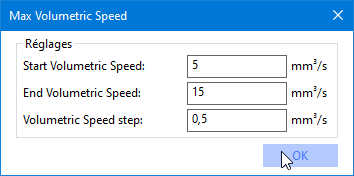
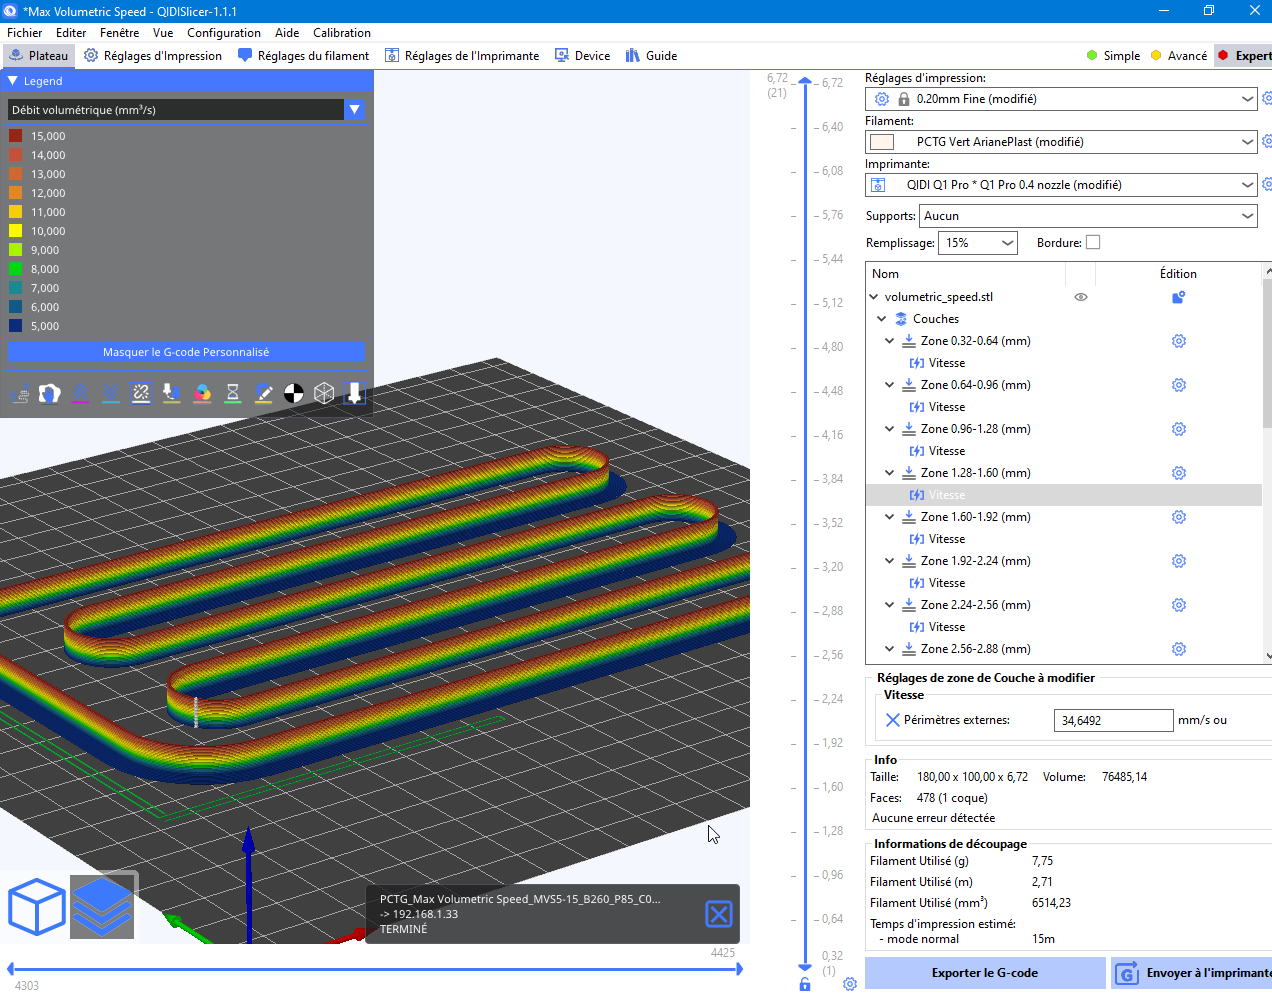
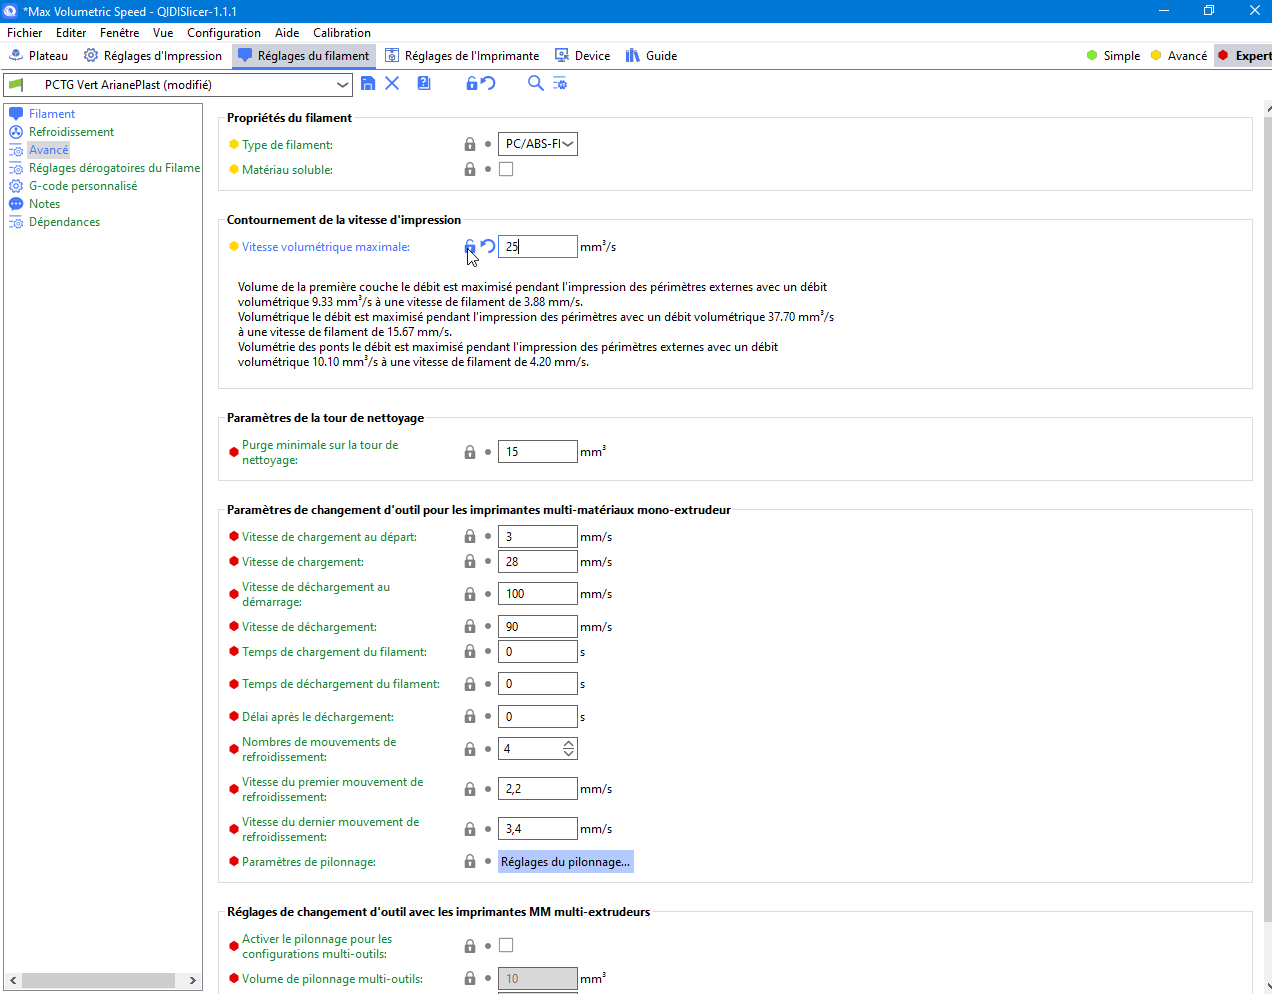

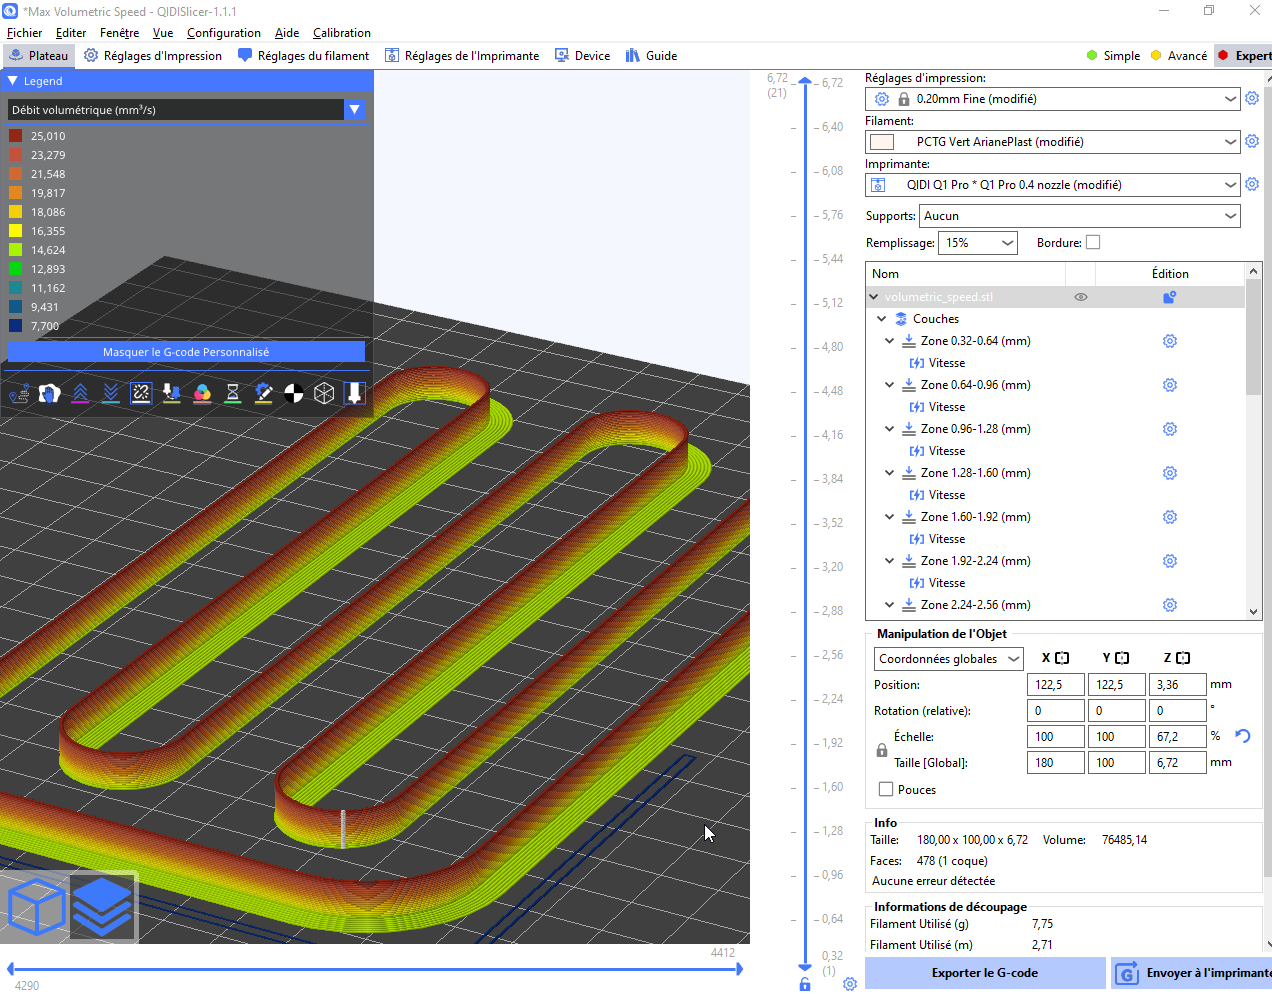

Dans un premier temps, j’ai décidé d’utiliser une “Vitesse volumétrique maximale” (MVS) de 20 mm³/s pour ce test Qidi Q1 Pro avec du filament PCTG.
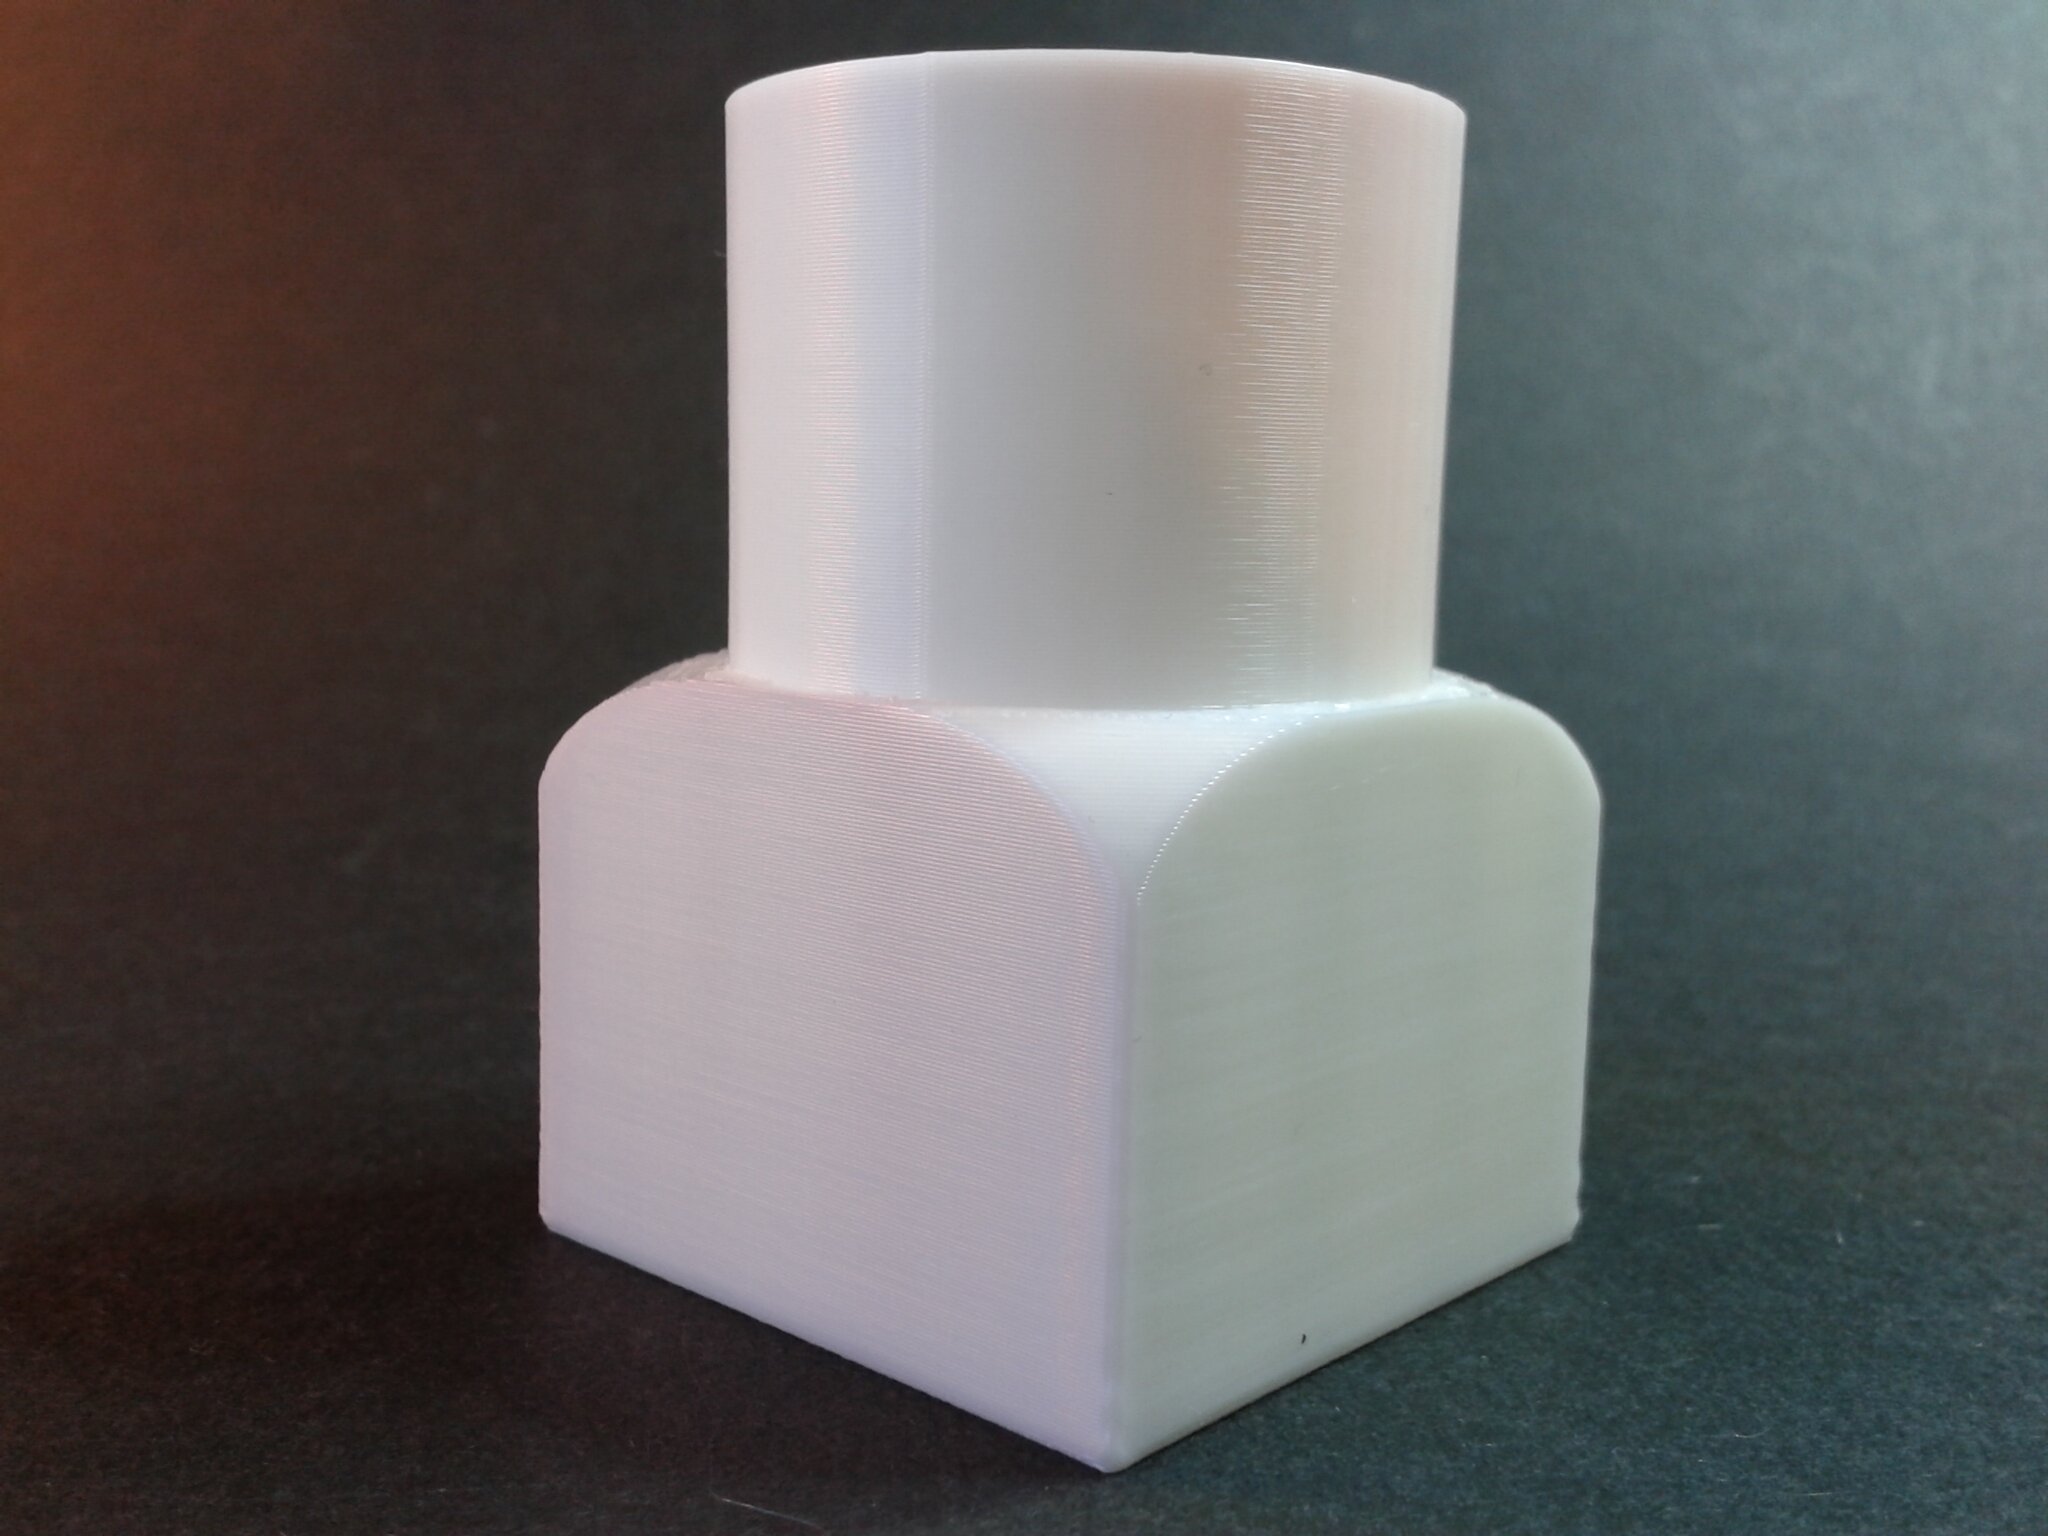
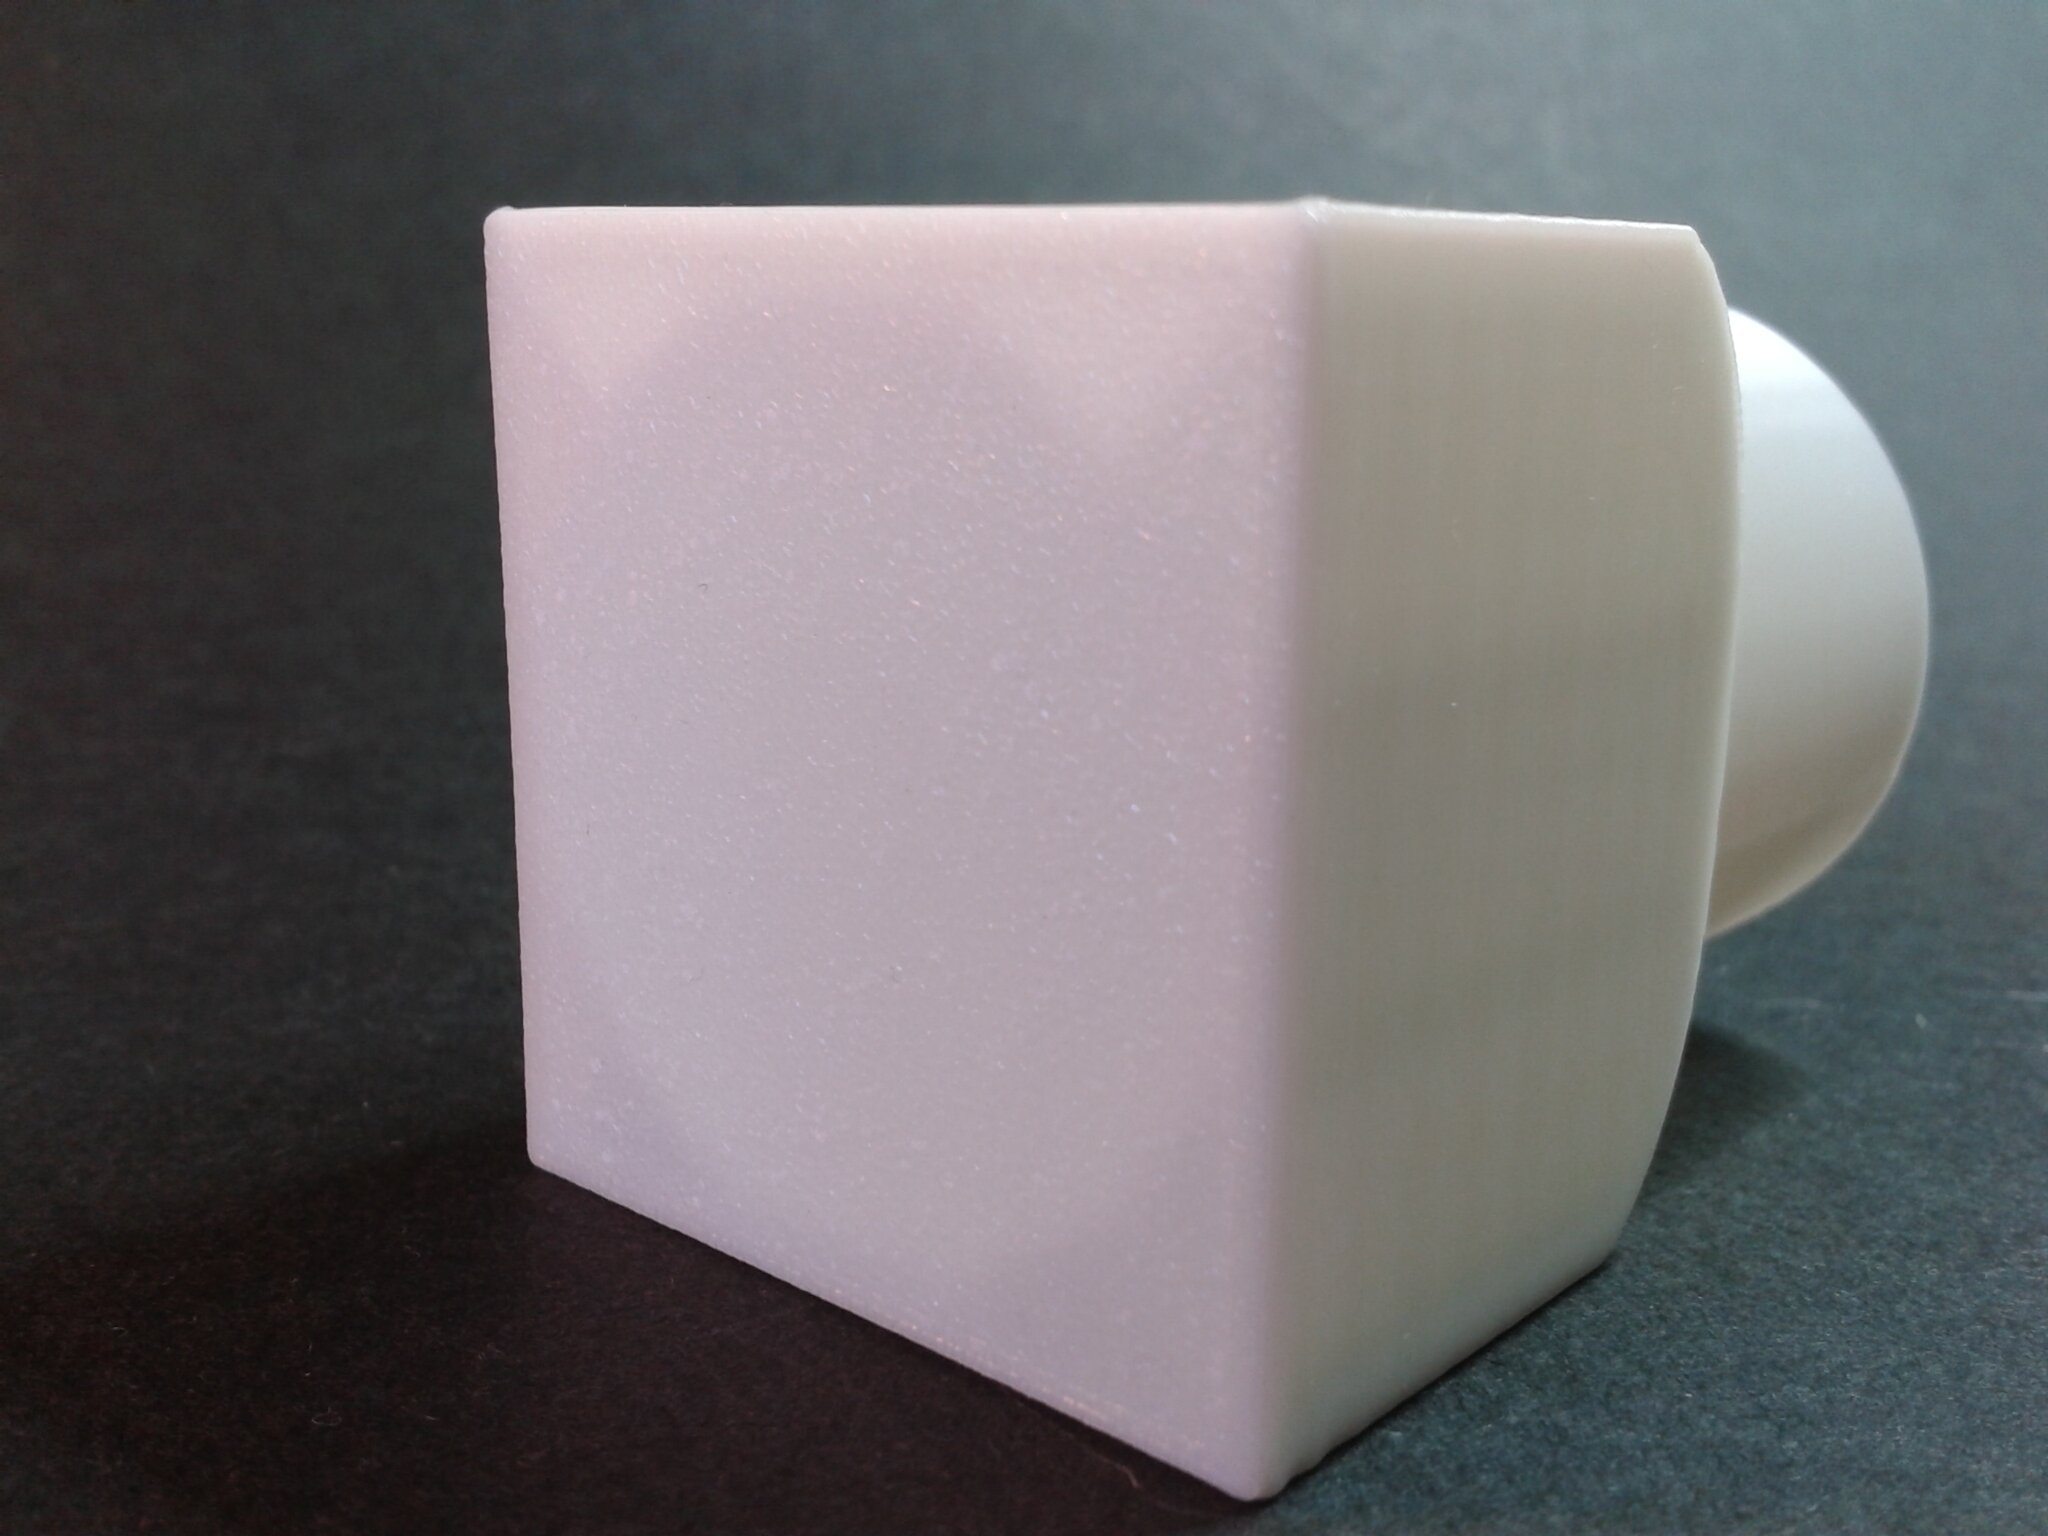
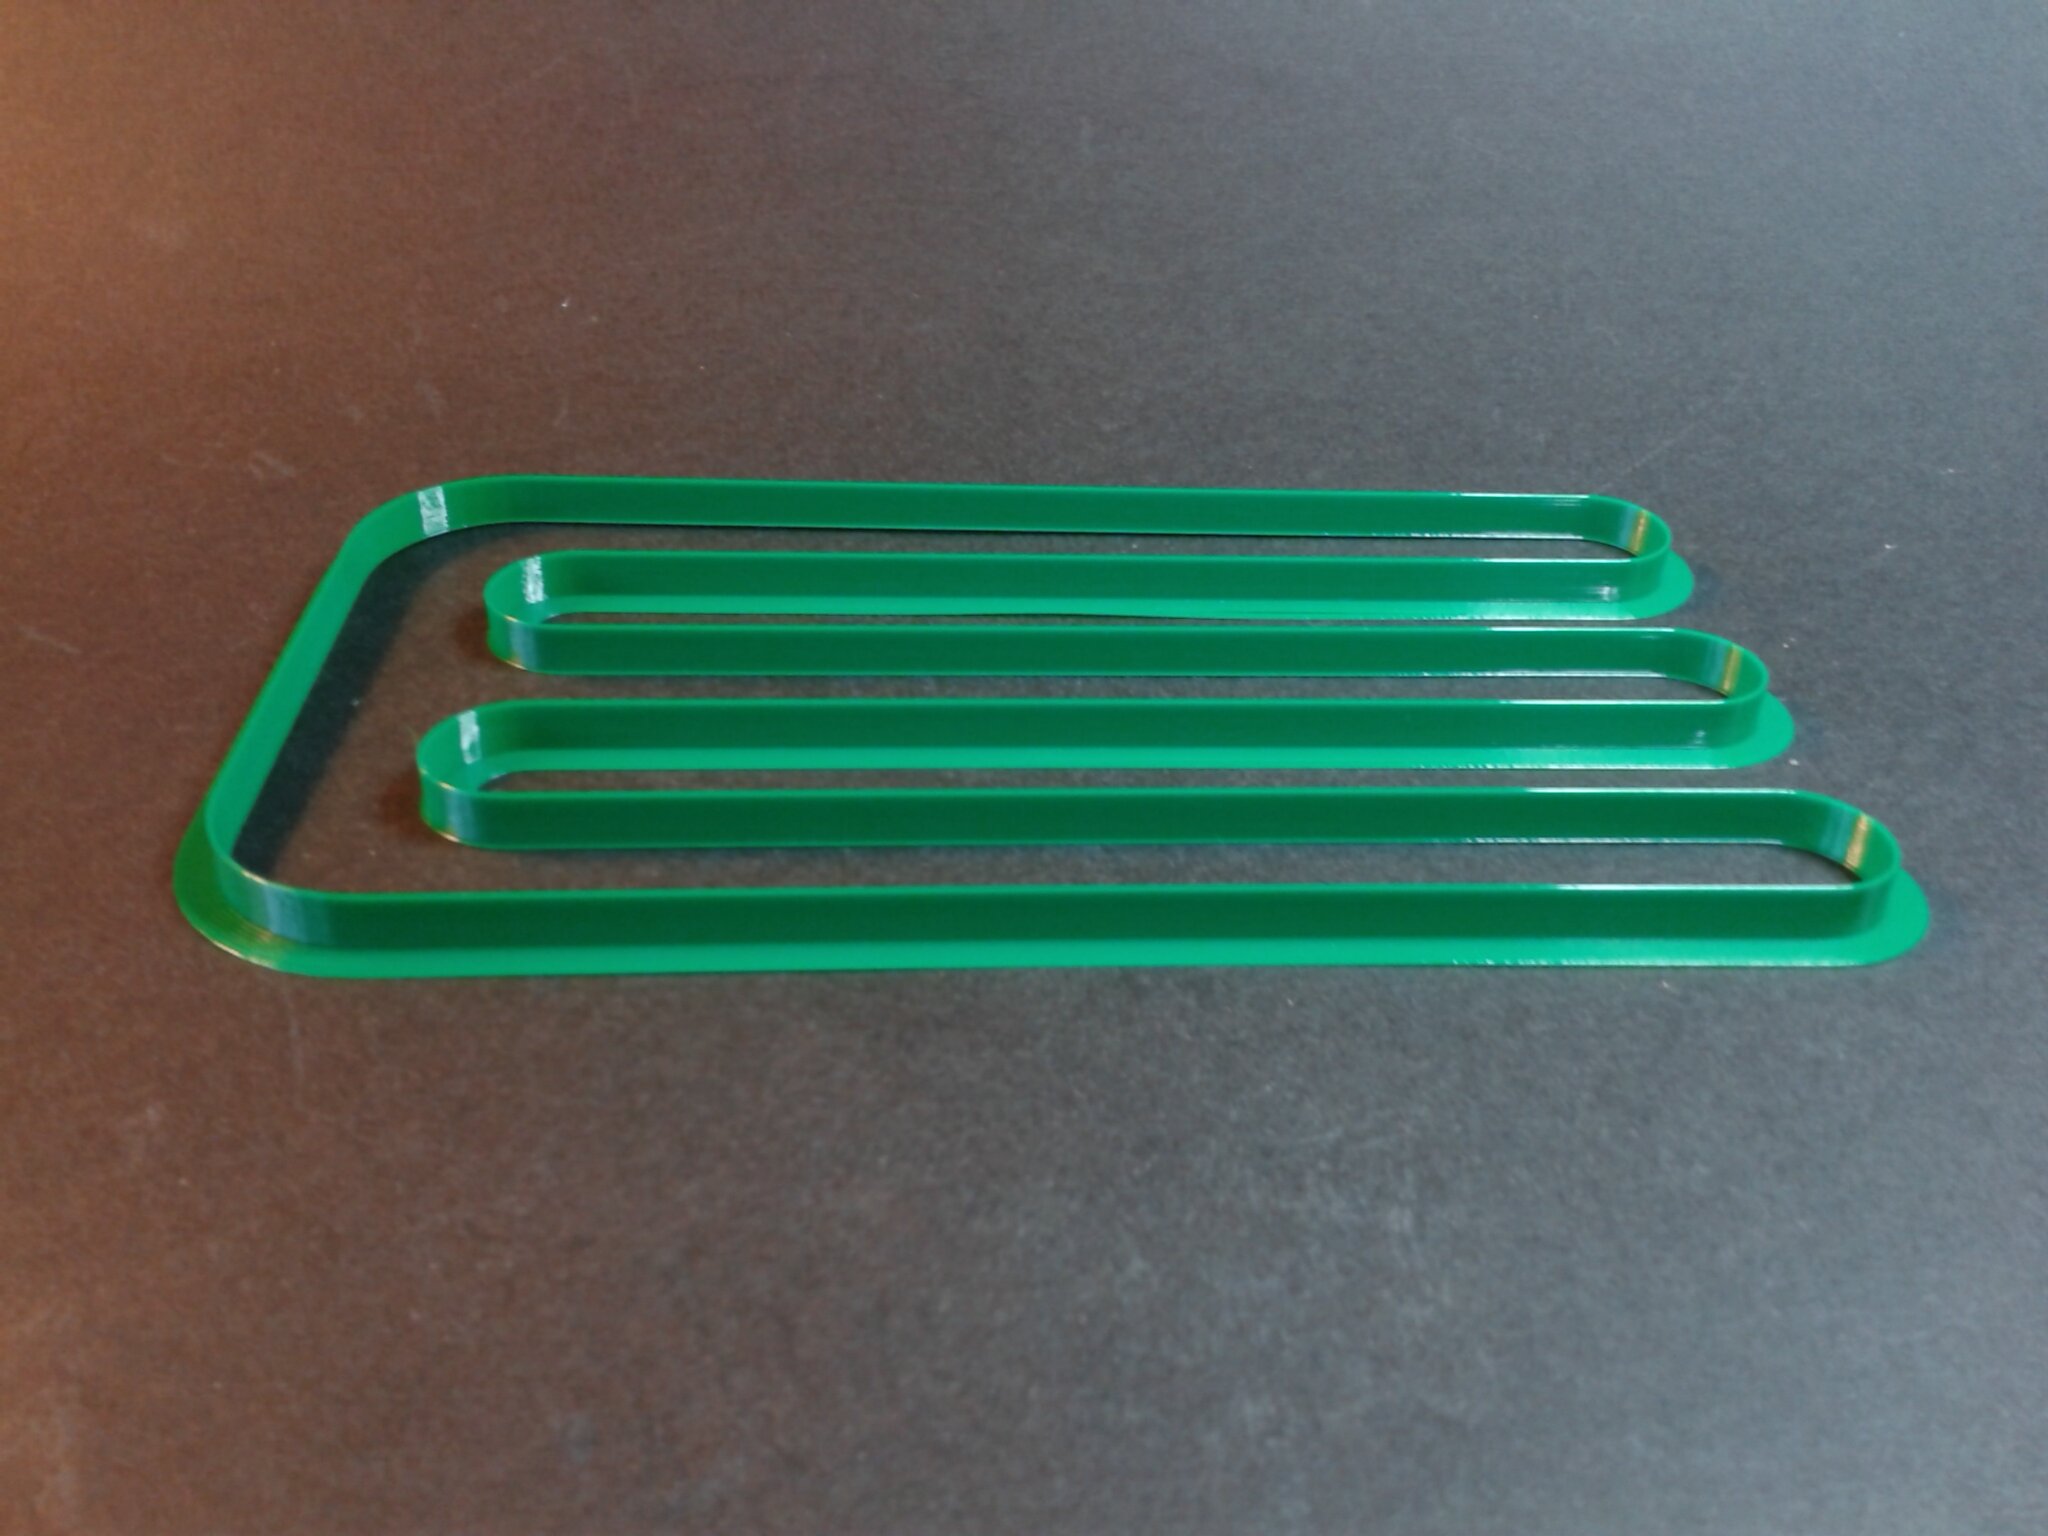
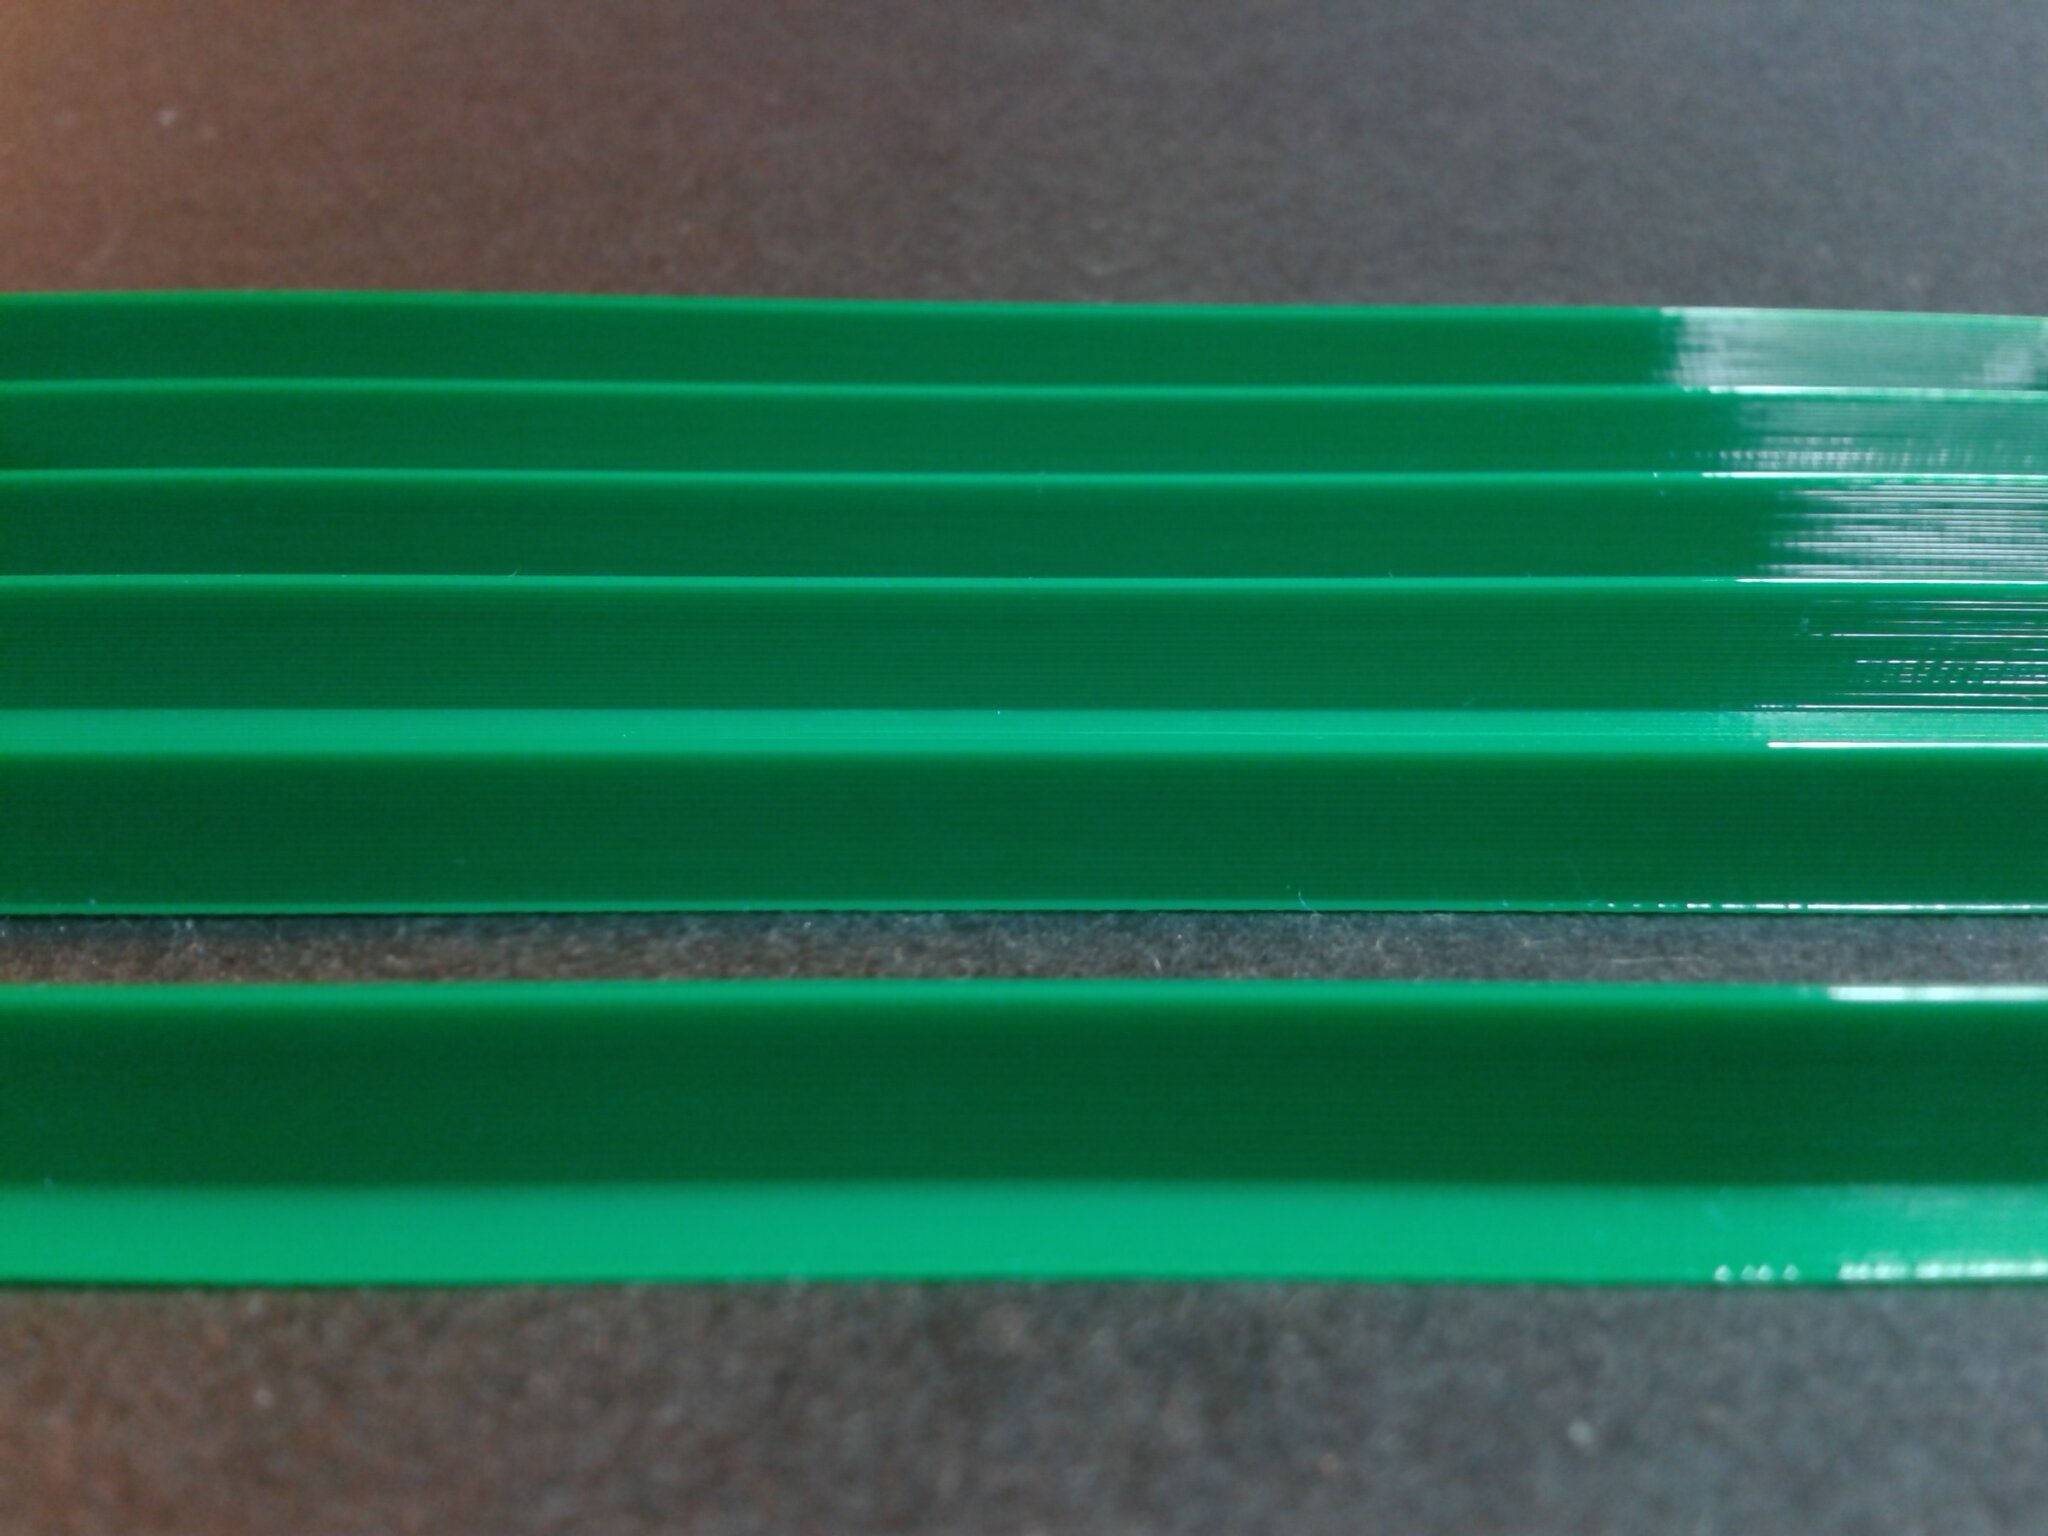
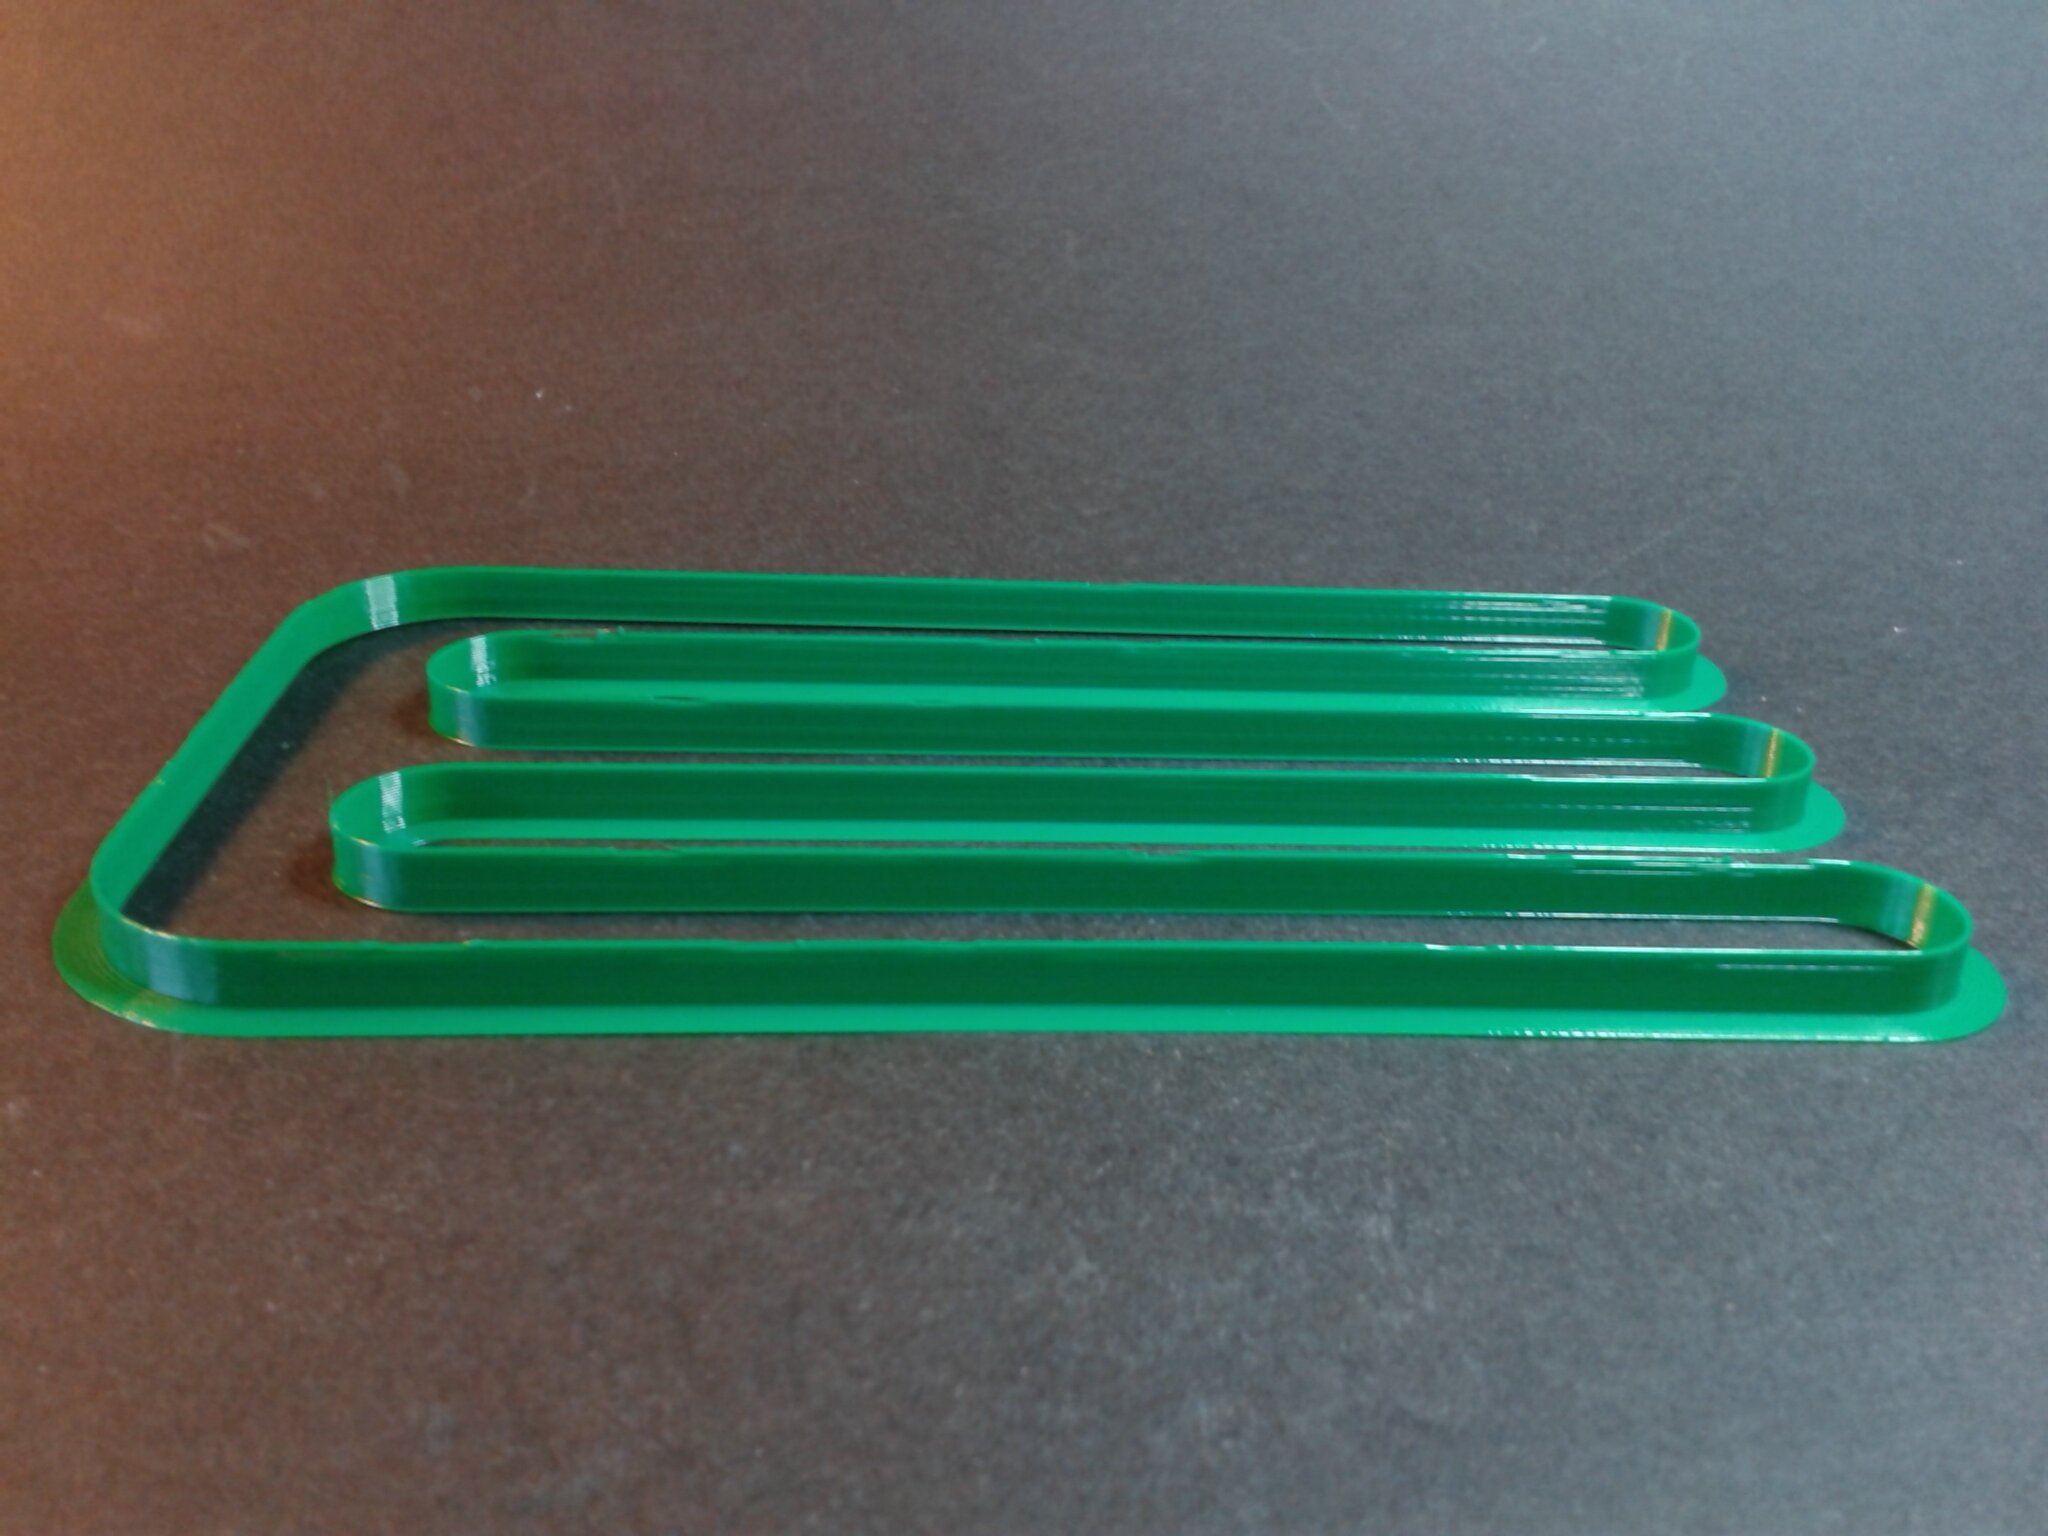
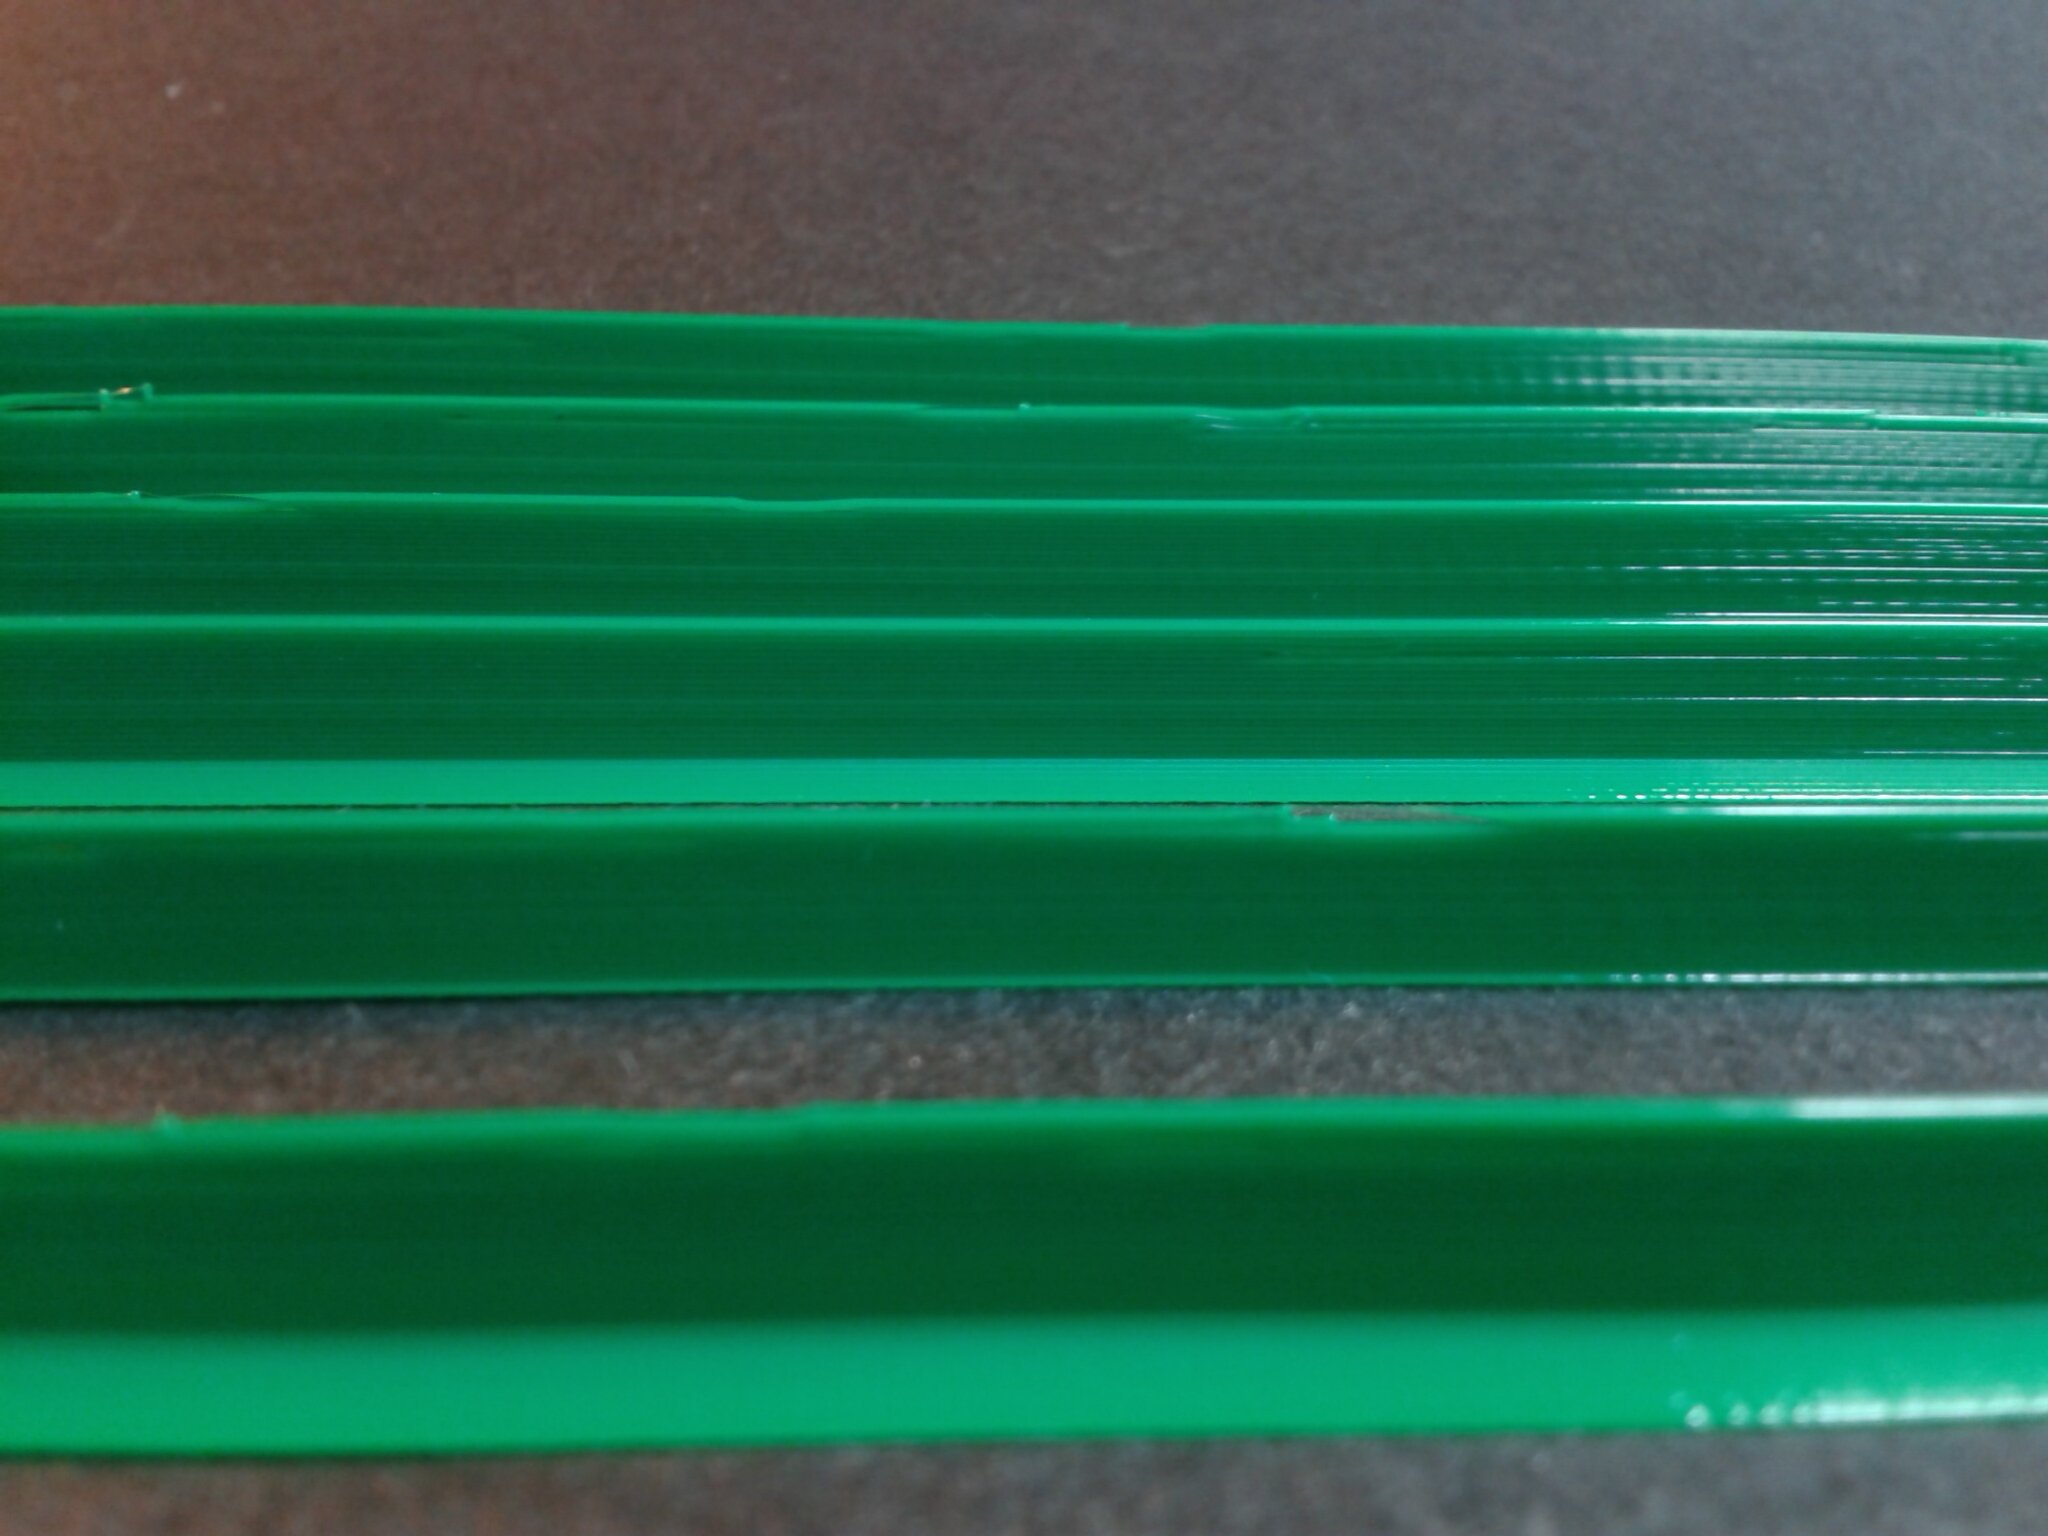
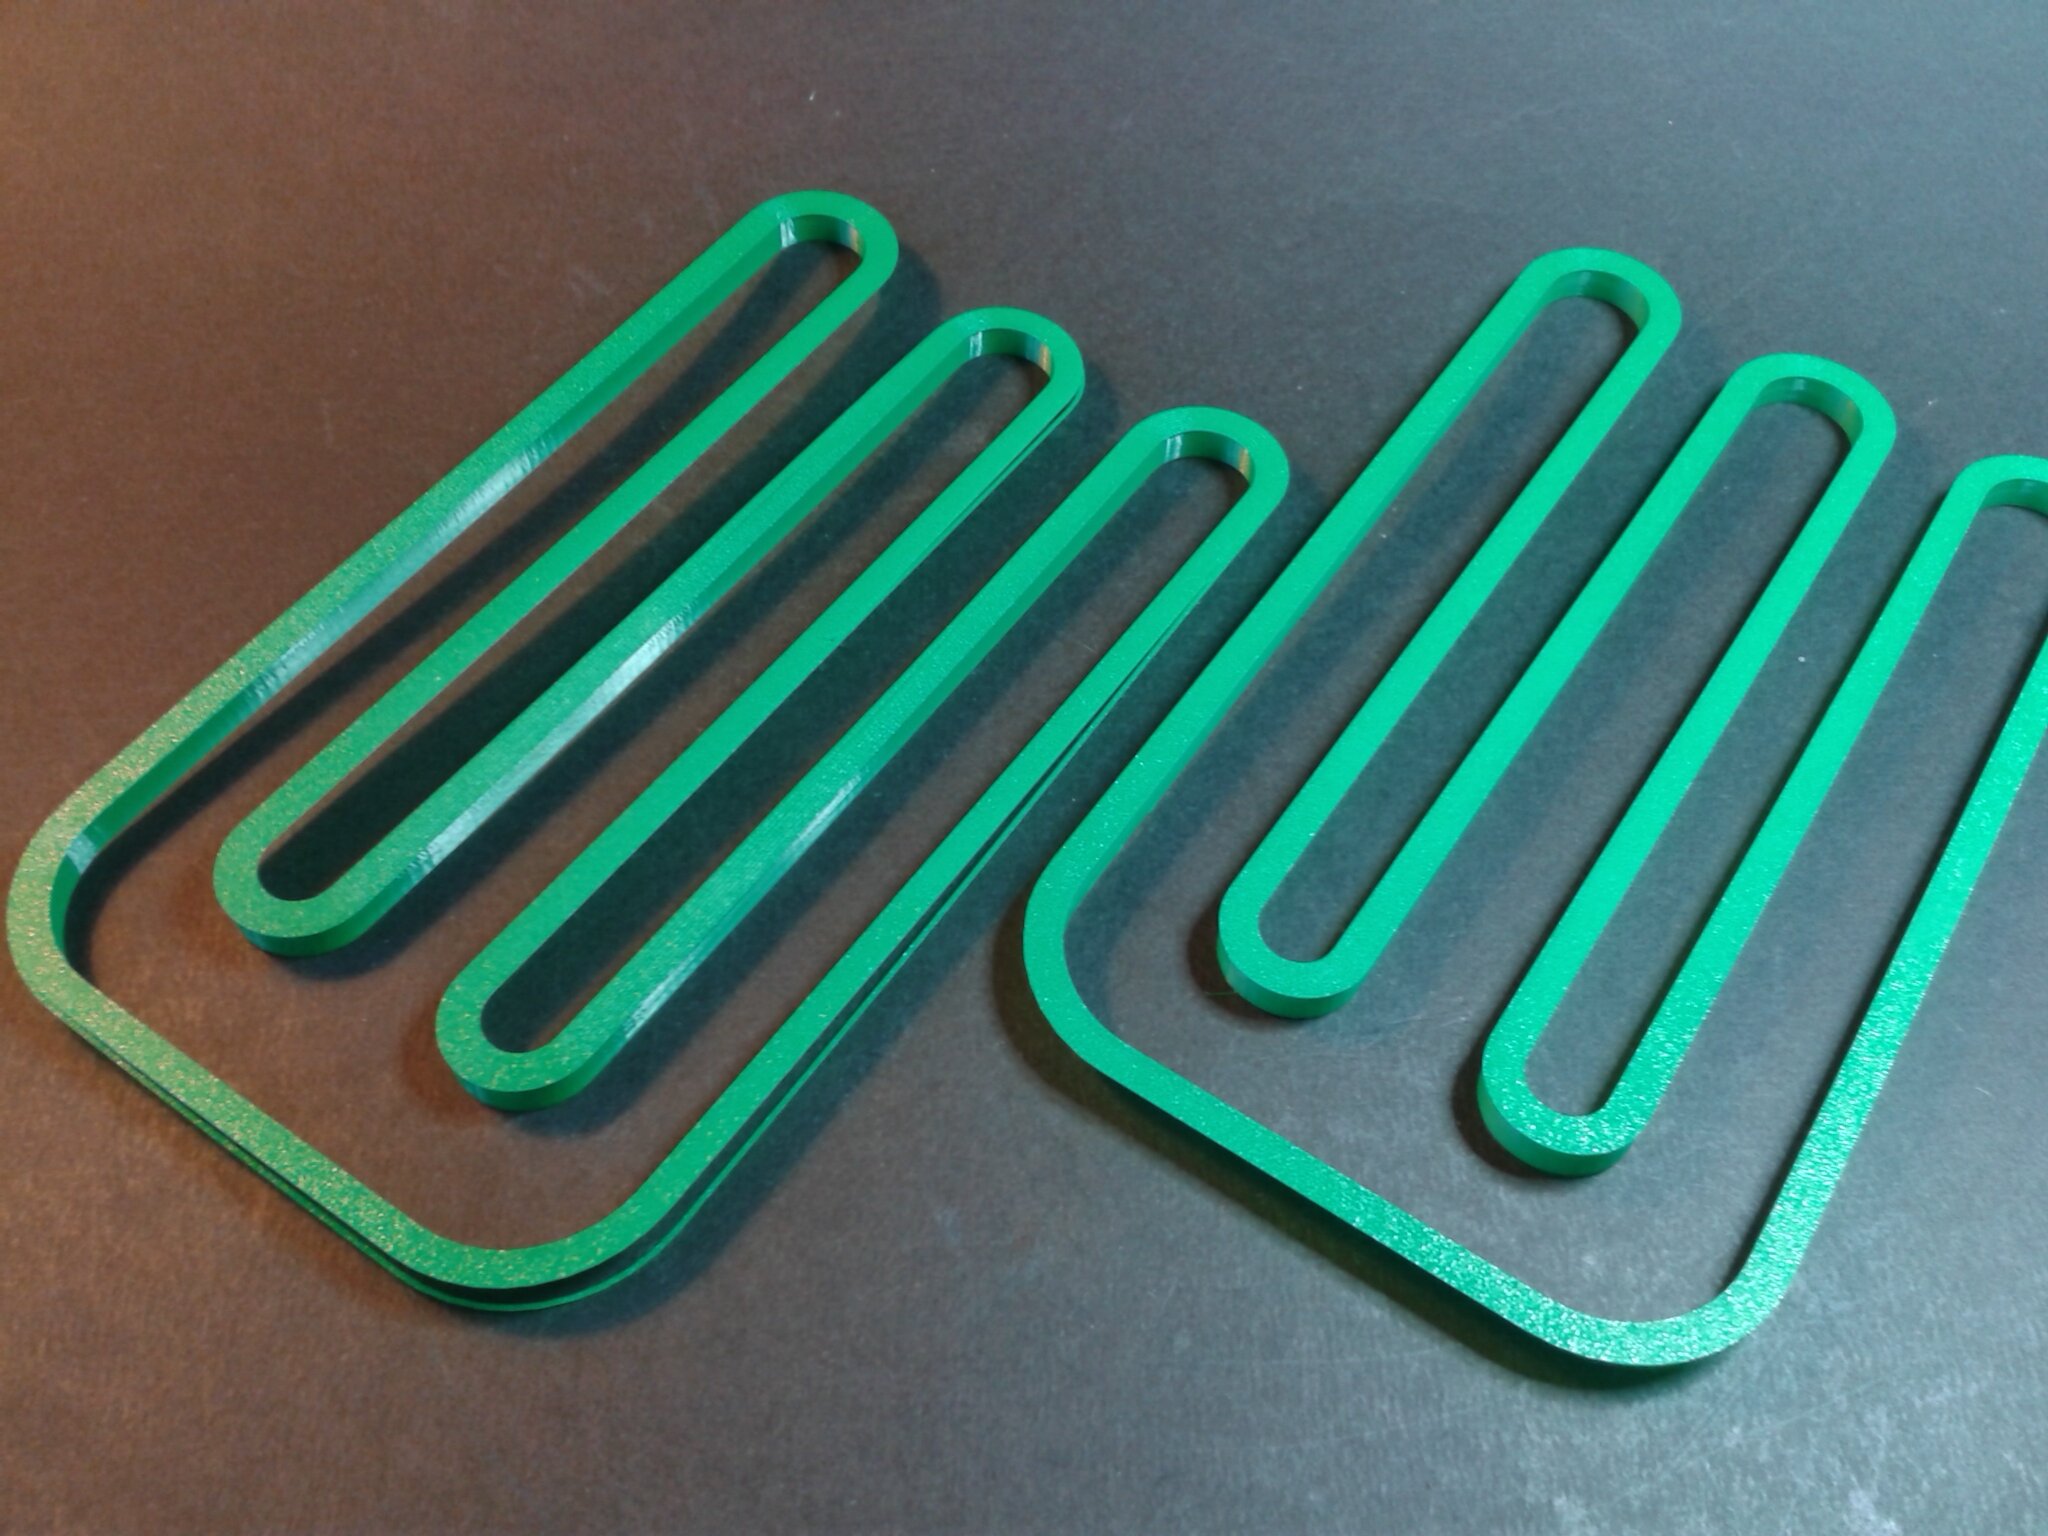
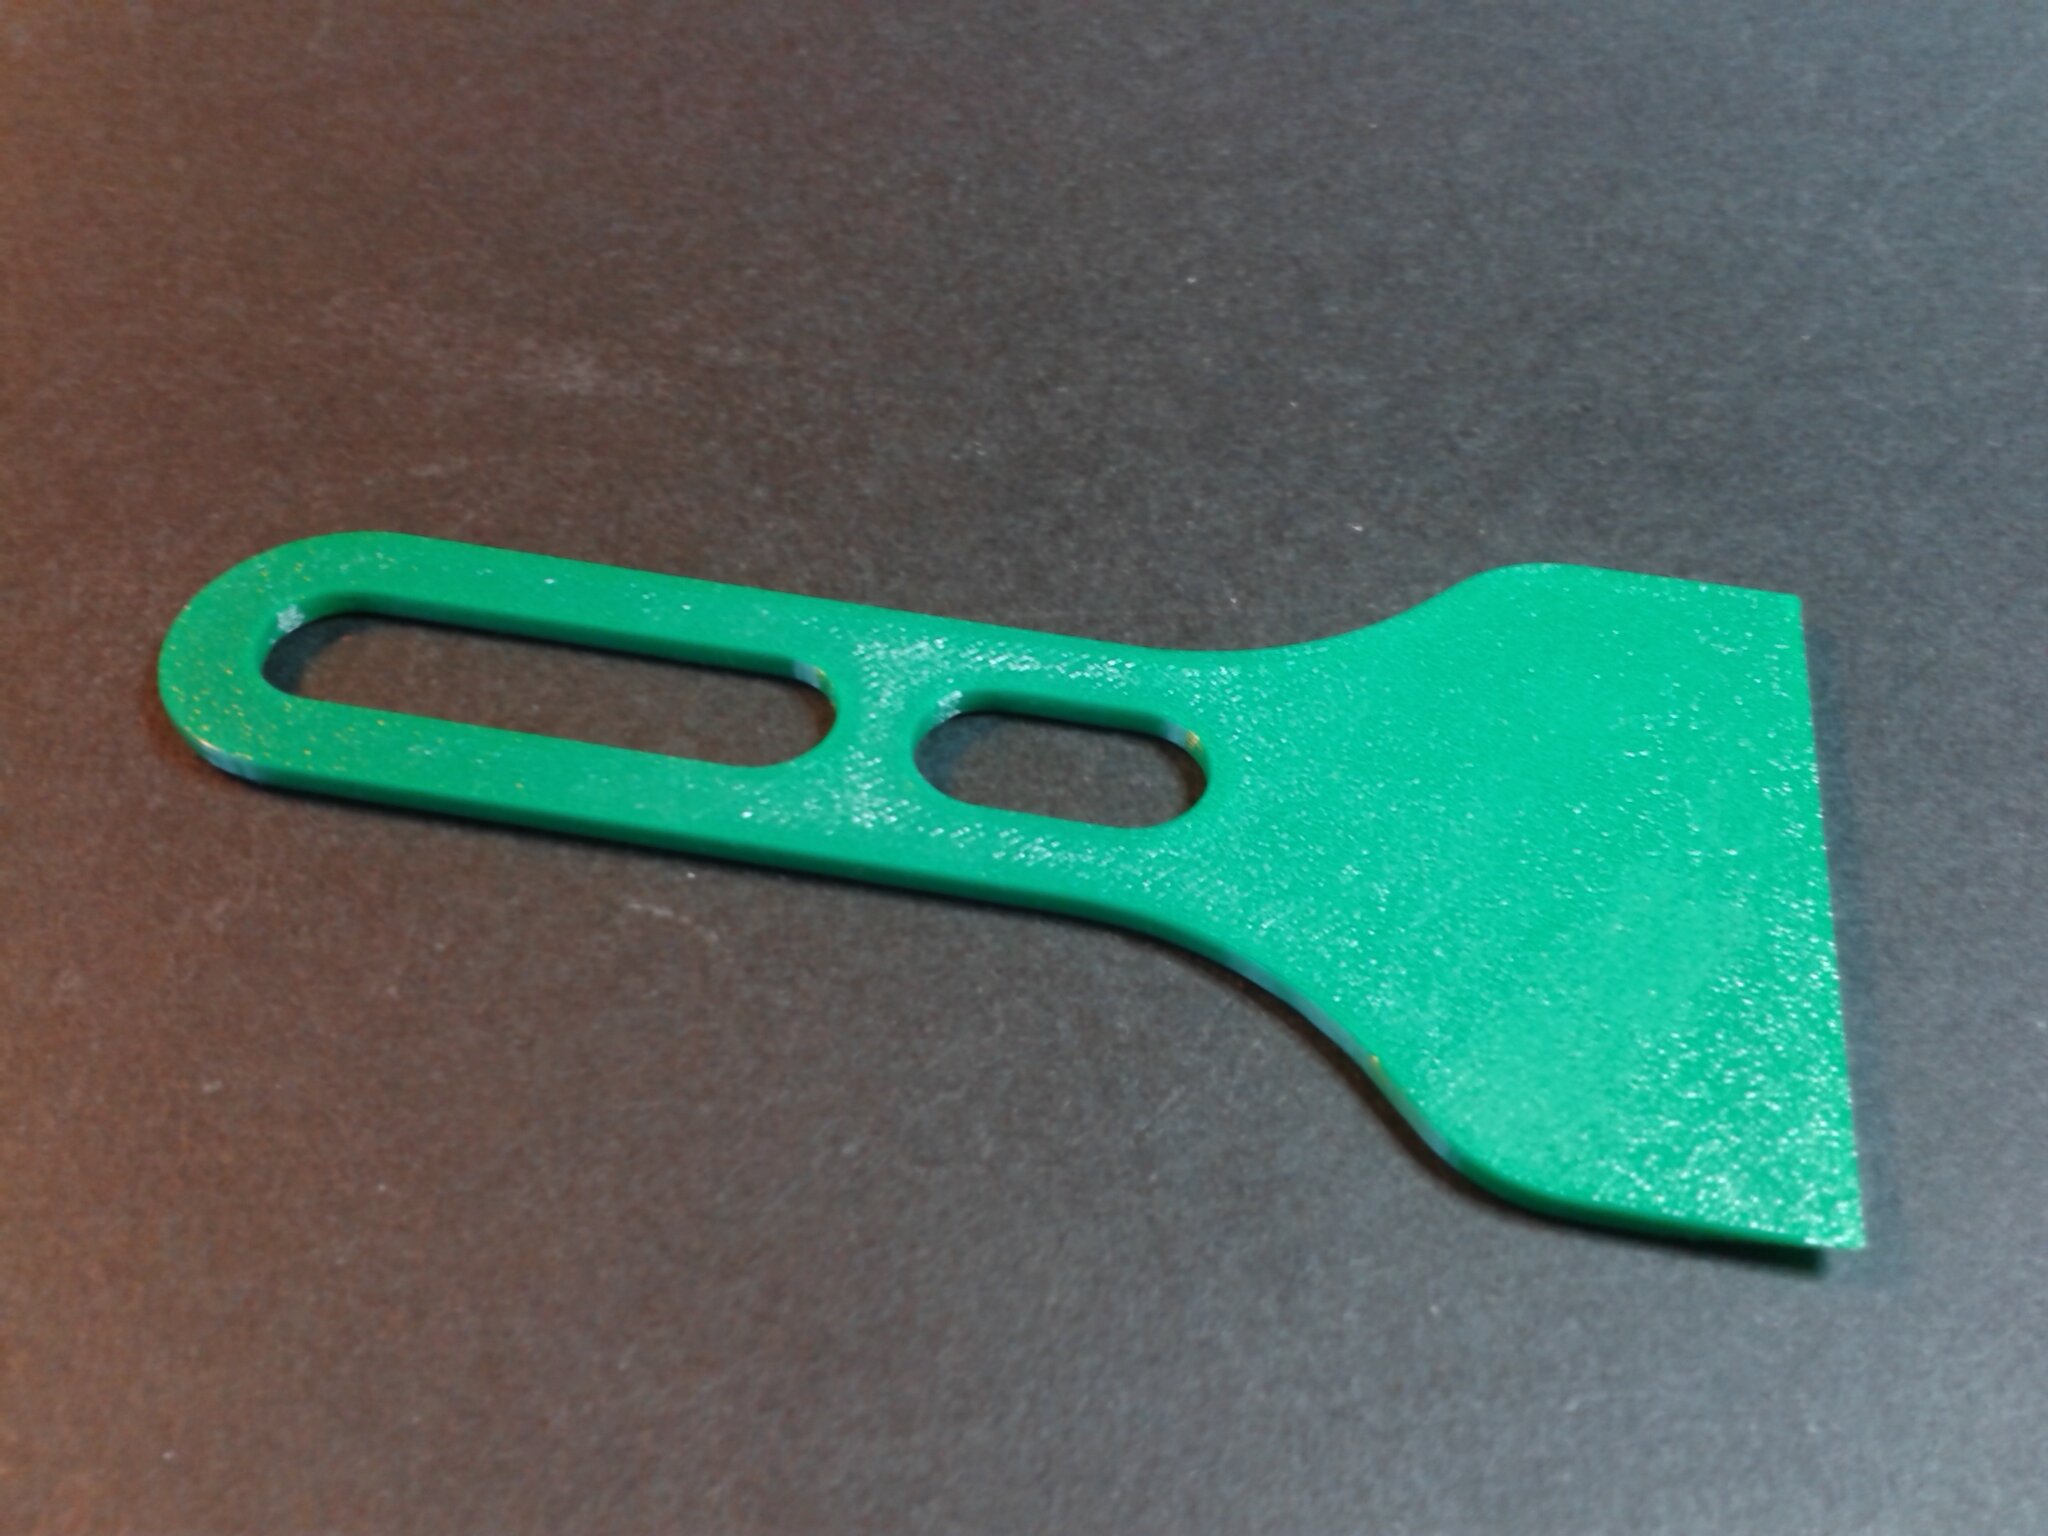
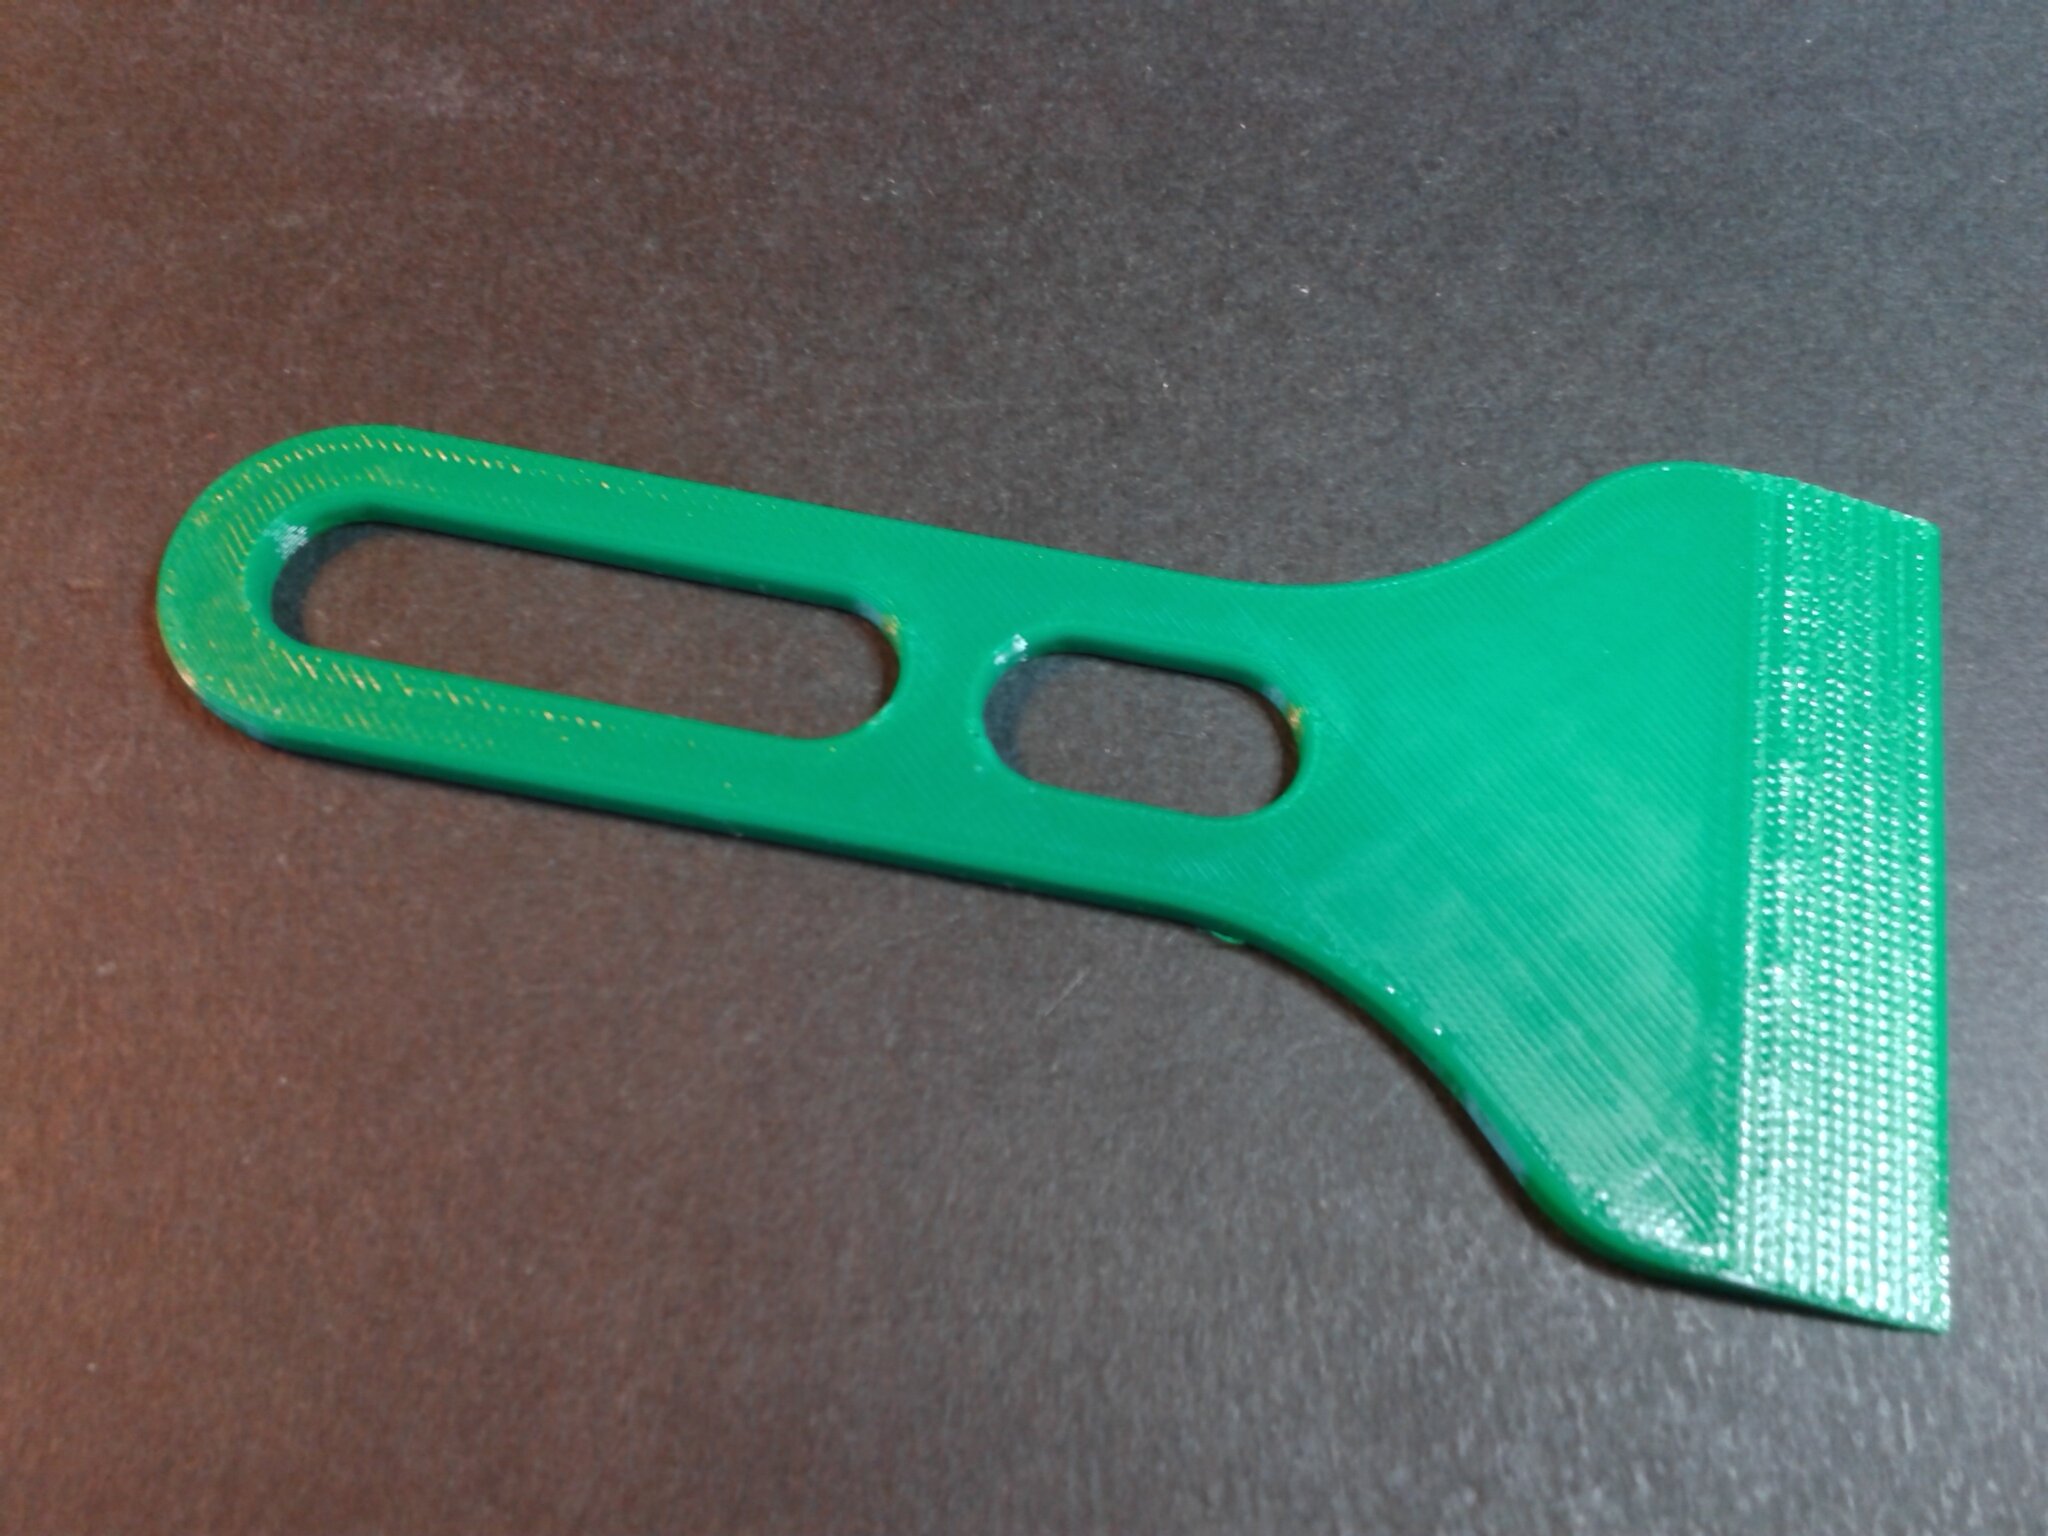
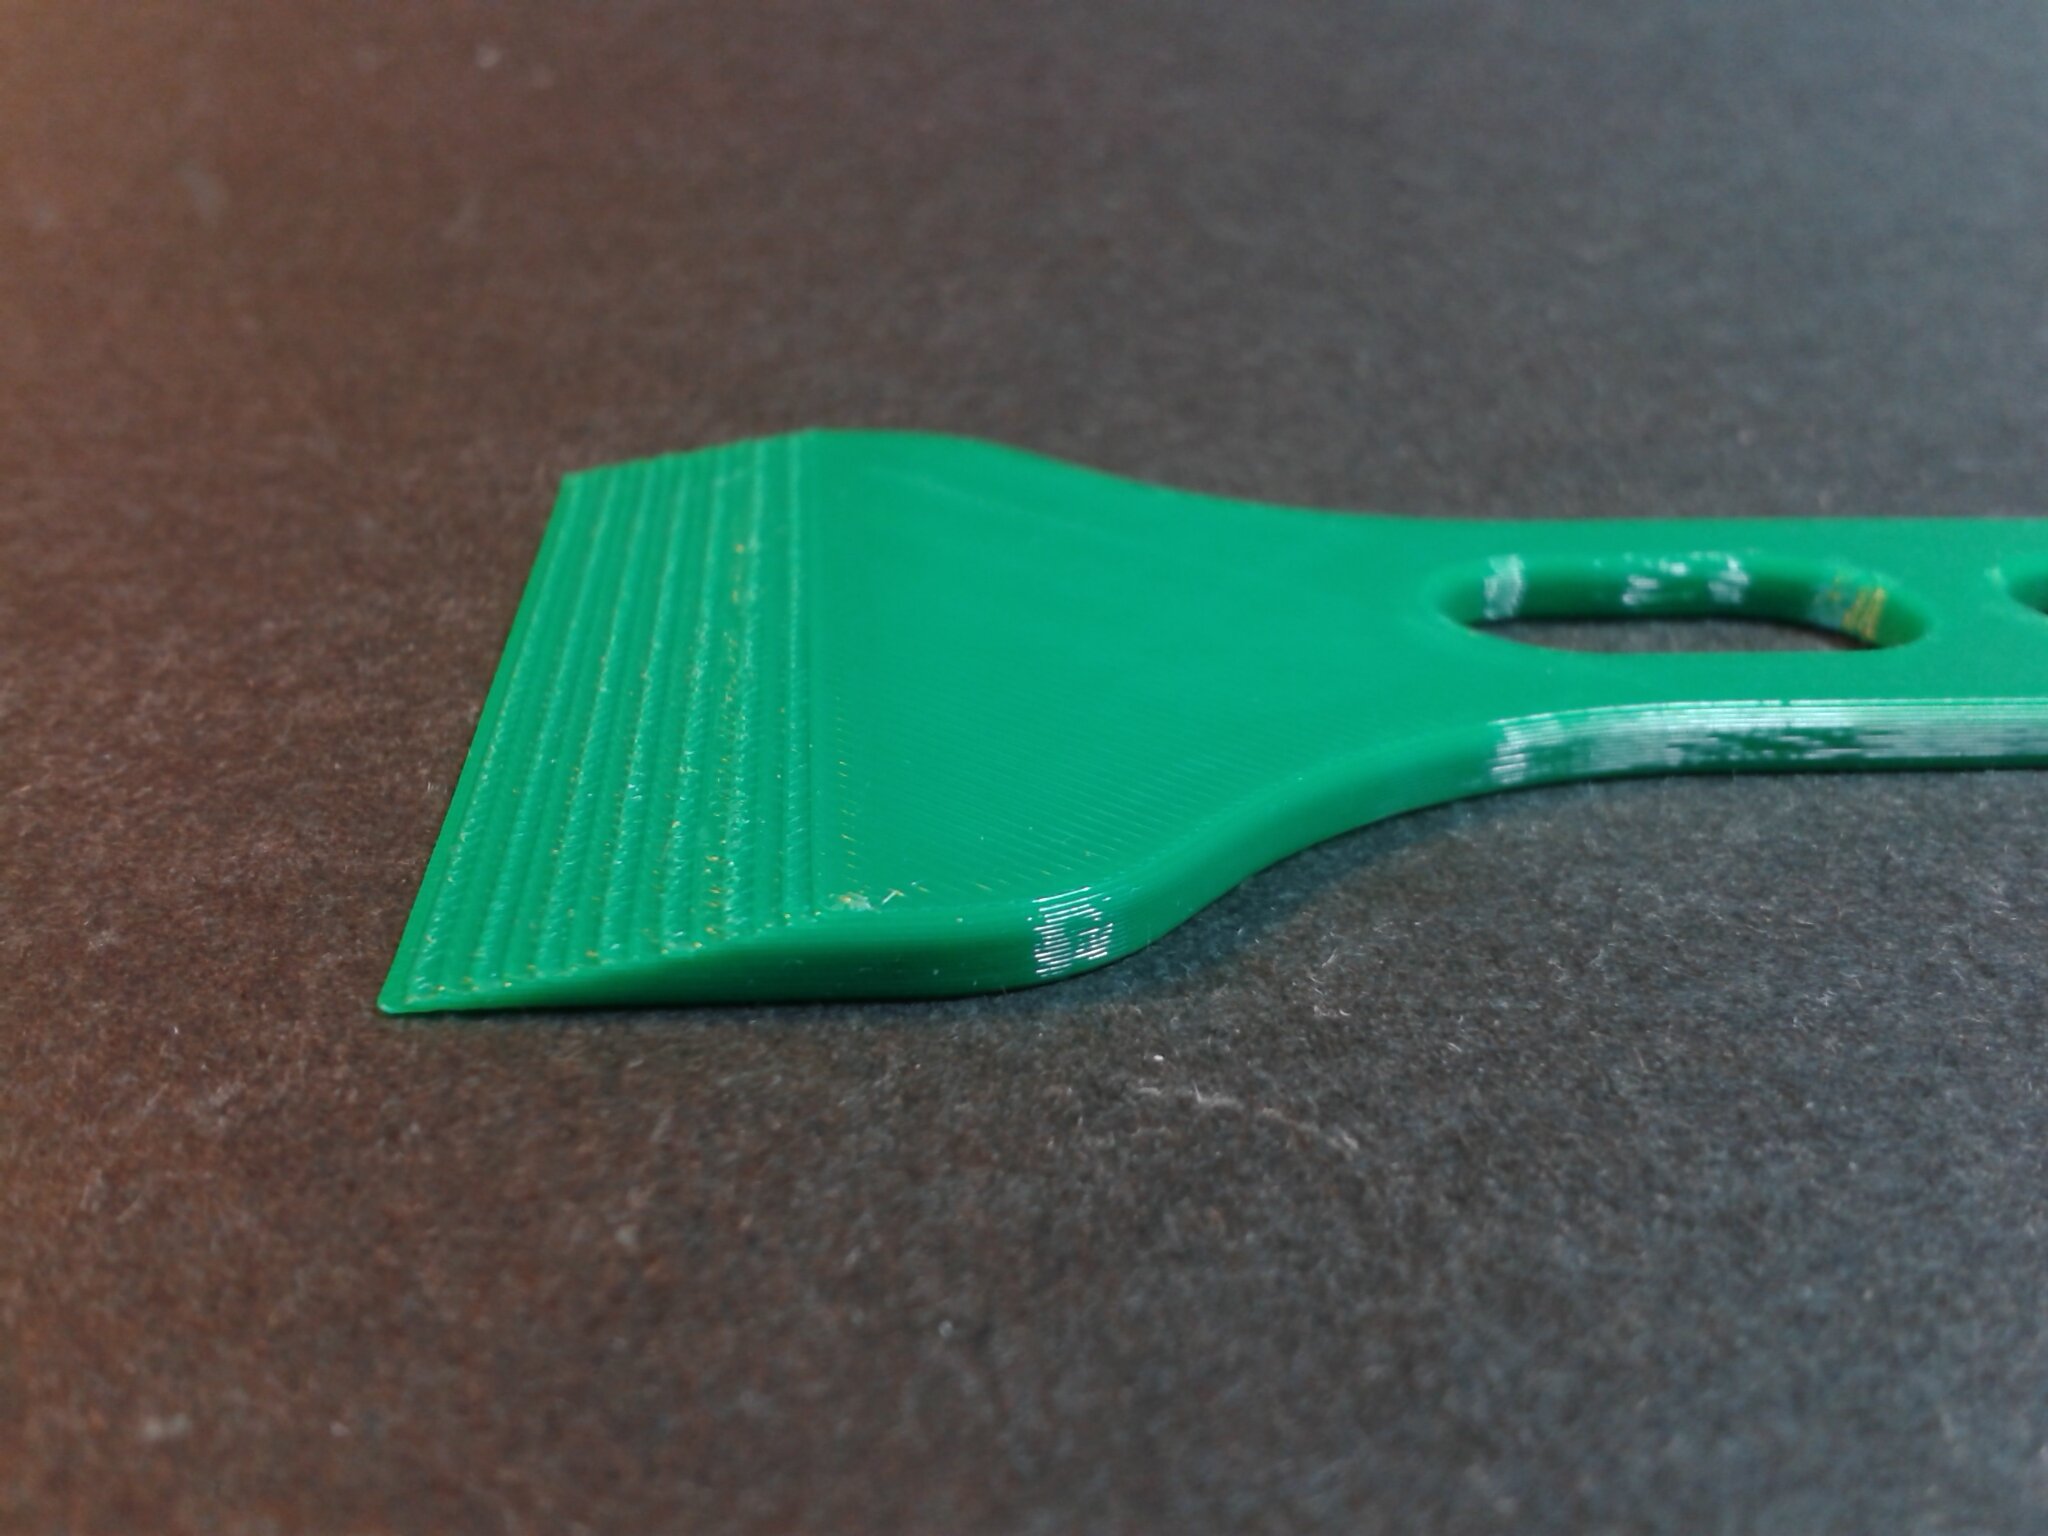
Grattoir pour lit d’impression
“Printbed scraper” de “Namu3D” (gratuit).
Environ 20 min d’impression.
Filament PCTG Vert ArianePlast
Pot de fleurs déco 04 Icosphère
“Plant pot decoration 04 Icosphere” de “Dinu3DStudio” (gratuit).
Environ 1 h 02 min d’impression.
Filament PCTG Vert ArianePlast

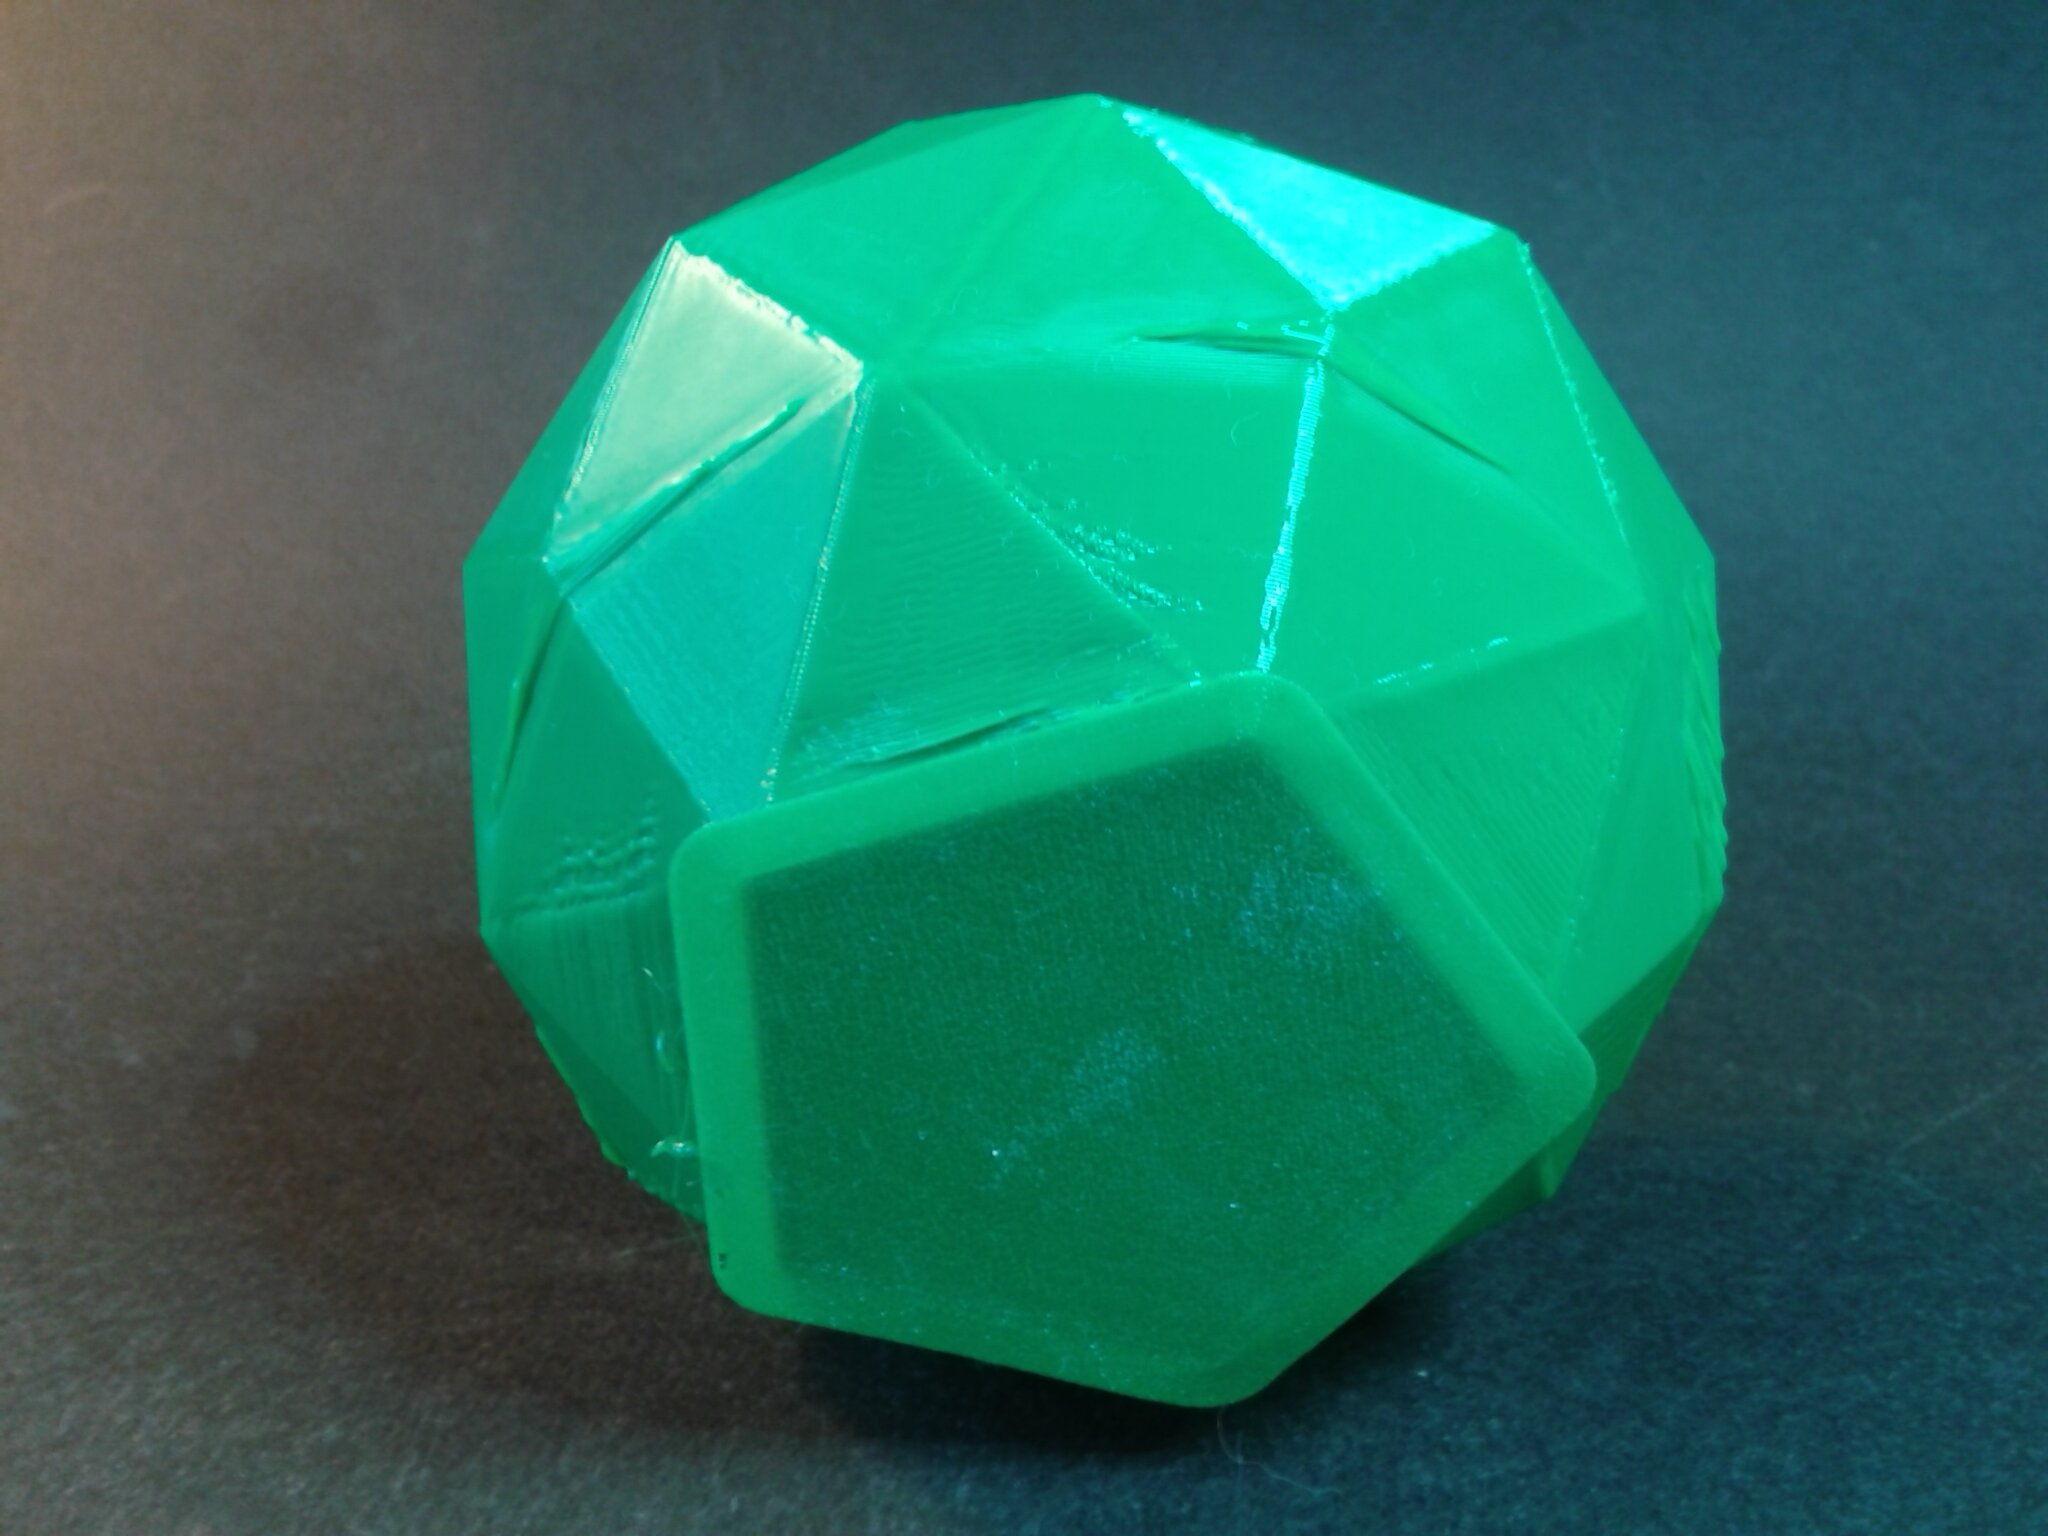
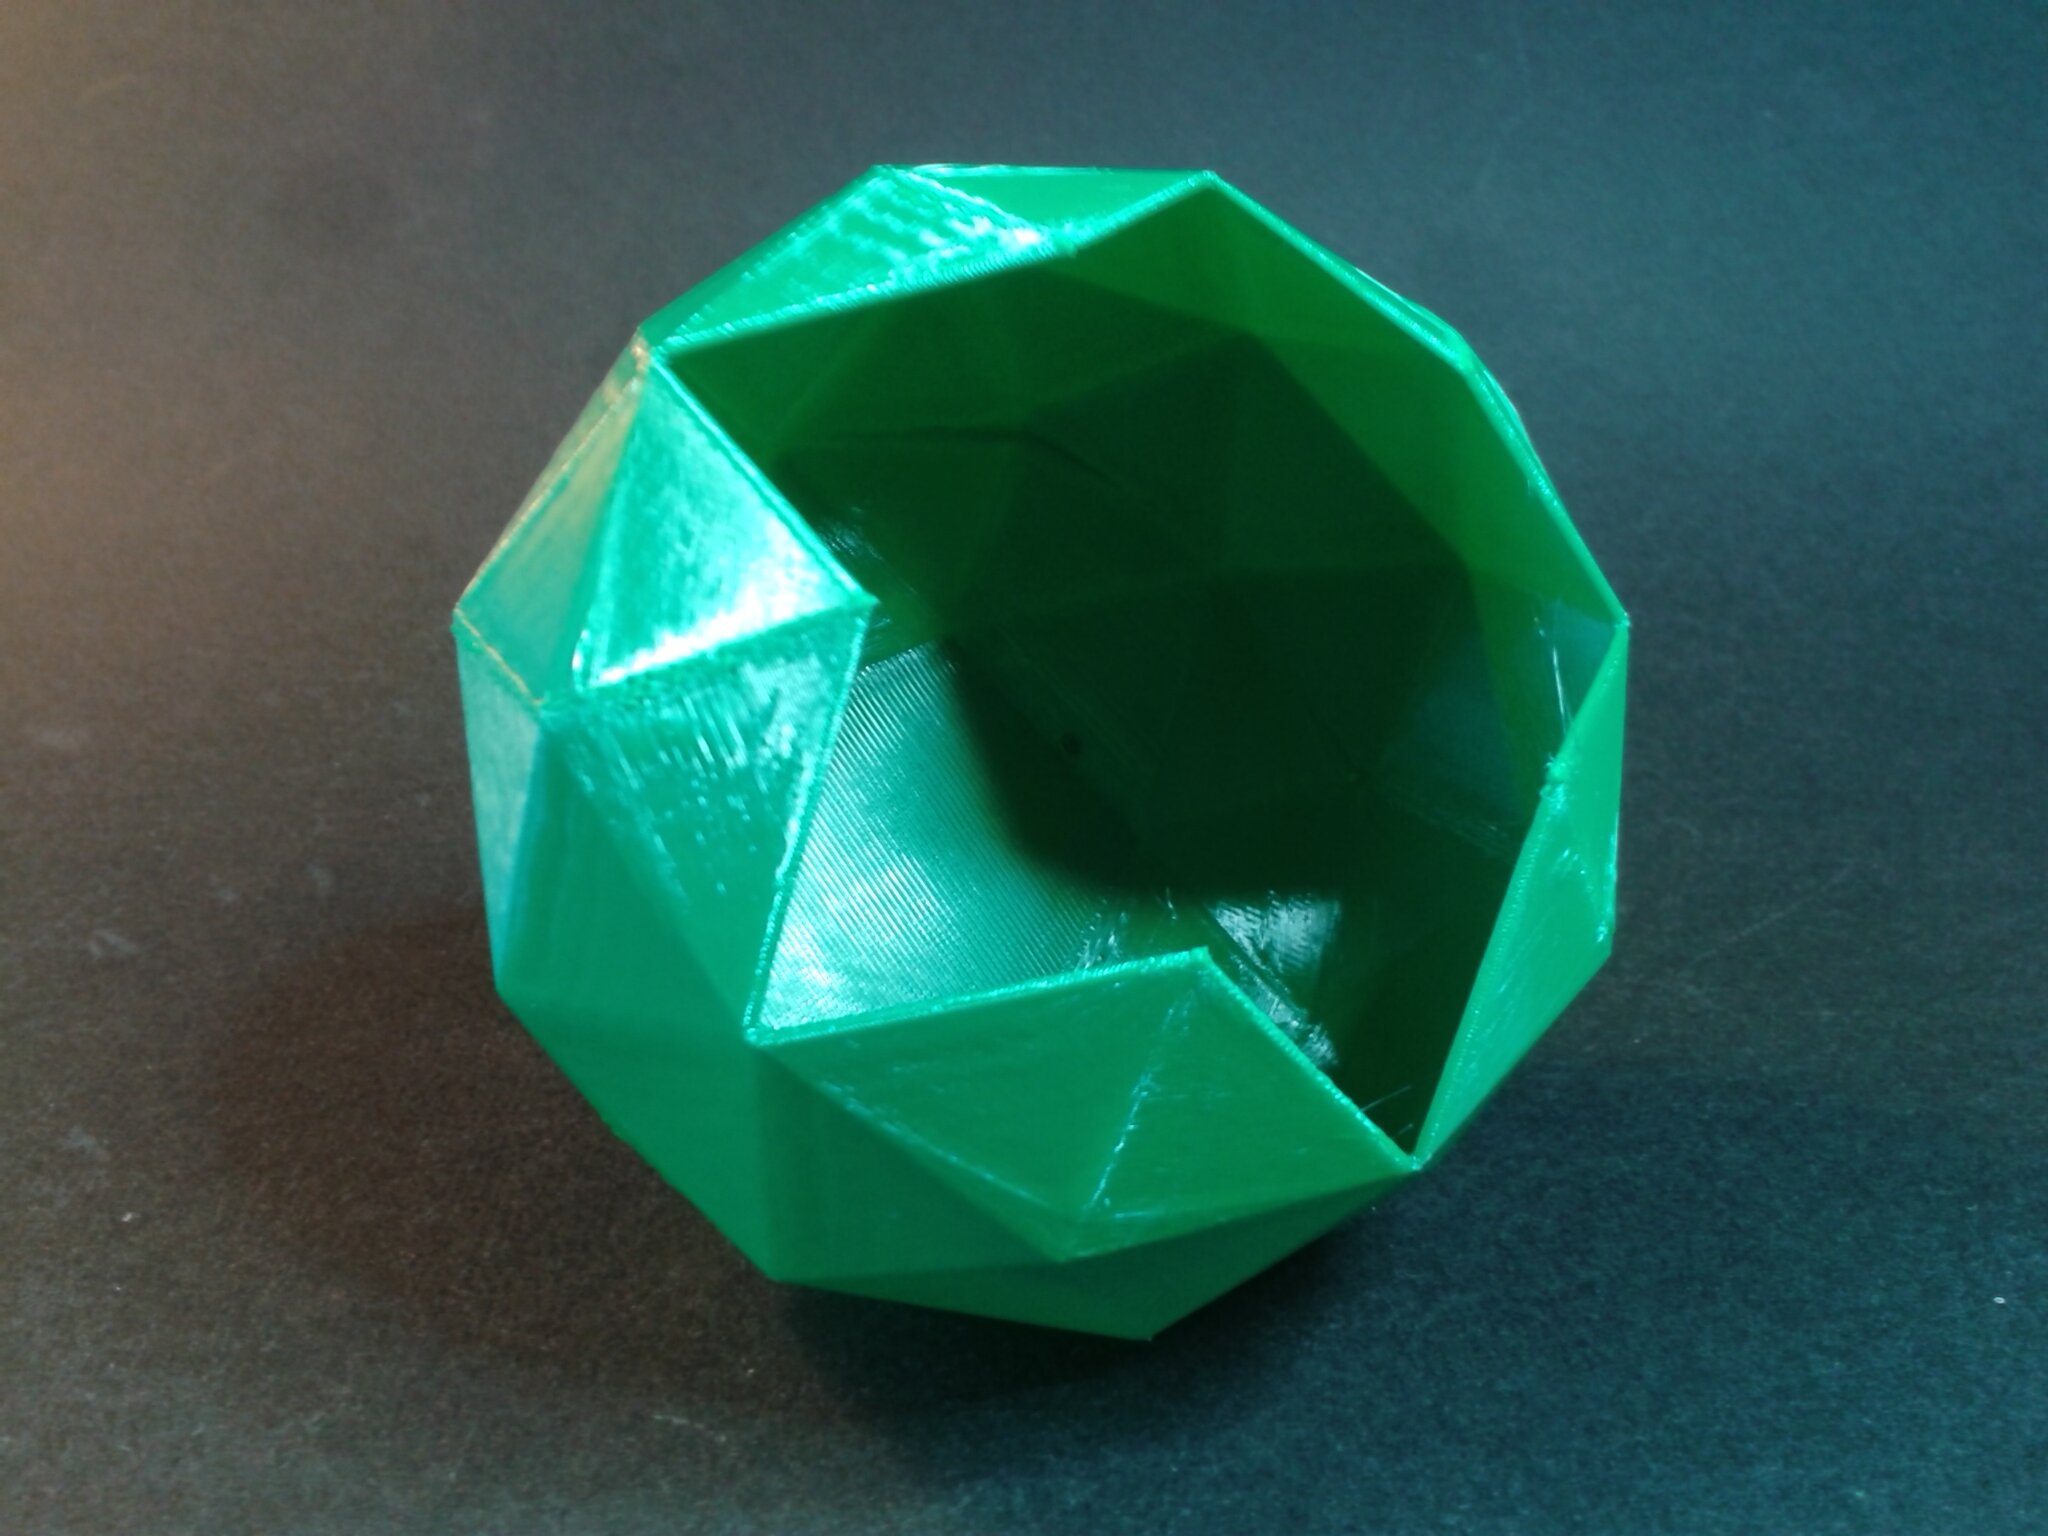

Ce résultat d’impression montre que j’ai encore des choses à affiner dans le profil de filament que j’ai créé (augmenter la ventilation de refroidissement d’impression, réduire la vitesse et/ou le MVS…).
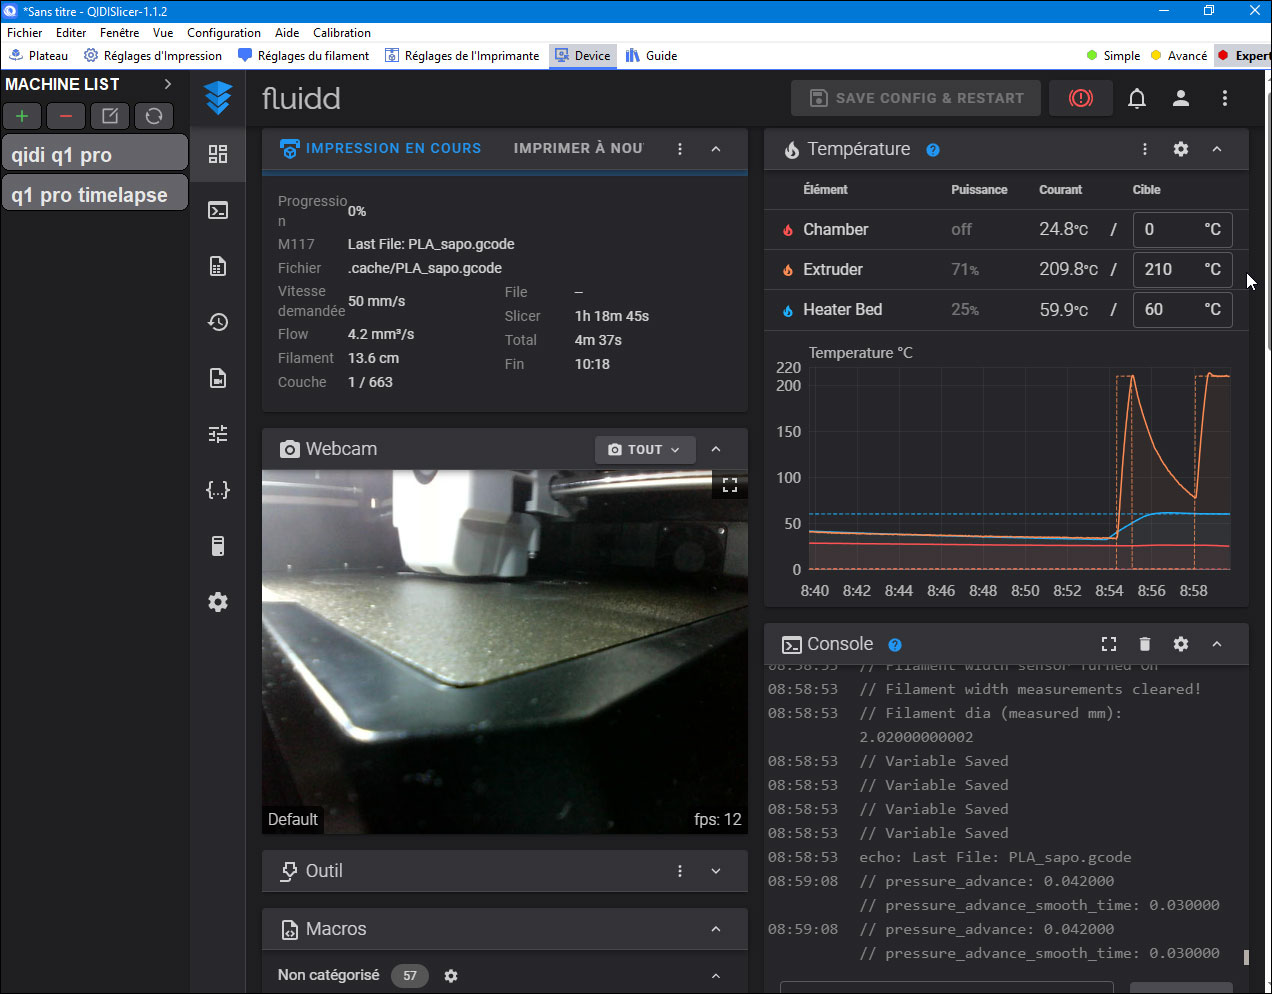
Gestion à distance et vidéo timelapse
Avec sa caméra intégrée et grâce à Klipper et Fluidd, il est possible de gérer la Qidi Q1 Pro à distance depuis le slicer maison ou un simple navigateur web, ainsi que d’enregistrer des vidéos timelapse des modèles 3D imprimés.
Améliorations et upgrades
On trouve sur la page des composants imprimables en option de la Q1 Pro sur le wiki de Qidi Tech. Wiki qui est régulièrement mis à jour. Les fichiers pour imprimer et installer les options suivantes et sont fournis par le constructeur lui-même. Ce qui est valable pour ce test de la Qidi Q1 Pro l’est aussi pour les premiers exemplaires commercialisés par le constructeur.
Boîte à charbon actif
“Activated Carbon BOX” dont voici des images extraites du guide de mise en place de cette boite pour du charbon actif afin de filtrer le caisson de la Q1 Pro.
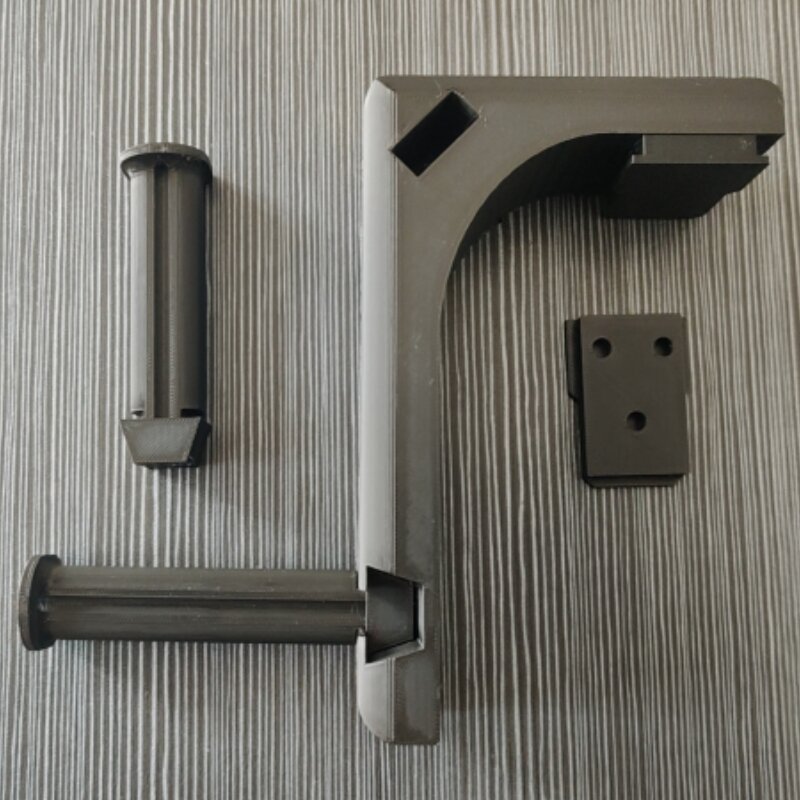
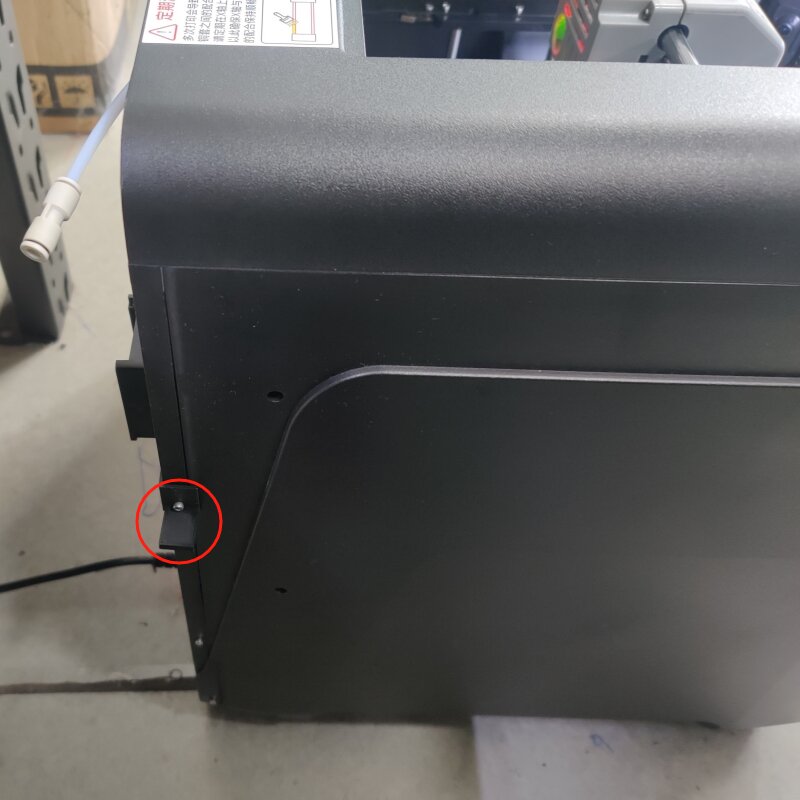
Porte-filament latéral
Ou “Side Filament Holder” avec les fichiers STL d’un modèle de support de bobine latéral, (que je n’ai pas encore testé) ainsi que son guide d’installation dons j’ai extrait les image suivantes.
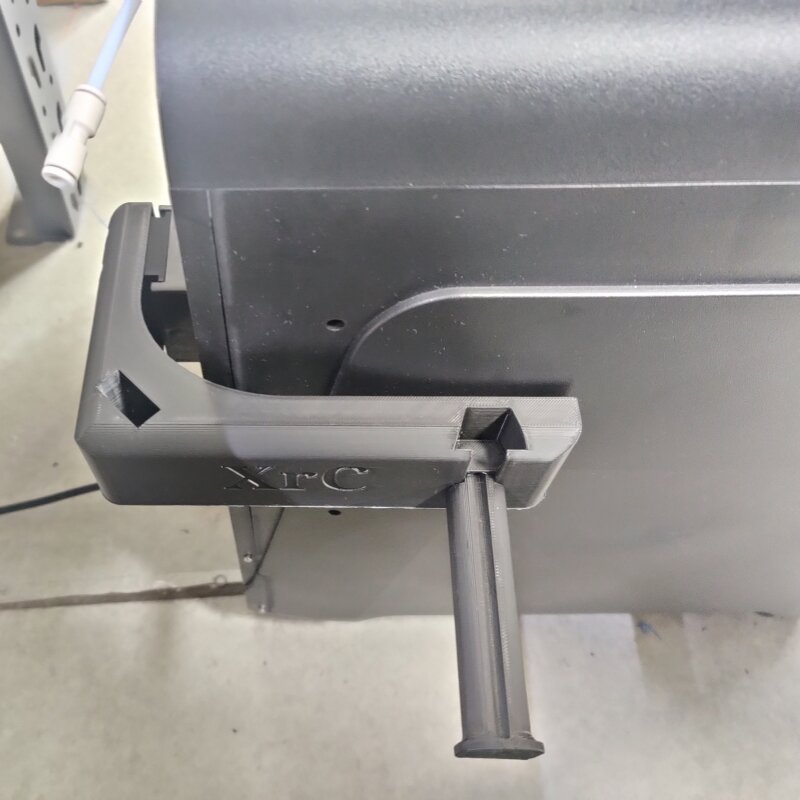
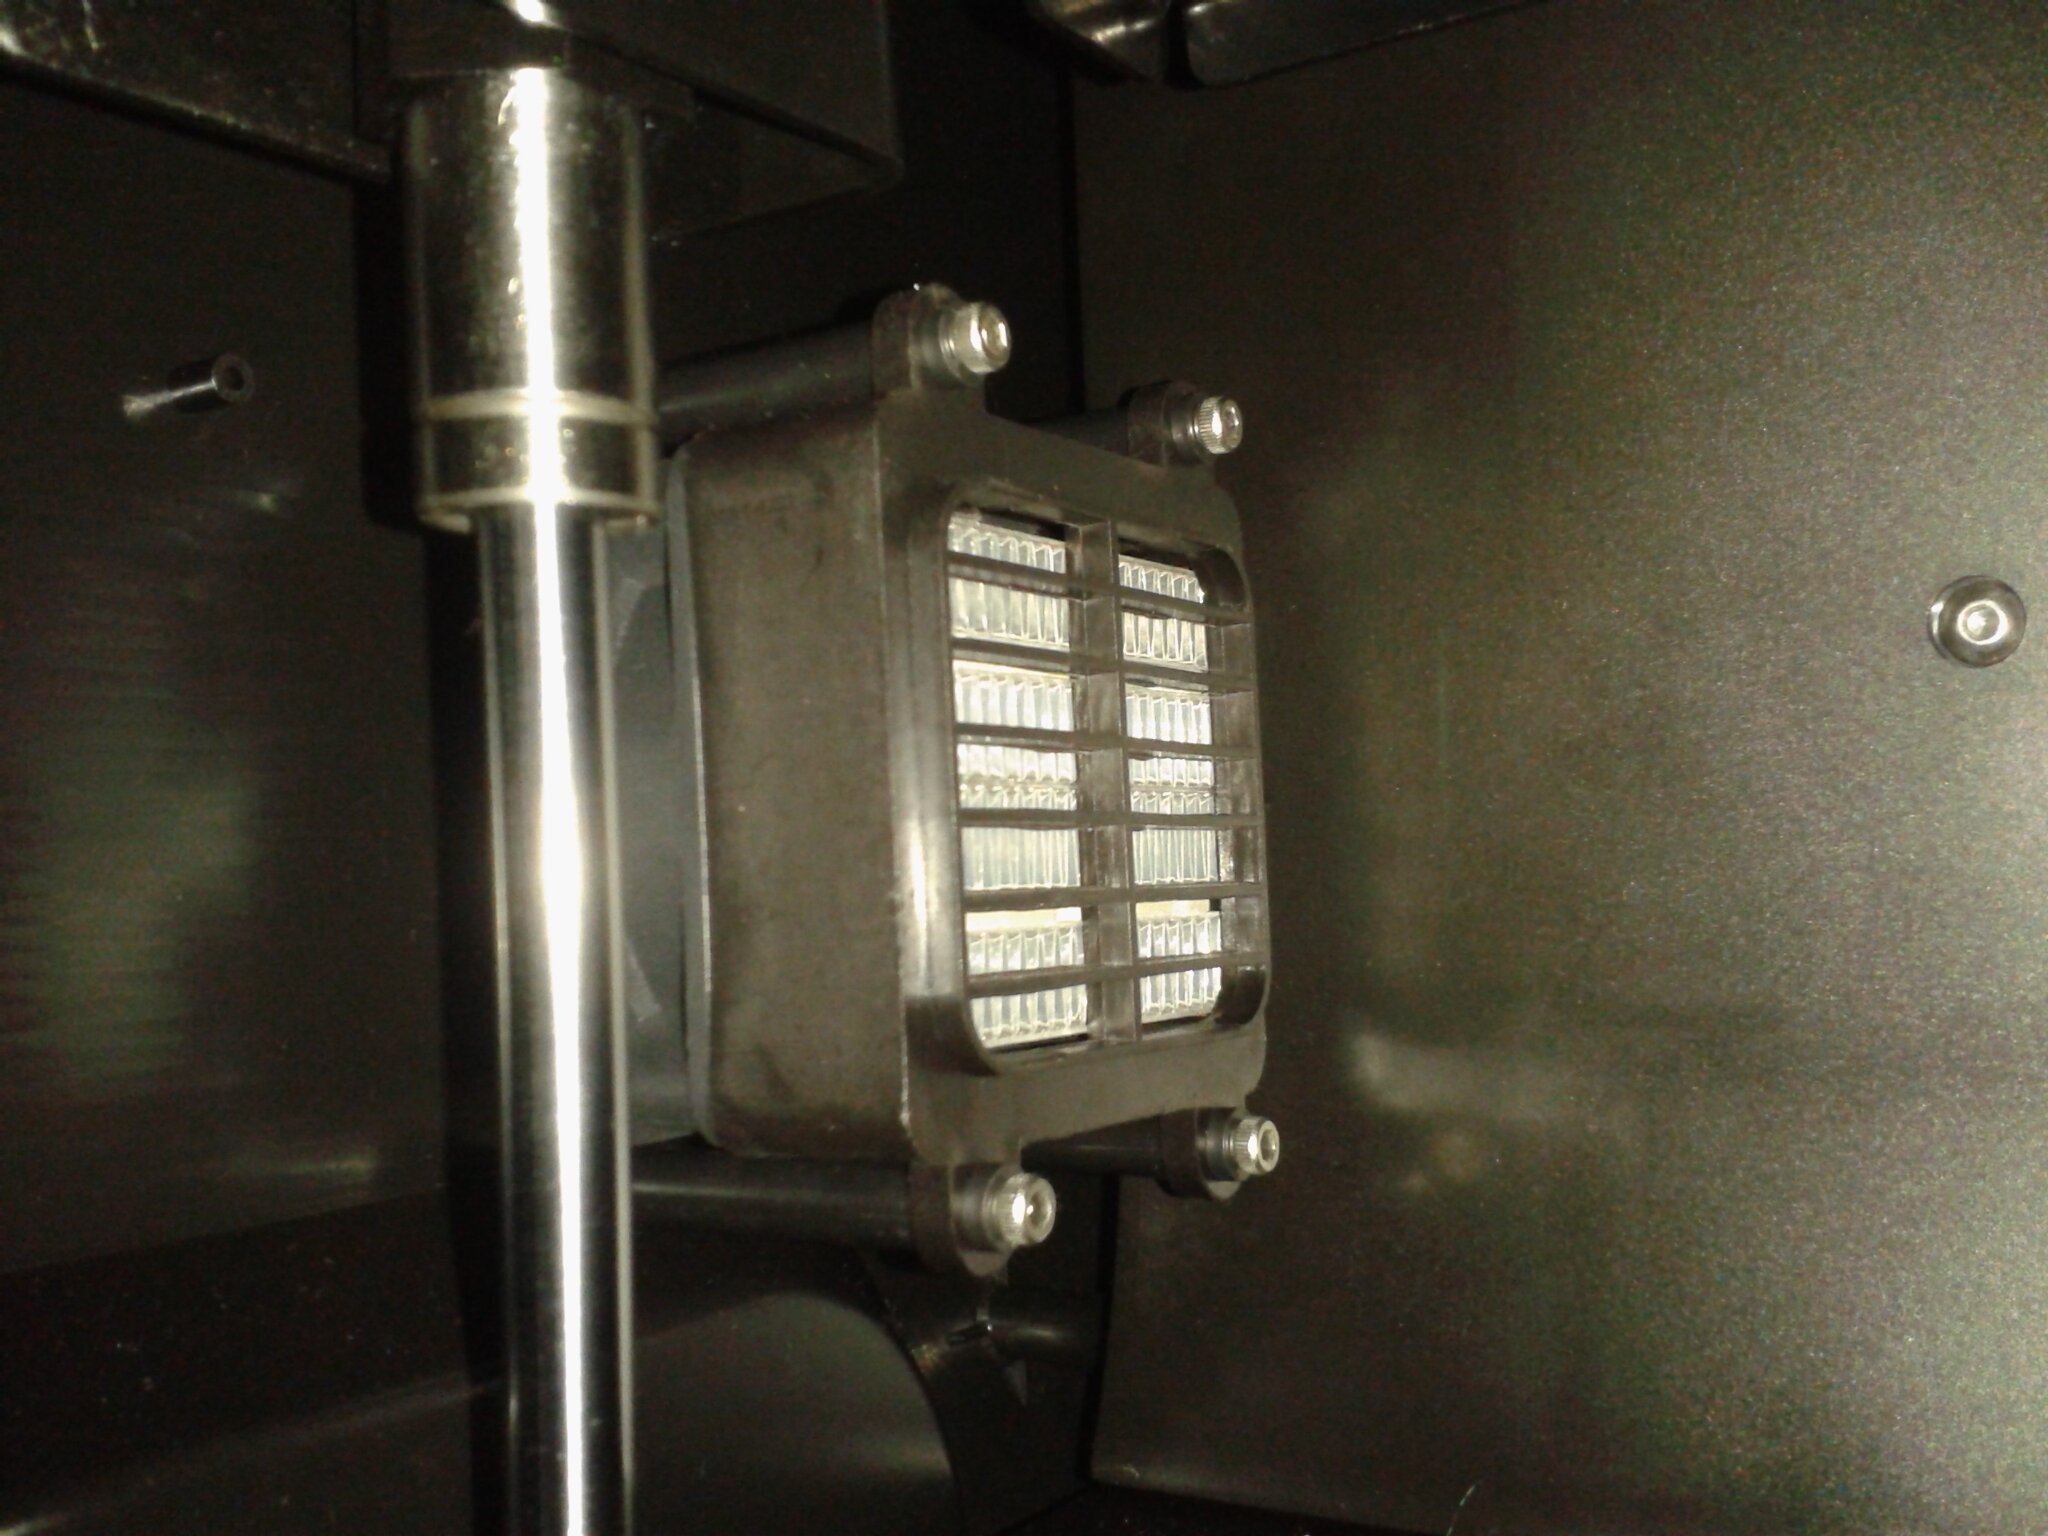
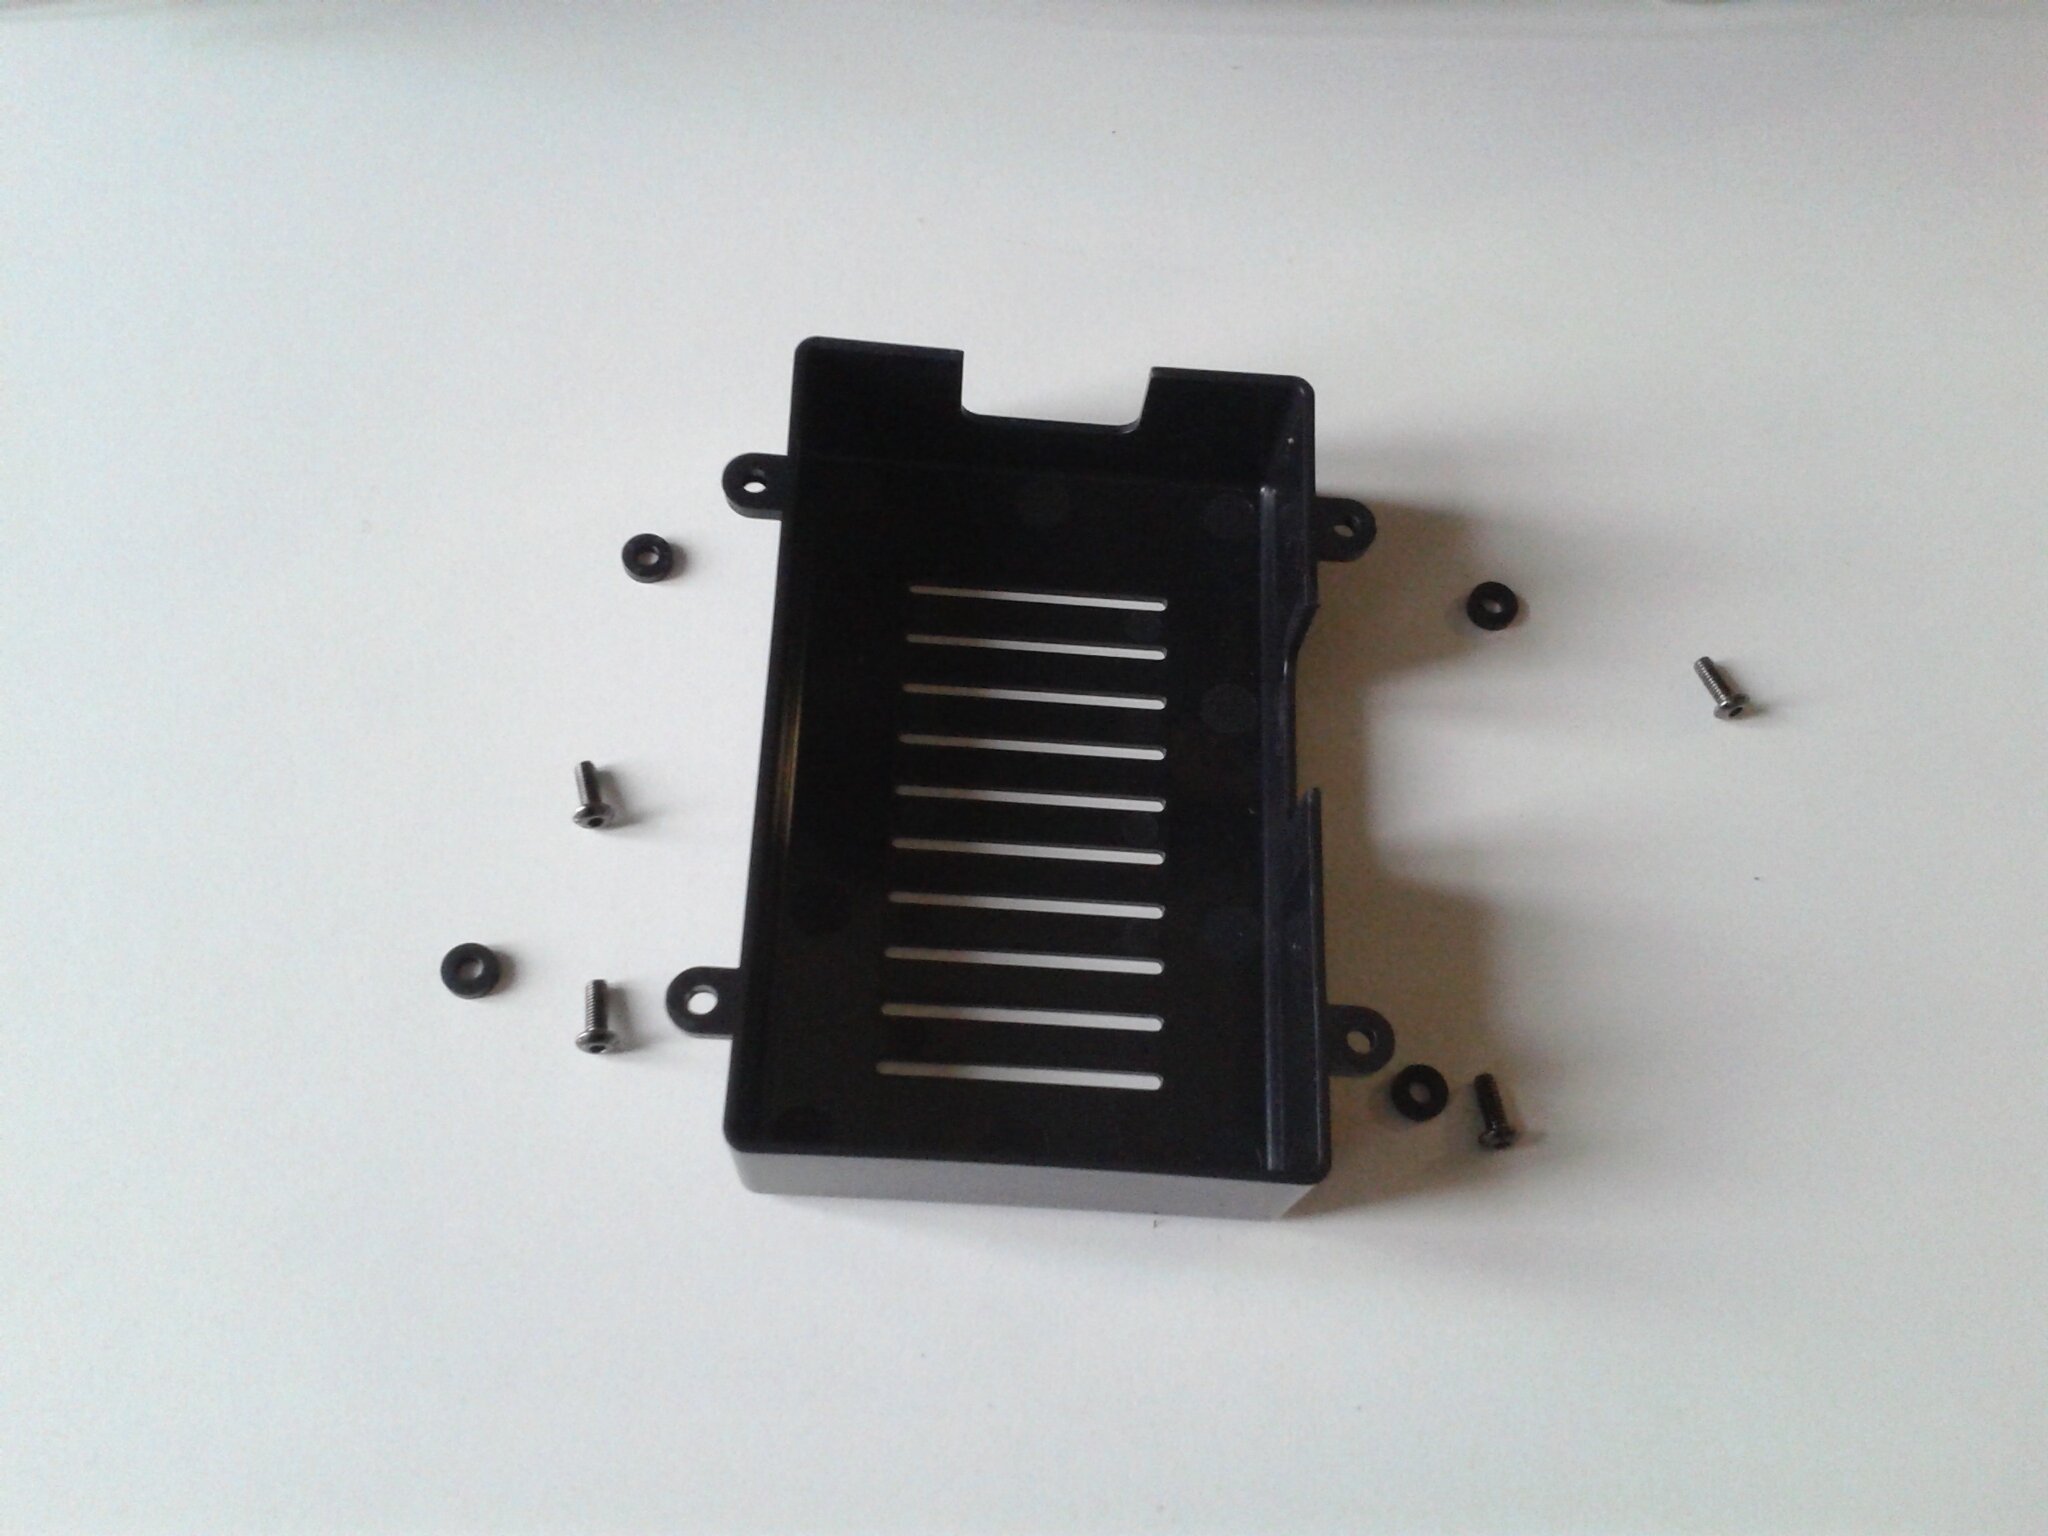
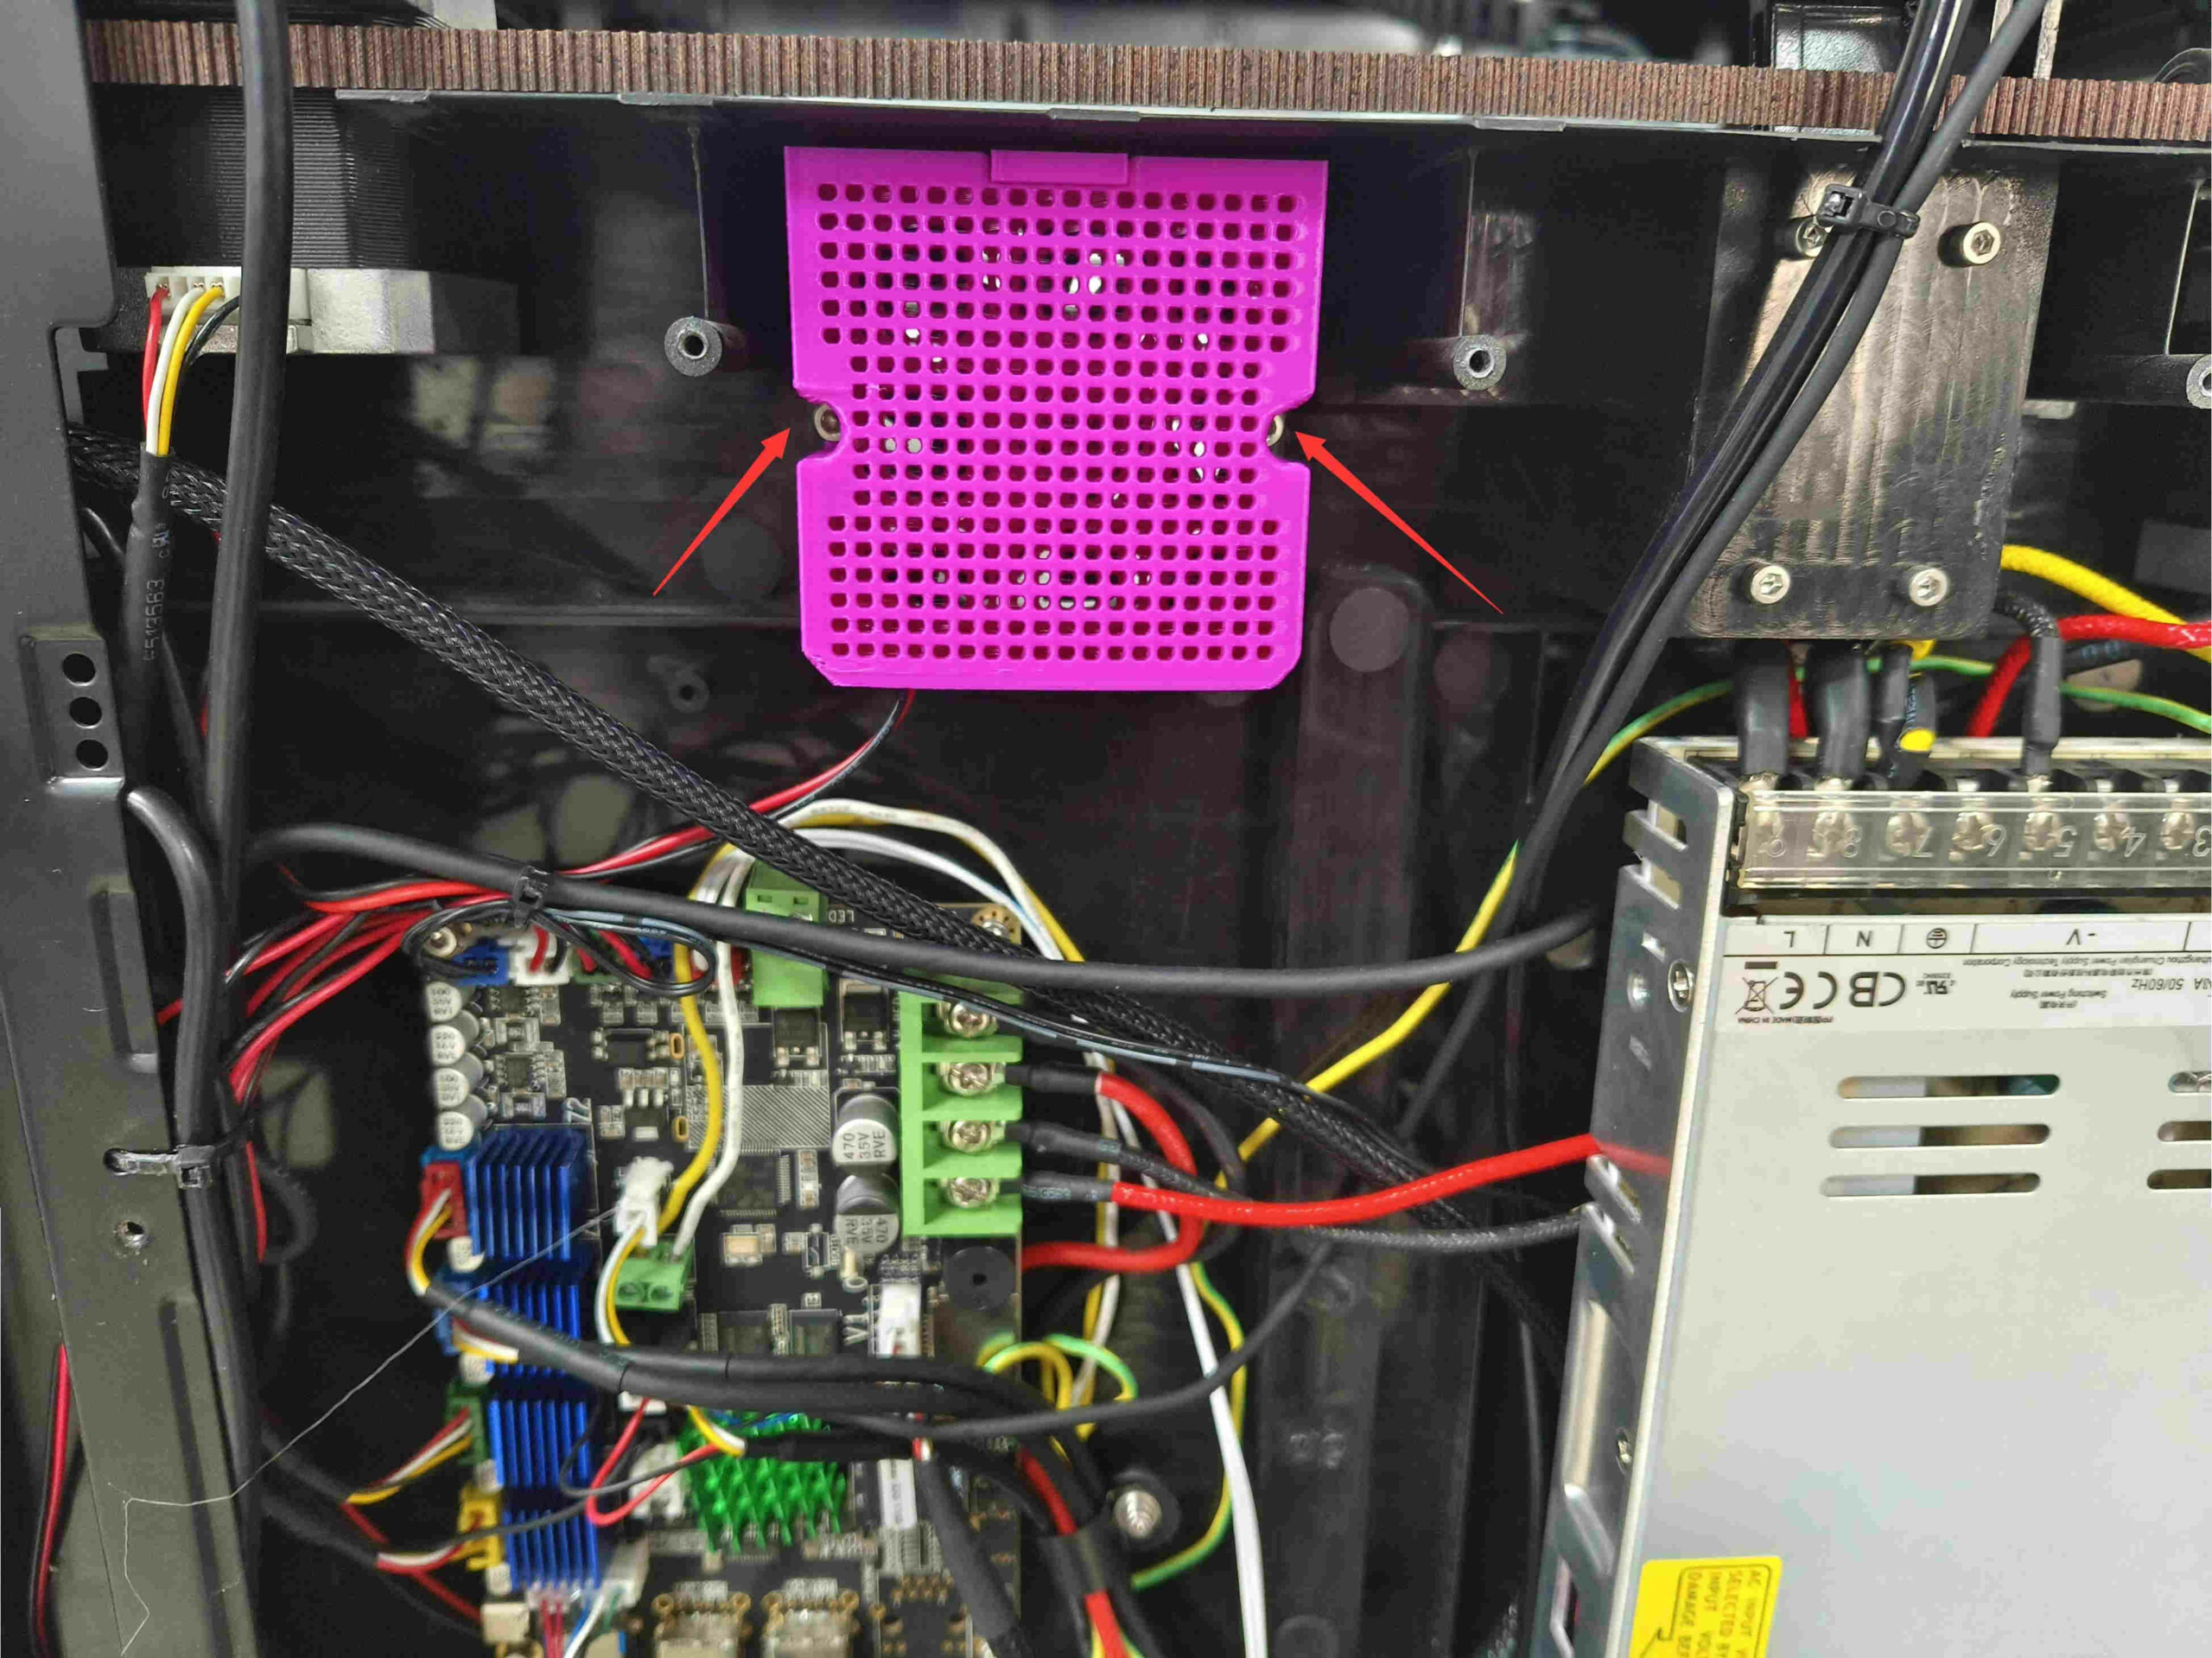
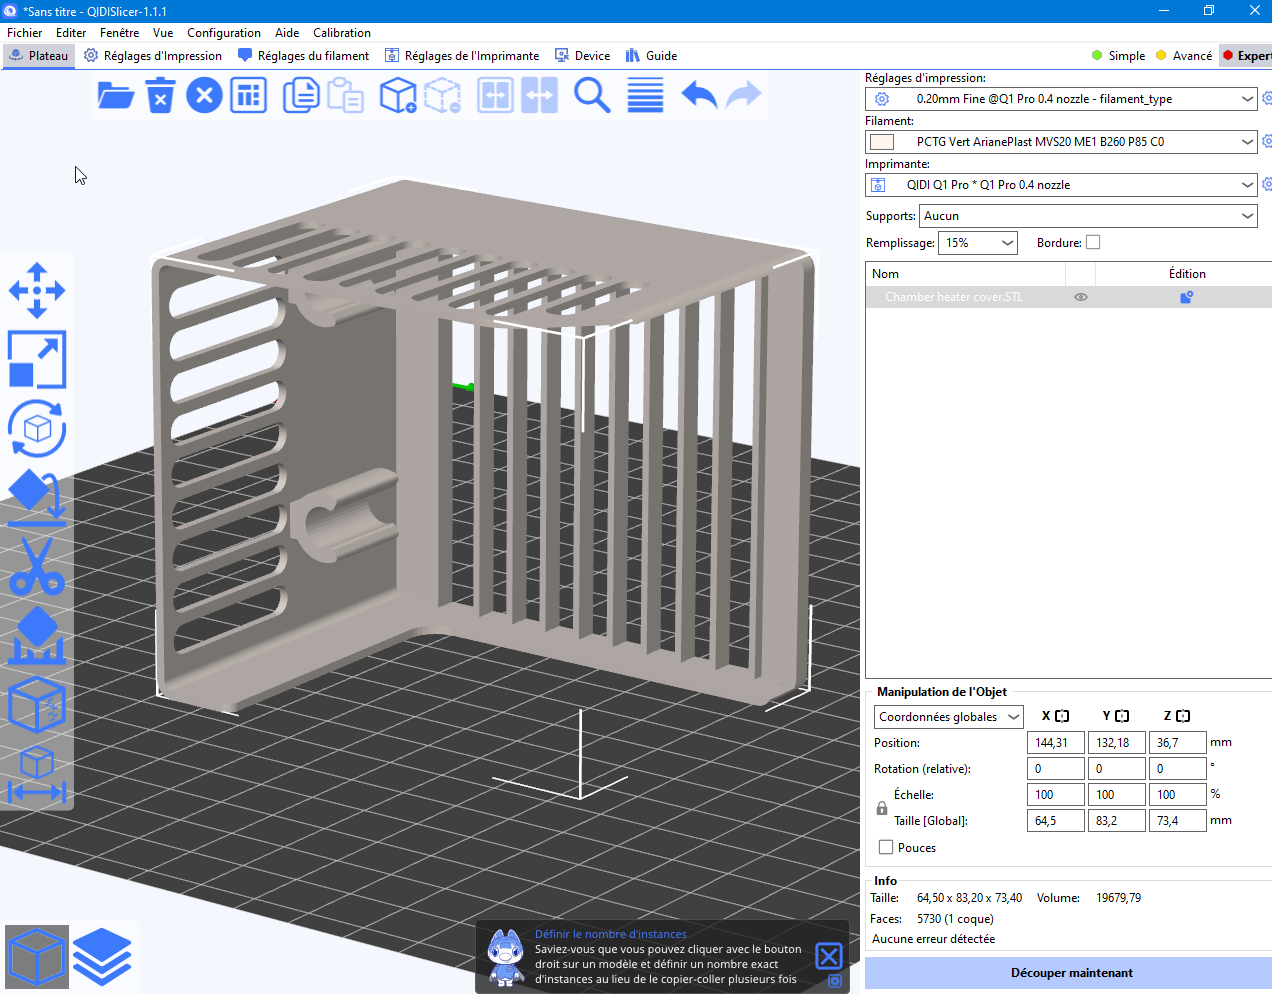
Couvercle du chauffage de la chambre
Un problème est relevé dans plusieurs tests de la Qidi Tech Q1 Pro. La solution est simple à mettre en place mais nécessite de corriger soi-même ce défaut de conception que le constructeur corrigera sûrement lui-même sur les prochaines séries de Q1 Pro.
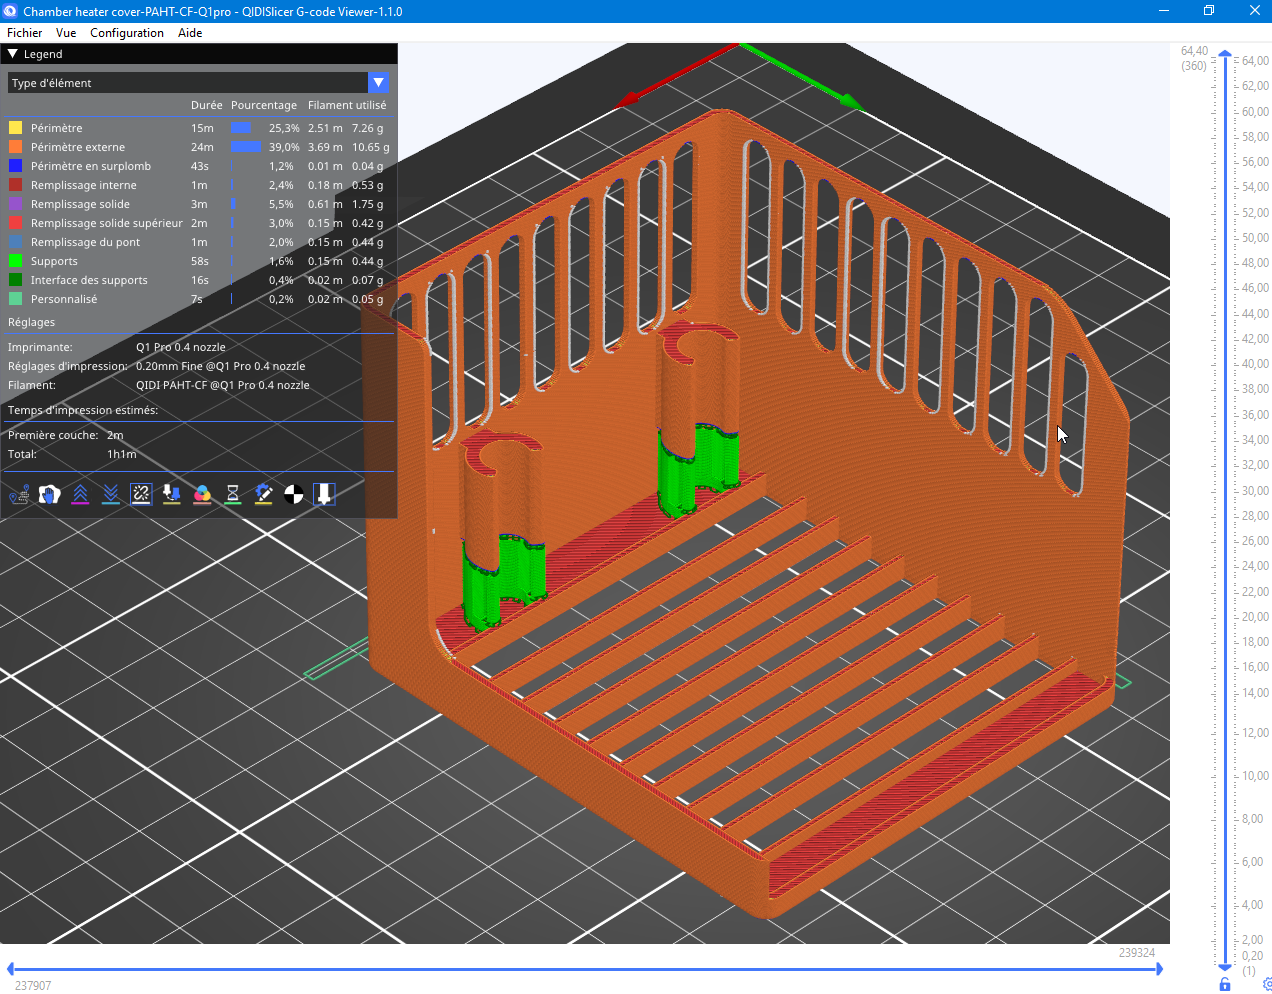
“Chamber Heater Cover” : on y trouve un lien Google Drive vers les fichiers, d’un modèle 3D en STL et tranché GCODE, ainsi qu’une vidéo et une photo d’installation de la protection du chauffage du caisson. Ce fichier est à imprimer avec un filament “PAHT-CF” (s’achète chez Atome3D, Polyfab3D, Bambu Lab) qui résiste à la température pour réduire les risque d’électrocution car le chauffage du caisson est alimenté en 220V et le cache de protection d’origine semble insuffisant.
Nous avons contacté Qidi Tech qui a répondu que le couvercle actuel de l’appareil de chauffage est entièrement ignifugé. Les Q1 Pro en cours de production et les suivantes recevront une enceinte isolée améliorée. Les utilisateurs de la version initiale peuvent imprimer le modèle 3D ci-dessous ou faire un ticket au support de Qidi (q1support@qidi3d.com) pour demander à recevoir gratuitement la pièce.
Un sujet est ouvert sur le forum pour échanger sur ce sujet.
Notes et conclusion
Qualité d'impression - 9.5
Fiabilité - 9
Logiciel - 8.5
Utilisation - 9
Rapport qualité / prix - 9.5
9.1
/10
- Rapidement prête à fonctionner en sortie de carton
- Vitesses d'impression
- Enceinte chauffée
- Tête d'impression compatible pour les filaments haute température et abrasifs
- Qualité de l'auto-nivellement et auto Z-Offset
- Qualité d'impression avec les réglages standards
- Caméra d'origine
- Wi-Fi
- Firmware Klipper et système d'exploitation open source et non verrouillé
- Mise à jour en ligne (OTA)
- QidiSlicer, dérivé de Prusa Slicer
- Wiki de documentation et de support technique
- Prix de vente
- Bruit des ventilateurs et des déplacements de la tête d'impression
- Vibrations et secousses de l'imprimante en impression haute vitesse
- Pas de système de filtration de l'air par défaut
- Pas de zone de stockage pour le capot supérieur quand il faut imprimer caisson ouvert.
- Serveur SSH activé par défaut (pas de mode root à activer) avec des mots de passe par défaut
- Coque encadrant le plateau chauffant légèrement plus haute que la base aimantée
- Protection de contact avec le chauffage du caisson
- Pas encore d'application mobile

Depuis la publication de l’article, il y a eu certain changement sur le Wiki de QIDI
(et, il nous faut mettre à jour les liens qui ne sont plus valides dans mon article …)
pour les “Améliorations et upgrades” c’est maintenant a l’adresse
https://li3dforum.ovh/ci7