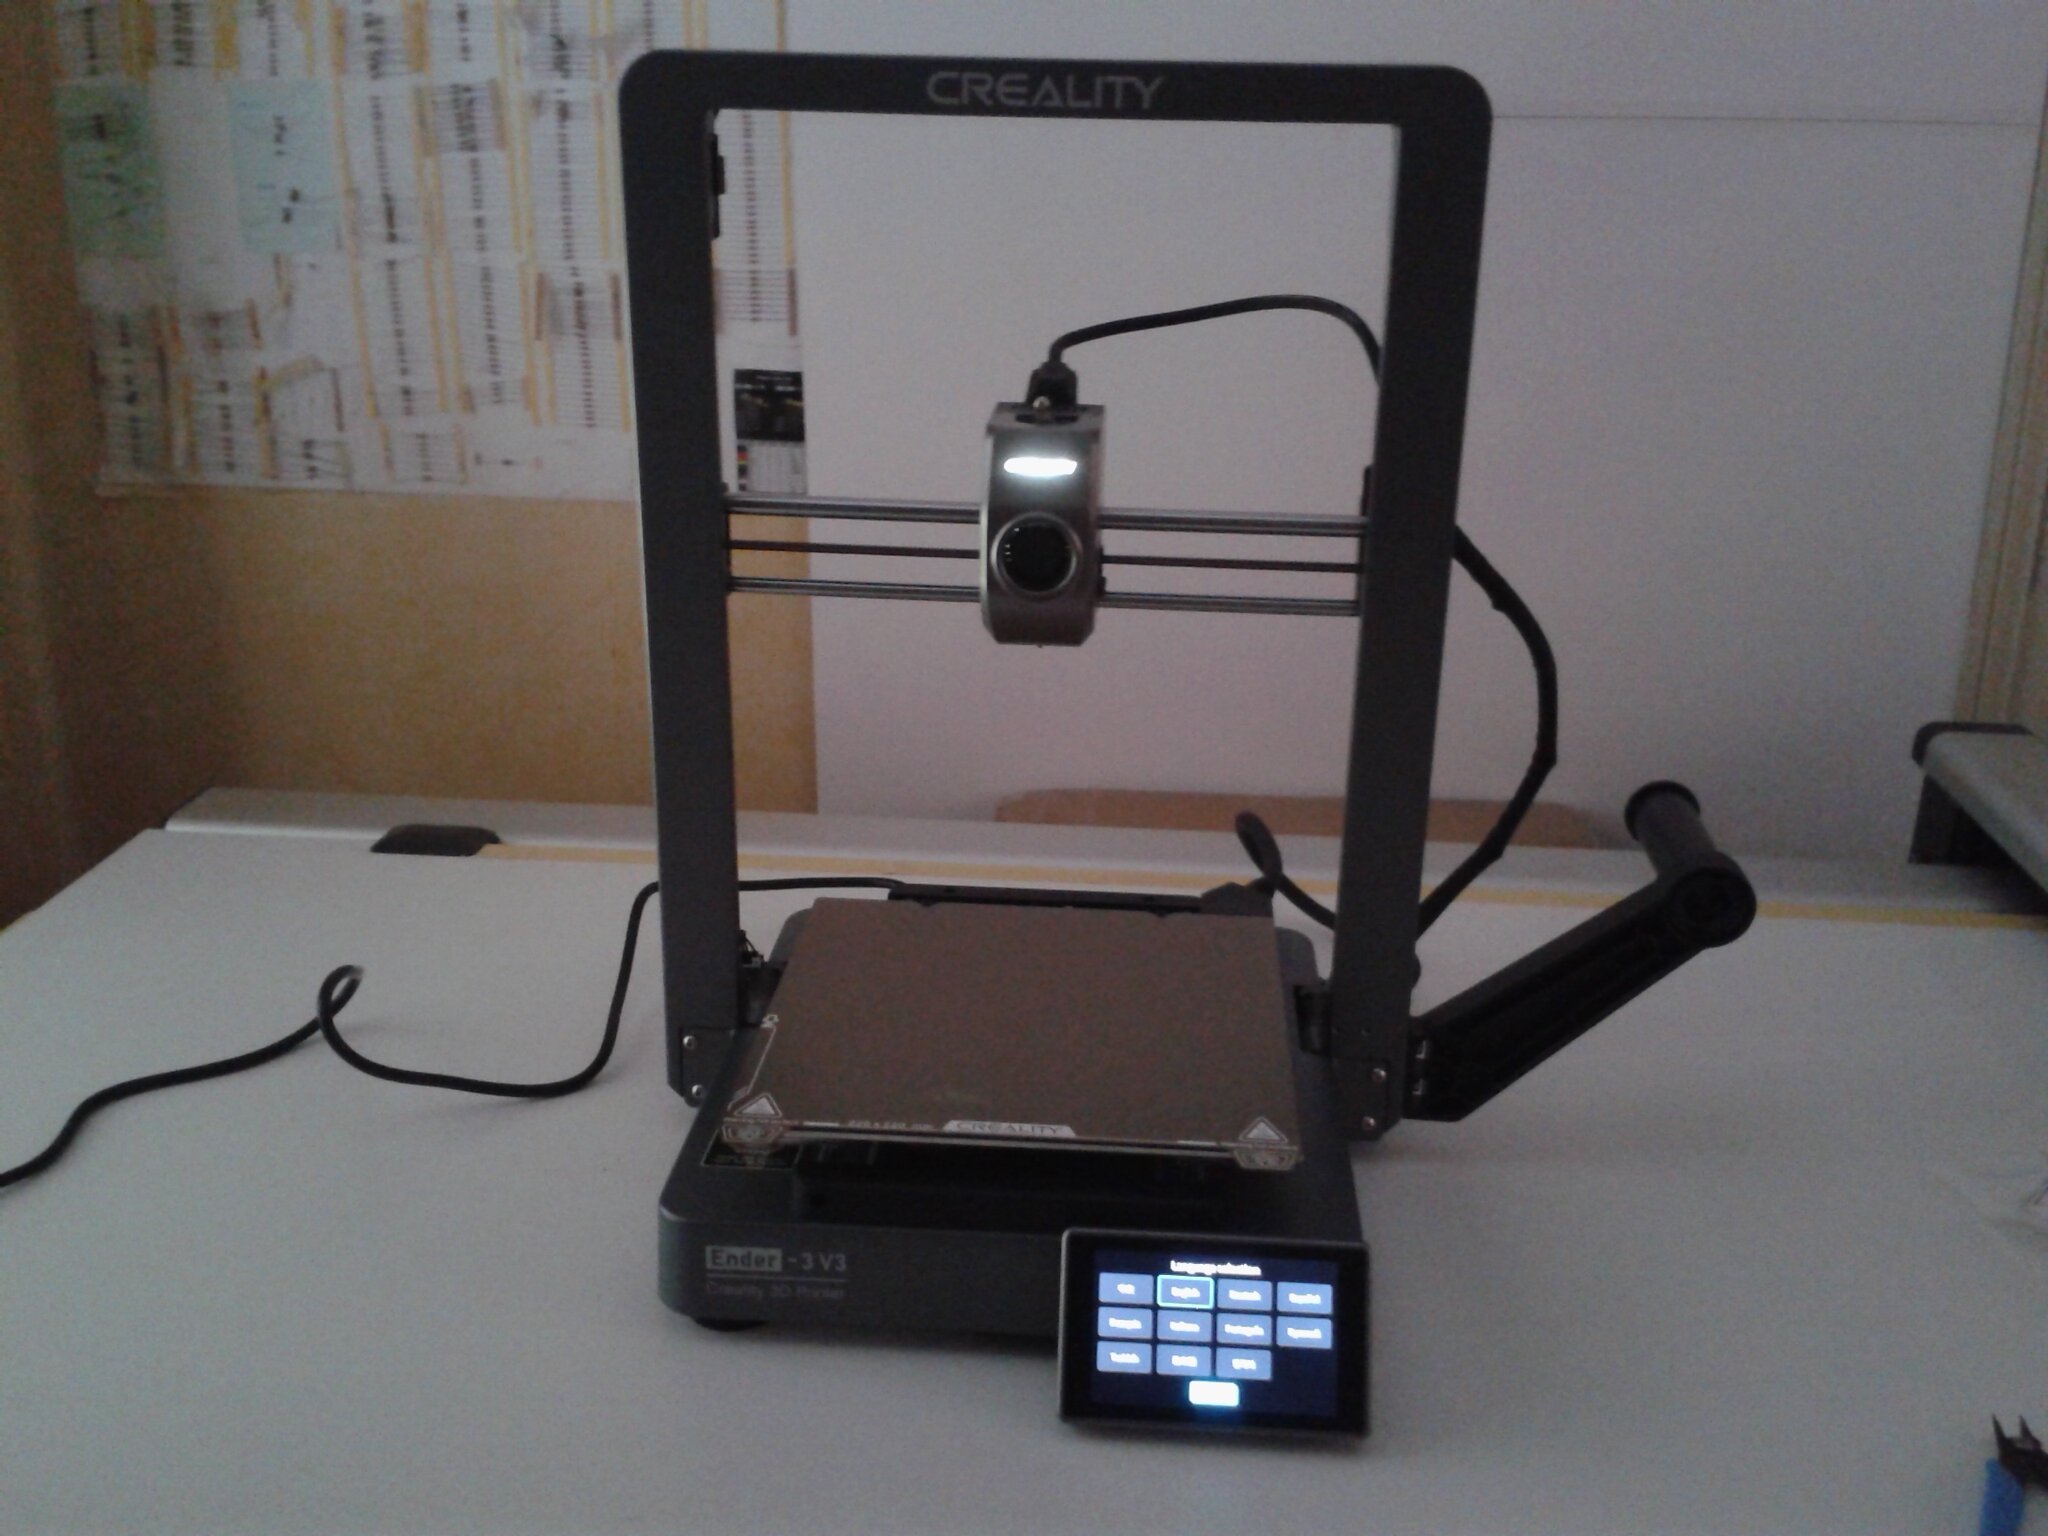
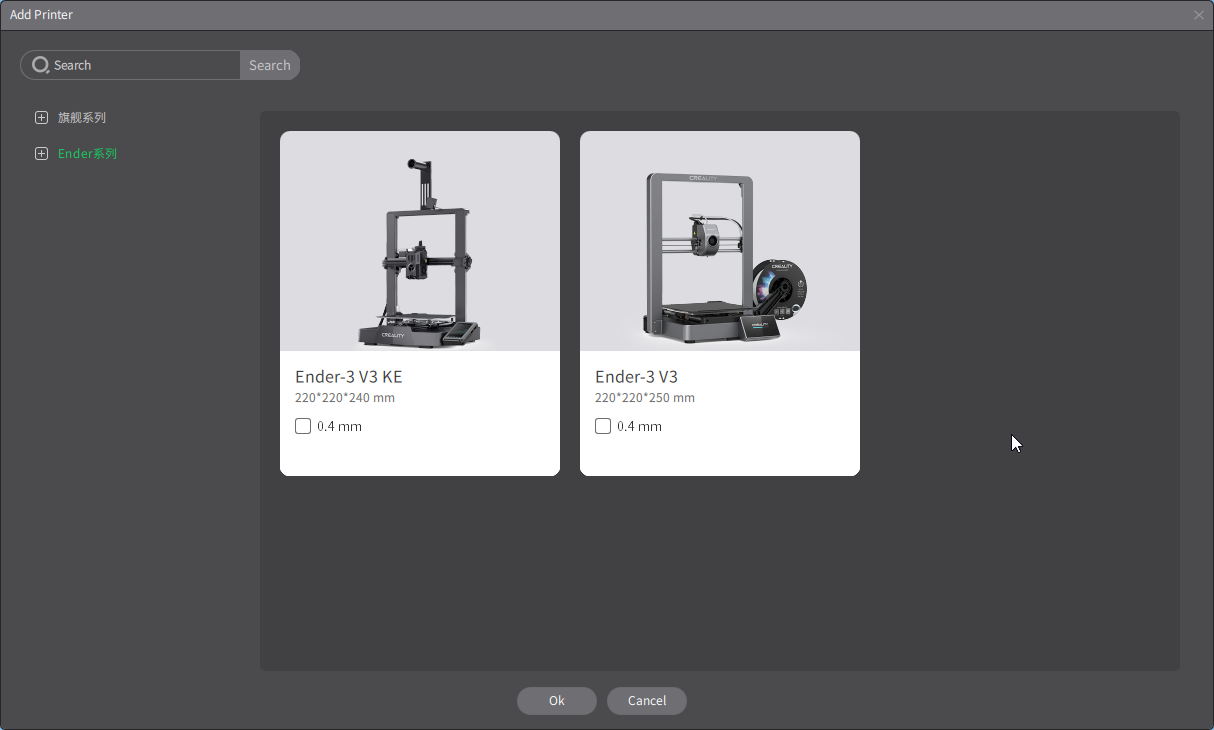
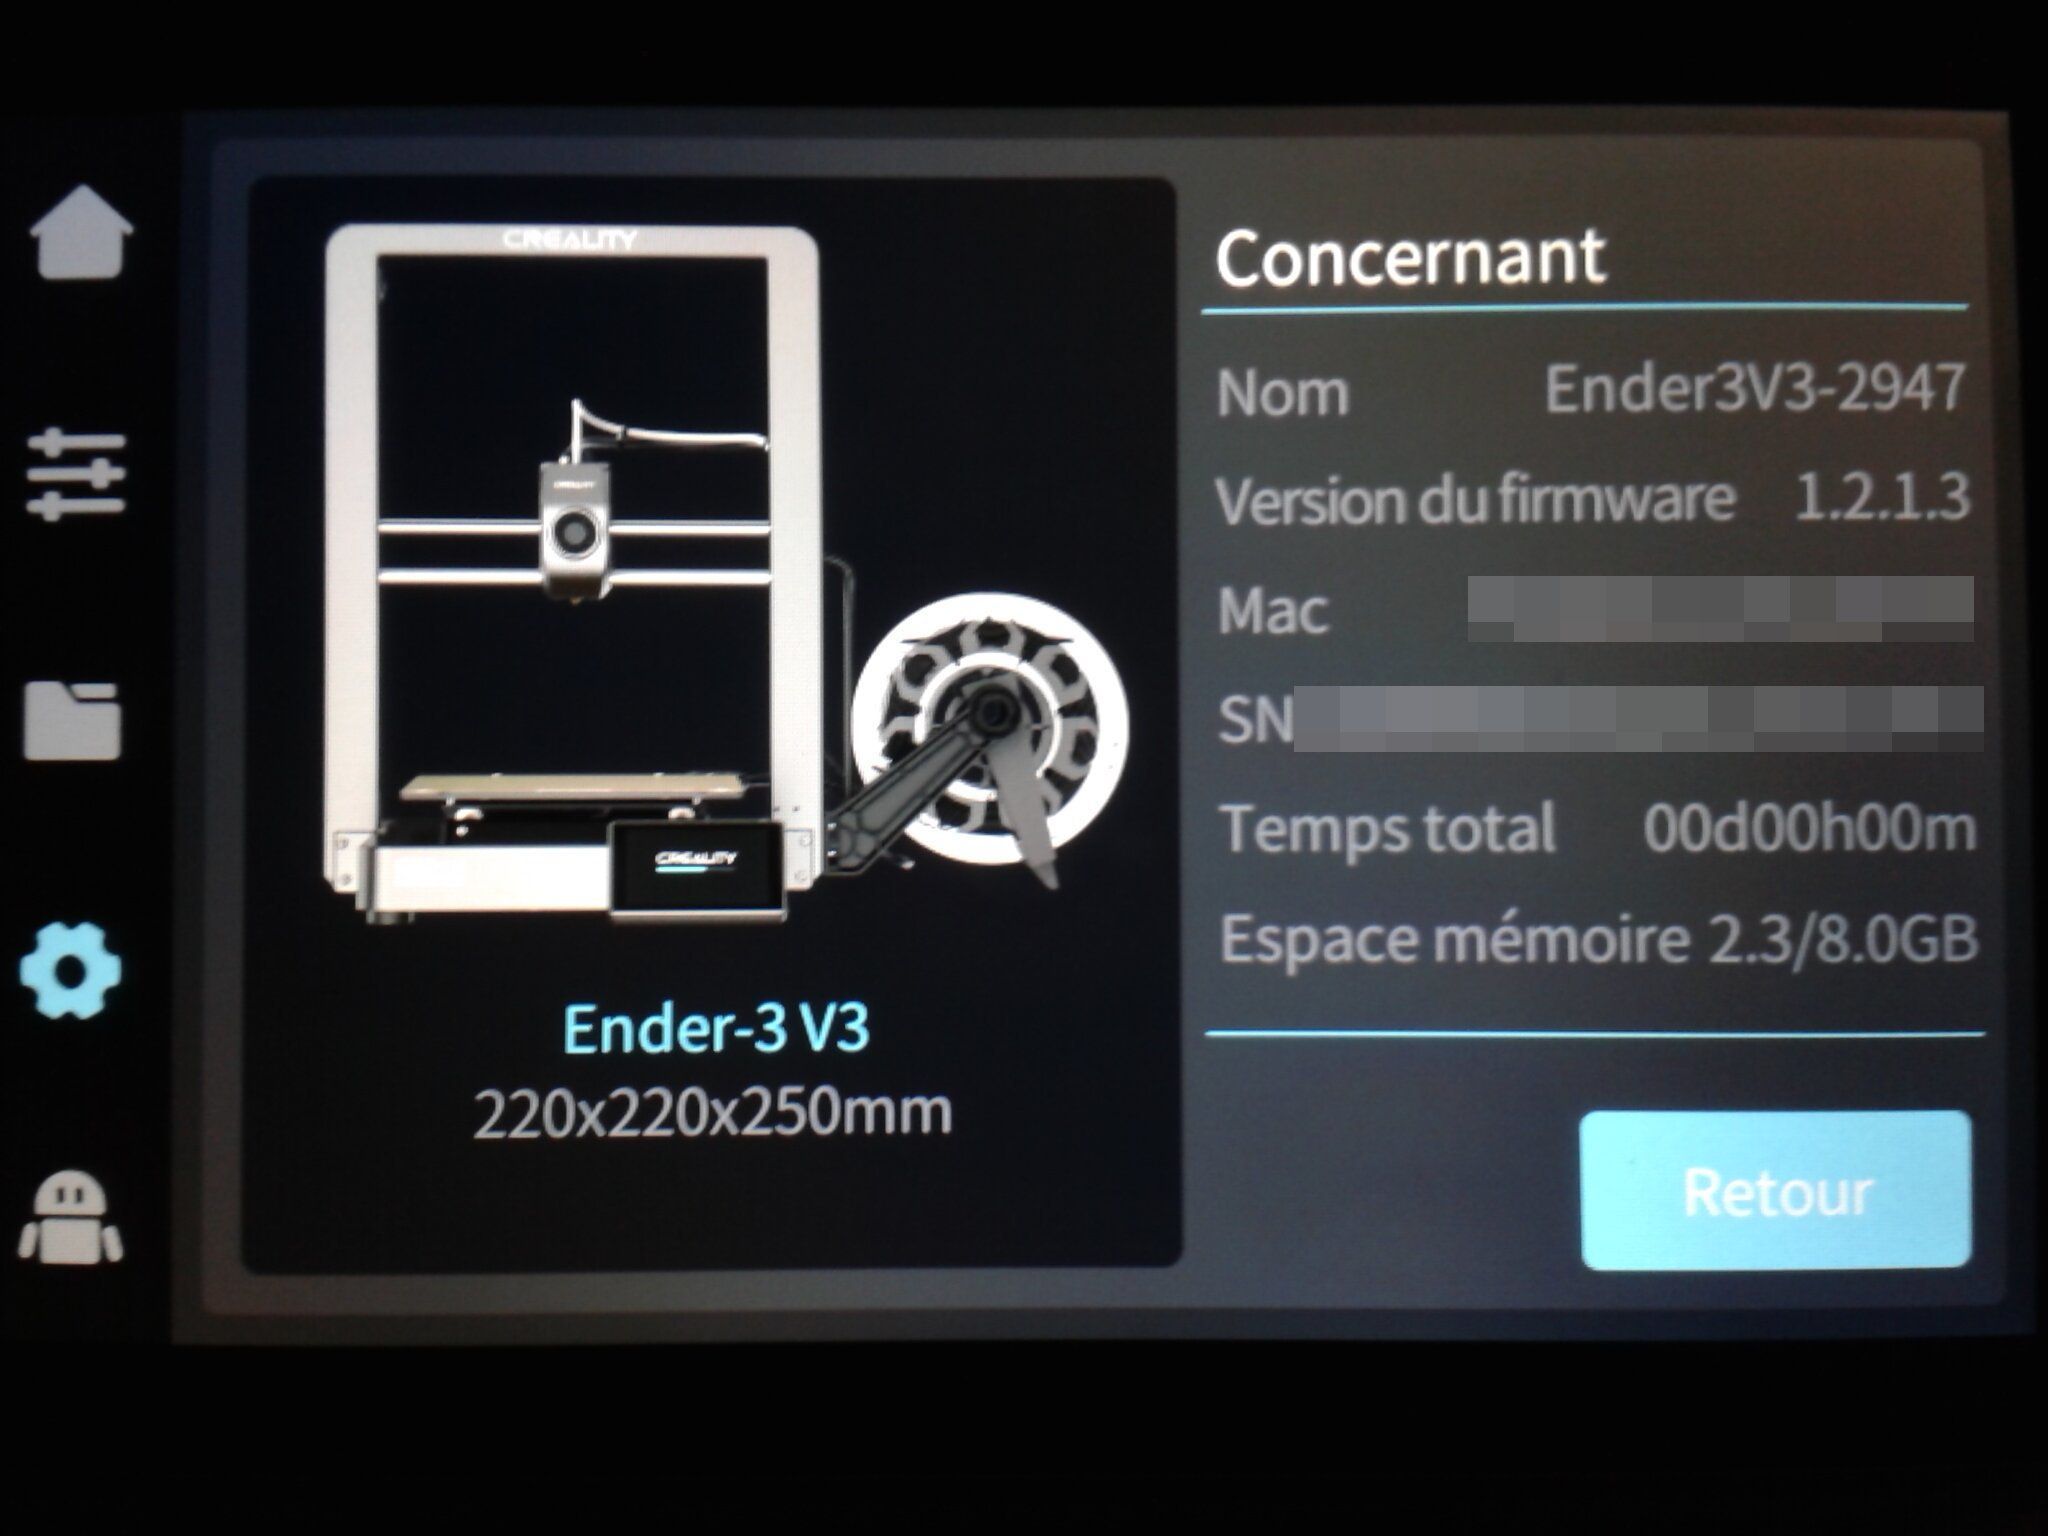
Après avoir testé les “Ender-3 V3 SE” (sujet, test) et “Ender-3 V3 KE” (sujet, test), j’ai eu le plaisir d’avoir entre les mains une Creality Ender-3 V3 en CoreXZ. Il s’agit d’une imprimante FDM rapide (vitesse maximale annoncée de 600 mm/s) qui fonctionne avec Creality OS et Klipper, ayant un volume d’impression de 220 x 220 x 250 mm. C’est la même machine que la Ender 3 V3 Plus qui offre un volume plus important. Bien qu’ayant un nom proche de la “SE” et de la “KE”, elle n’en est pas moins différente.
Comme à mon habitude, cet article de test synthétise mon sujet de découverte de la Creality Ender-3 V3 sur le forum, que je vous invite à parcourir pour plus de détails et de photos.
Fiche technique de la Ender-3 V3 (CoreXZ)
Les principales différences entre la Ender-3 V3, la “KE” et la “SE” sont :
- Une refonte complète de la structure pour offrir un CoreXZ qui permet de se passer des tiges filetées habituelles sur l’axe Z et ainsi limiter les risques de “Z banding” ou “Z wobble”.
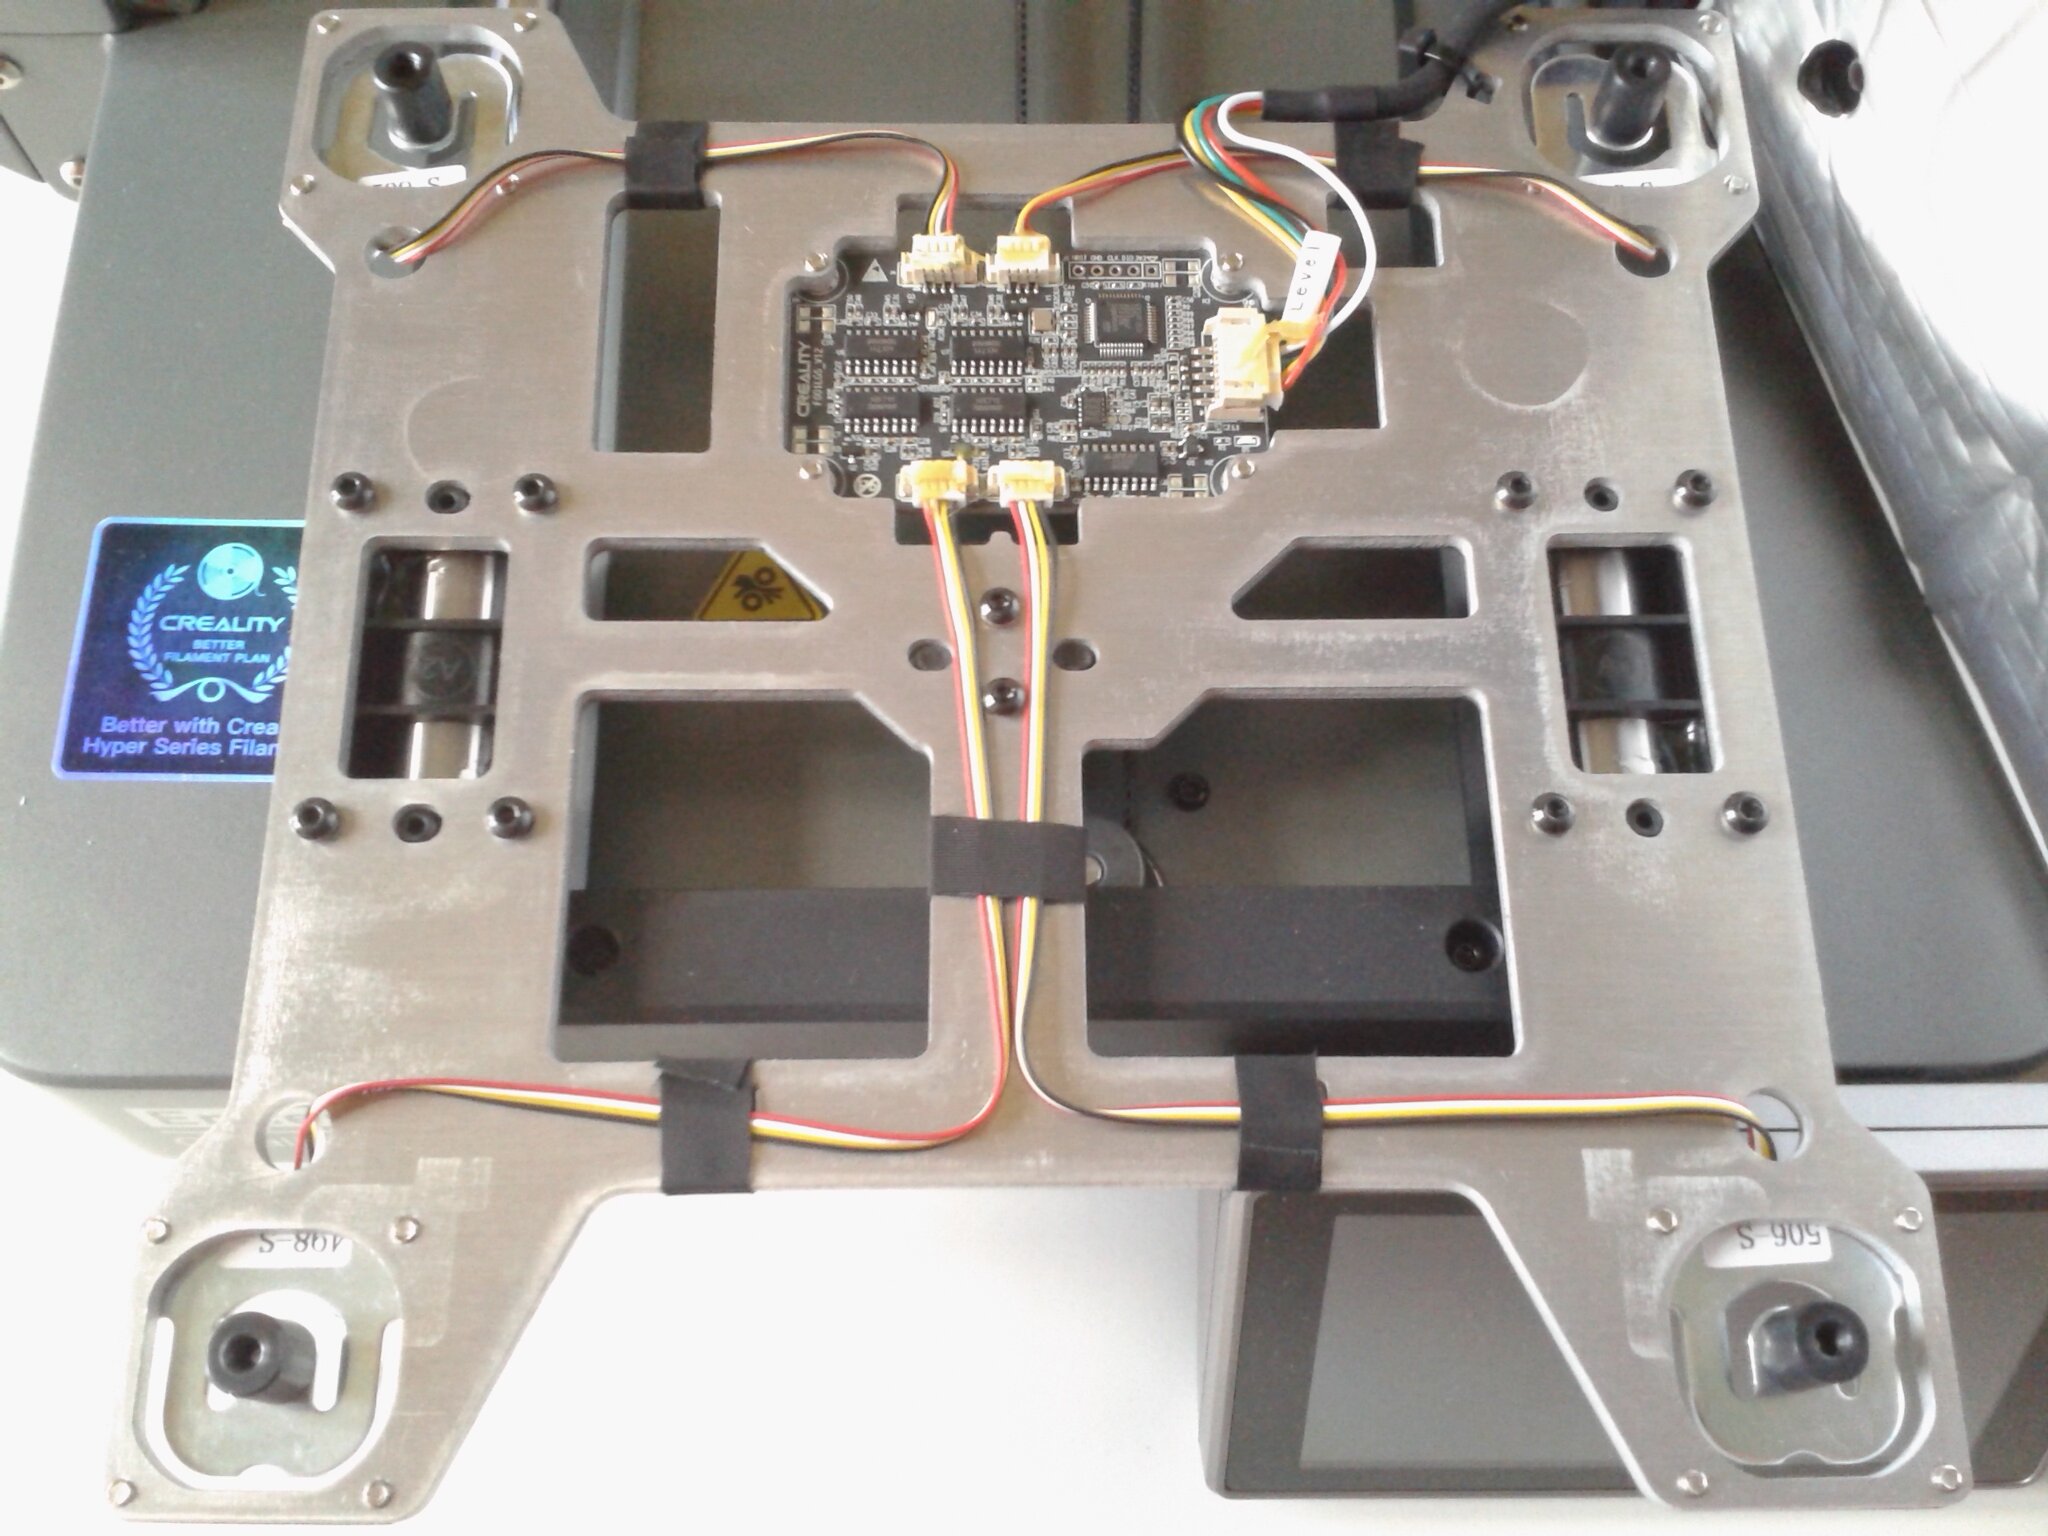
- La présence de quatre capteurs de pression (jauge de déformation), un sous chaque coin du plateau, pour obtenir des couches initiales parfaitement écrasées de manière automatique.
- il n’y a plus de capteur de nivellement type CR-Touch, le leveling automatique du plateau se fait par la détection de la pression exercée par le contact du nez de la buse sur le plateau.
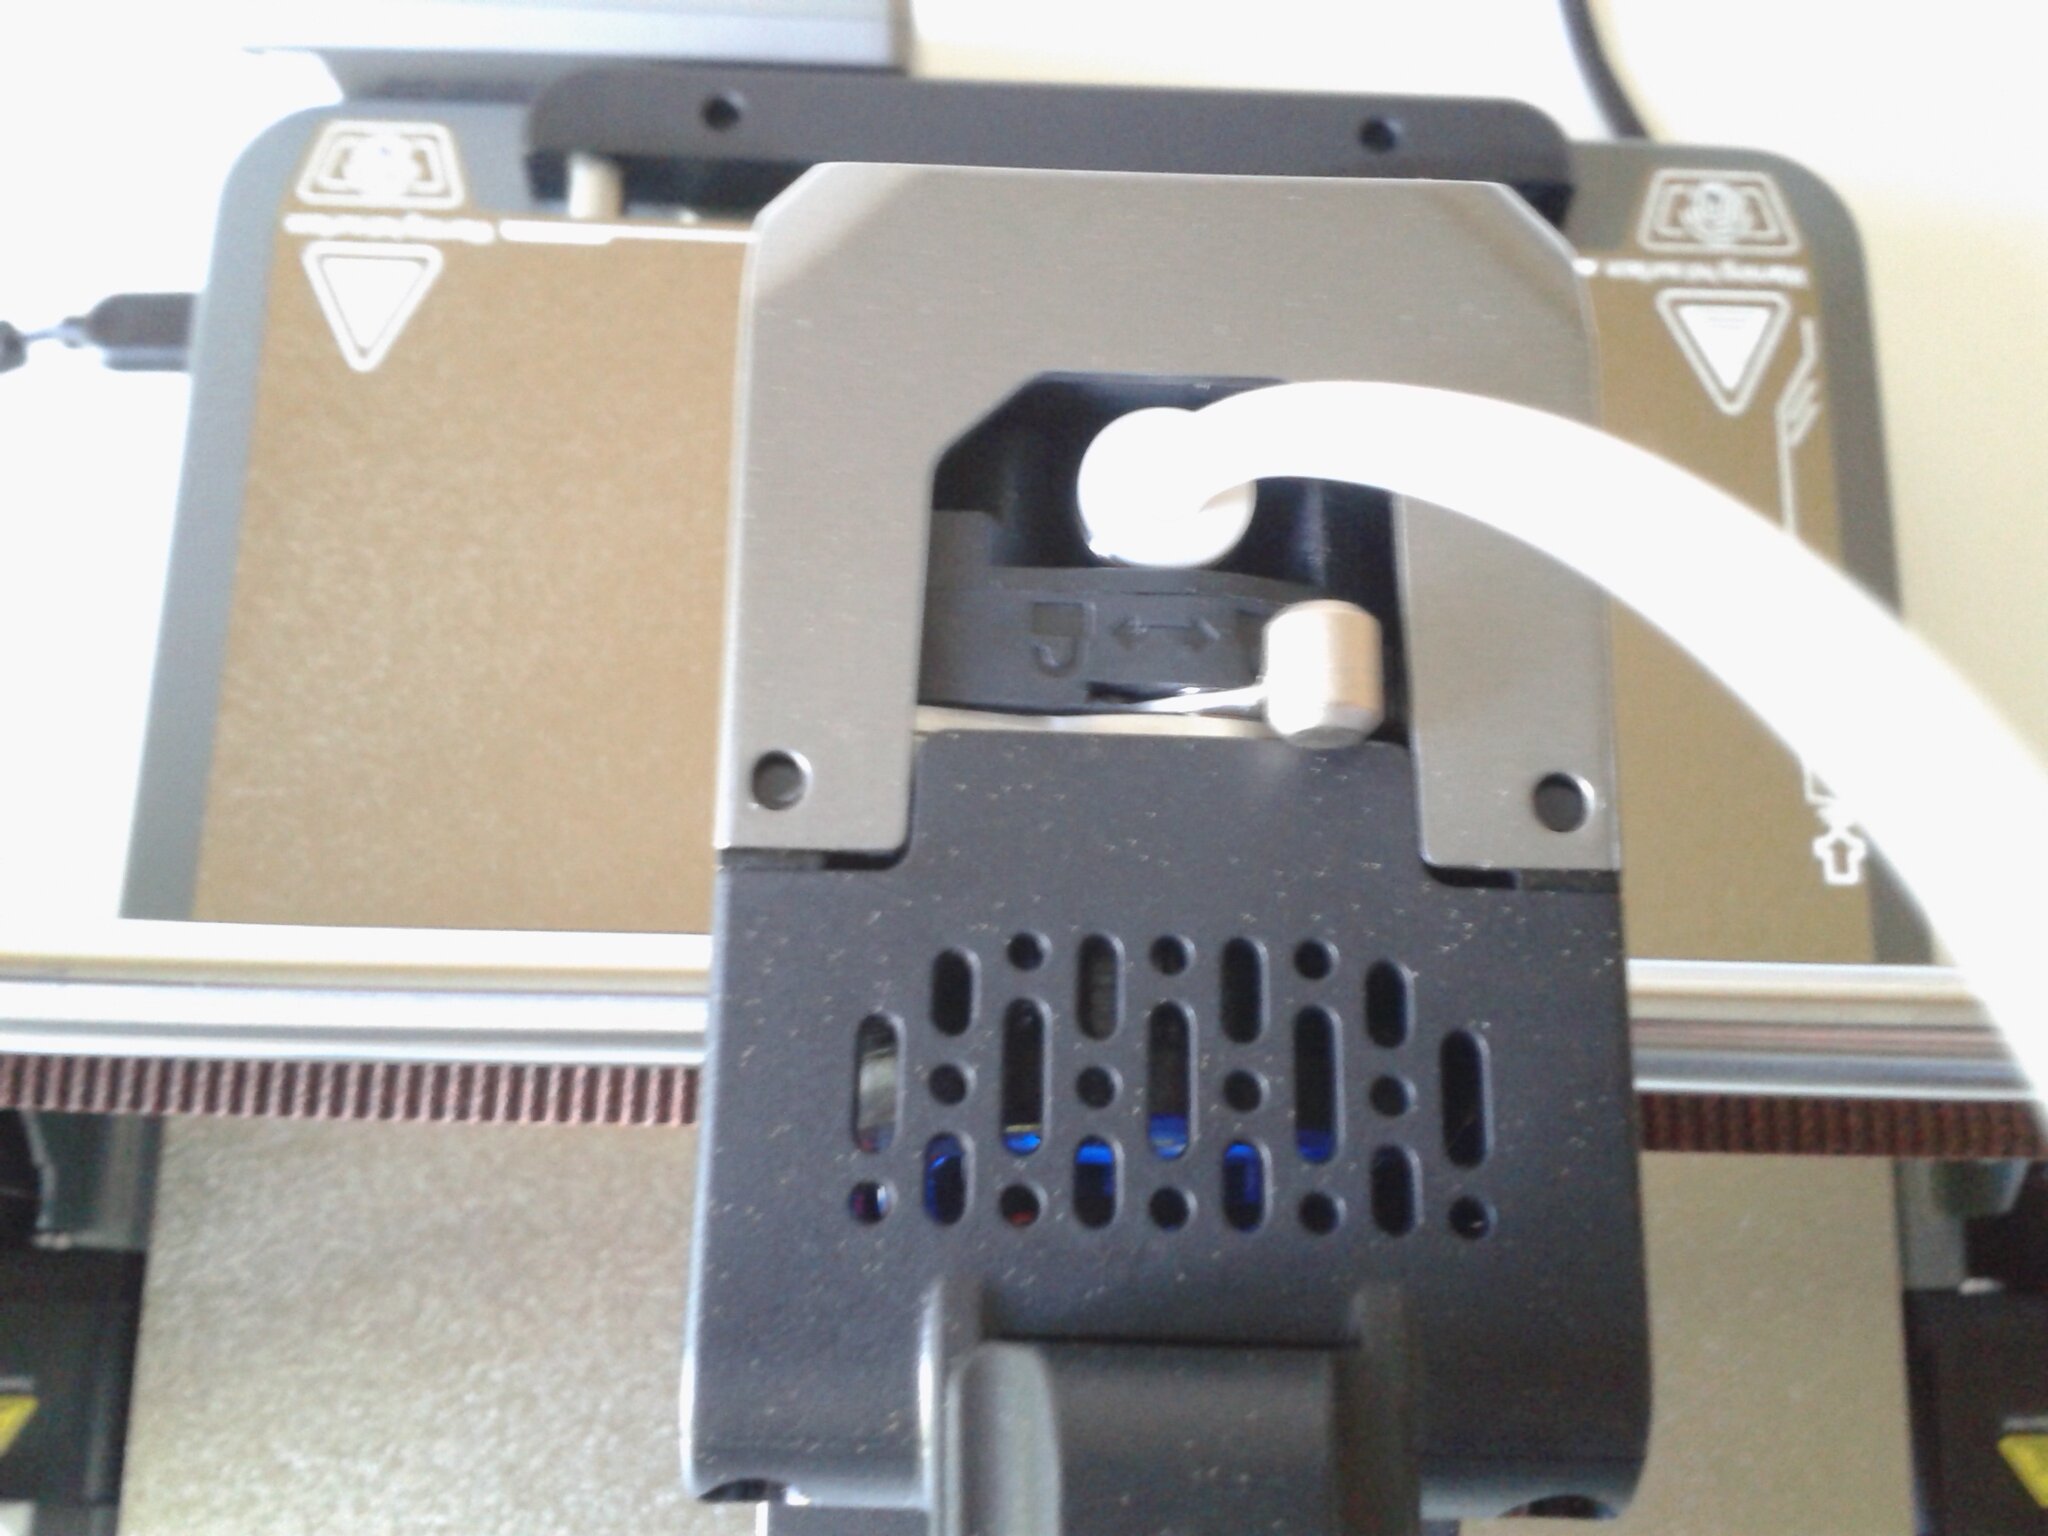
- Une tête d’impression revisitée, avec, comme sur la K1C :
- un nouvel extrudeur Direct Drive,
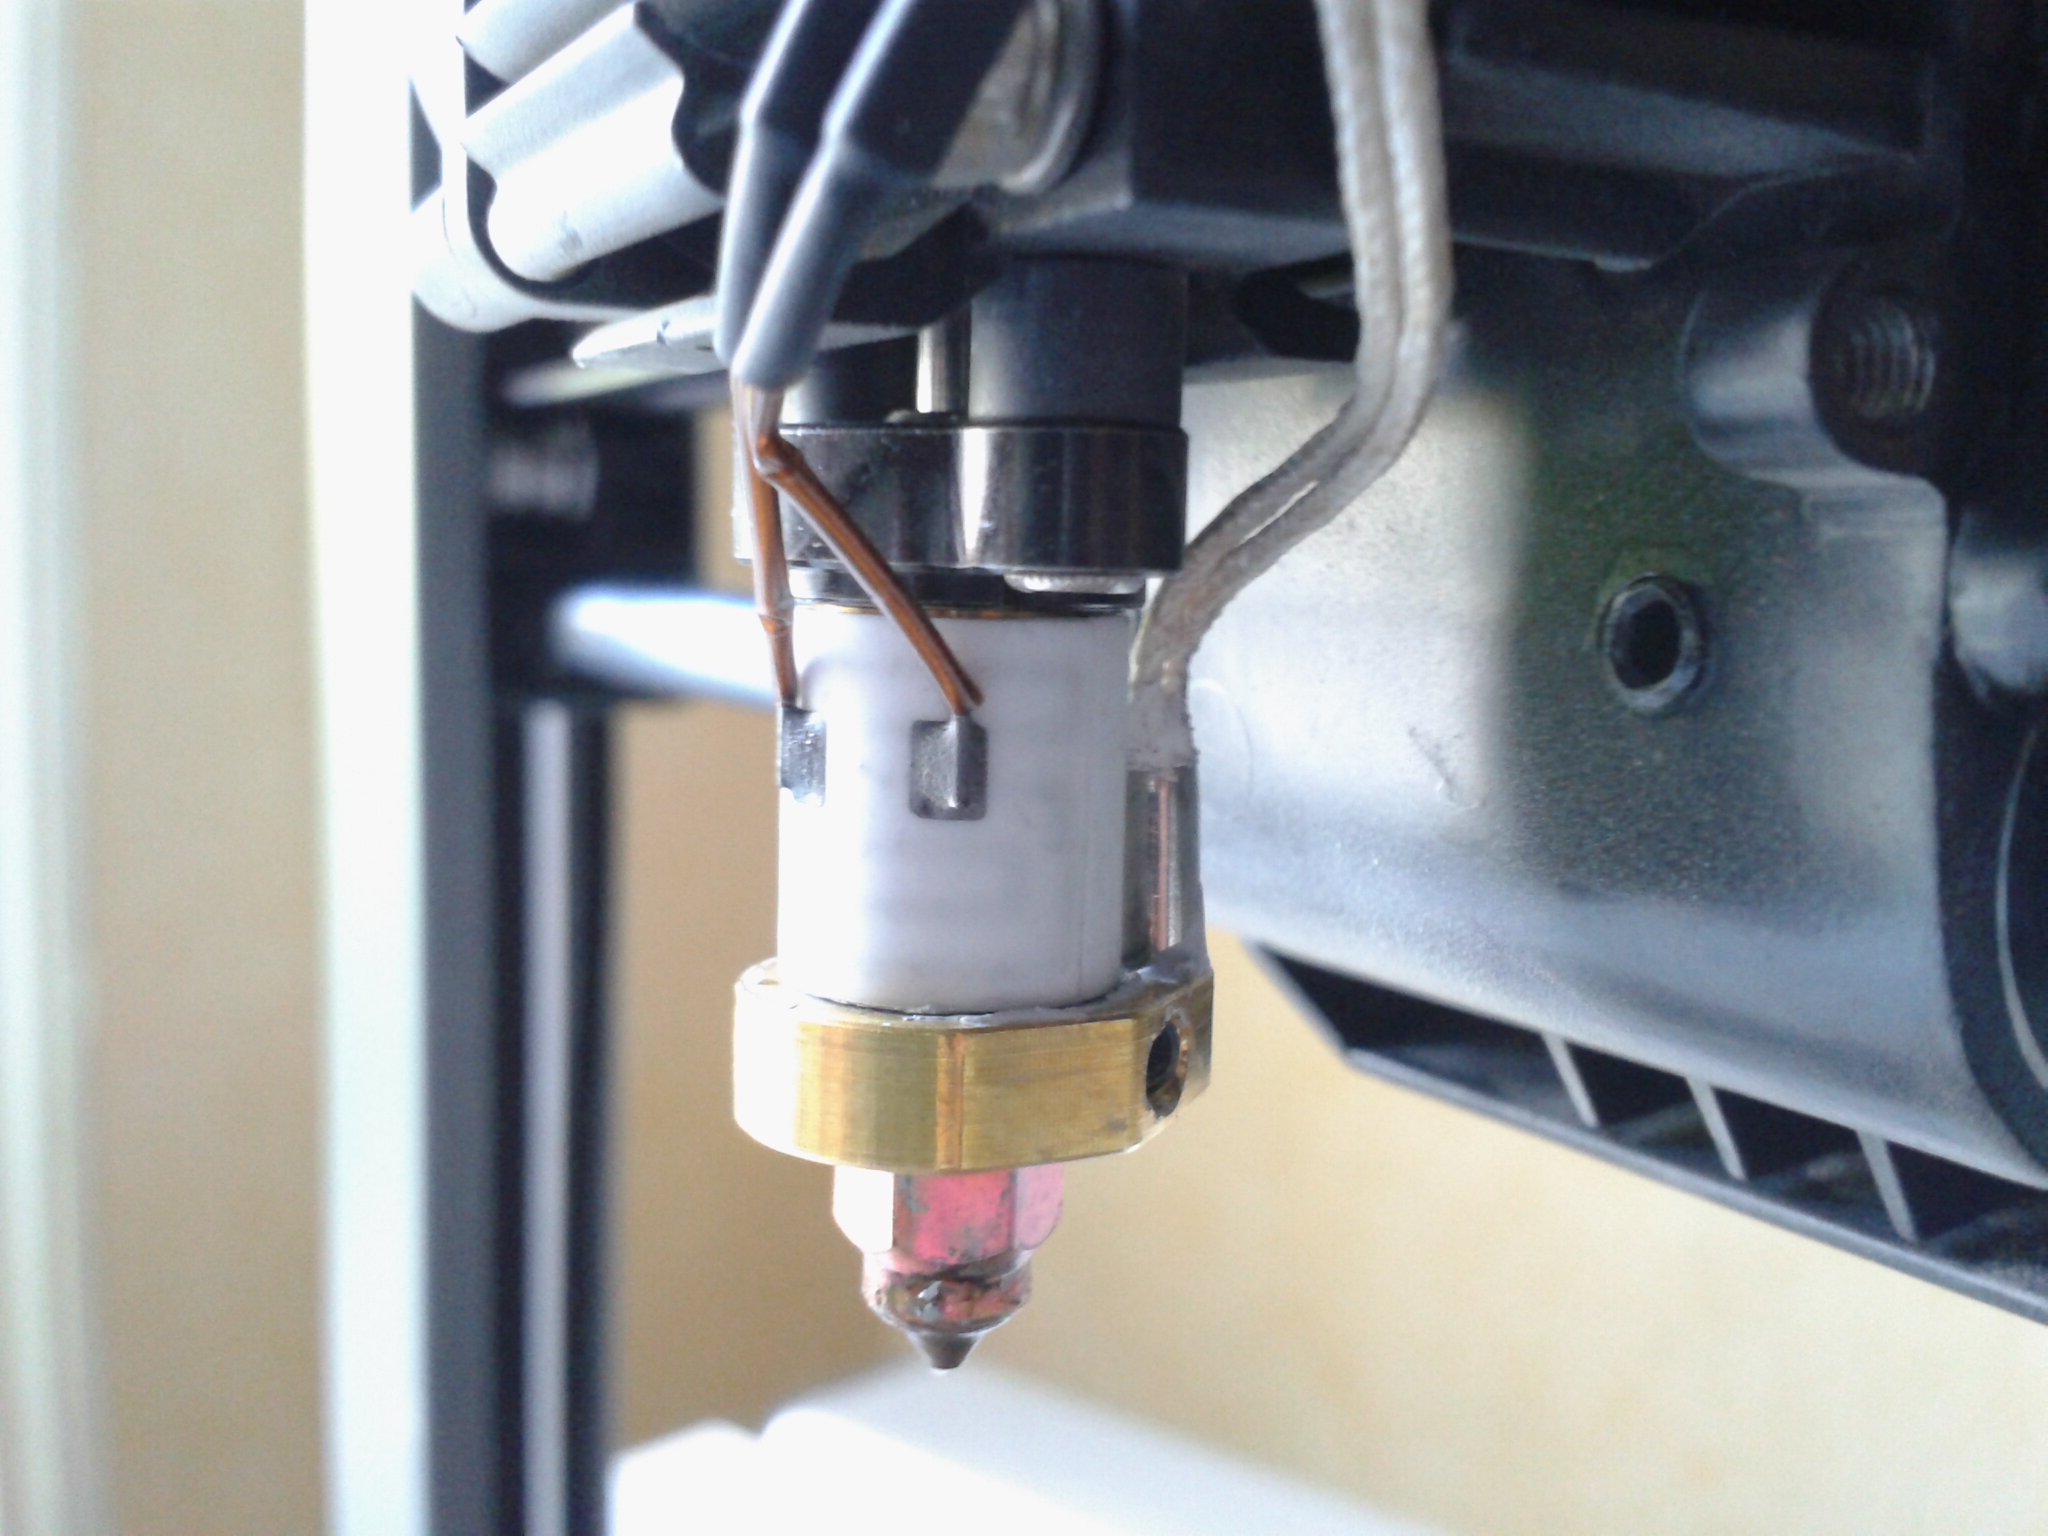
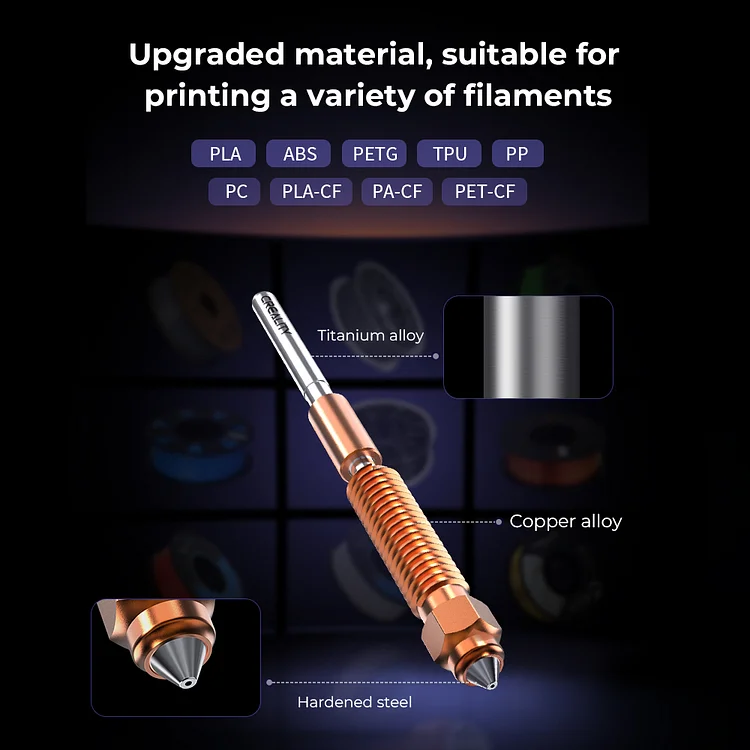
- un système de buse “Licorne” (“Unicorn”) qui intègre le HeatBreak et permet des températures d’impression jusqu’à 300°C,
- ainsi que deux ventilateurs de refroidissement de l’impression.
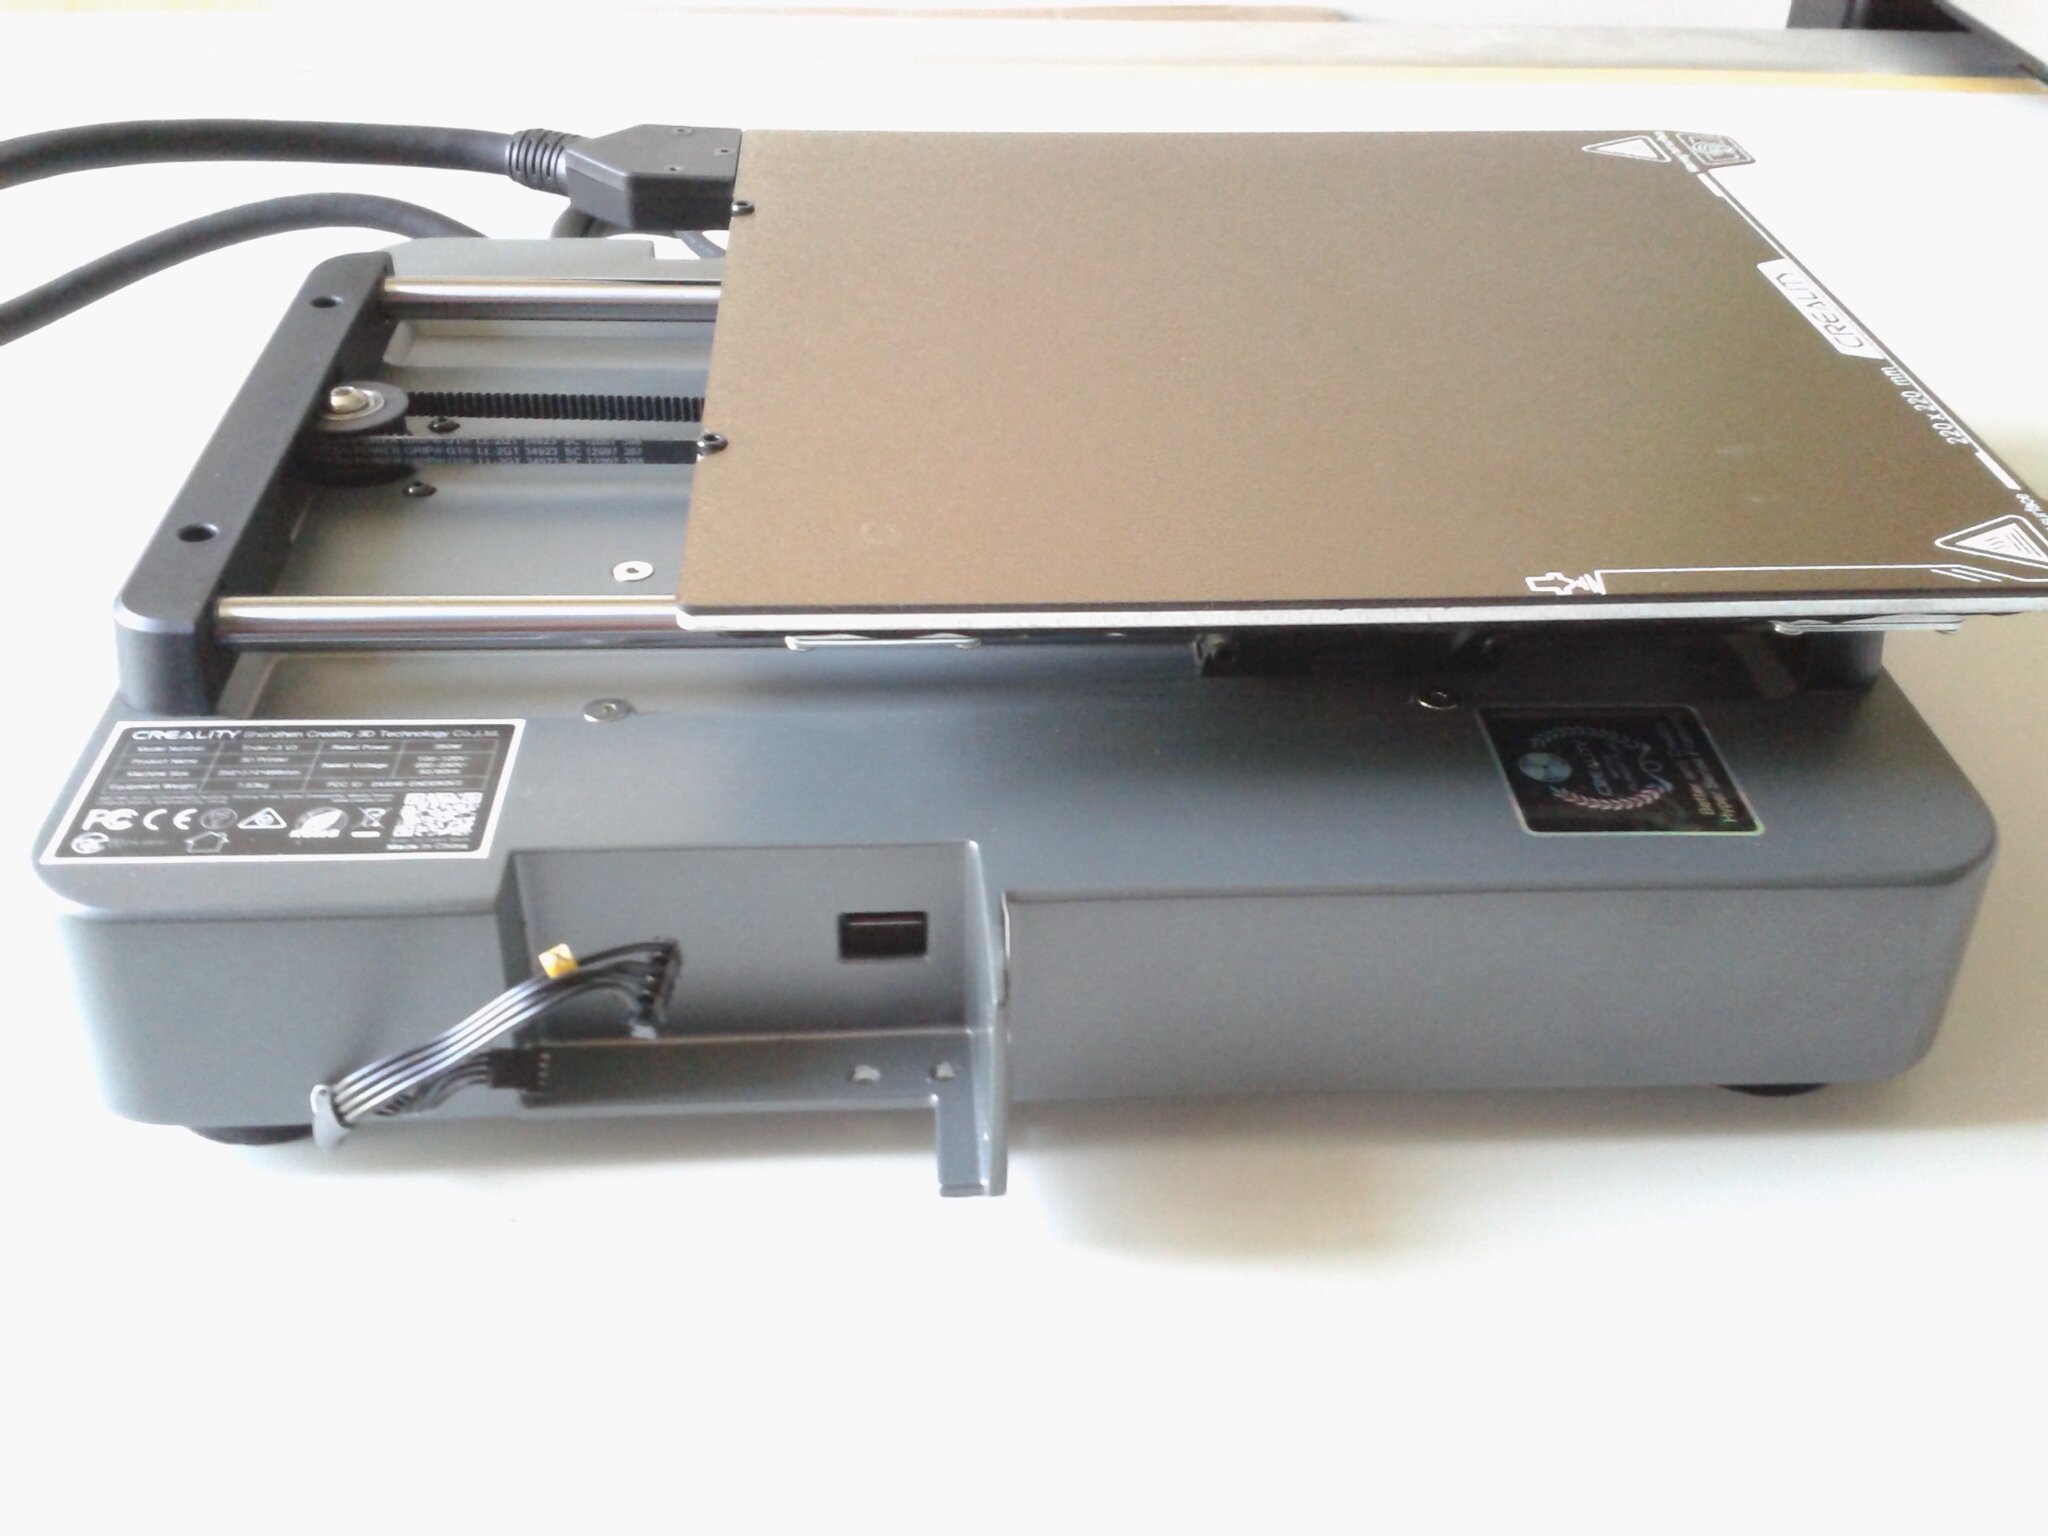
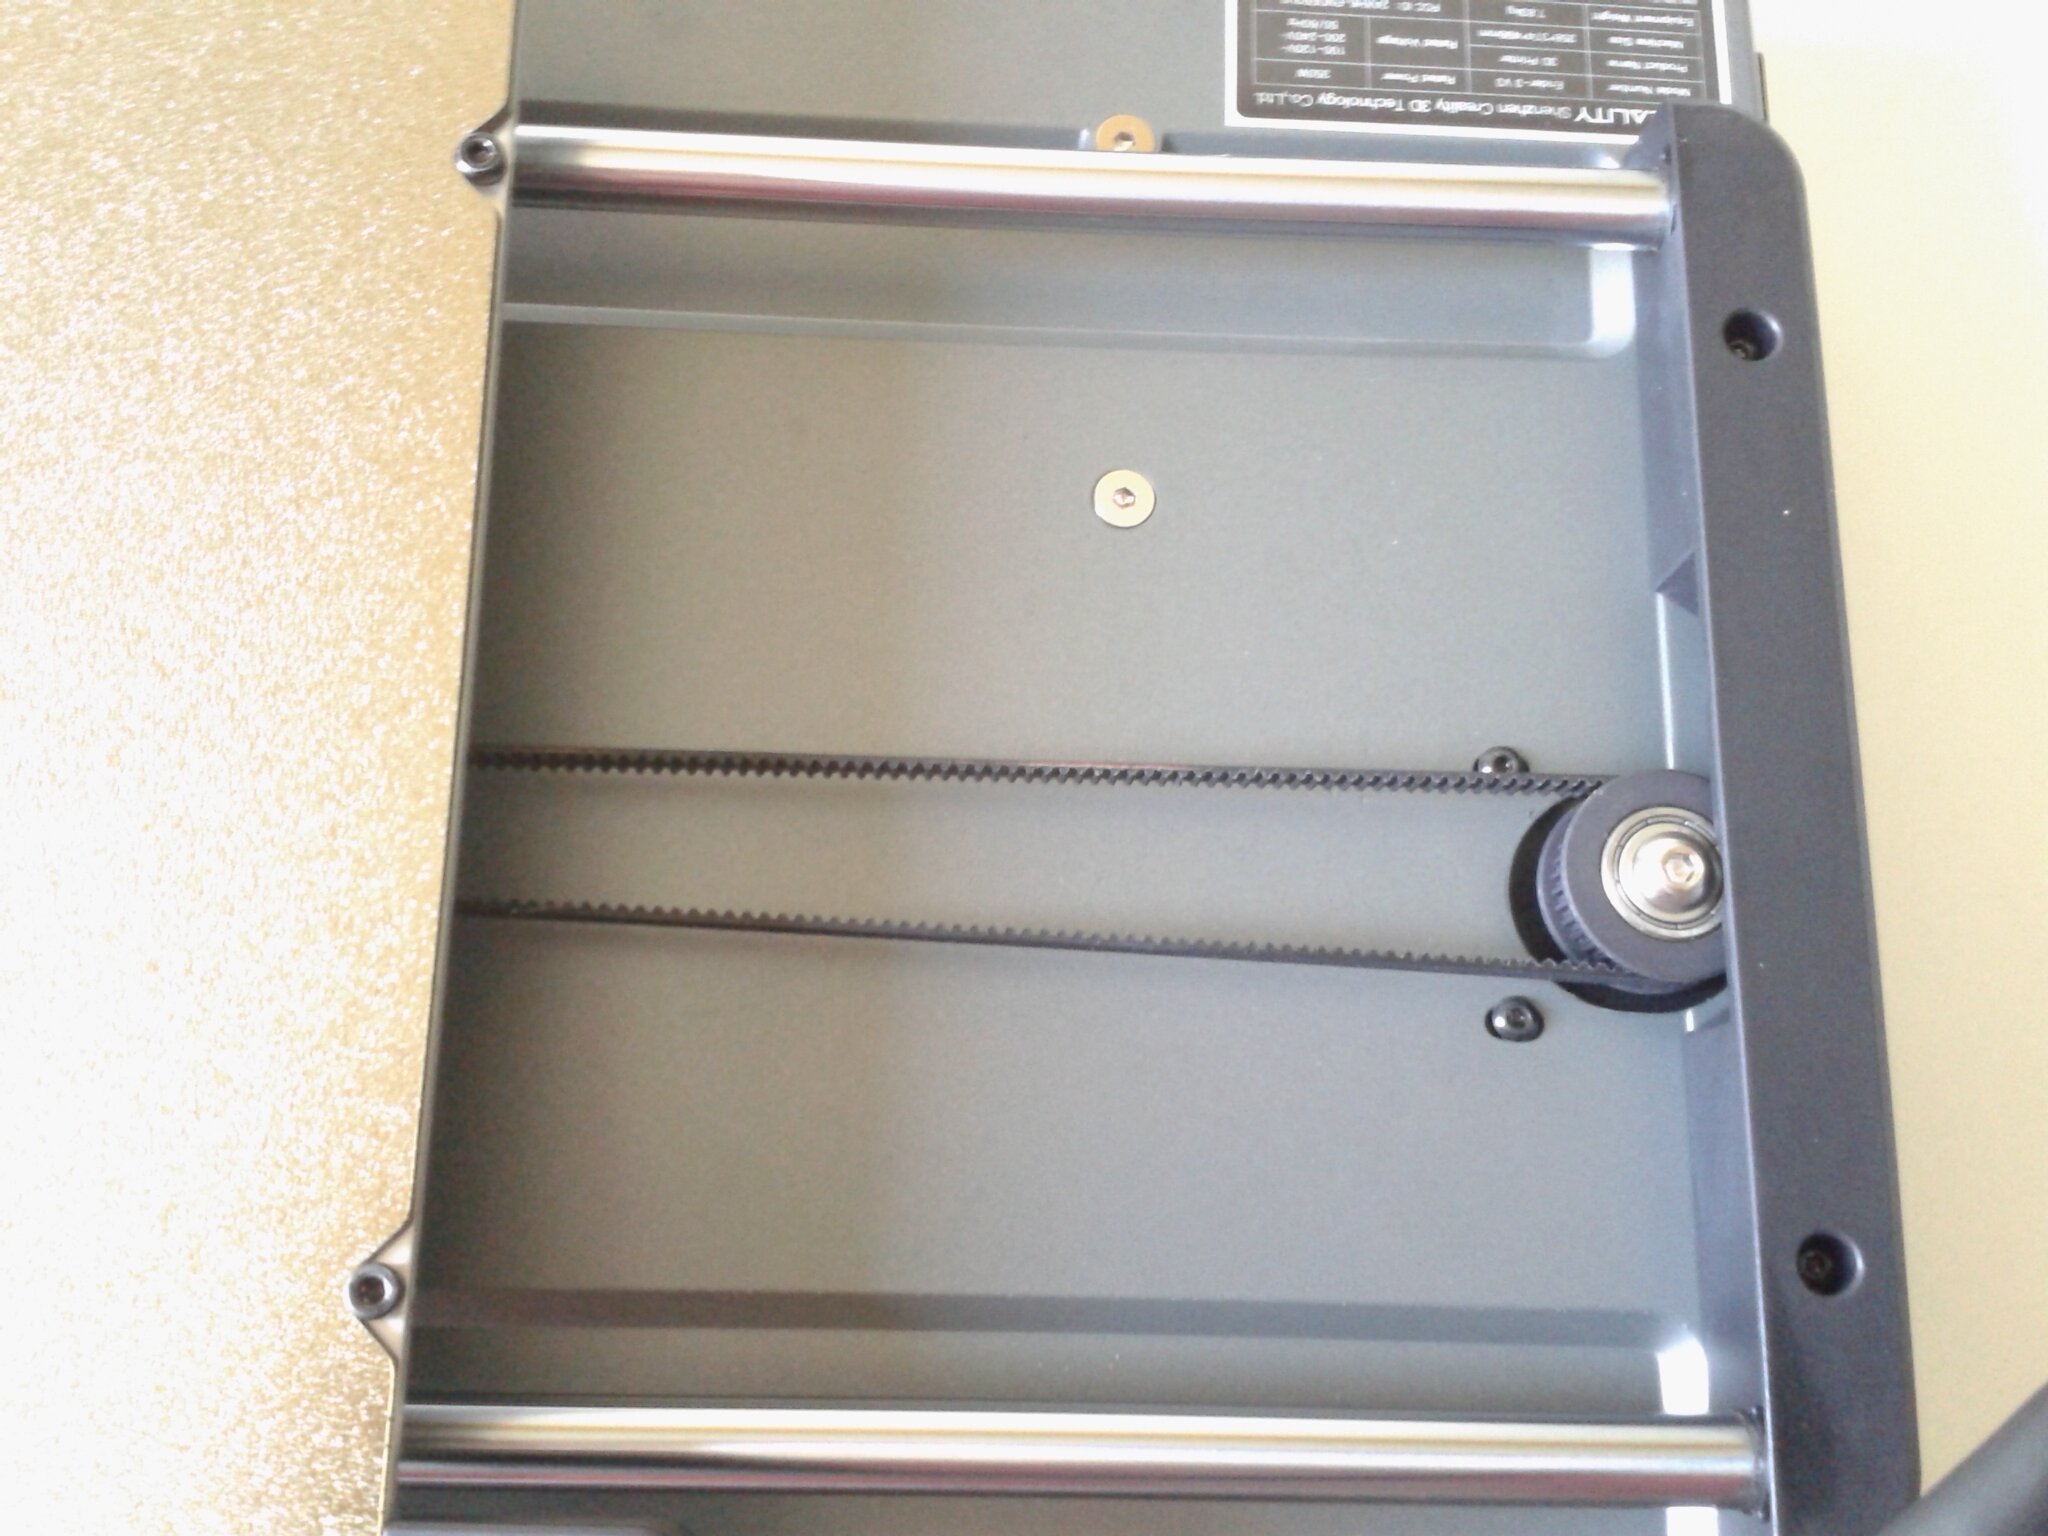
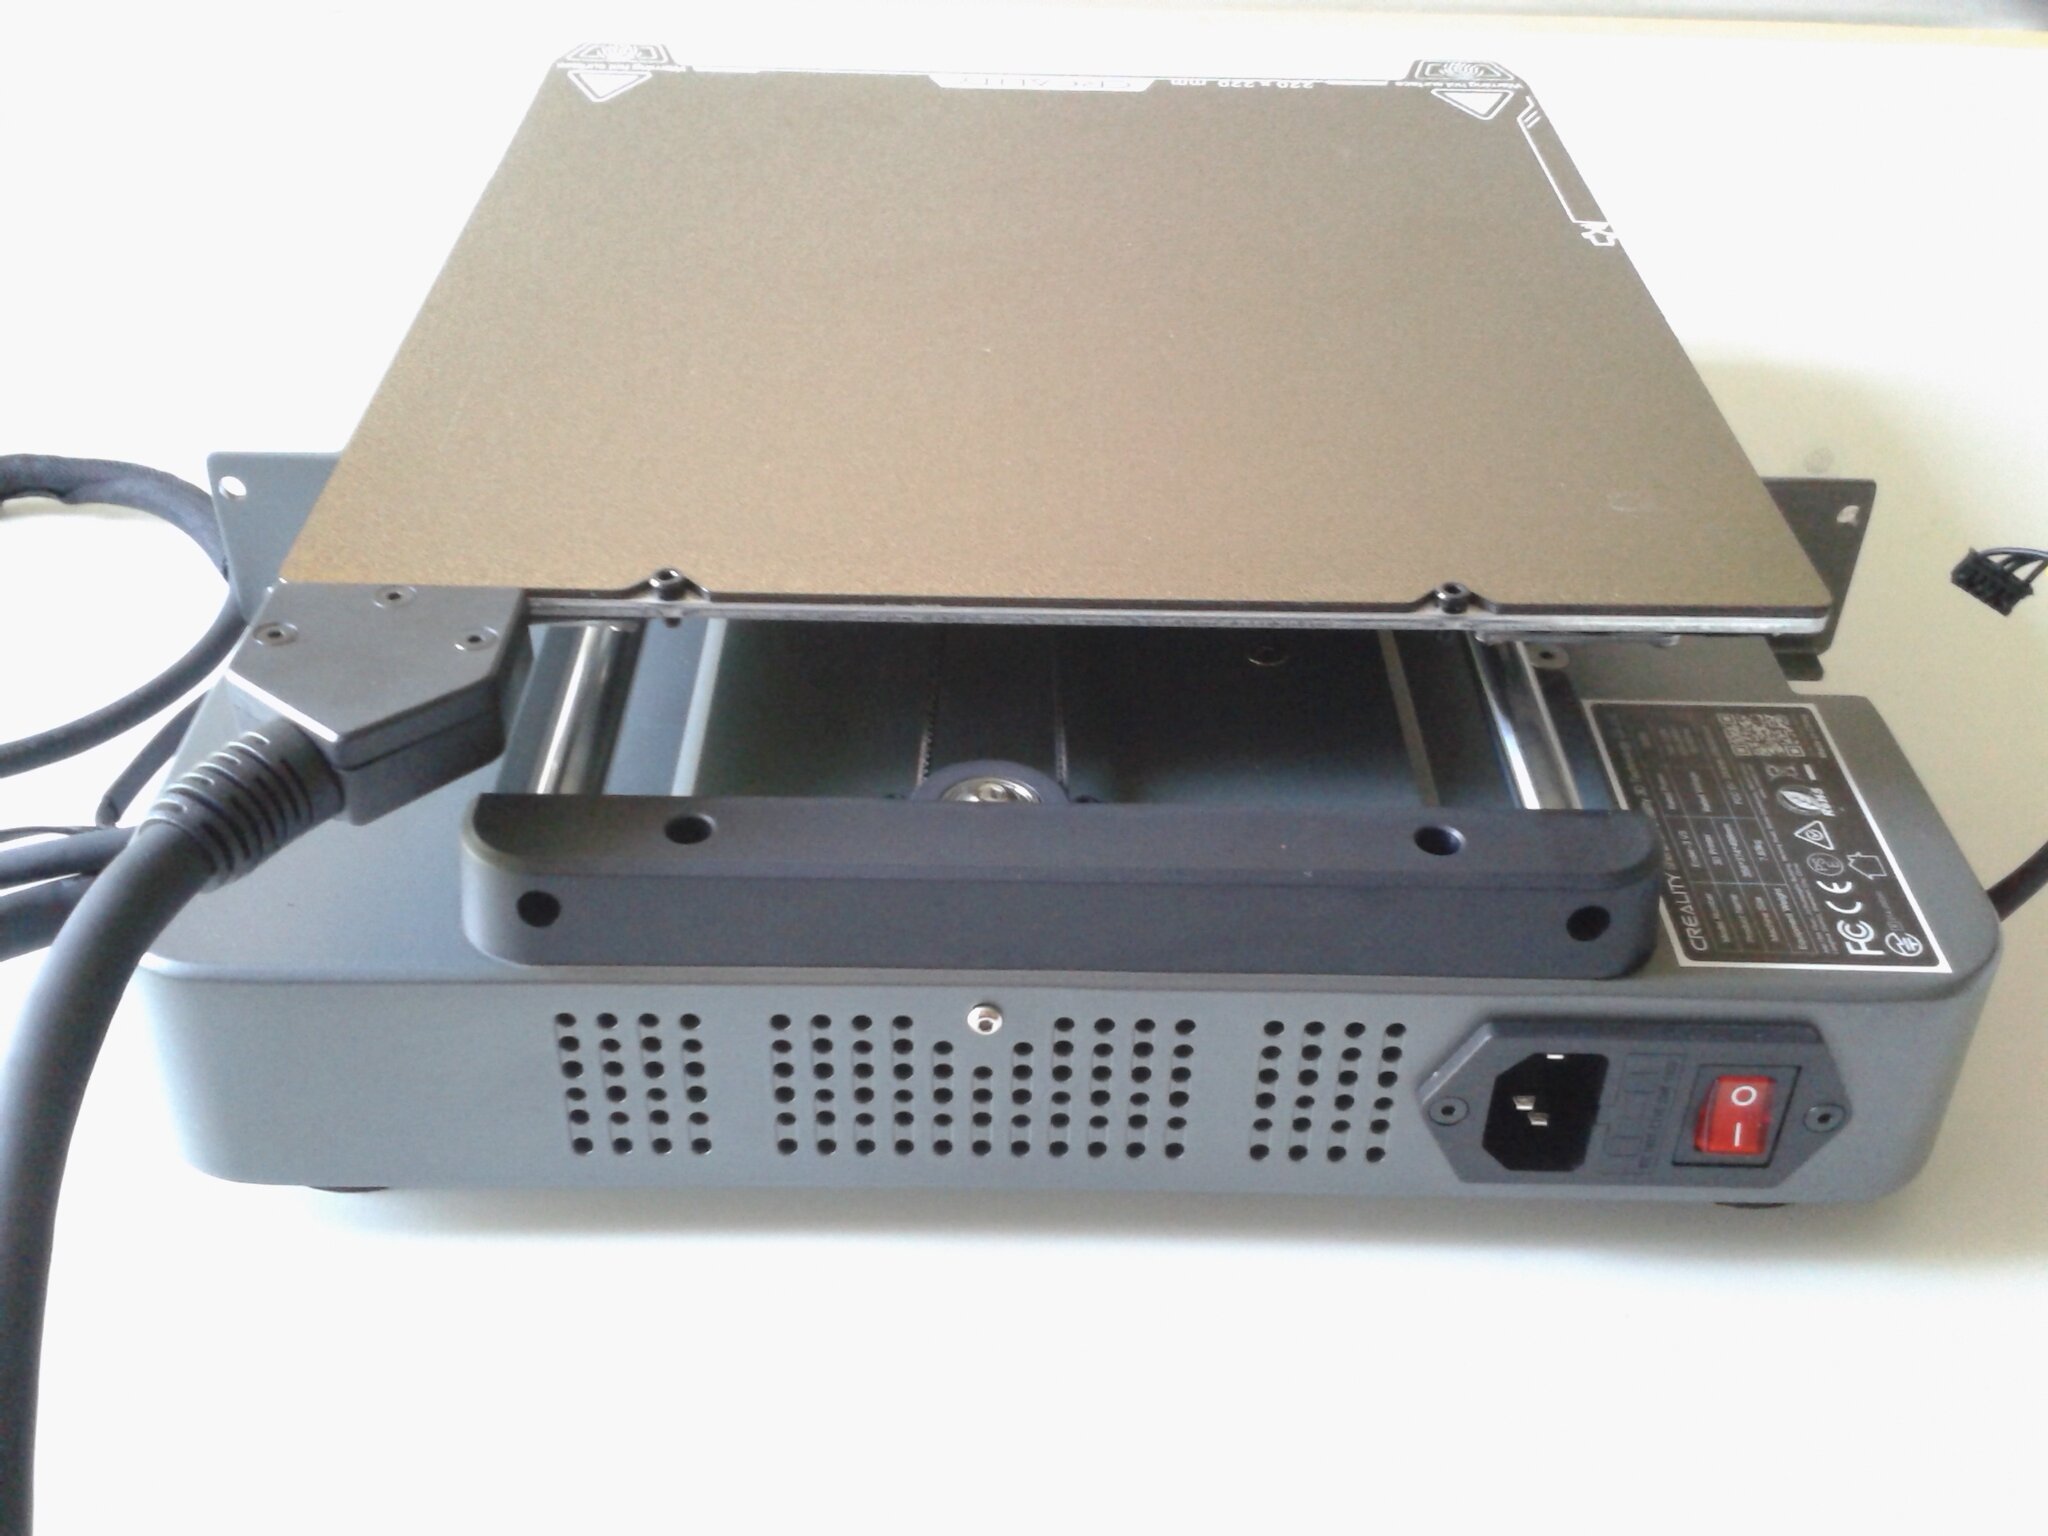
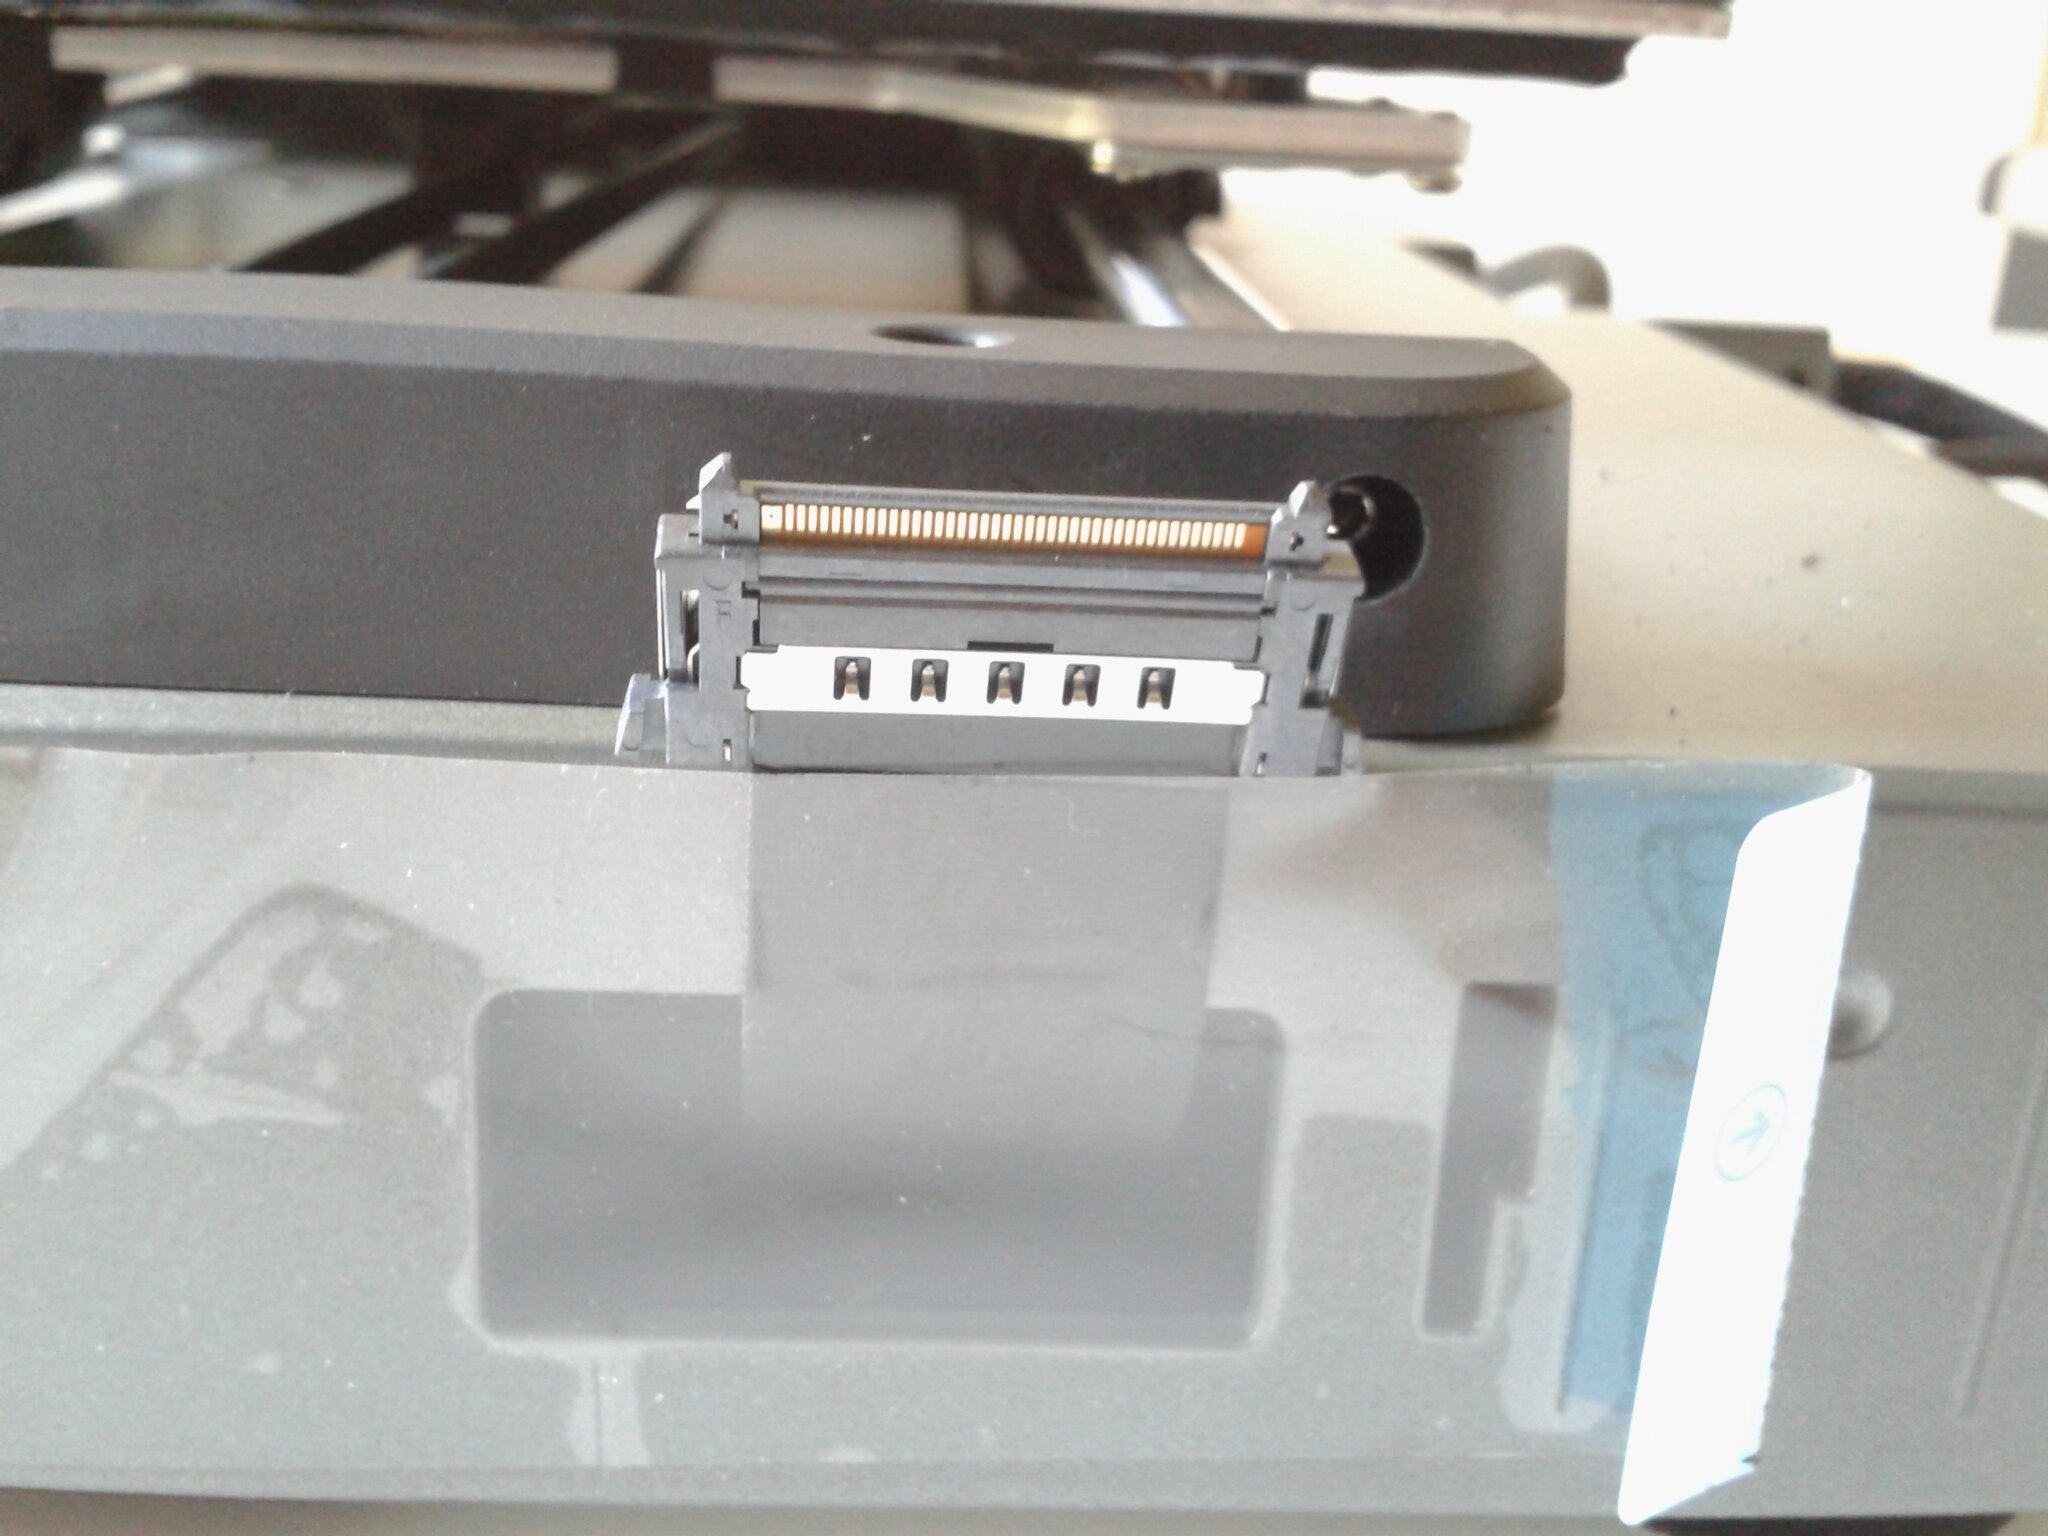
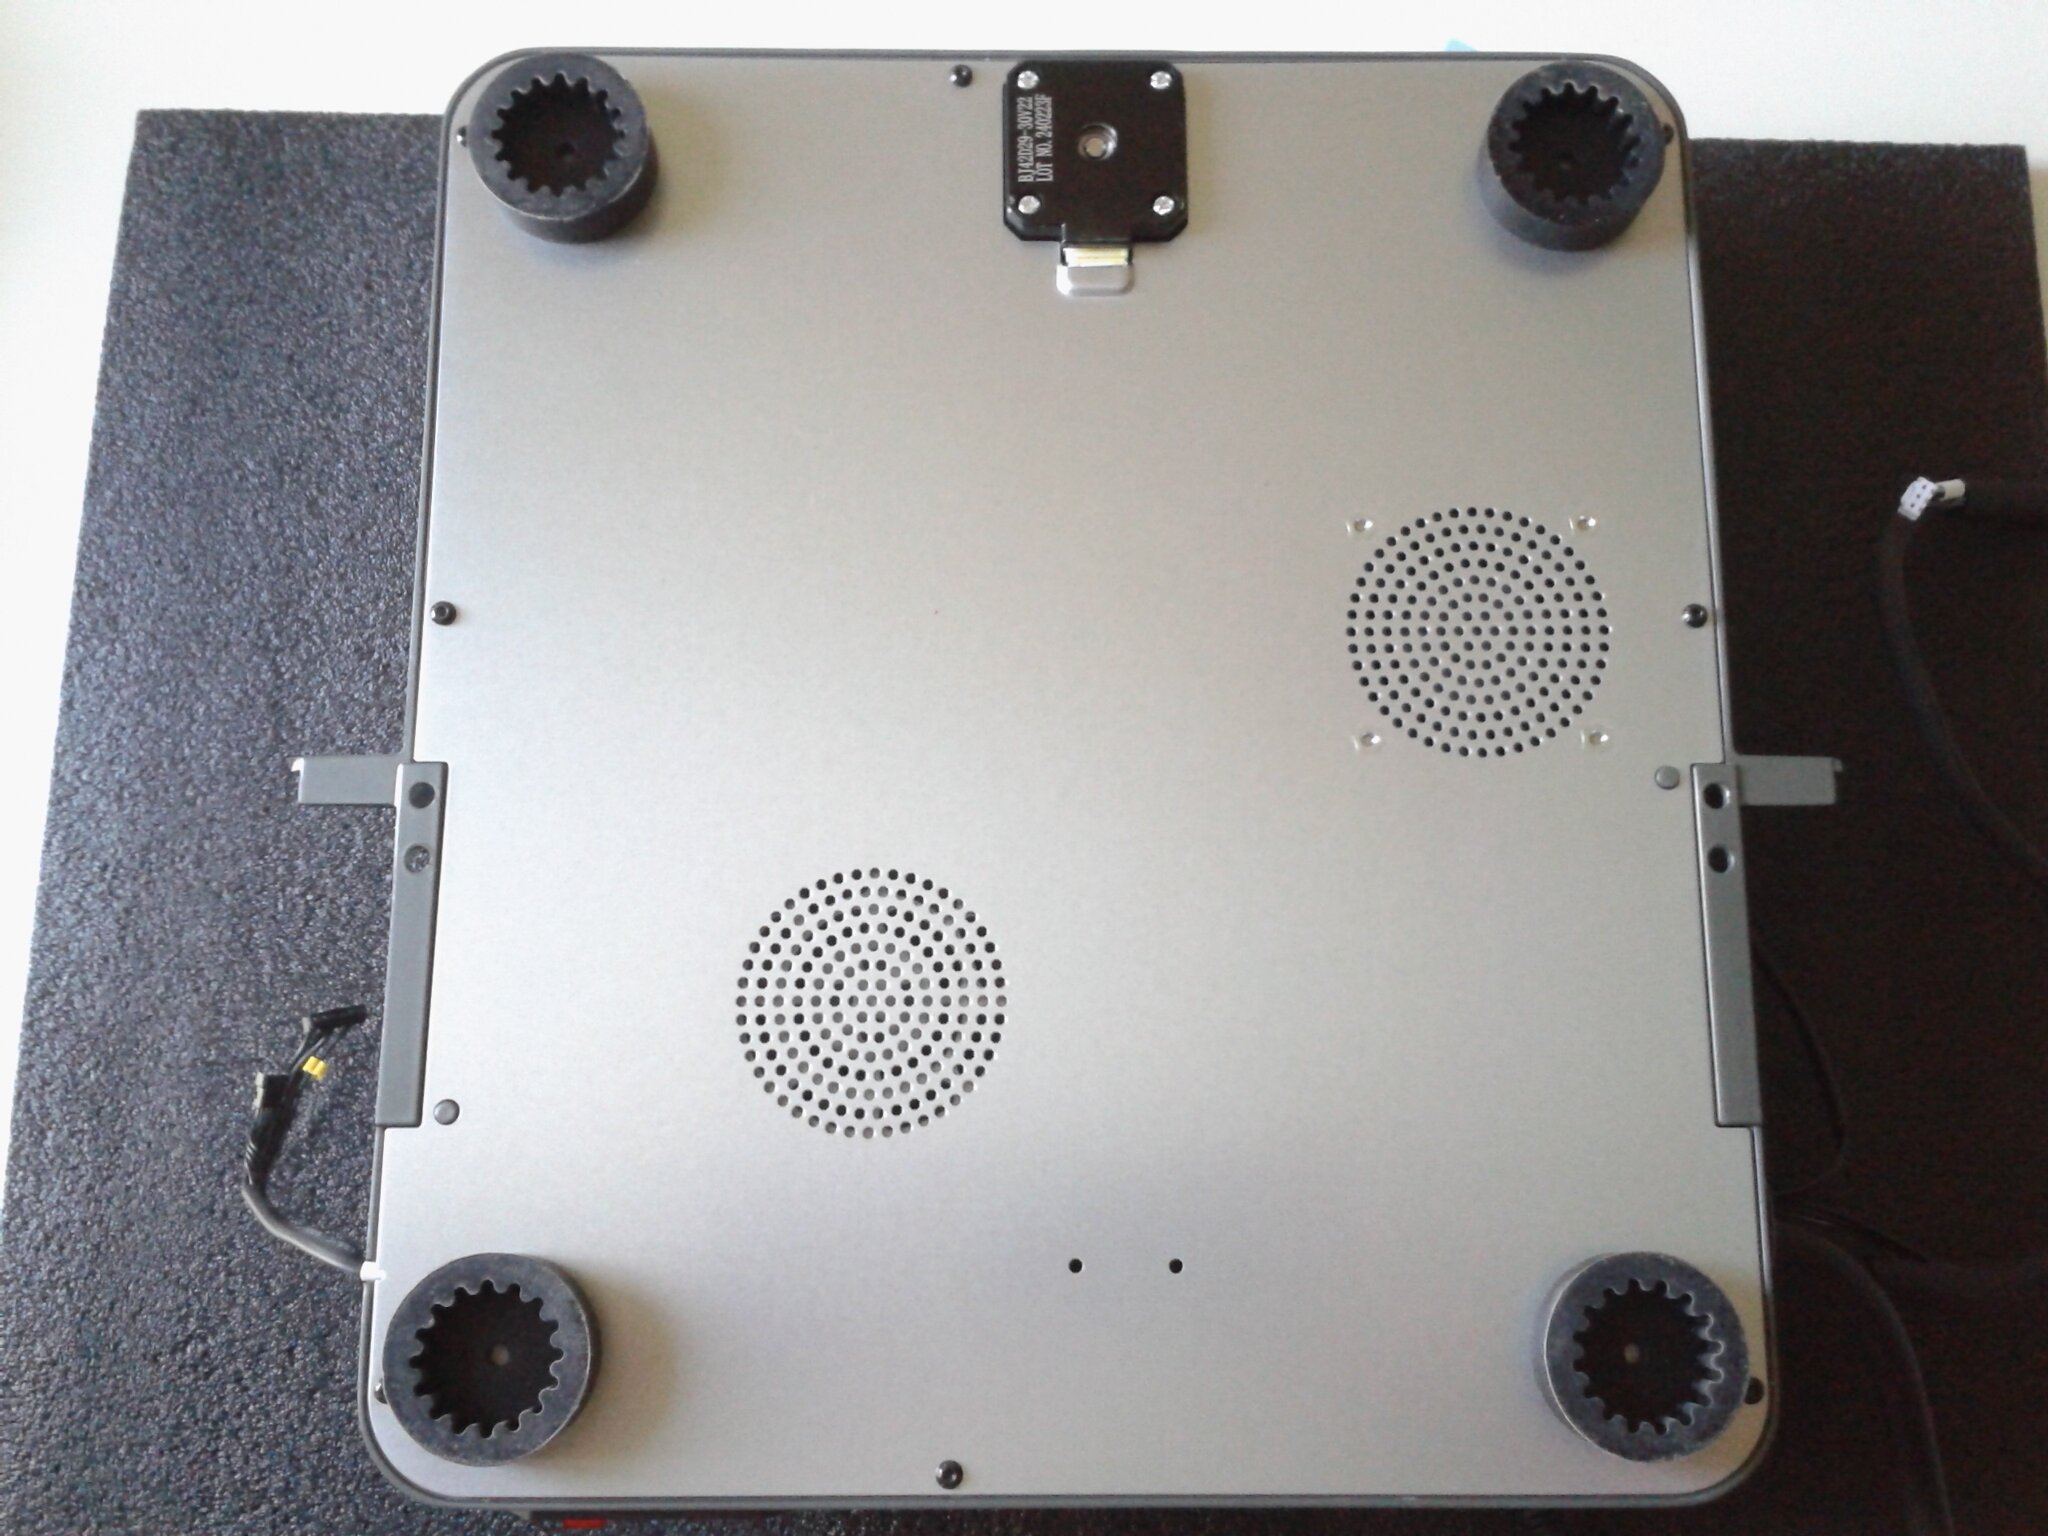
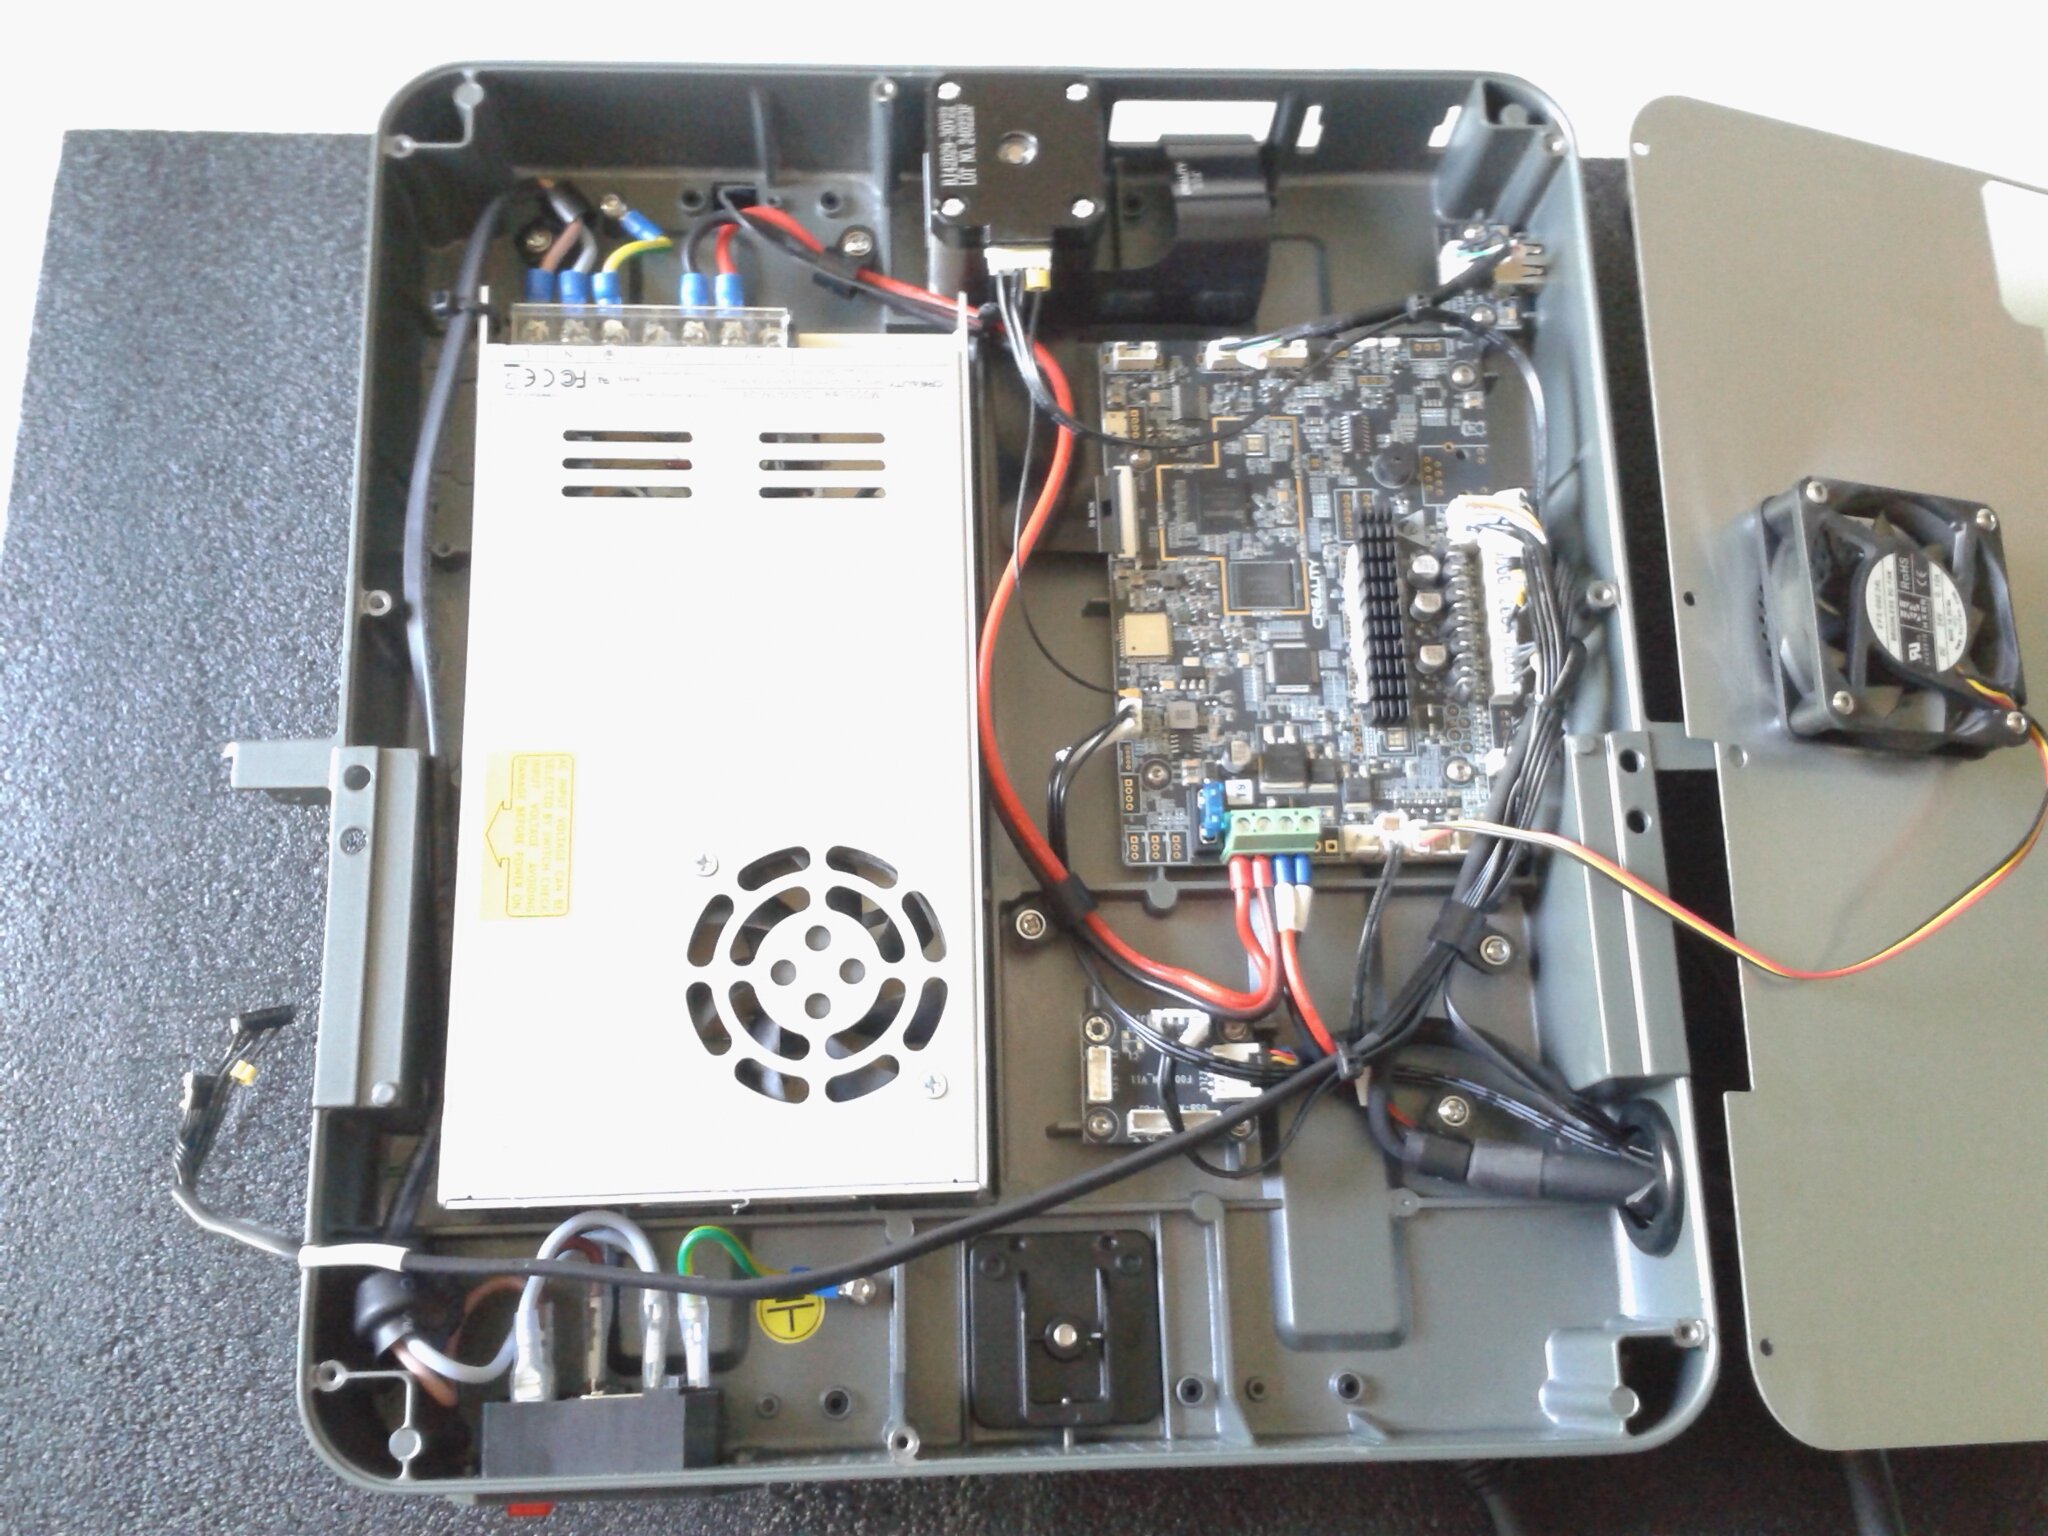
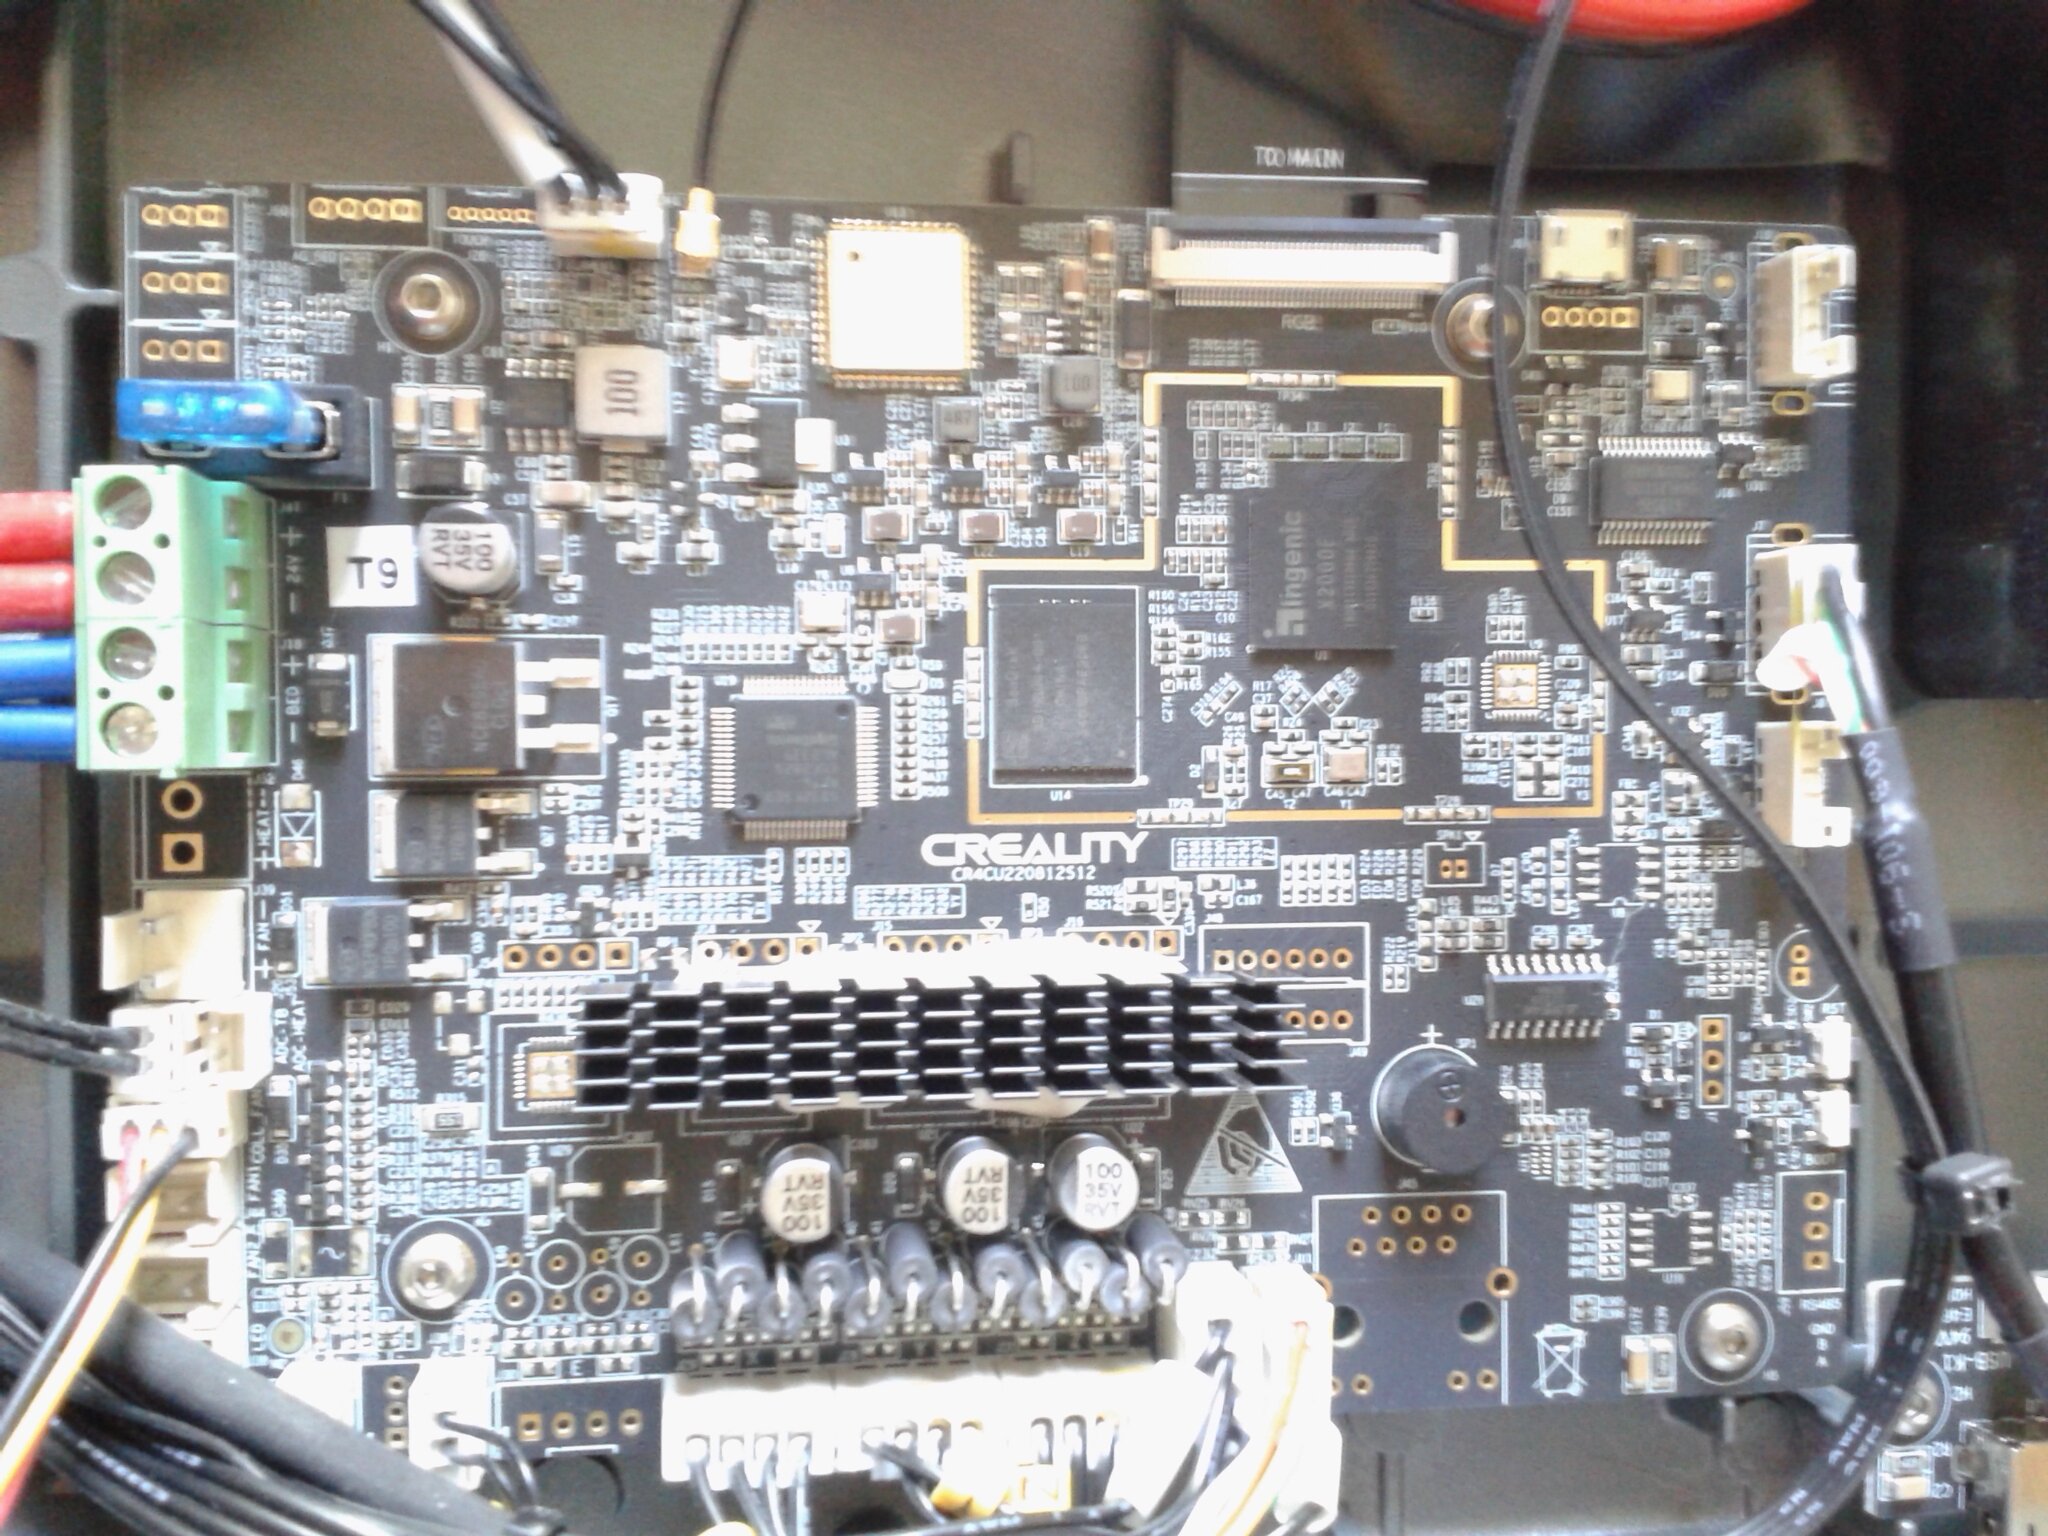
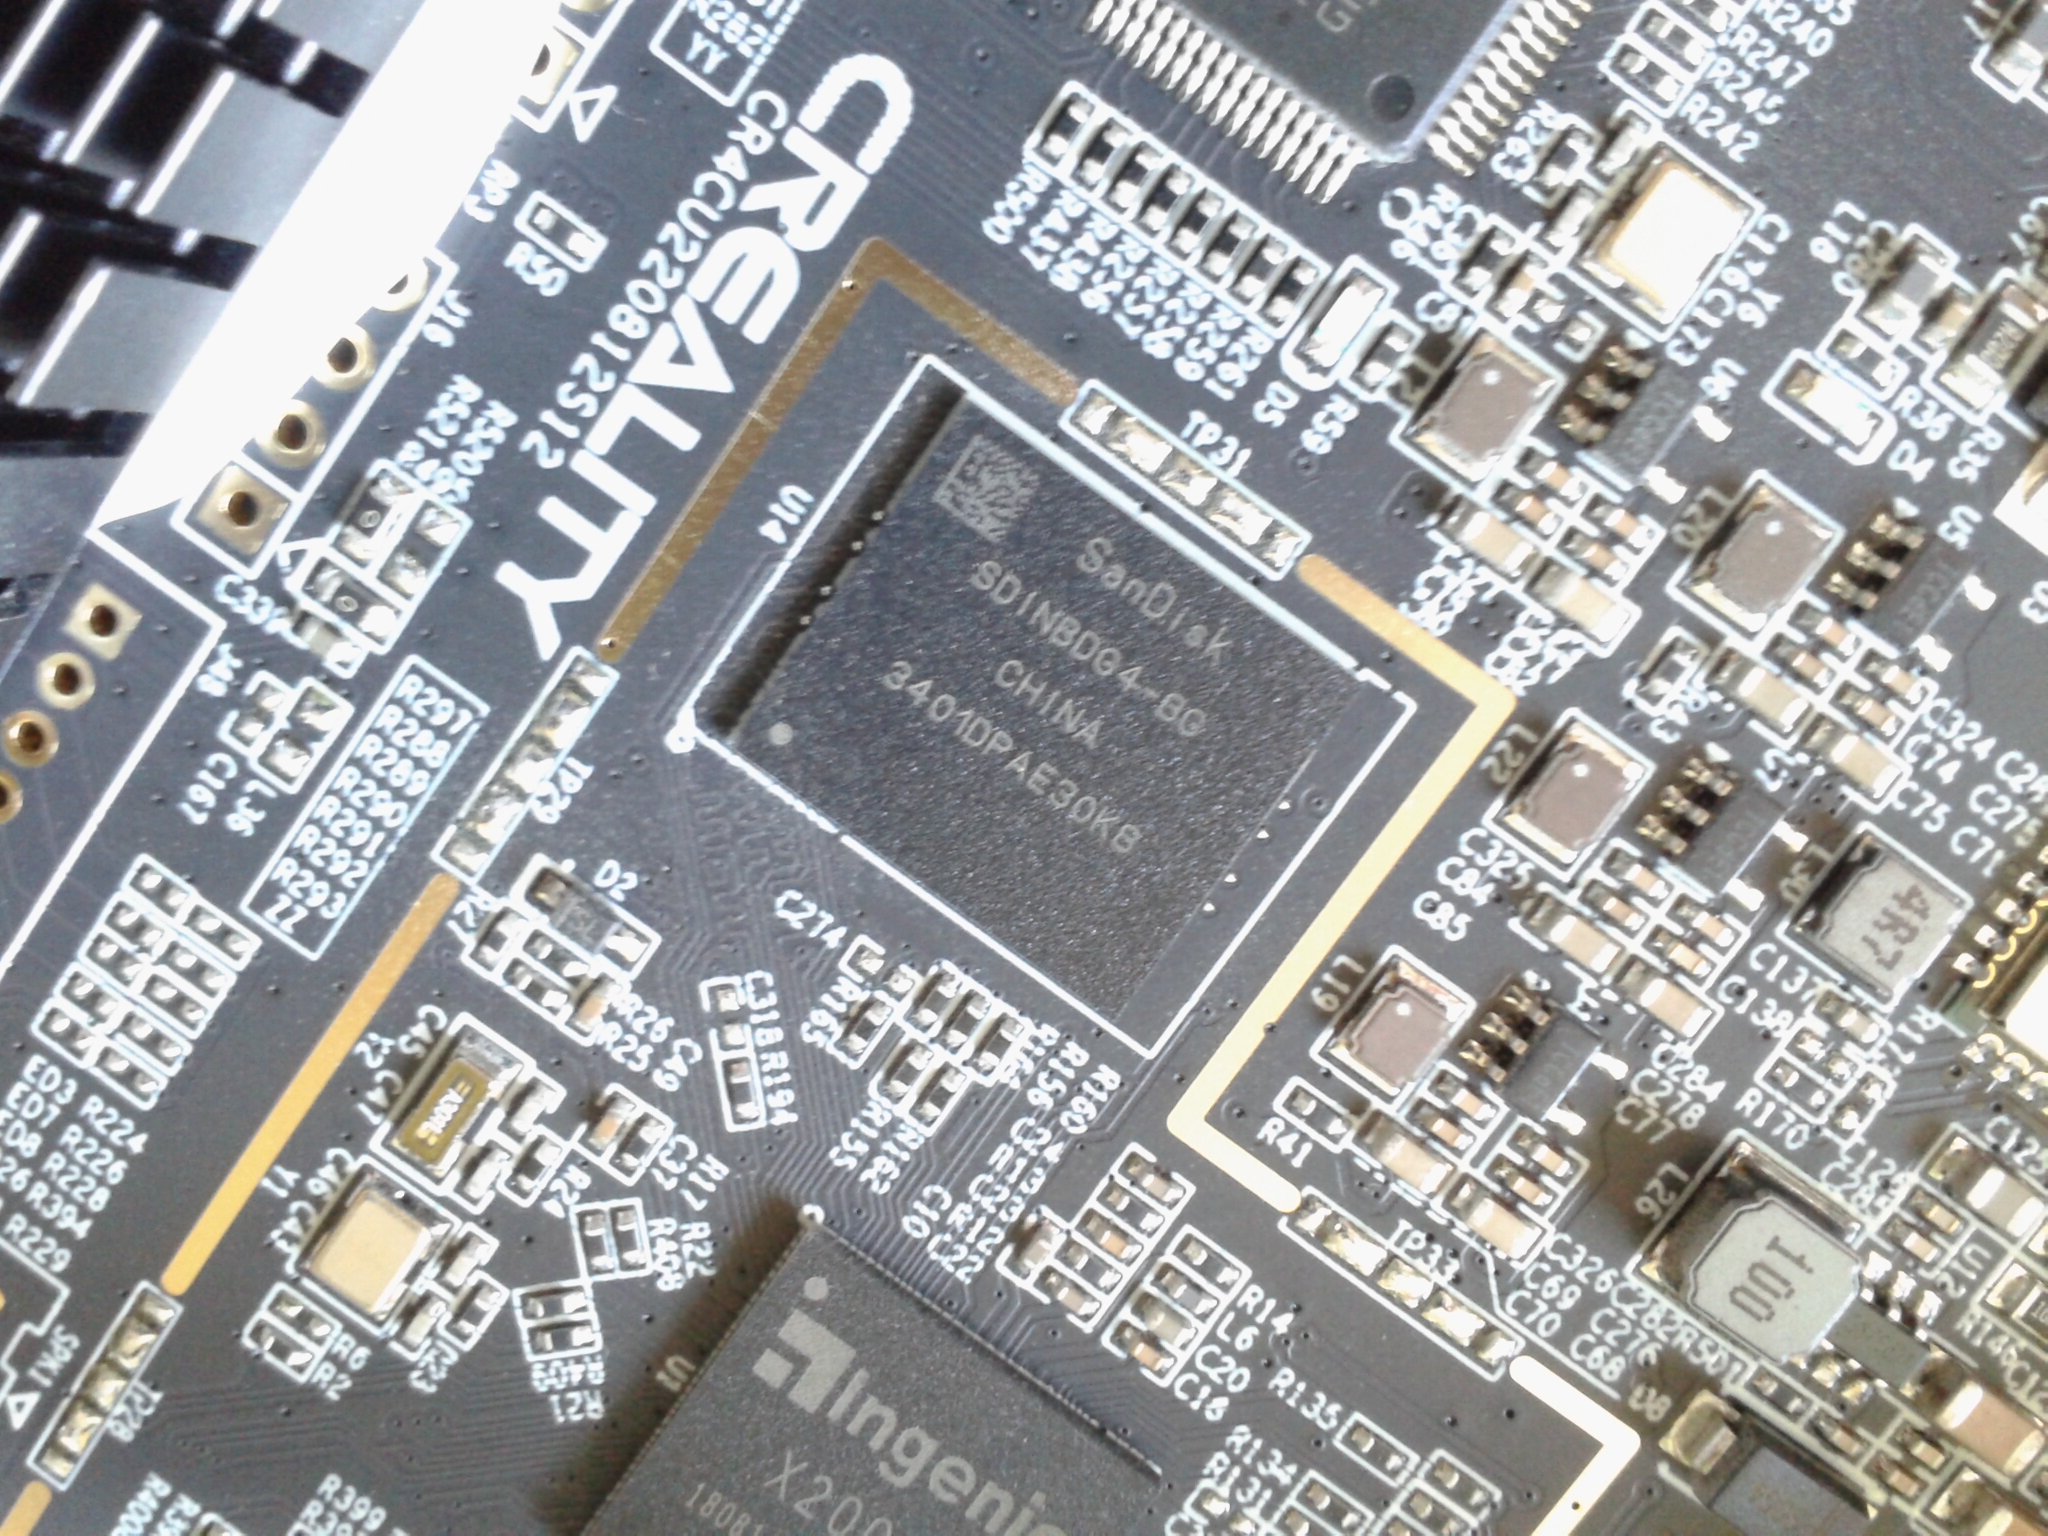
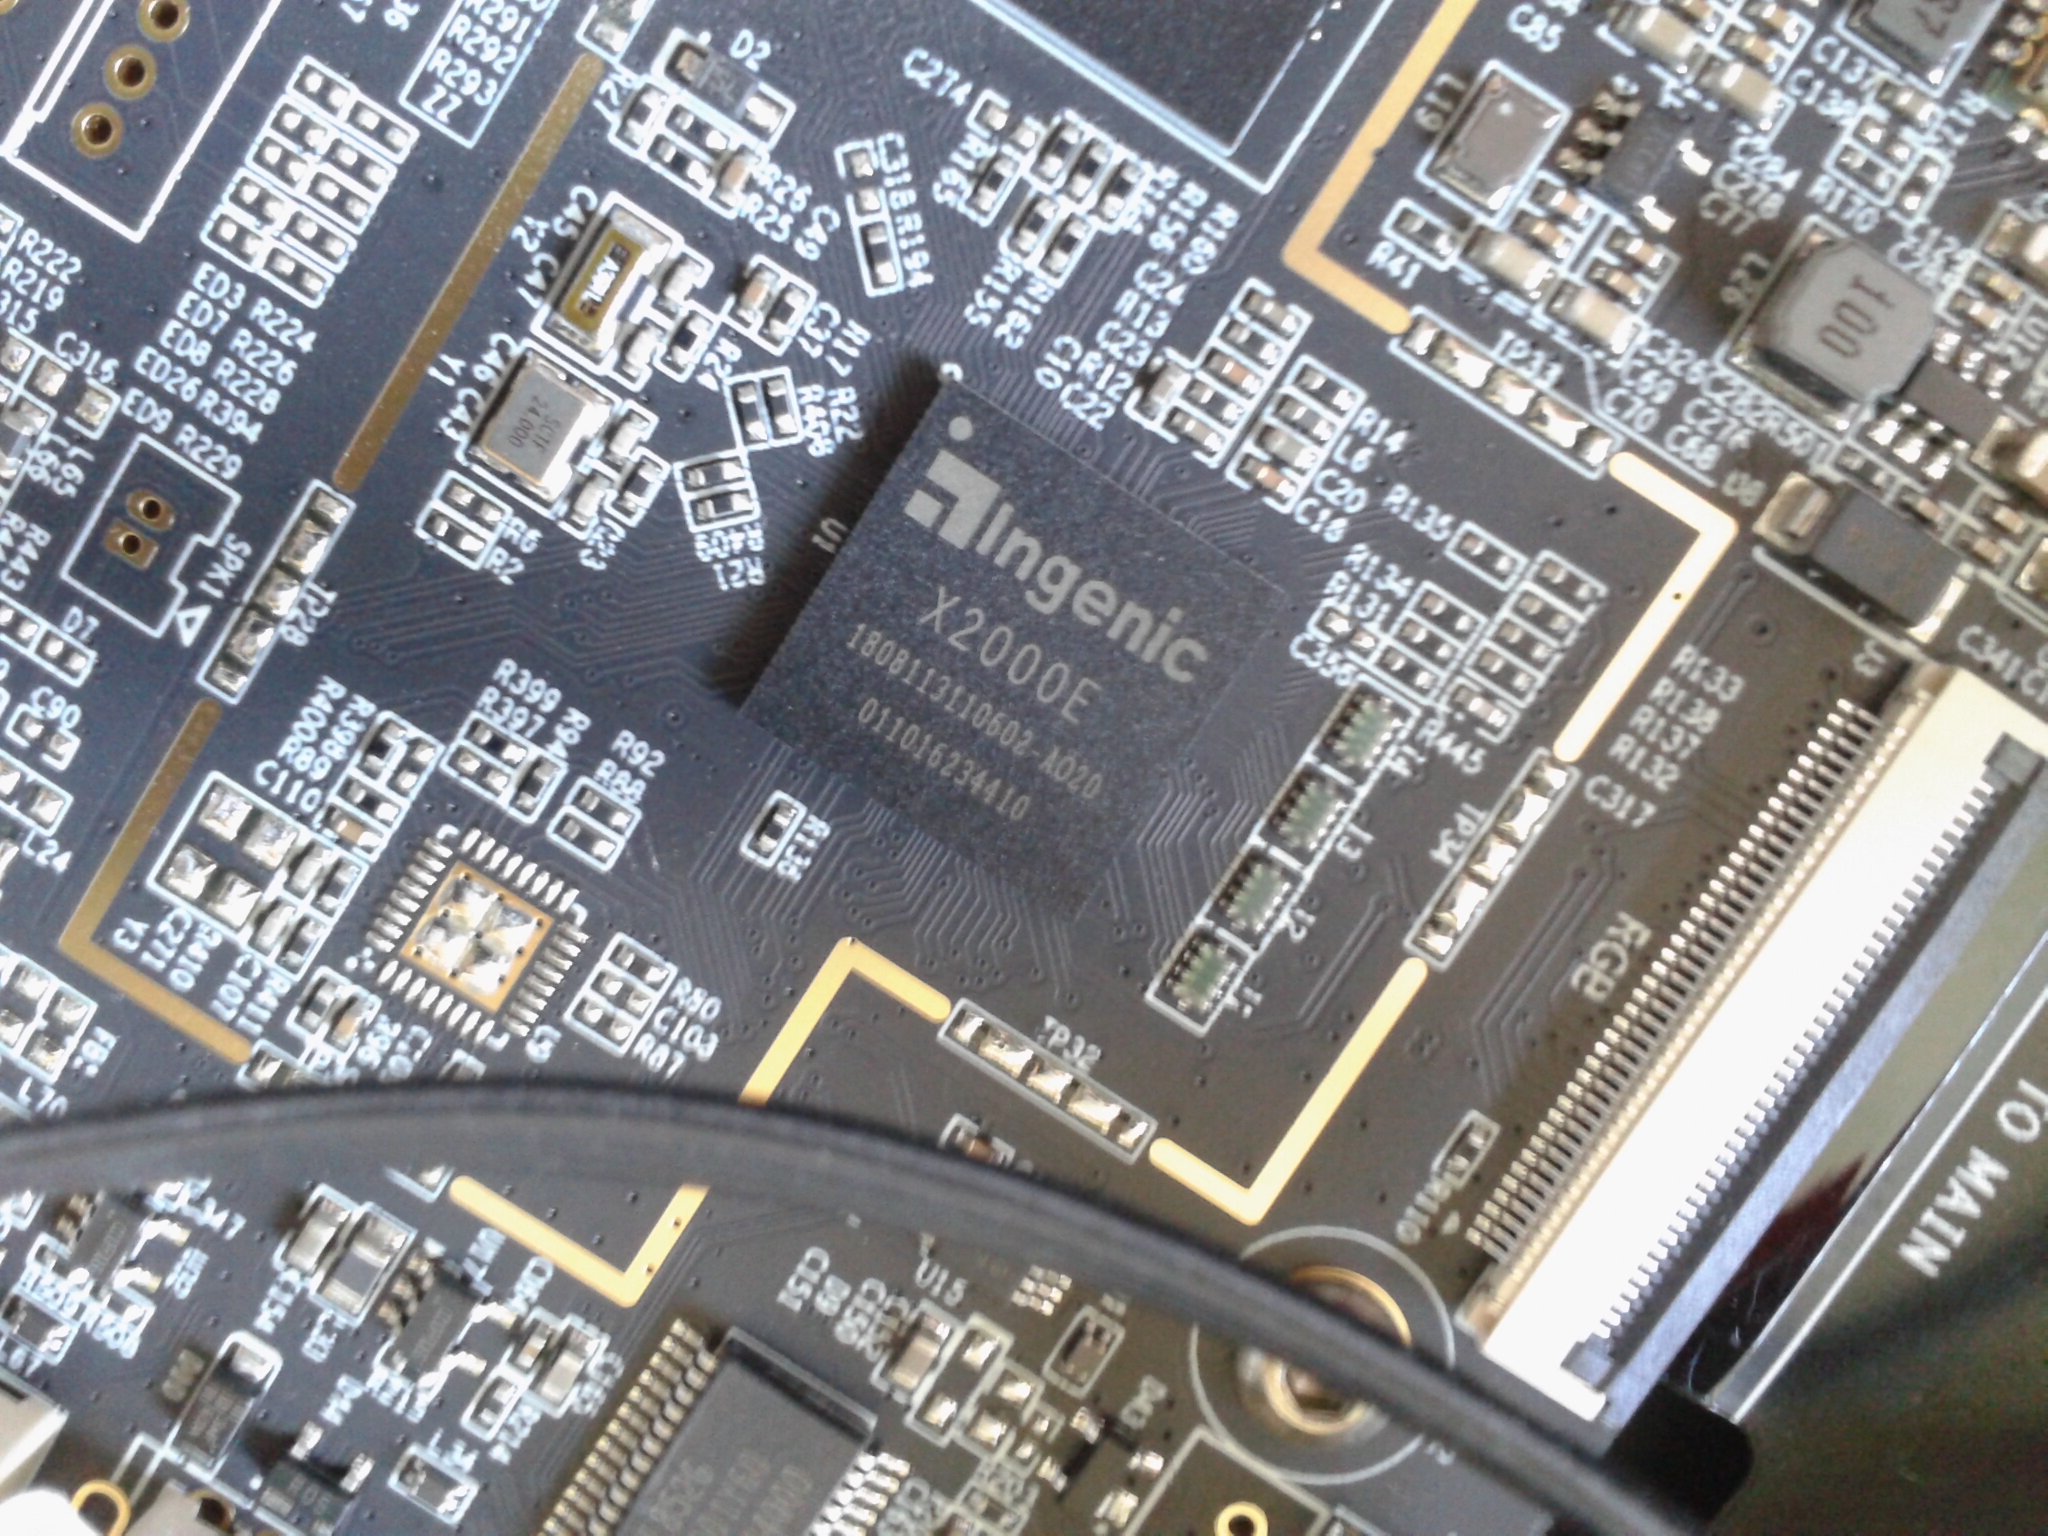
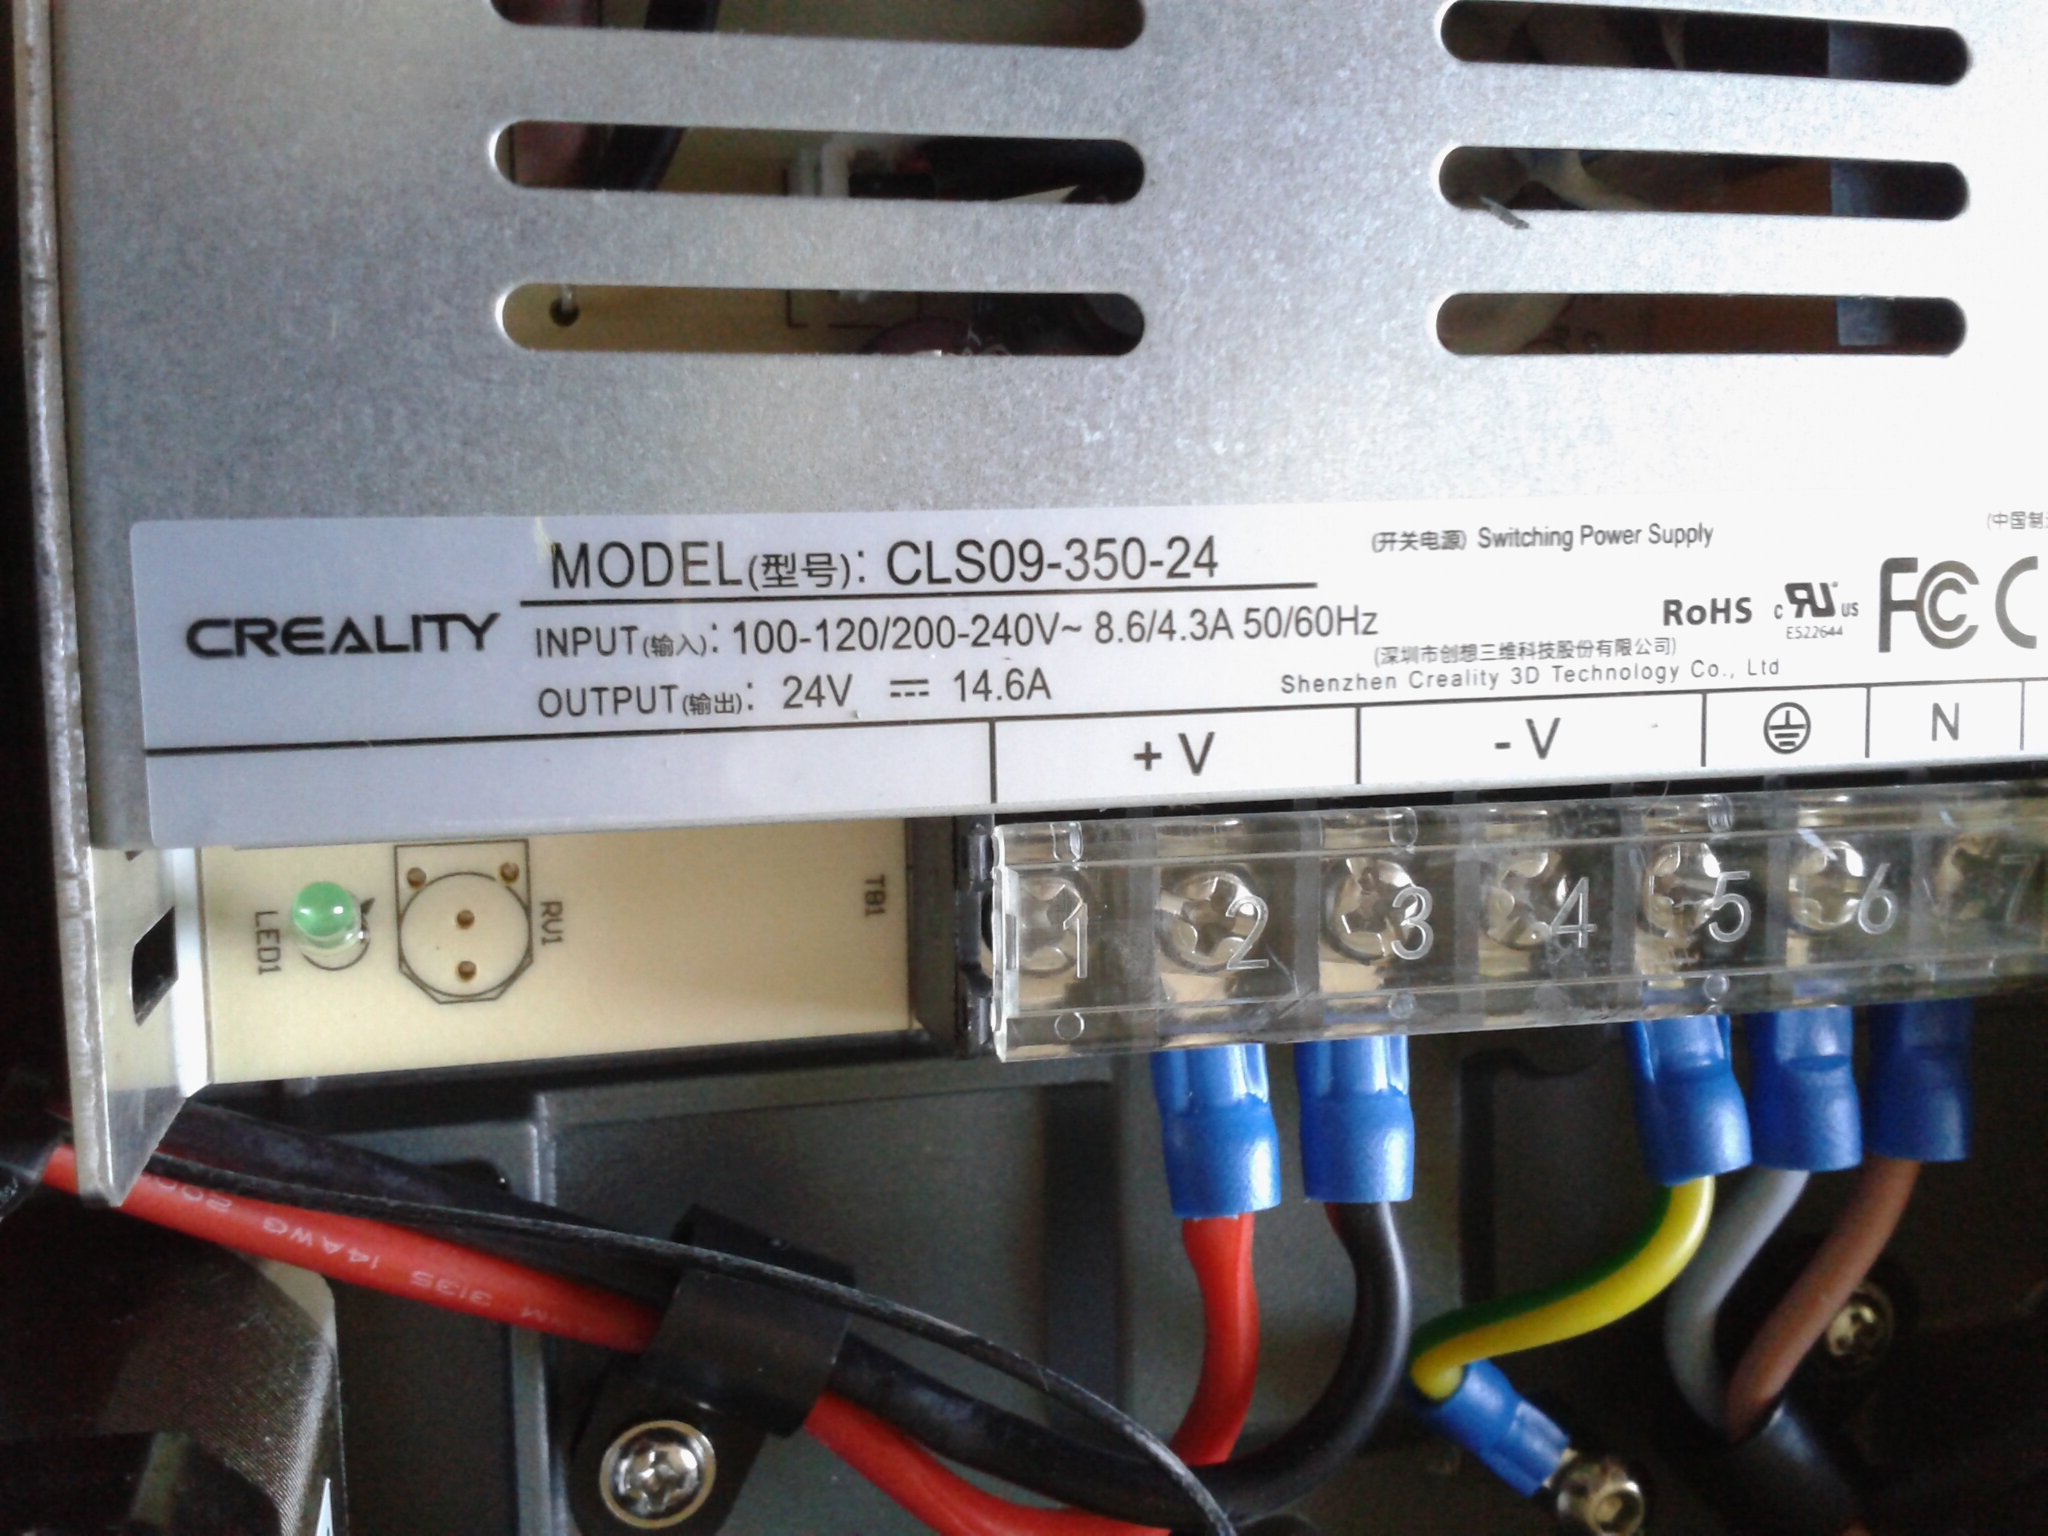
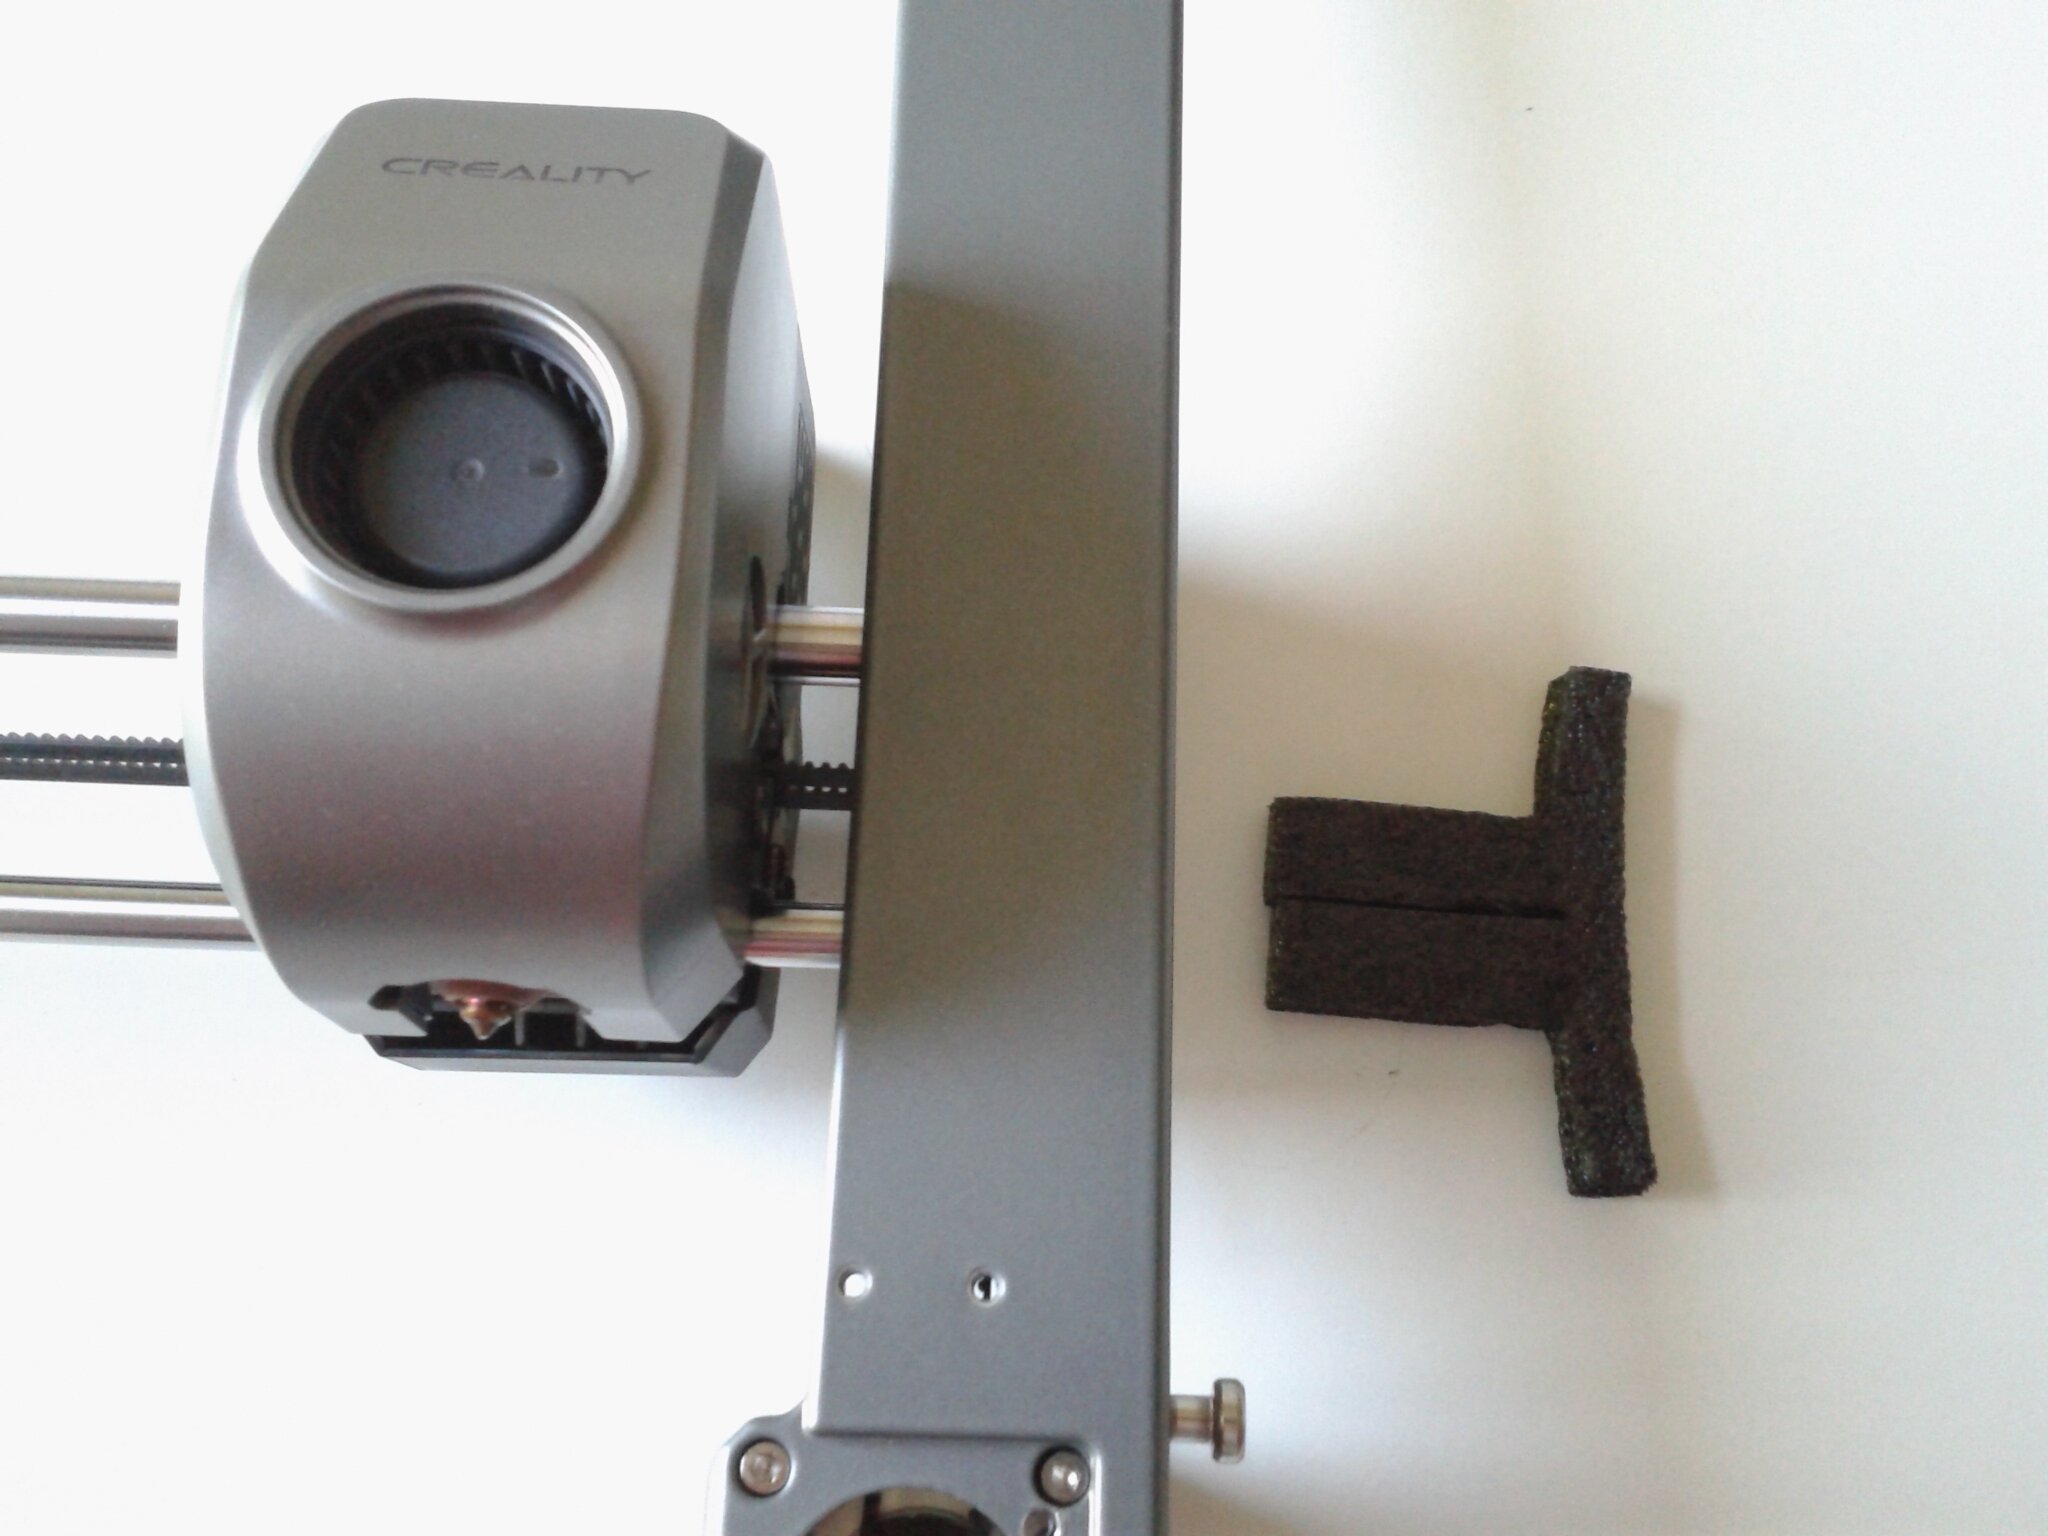
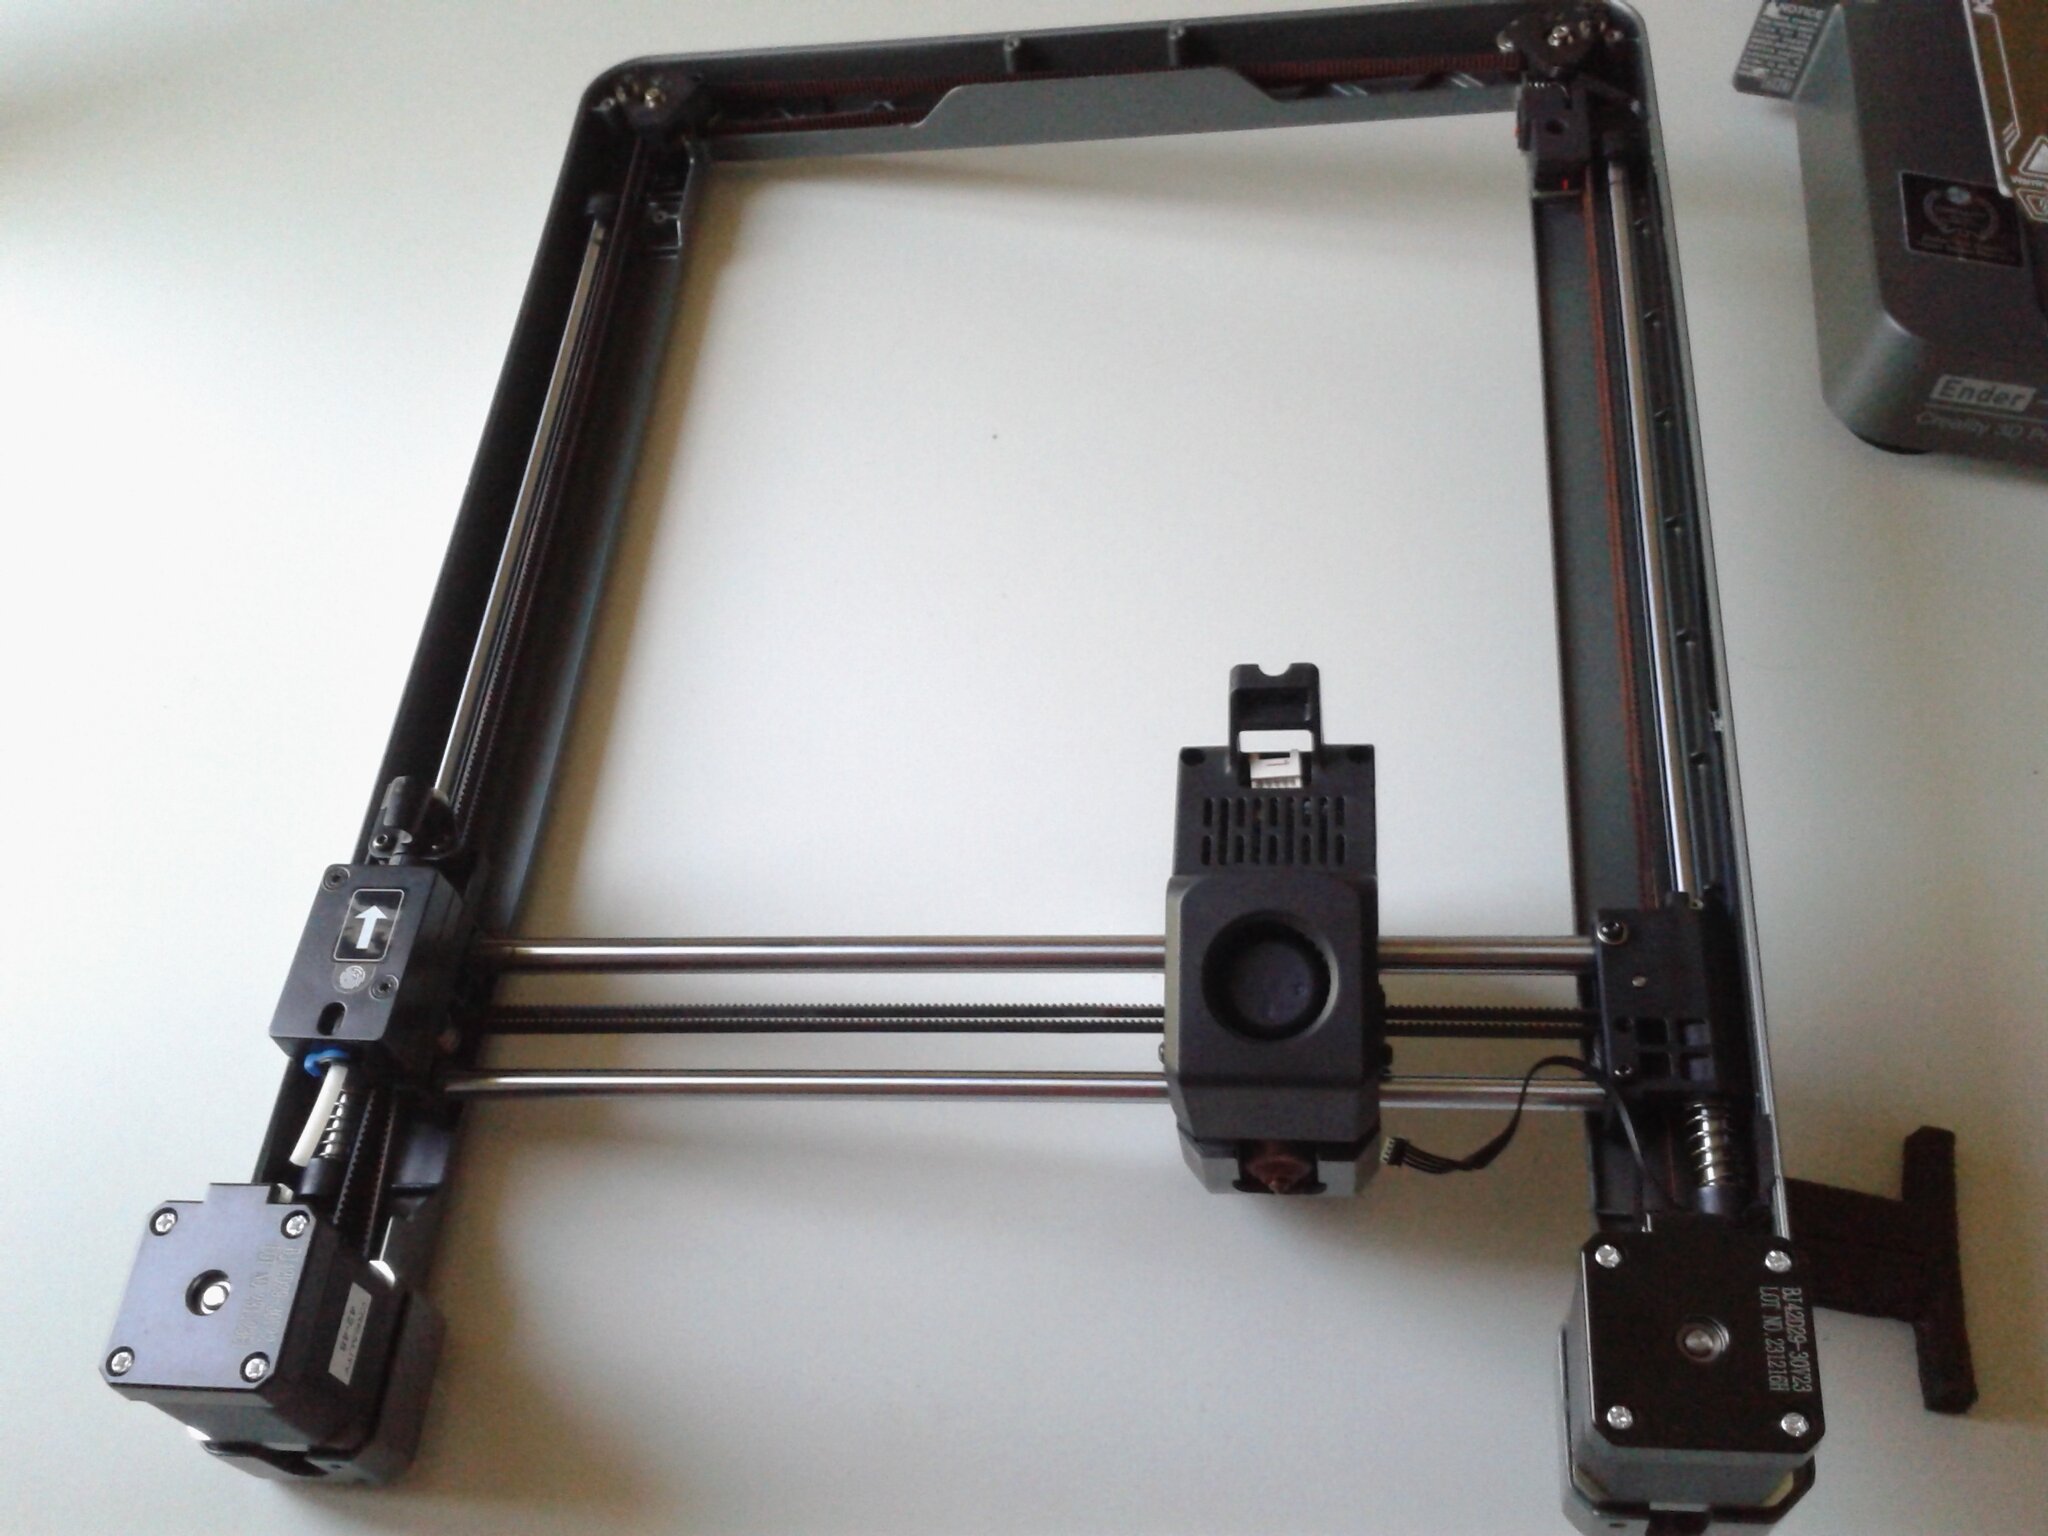
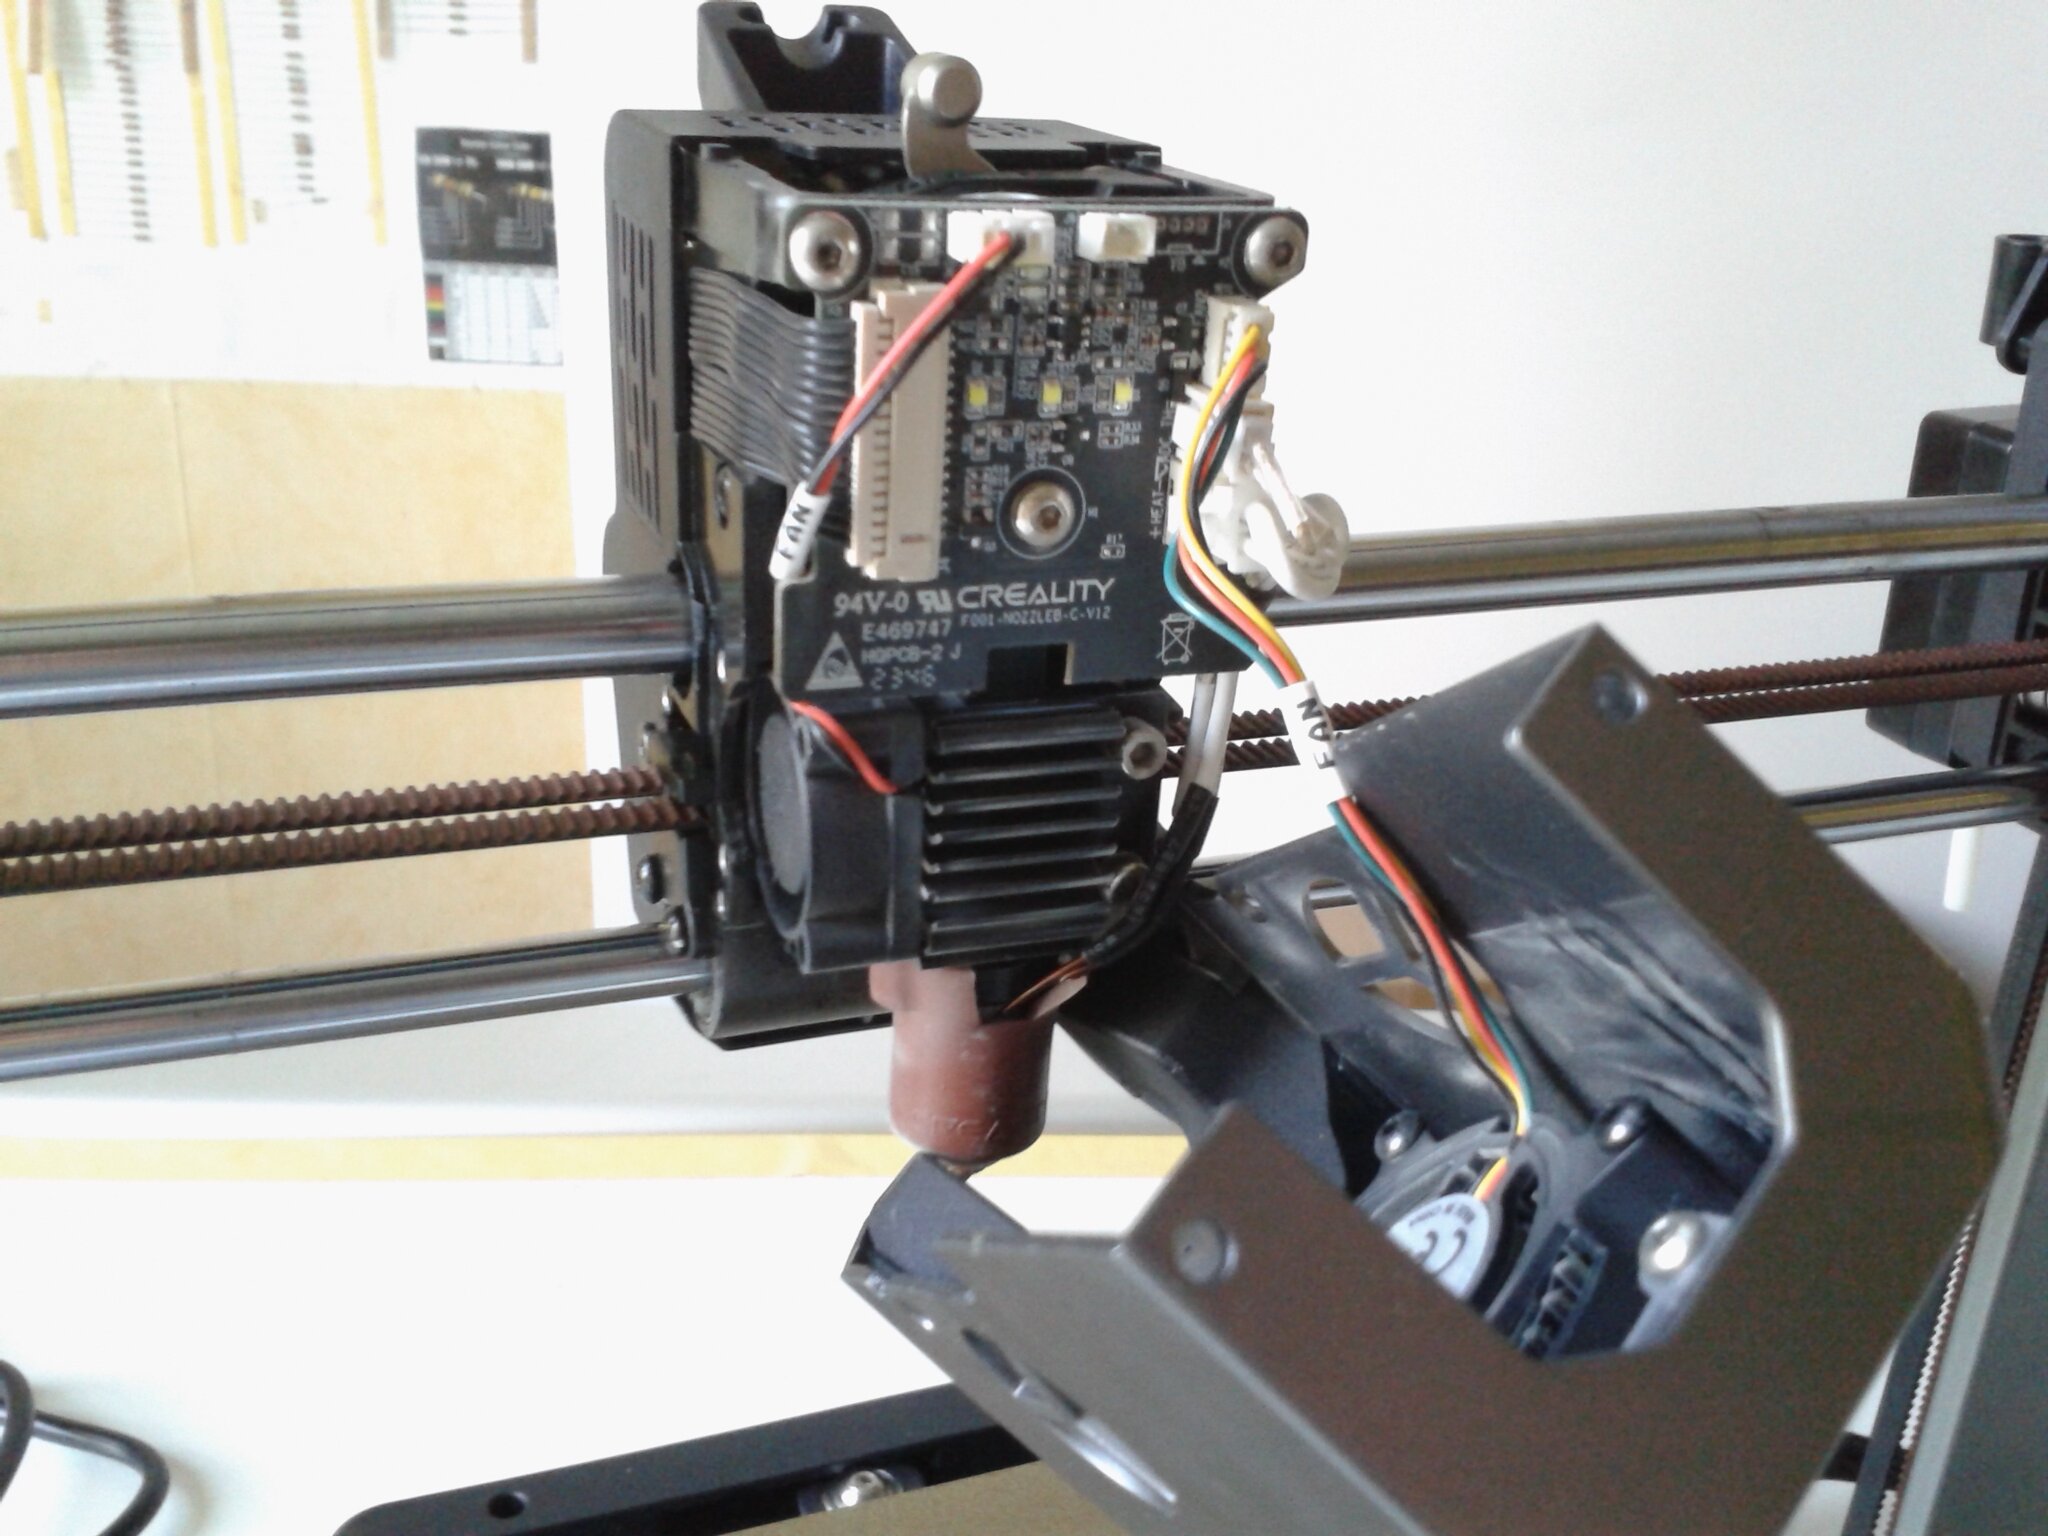
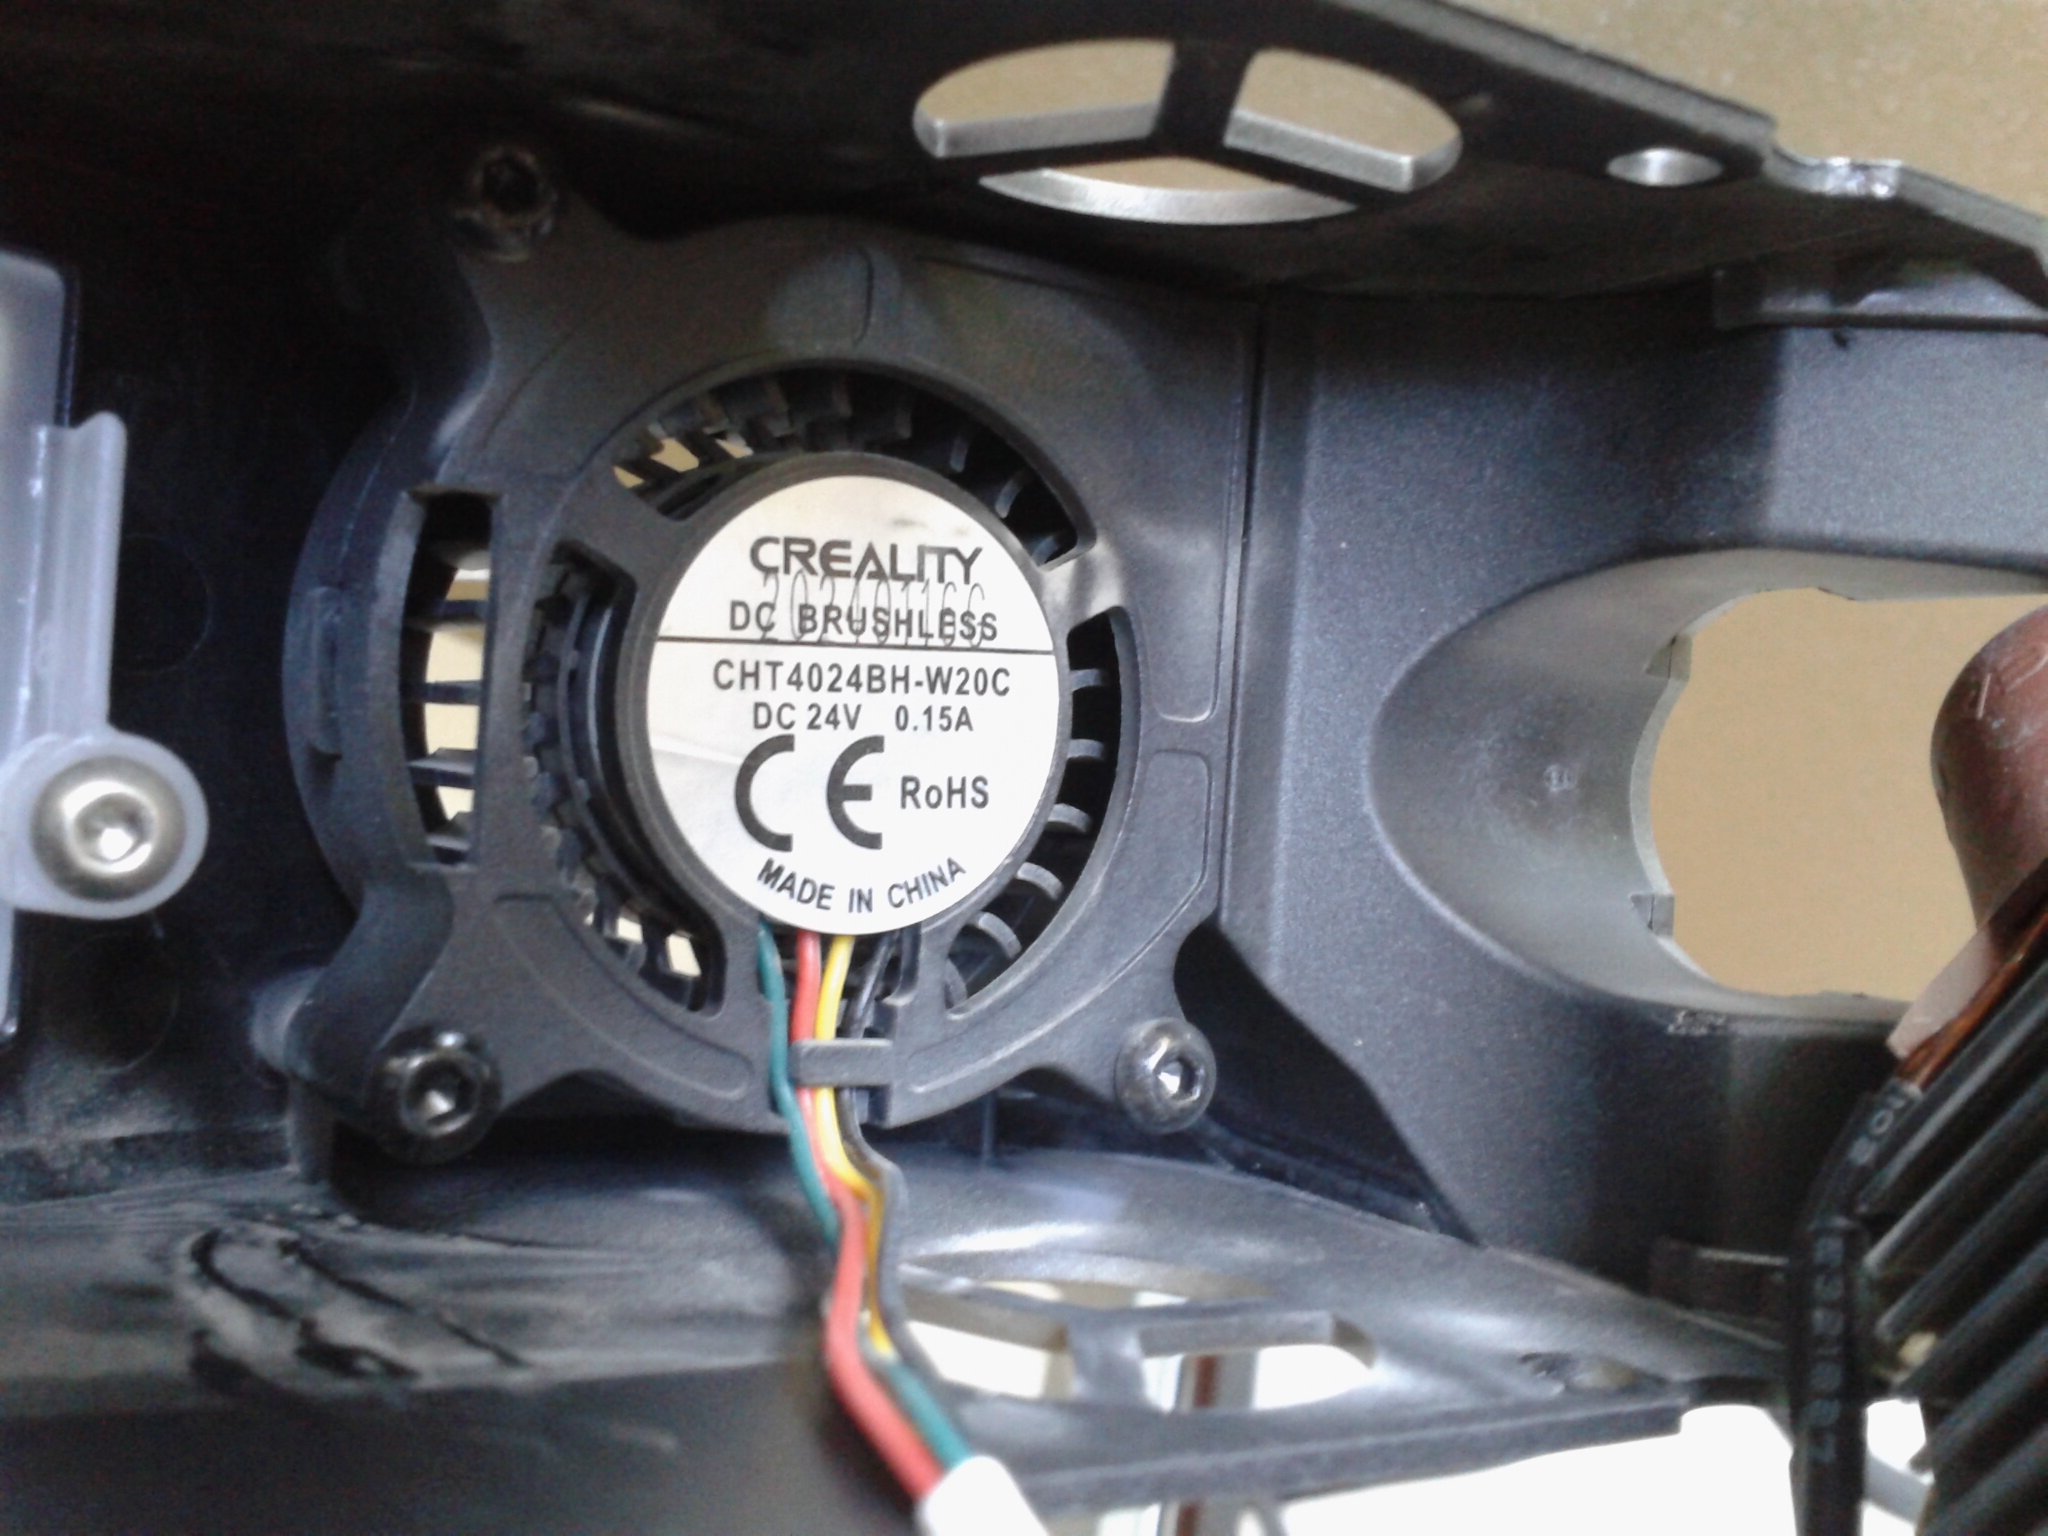
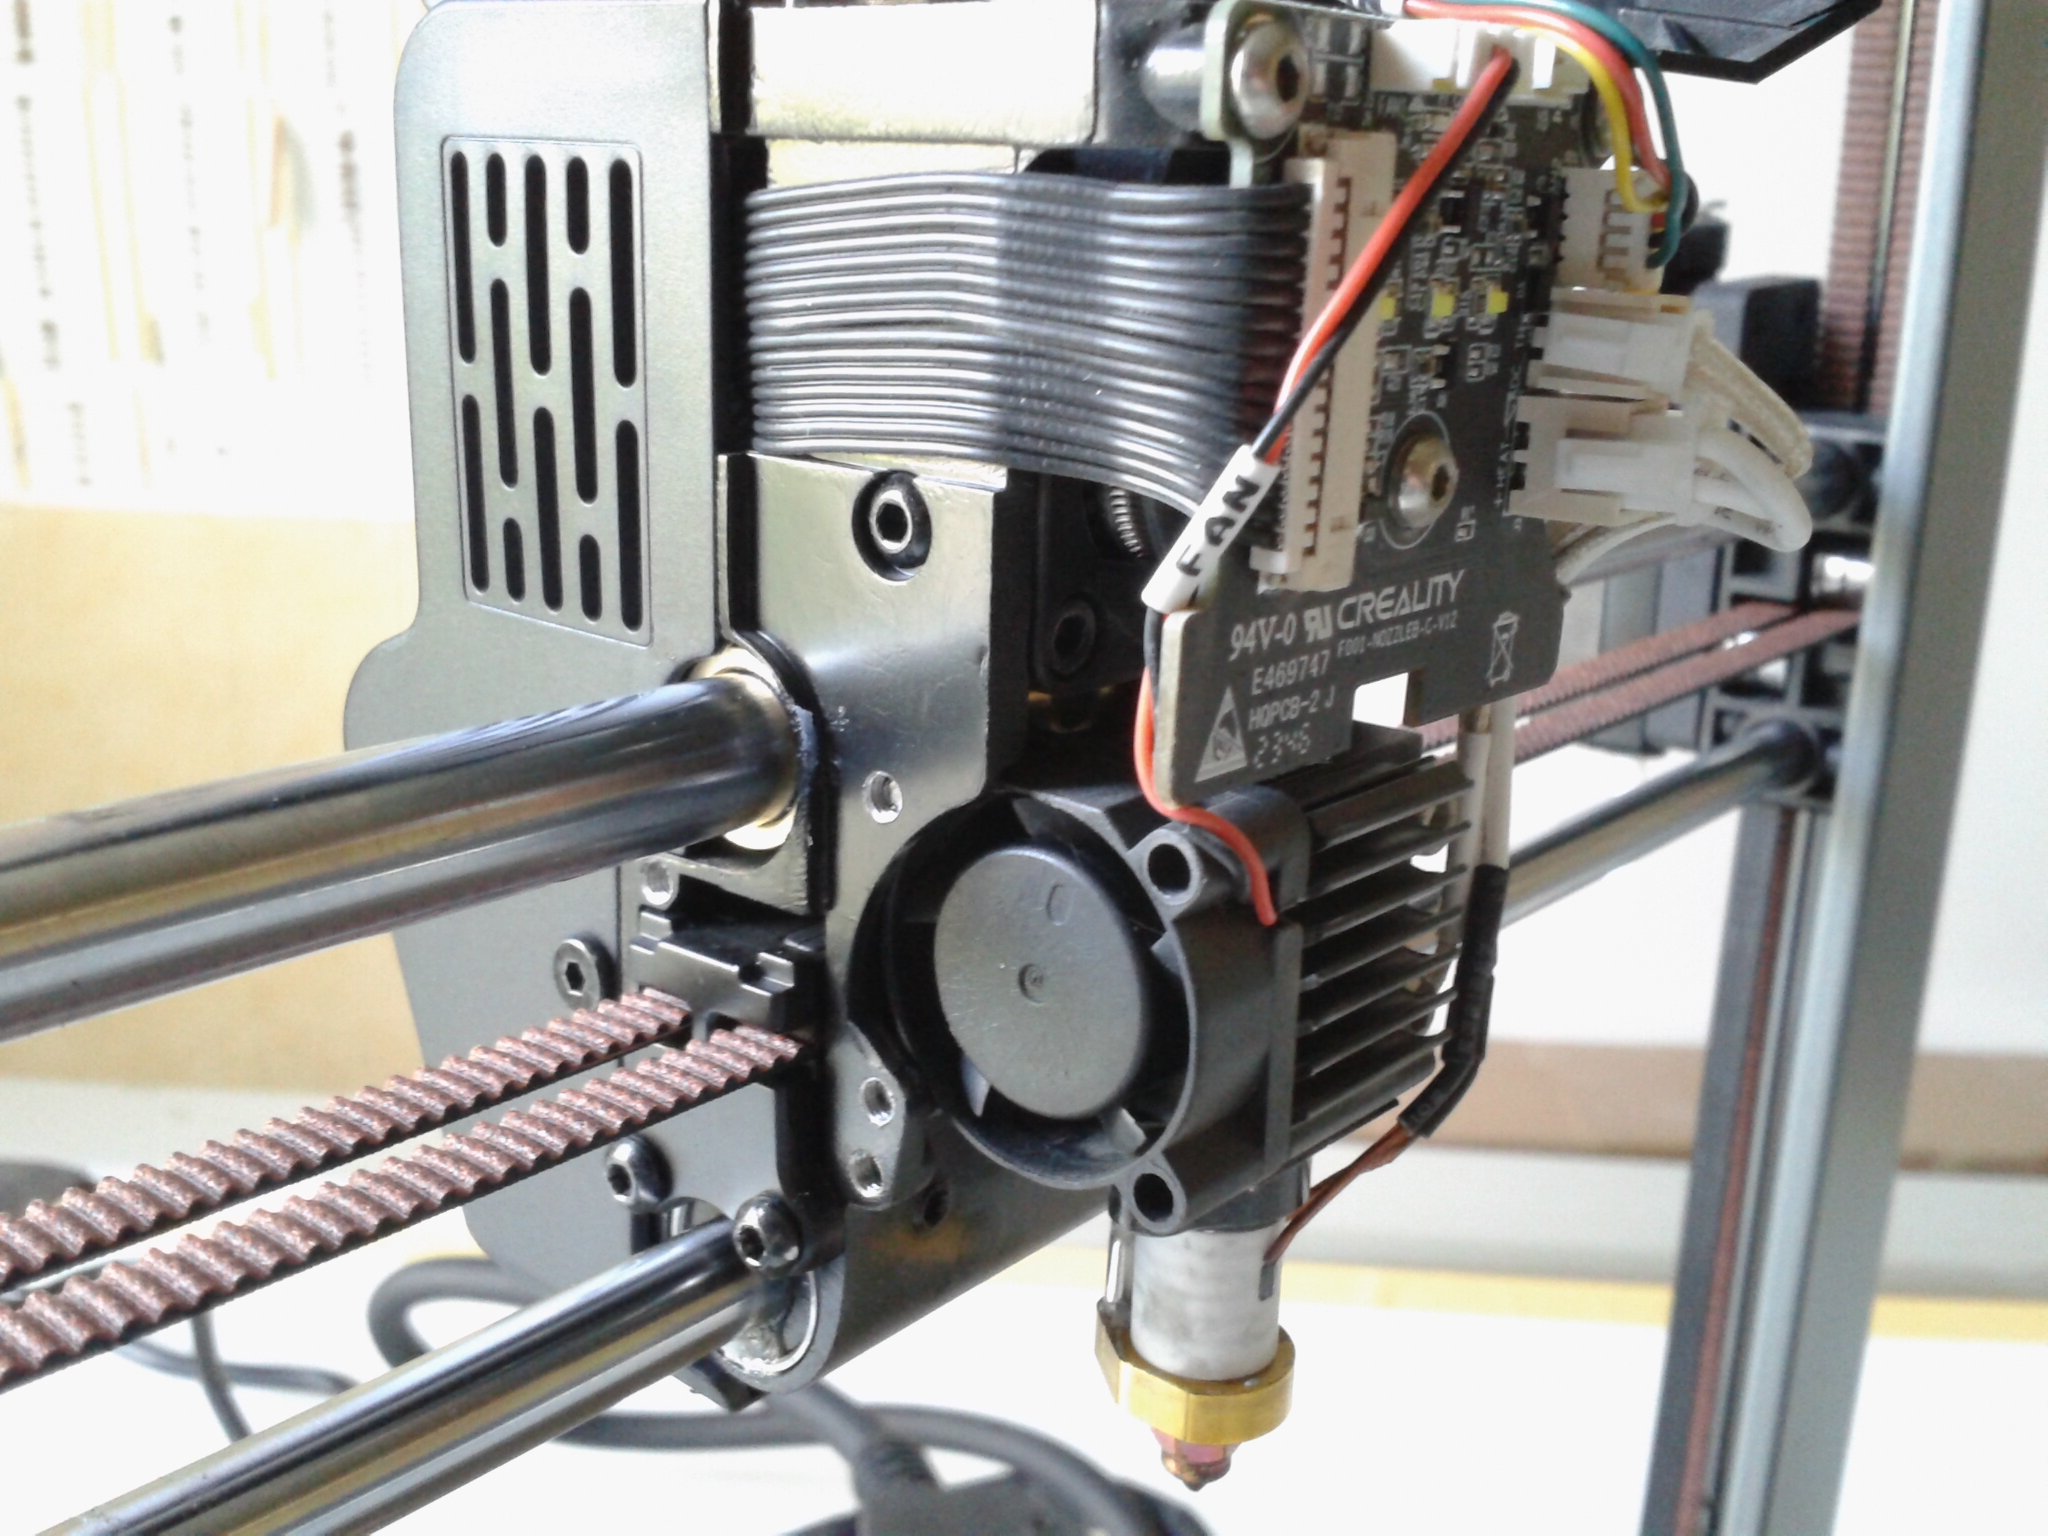
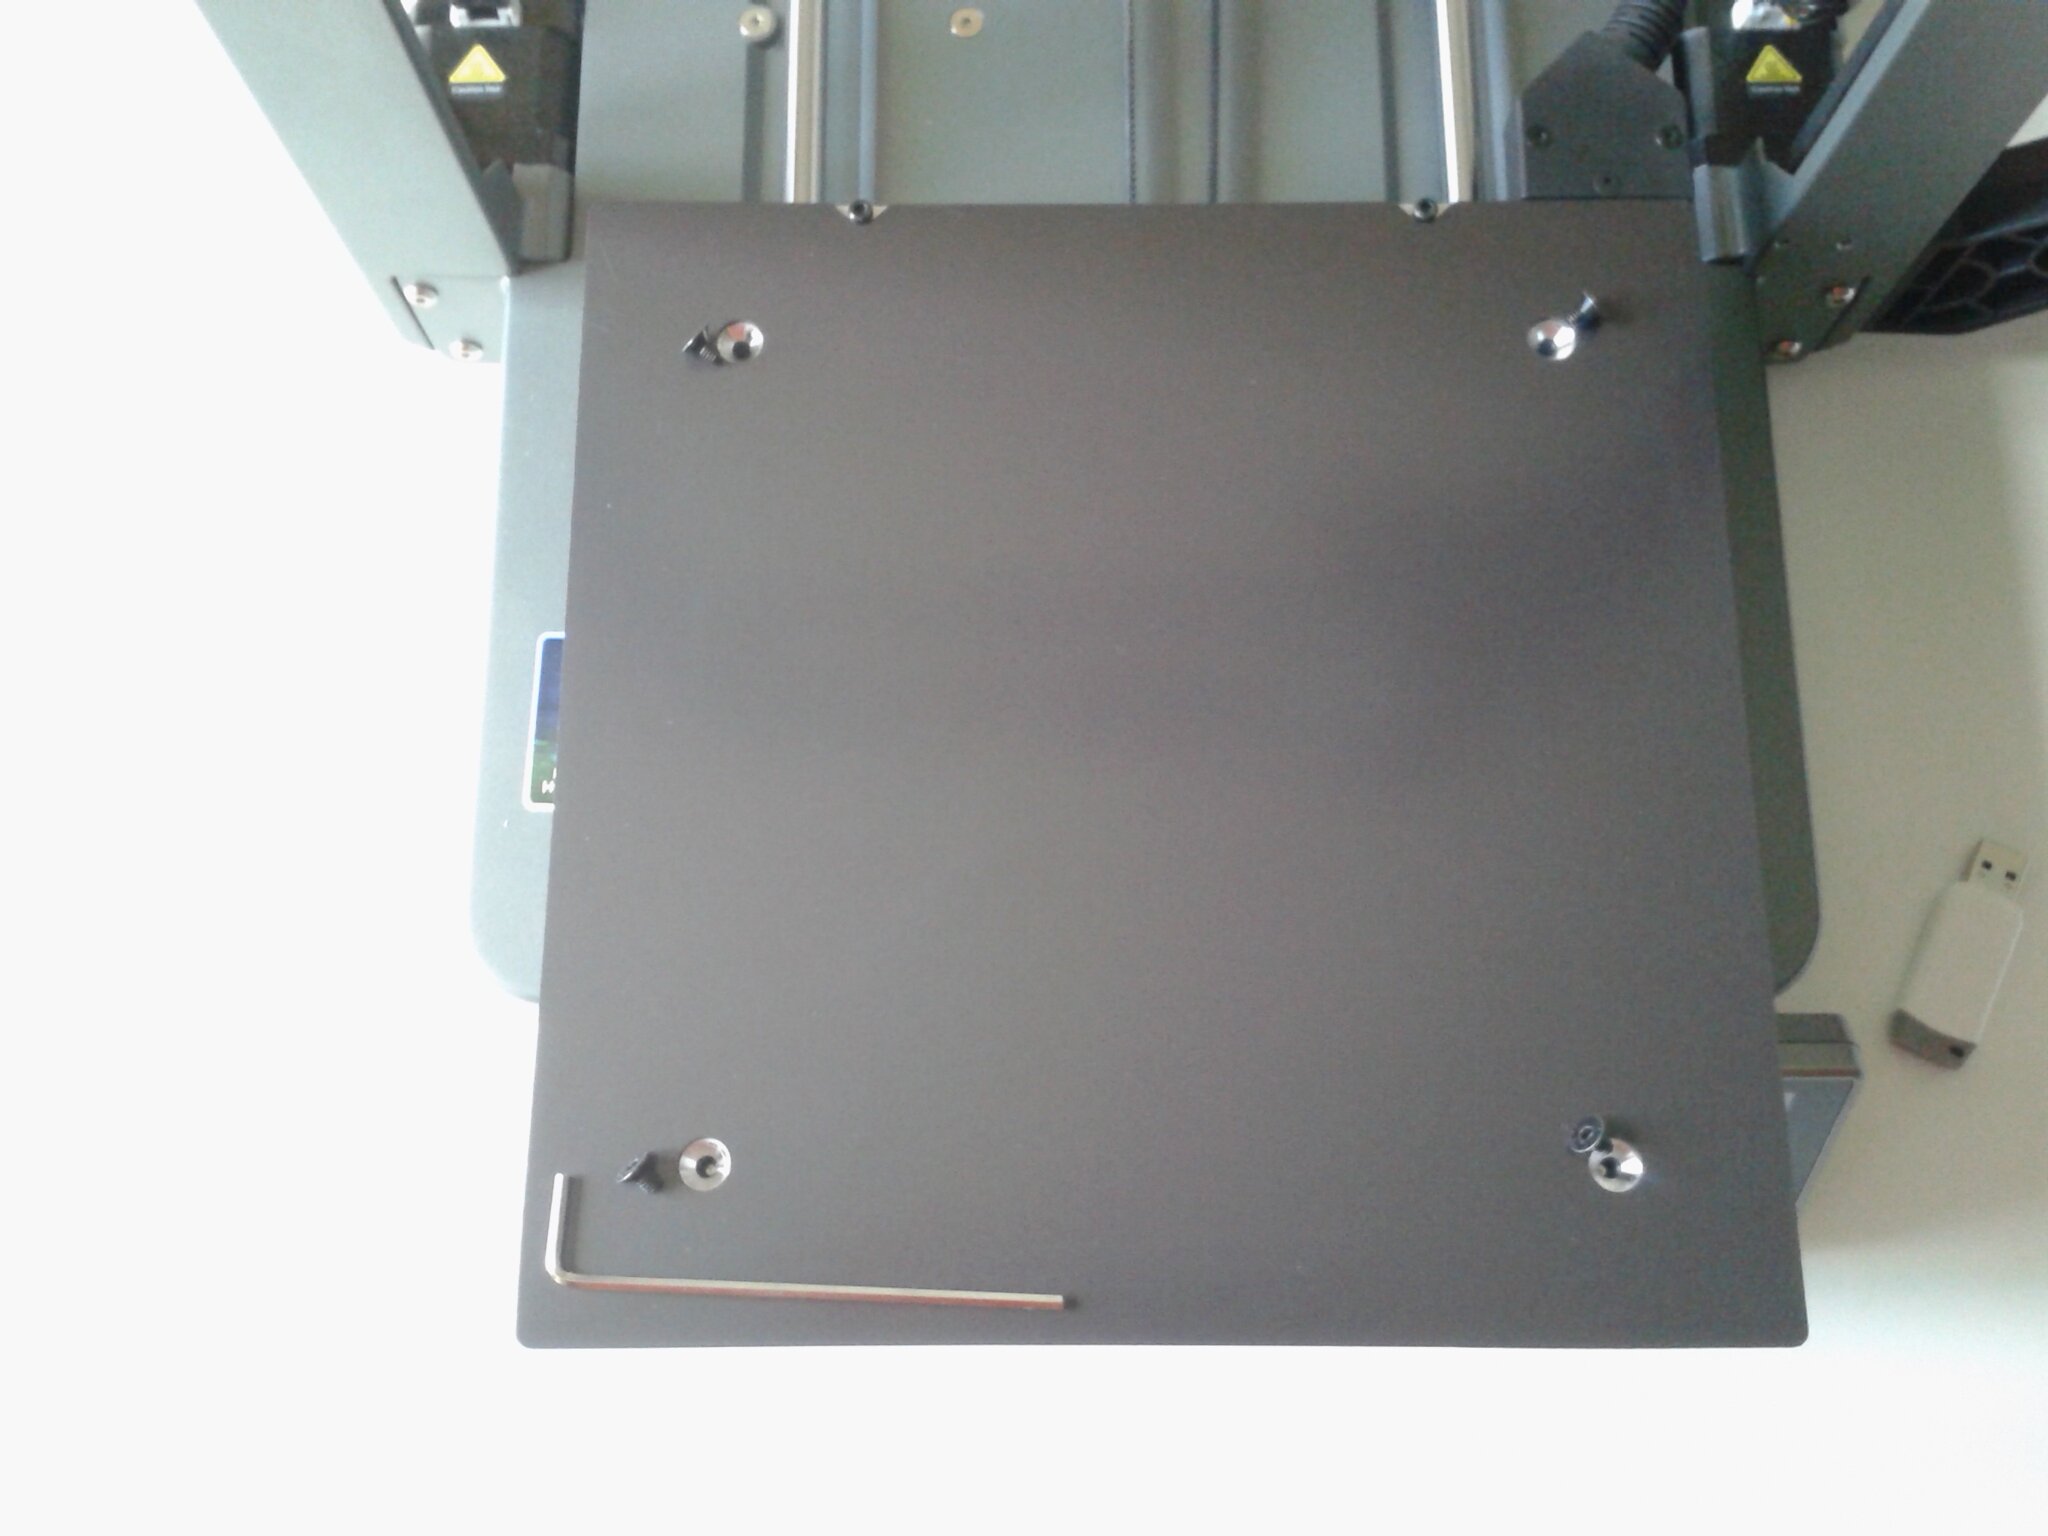
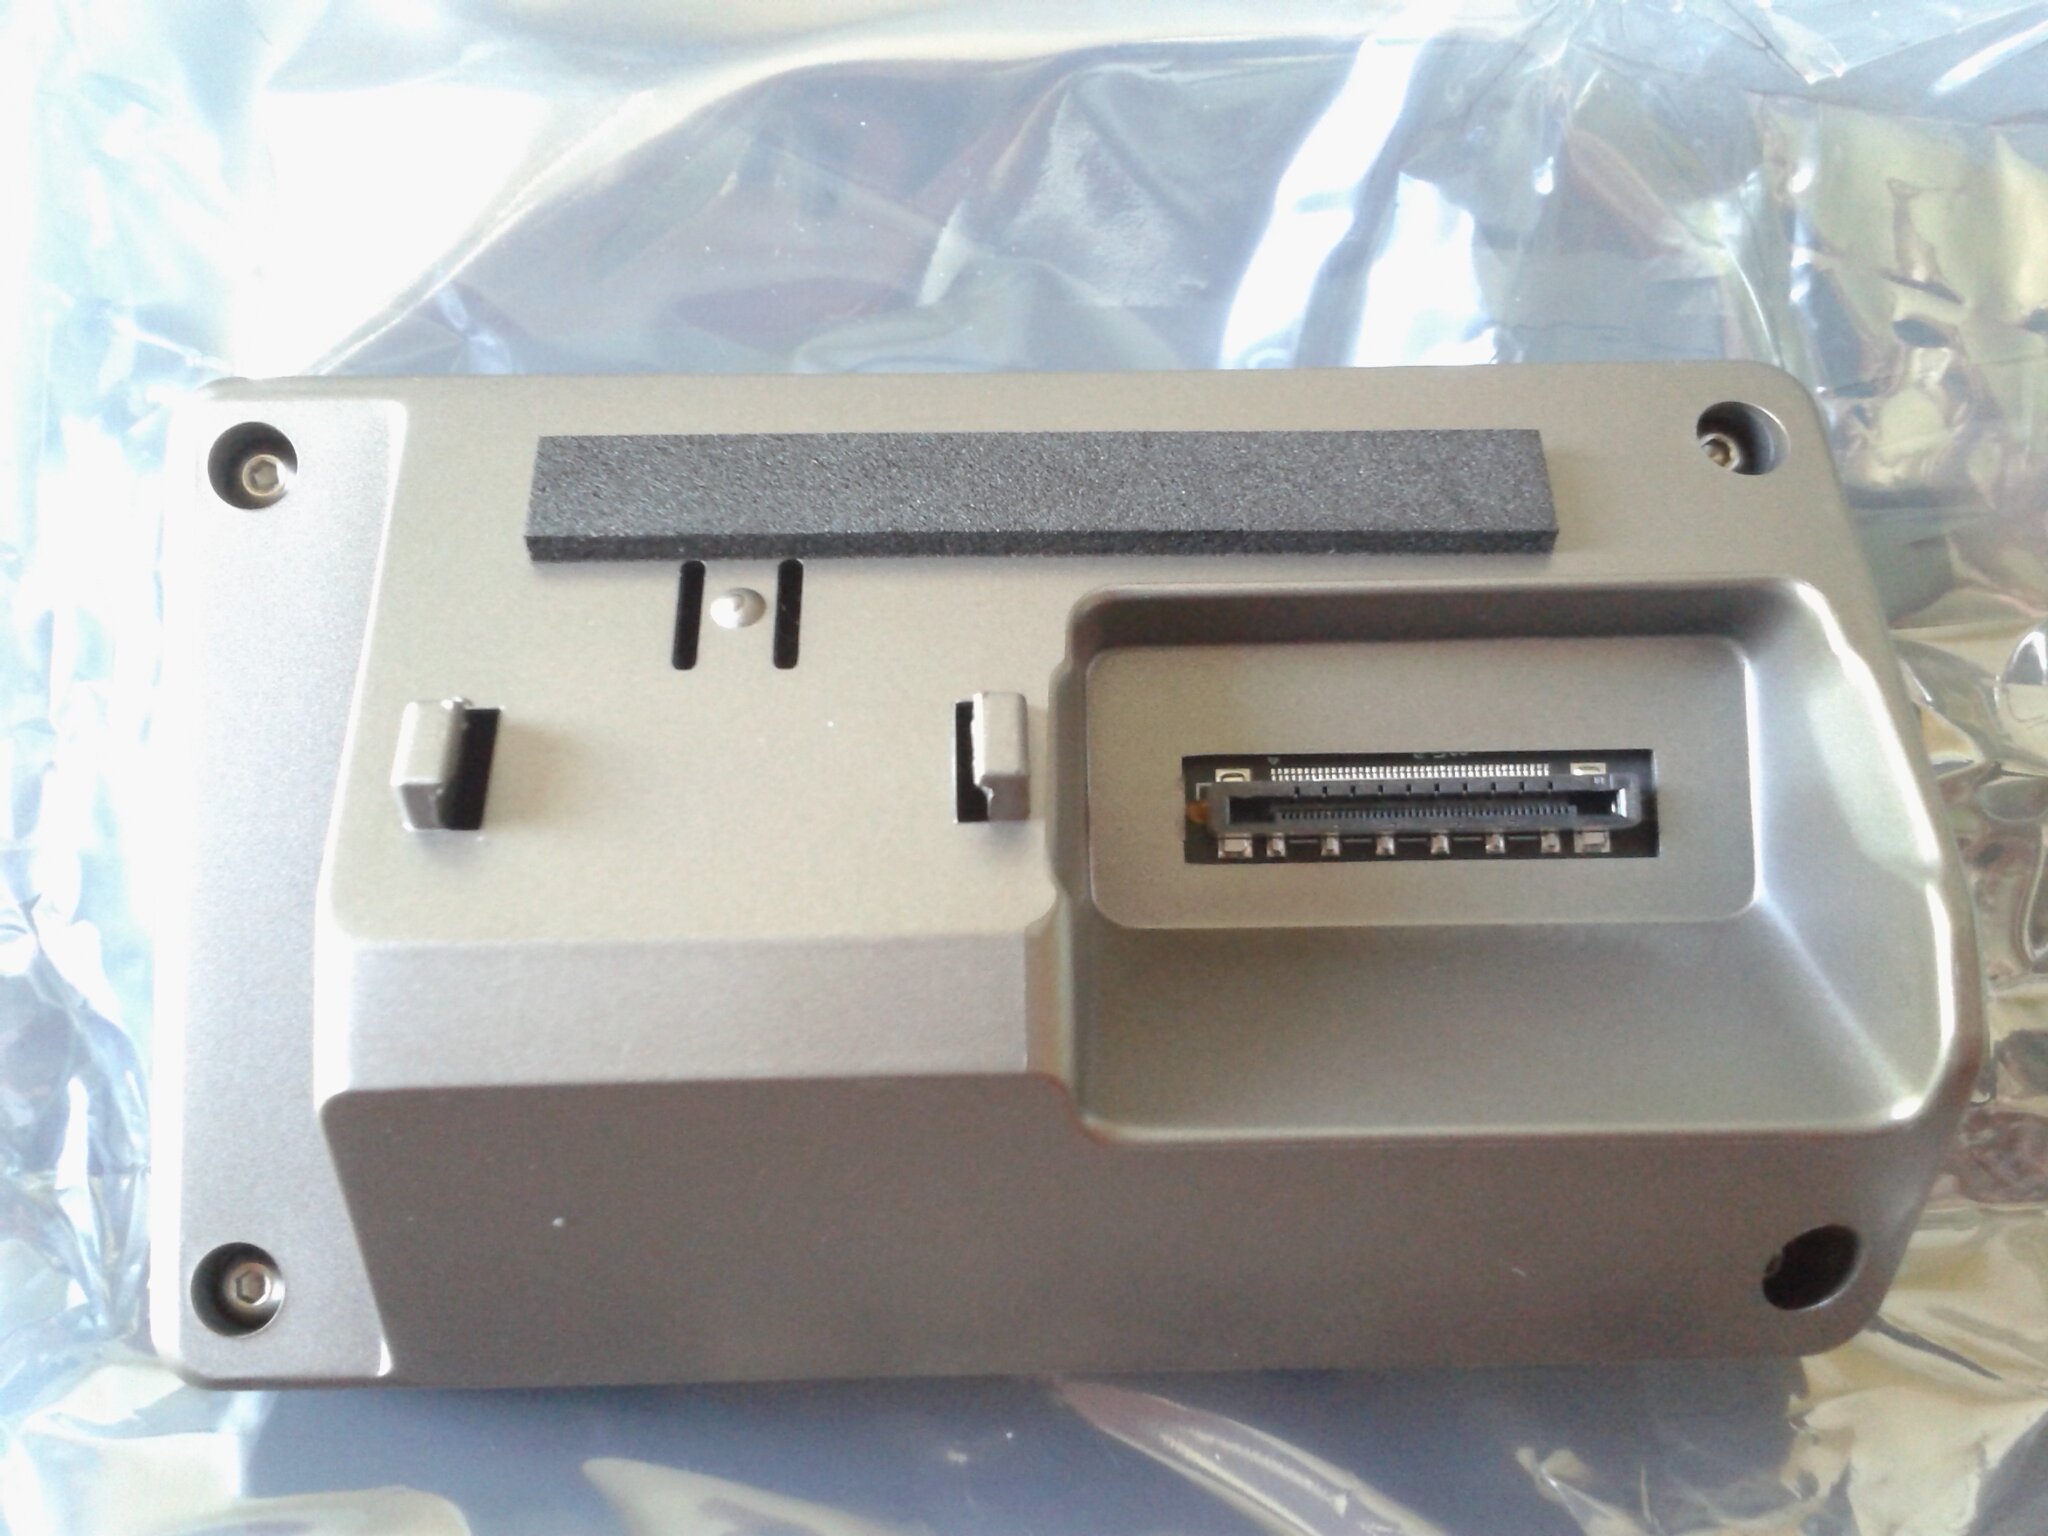
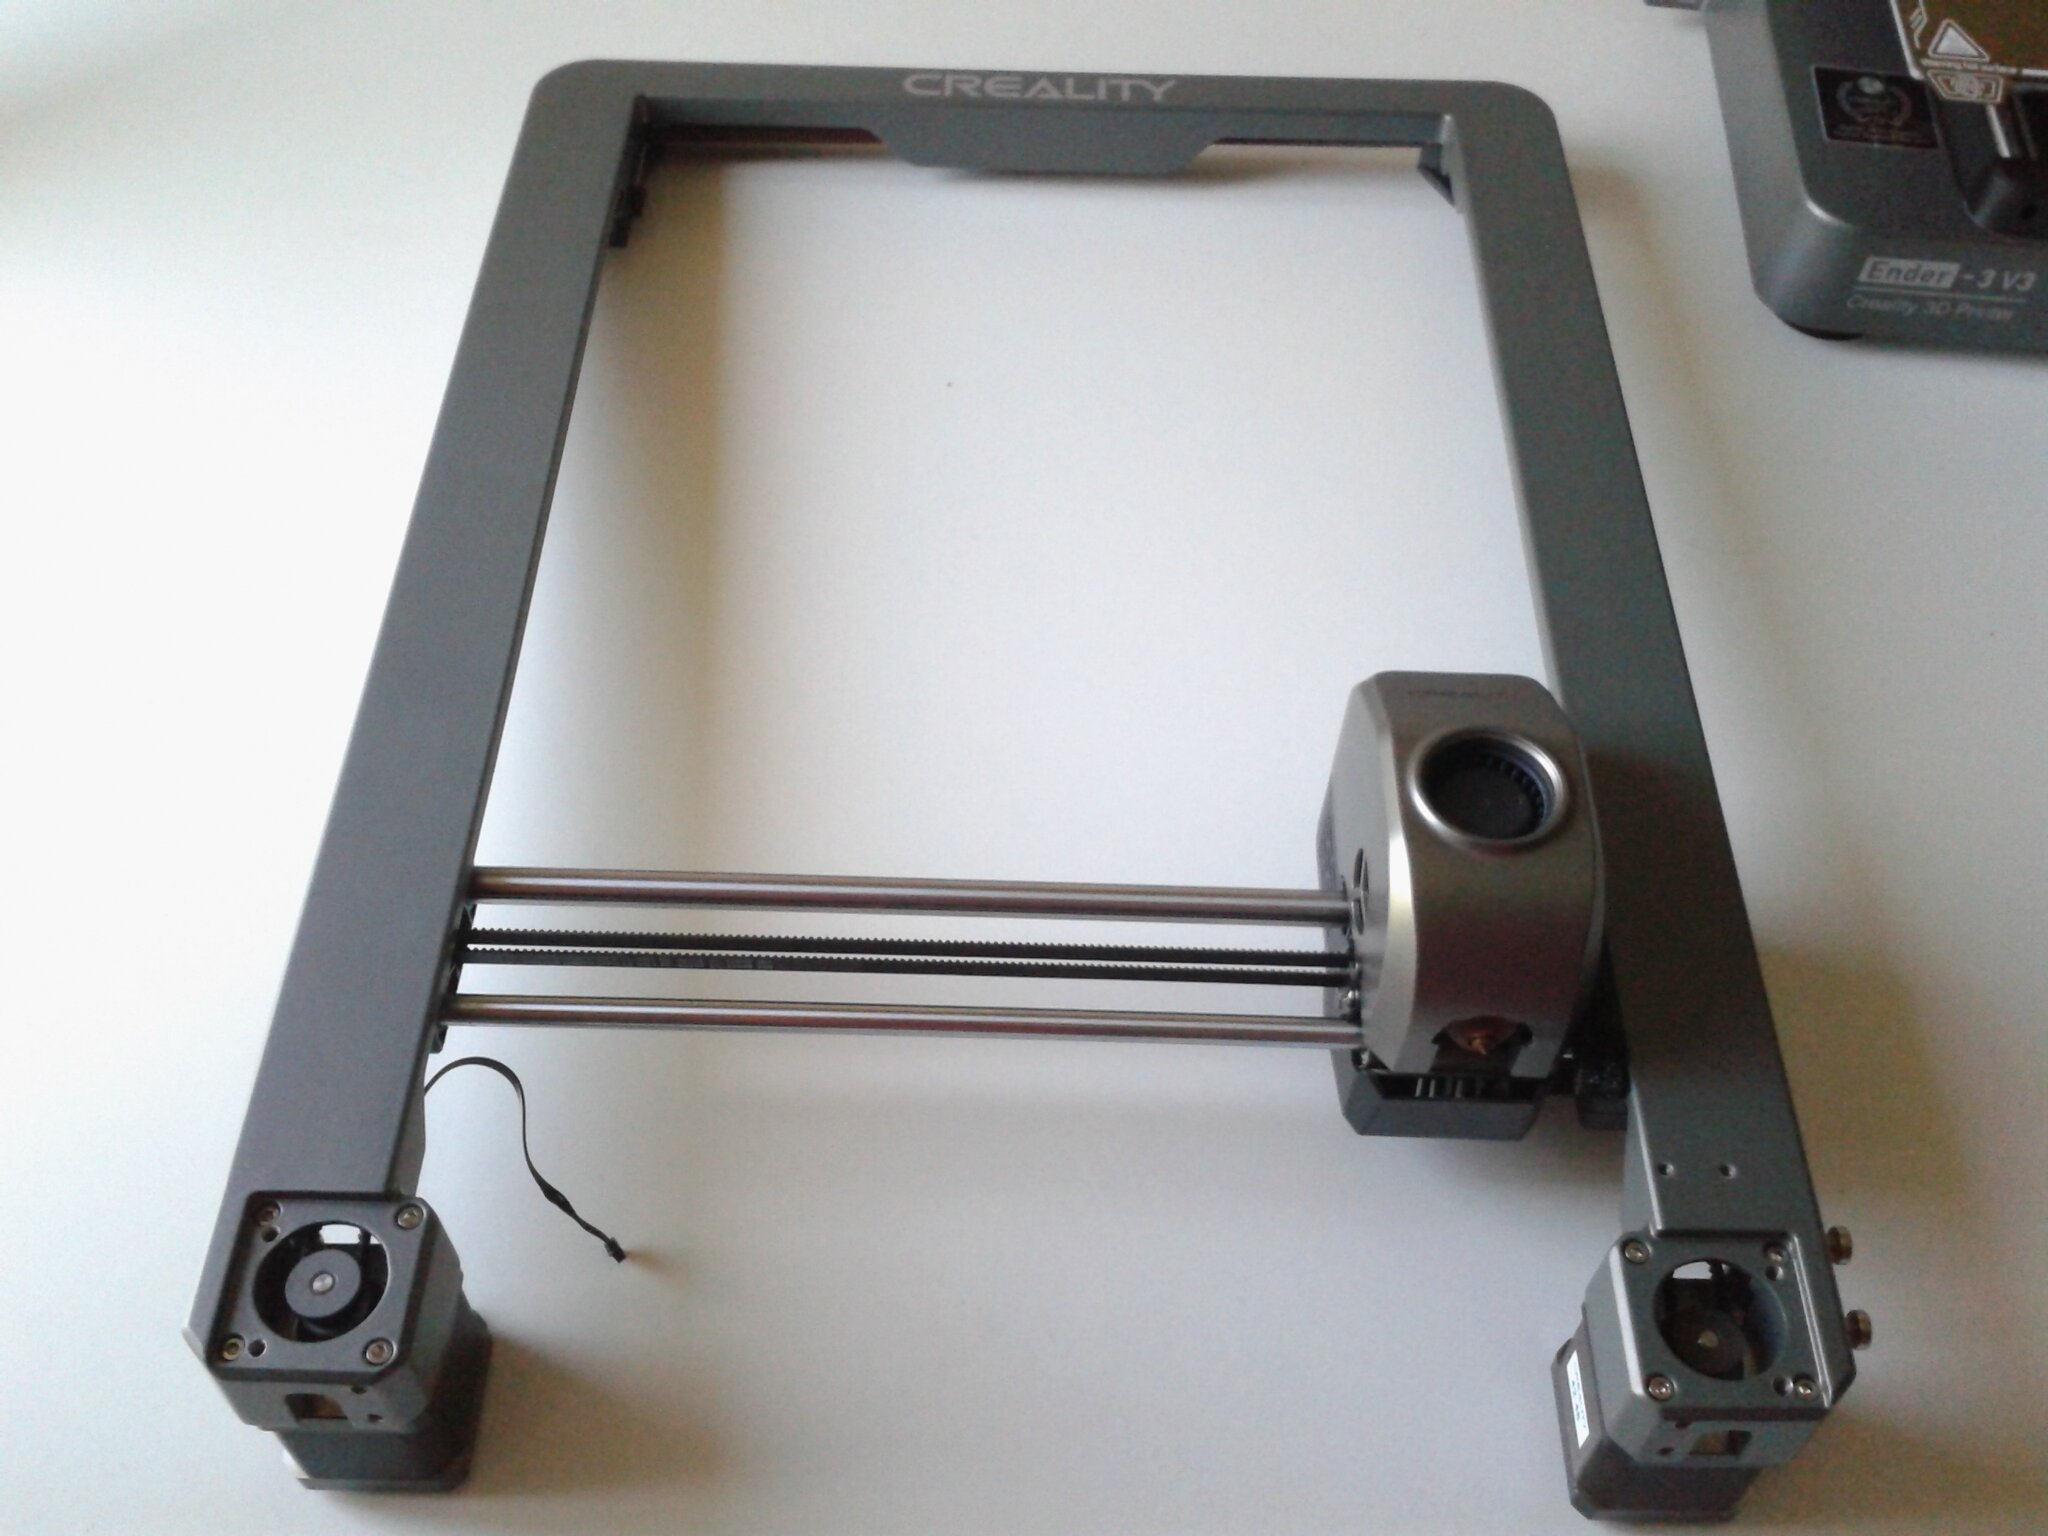
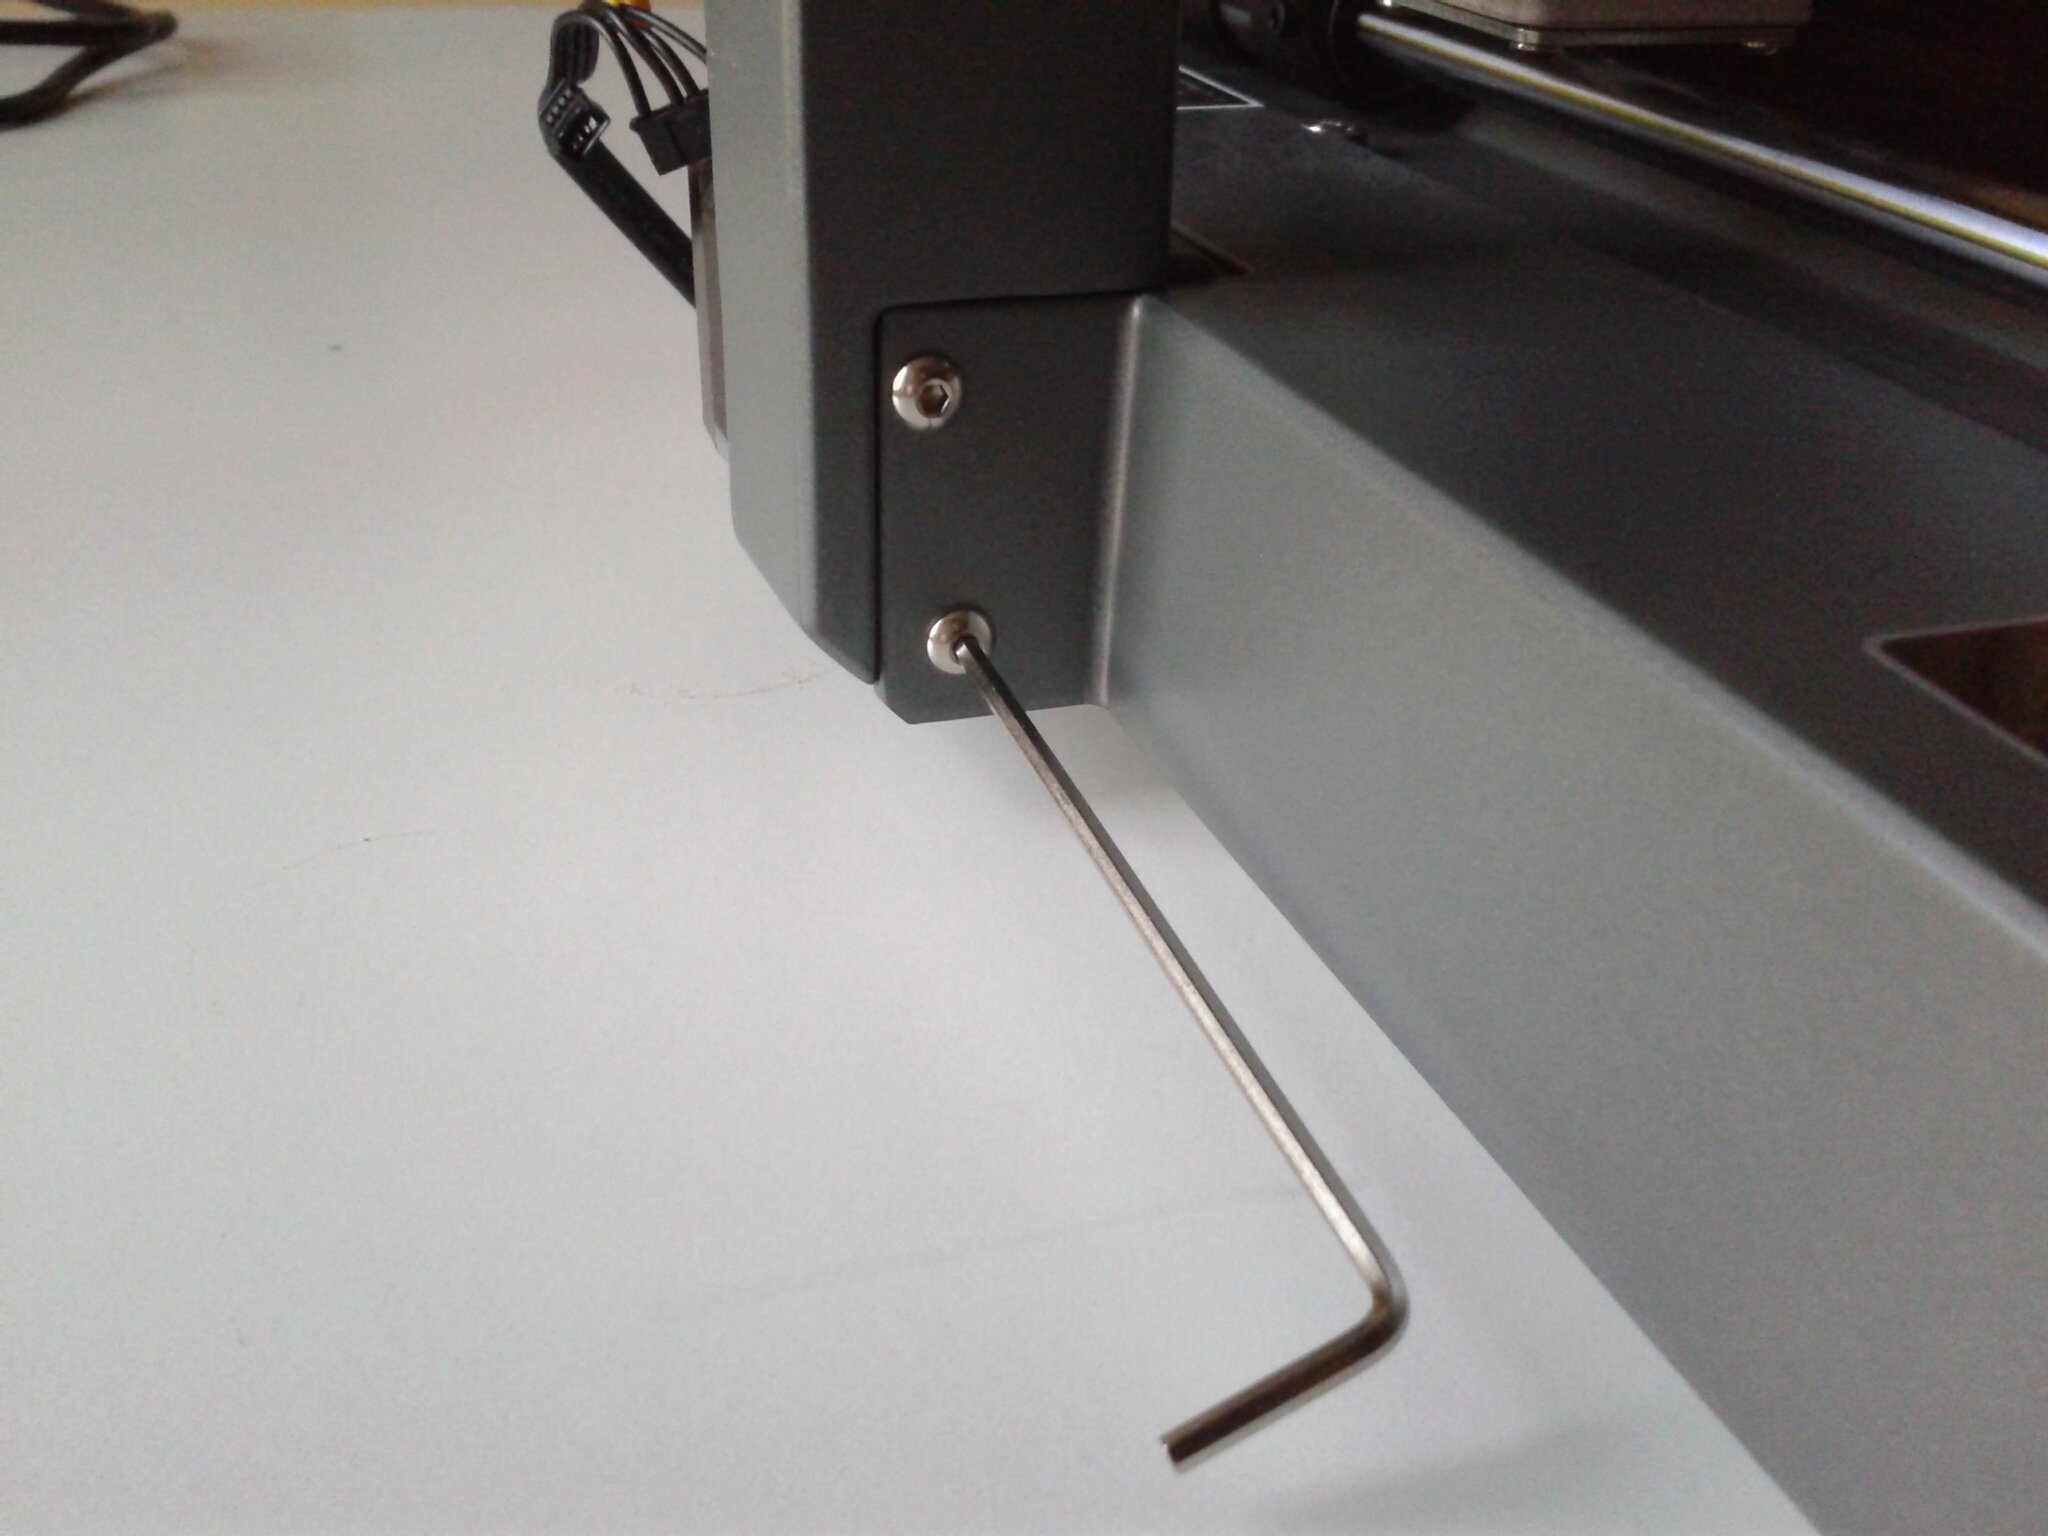
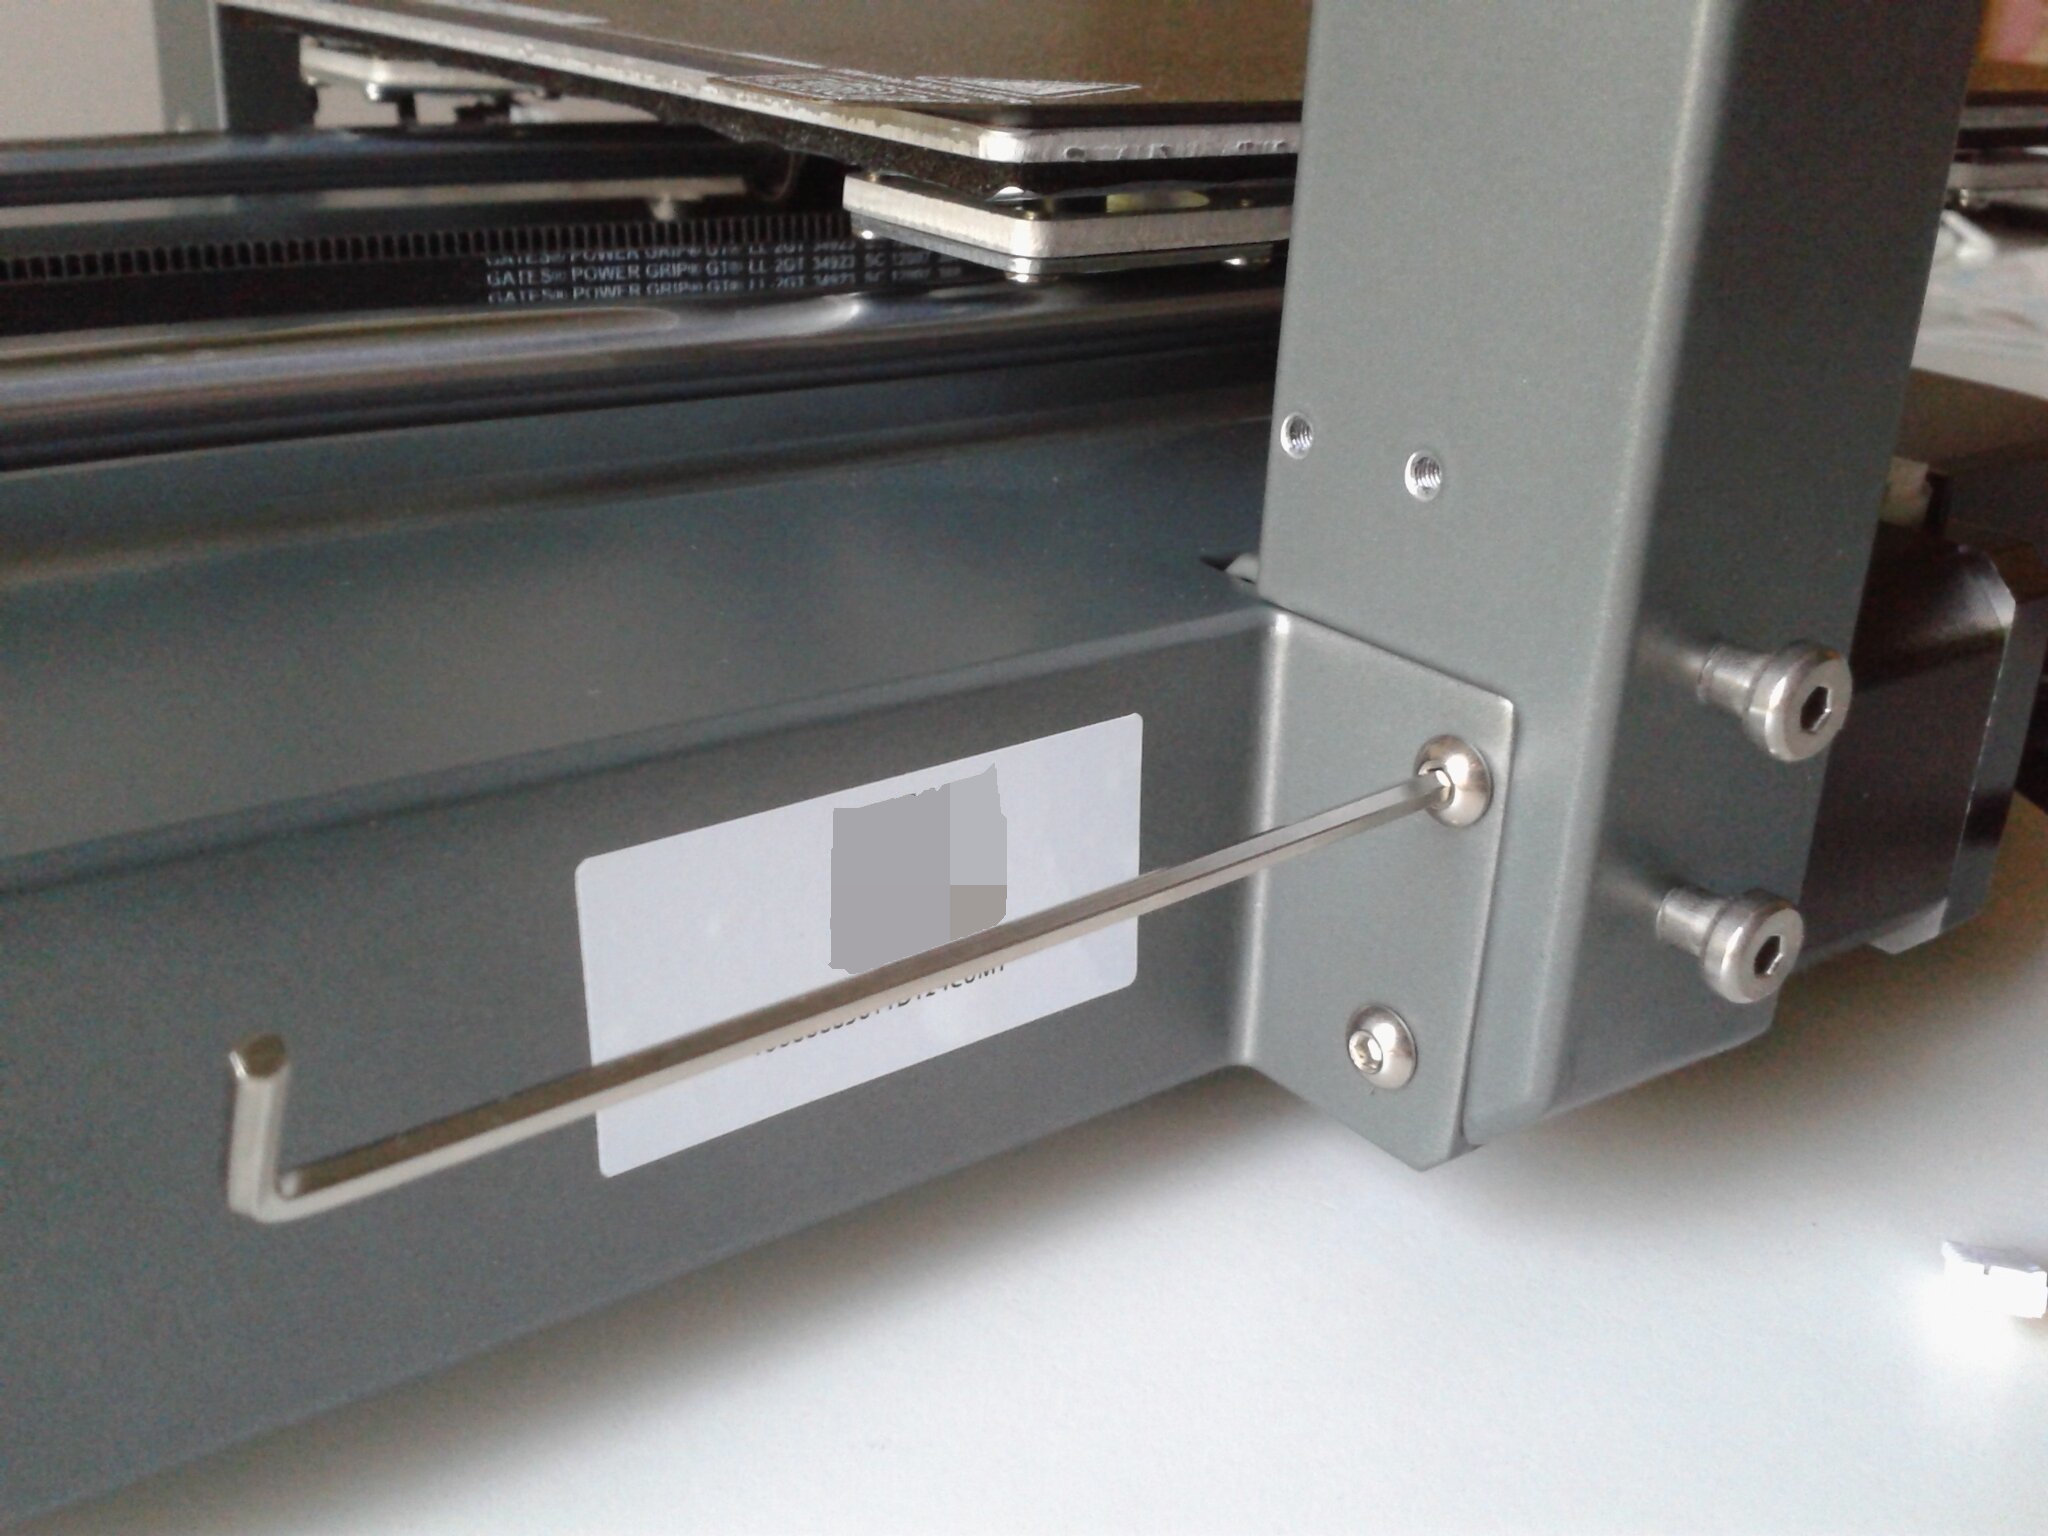
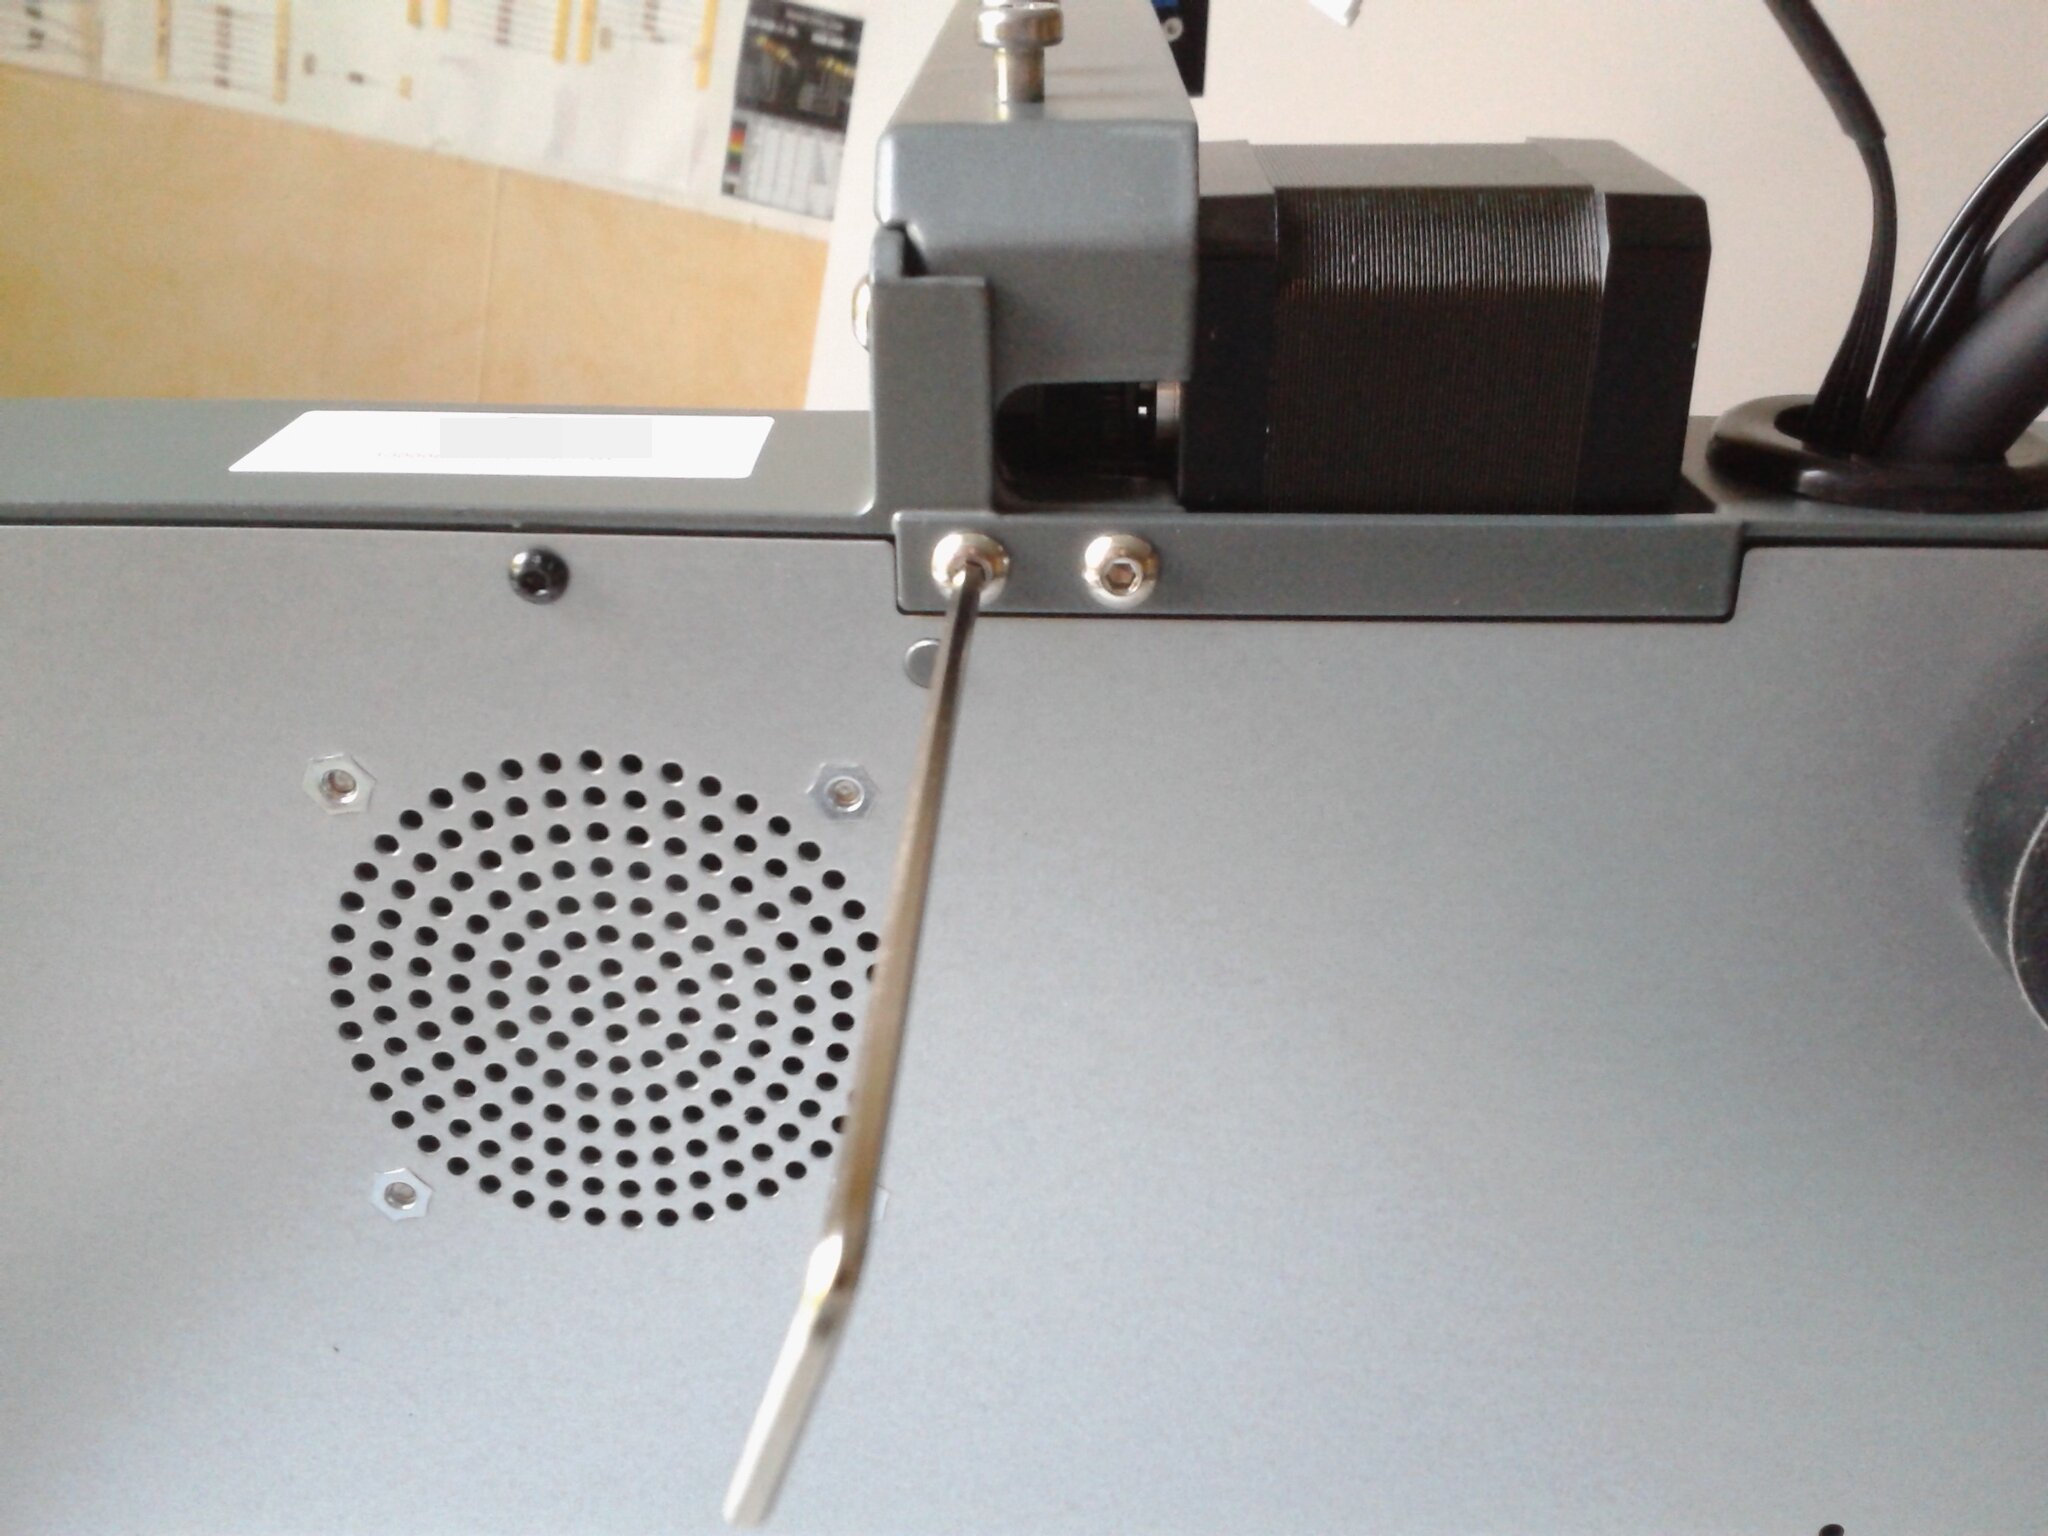
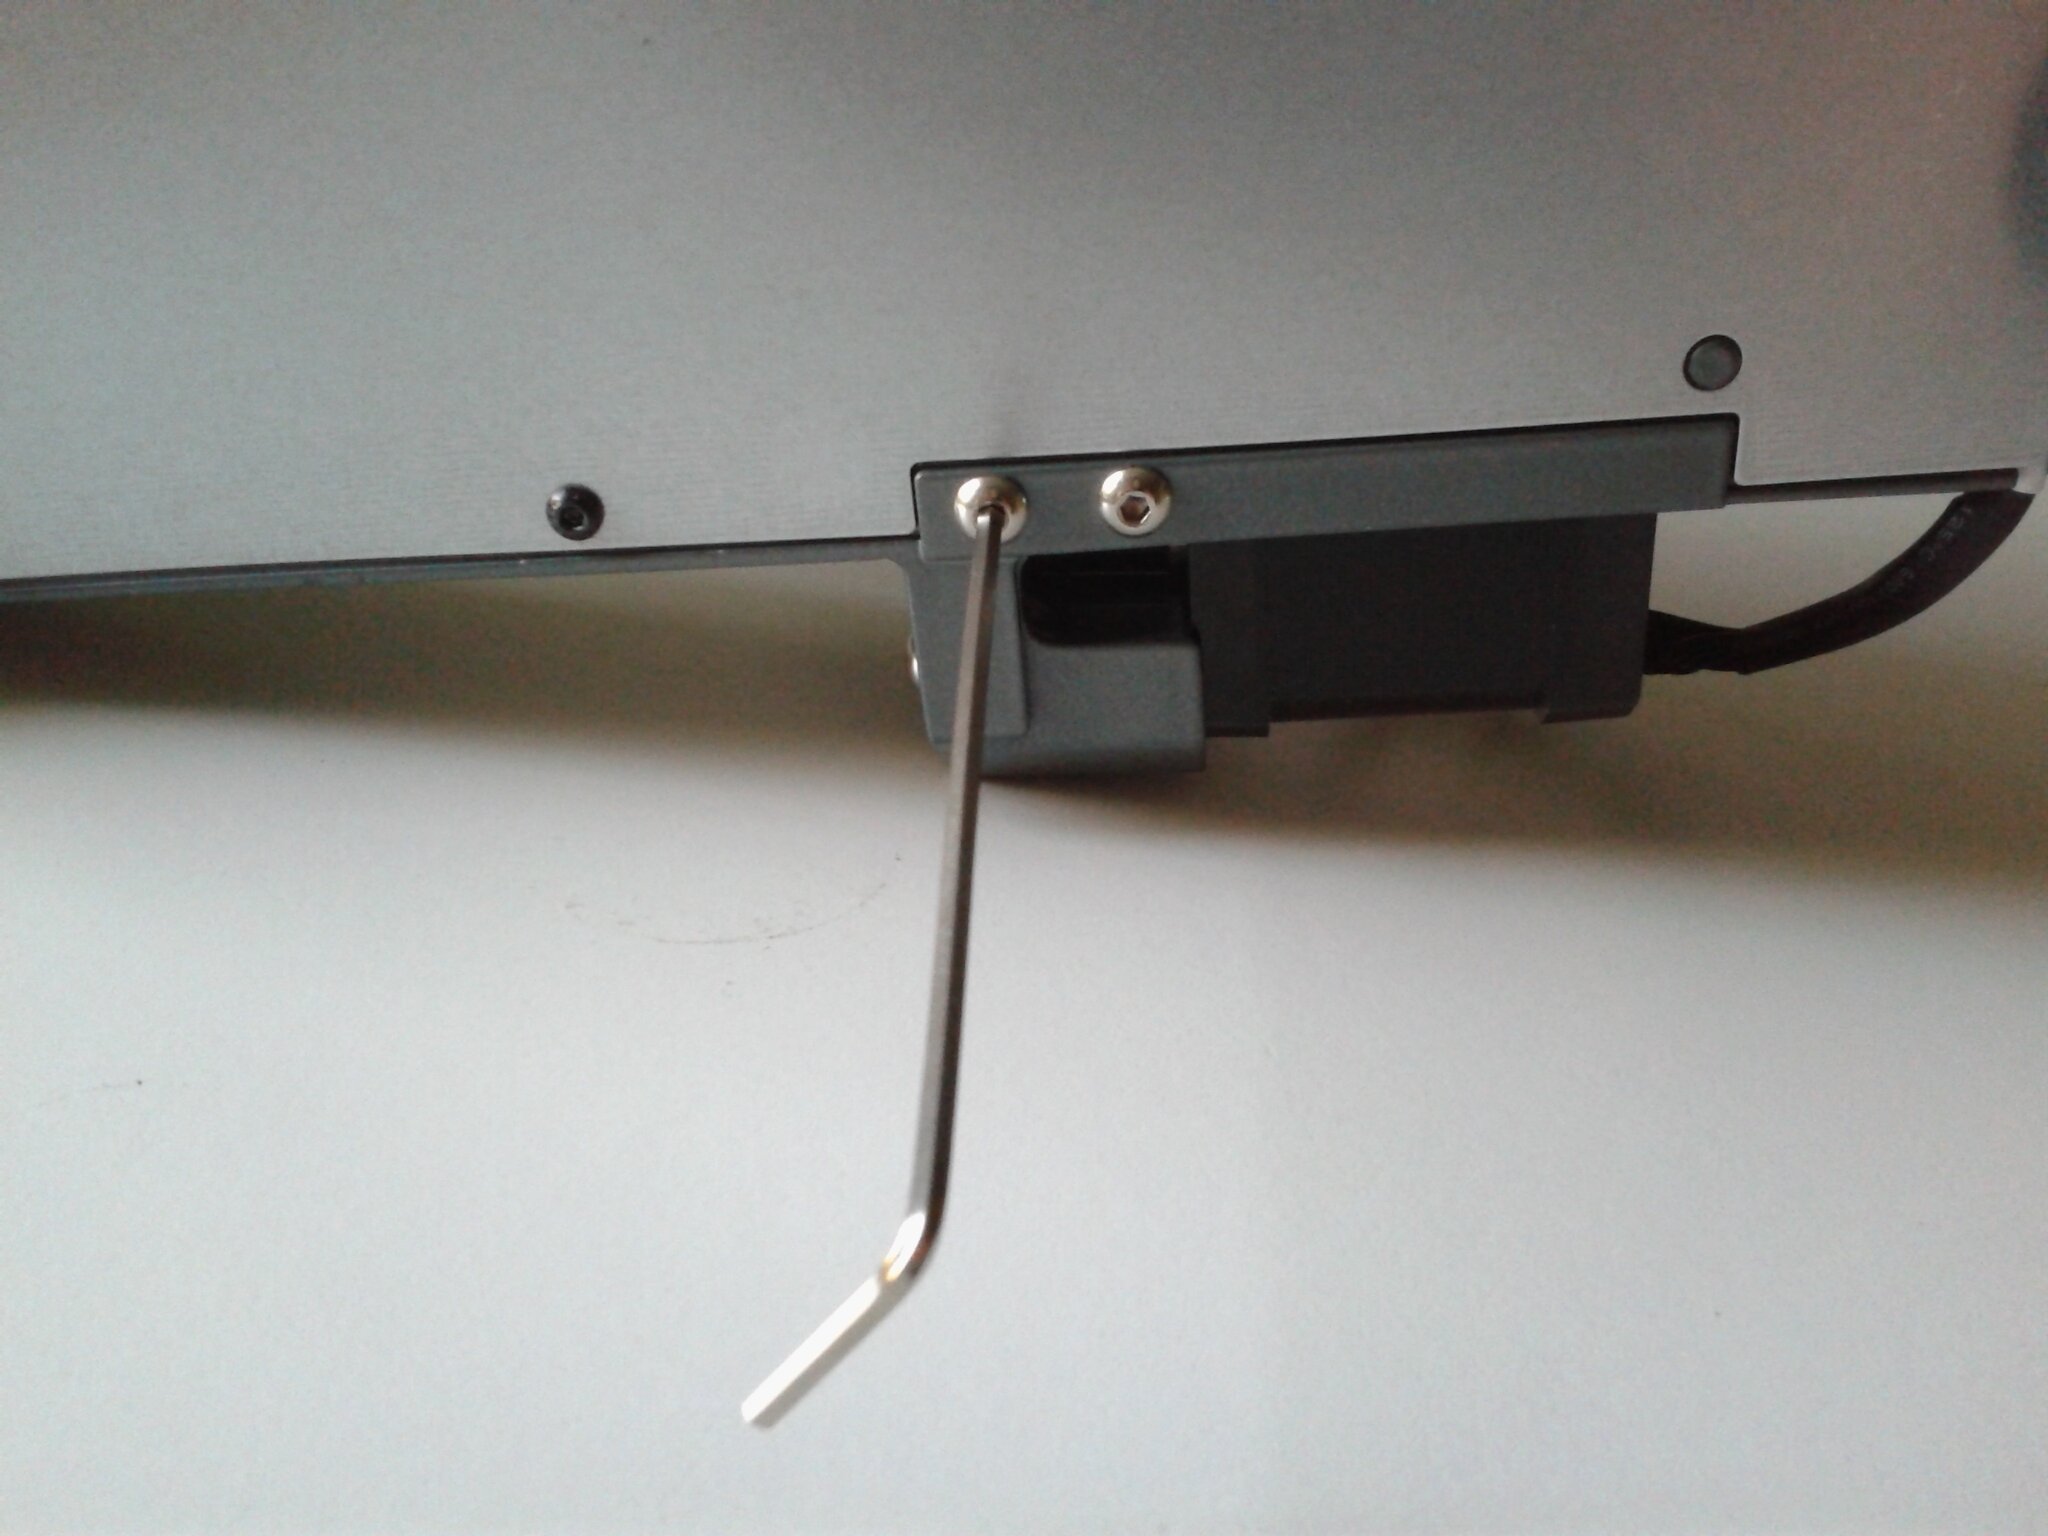
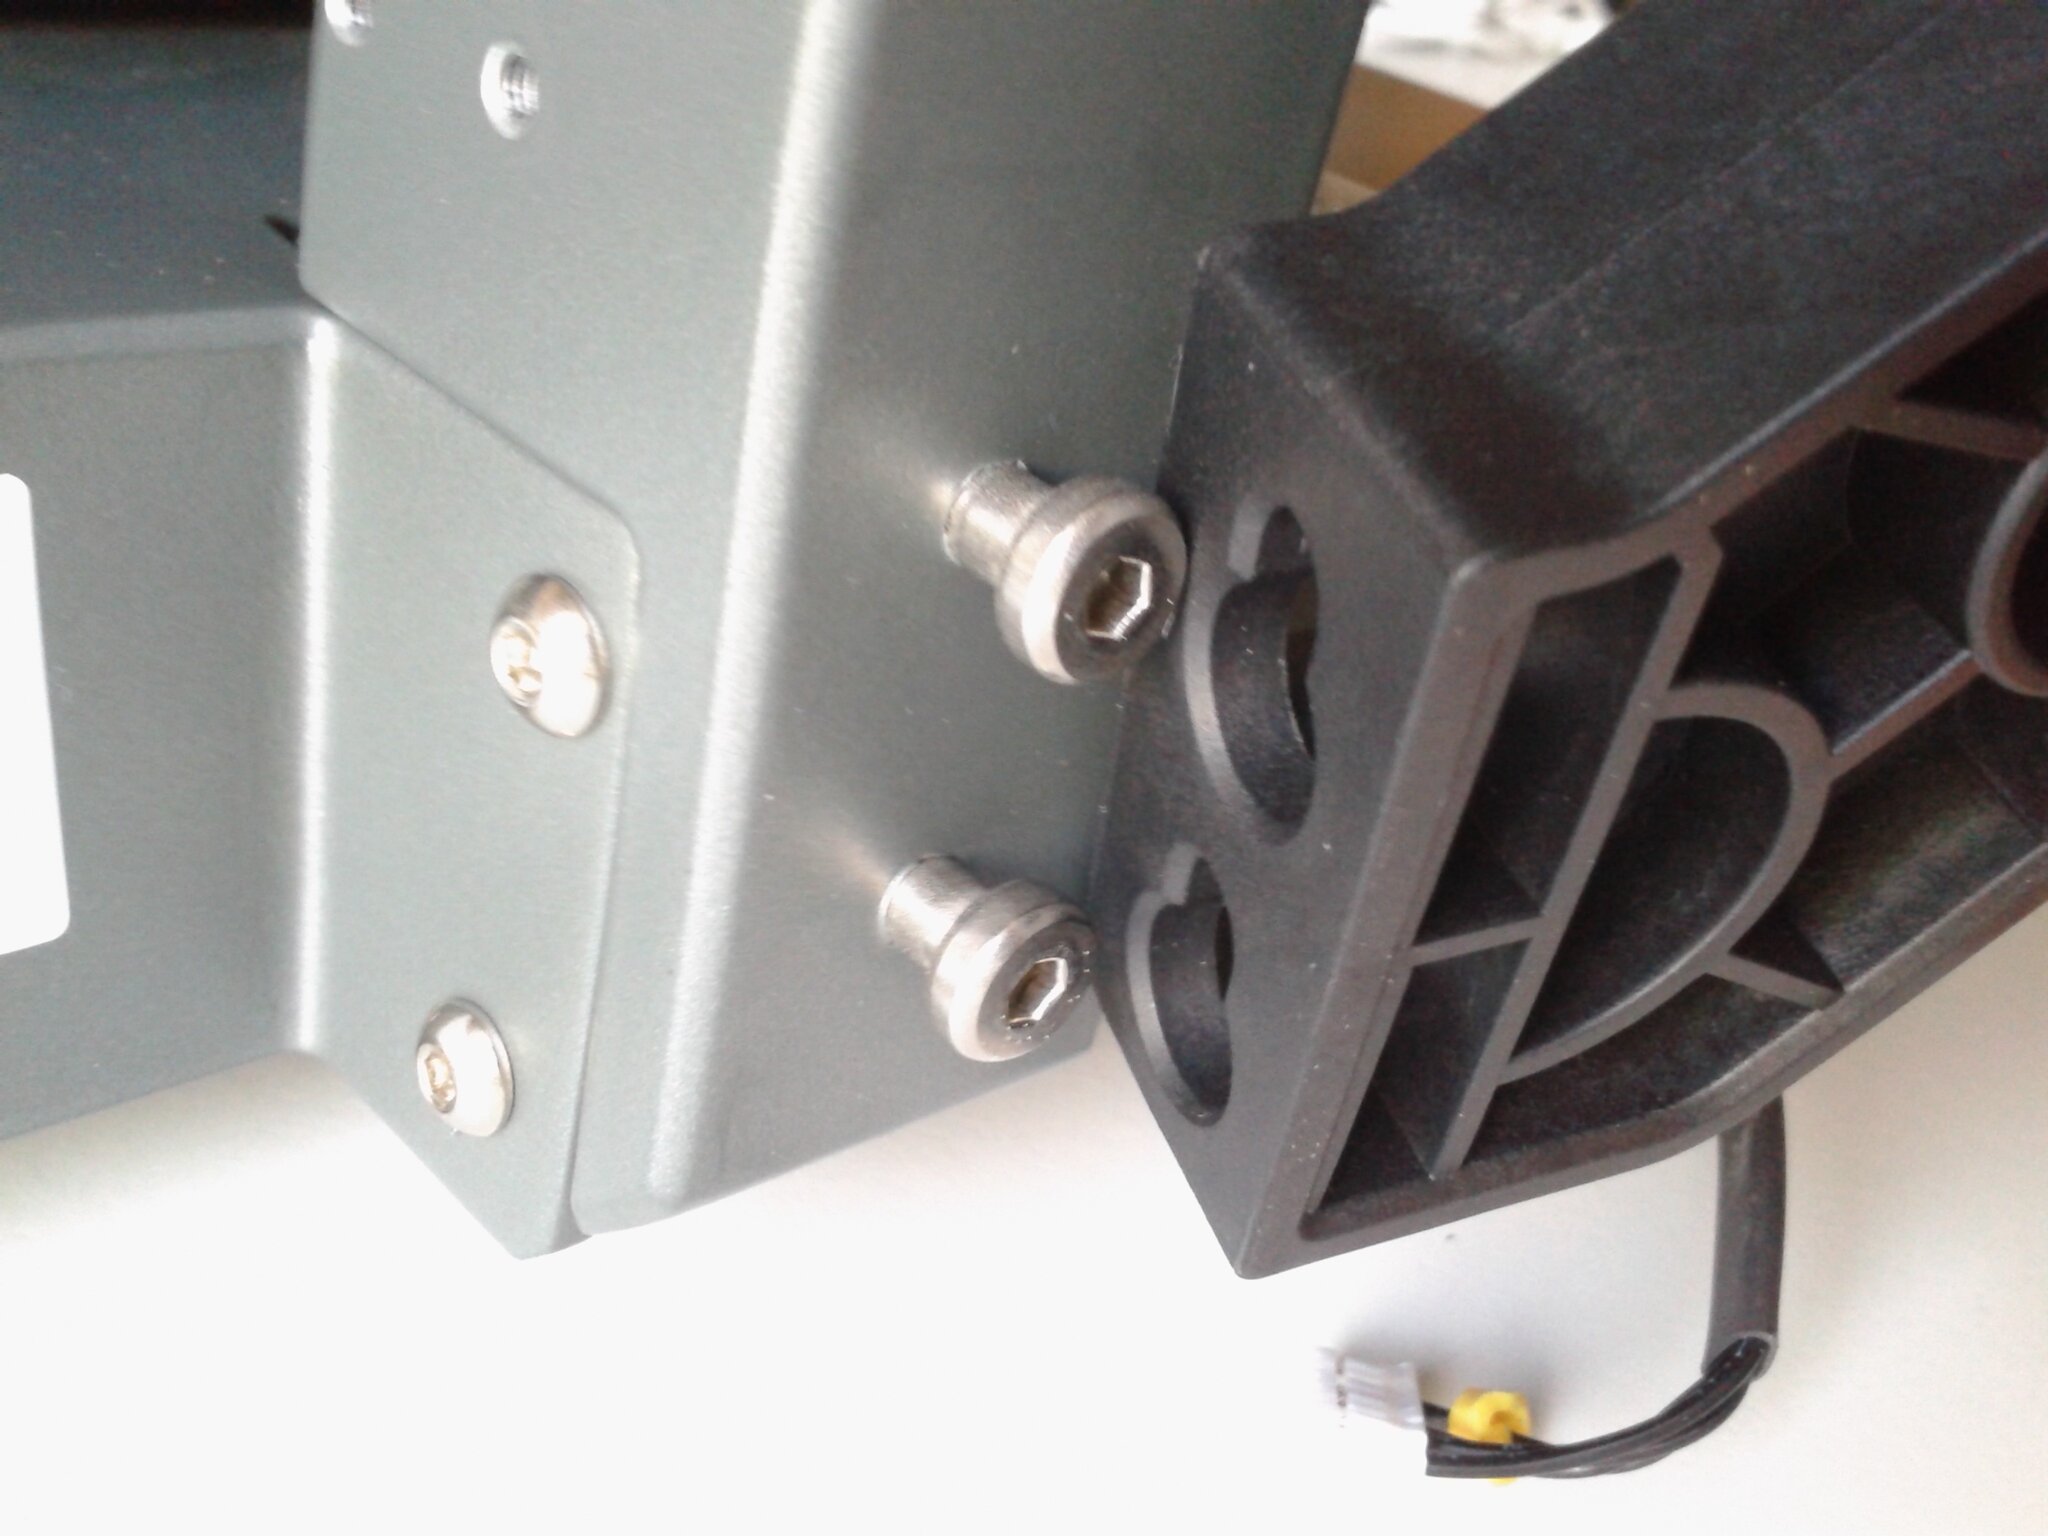
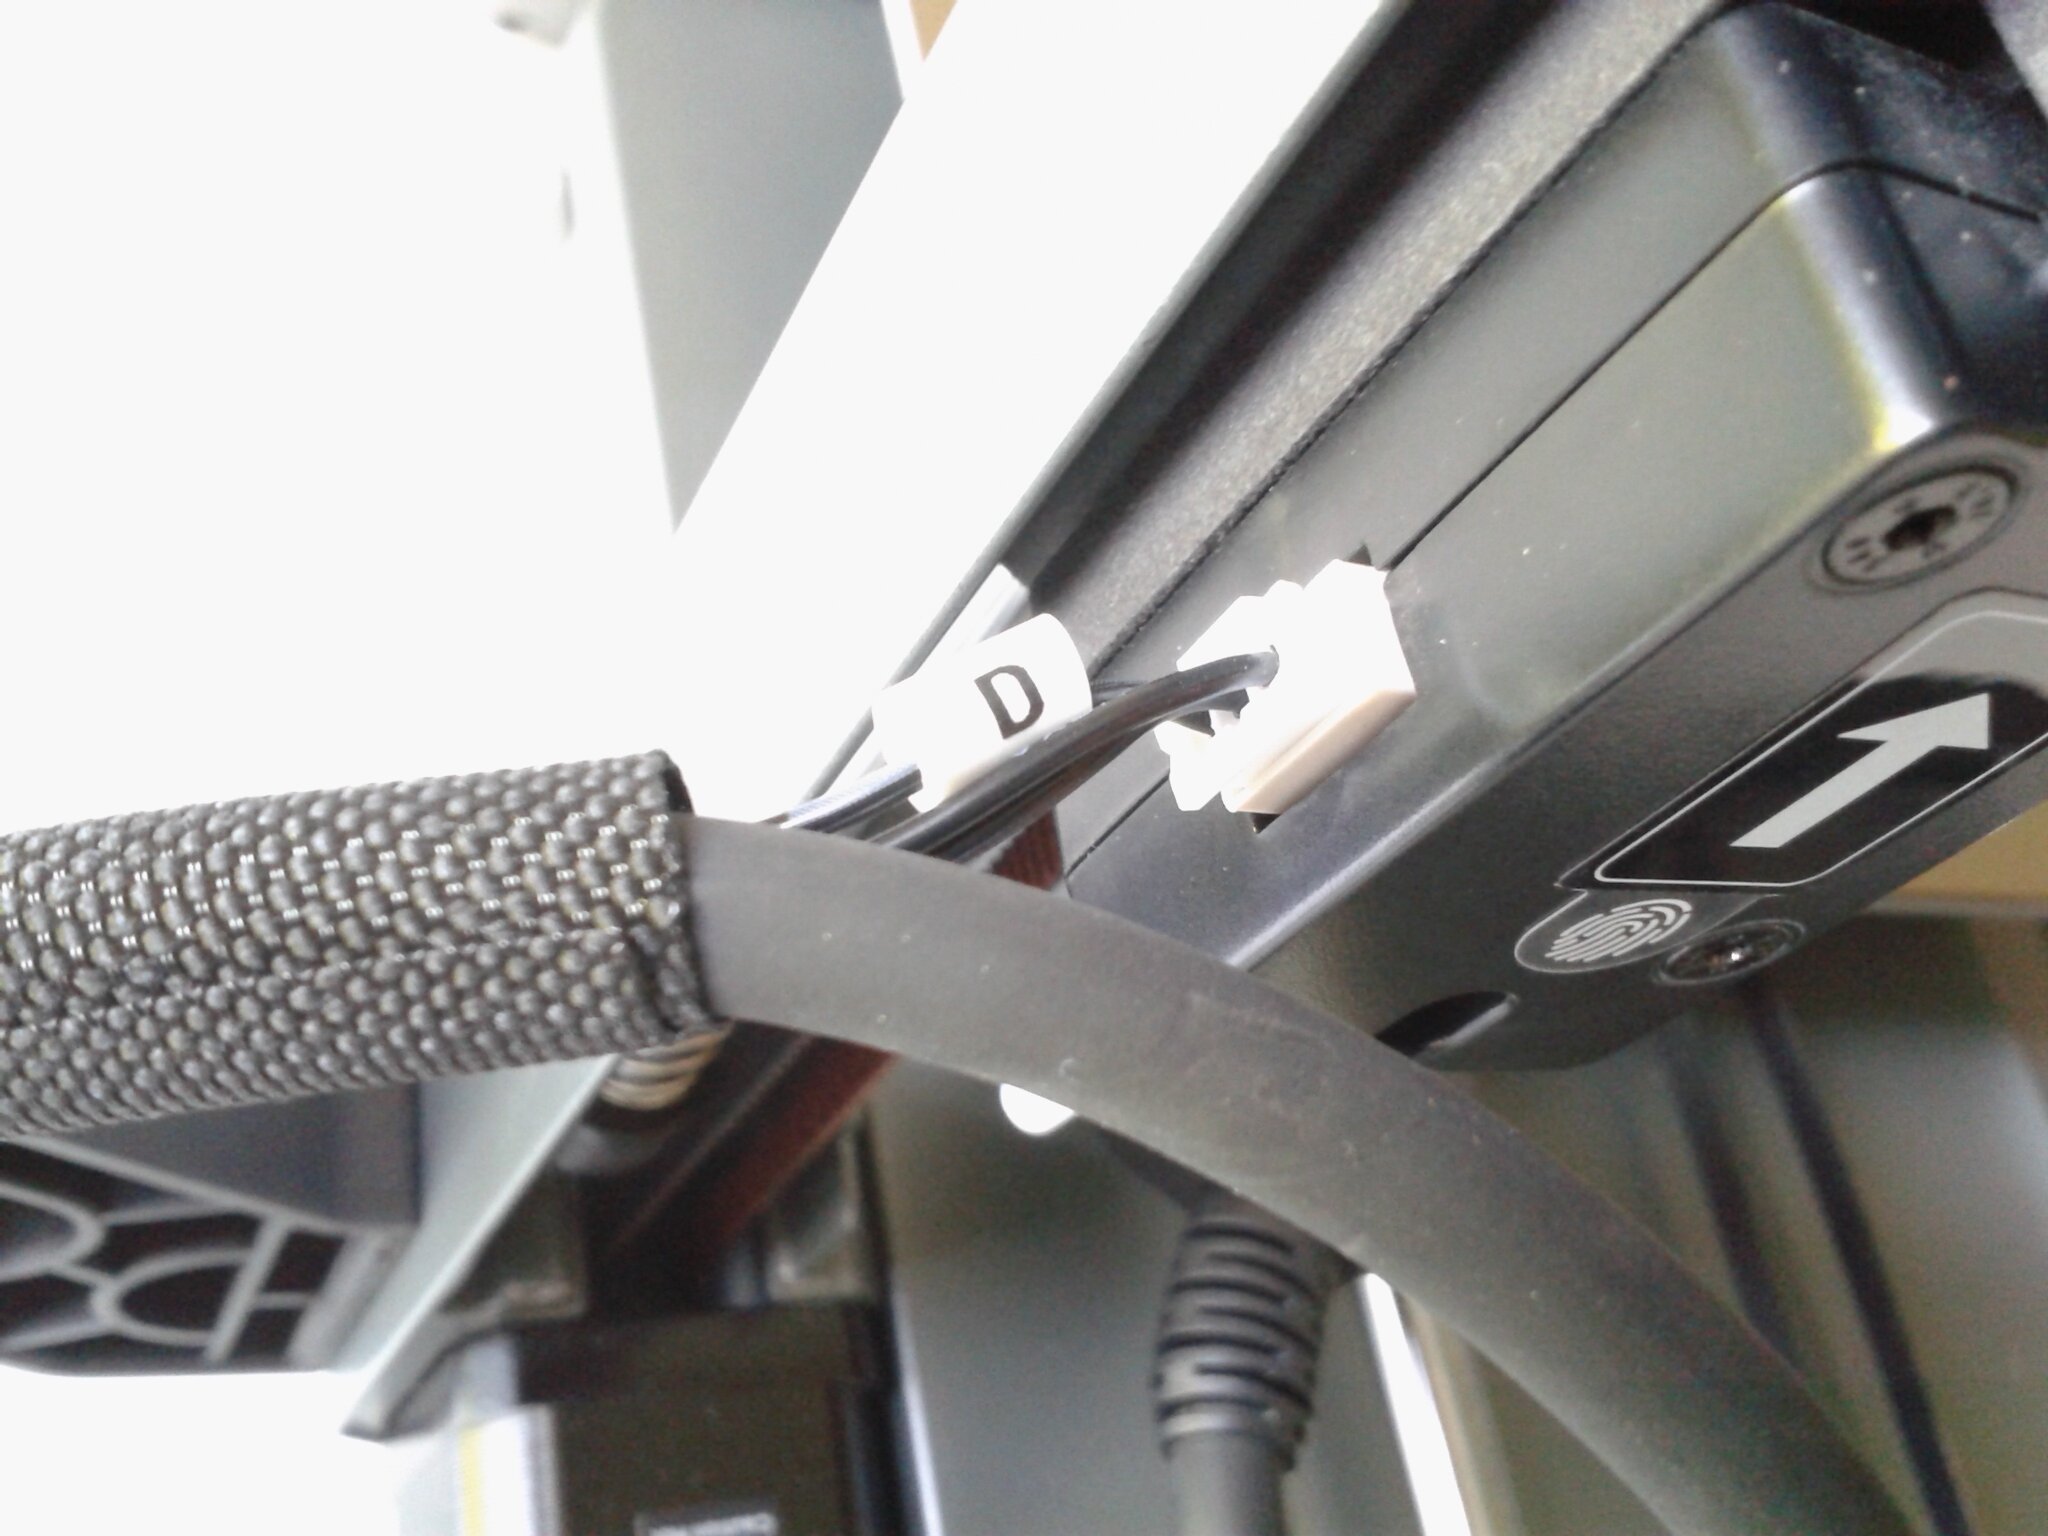
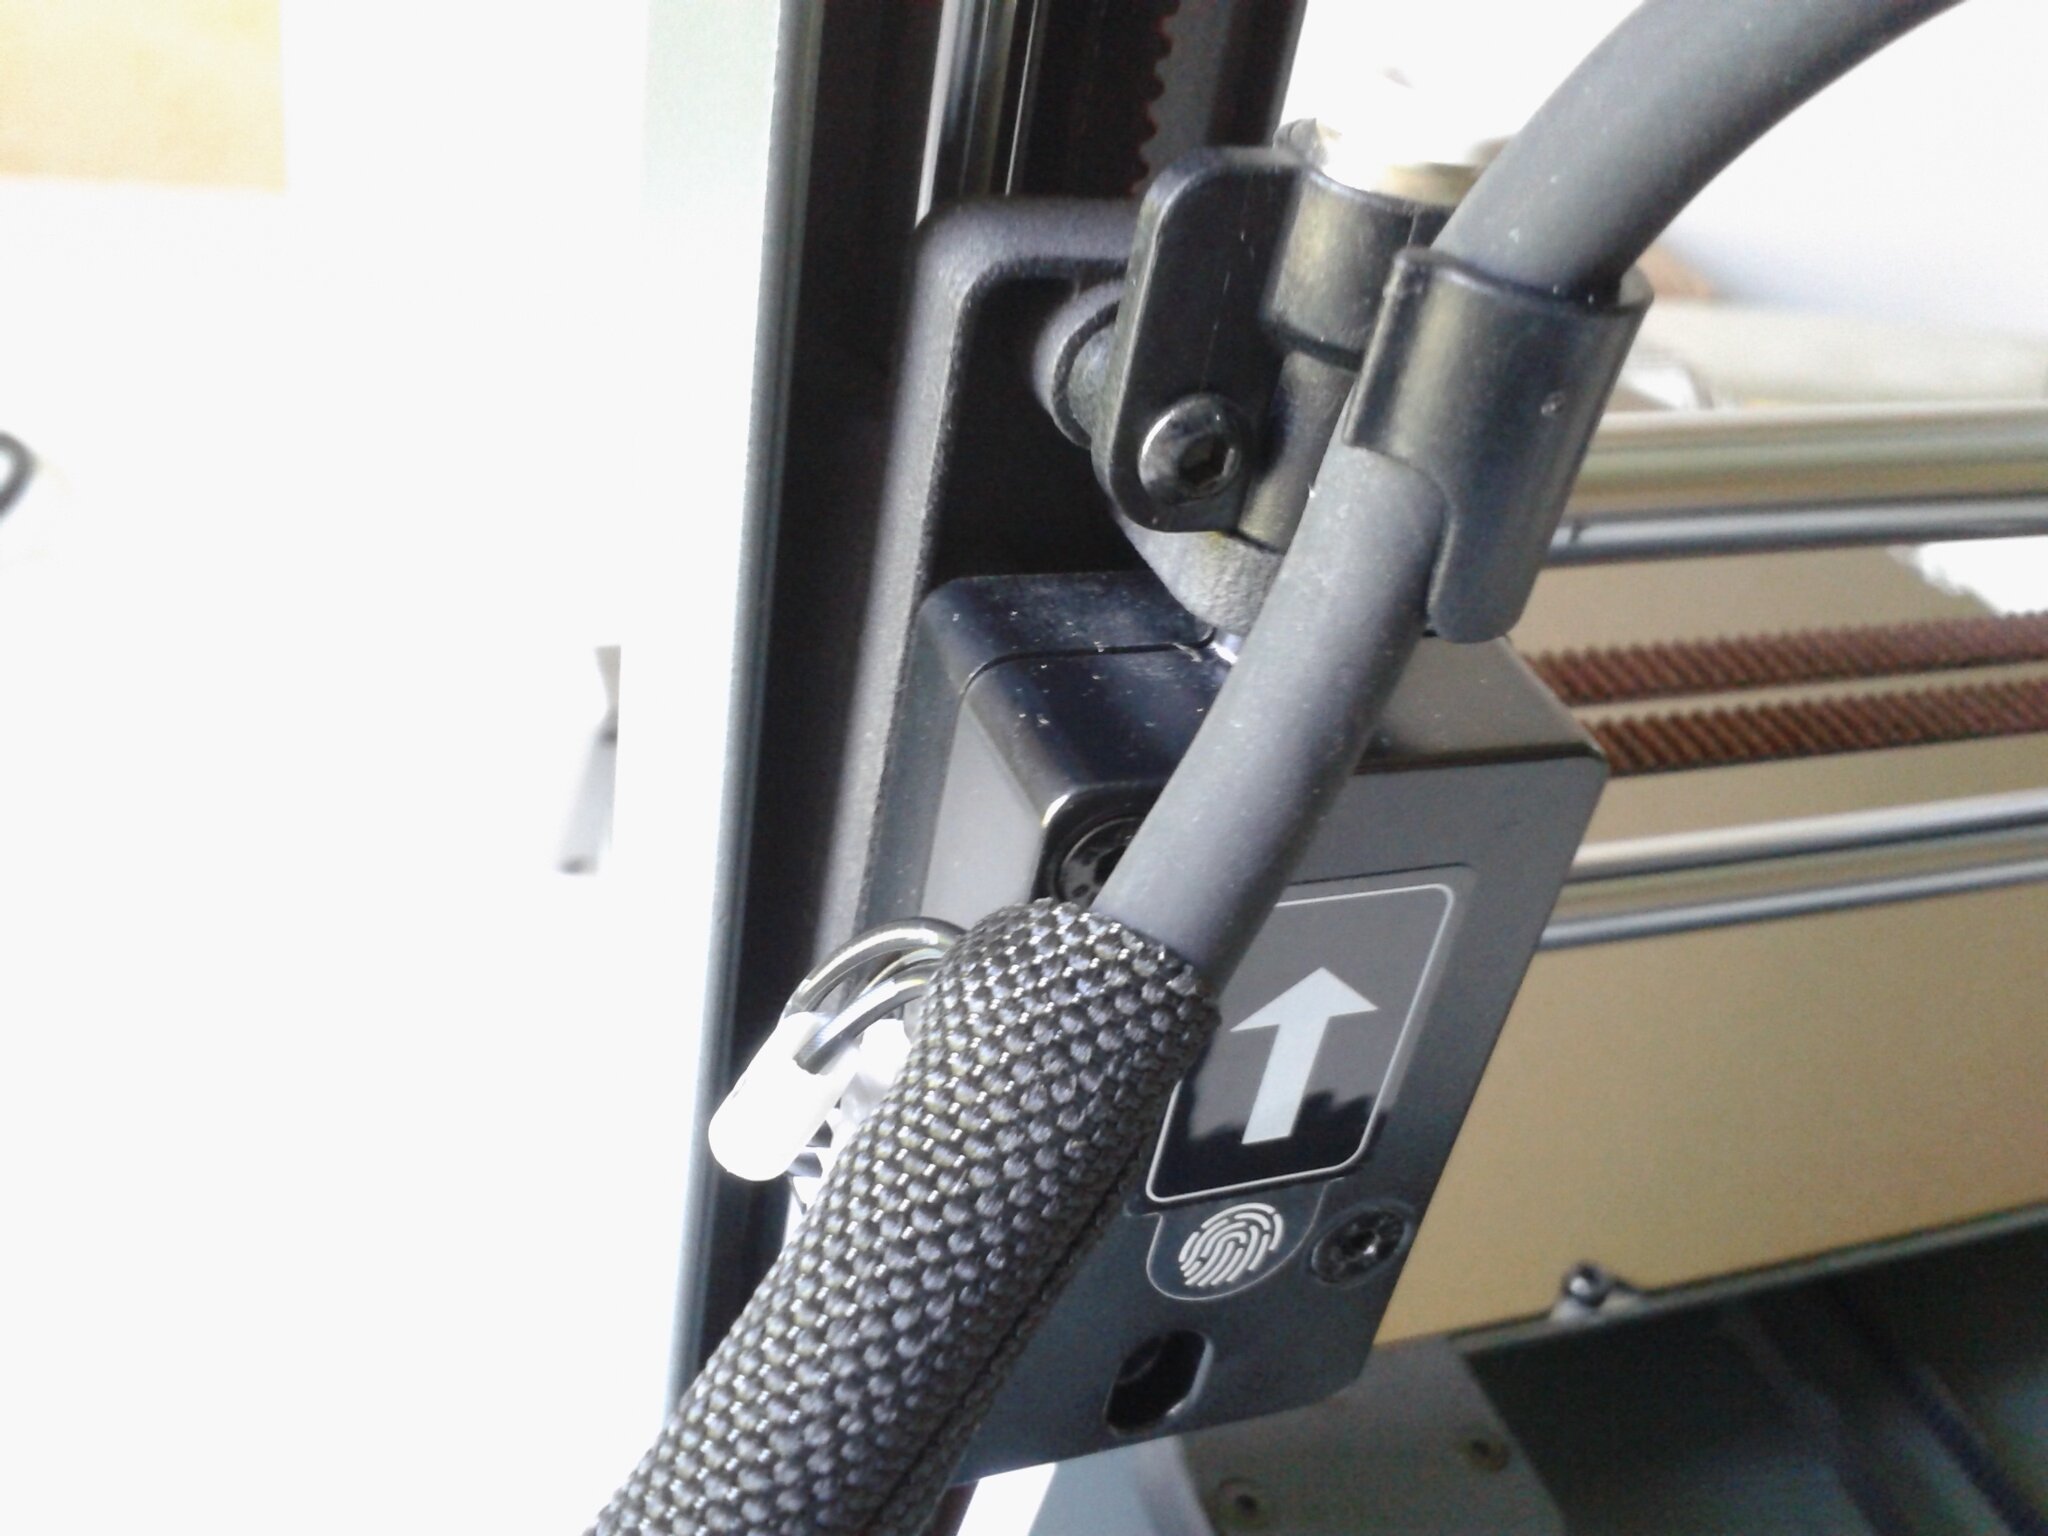
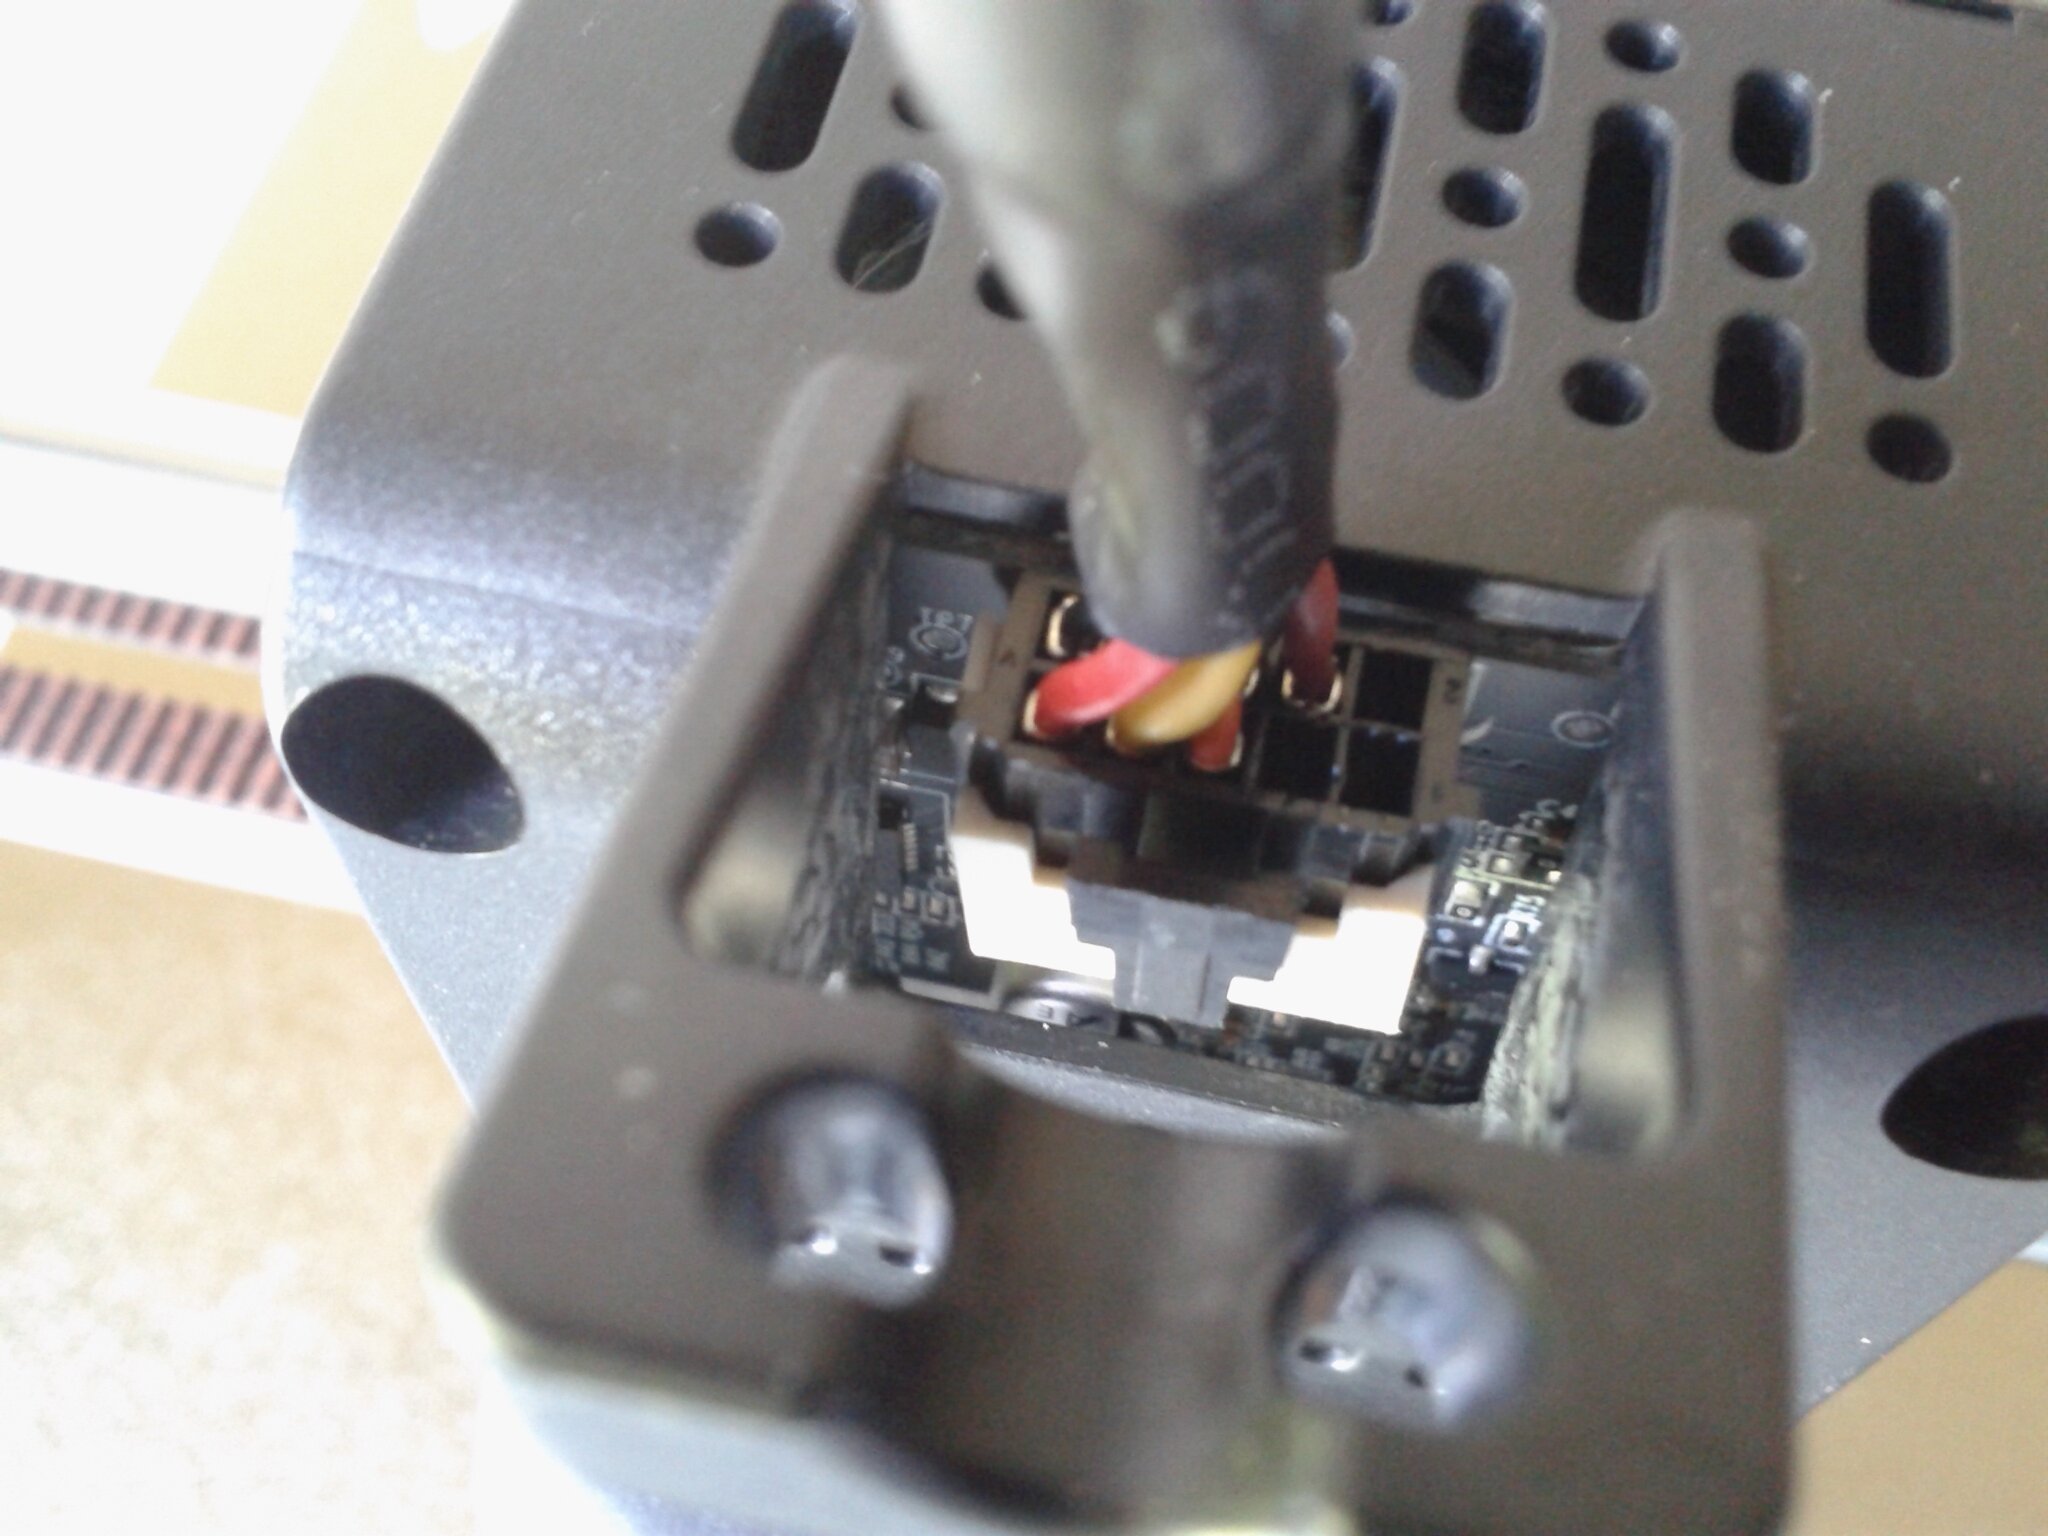
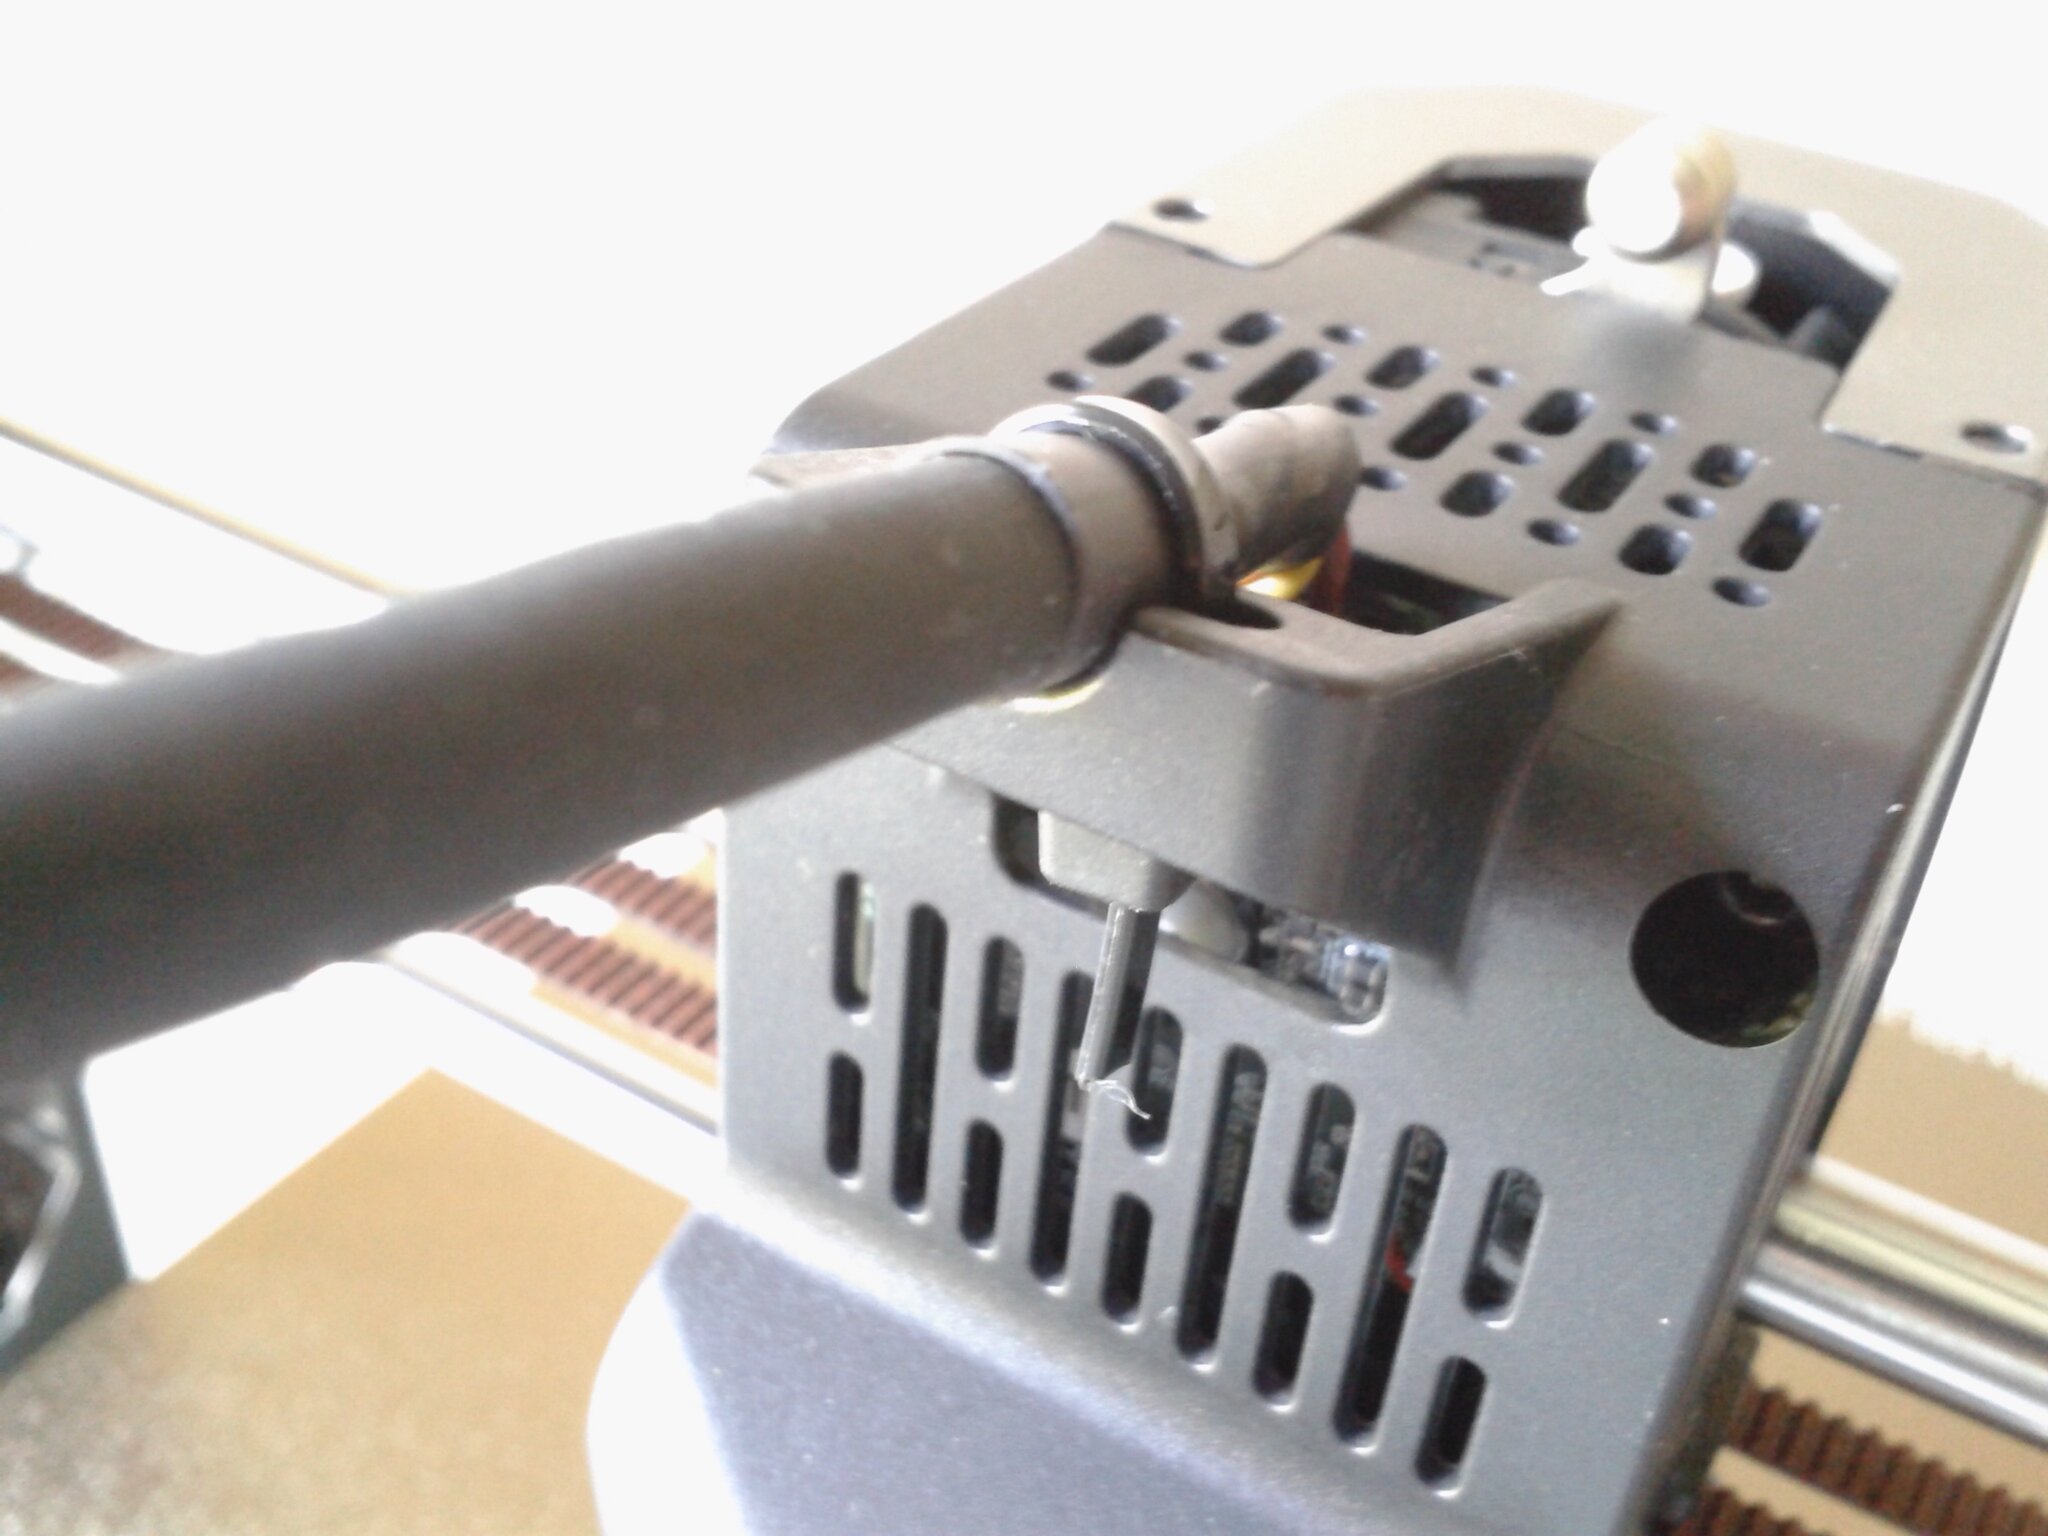
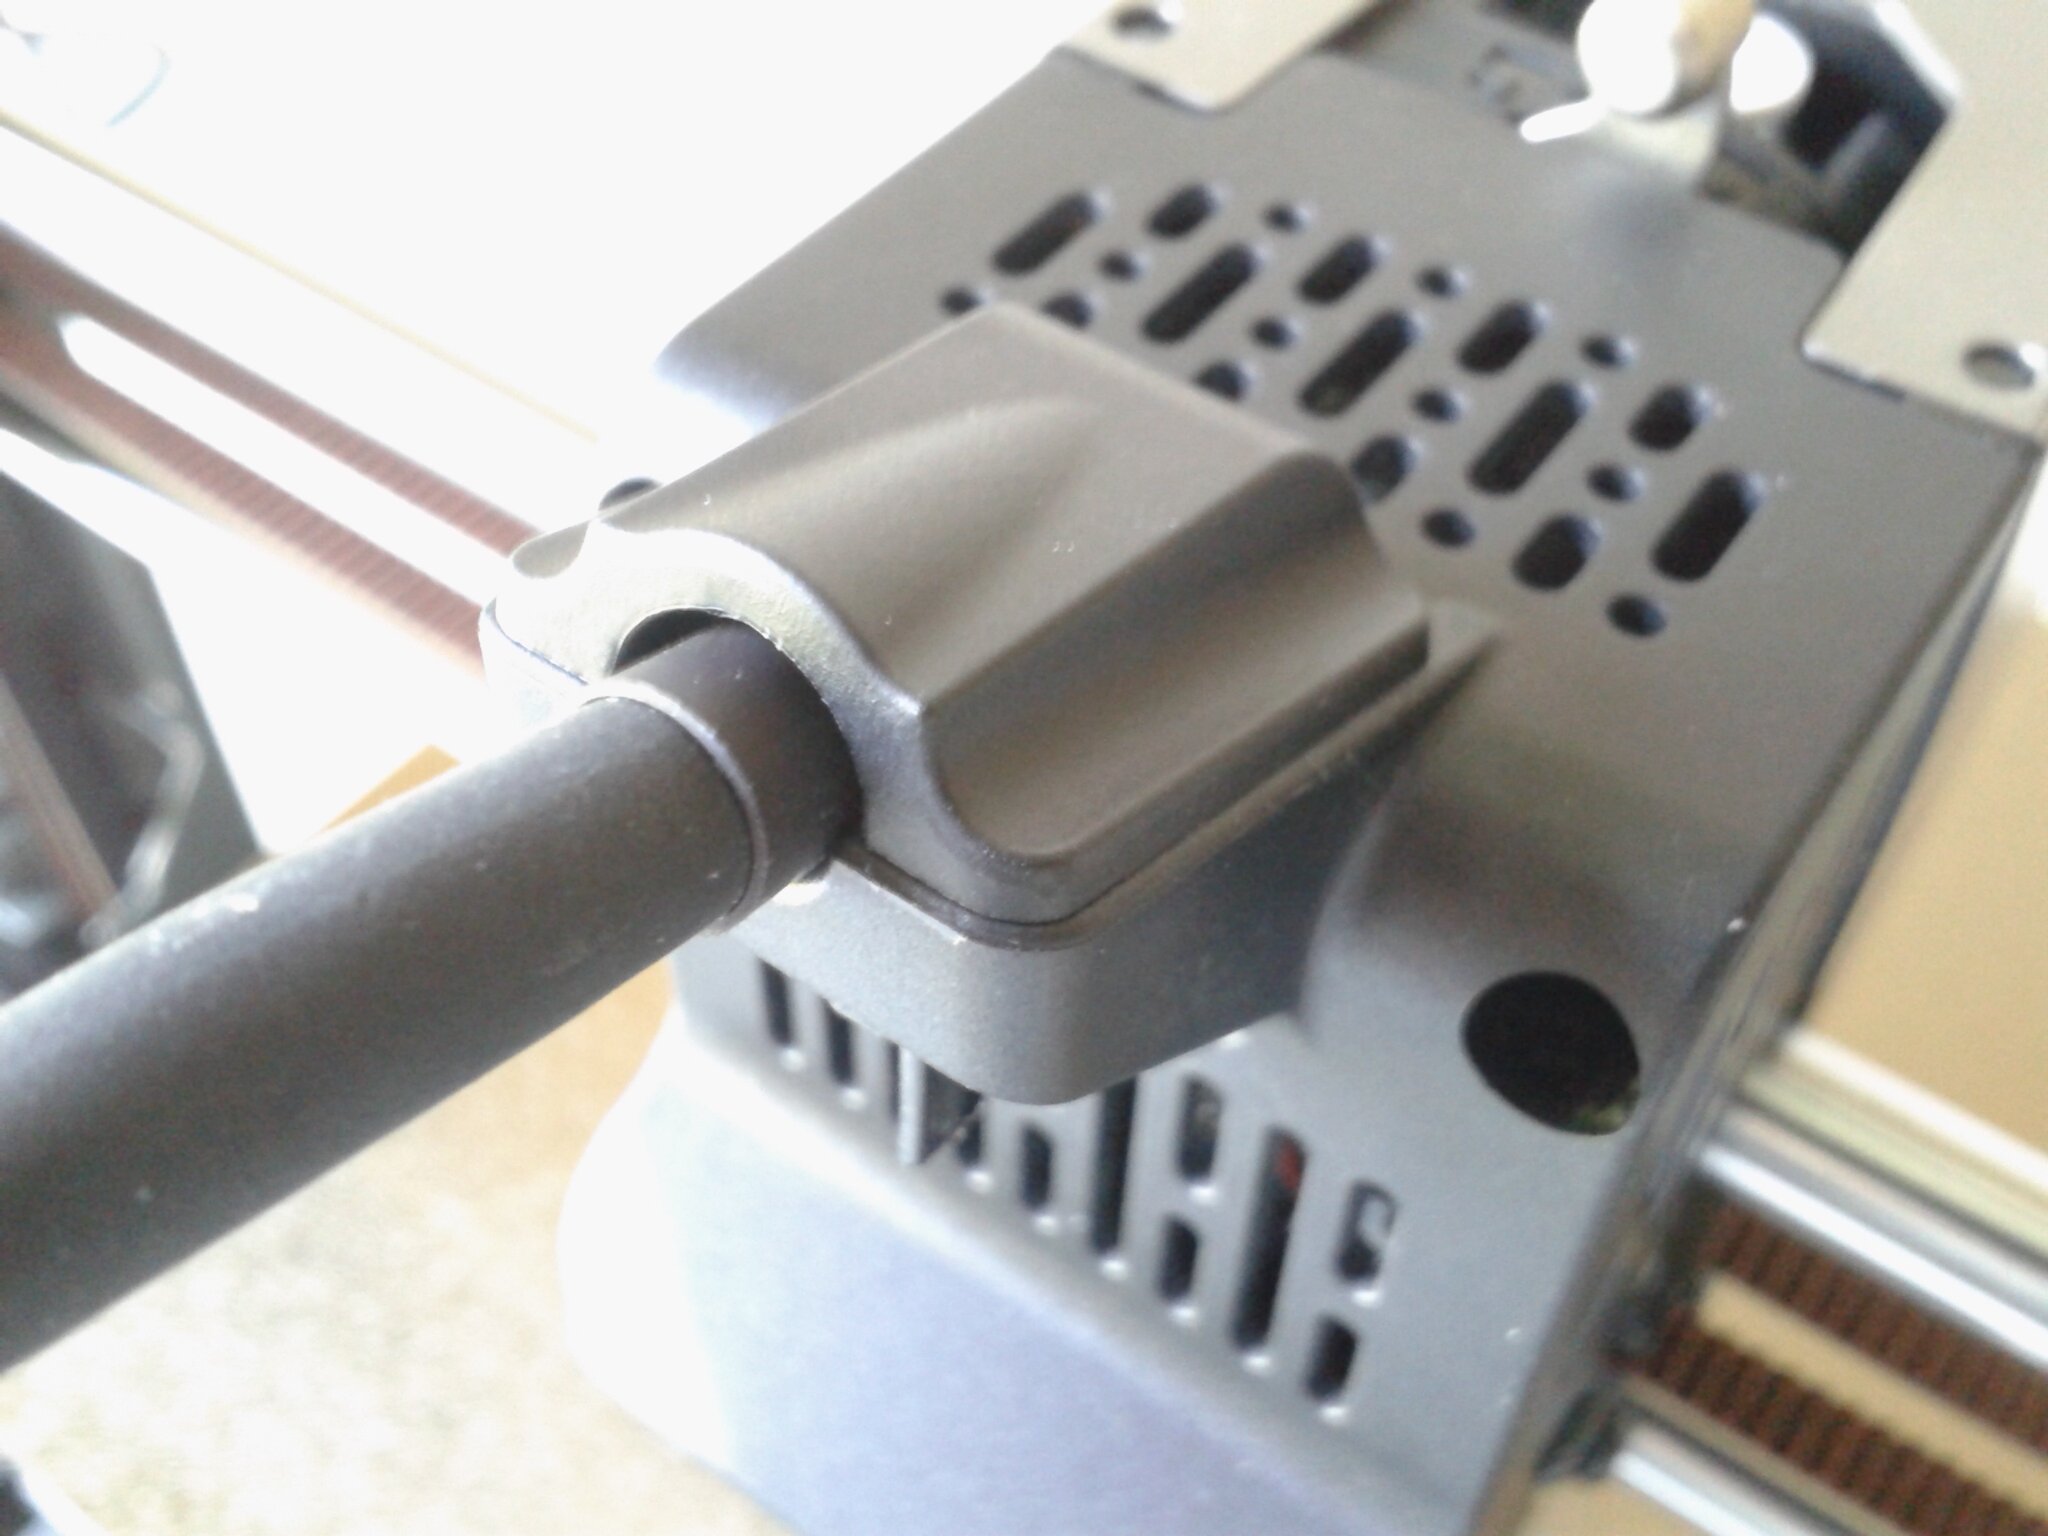
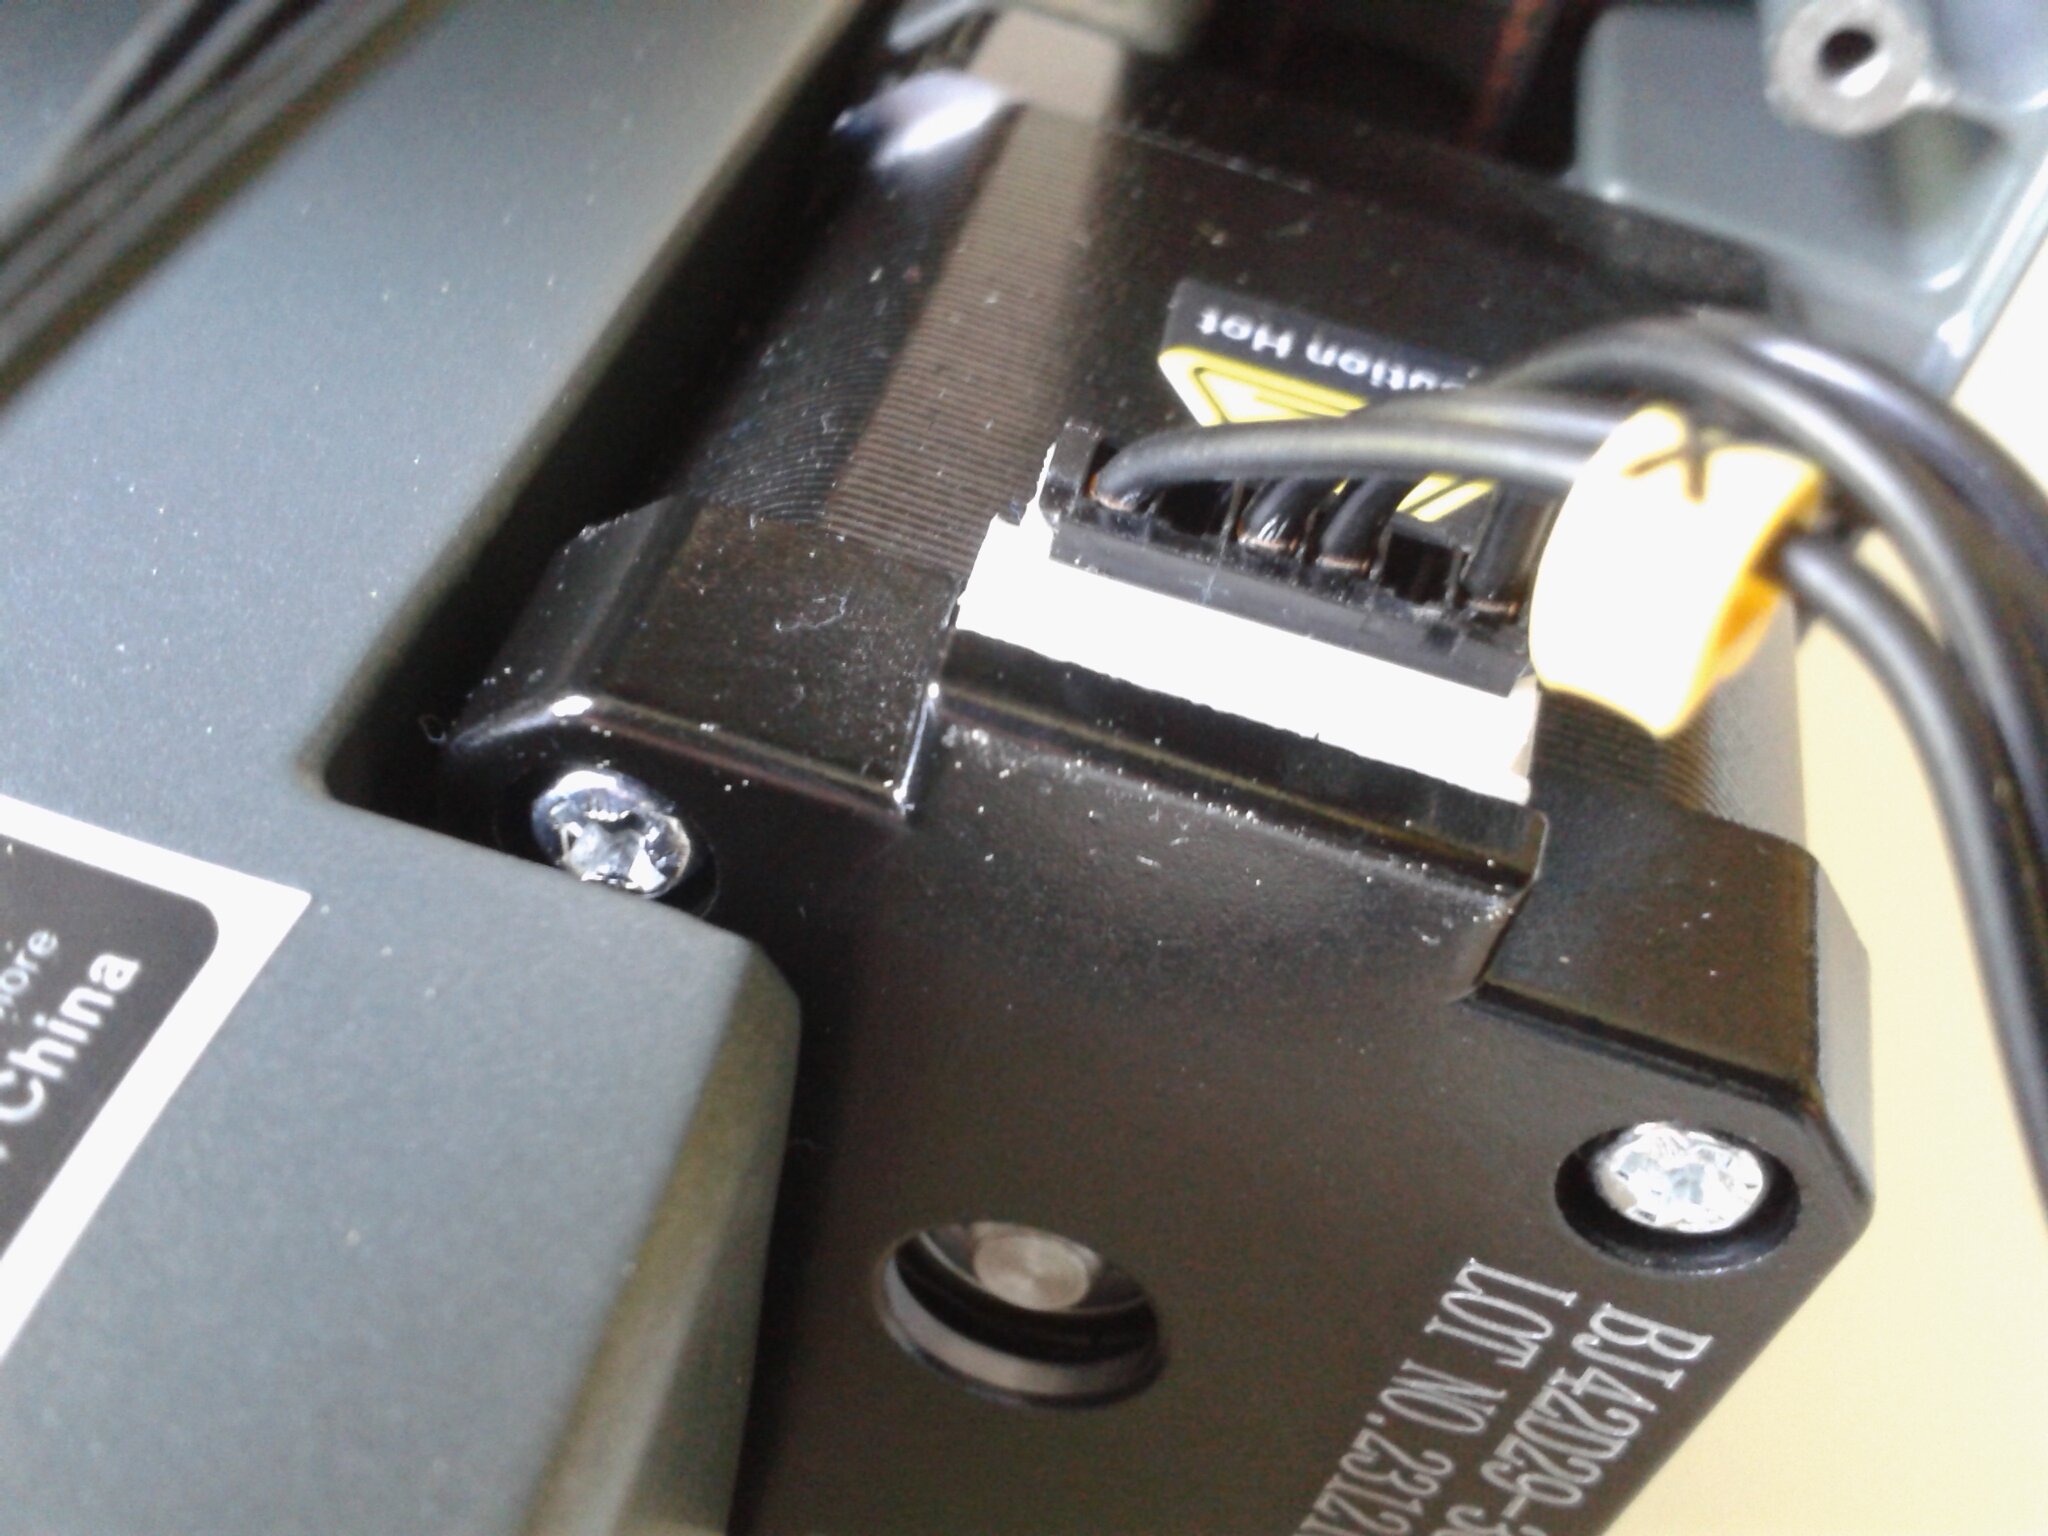
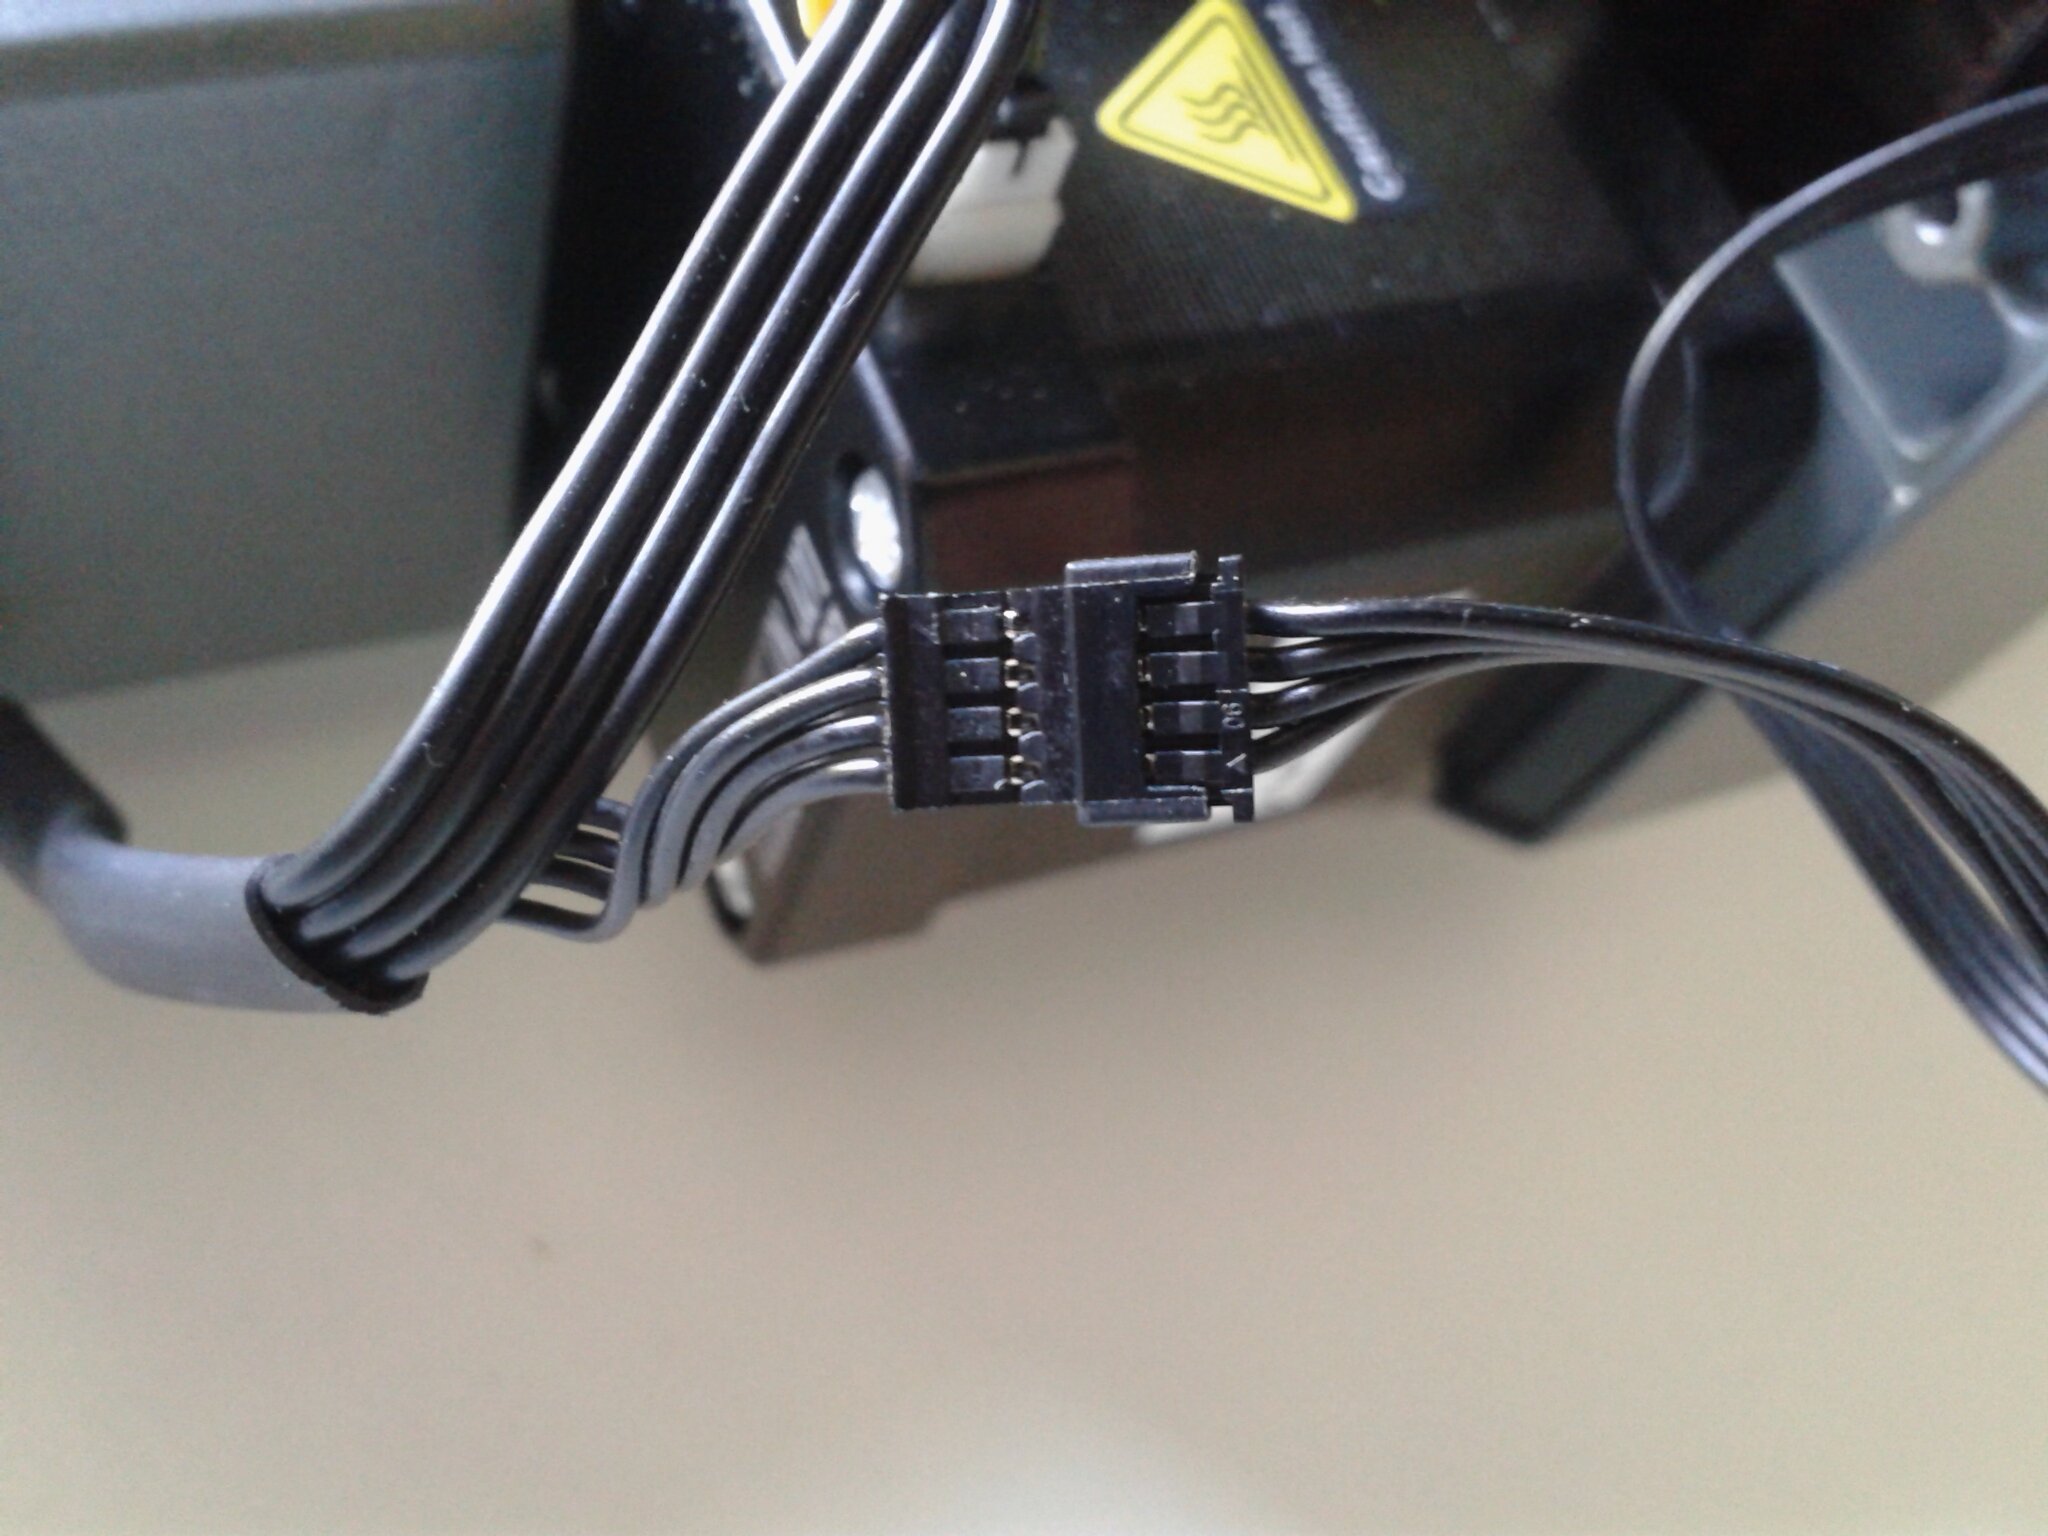
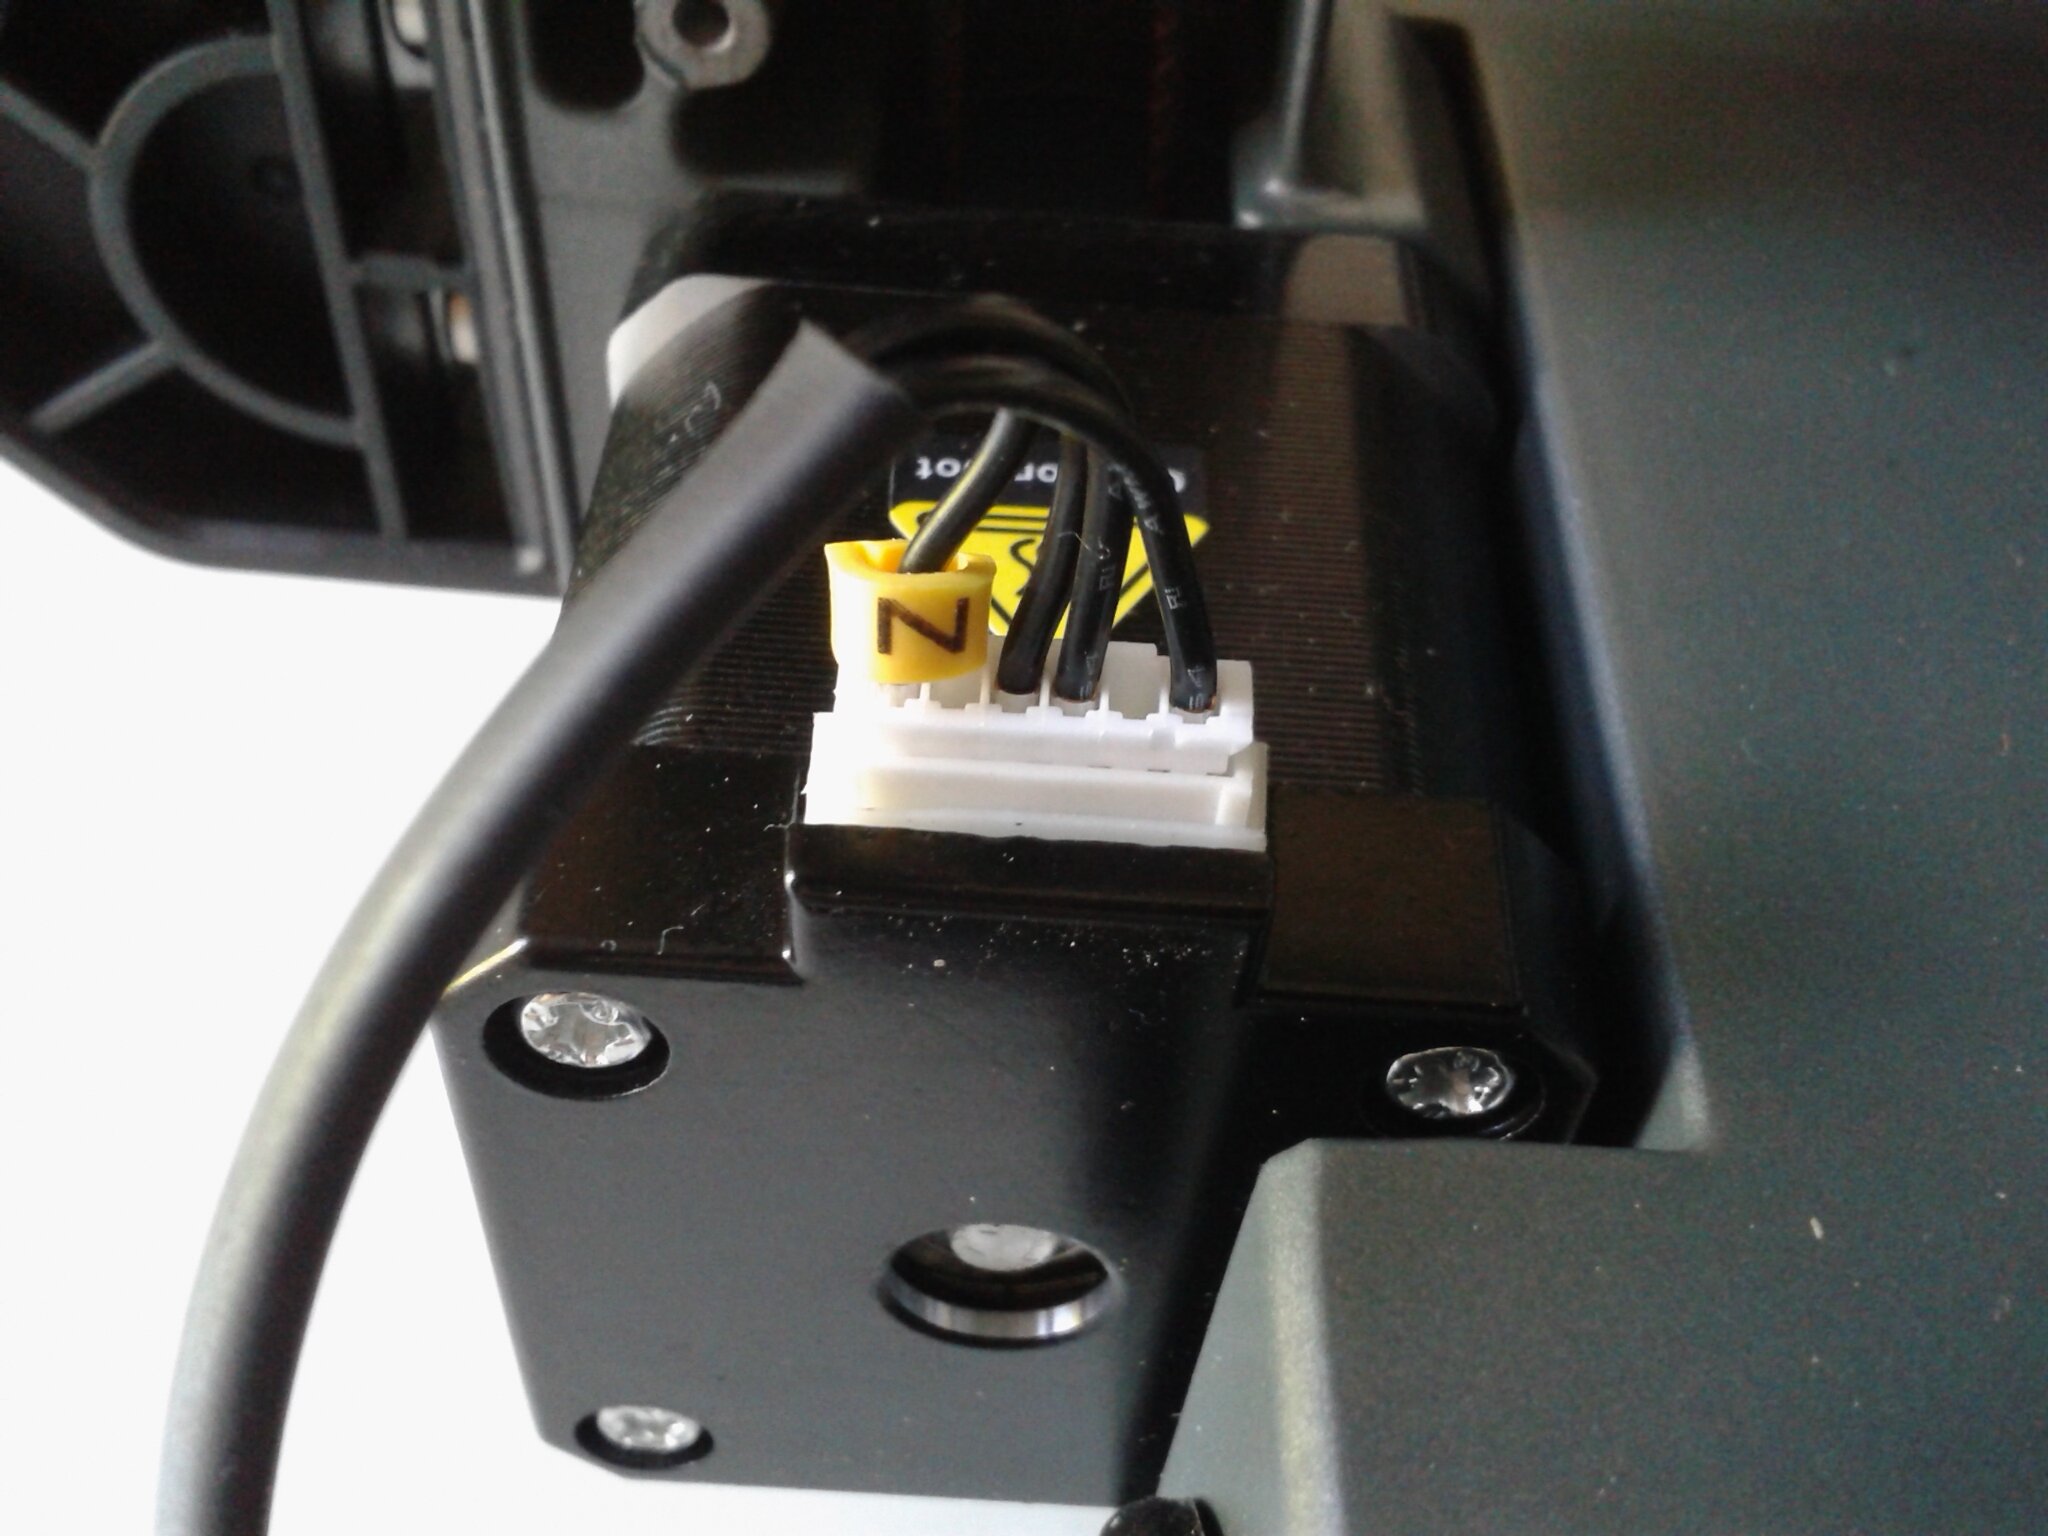
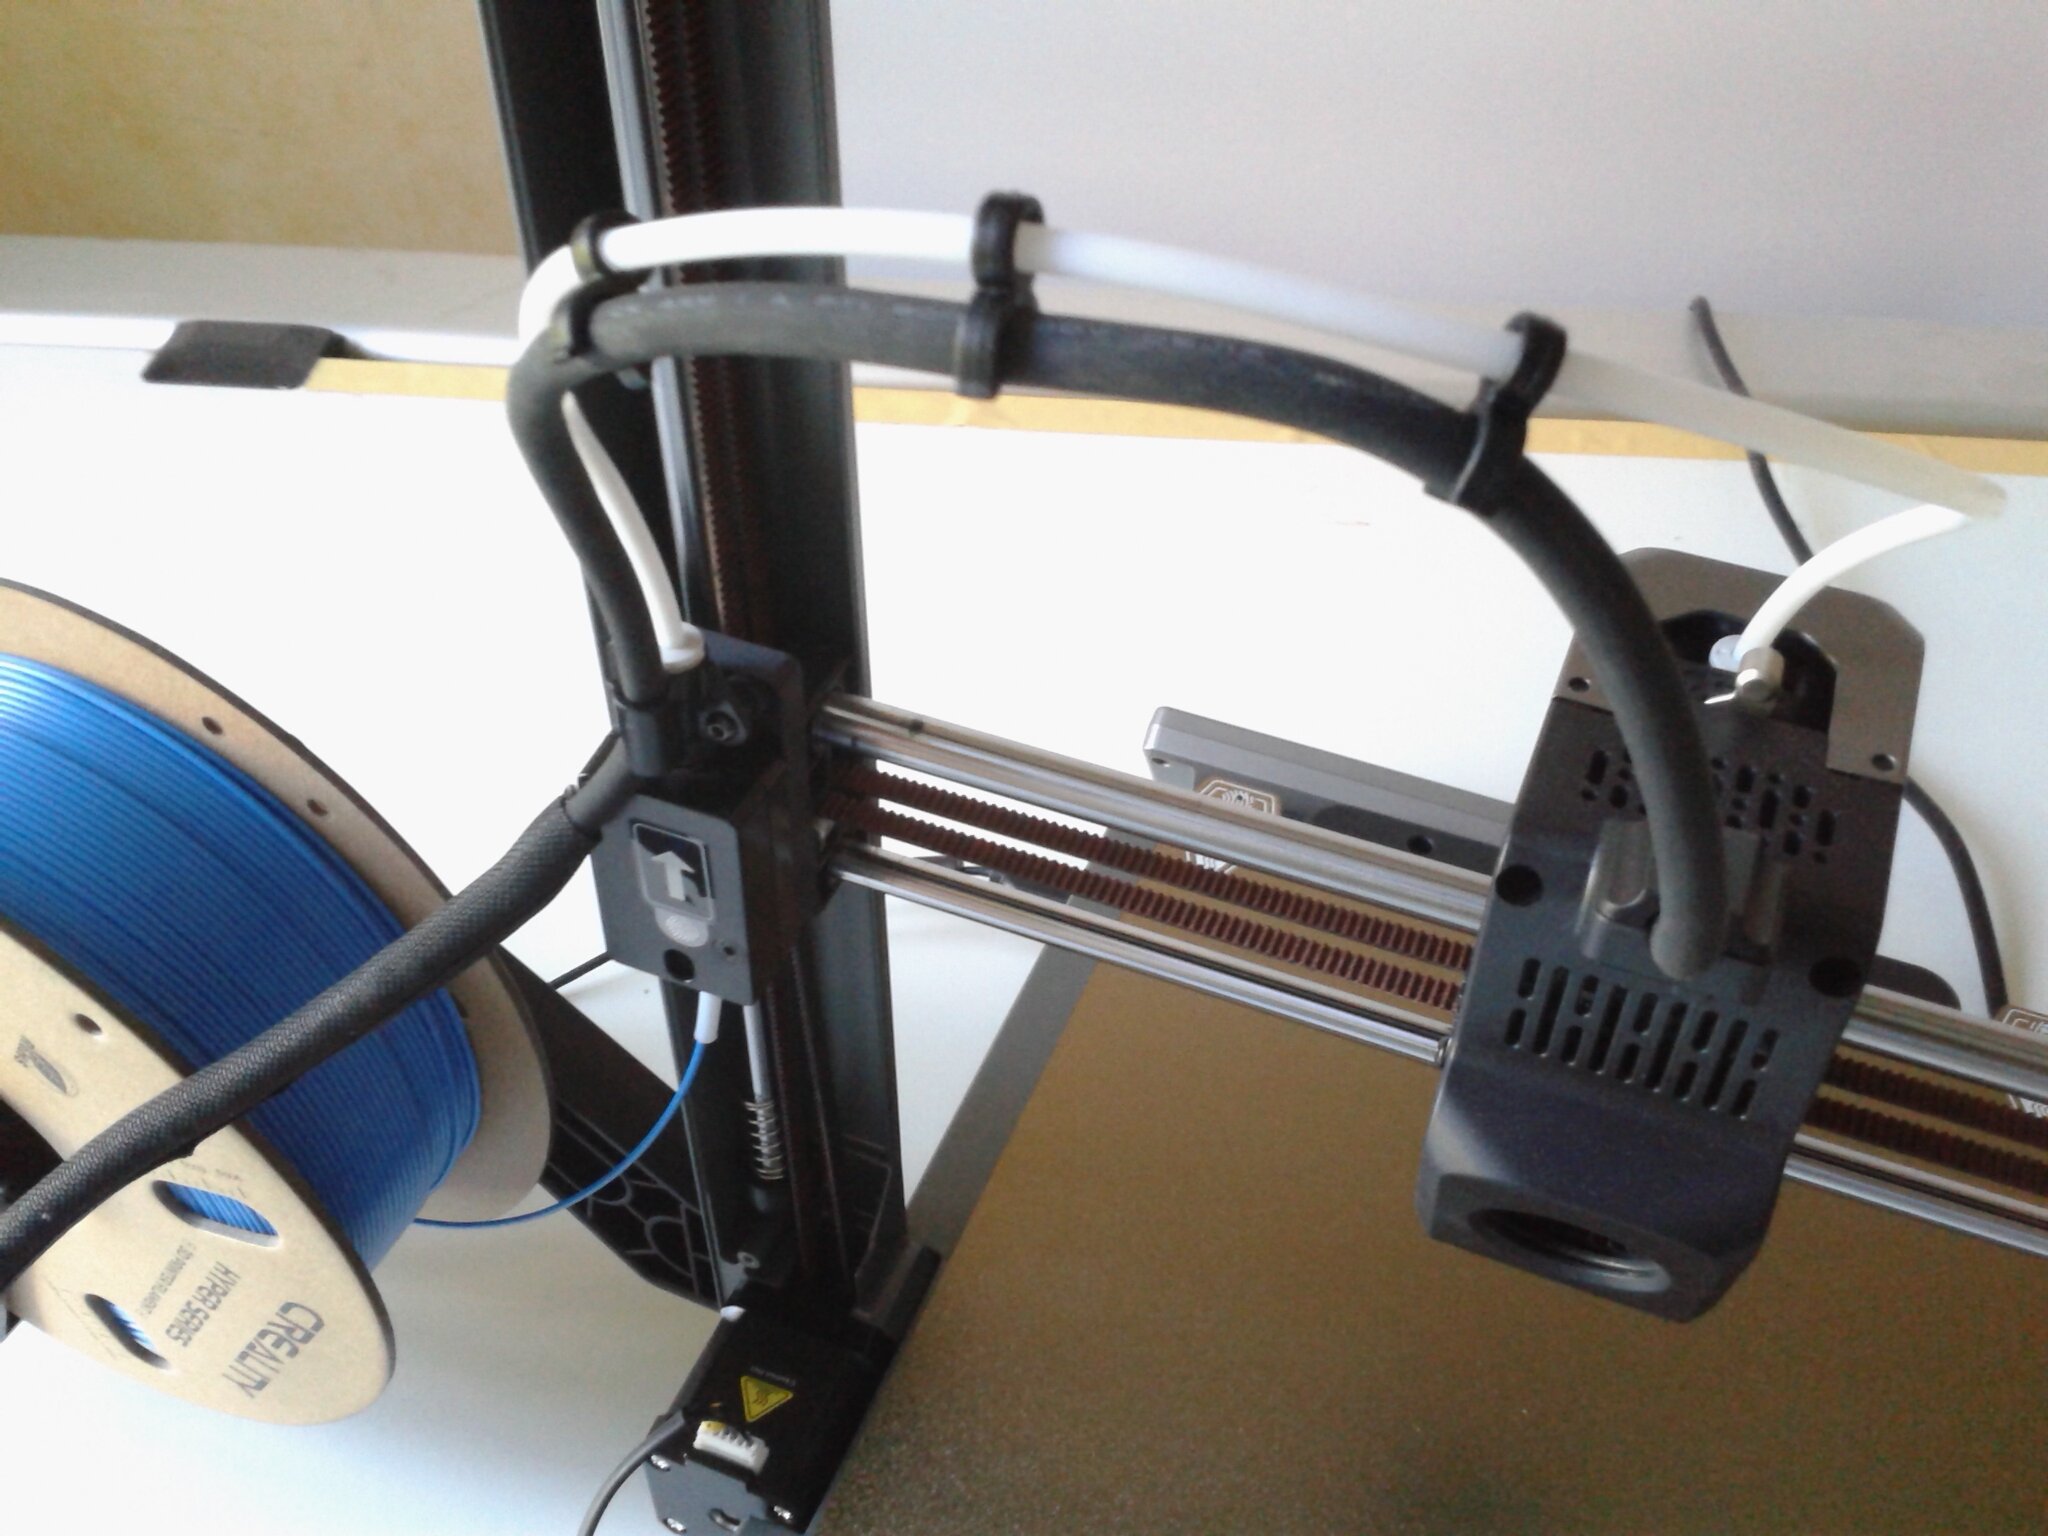
Quelques photos de l’électronique et des pièces techniques

Même si la tête d’impression dont dispose actuellement la Ender-3 V3 ne s’y prête pas sans modification, le “CoreXZ” pourrait trouver tout son avantage quand nos trancheurs les plus courants intégreront des notions d’impression 3D non planaire (“non-planar 3D printing”) pour lequel on commence à voir certains “forks” ou dérivés expérimentaux de PrusaSlicer qui le propose (voir ici).
Tableau des caractéristiques de la Ender 3 V3
| Technologie | FDM |
| Volume d’impression (LxPxH) | 220 x 220 x 250 mm |
| Compensation de résonances | Oui (2 “G-sensor” inclus, de type ADXL345, intégrés dans la tête d’impression et sous le plateau) |
| Température de la buse | ≤ 300°C |
| Température du plateau chauffant | ≤ 110°C |
| Nivèlement automatique | Calibration automatique du Z-Offset et leveling automatique du plateau grâce à un système avec quatre capteurs de pression (jauge de contrainte et déformation) sous le plateau |
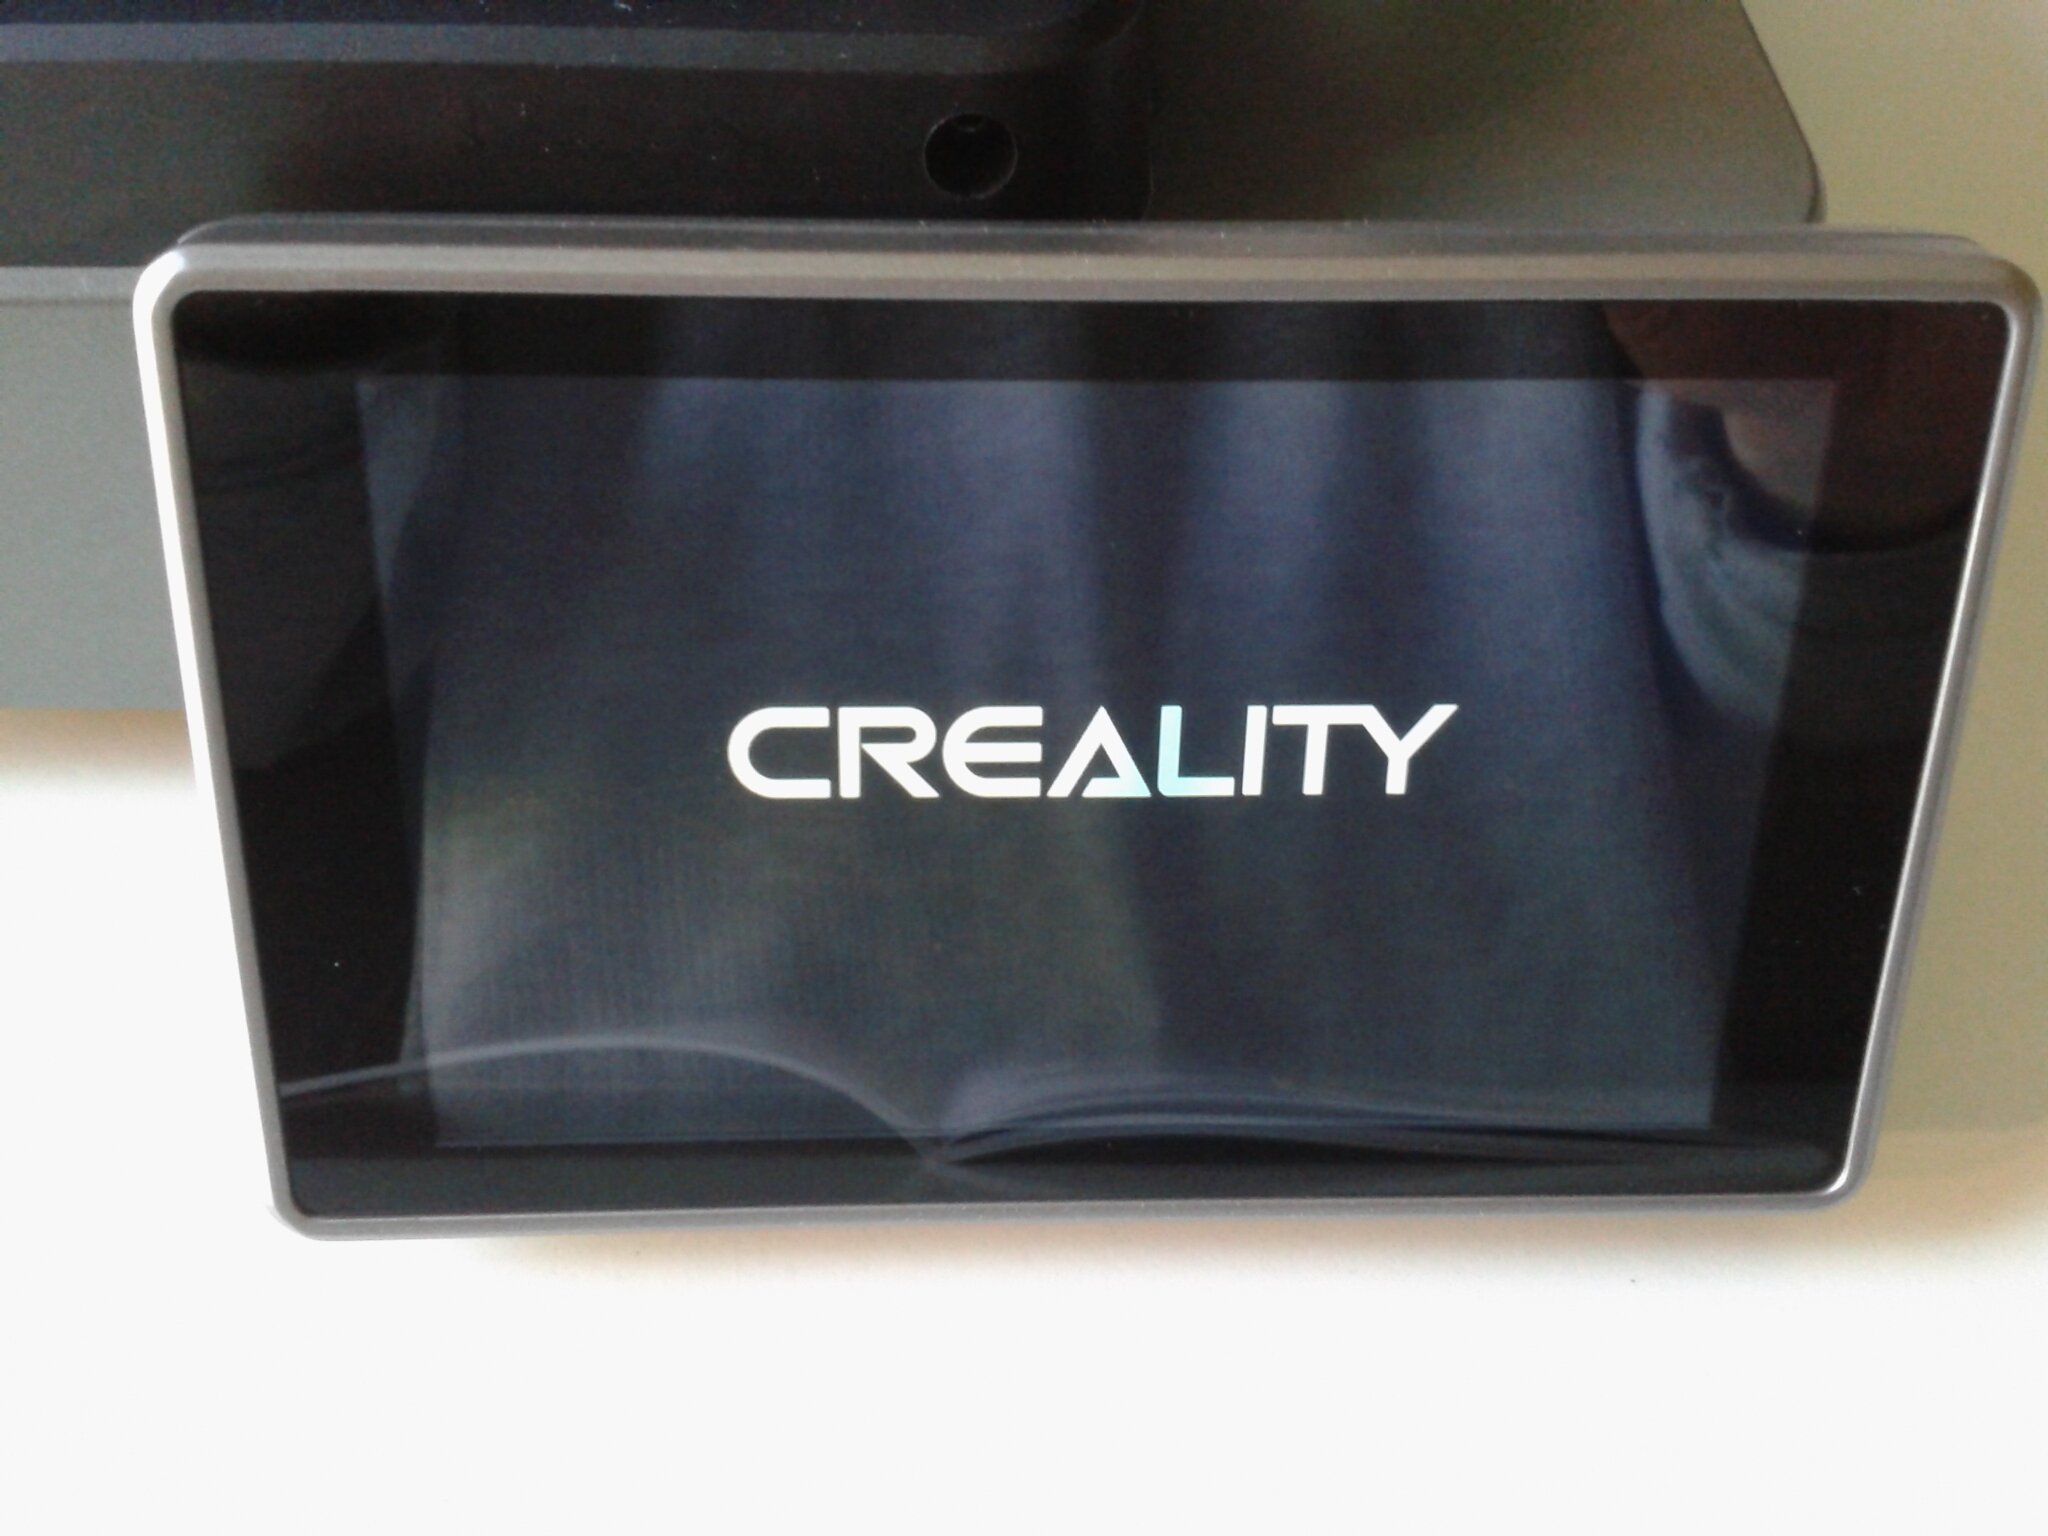
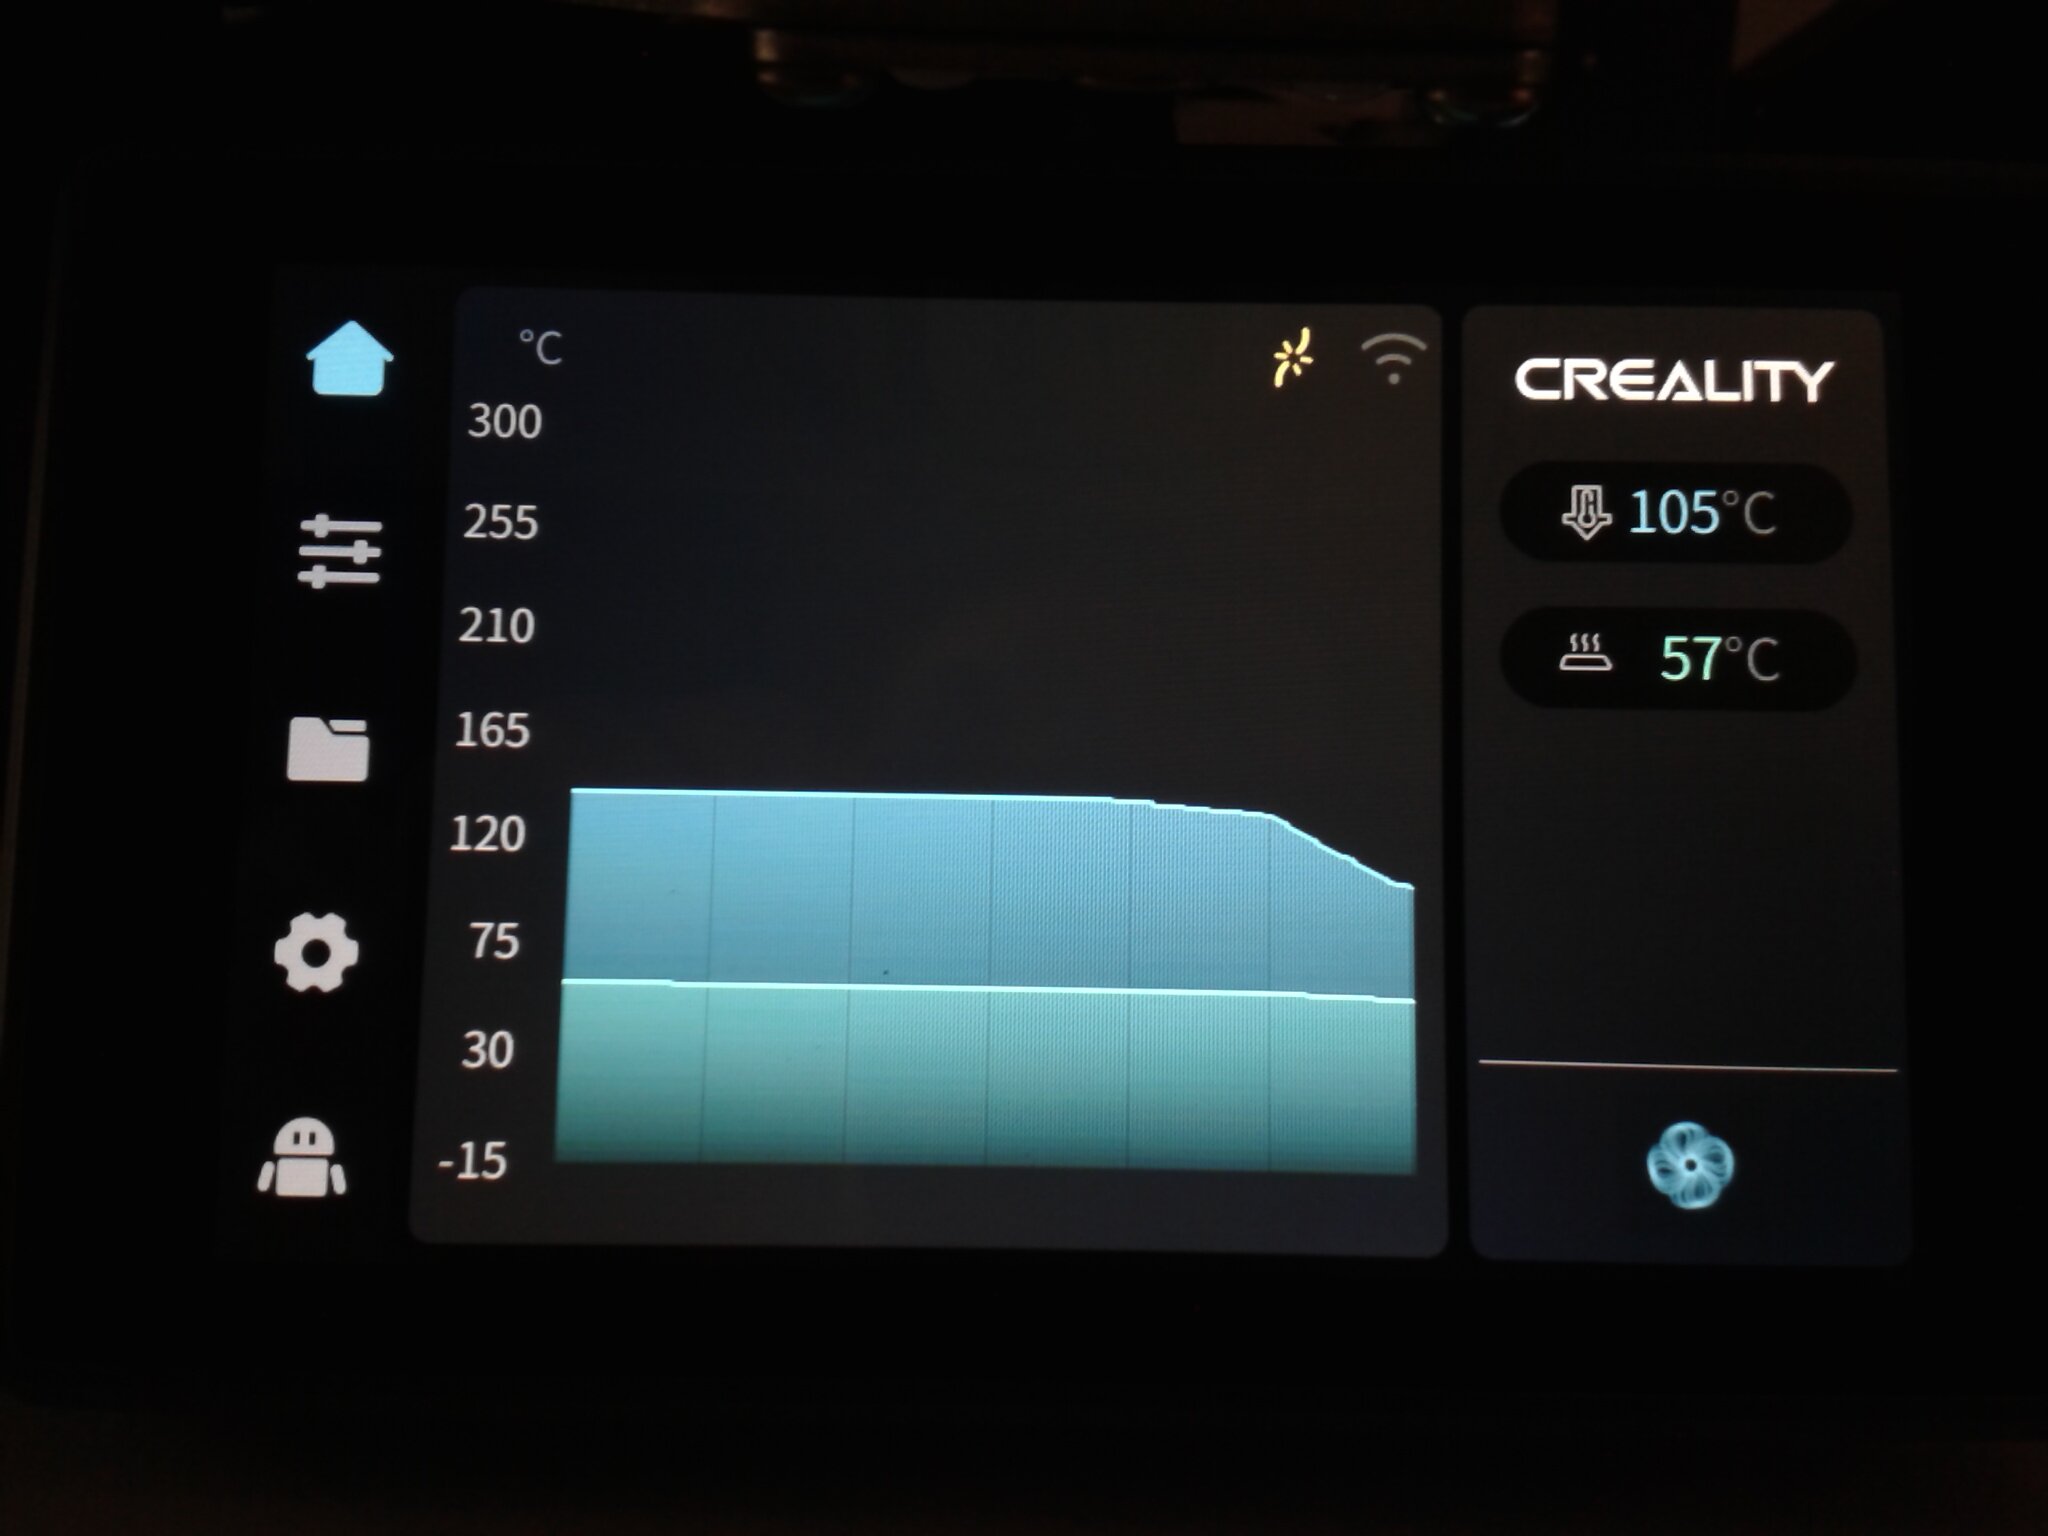
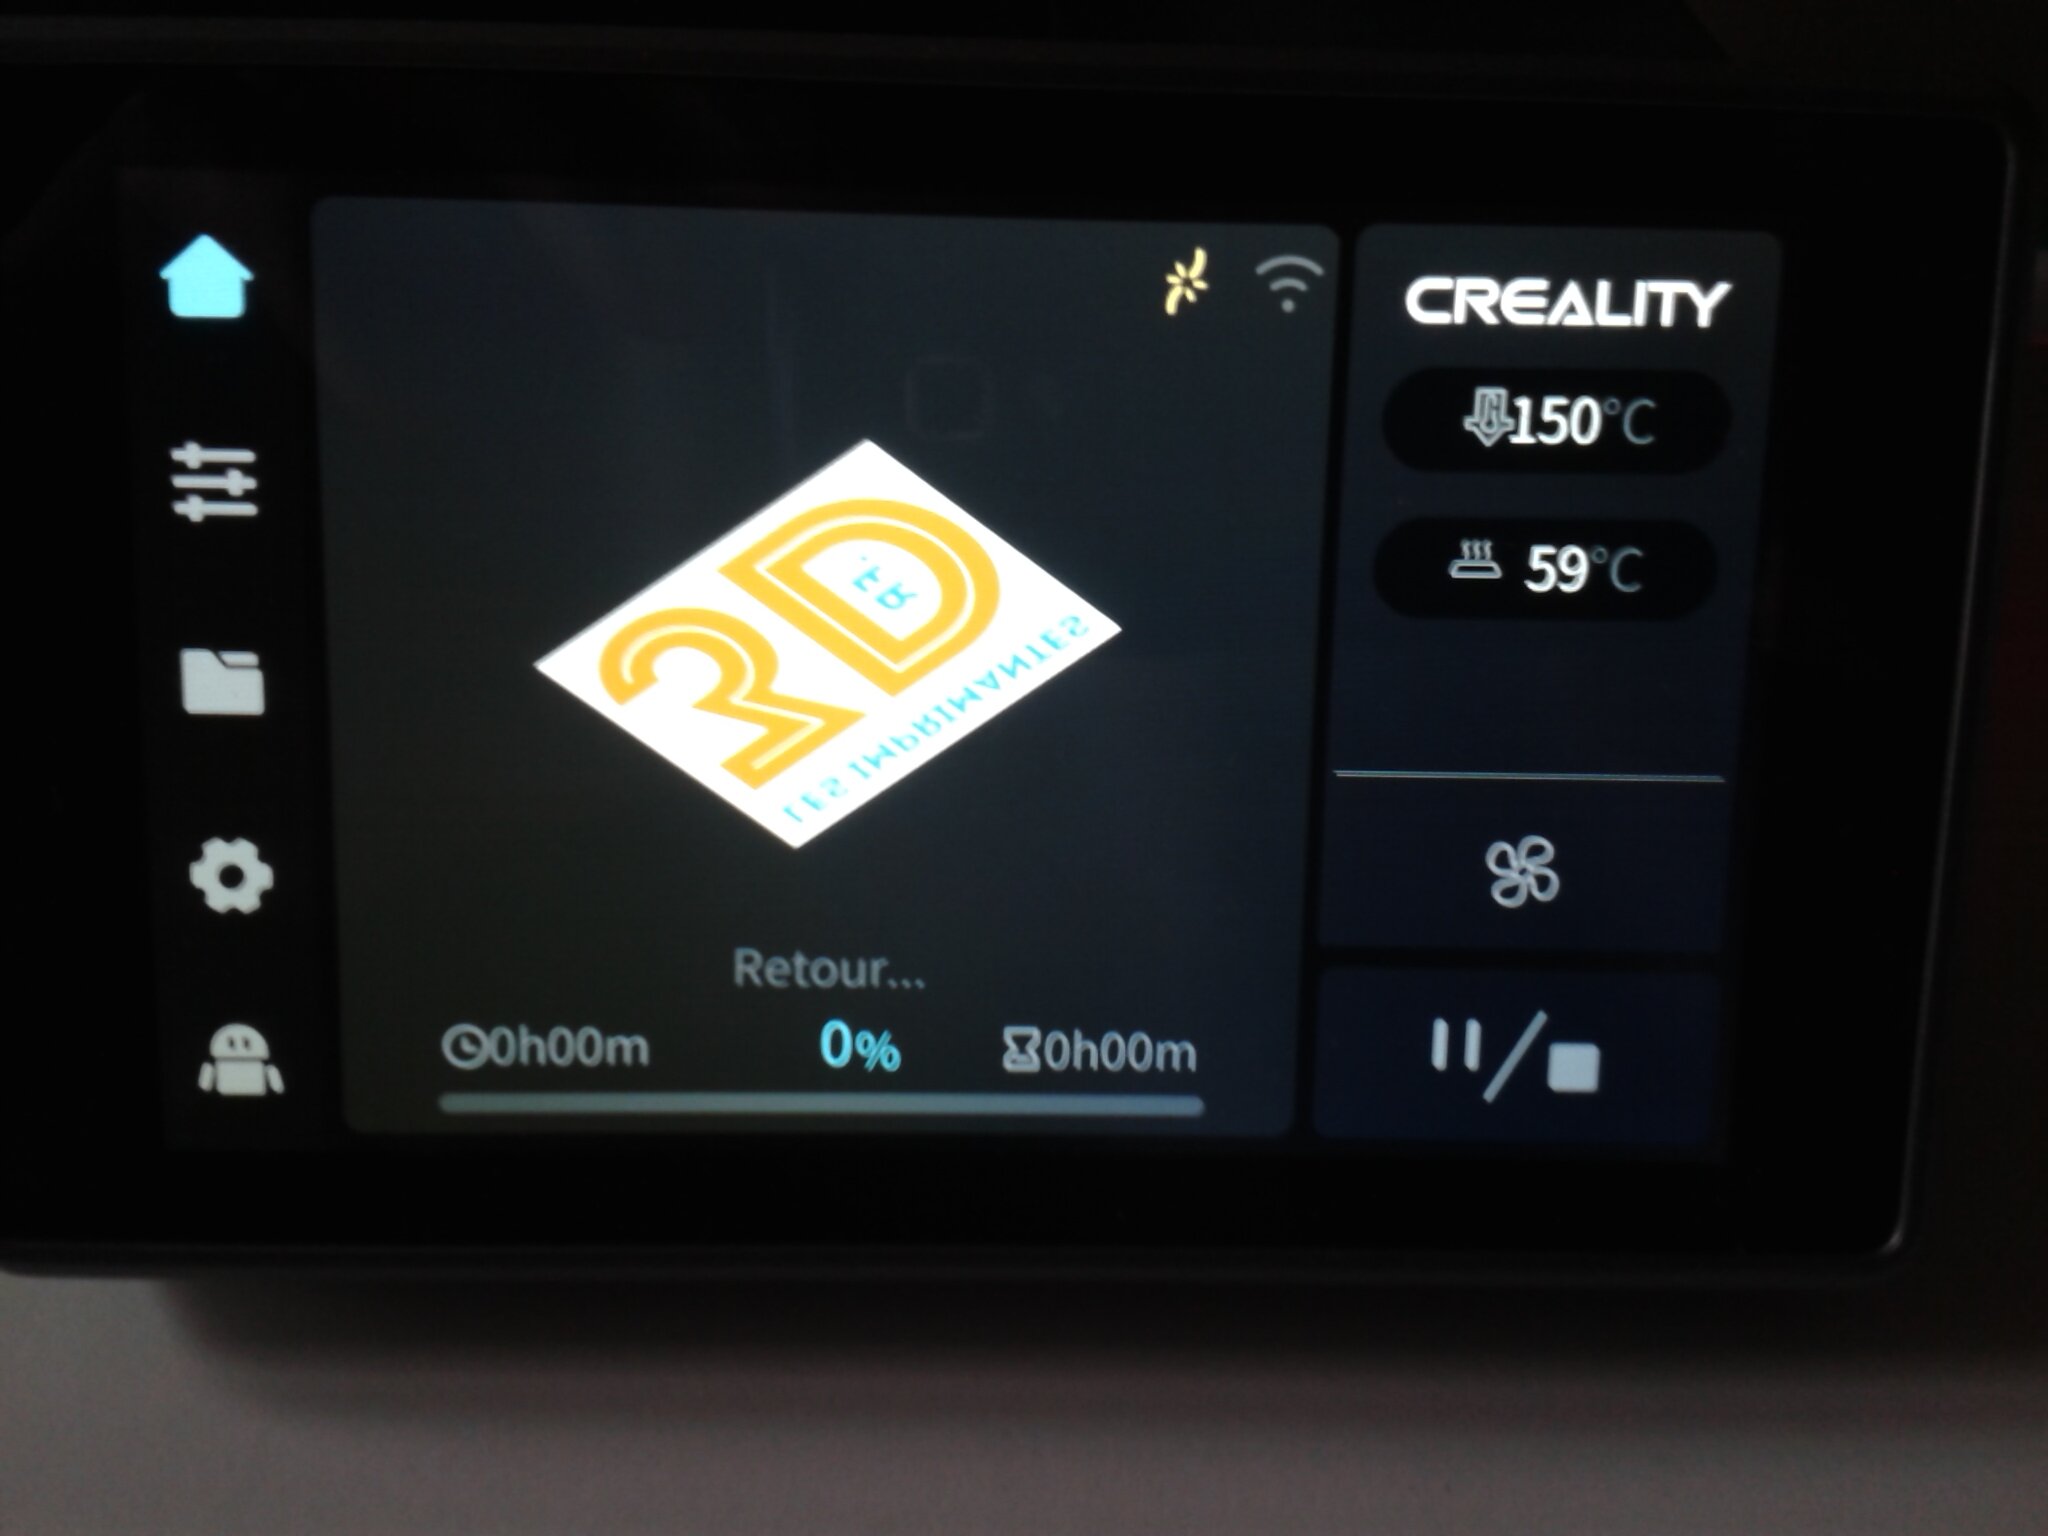
| Ecran de contrôle | 4.3 pouces tactile (cet écran n’est pas un “Nebula Pad” comme sur les Ender-3 V3 KE ou CR-10 SE |
| Carte-mère | 32 bits, avec une mémoire interne eMMC de 8Go et des contrôleurs de moteur pas a pas TMC2209 |
| Vitesse maximale d’impression | (un trait de) “≤ 600 mm/s” Pour espérer arriver à ces pointes de vitesse, en plus d’ajuster le débit volumétrique maximum et les vitesses d’un profil matériaux sous Creality Print, il vous faudra un filament dit “haute vitesse” comme du “Hyper PLA Creality“ |
| Vitesse typique d’impression | 300 mm/s |
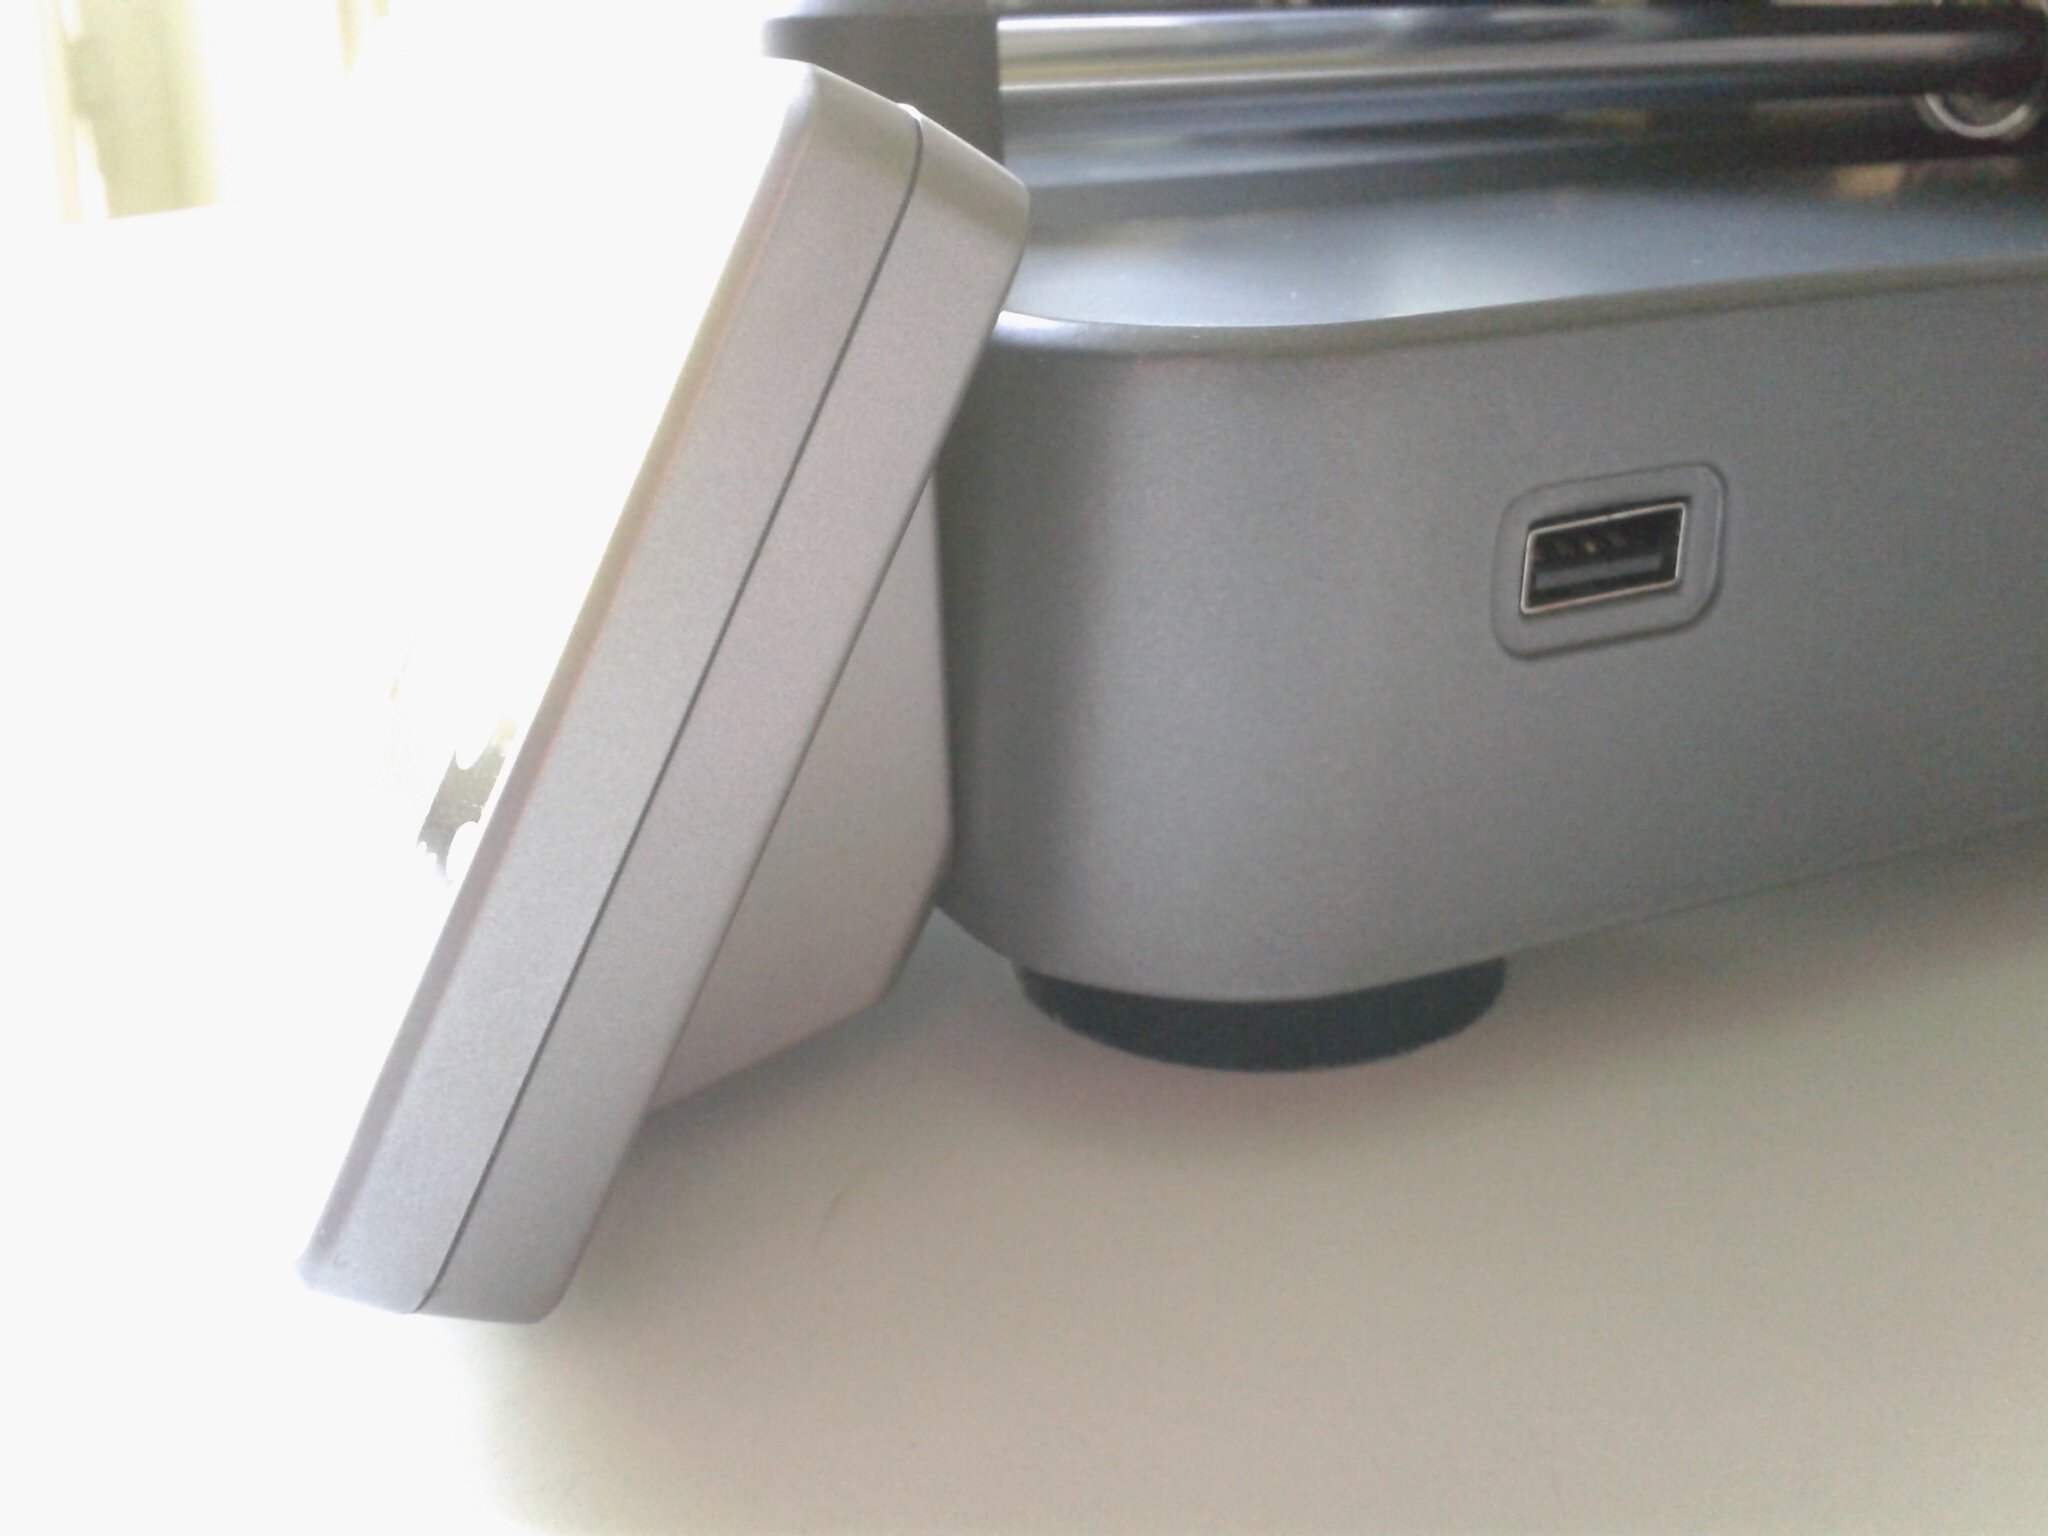
| Connectivité | WiFi, 1 seul port USB Type A (vers l’avant du côté droit de la base de l’imprimante) |
| Accélération | ≤ 20000 mm/s² |
| Format fichier d’impression | G-code (fichier d’extension “.gcode”) |
| Précision d’impression | ± 0.2 mm (200 microns) |
| Possibilité de reprise sur coupure de courant | Oui (mais ne semble pas fonctionnelle, pas de message de proposition de reprise après une coupure de courant lors d’une impression avec le firmware v1.2.1.3) |
| Hauteur de couche | De 0.1 à 0.35 mm (recommandée avec une buse de 0.4 mm) |
| Capteur de fin de filament | Oui, par défaut (peut-être désactivé en le débranchant) |
| Diamètre des filaments | 1.75 mm |
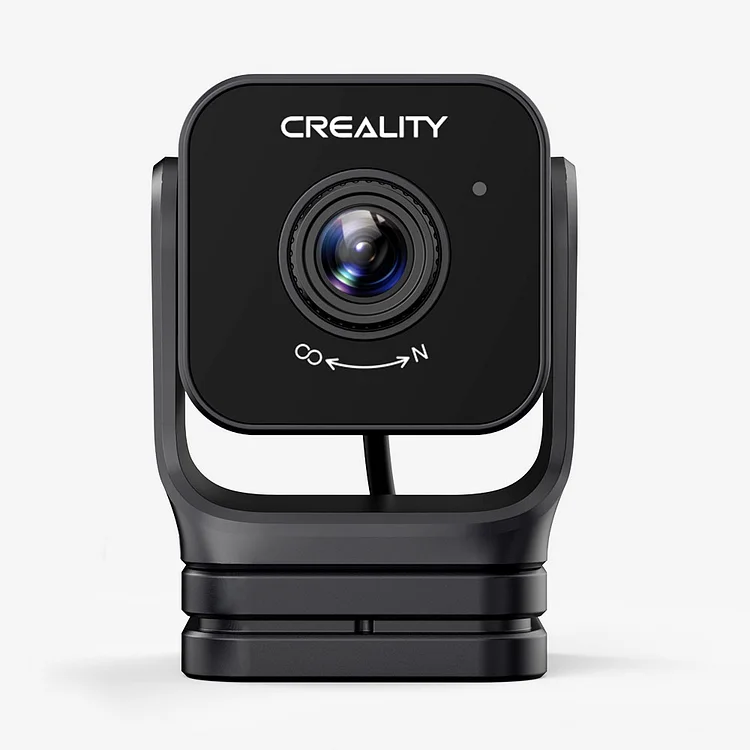
| Caméra | En option, “Nebula Camera” à connecter sur le port USB Type-A sur le côté droit de la base de l’imprimante |
| Transfert de fichier | Clé USB / WLAN / Creality Cloud |
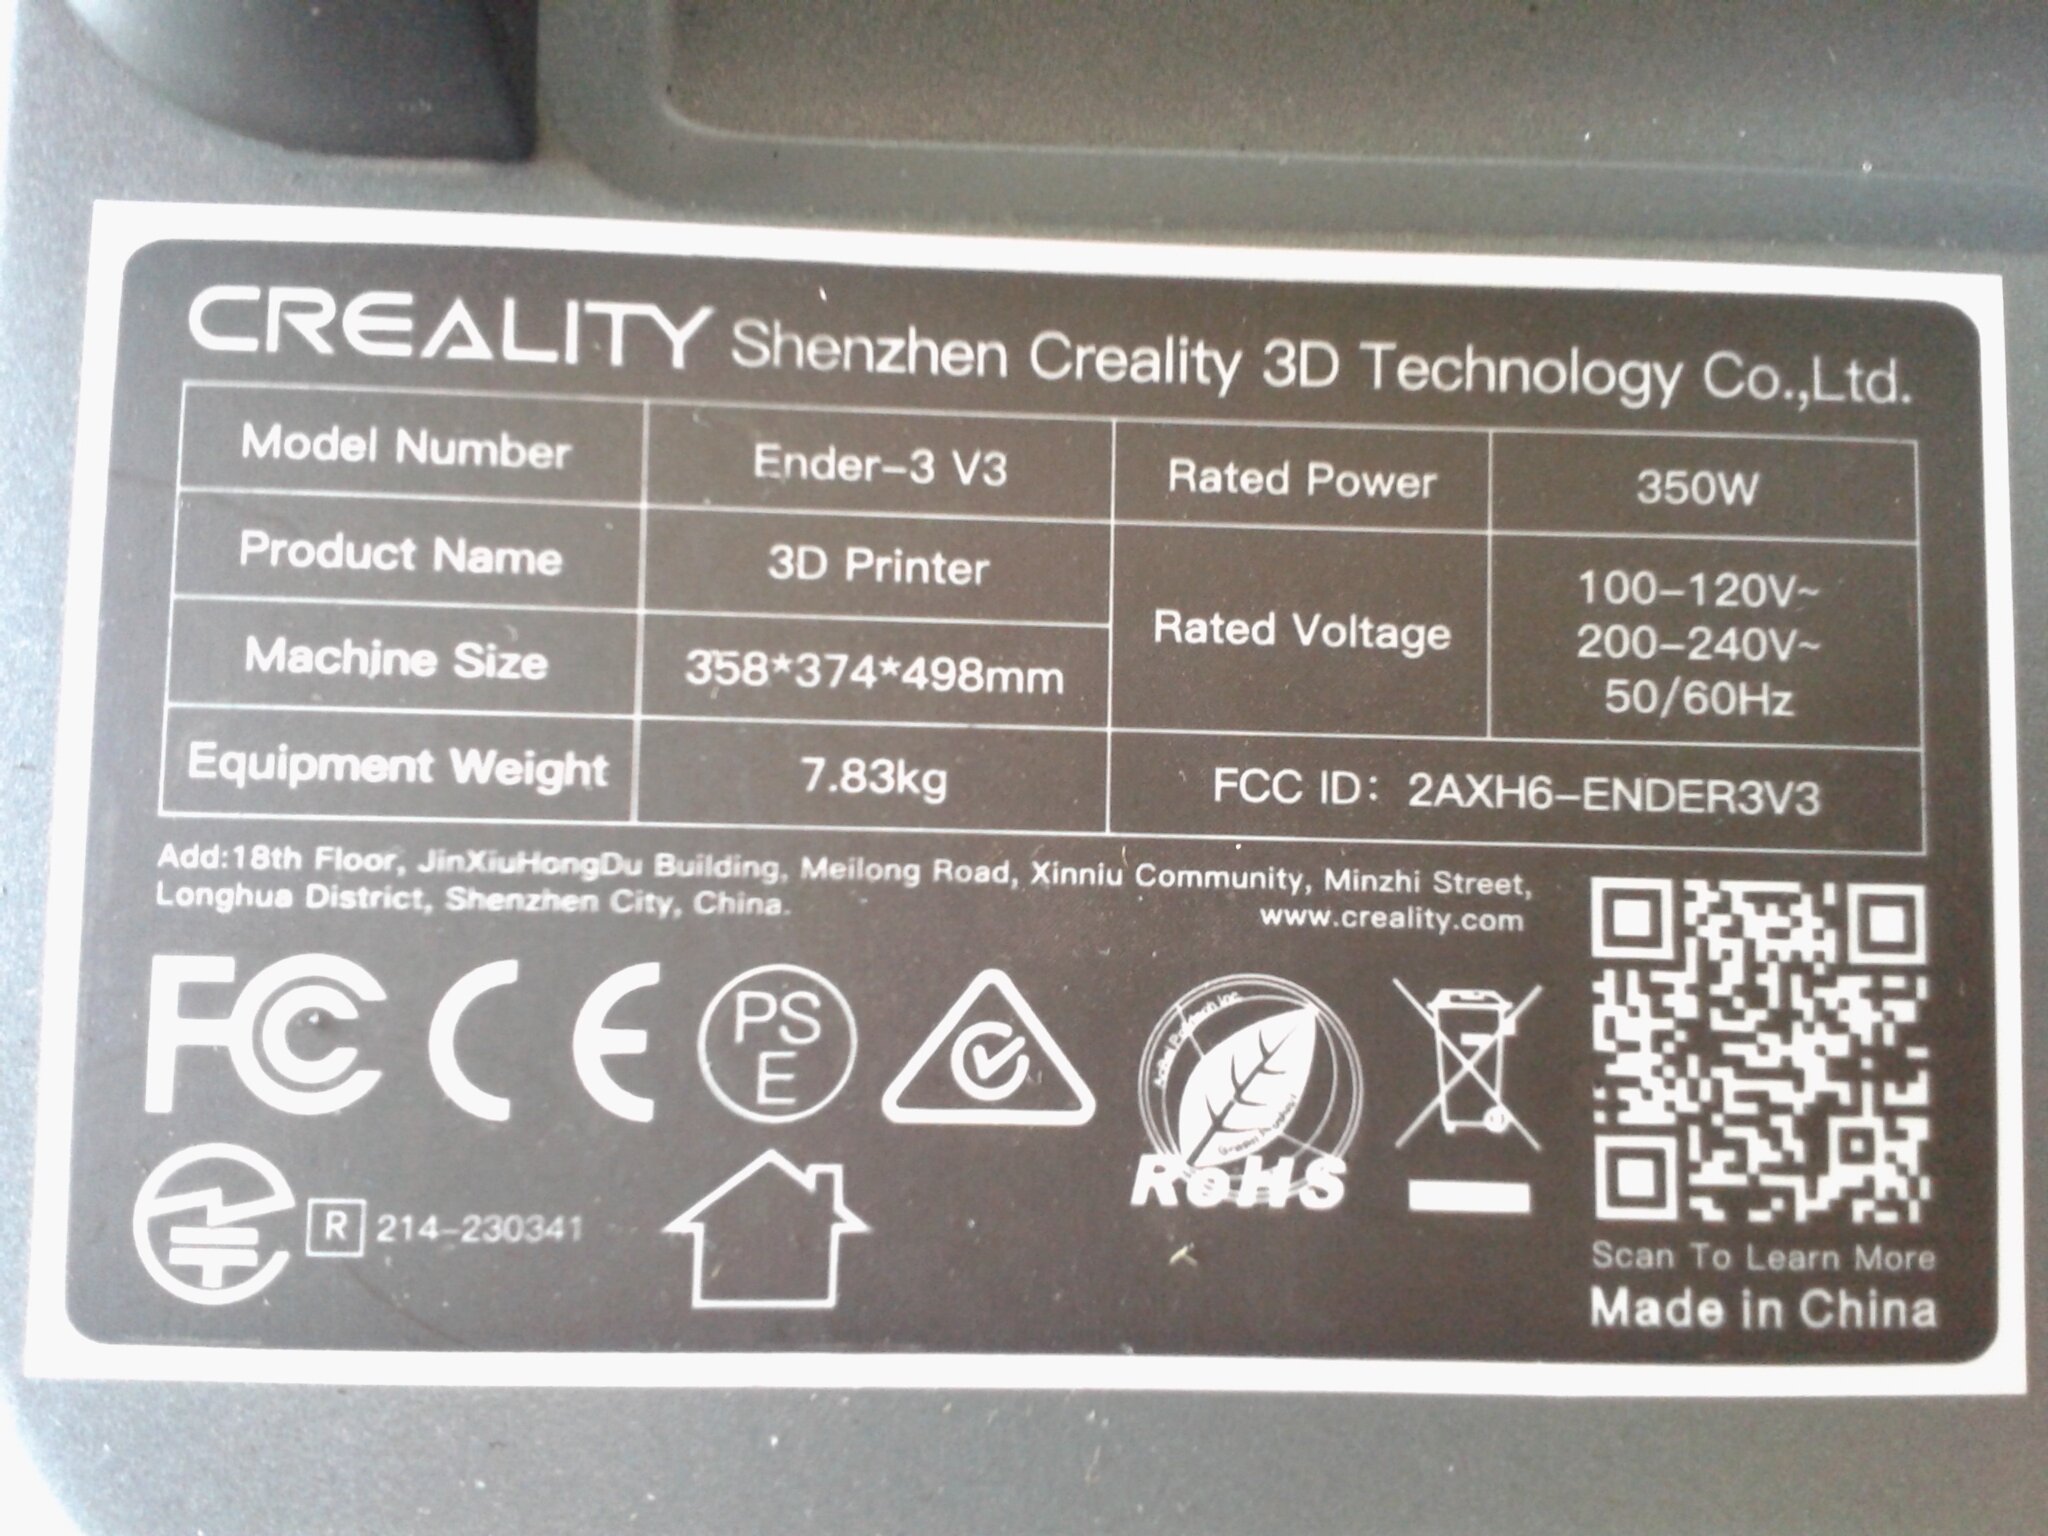
| Tension nominale | 100-120 V~, 200-240 V~, 50/60 Hz |
| Puissance nominale | 350W |
| Surface plateau d’impression | 23,5 x 23,5 (+1) cm (L x P, surface utilisable 22 x 22 cm) |
| Type de surface d’impression | Plaque flexible avec un revêtement texturé “PEI” sur une seule face |
| Logiciel de découpage | Creality Print (pour un profil de la Ender-3 V3 pour Orca Slicer, voir ici) |
| Type de buse | “Licorne” (“Unicorn”), buse à remplacement “rapide” (mais pas de “Hot Swap” de l’ensemble de la partie chaude), avec un nez de buse en acier trempé et intégrée avec Brise-Chaleur/Heatbreak |
| Formats de fichiers pour le découpage | STL, OBJ, 3MF |
| Extrudeuse | “Nouvelle extrudeuse à entraînement direct à grande vitesse” |
| Matériaux supportés | PLA, TPU, PETG, ABS, PLA-CF, PETG-CF, fibre de carbone (PLA CF par exemple) Mais comme elle n’a pas d’enceinte fermée, il vous faudra un caisson pour l’ABS et l’ASA (exemple) |
| Dimensions de l’imprimante | 35.8 x 37.4 x 49.8 cm |
| Poids net | 7.83 kg |
| Langues de l’interface utilisateur | 中文/English/Deutsch/Español/Français/Italiano/Português/Русский/Turkish/日本語/한국어 |
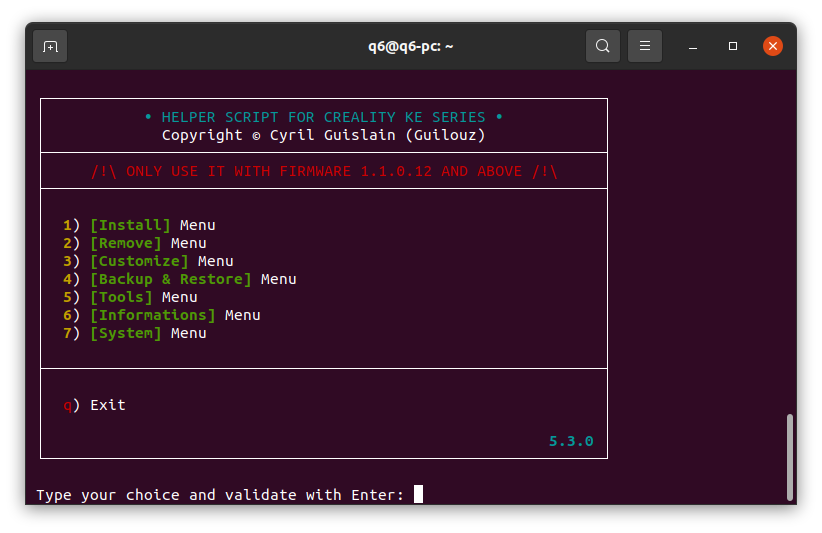
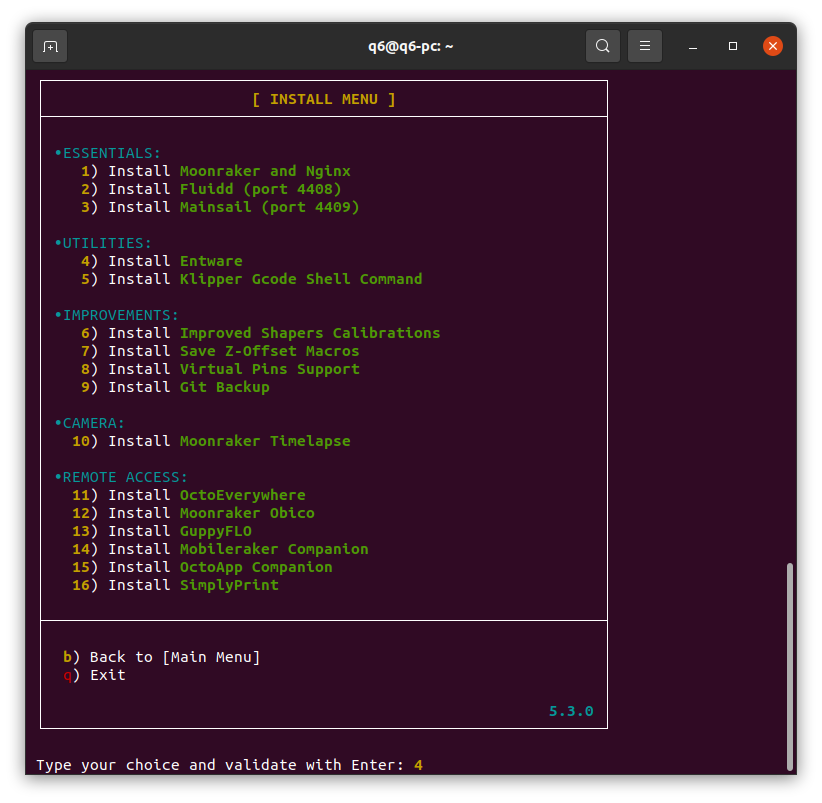
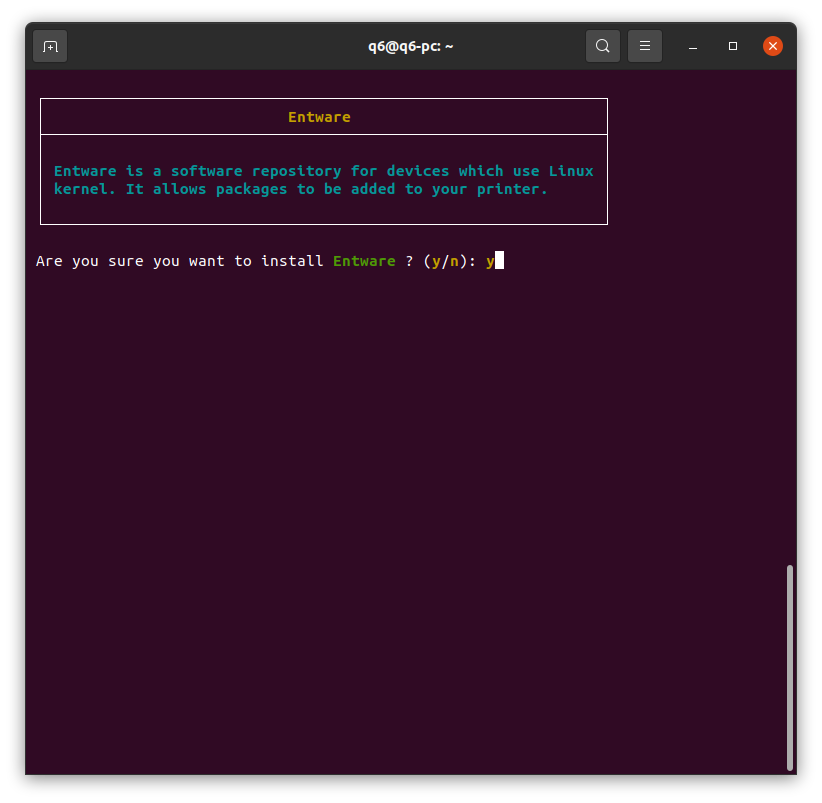
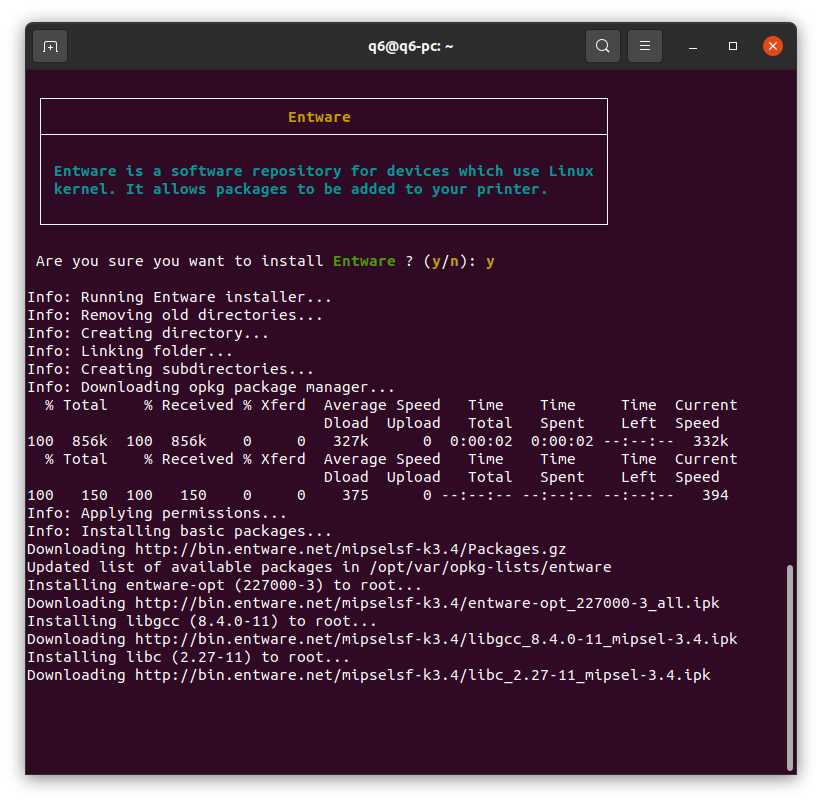
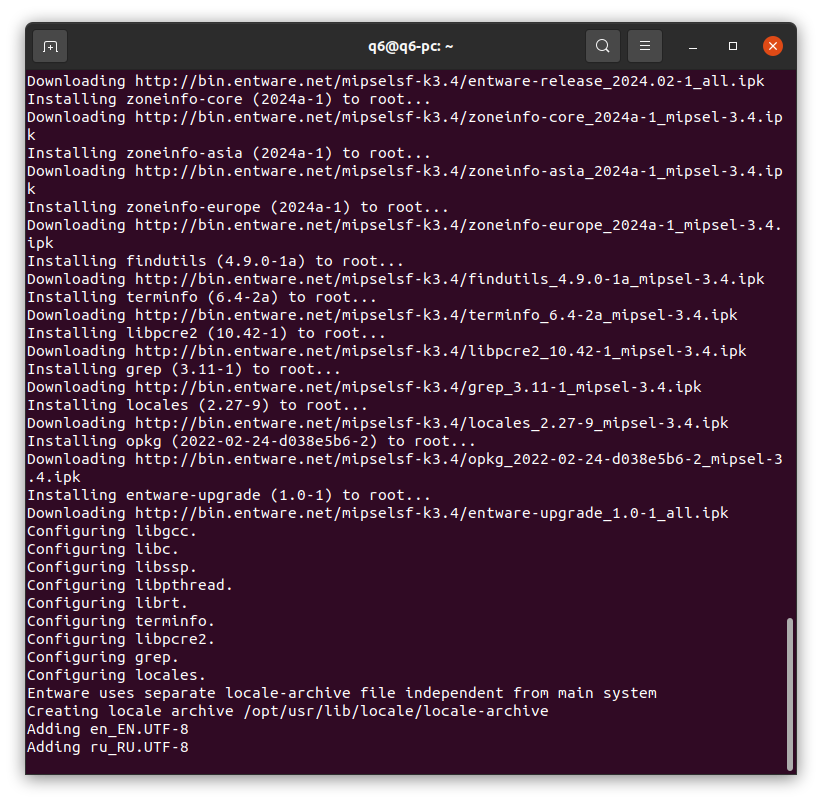
Un grand merci à Guilouz qui est passé sur le sujet de découverte pour nous informer qu’une grande partie des possibilités de son “Creality Helper Script” sont utilisables sur la Ender-3 V3.
Le firmware (Creality OS et Klipper) de la Ender-3 V3 est très proche du firmware de la CR-10 SE, Ender-3 V3 KE et de ceux des imprimantes de la série K1 (K1, K1C, K1 Max).
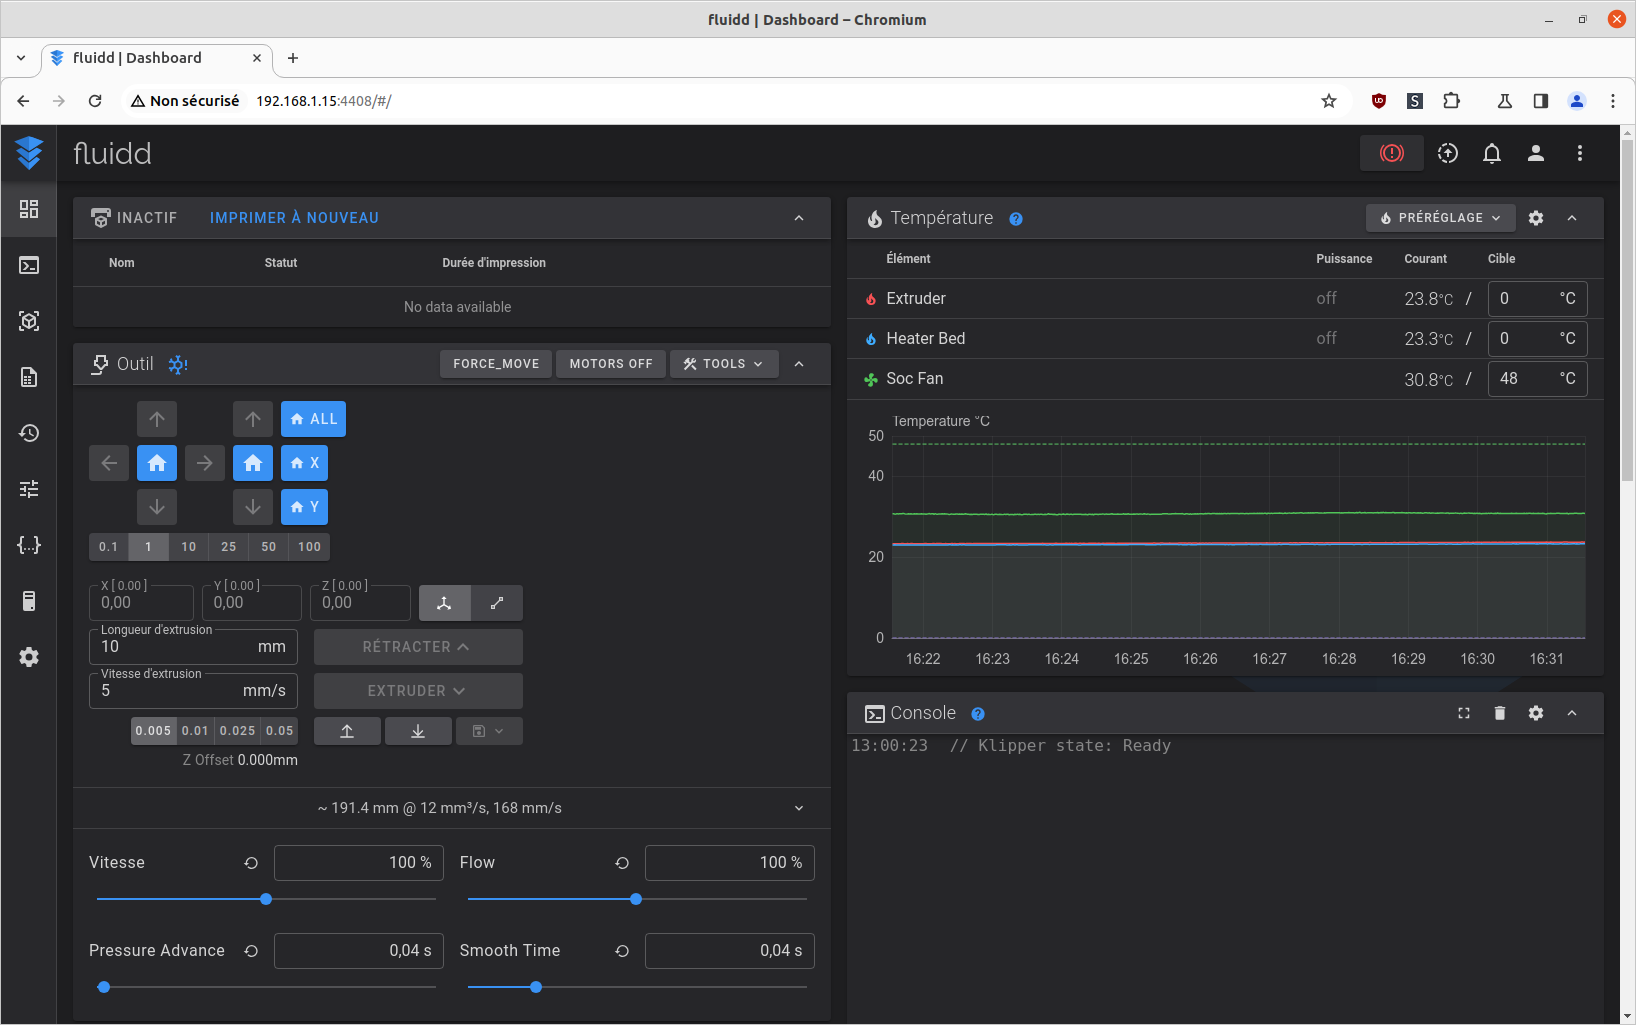
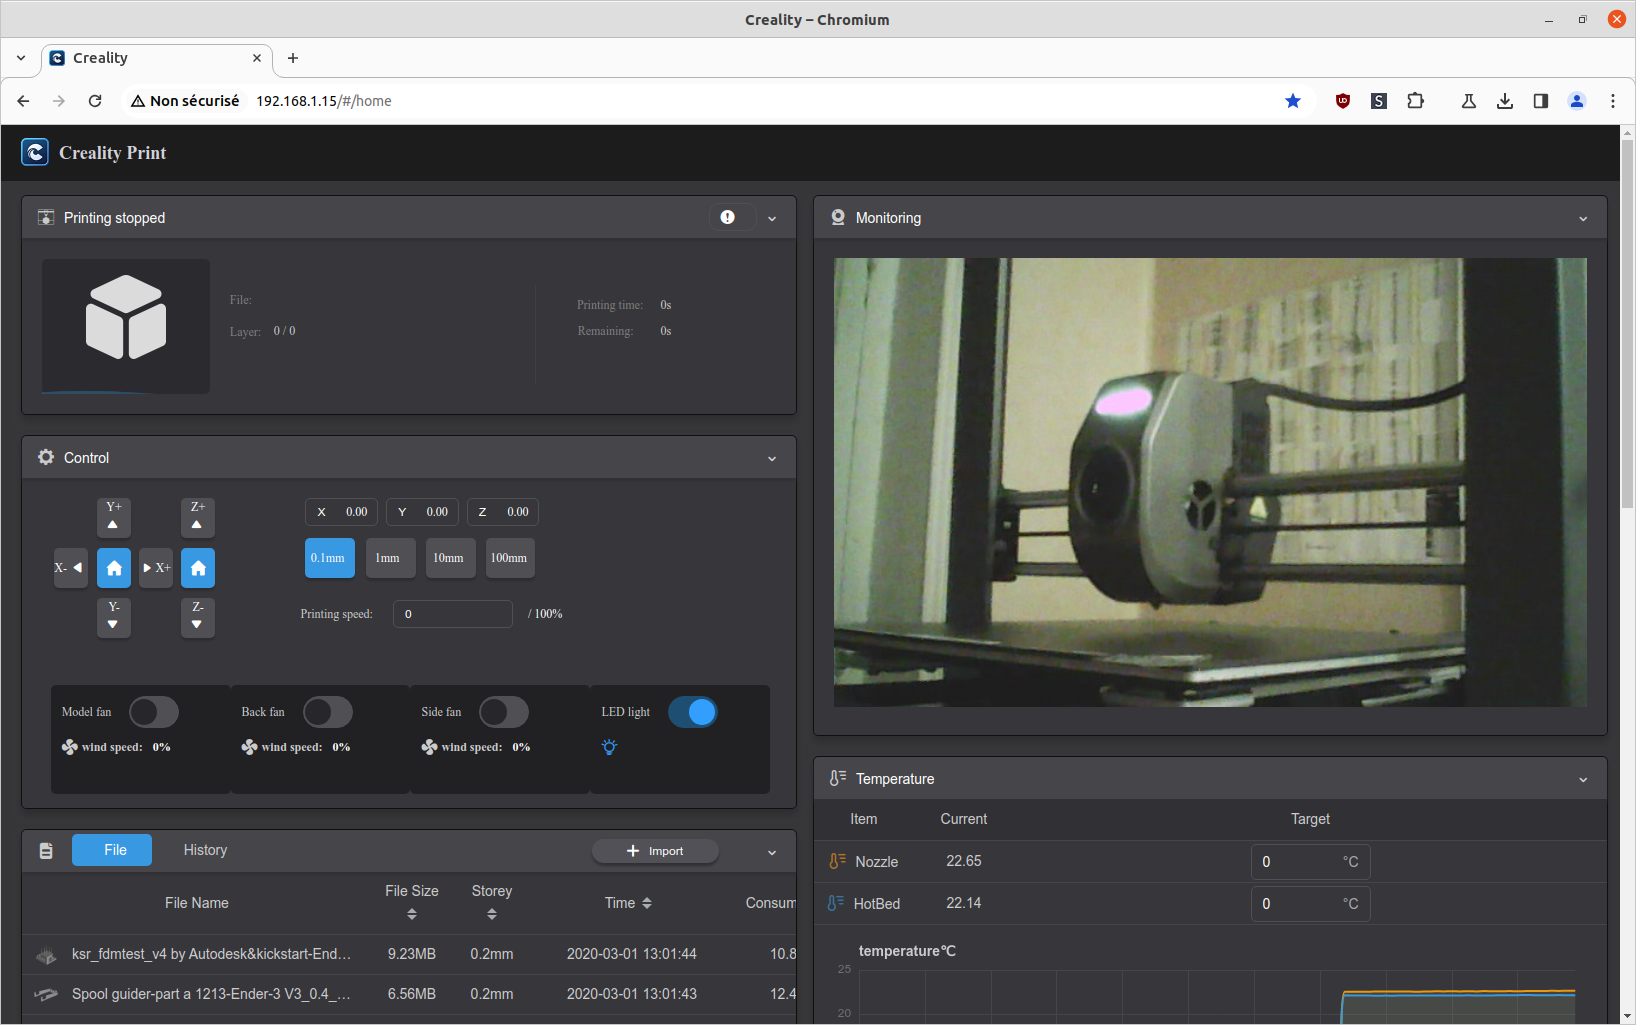
Il offre une interface web de contrôle de l’imprimante appelée “Creality Print” sur le port 80 (à partir de la mise à jour du firmware v1.2.1.0) mais aussi, une interface web de Fluidd sur le port 4408 pour les utilisateurs plus expérimentés.

A partir de la version 1.2.1.0 du firmware de la Ender-3 V3, on trouve l’option pour activer un mode root permettant de se connecter en SSH à la machine avec les pleins pouvoirs.


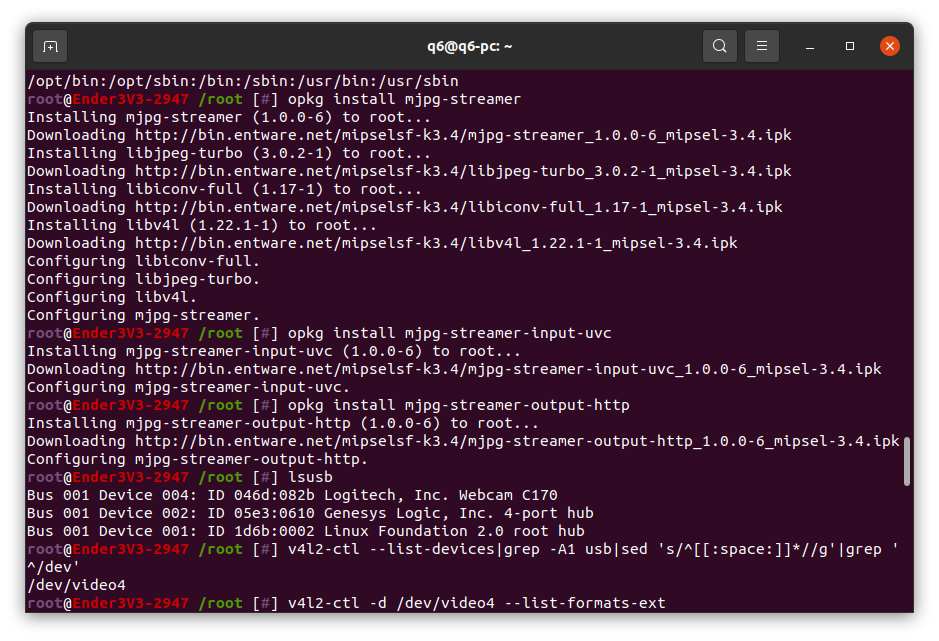
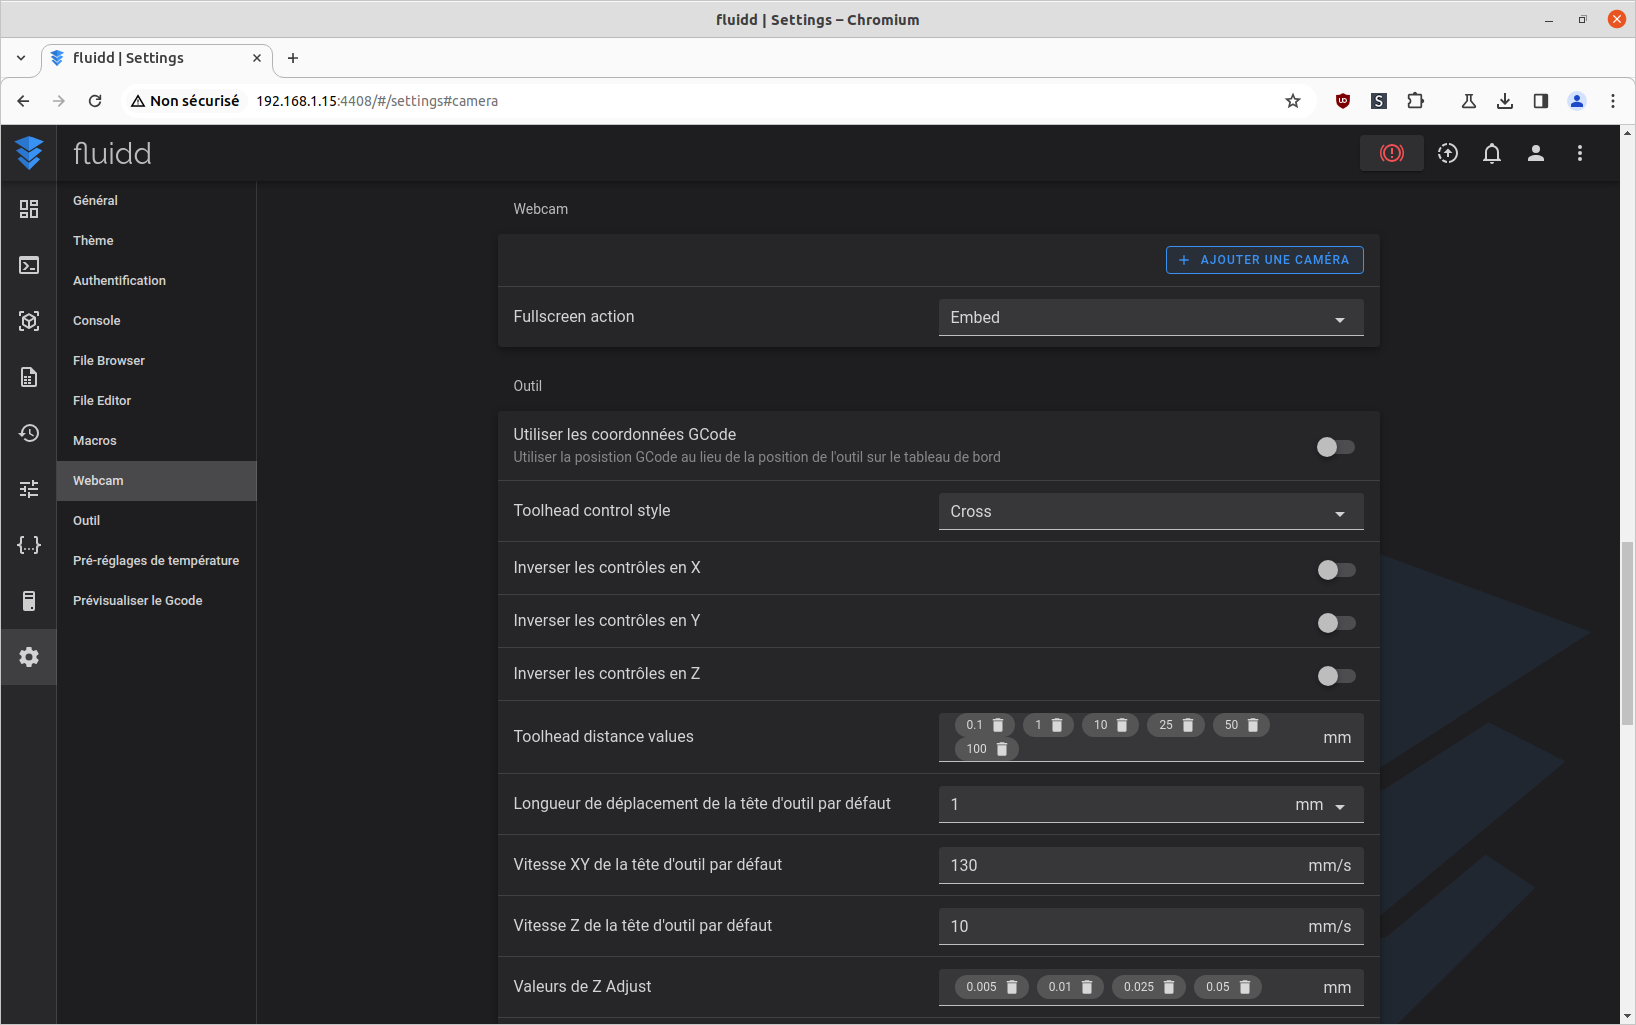
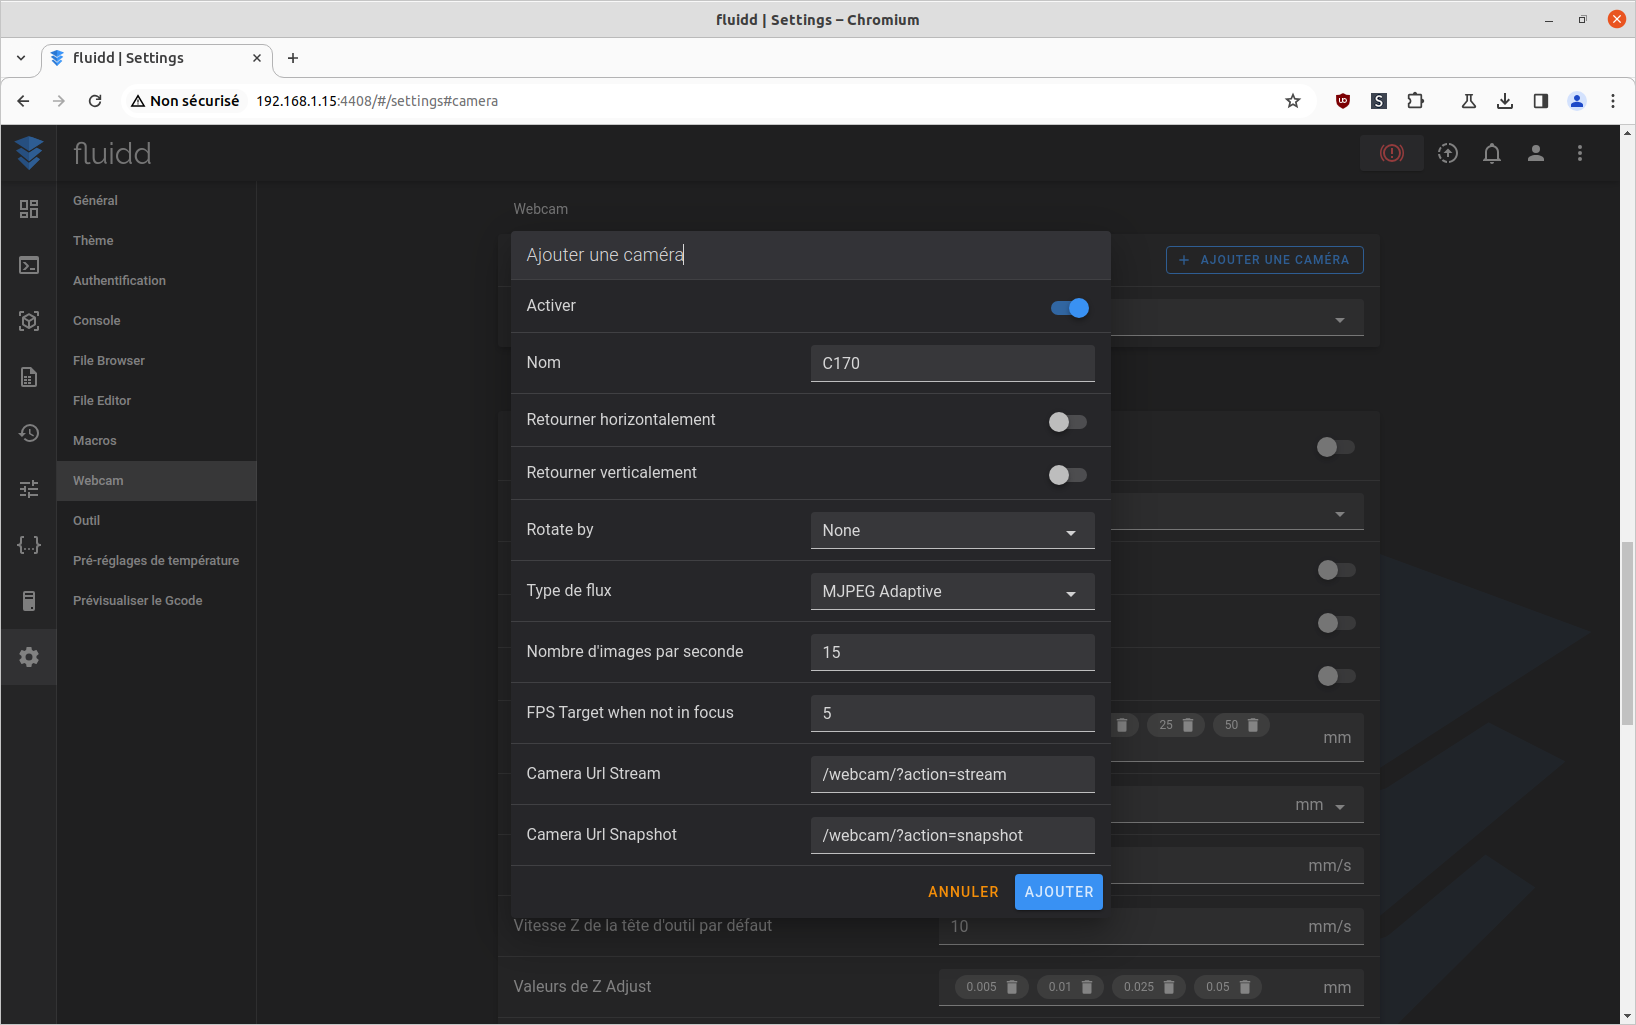
J’ai réussi à appliquer le tuto d’installation d’une camera Logitech sur cette Ender-3 V3. Toutefois, ce tutoriel semble être devenu obsolète grâce au dernier “Creality Helper Script” de Guilouz.
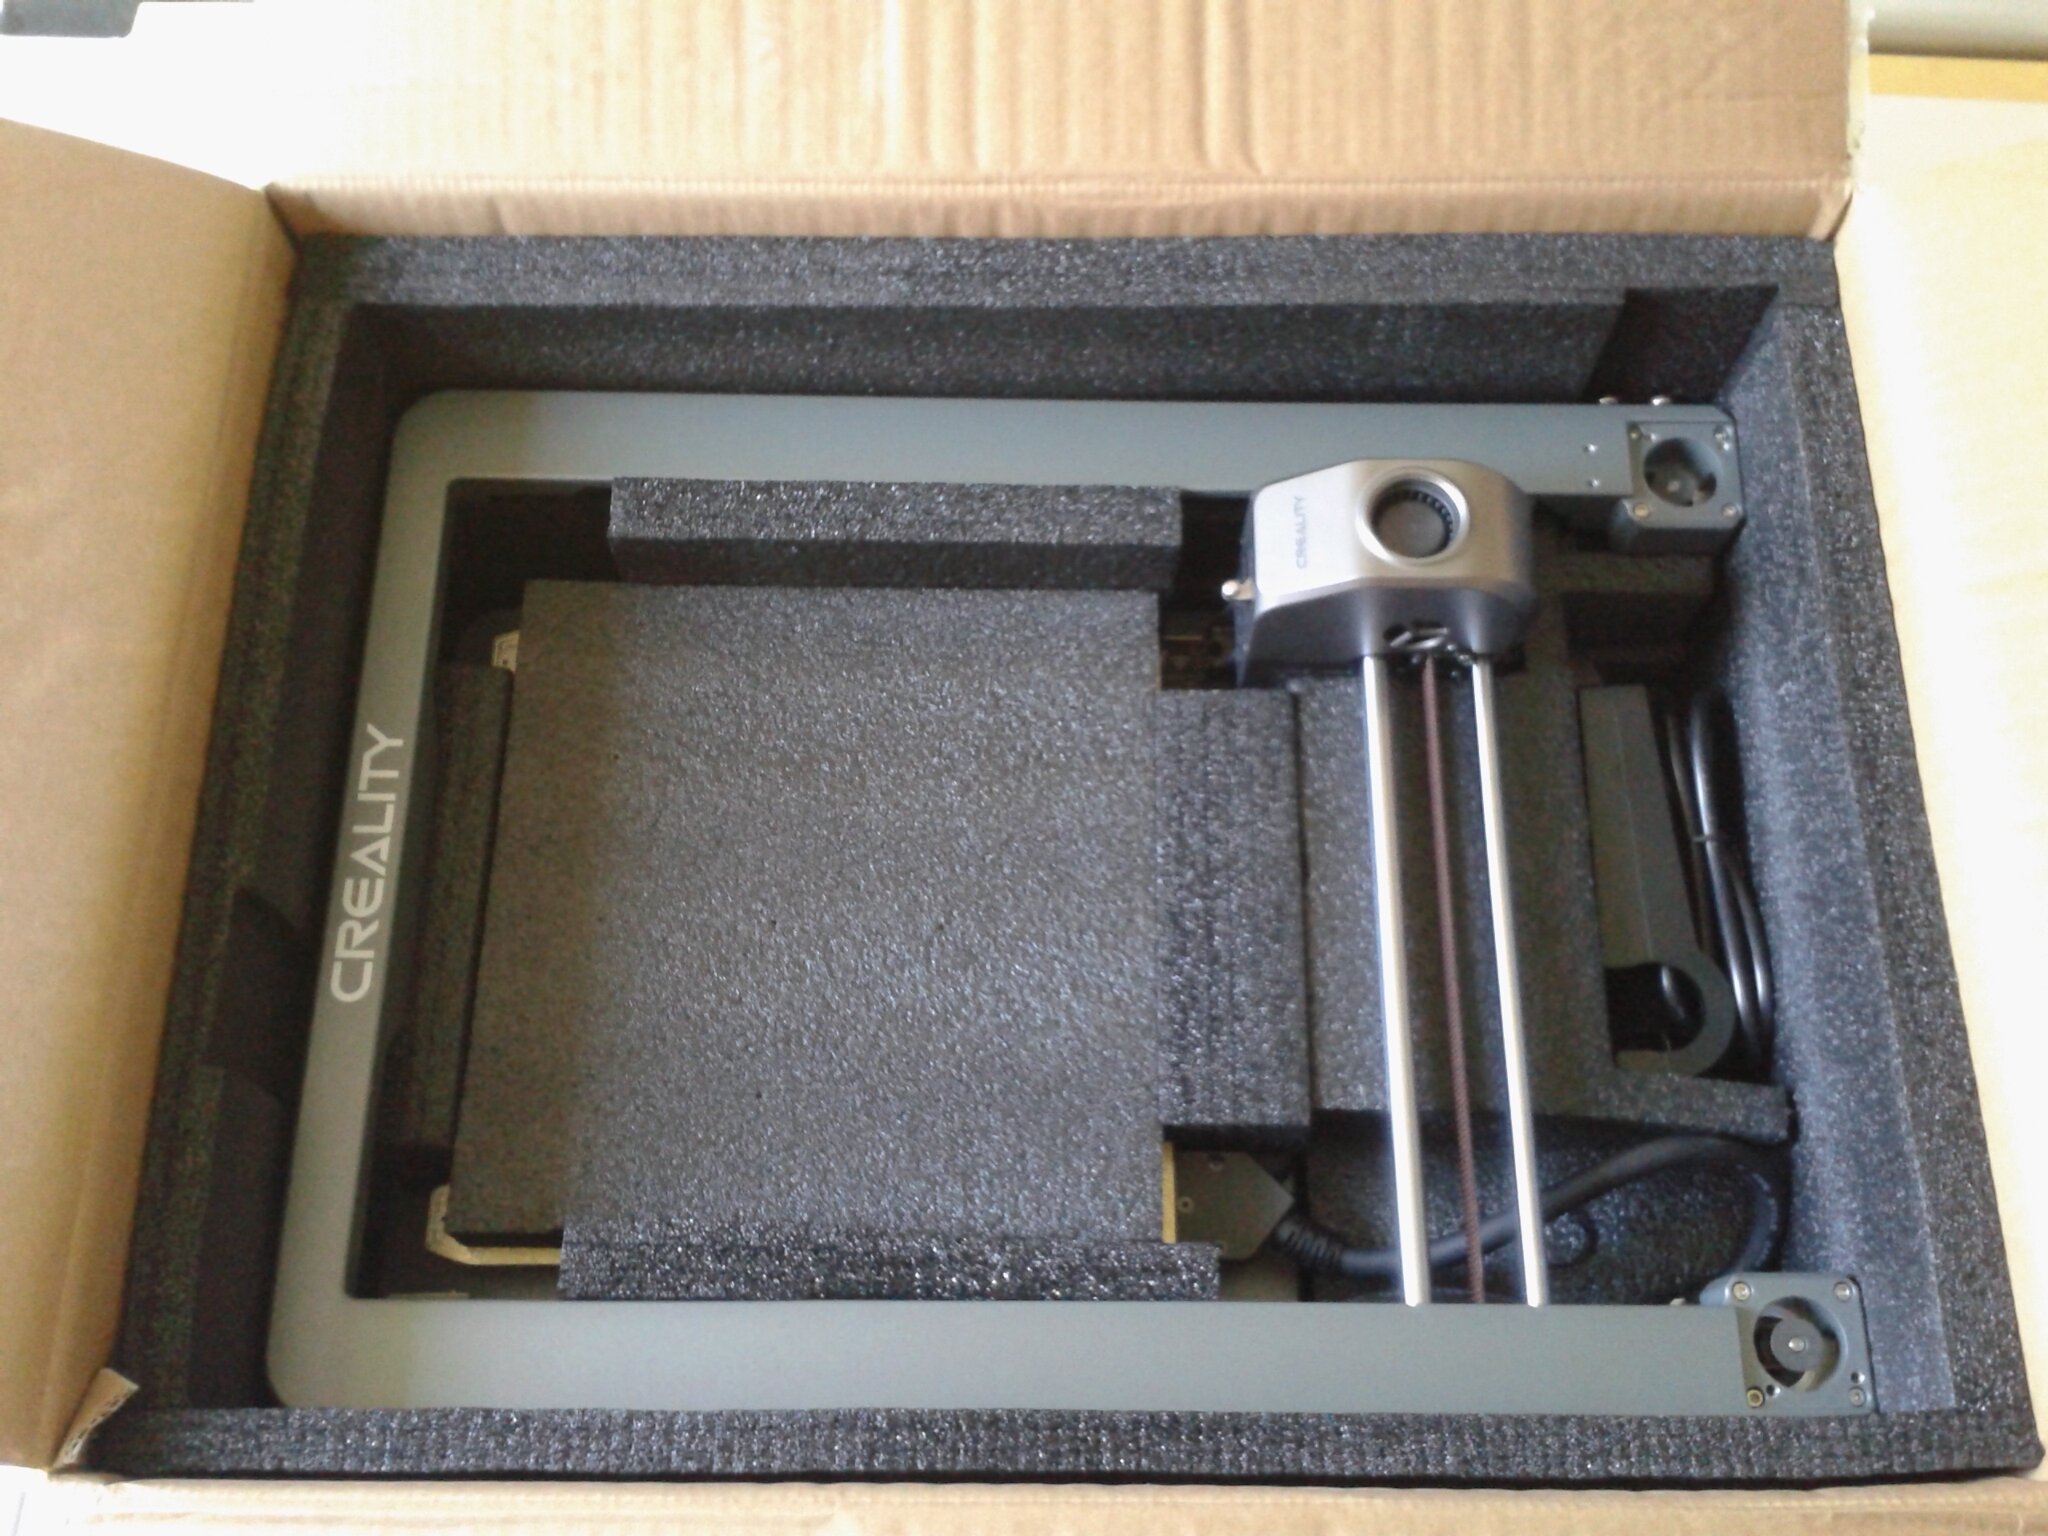
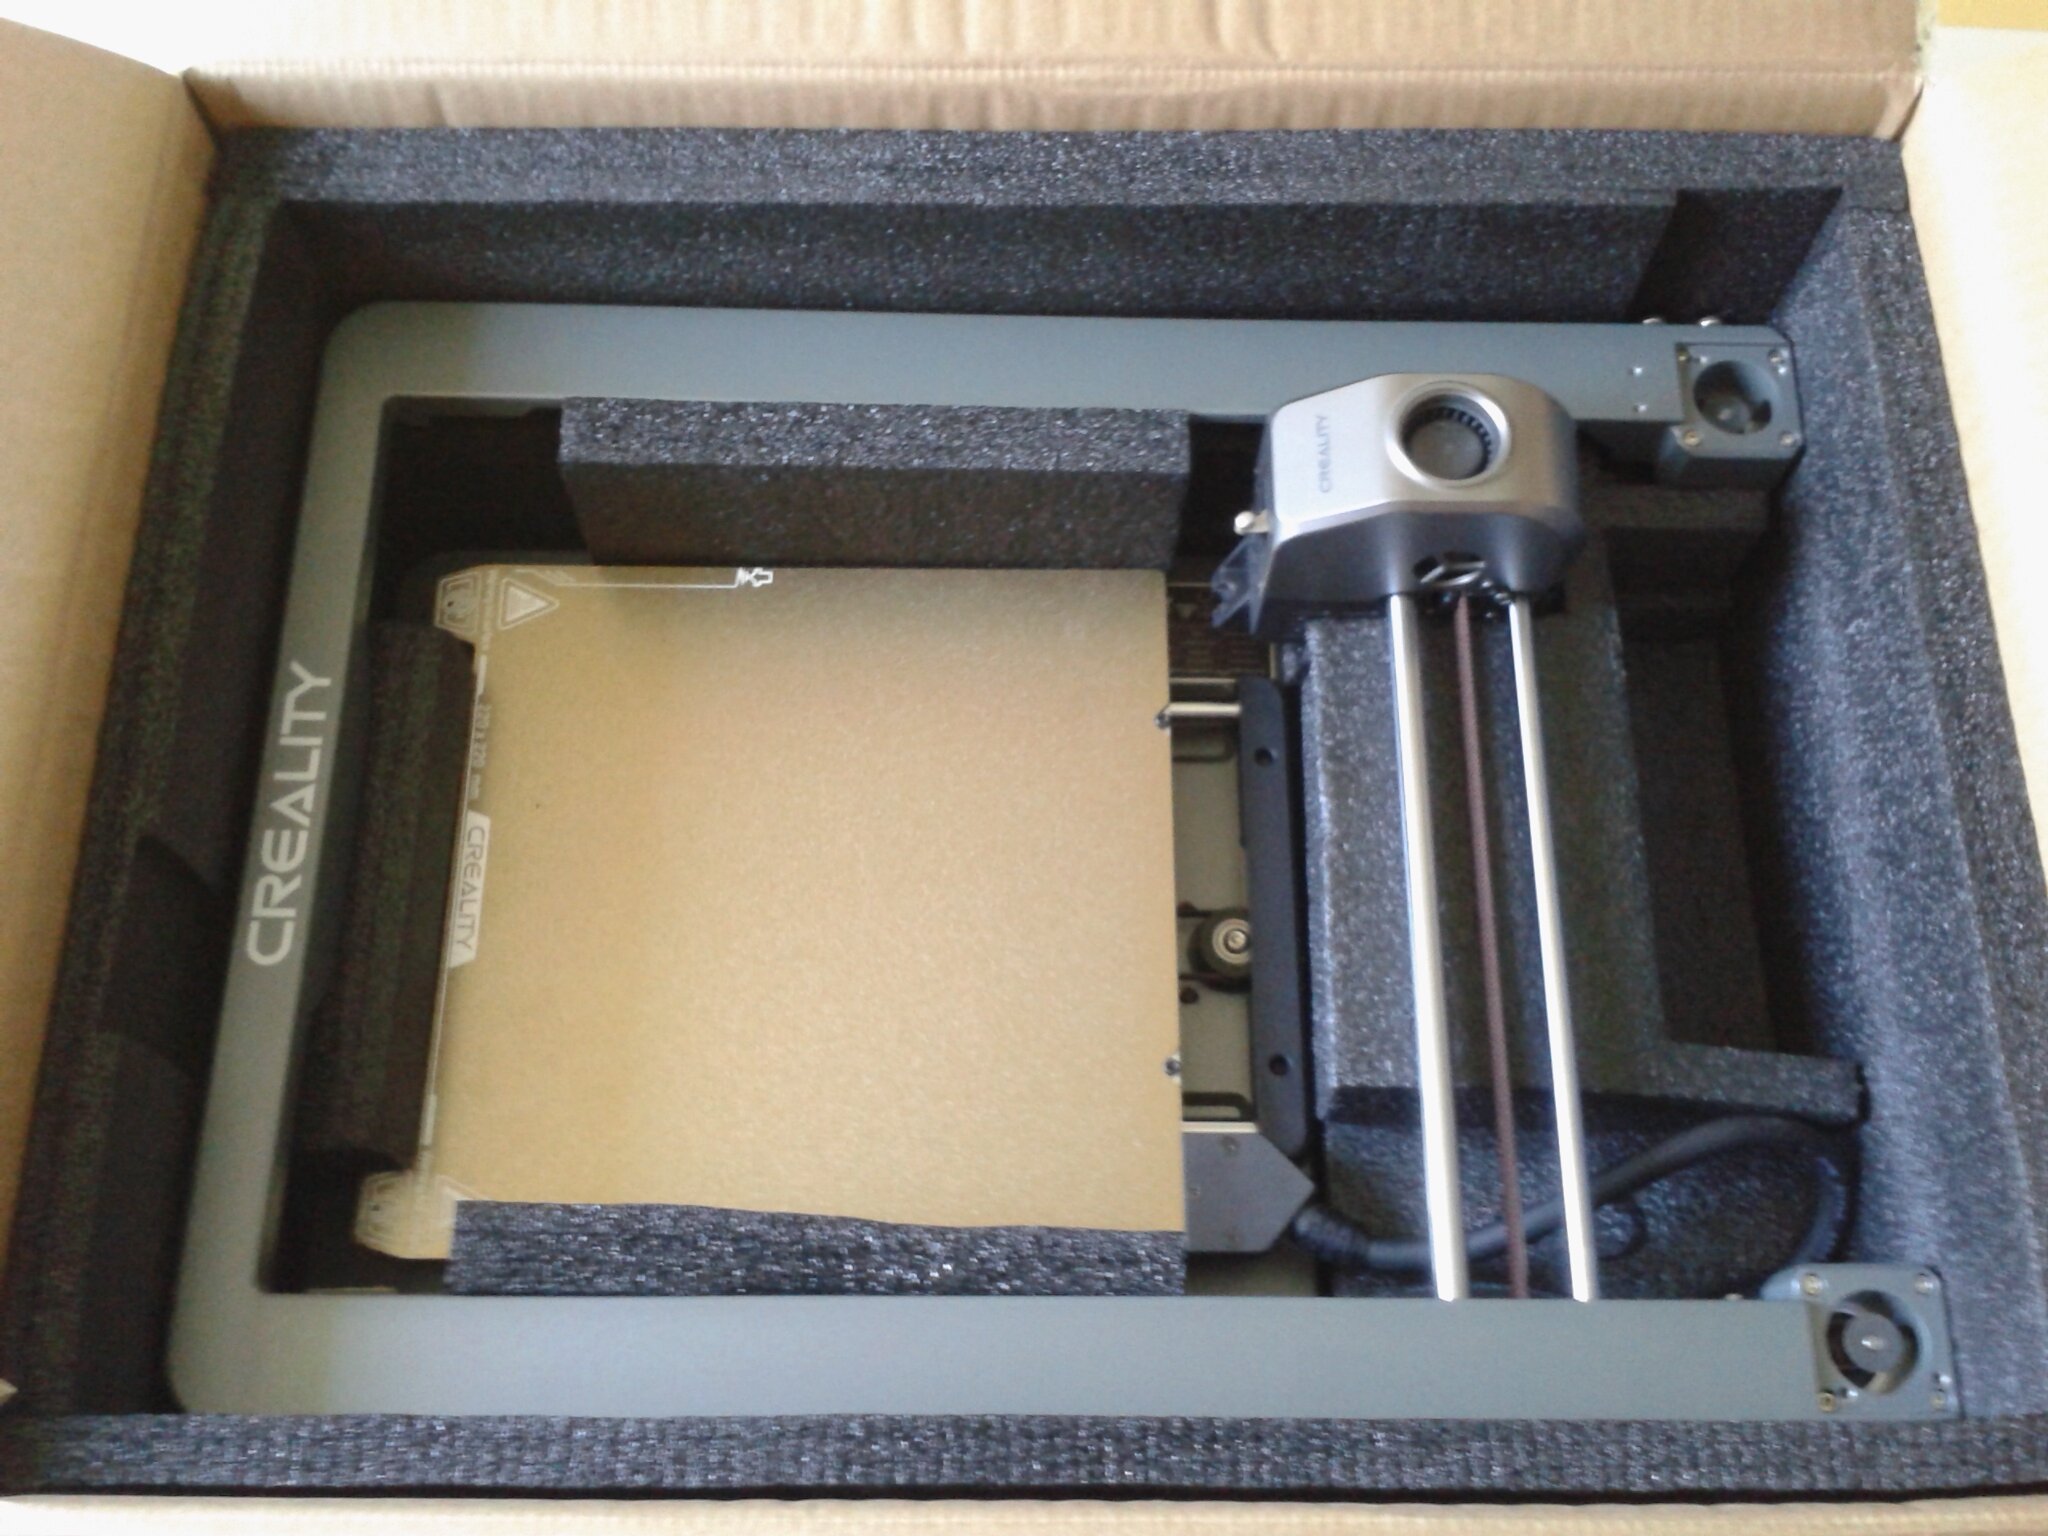
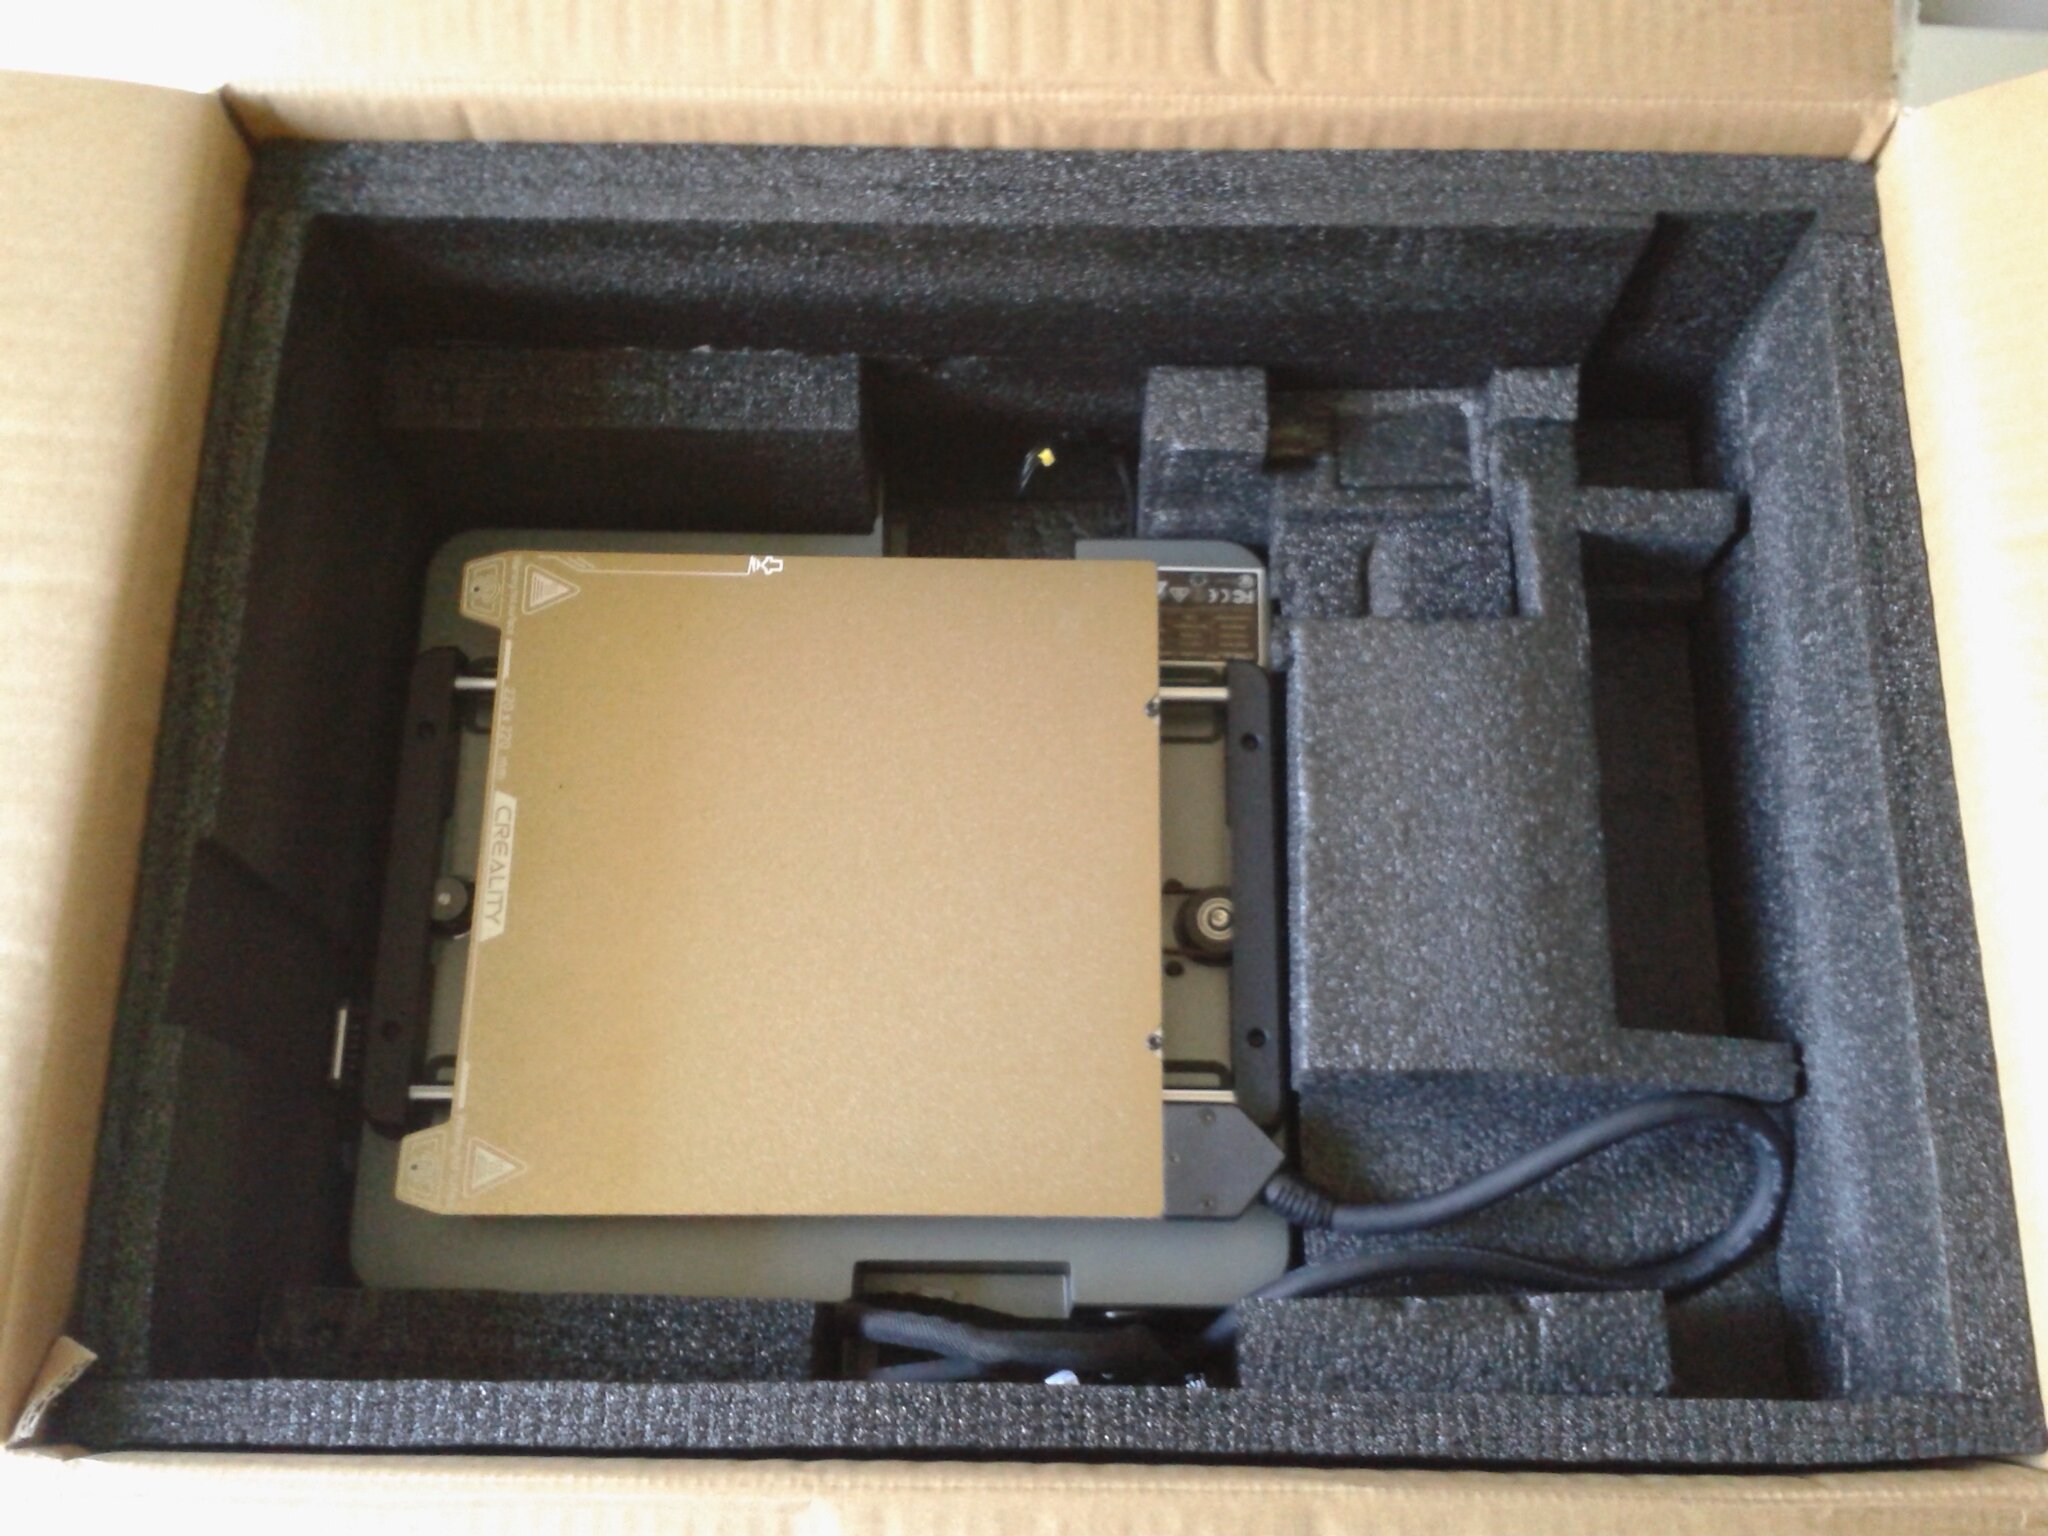
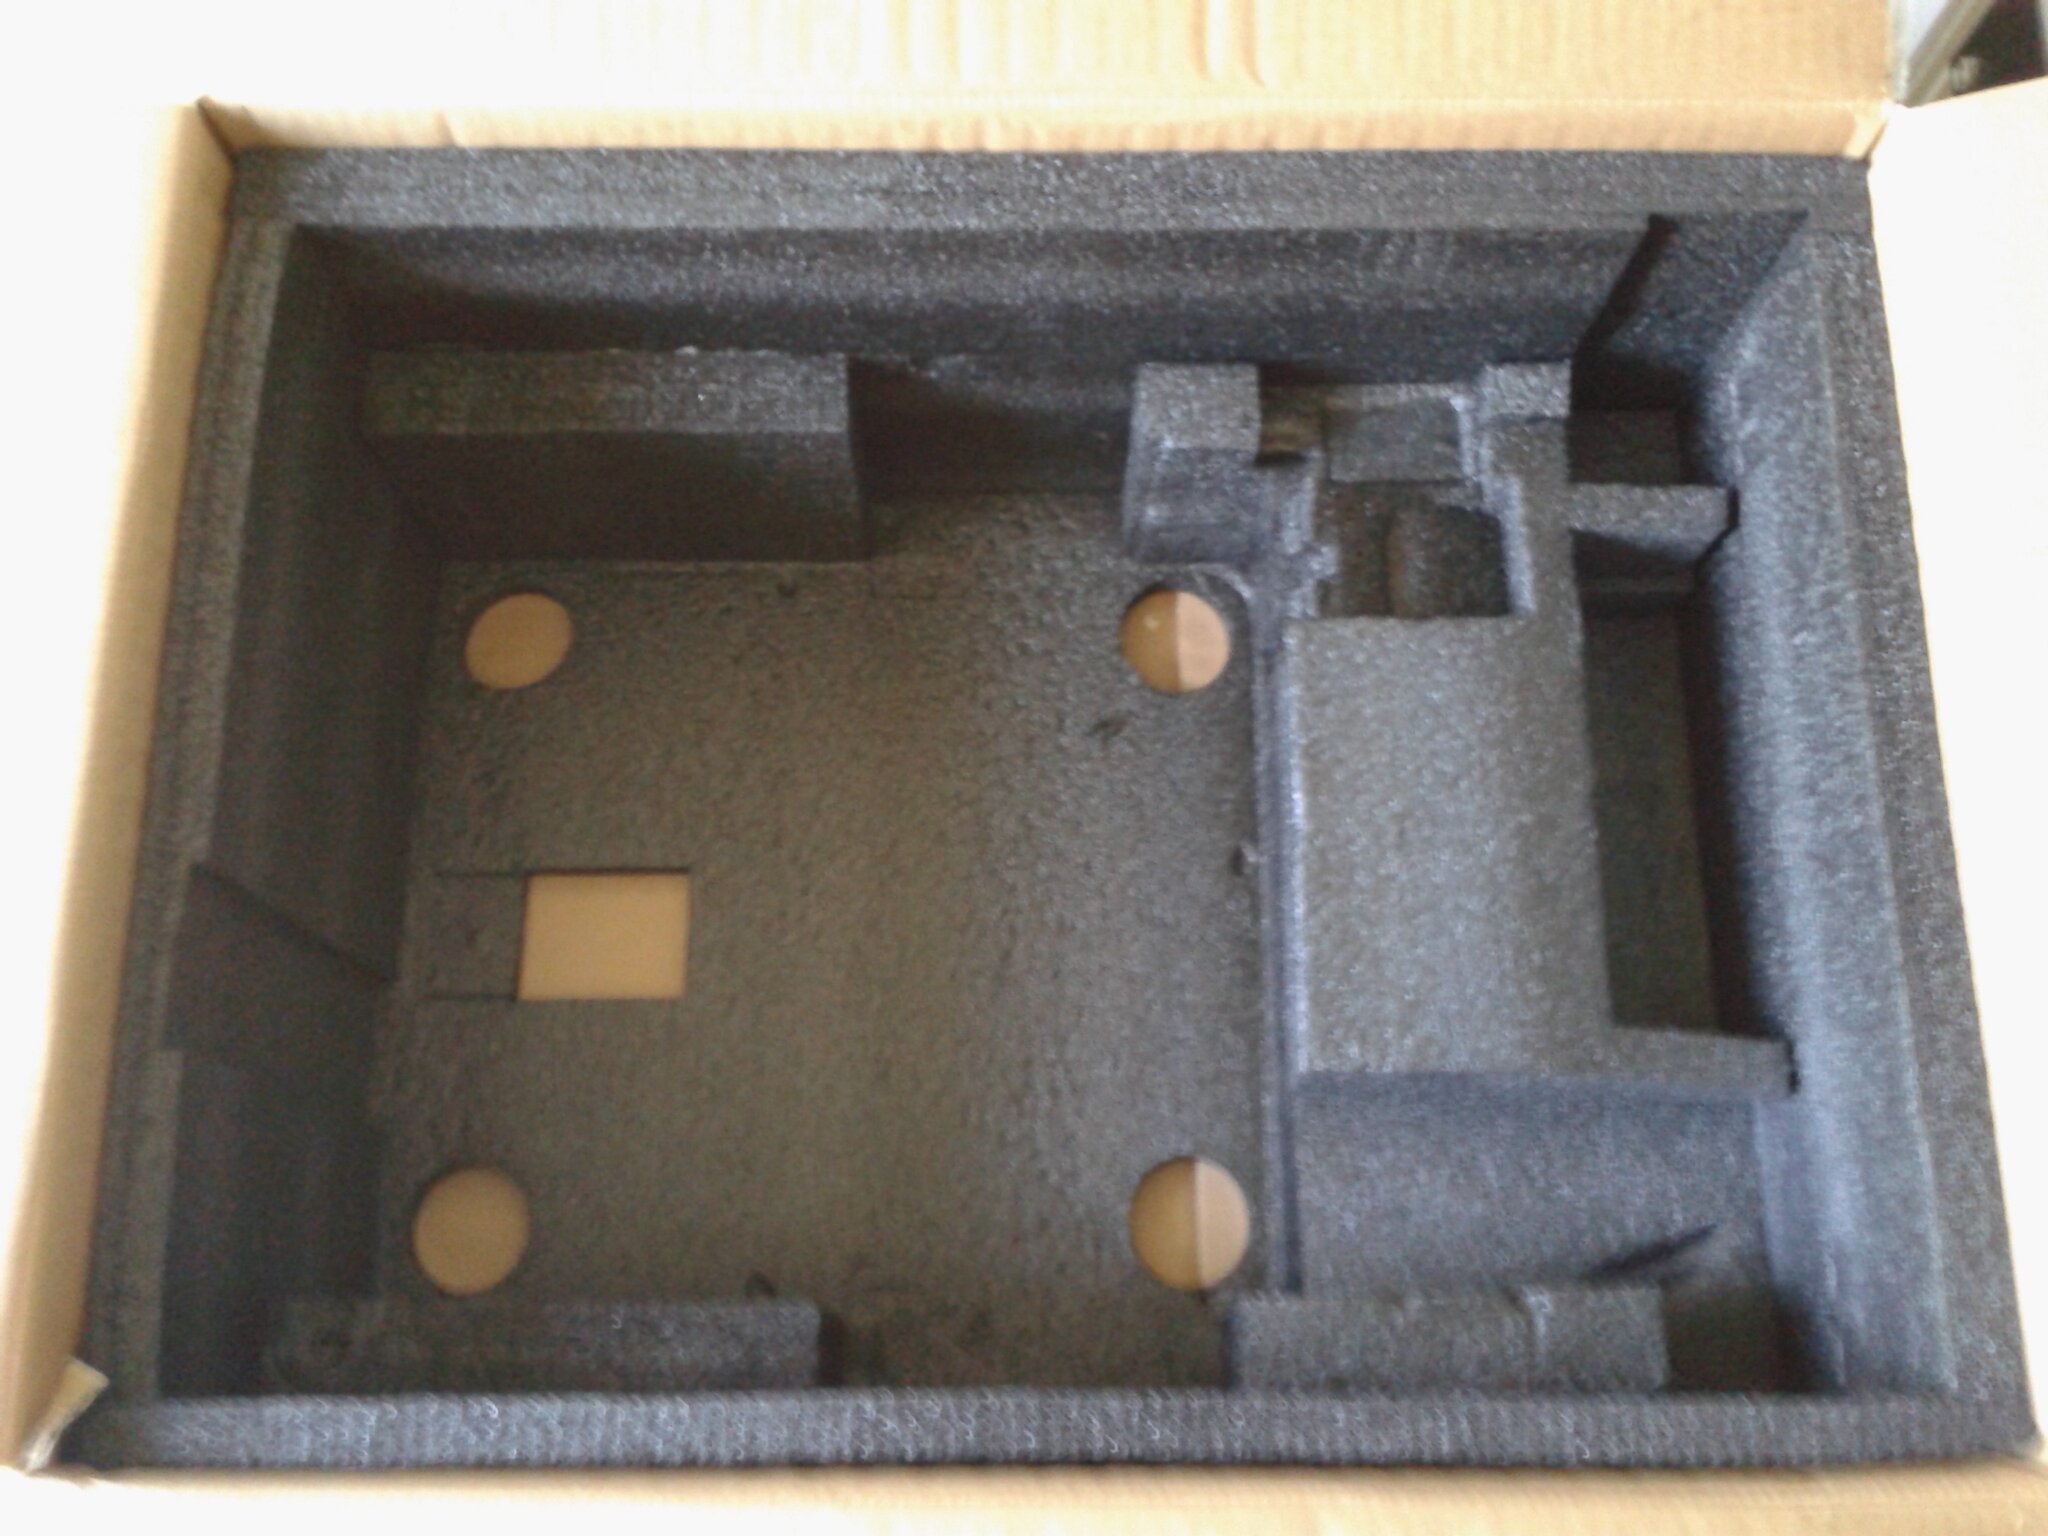
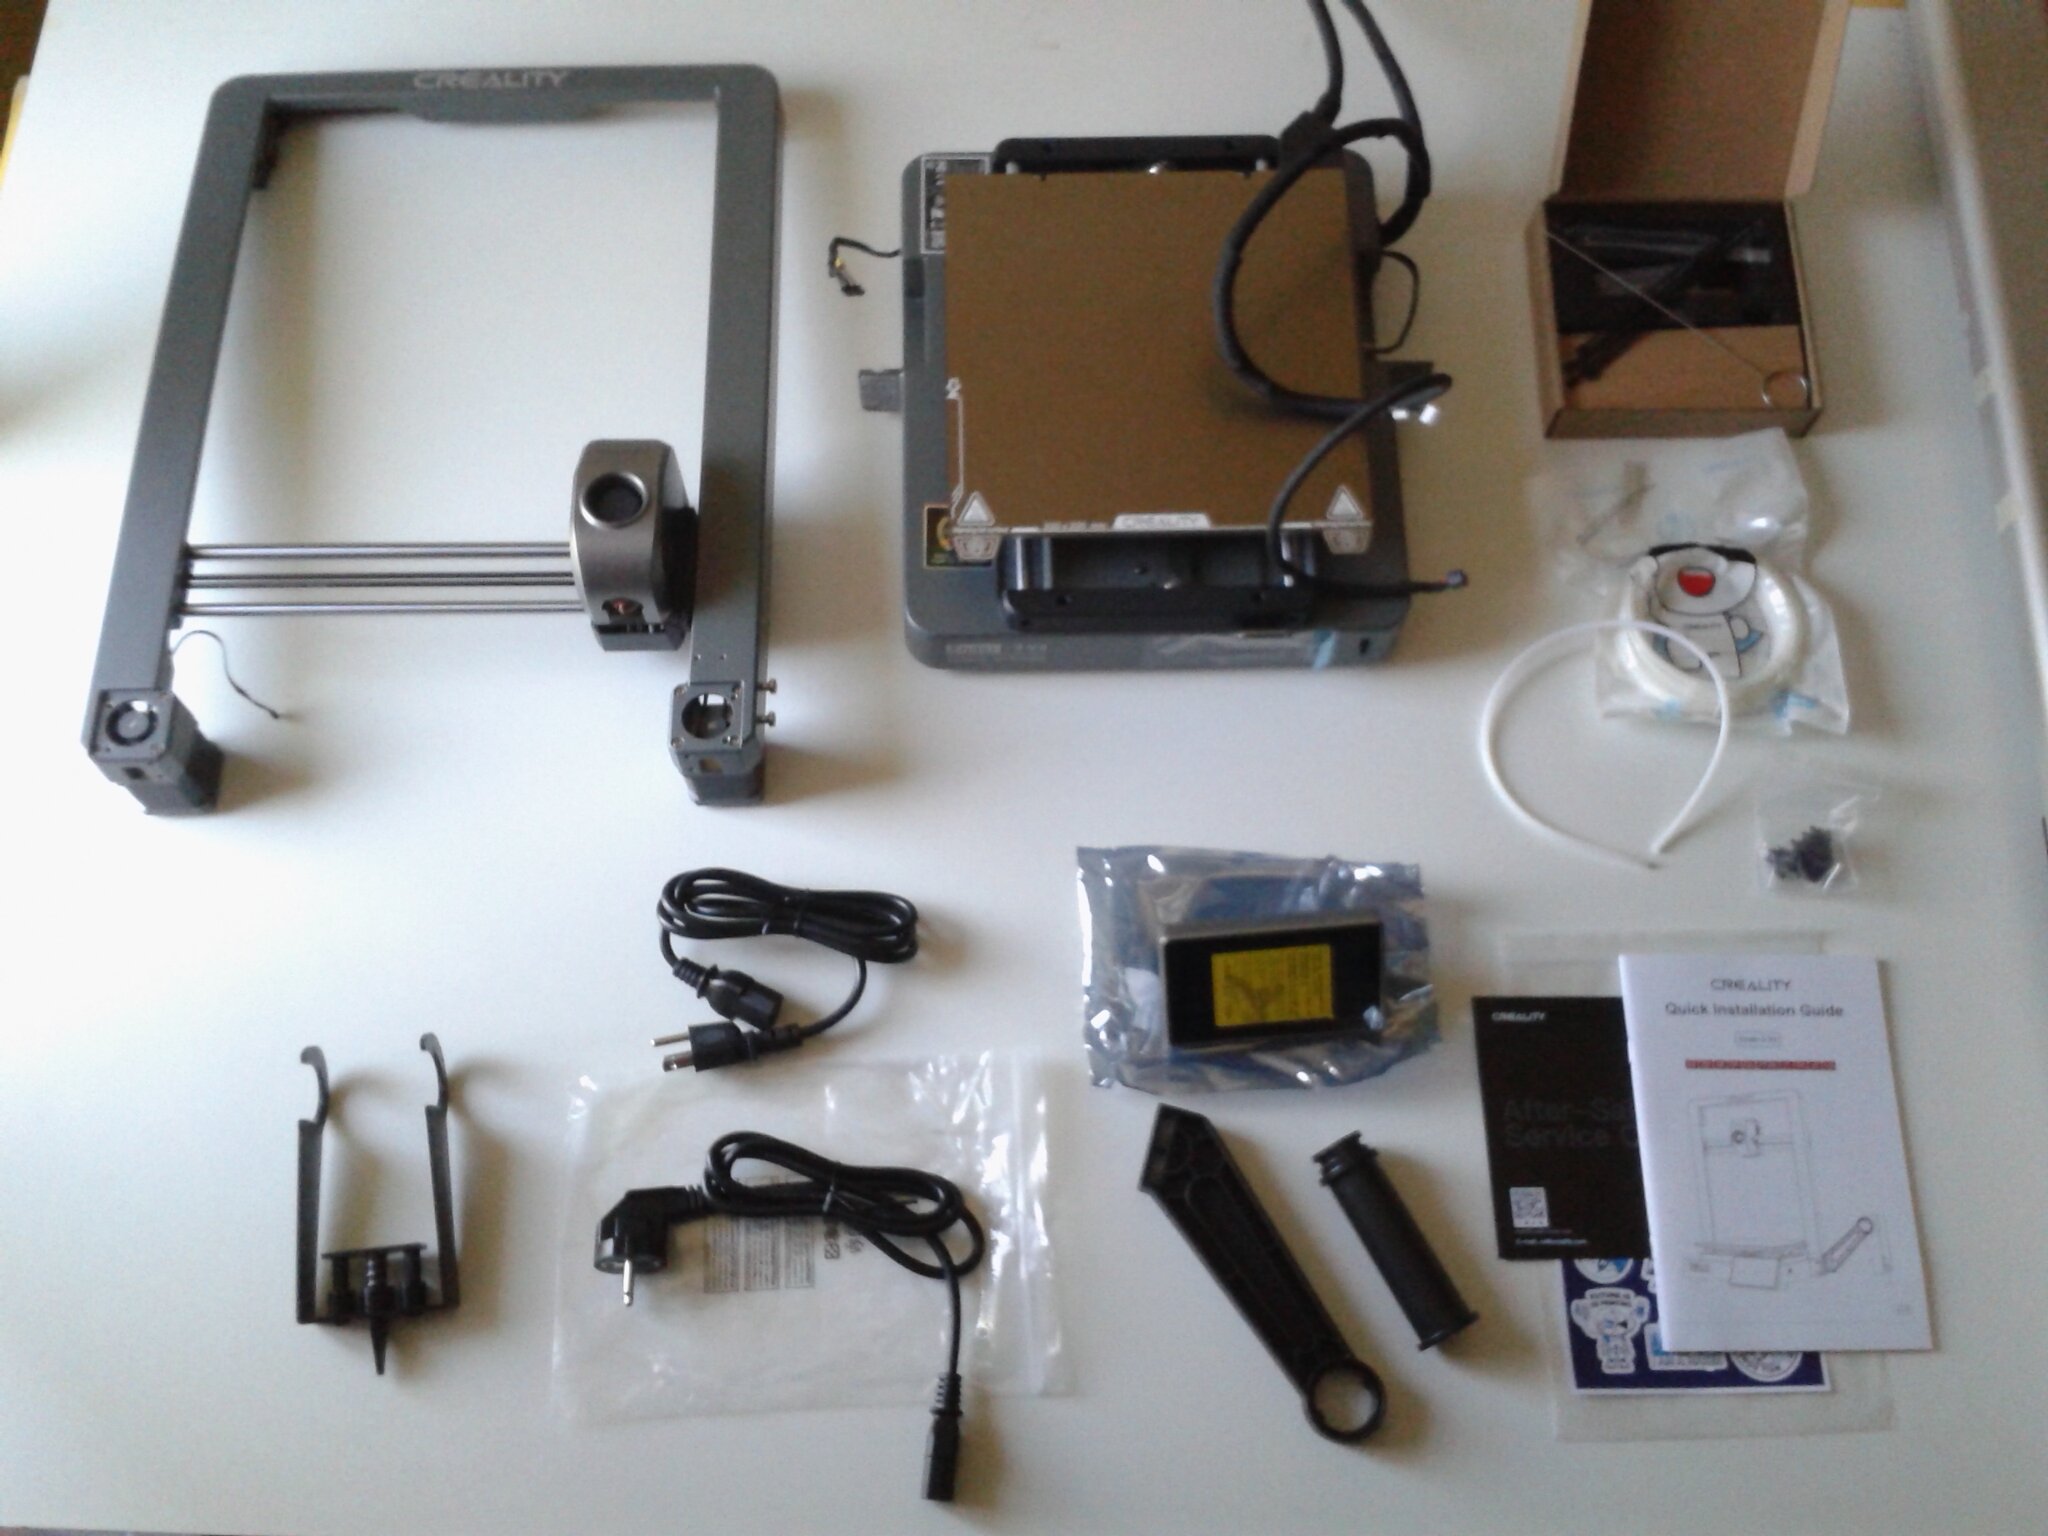
Déballage (unboxing) Creality Ender 3 V3
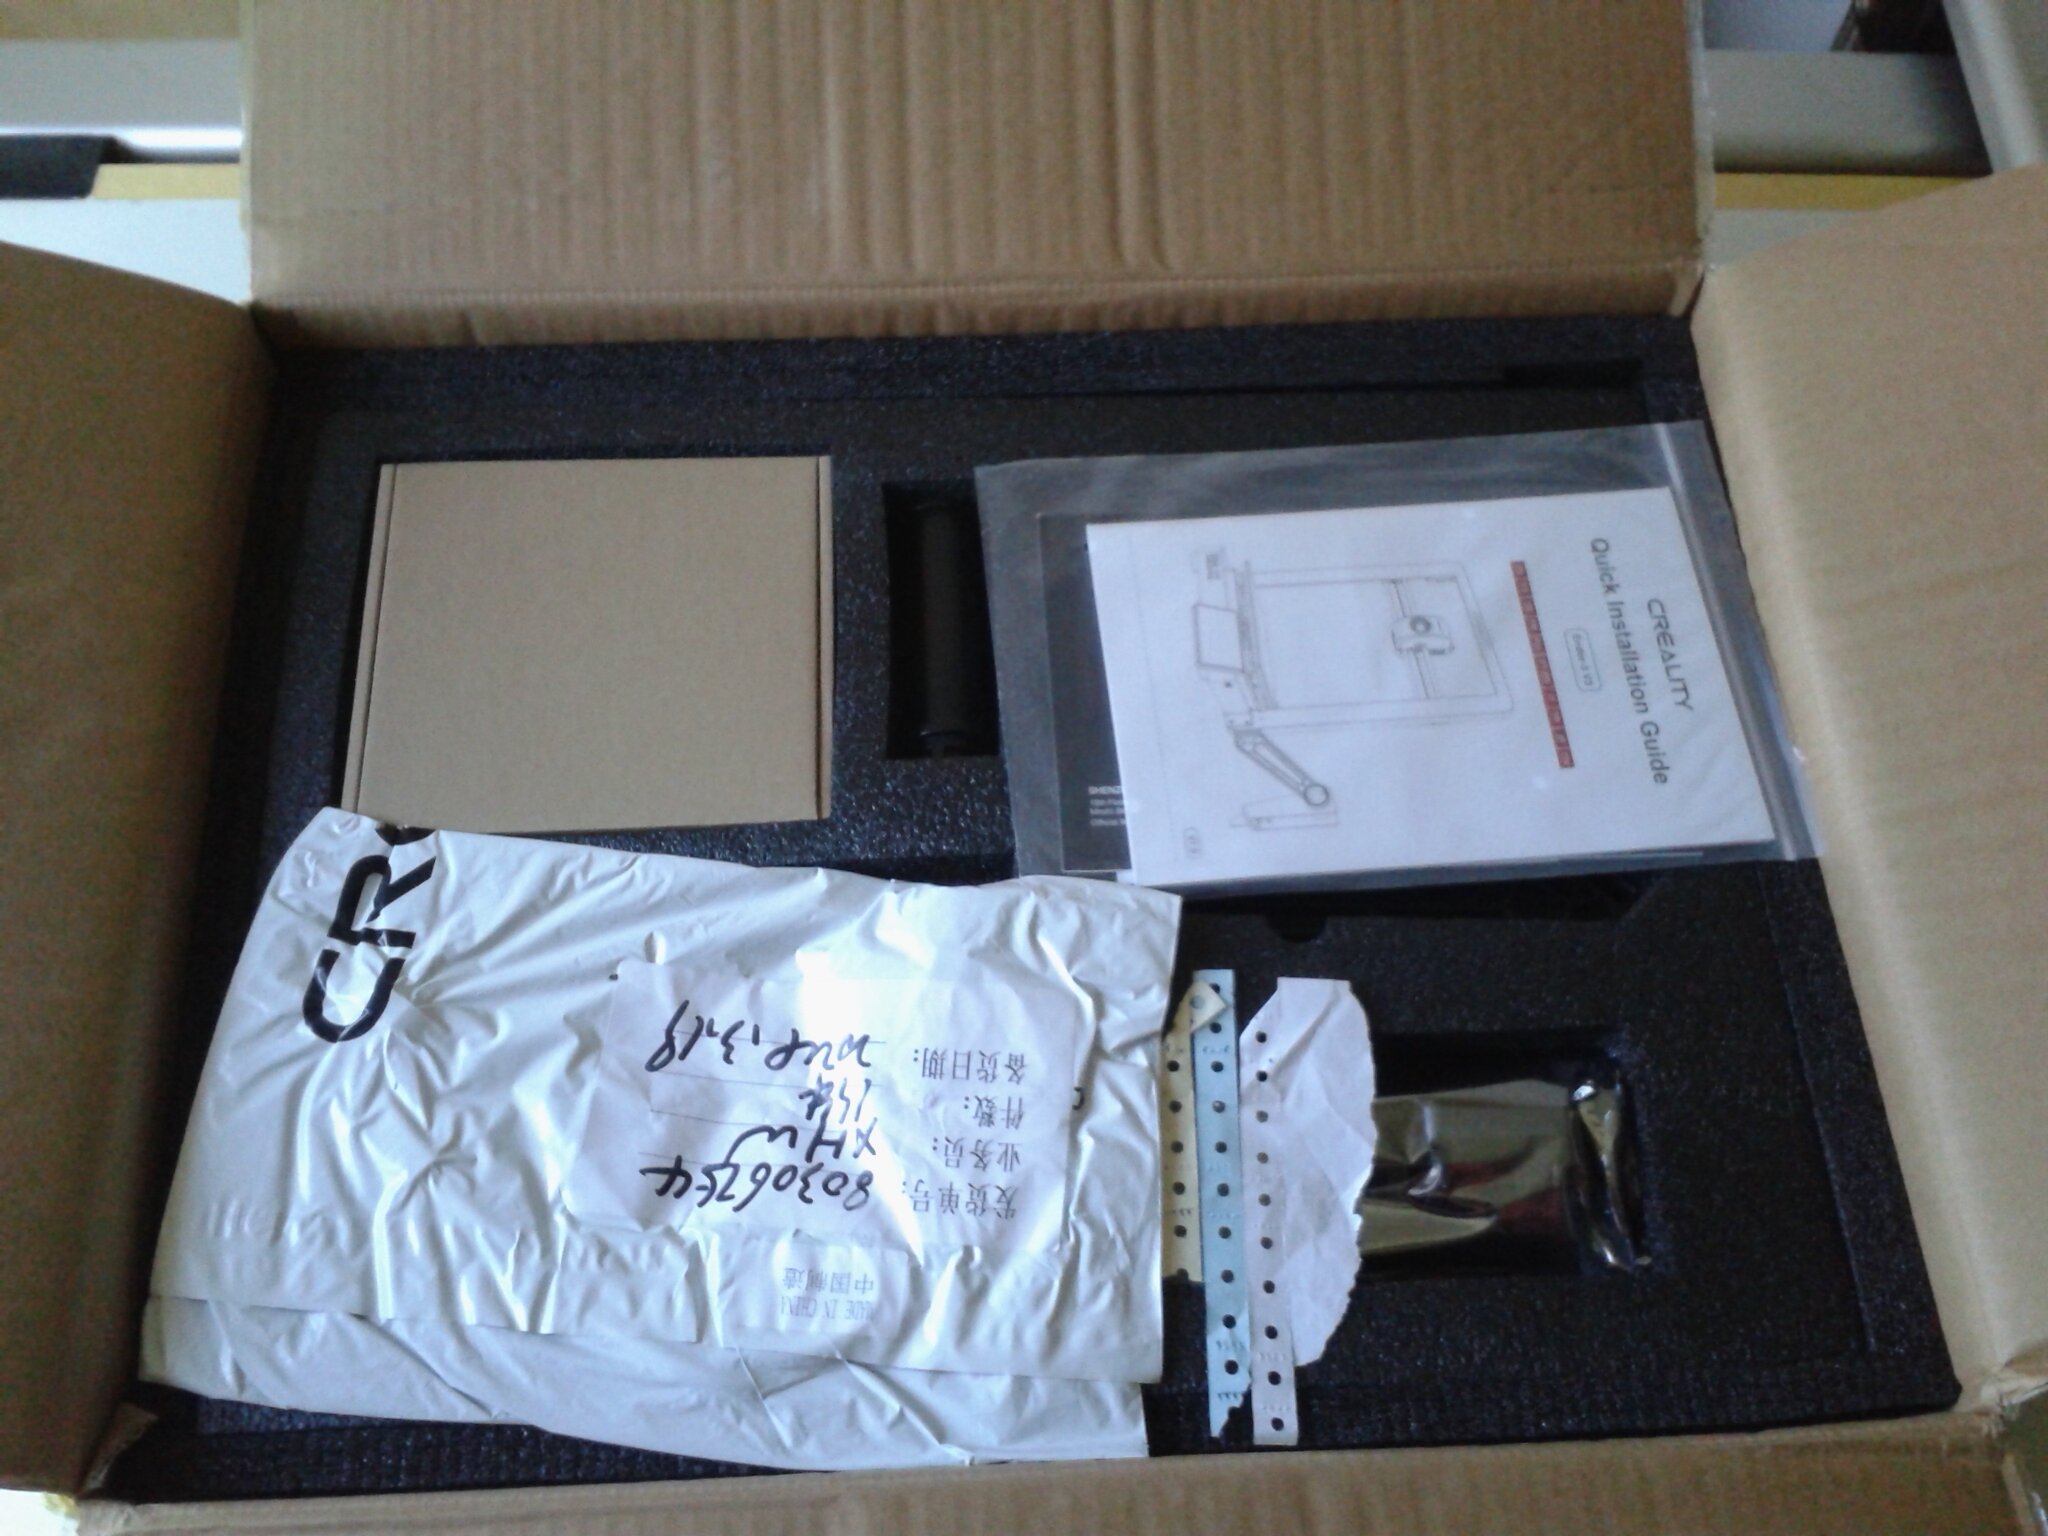
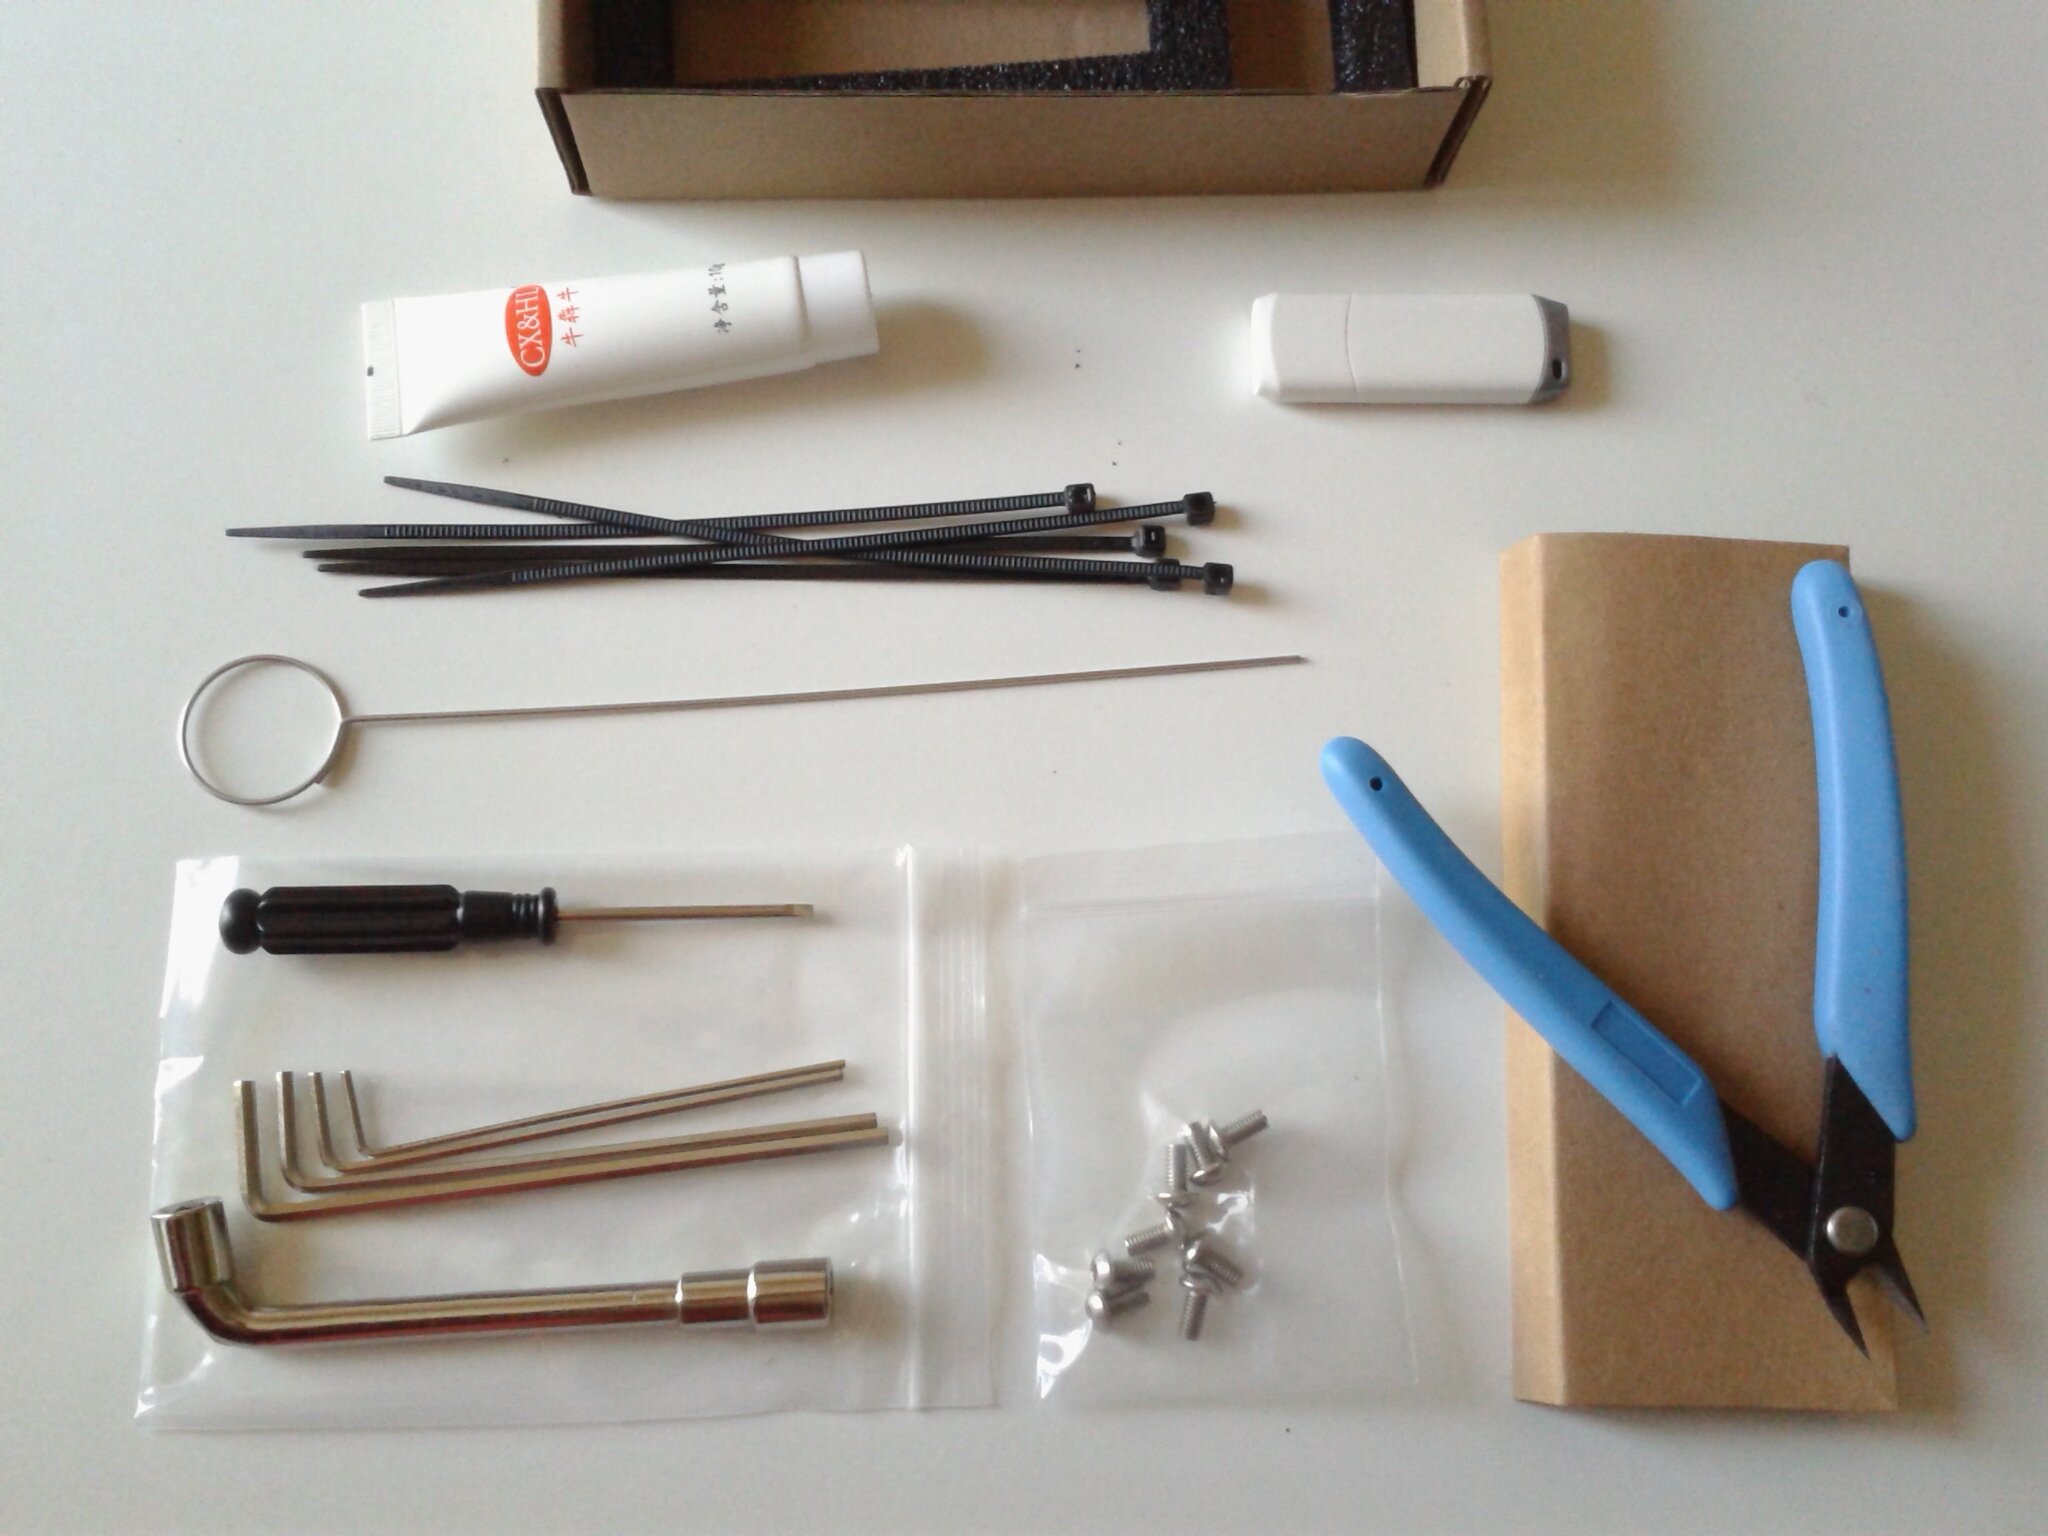
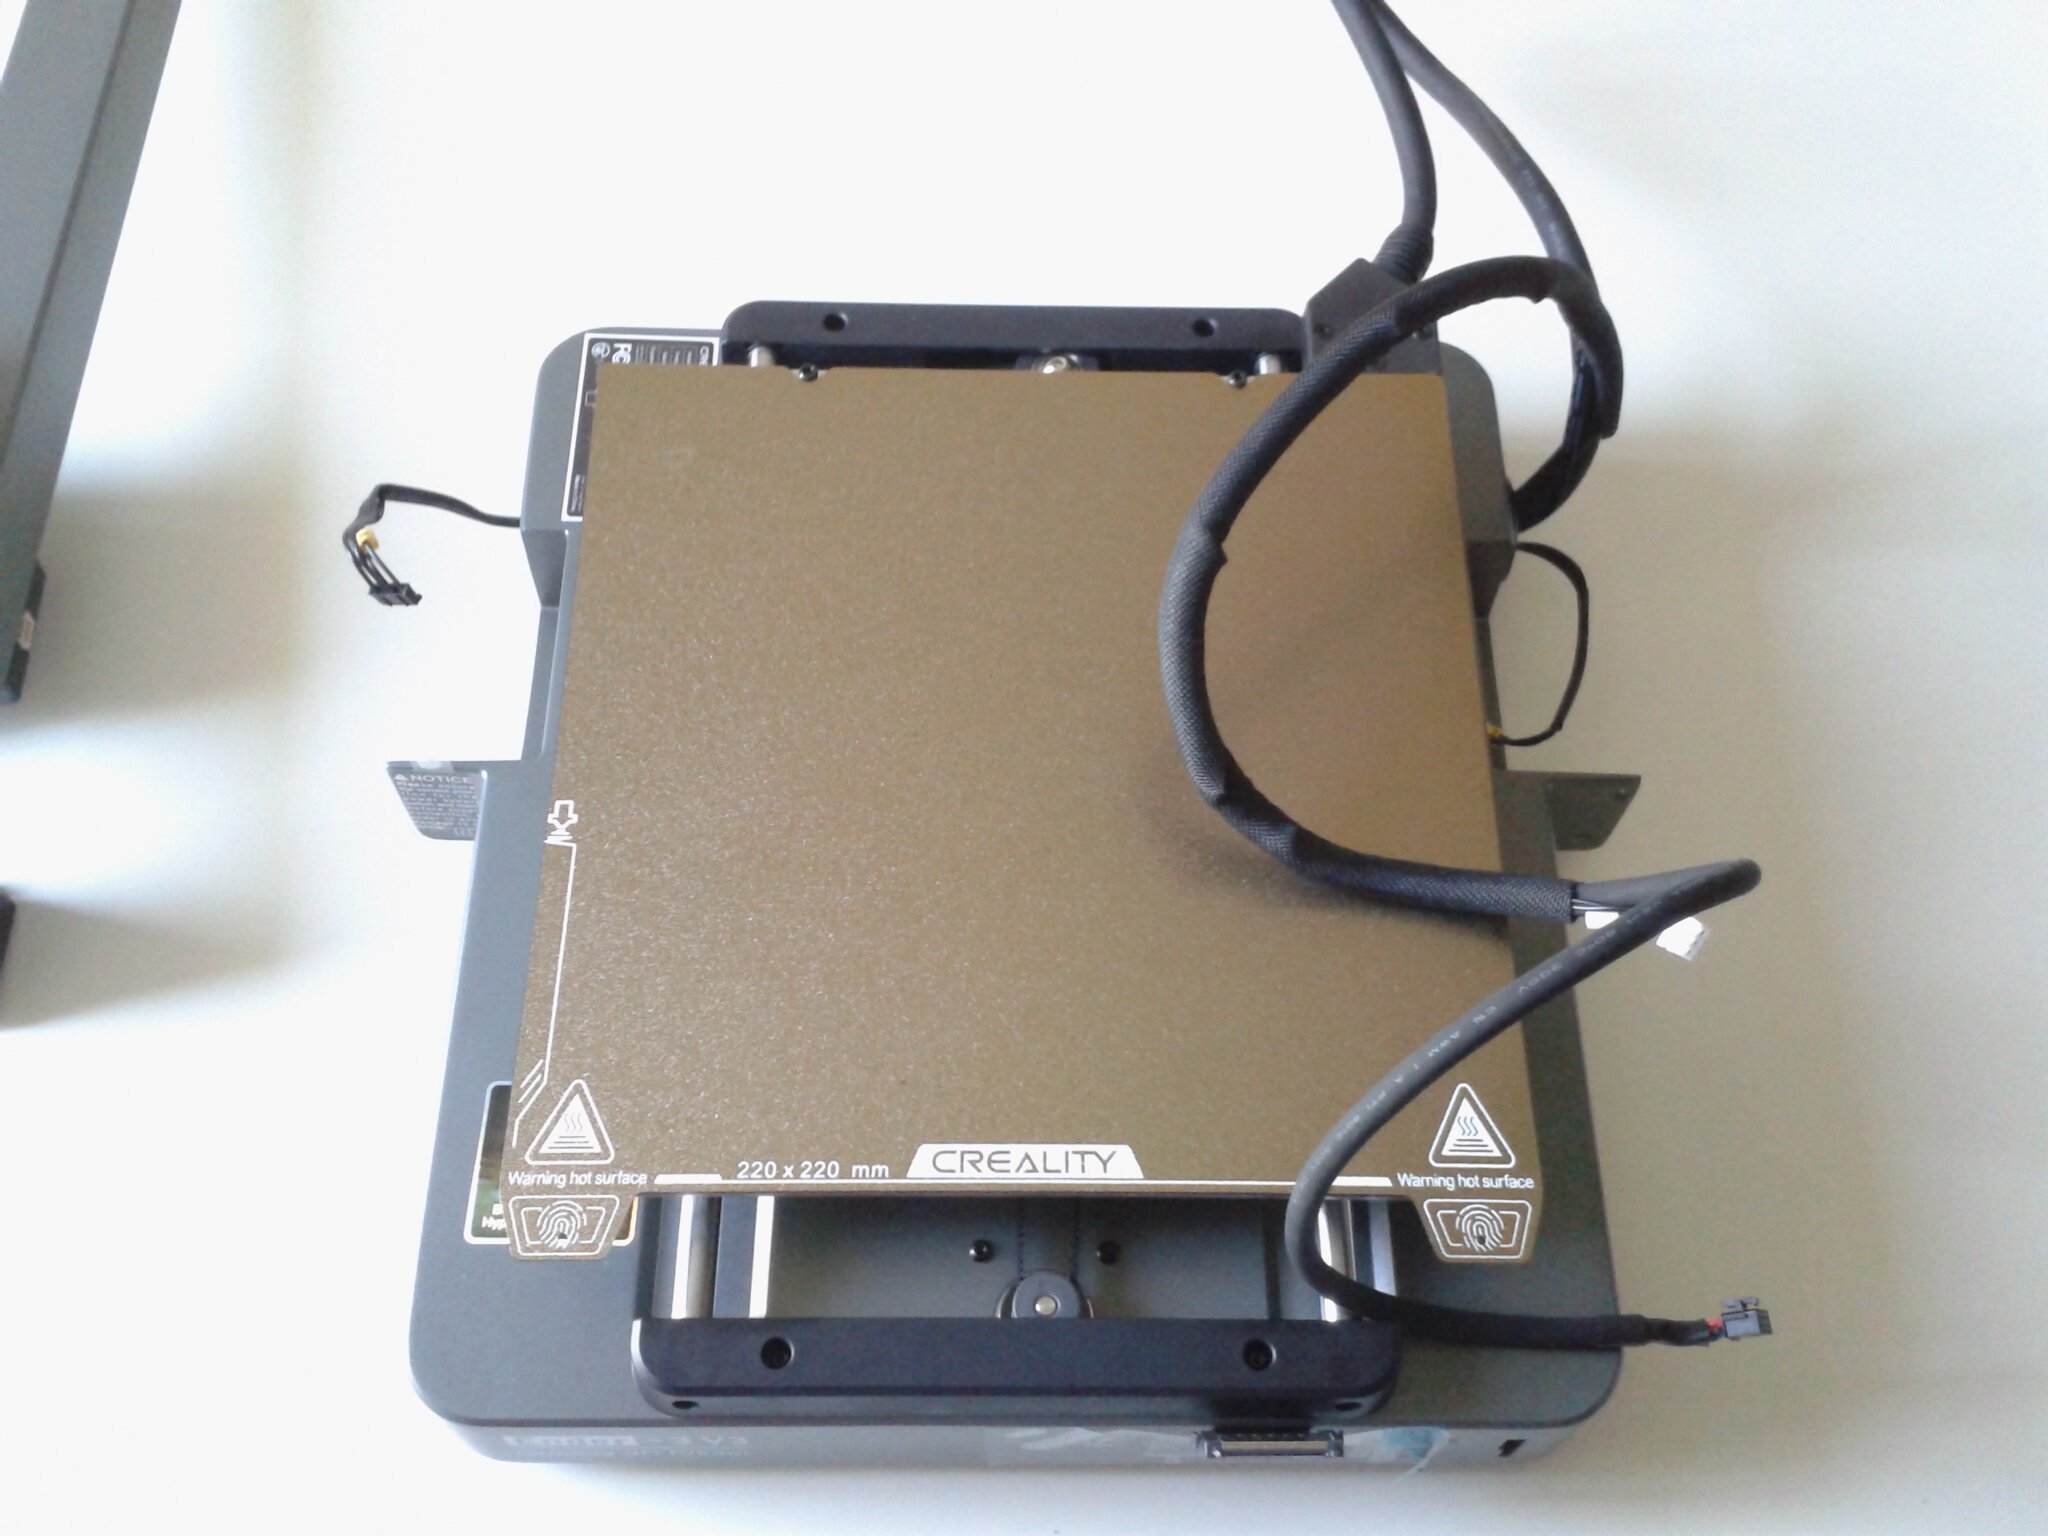
Bien calés dans des mousses de protections découpées sur mesures, on retrouve ce qui est attendu : les fournitures et outils, documentation papier, portique et base de l’imprimante, écran, porte bobines…
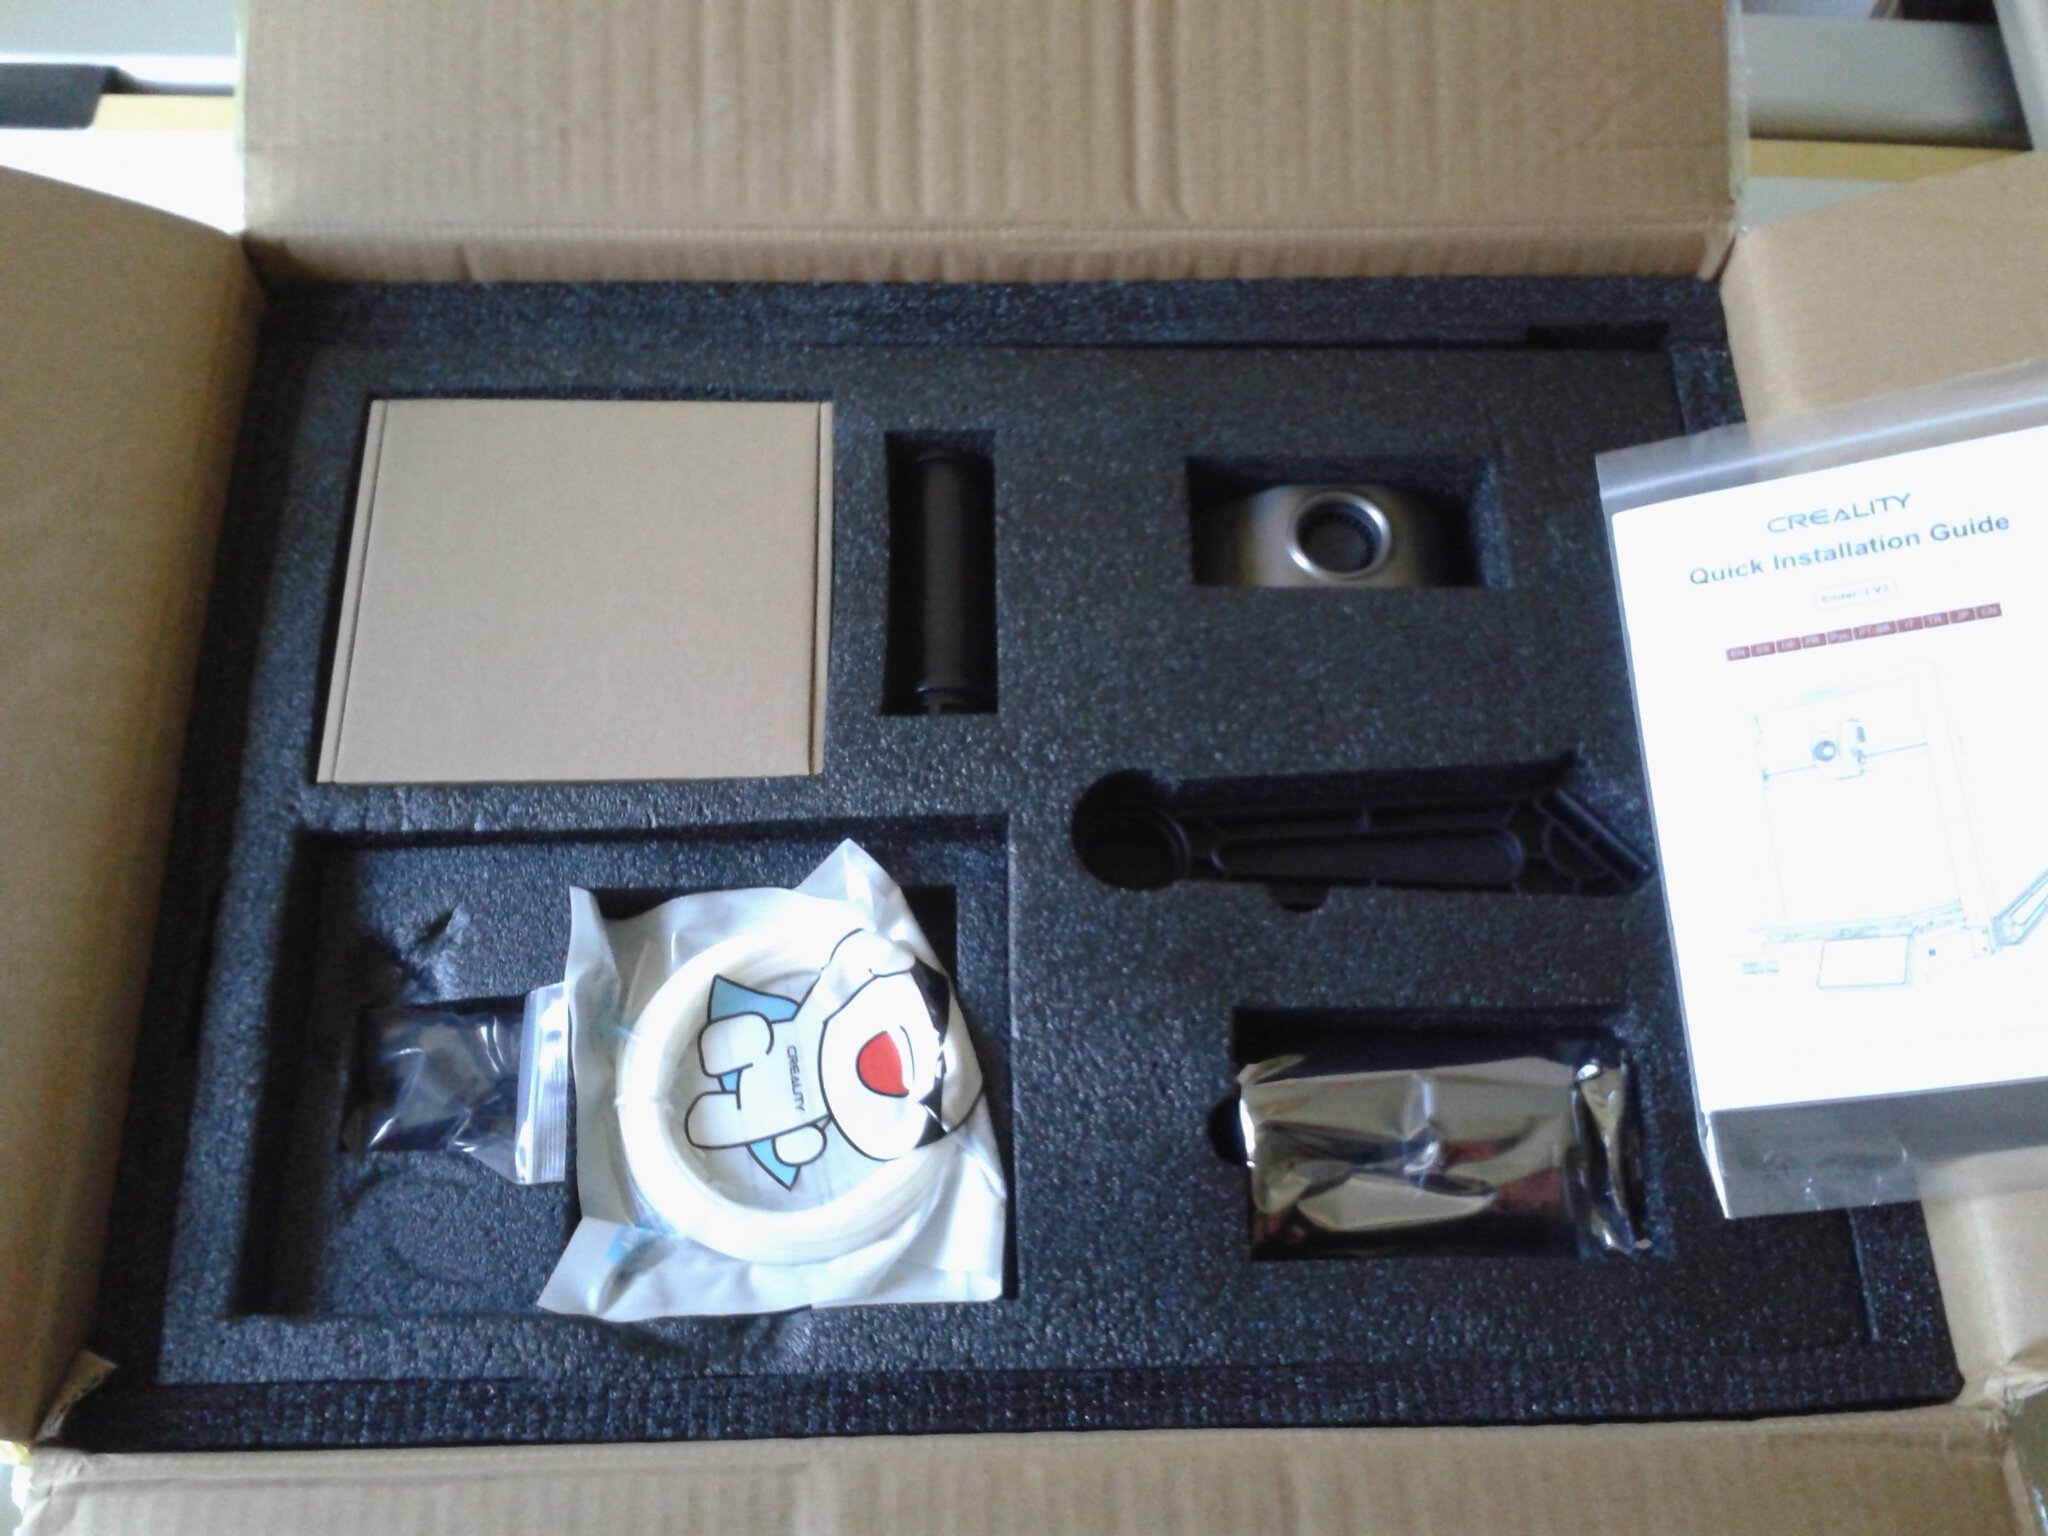

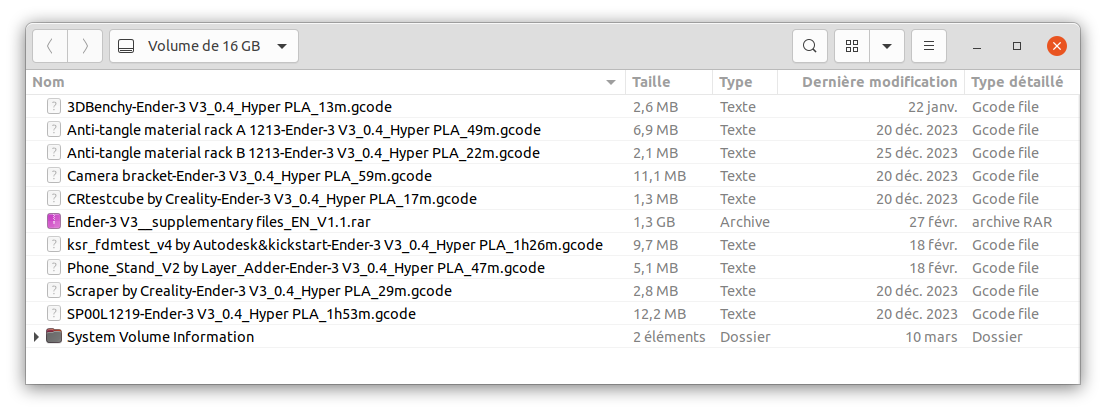
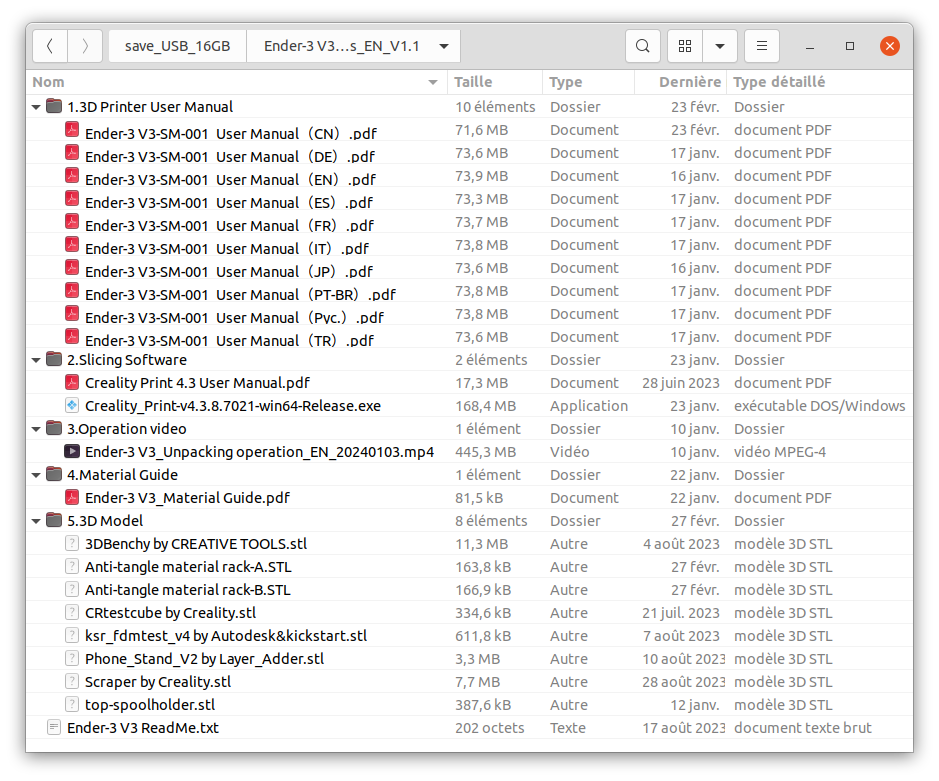
Sur la clé USB de 16 Go fournie, on retrouve des fichiers GCODE, des STL, de la documentation PDF, une vidéo d’aide ou encore le slicer Creality Print en version 4.3.8.7021 :

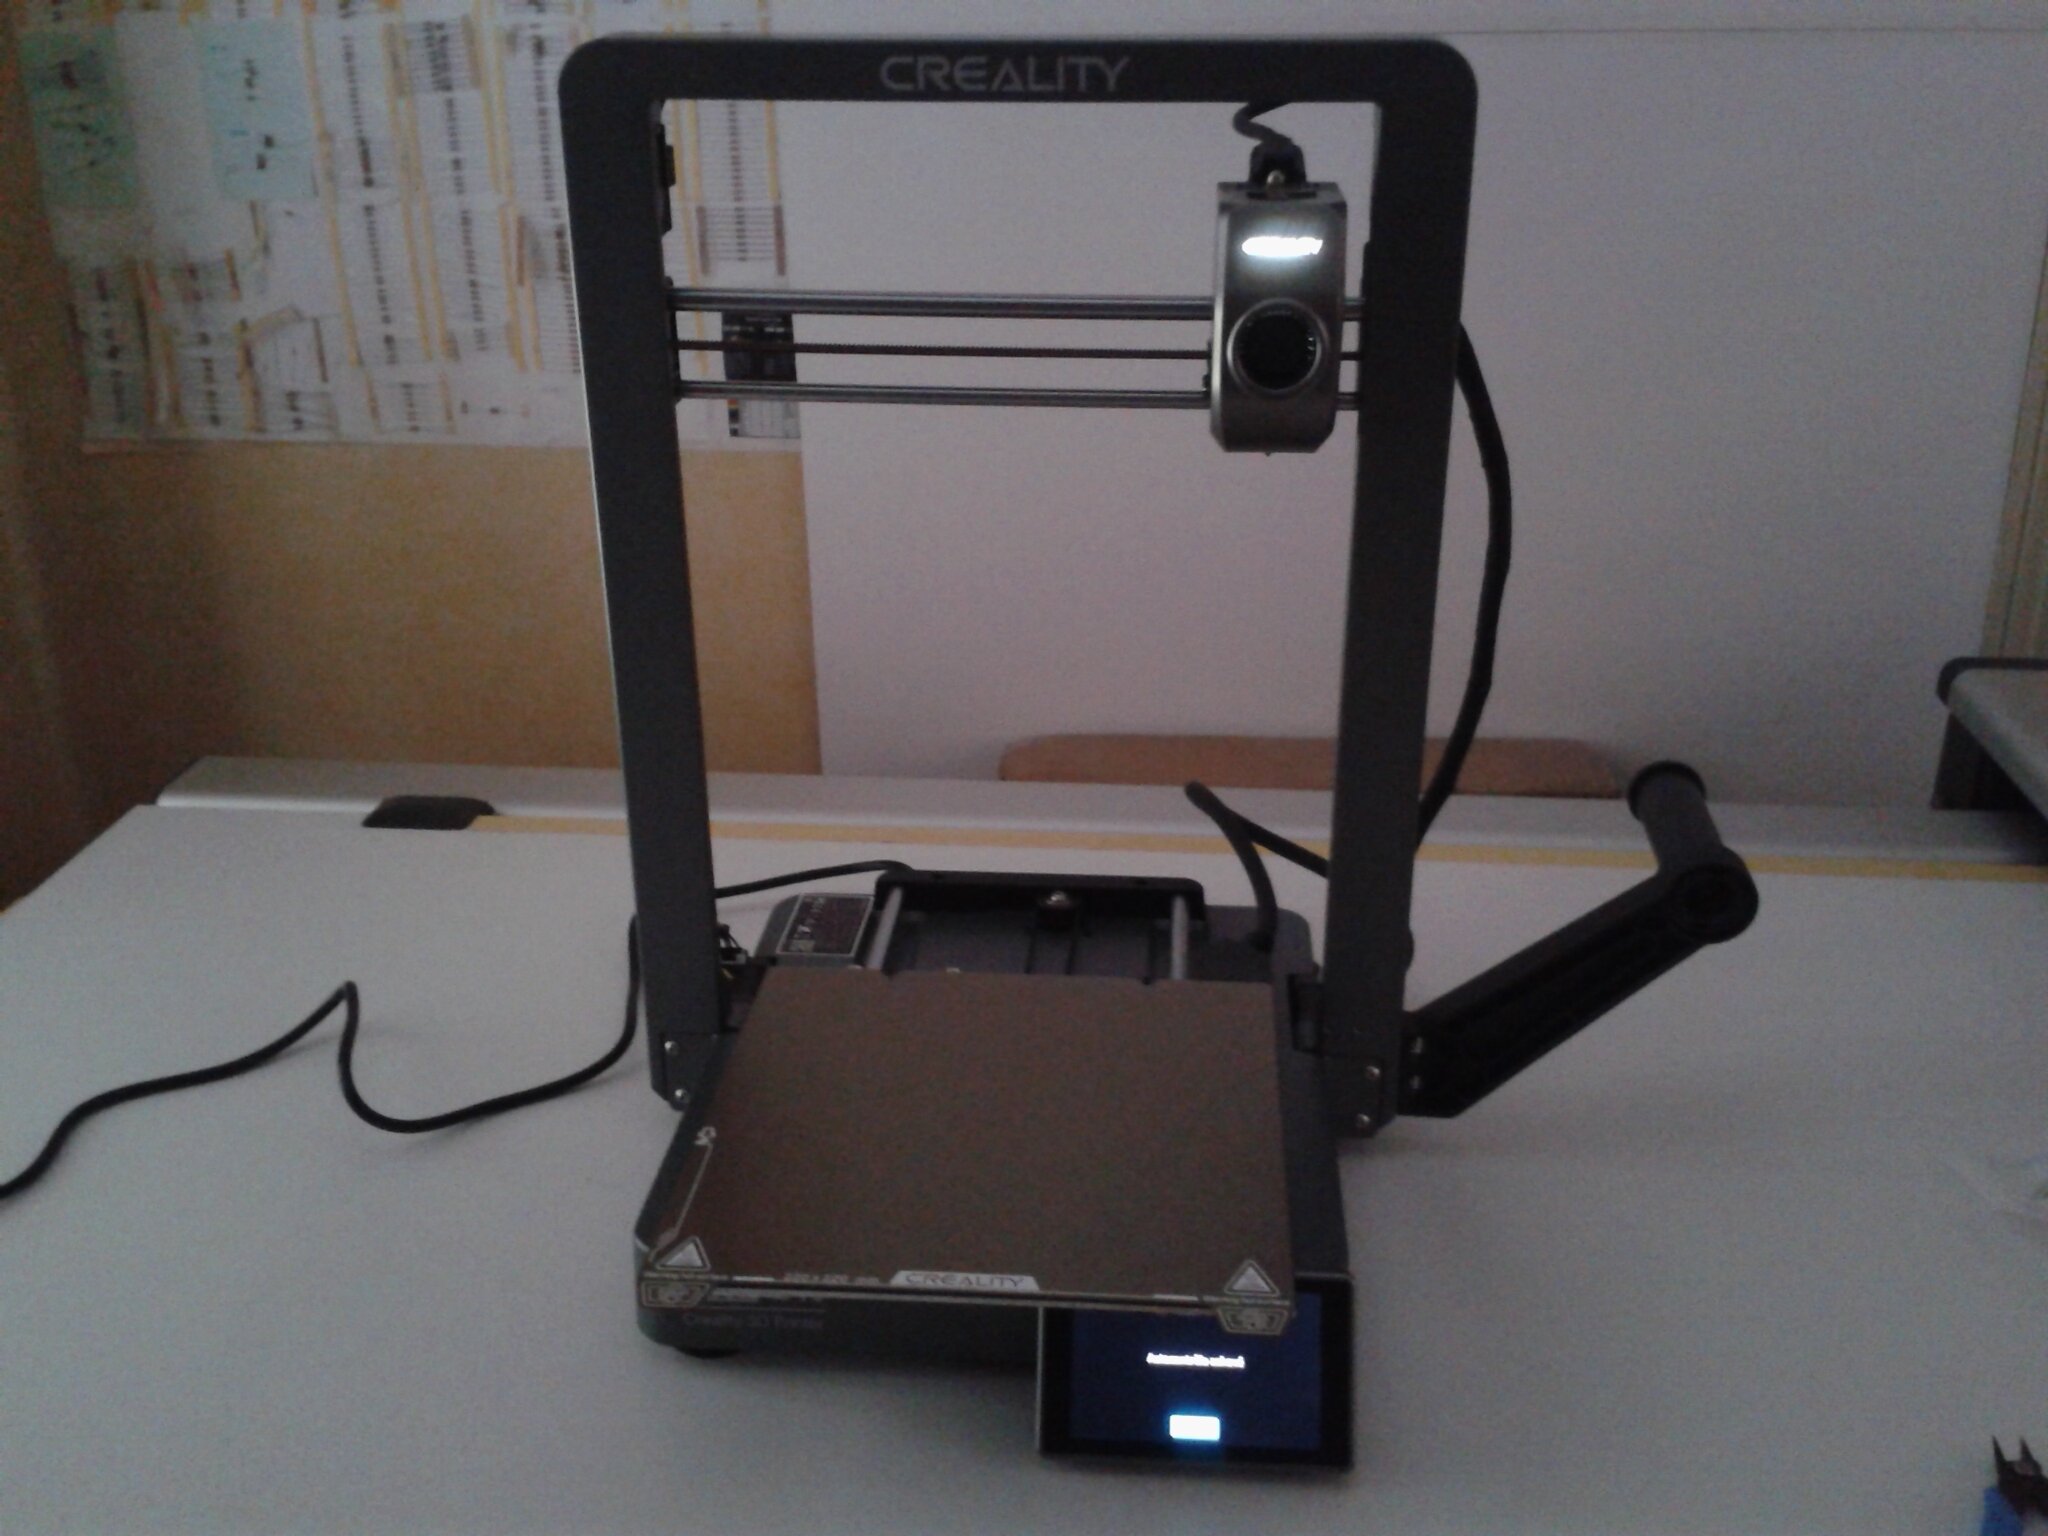
Montage de l’imprimante Creality Ender-3 V3
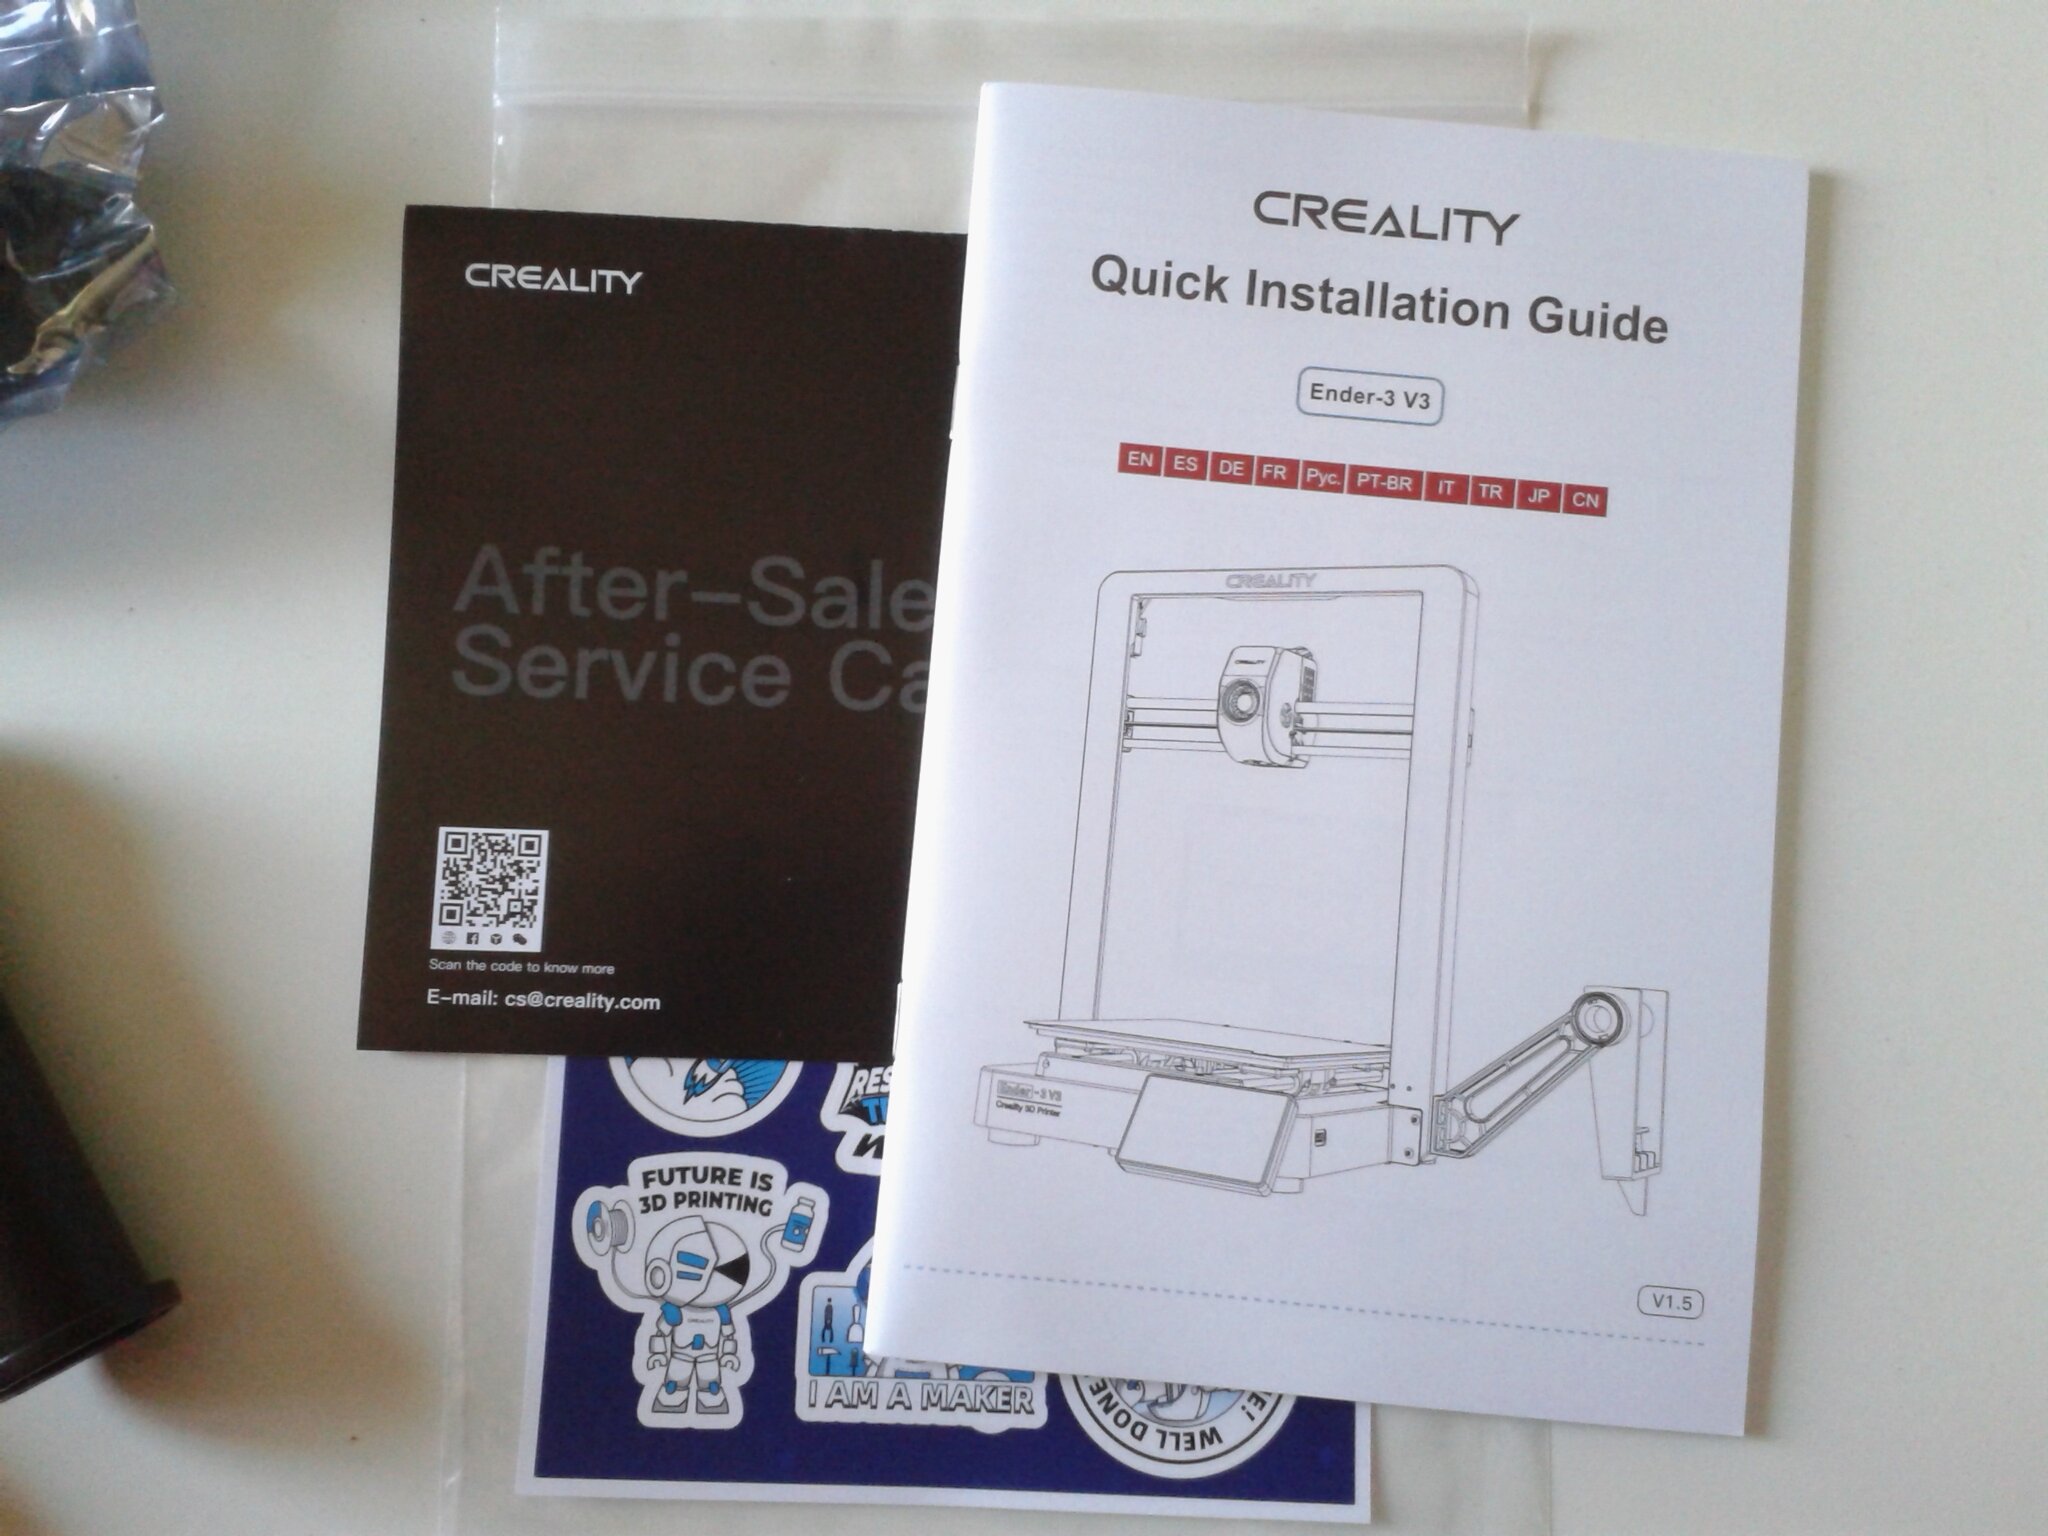
Pour assembler l’outil, en plus de la documentation papier que l’on retrouve également en version PDF sur la clé USB, il y a une vidéo officielle de déballage et de mise en fonction “Ender 3 V3 Unpacking operation“. Elle est d’ailleurs elle aussi présente sur la clé USB dans l’archive au format RAR.
Grâce à toute cette documentation, les opérations de montage sont relativement simples et rapides à réaliser.
Il s’agit, en résumé, de :
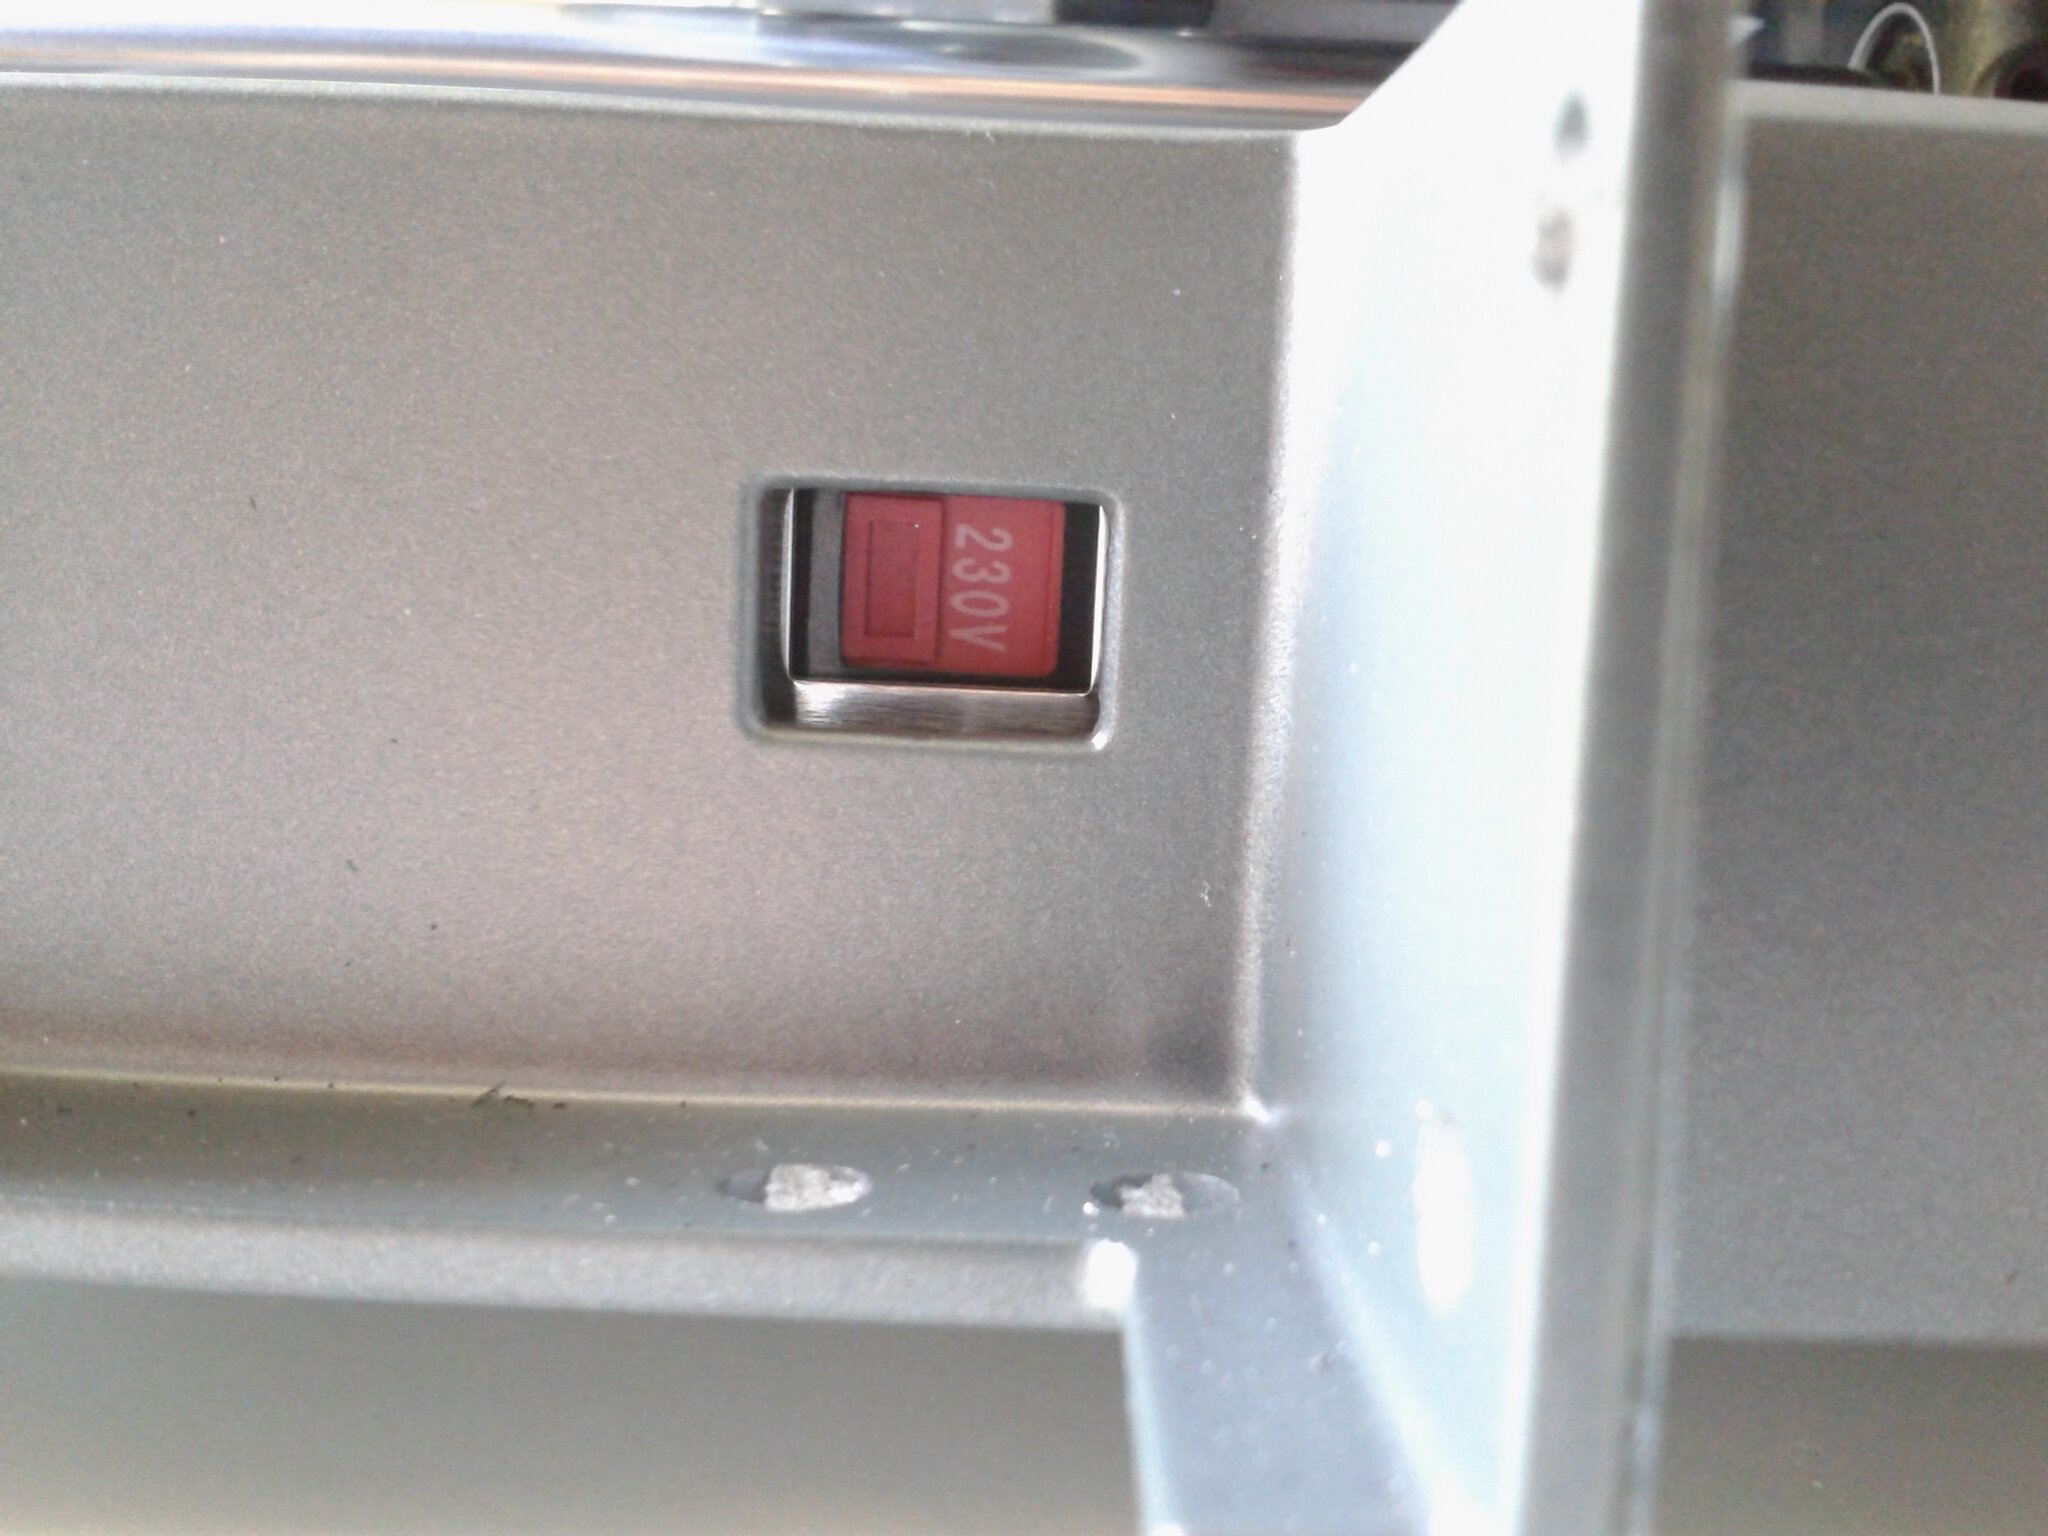
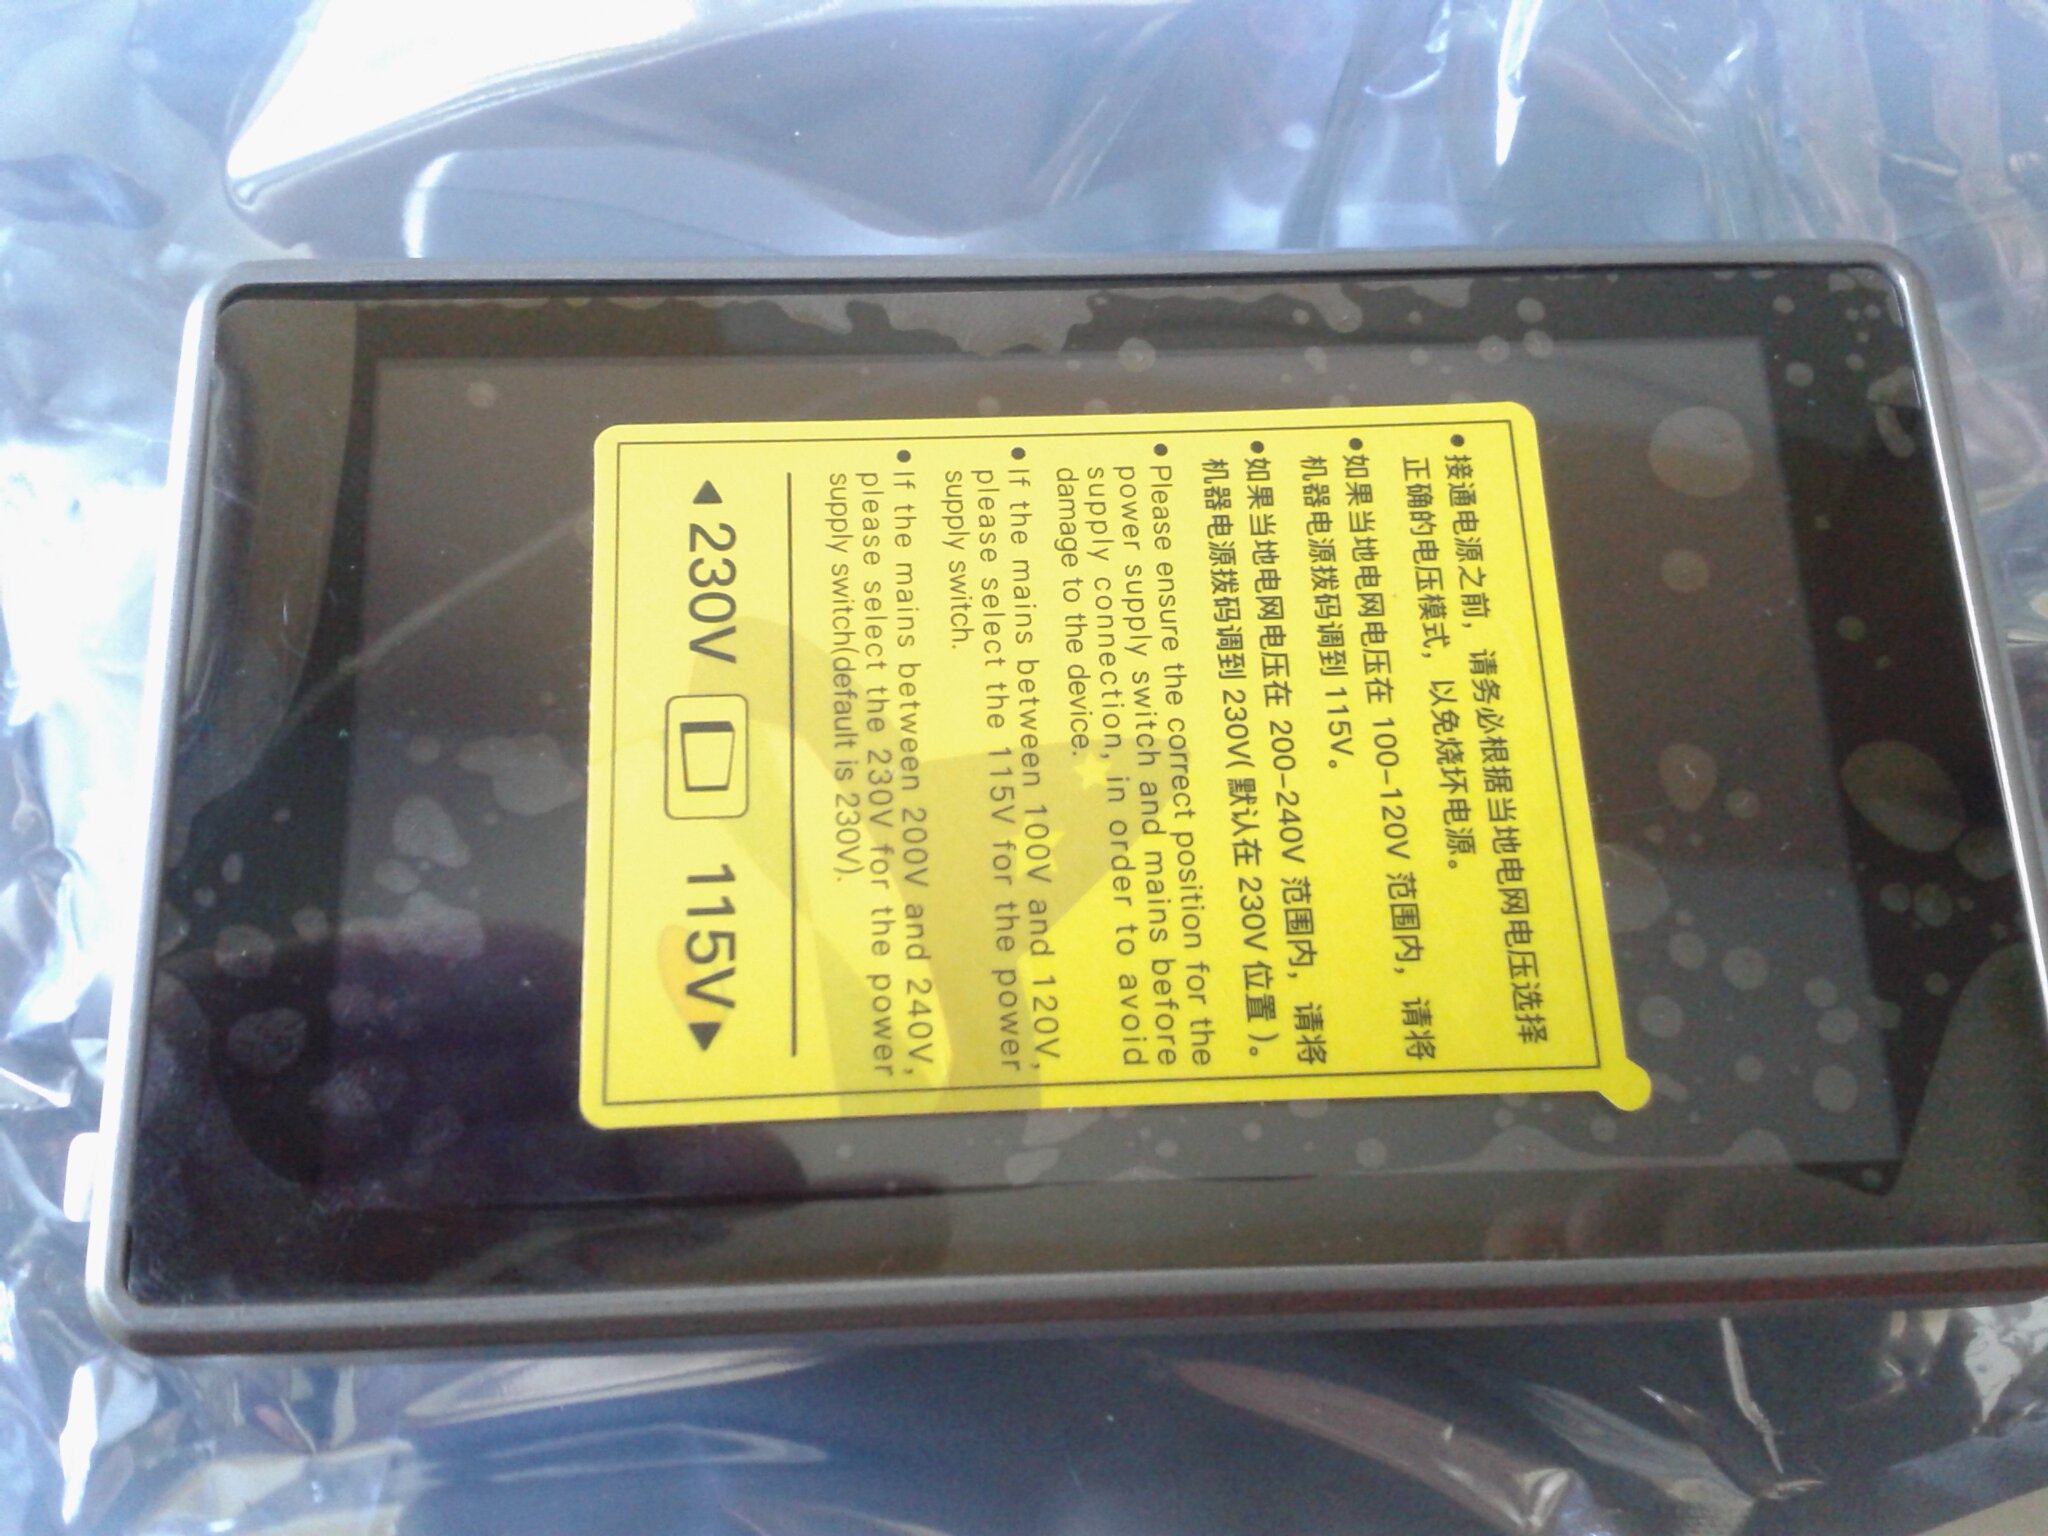
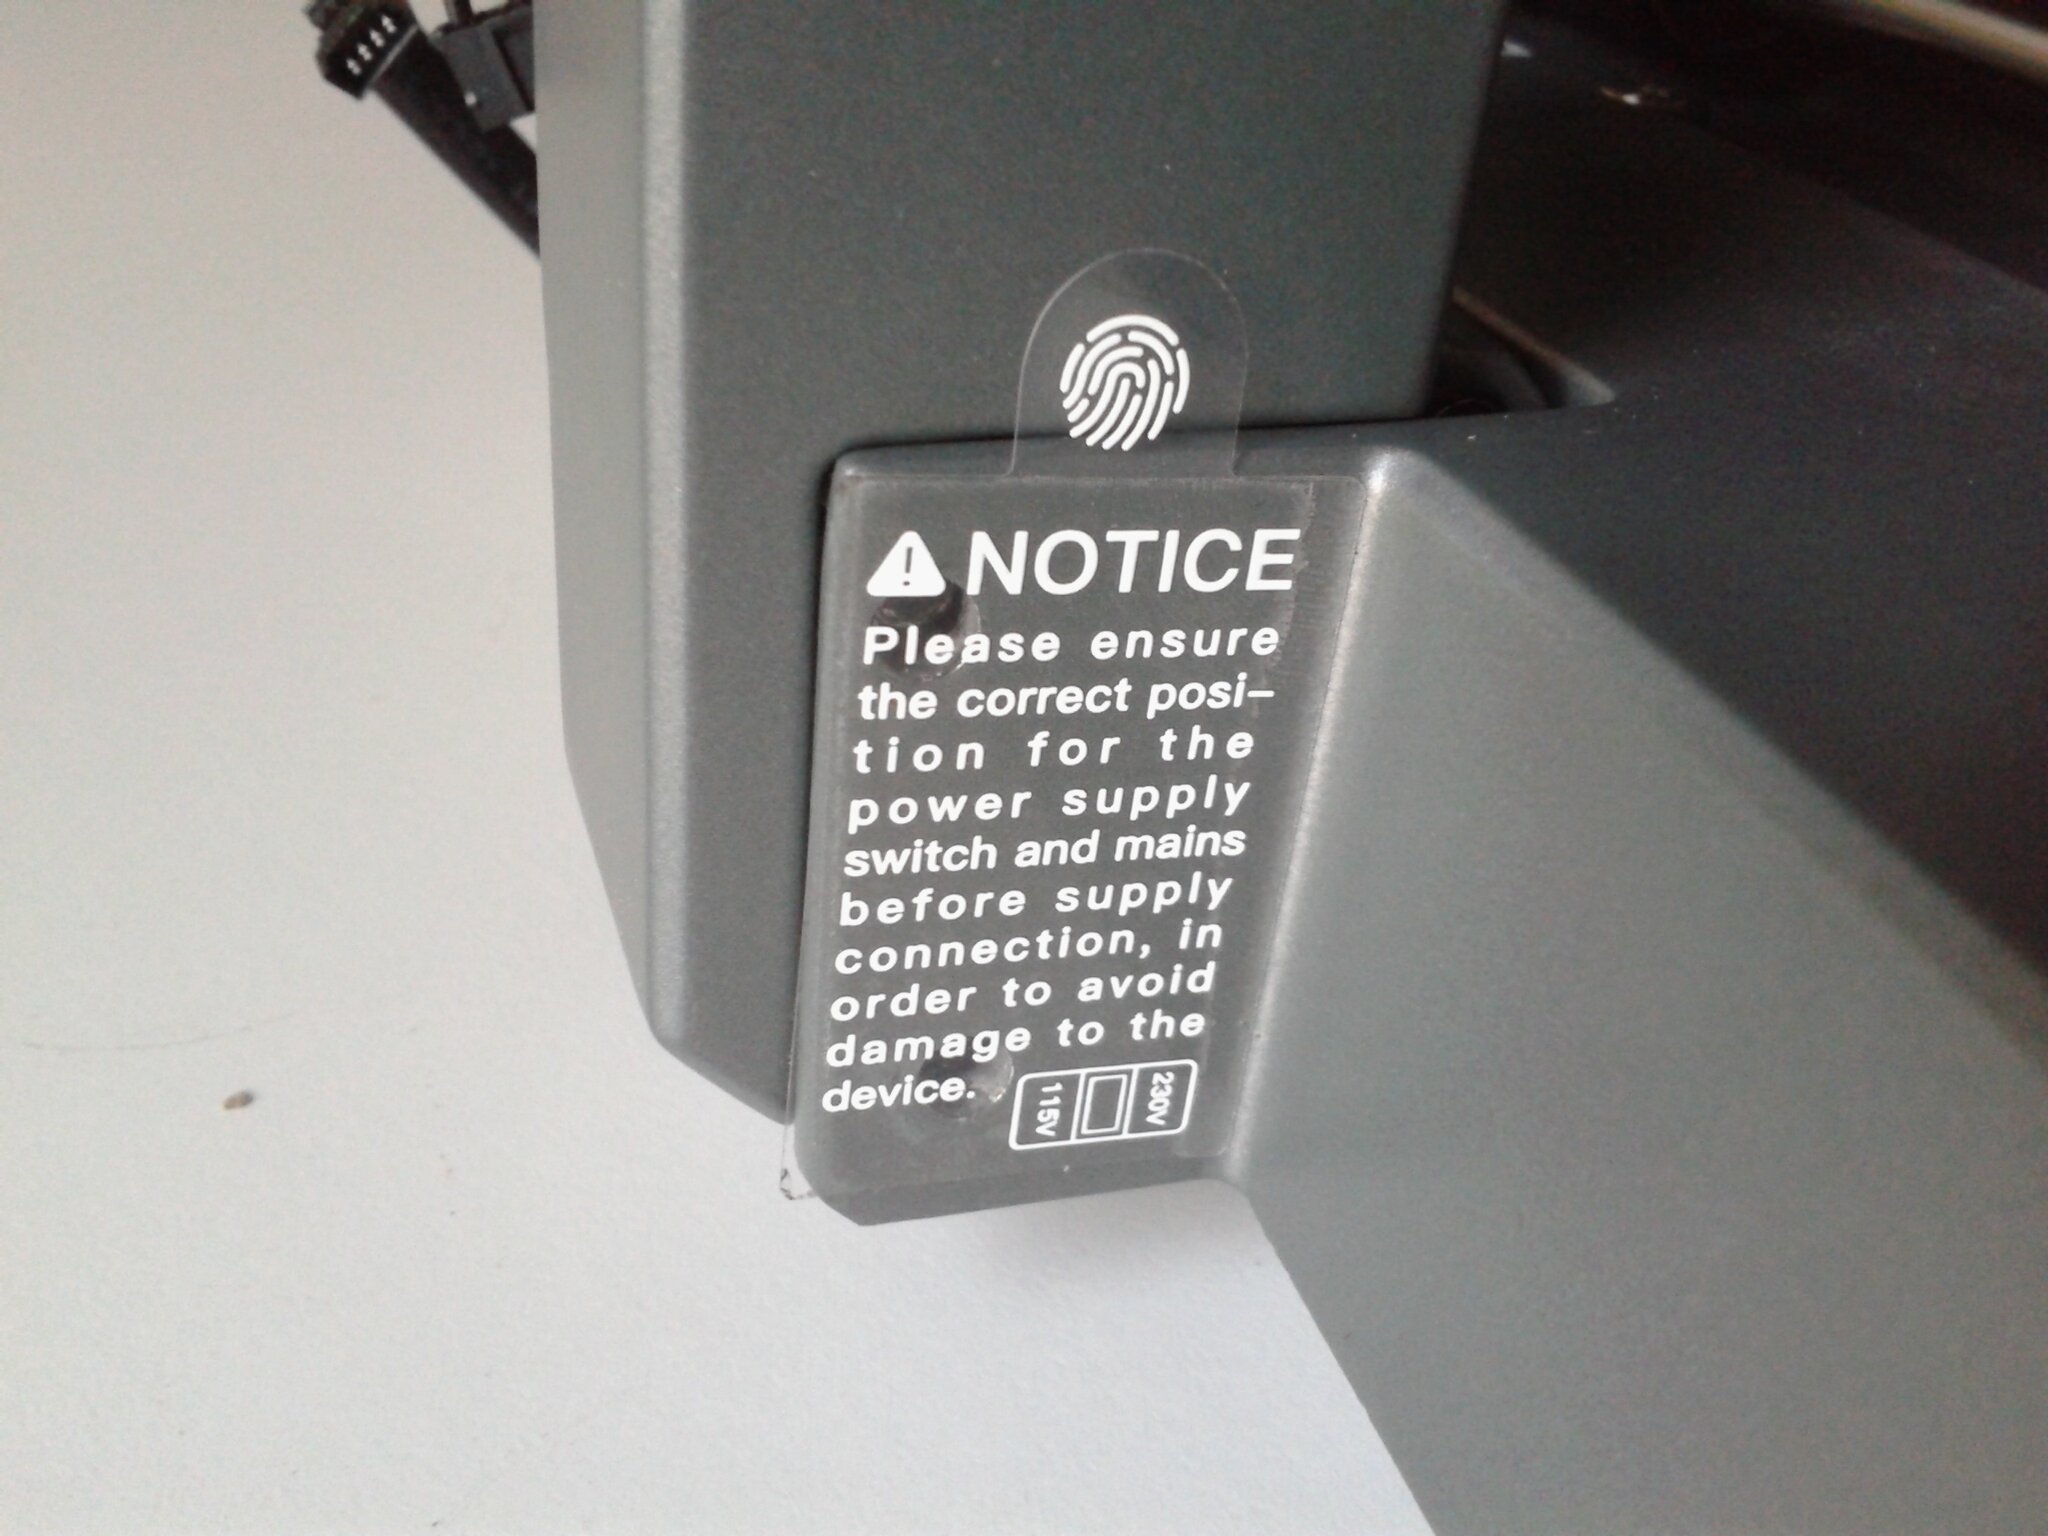
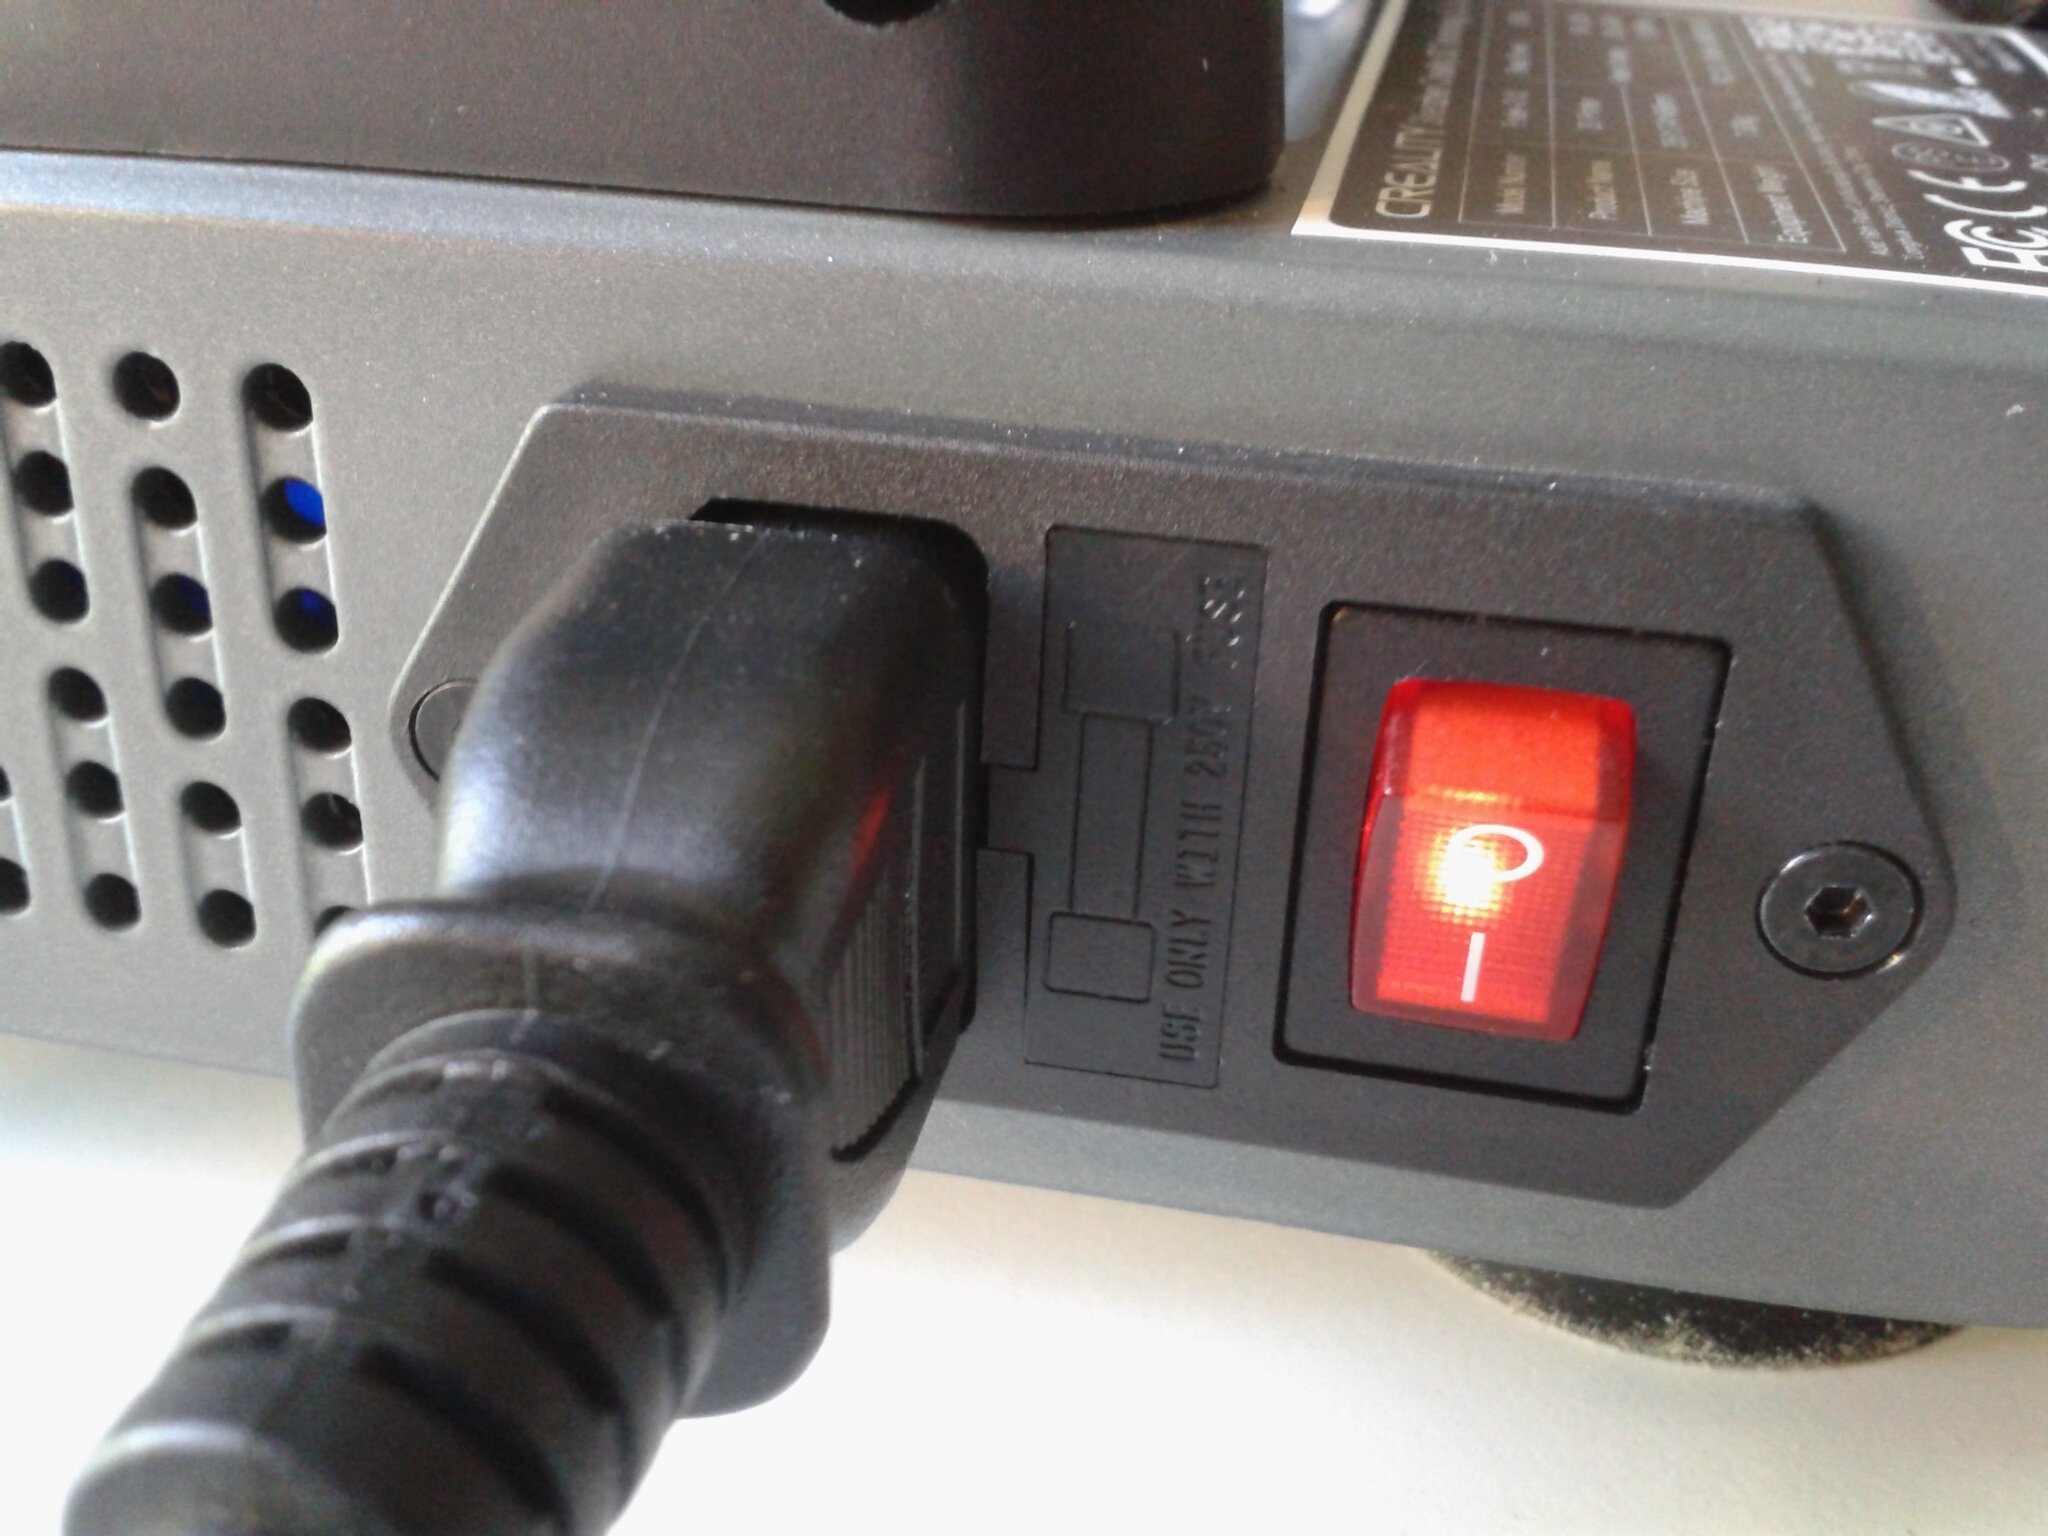
- Vérifier la position du sélecteur de tension du bloc d’alimentation,
- Mettre en place le portique (le fixer à la base avec 8 vis)
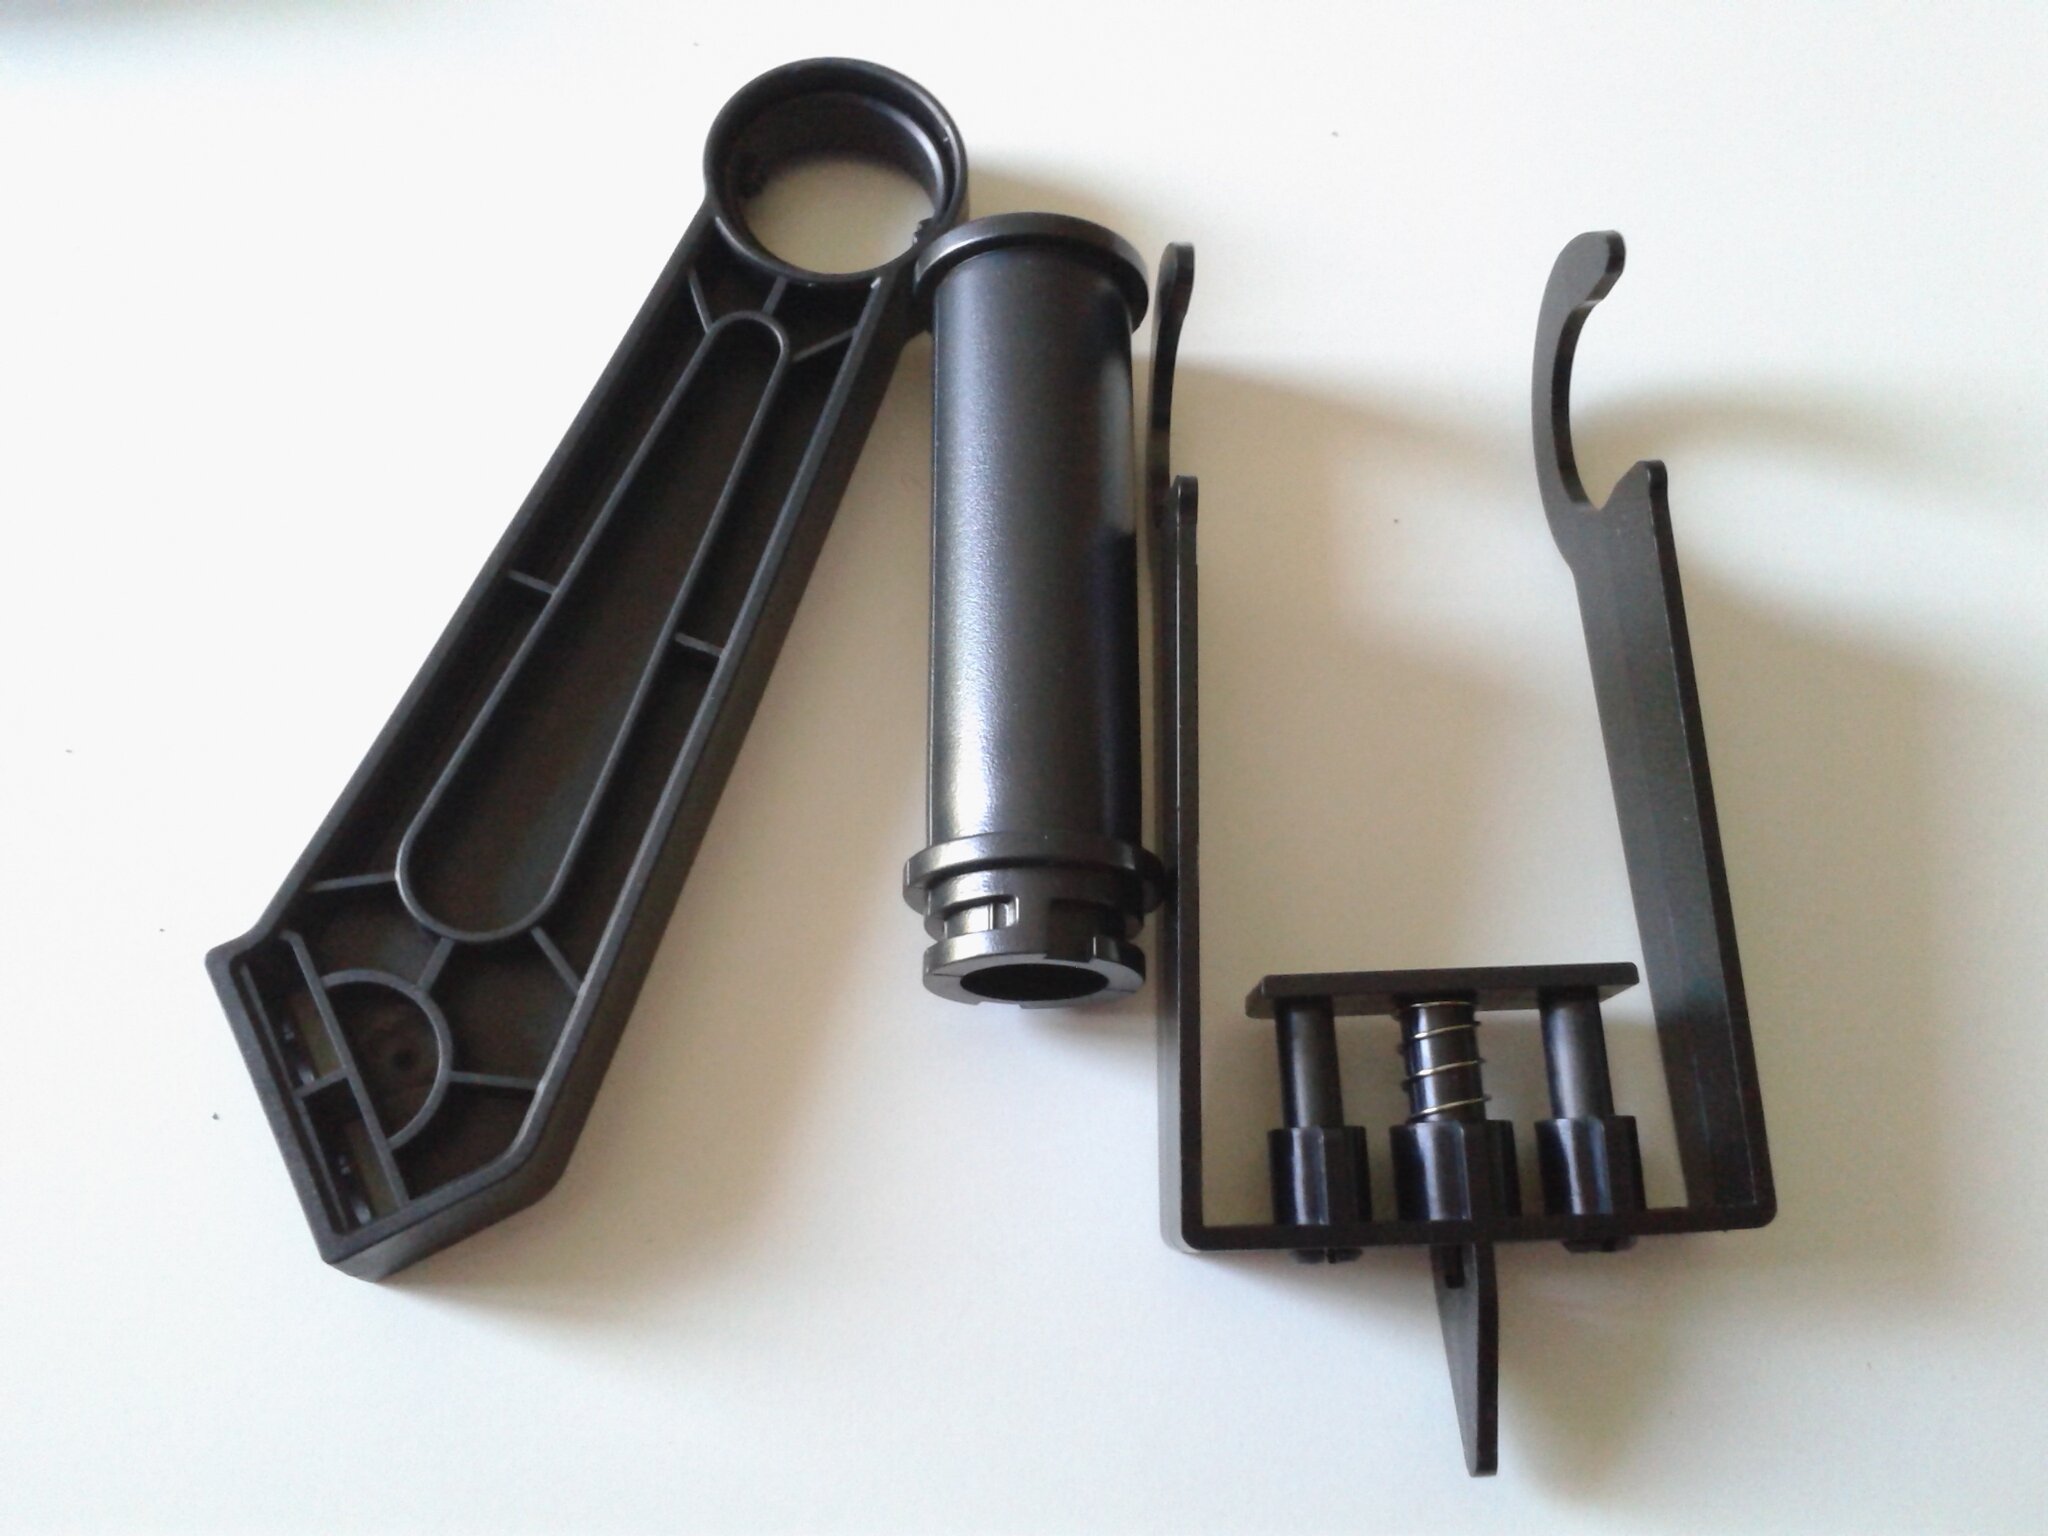
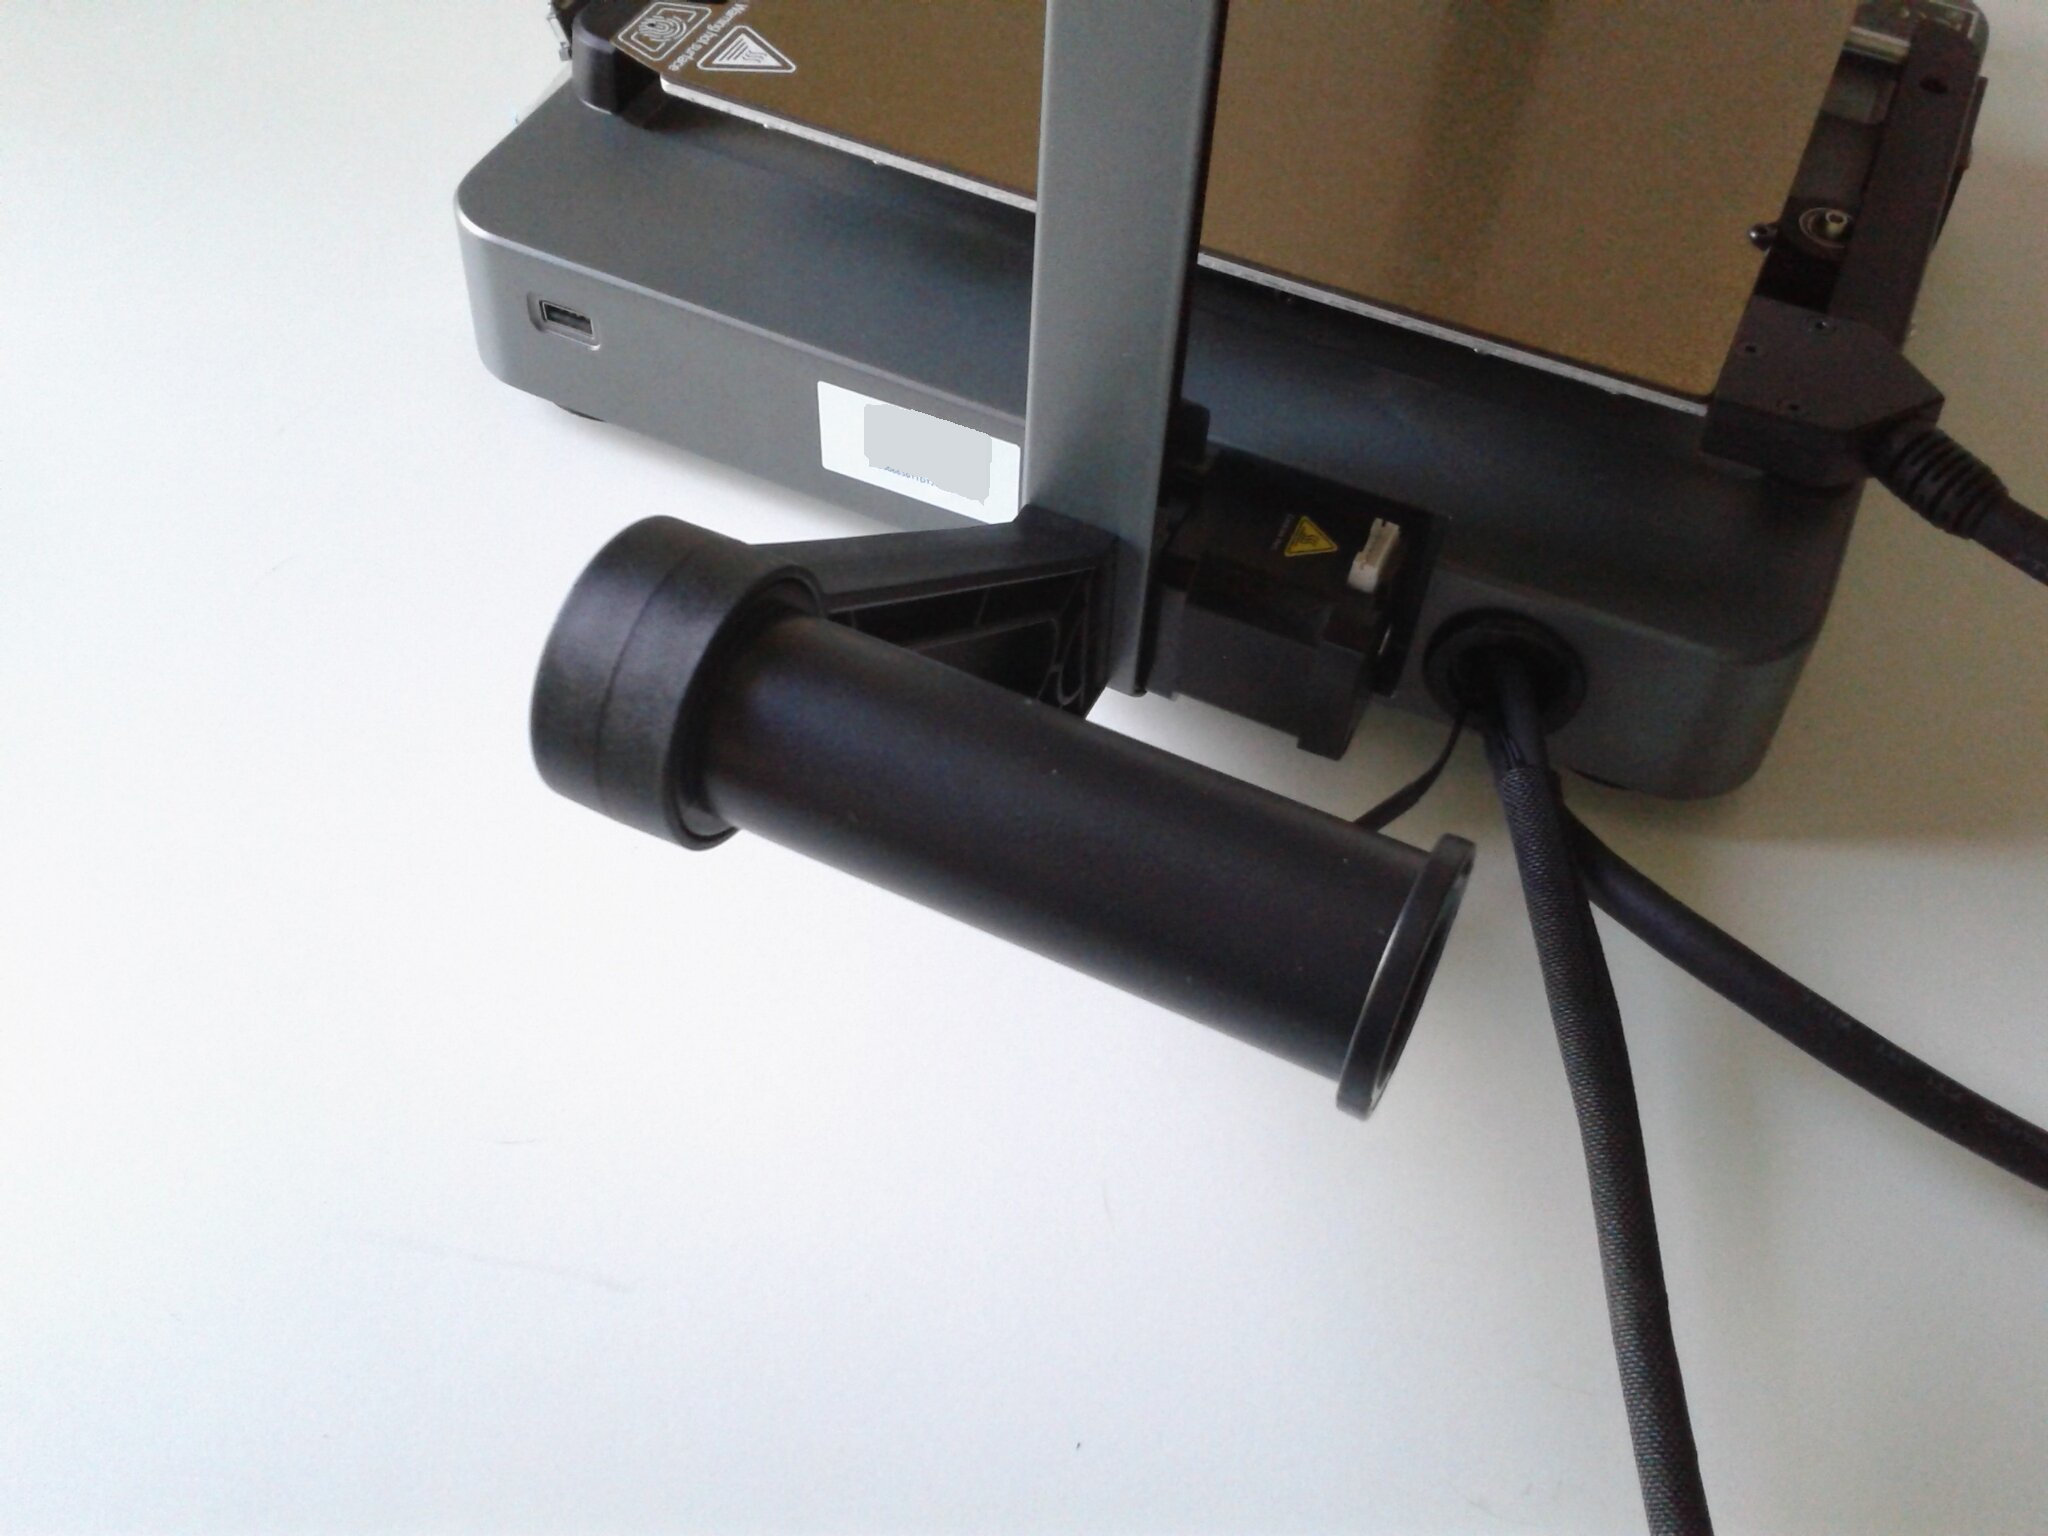
- Mettre en place le support de bobine,
- Connecter :
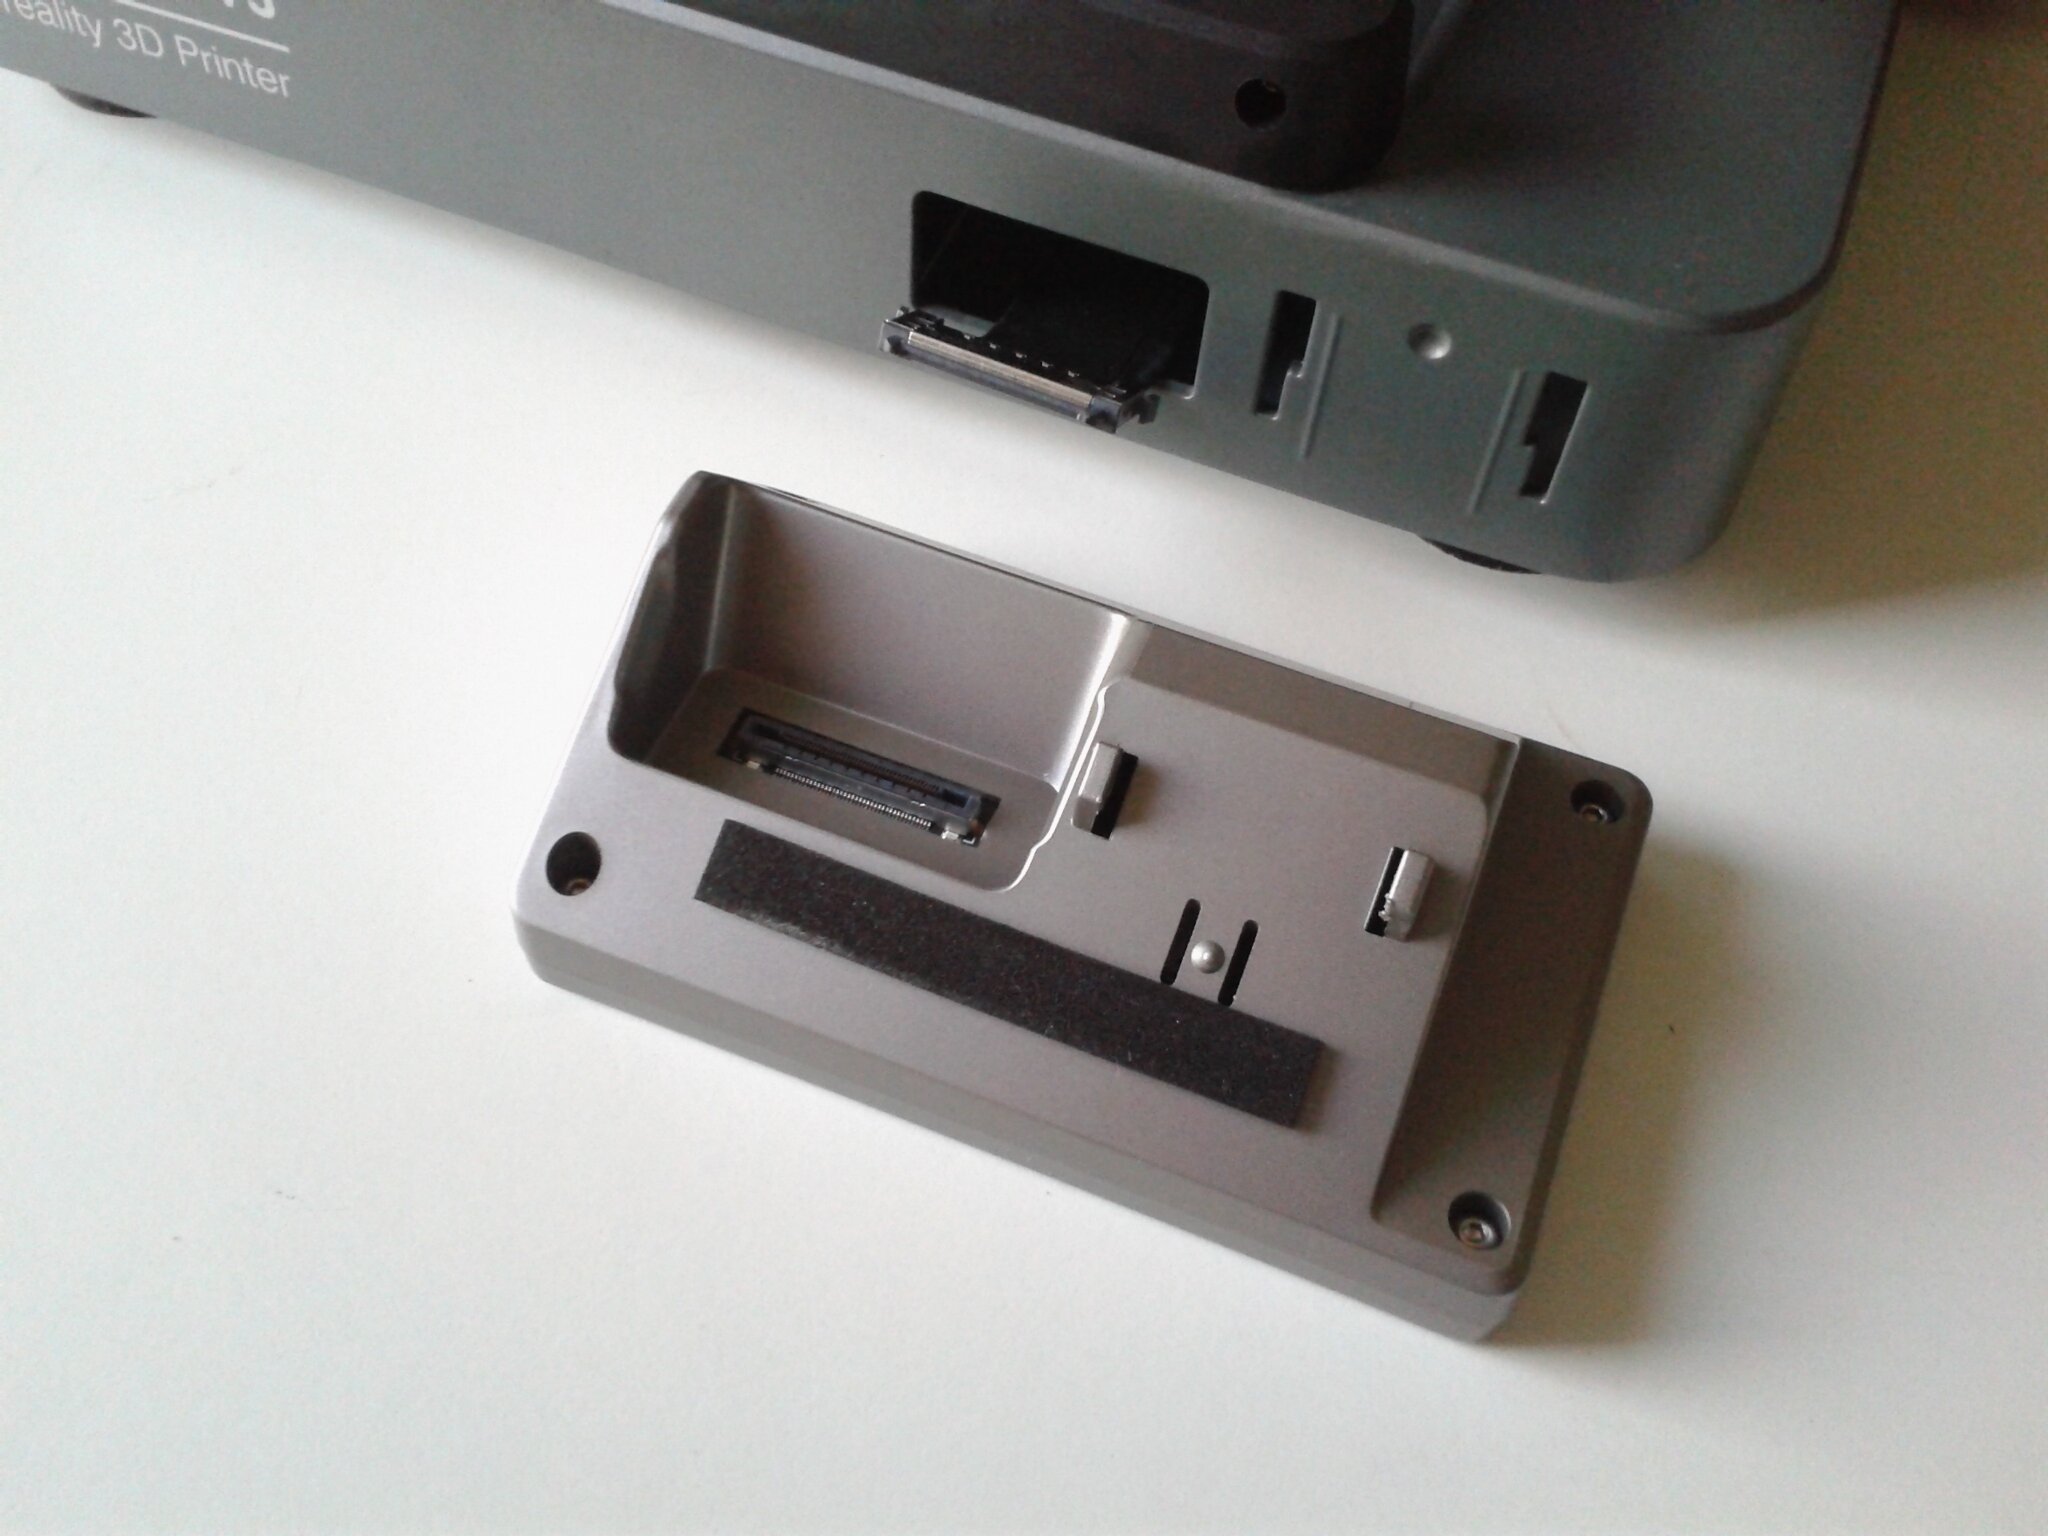
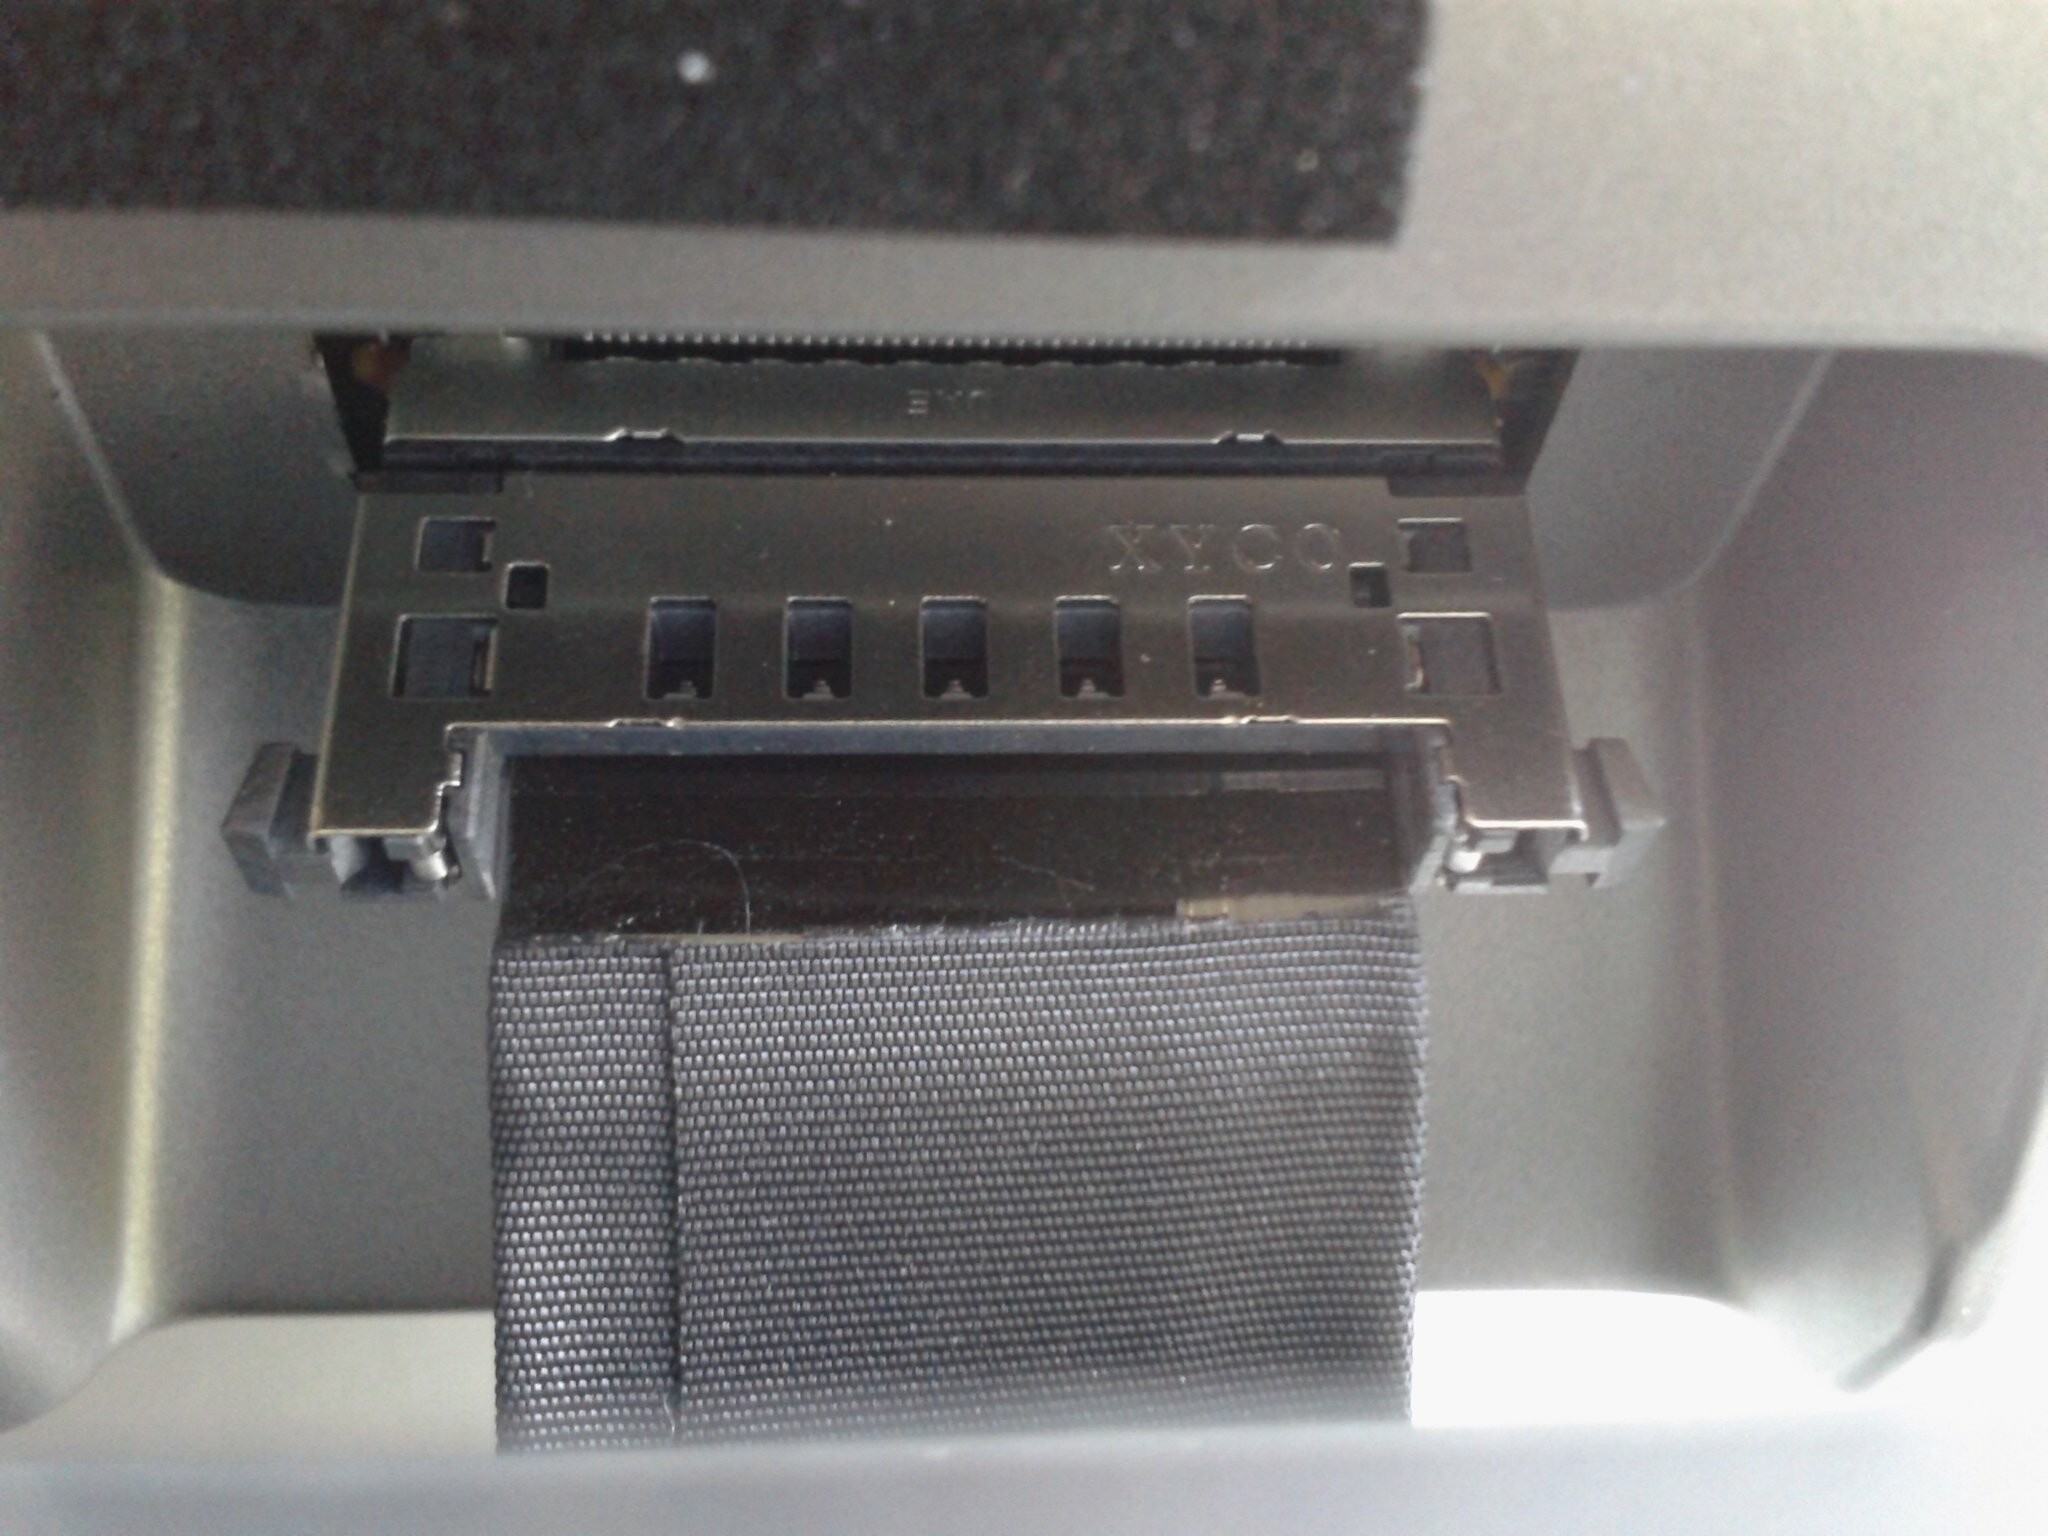
- l’écran (et le “clipser” à la base),
- les deux moteurs aux pieds du portique,
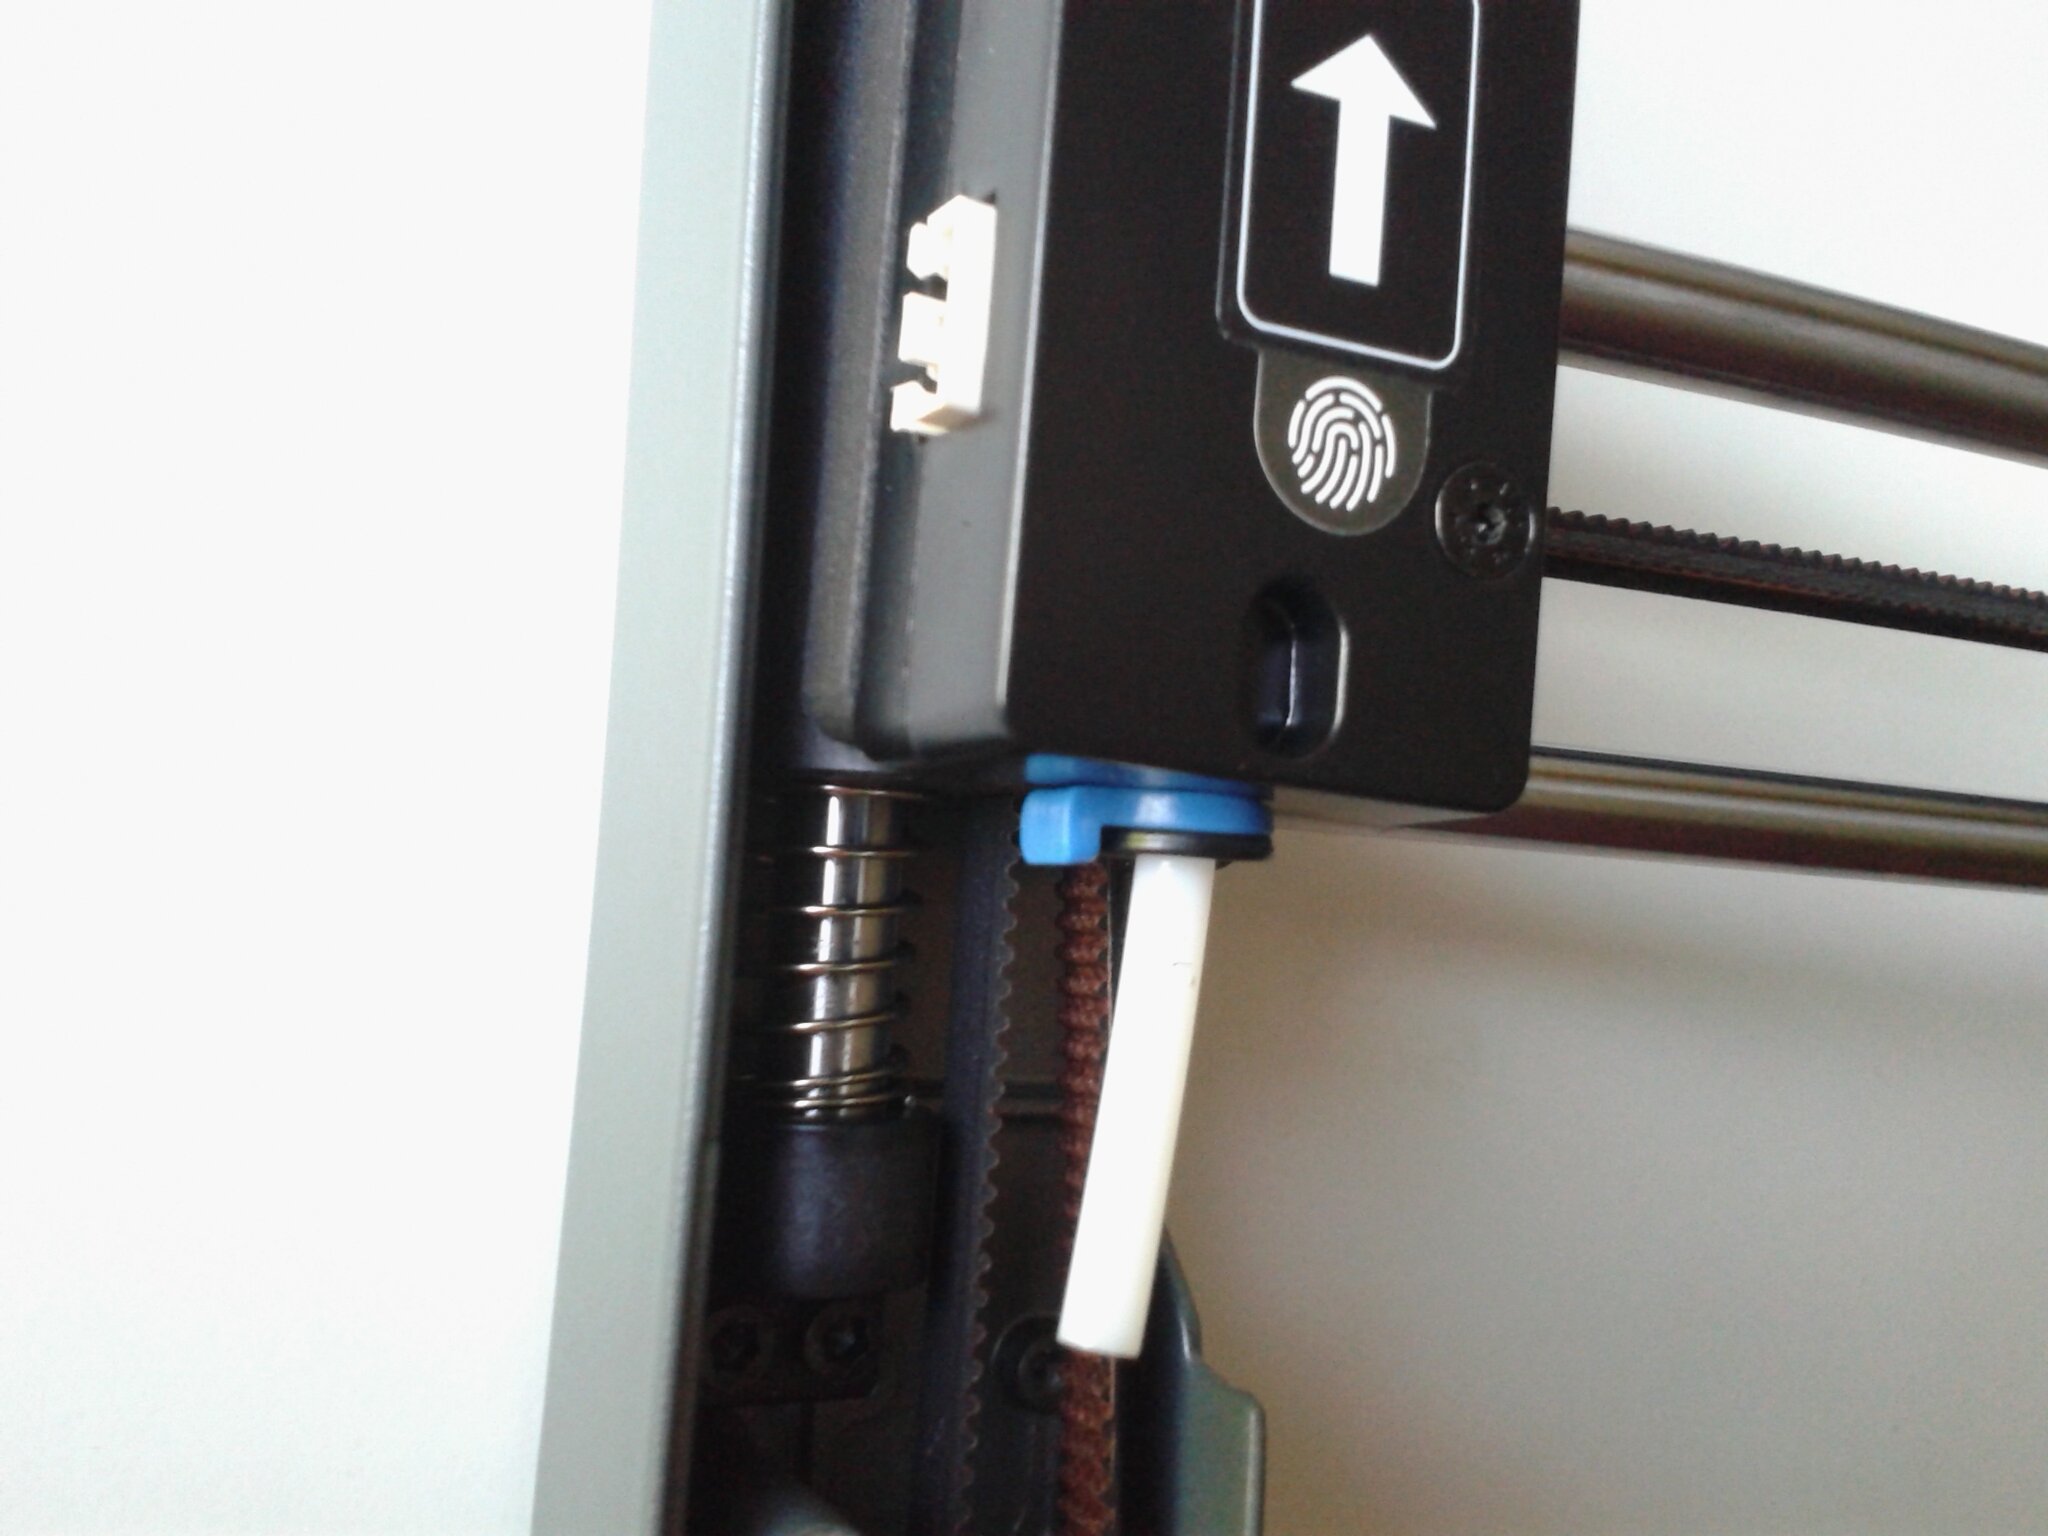
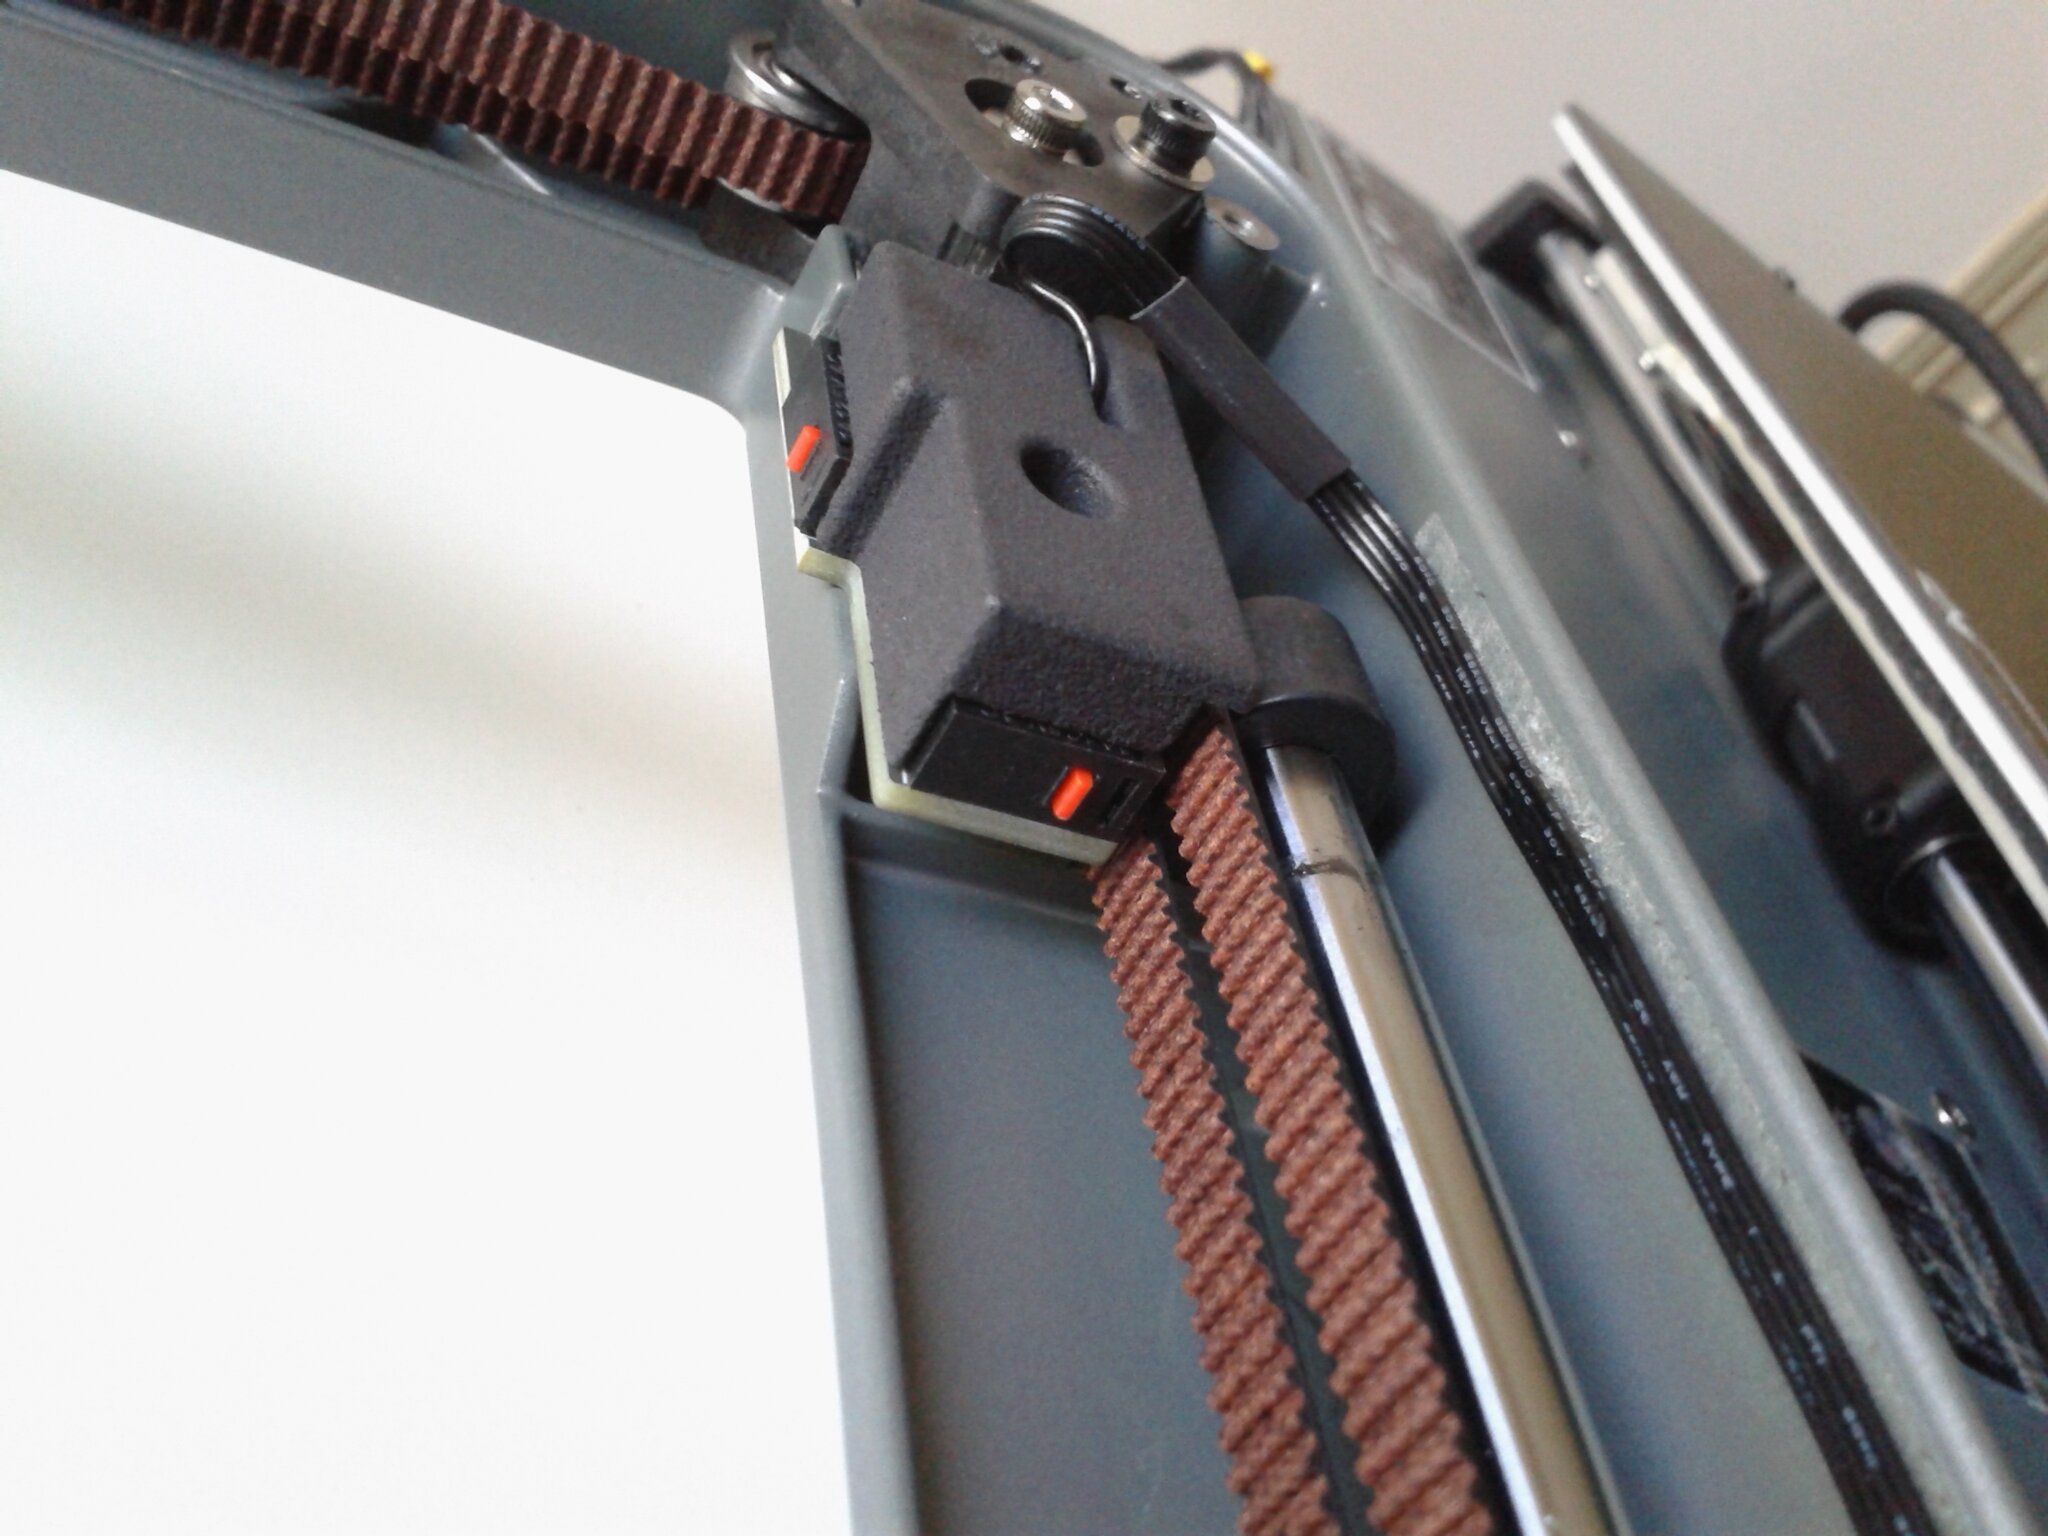
- les capteur de fin de courses X et Y,
- le capteur de fin de filament.
- Passer, clipser et connecter le faisceau de câble principal à la tête d’impression, le sécuriser avec un collier Colson et mettre un petit cache.
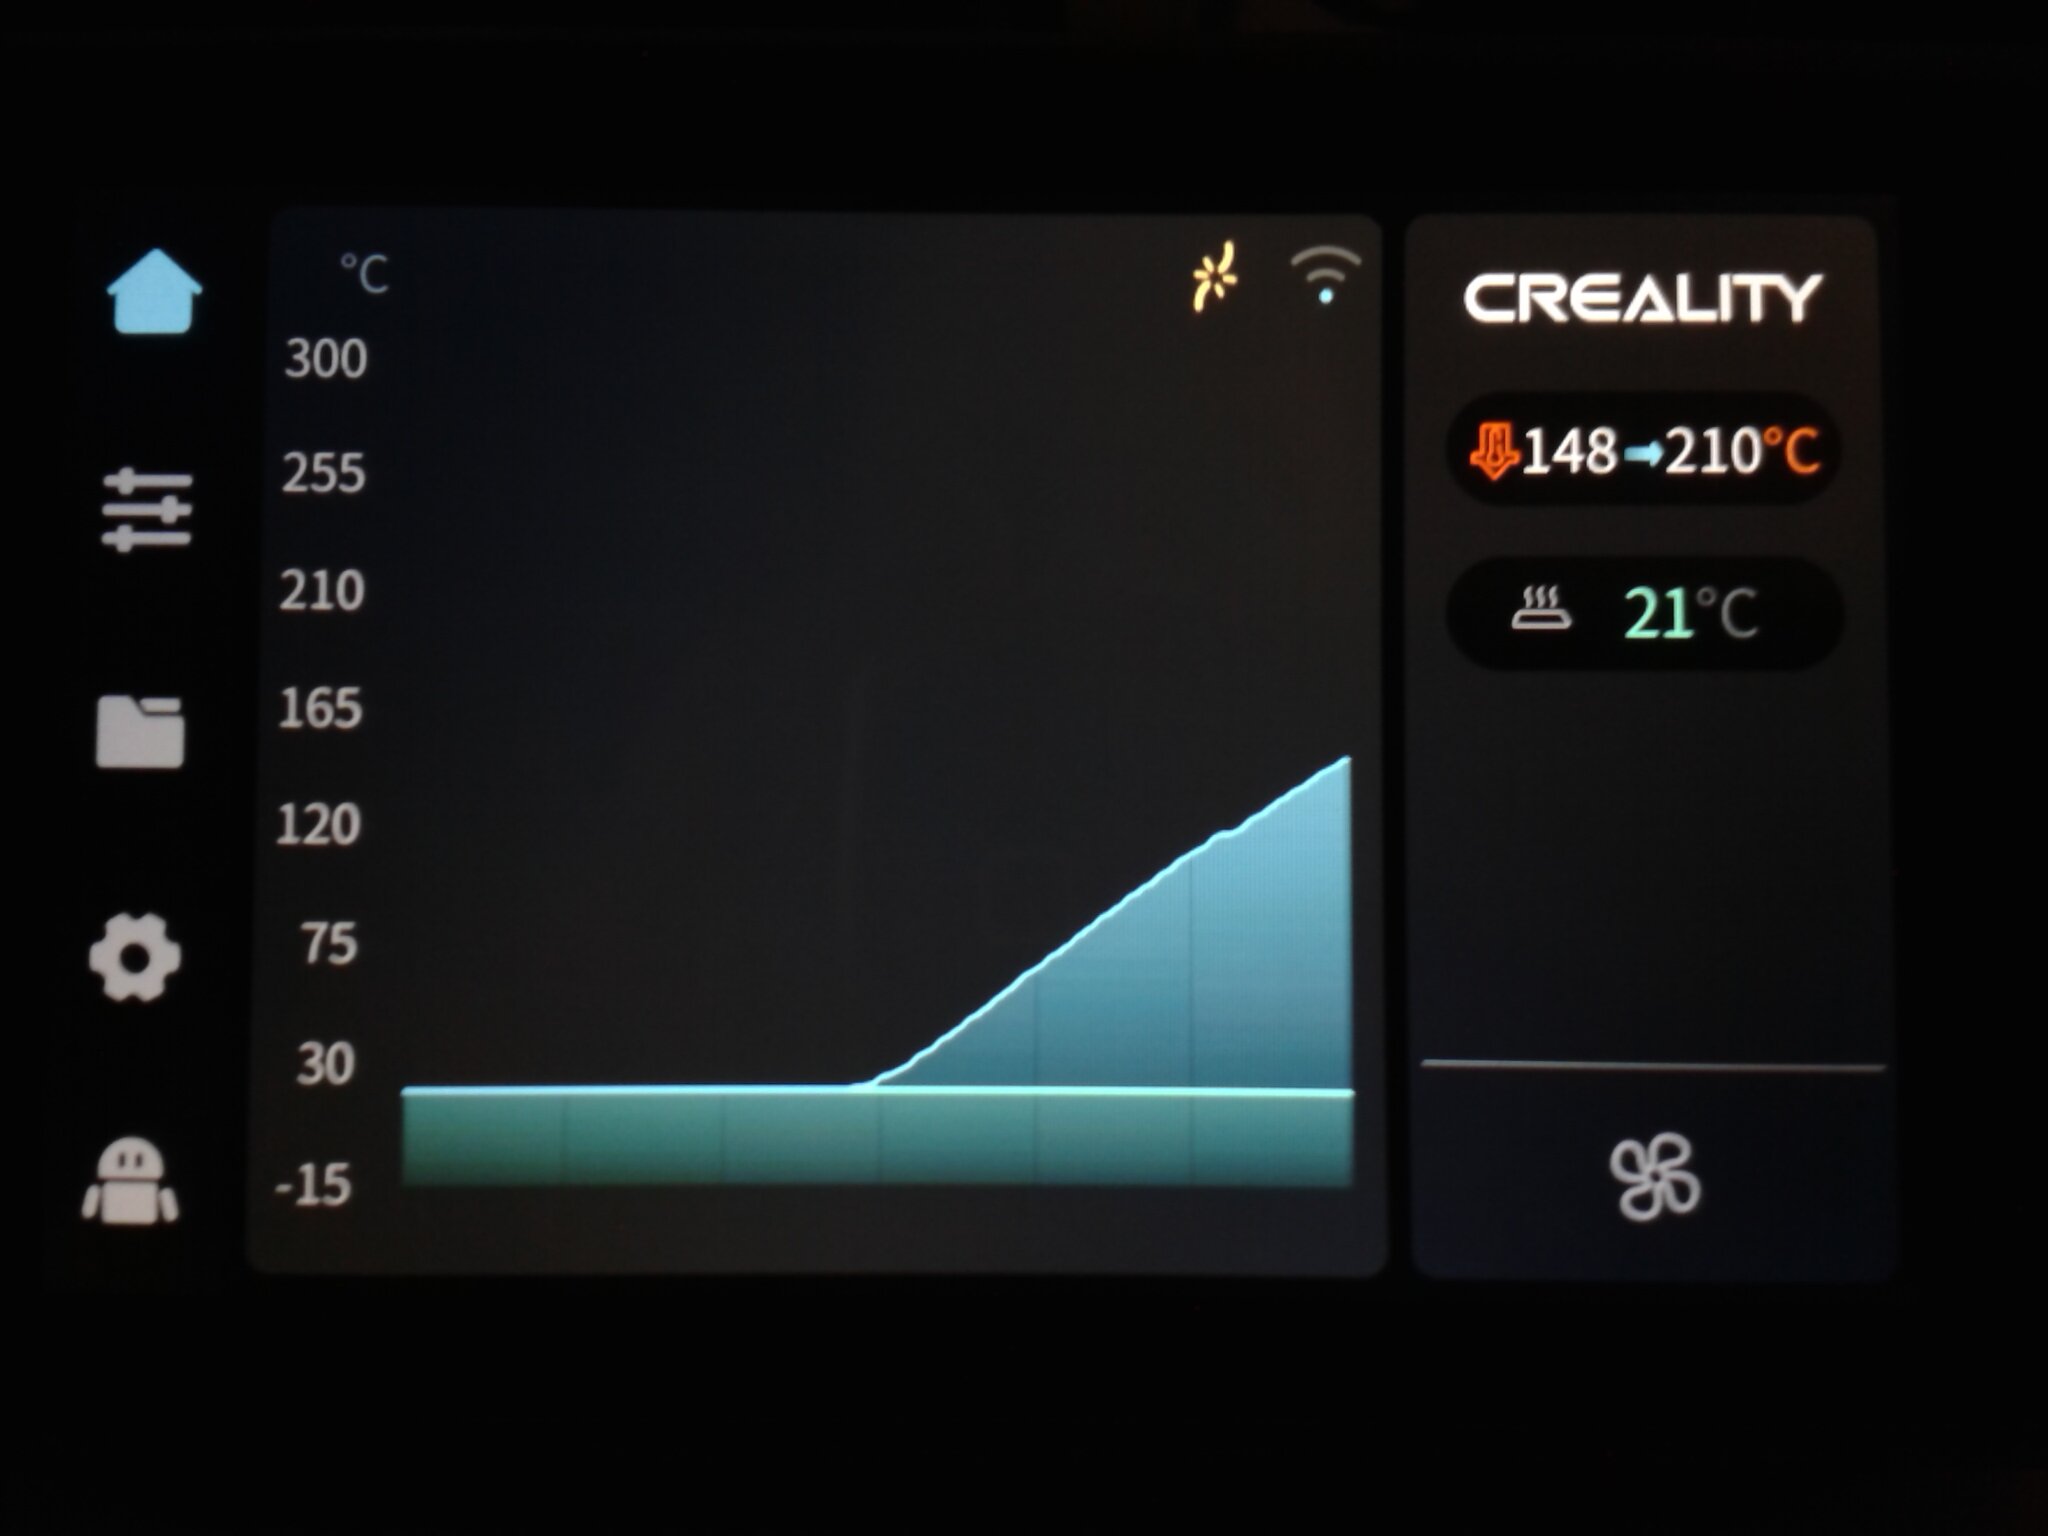
Mise en route de la Creality Ender-3 V3
Là encore, c’est relativement simple et rapide. Il faut :
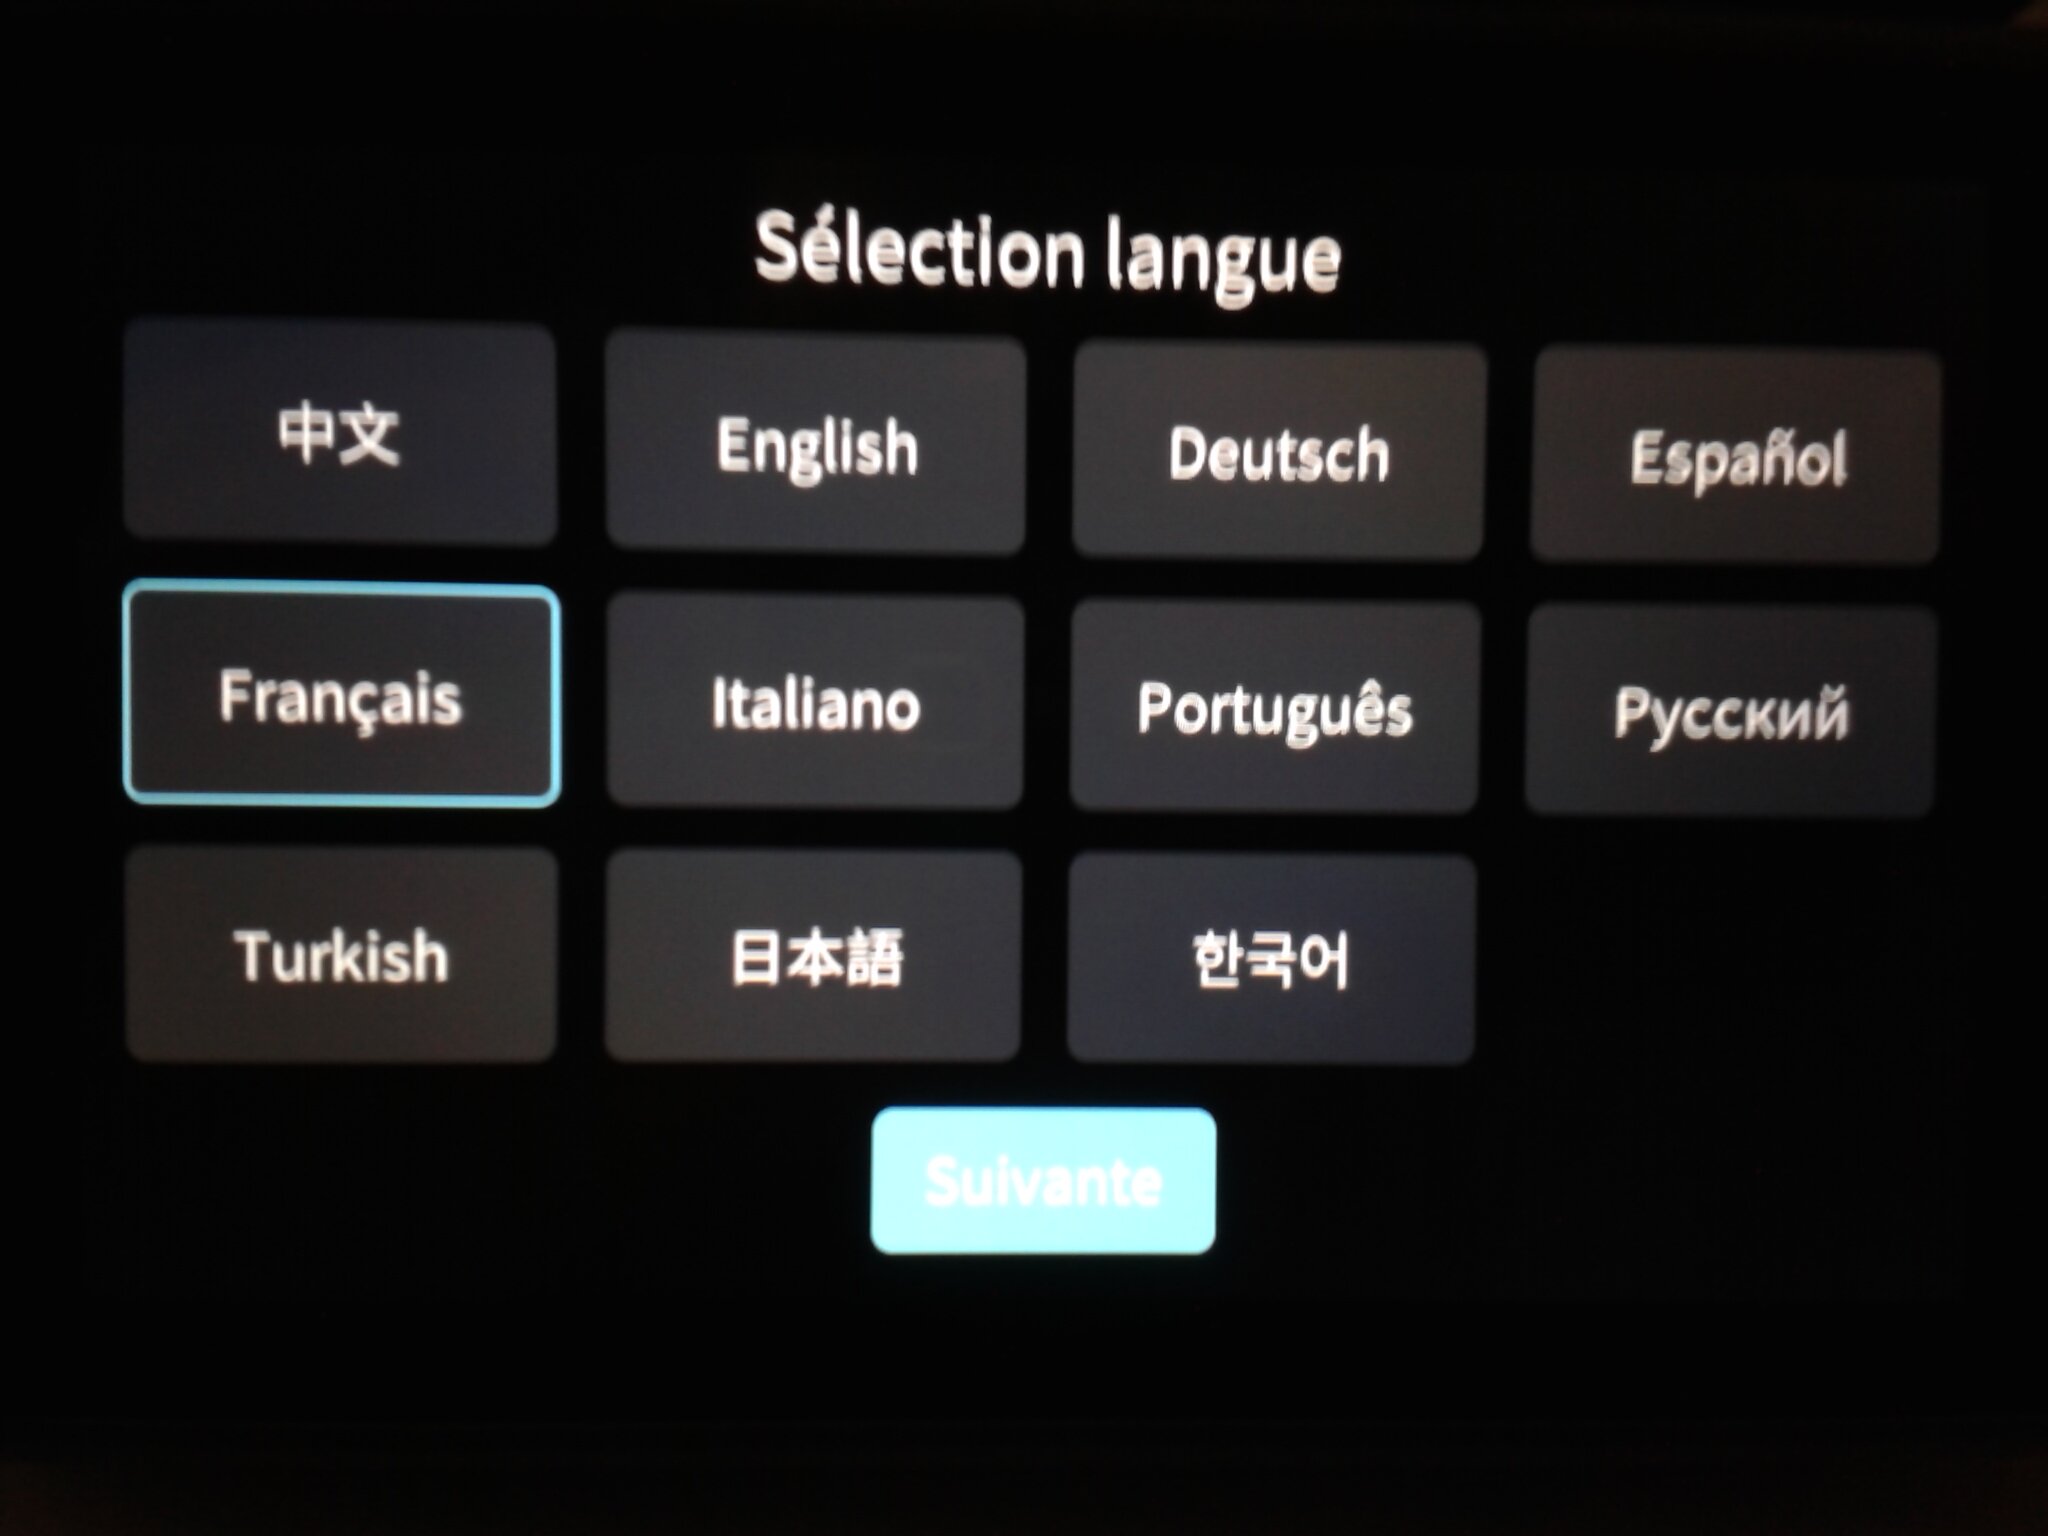
- Sélectionner la langue,
- Accepter la politique de confidentialité,
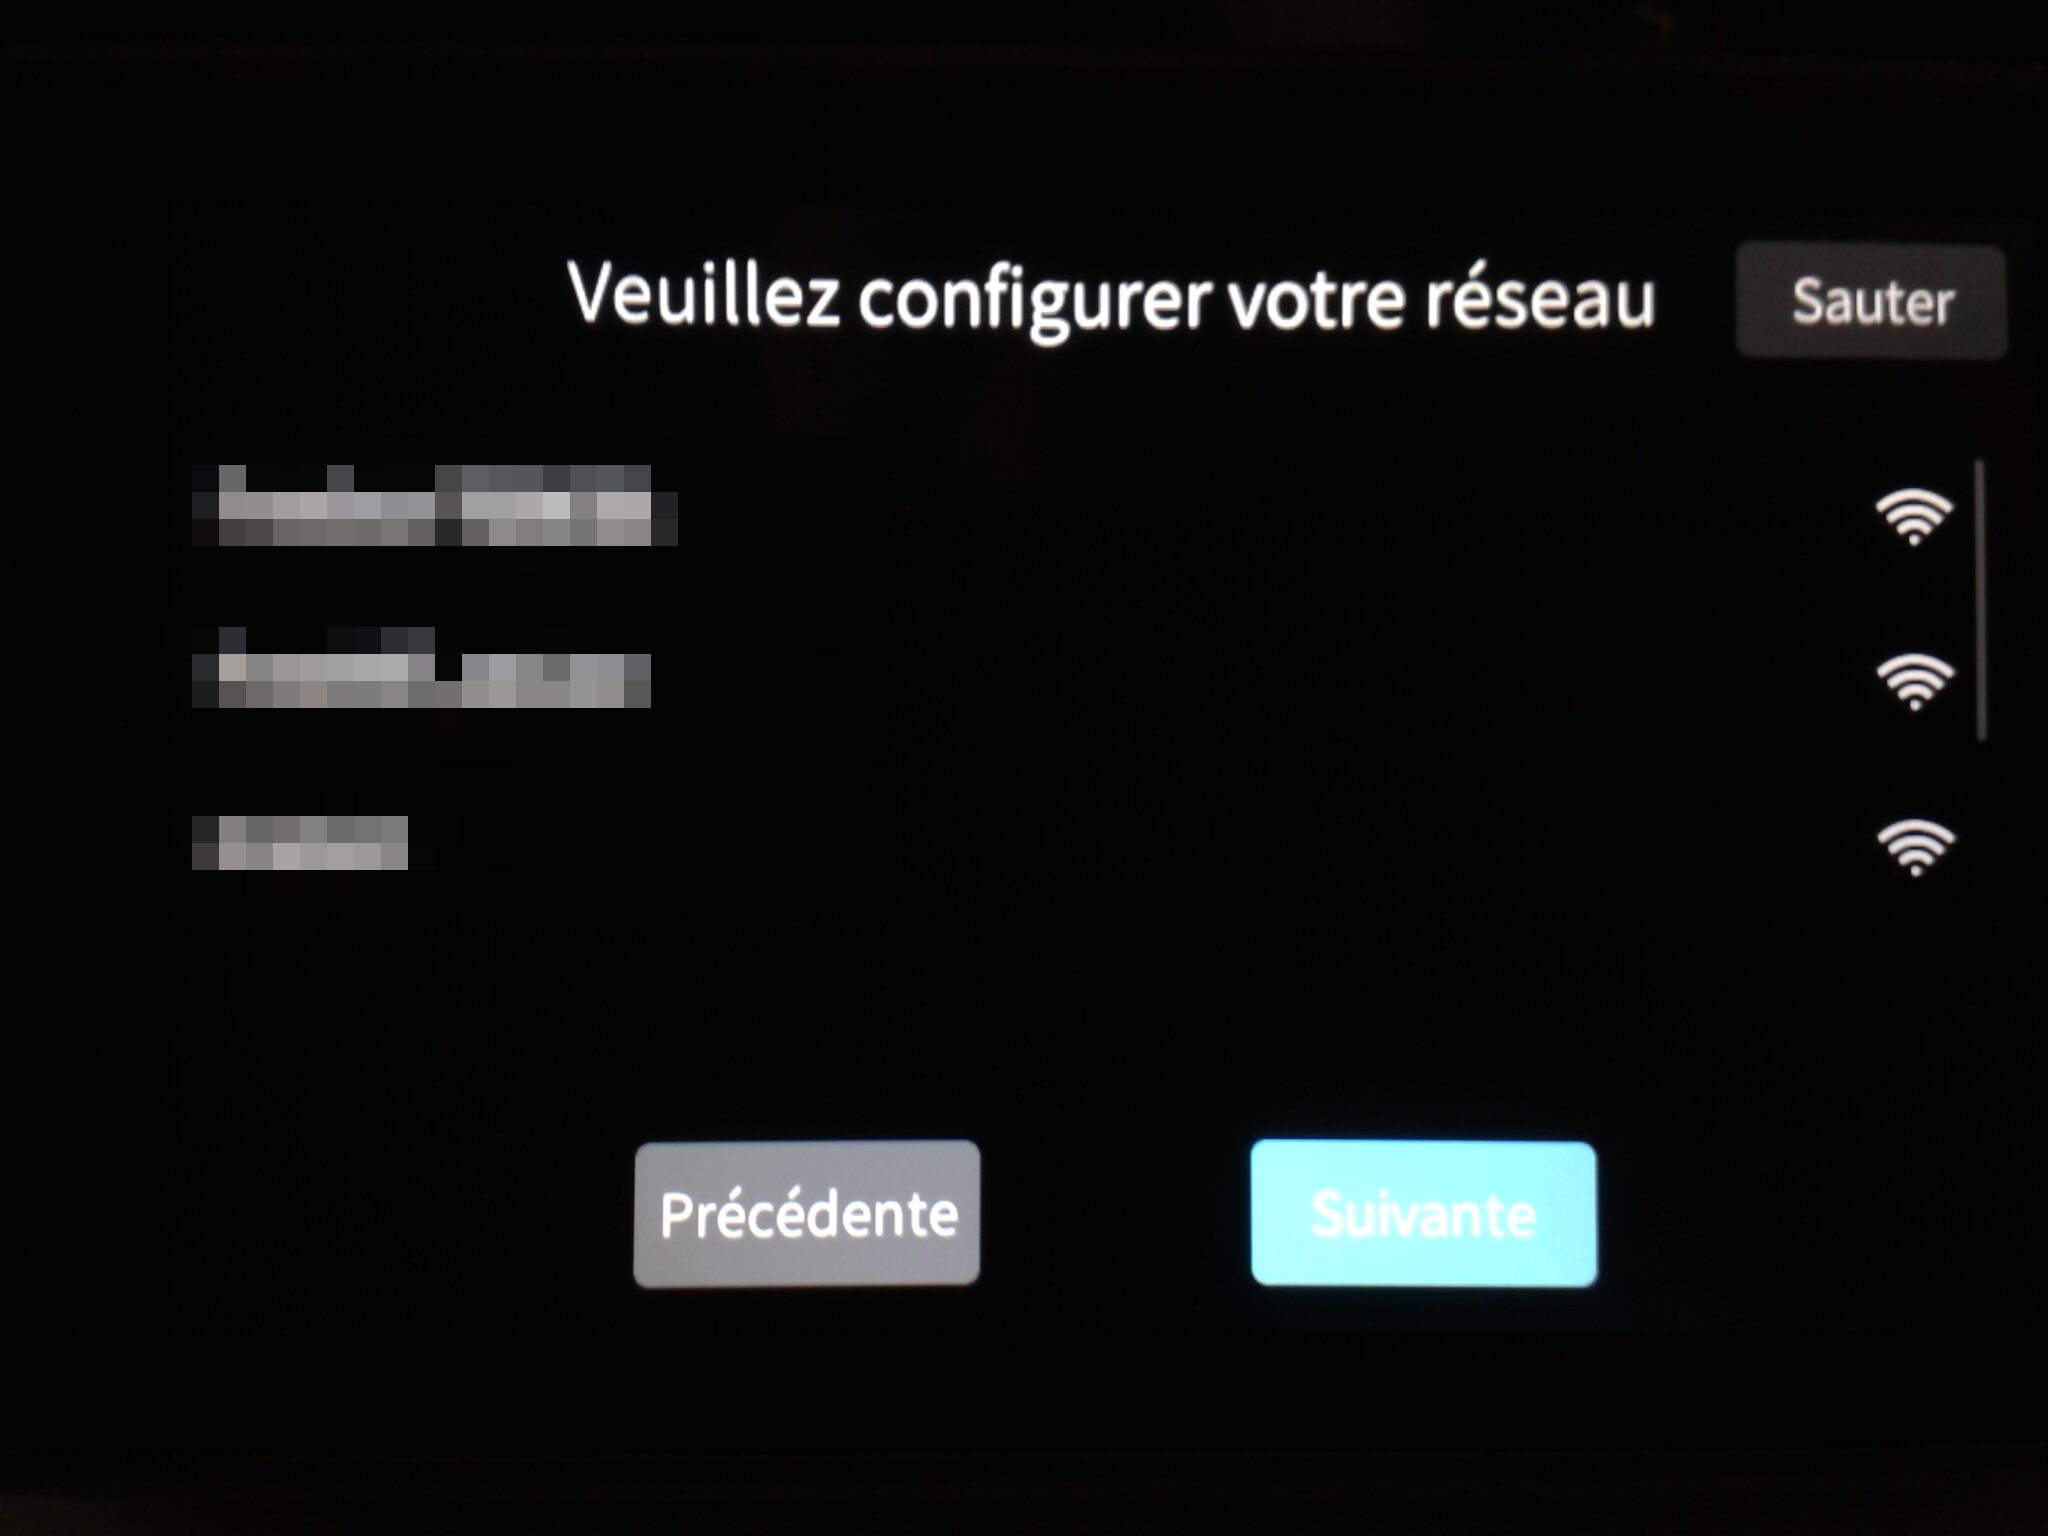
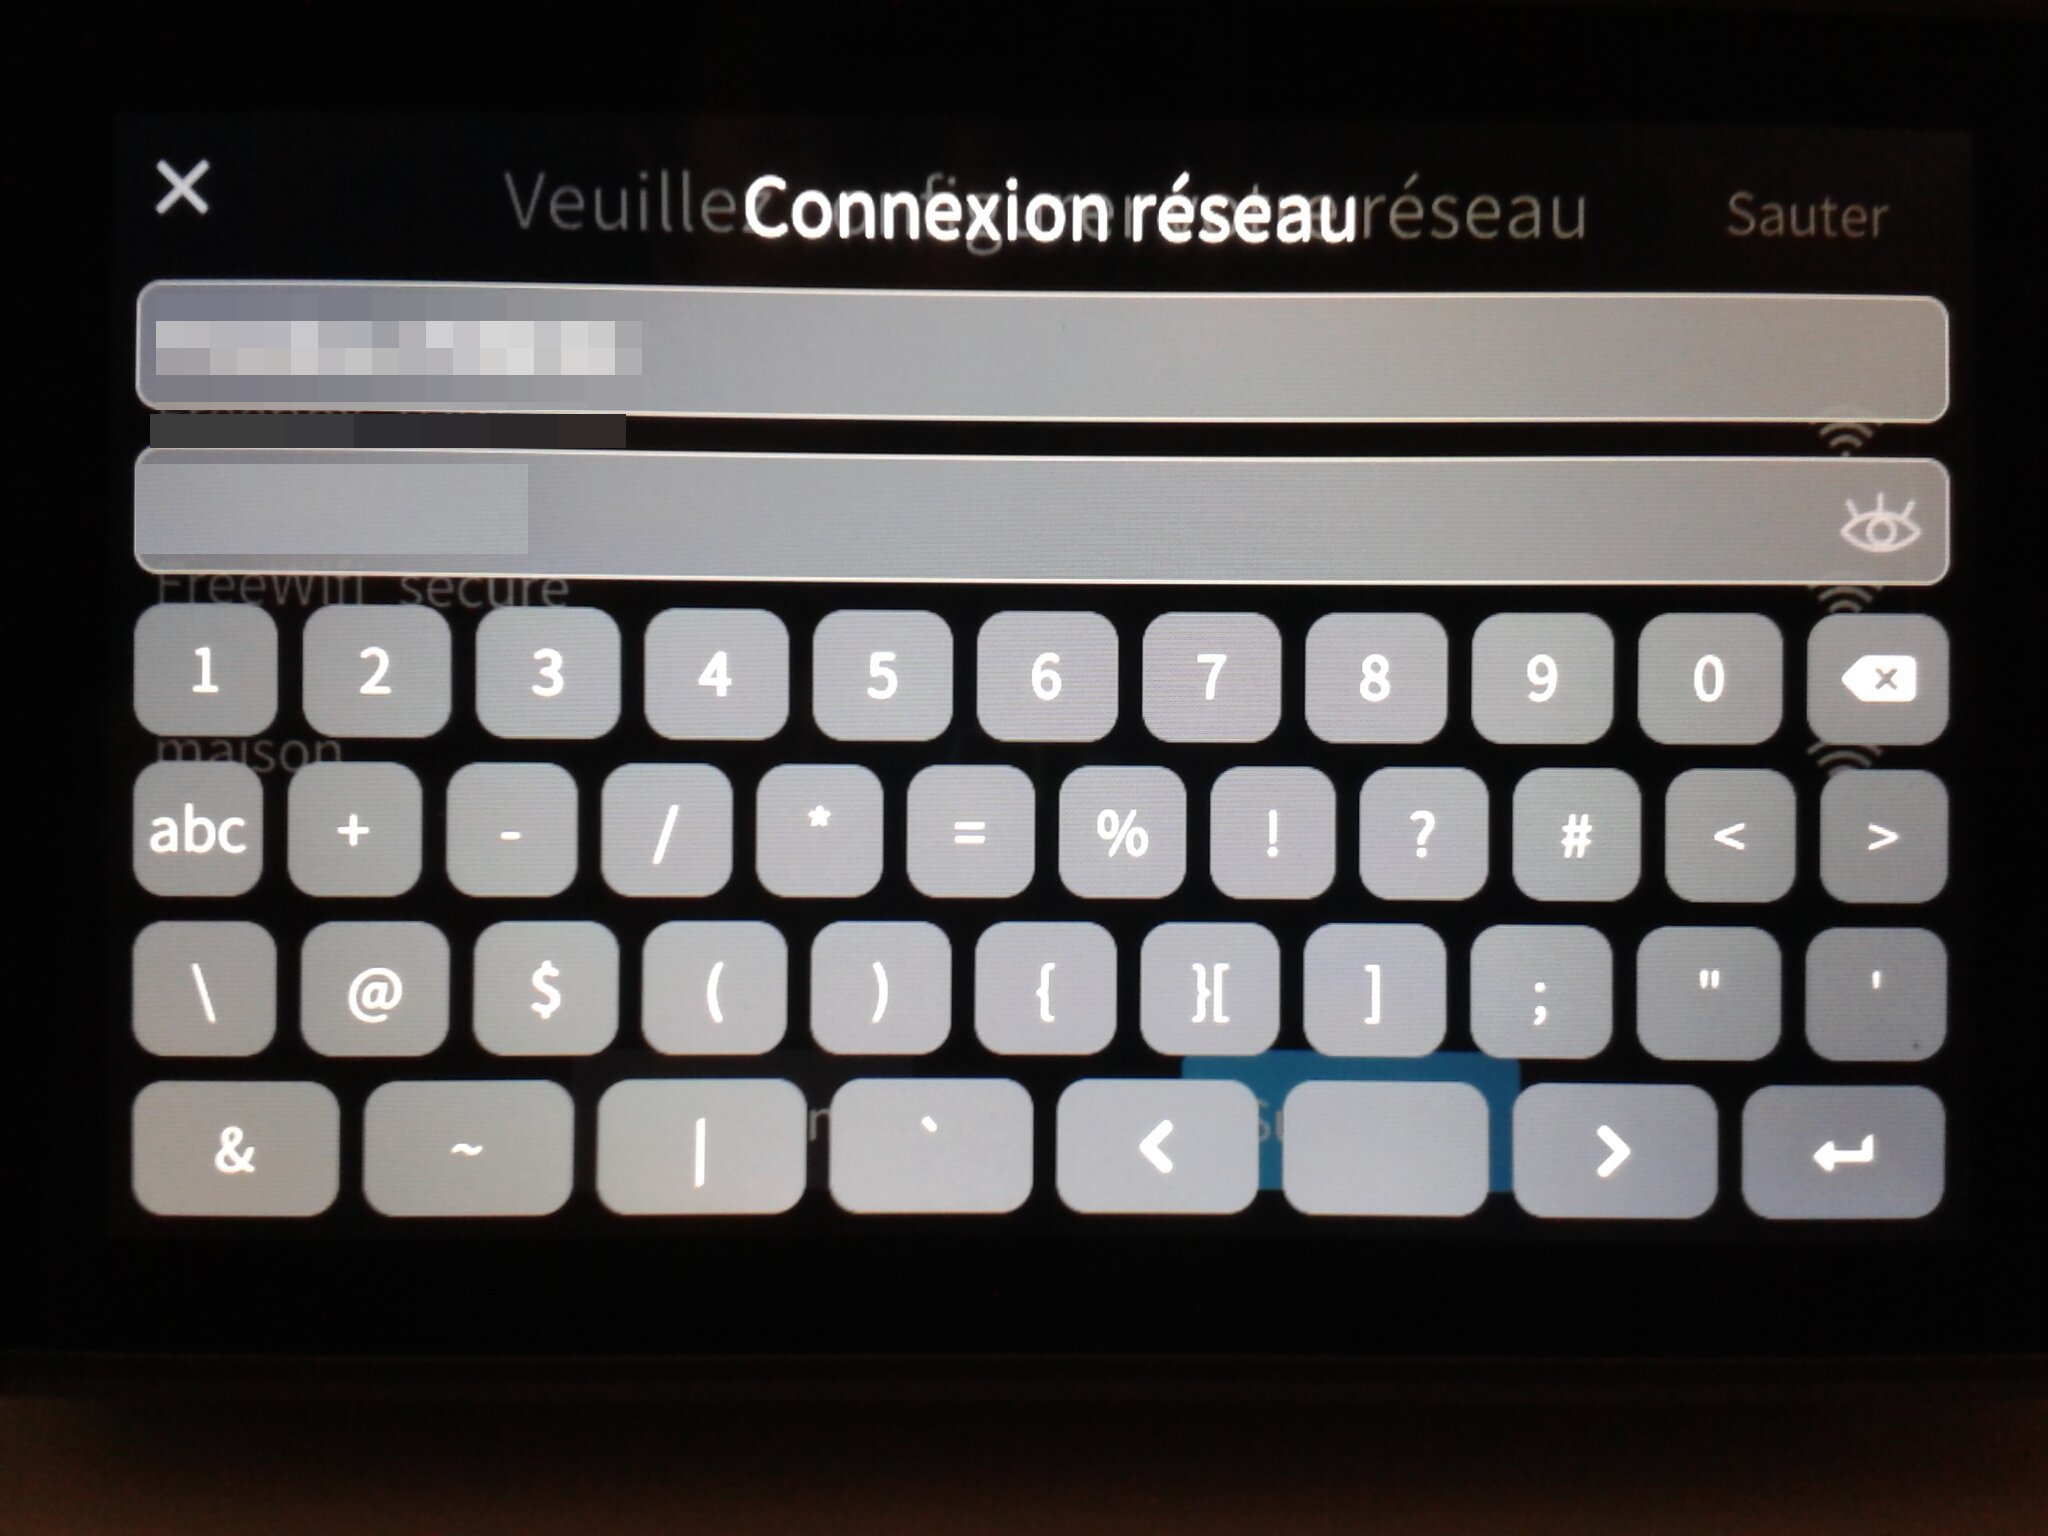
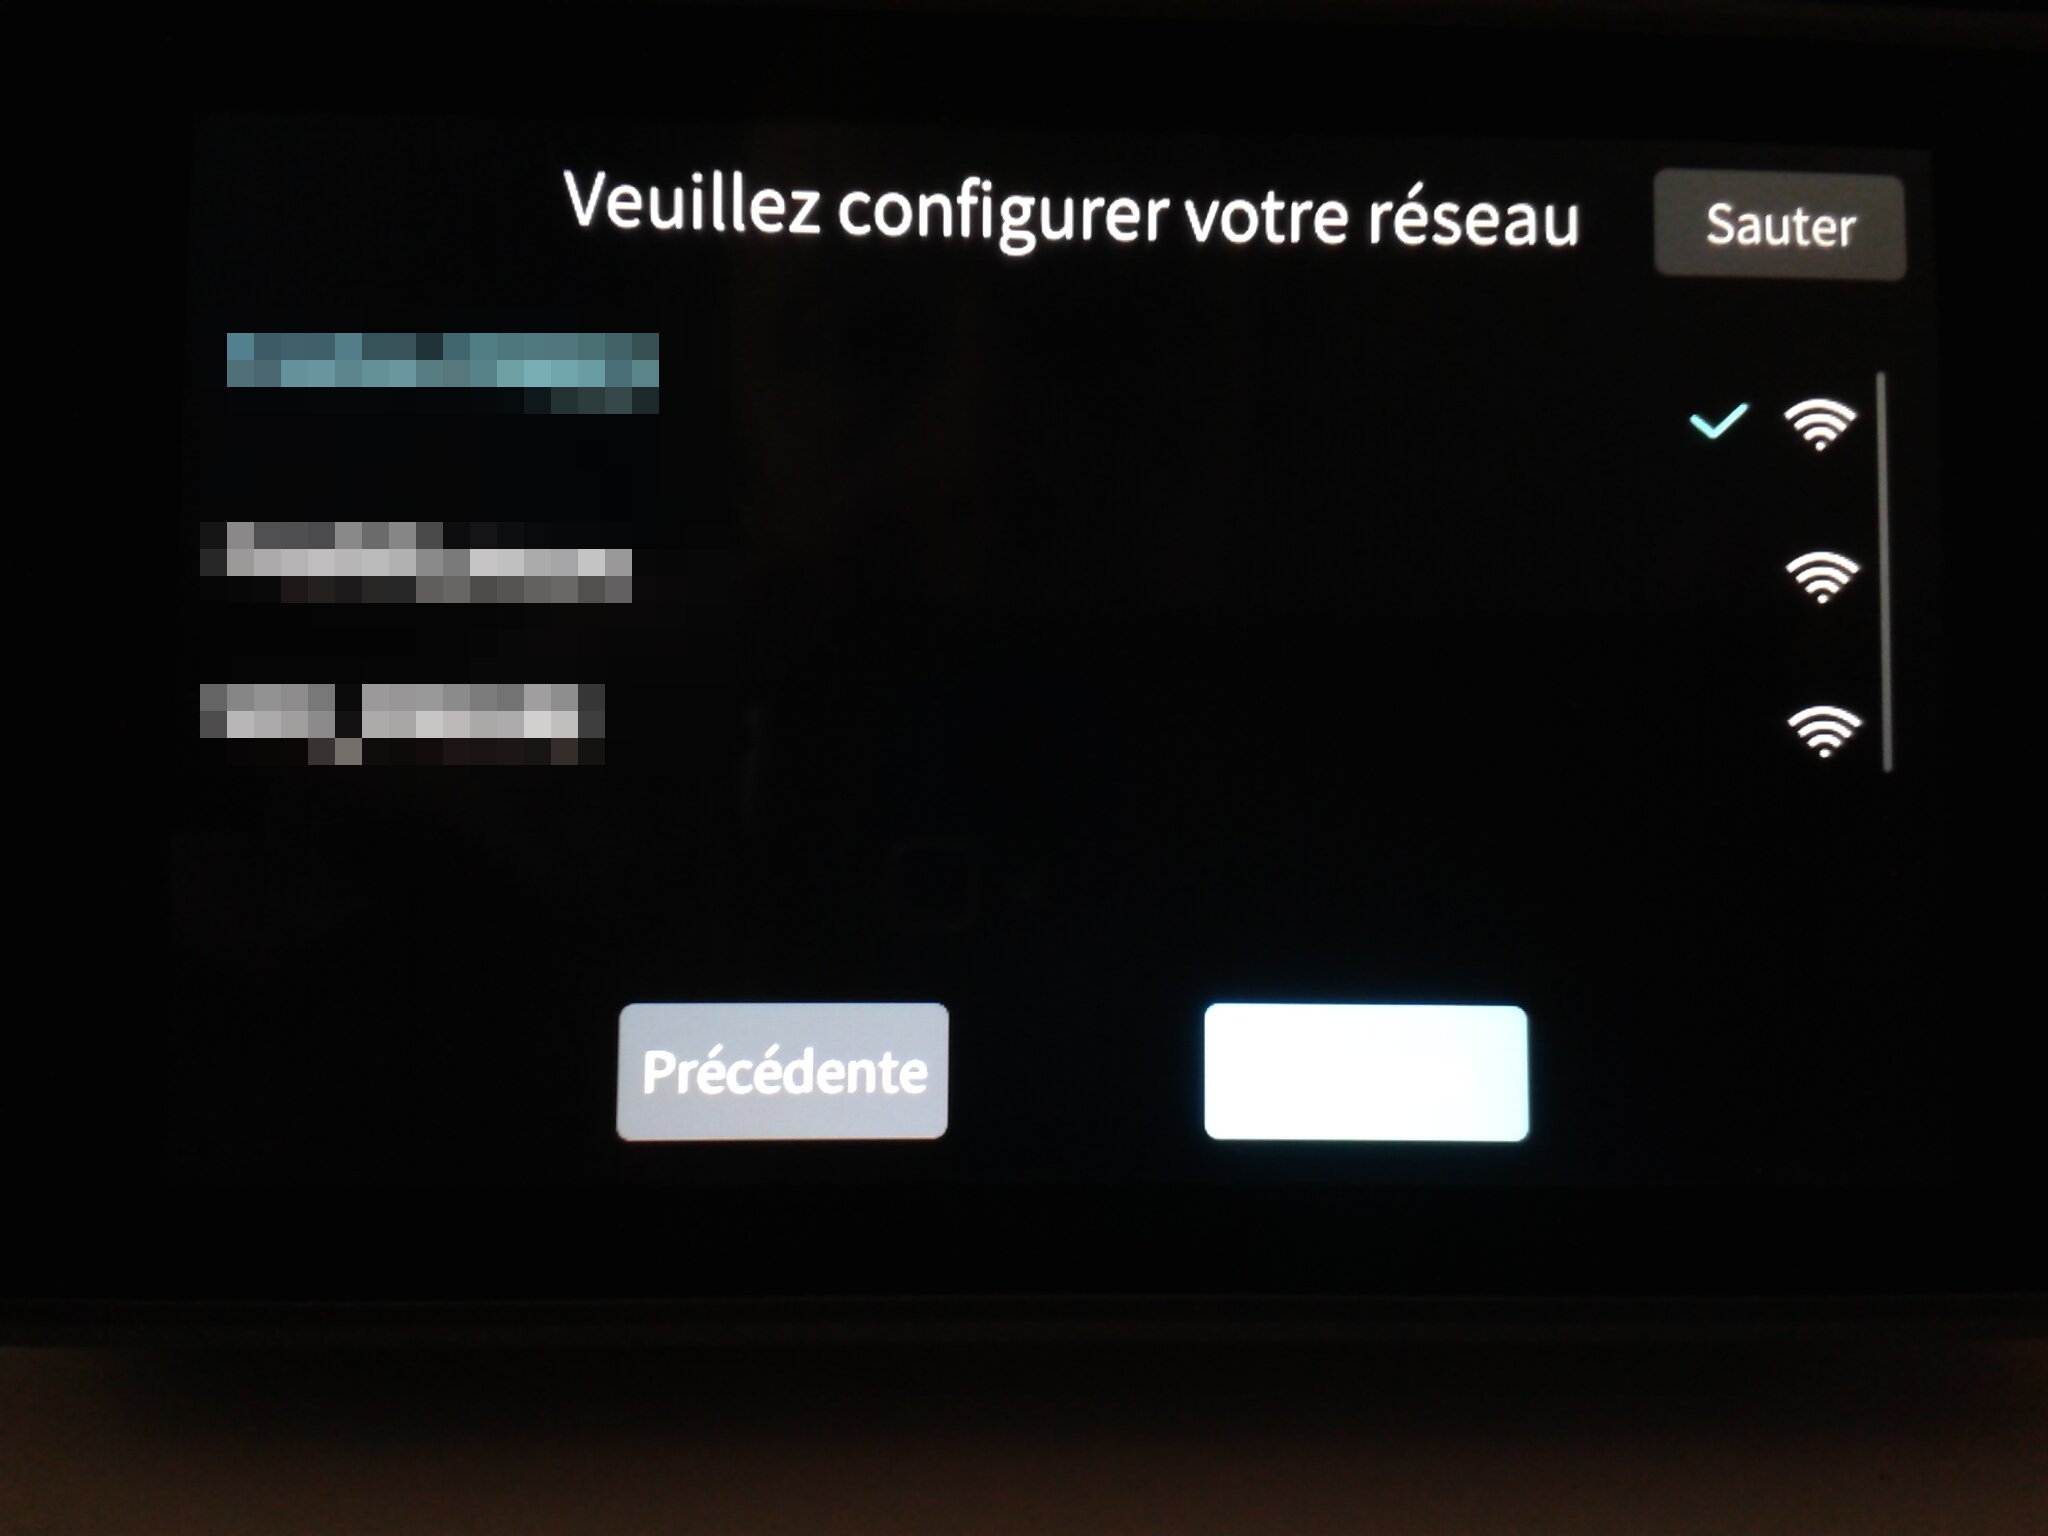
- Saisir la clé de votre réseau Wi-Fi,
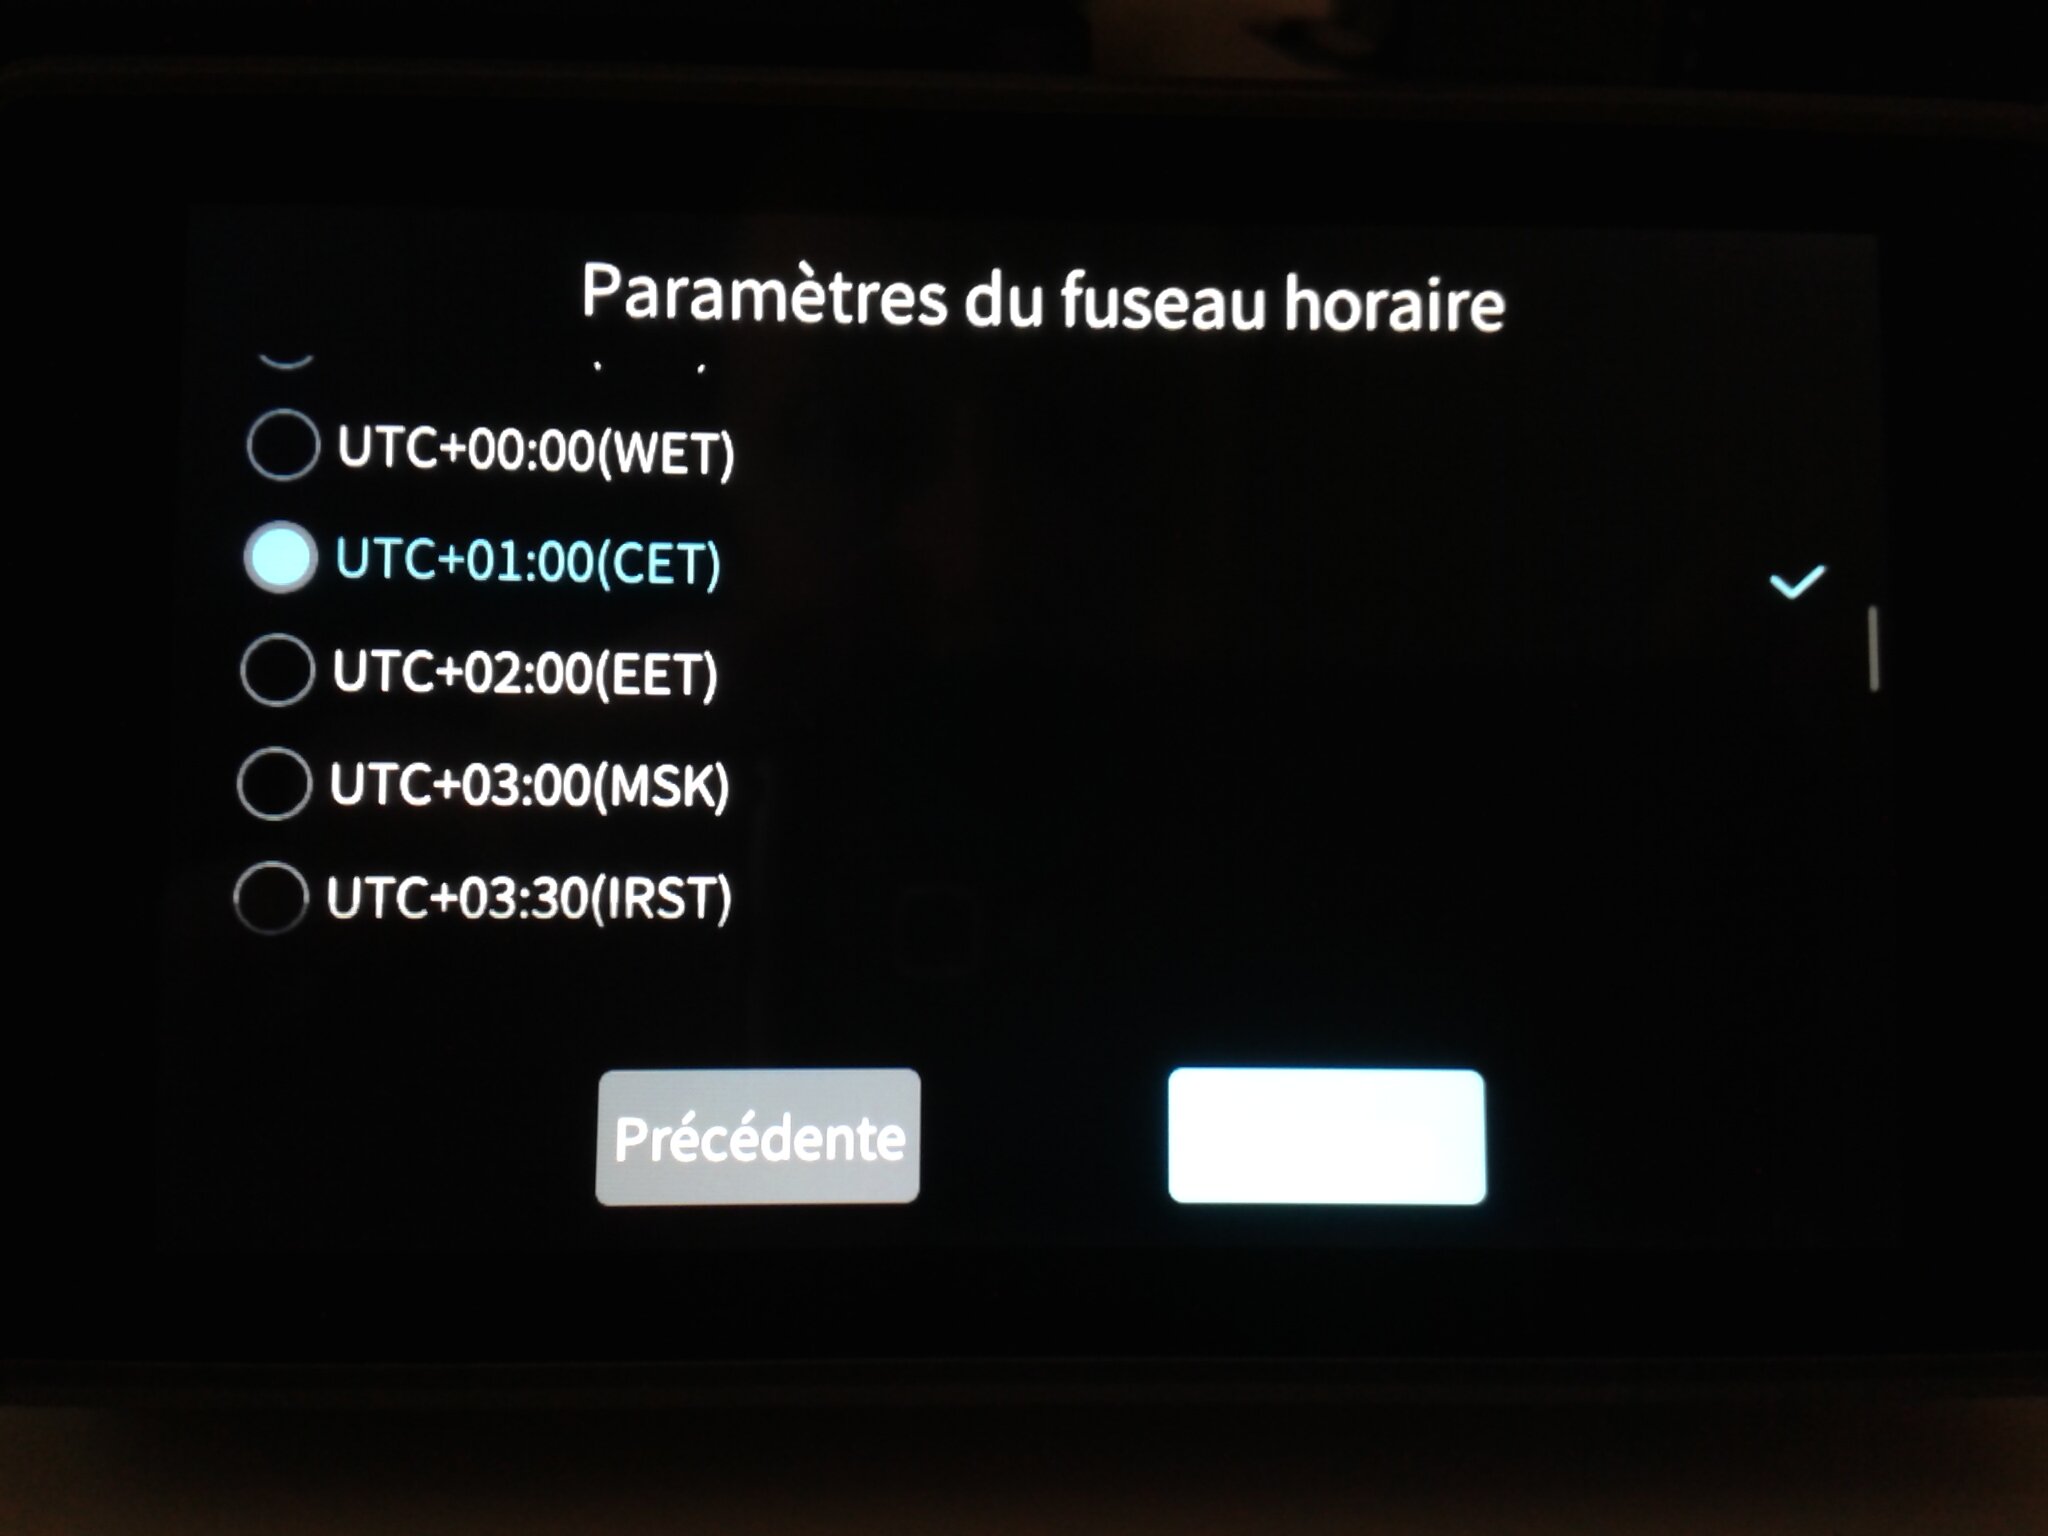
- Préciser le fuseau horaire,
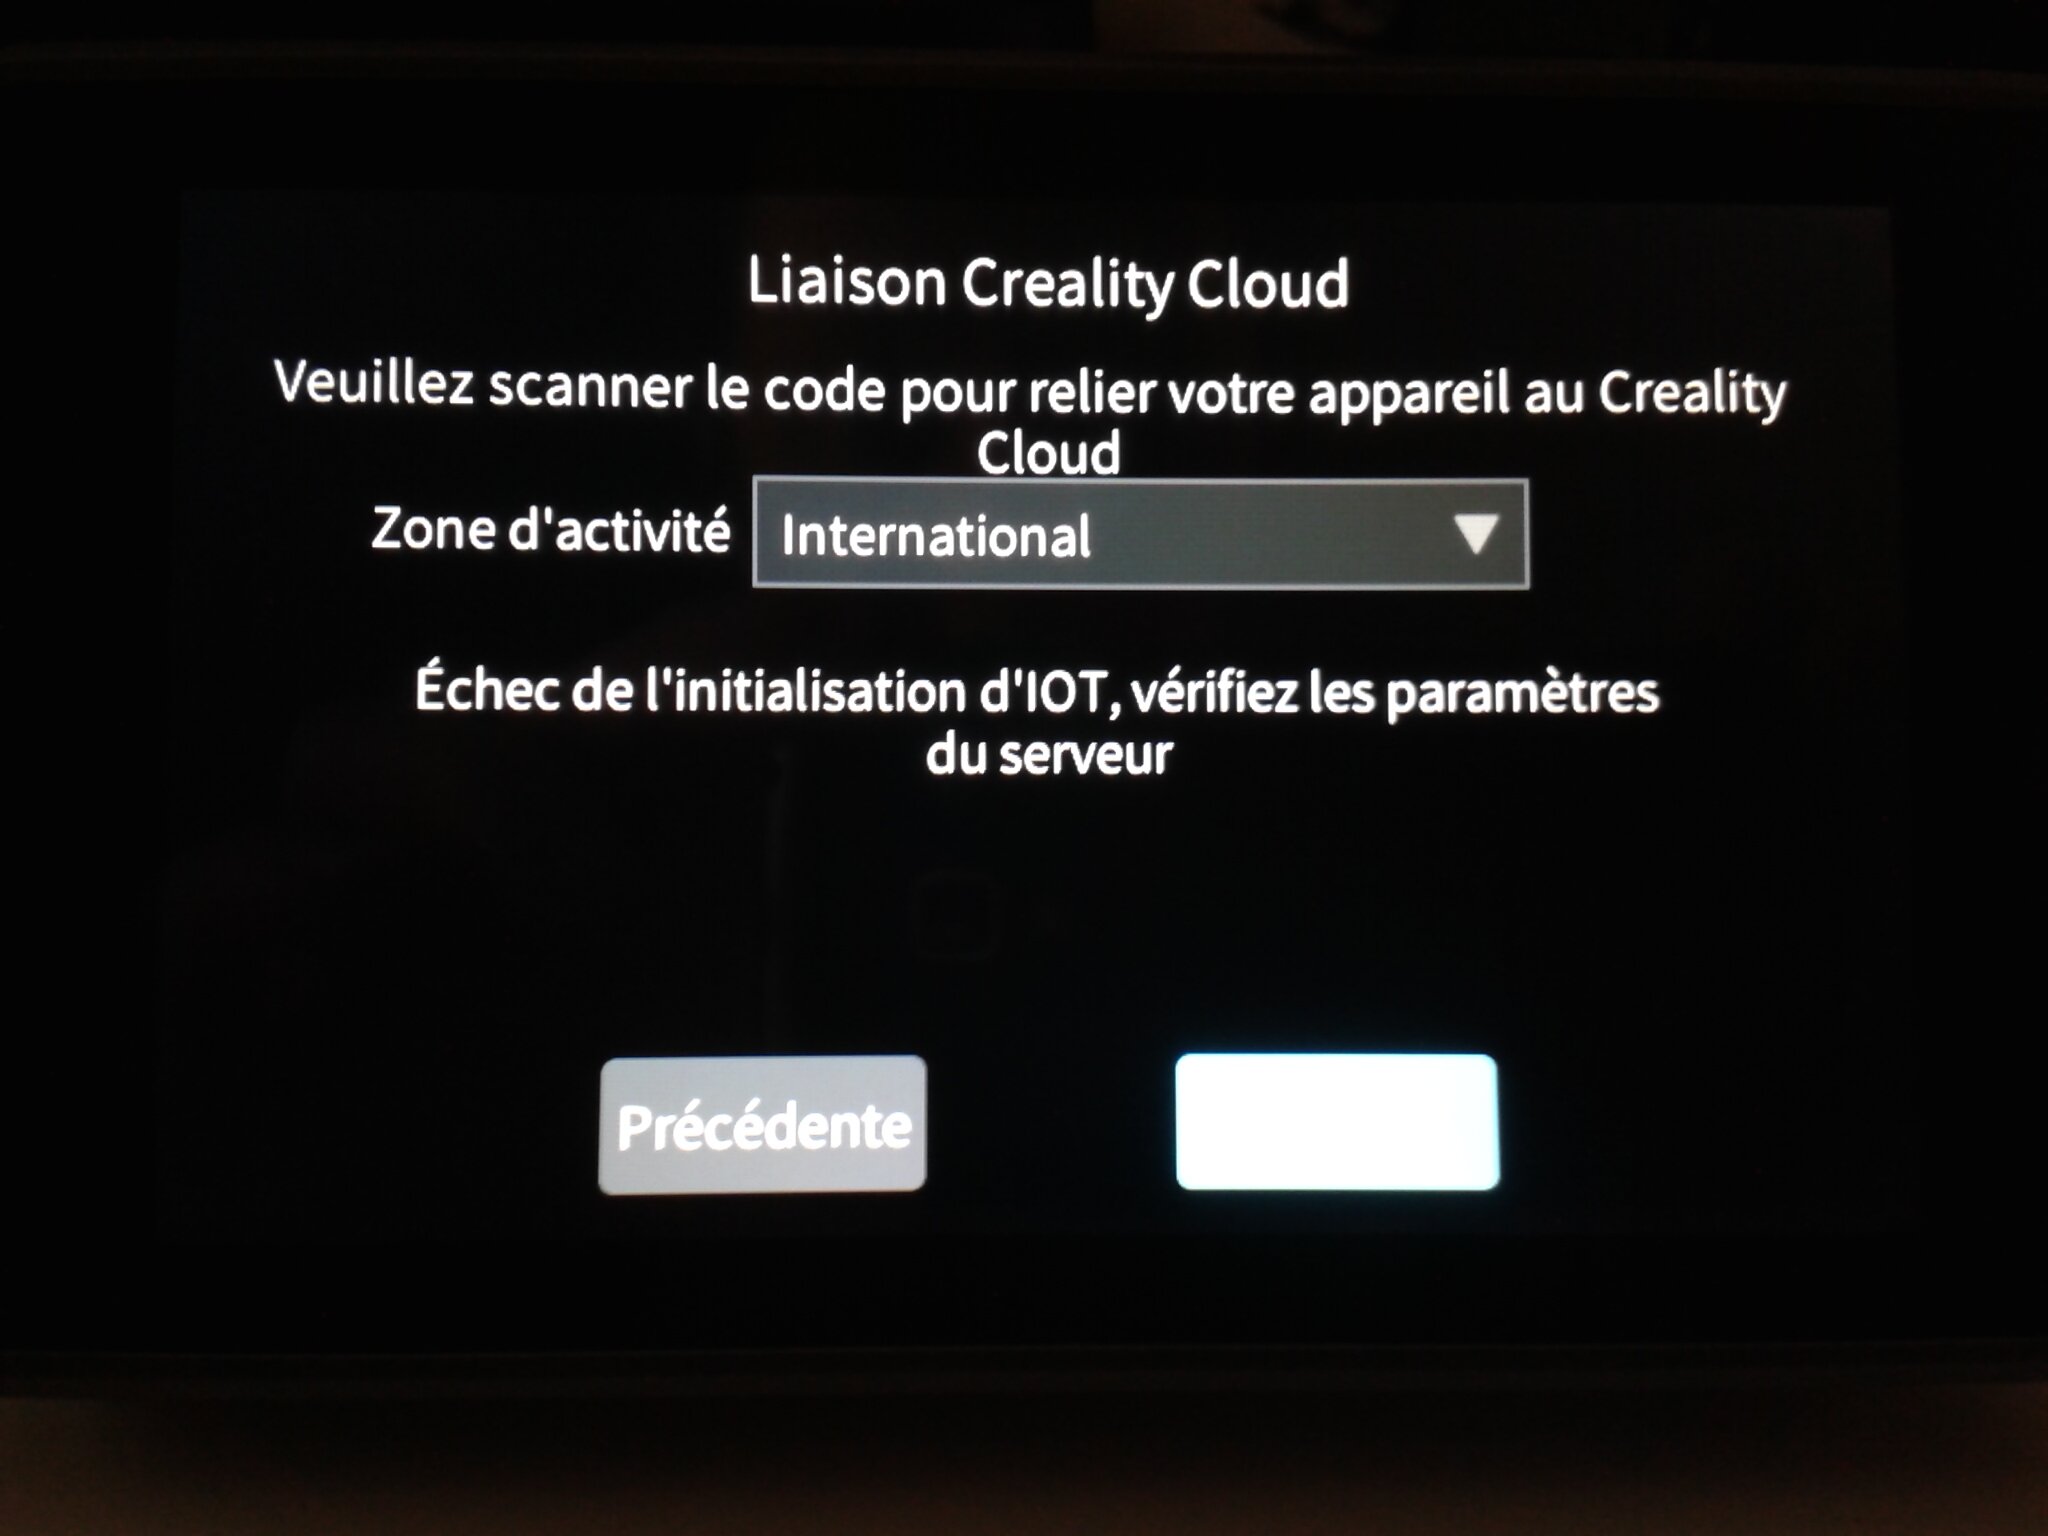
- Indiquer le serveur Creality Cloud à utiliser,
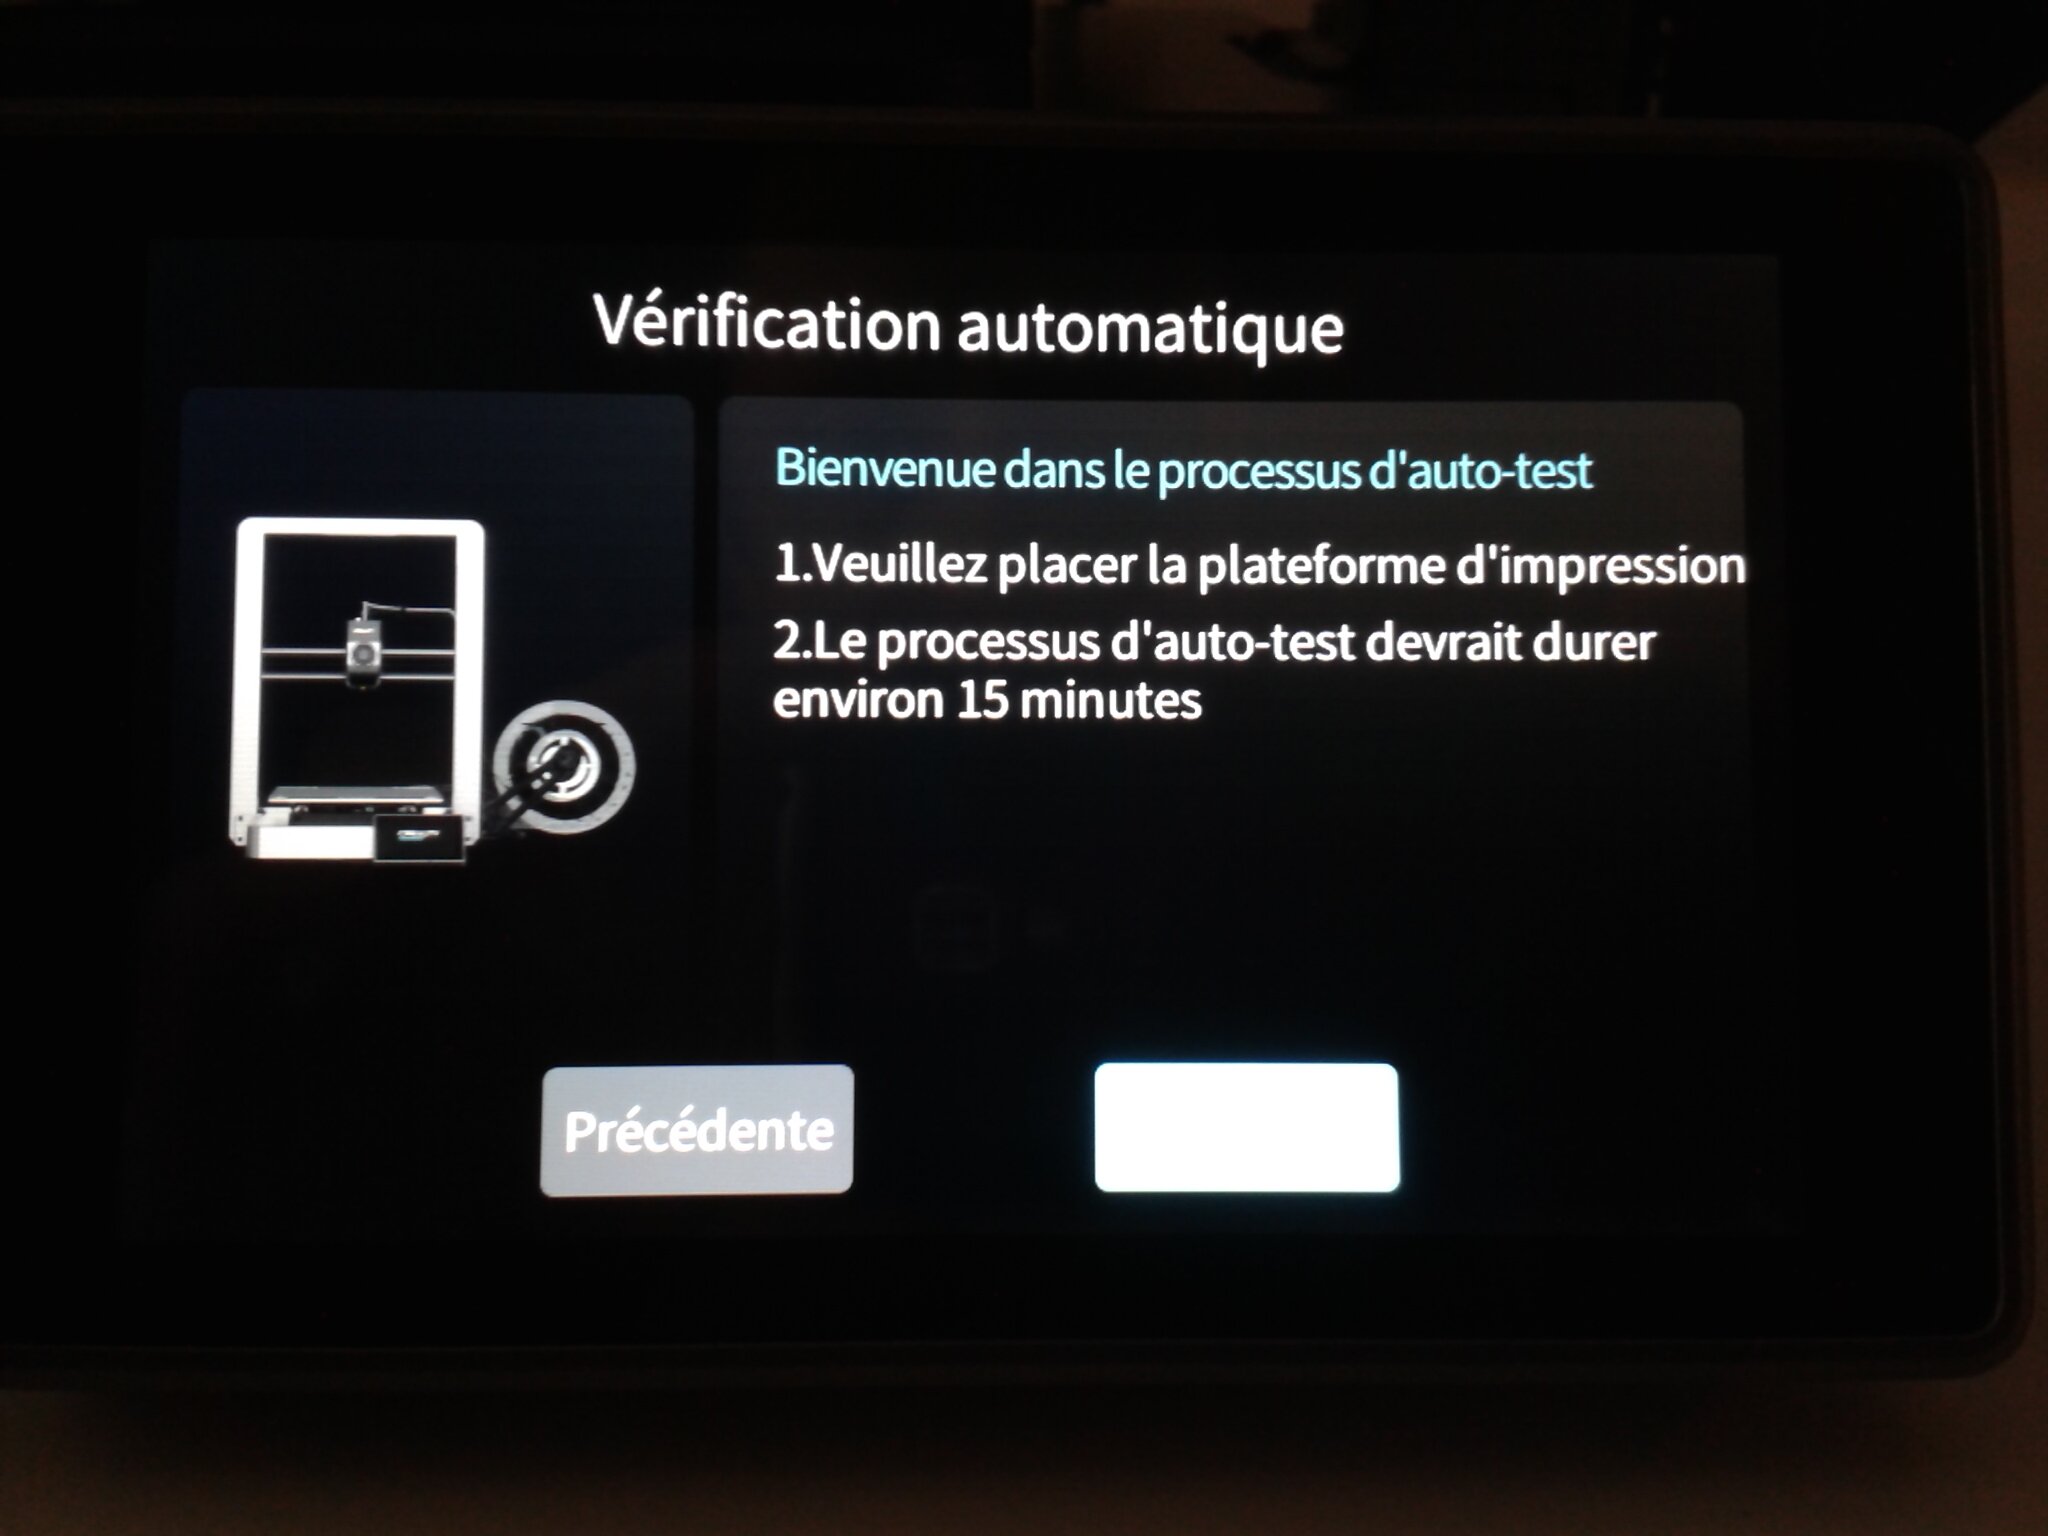
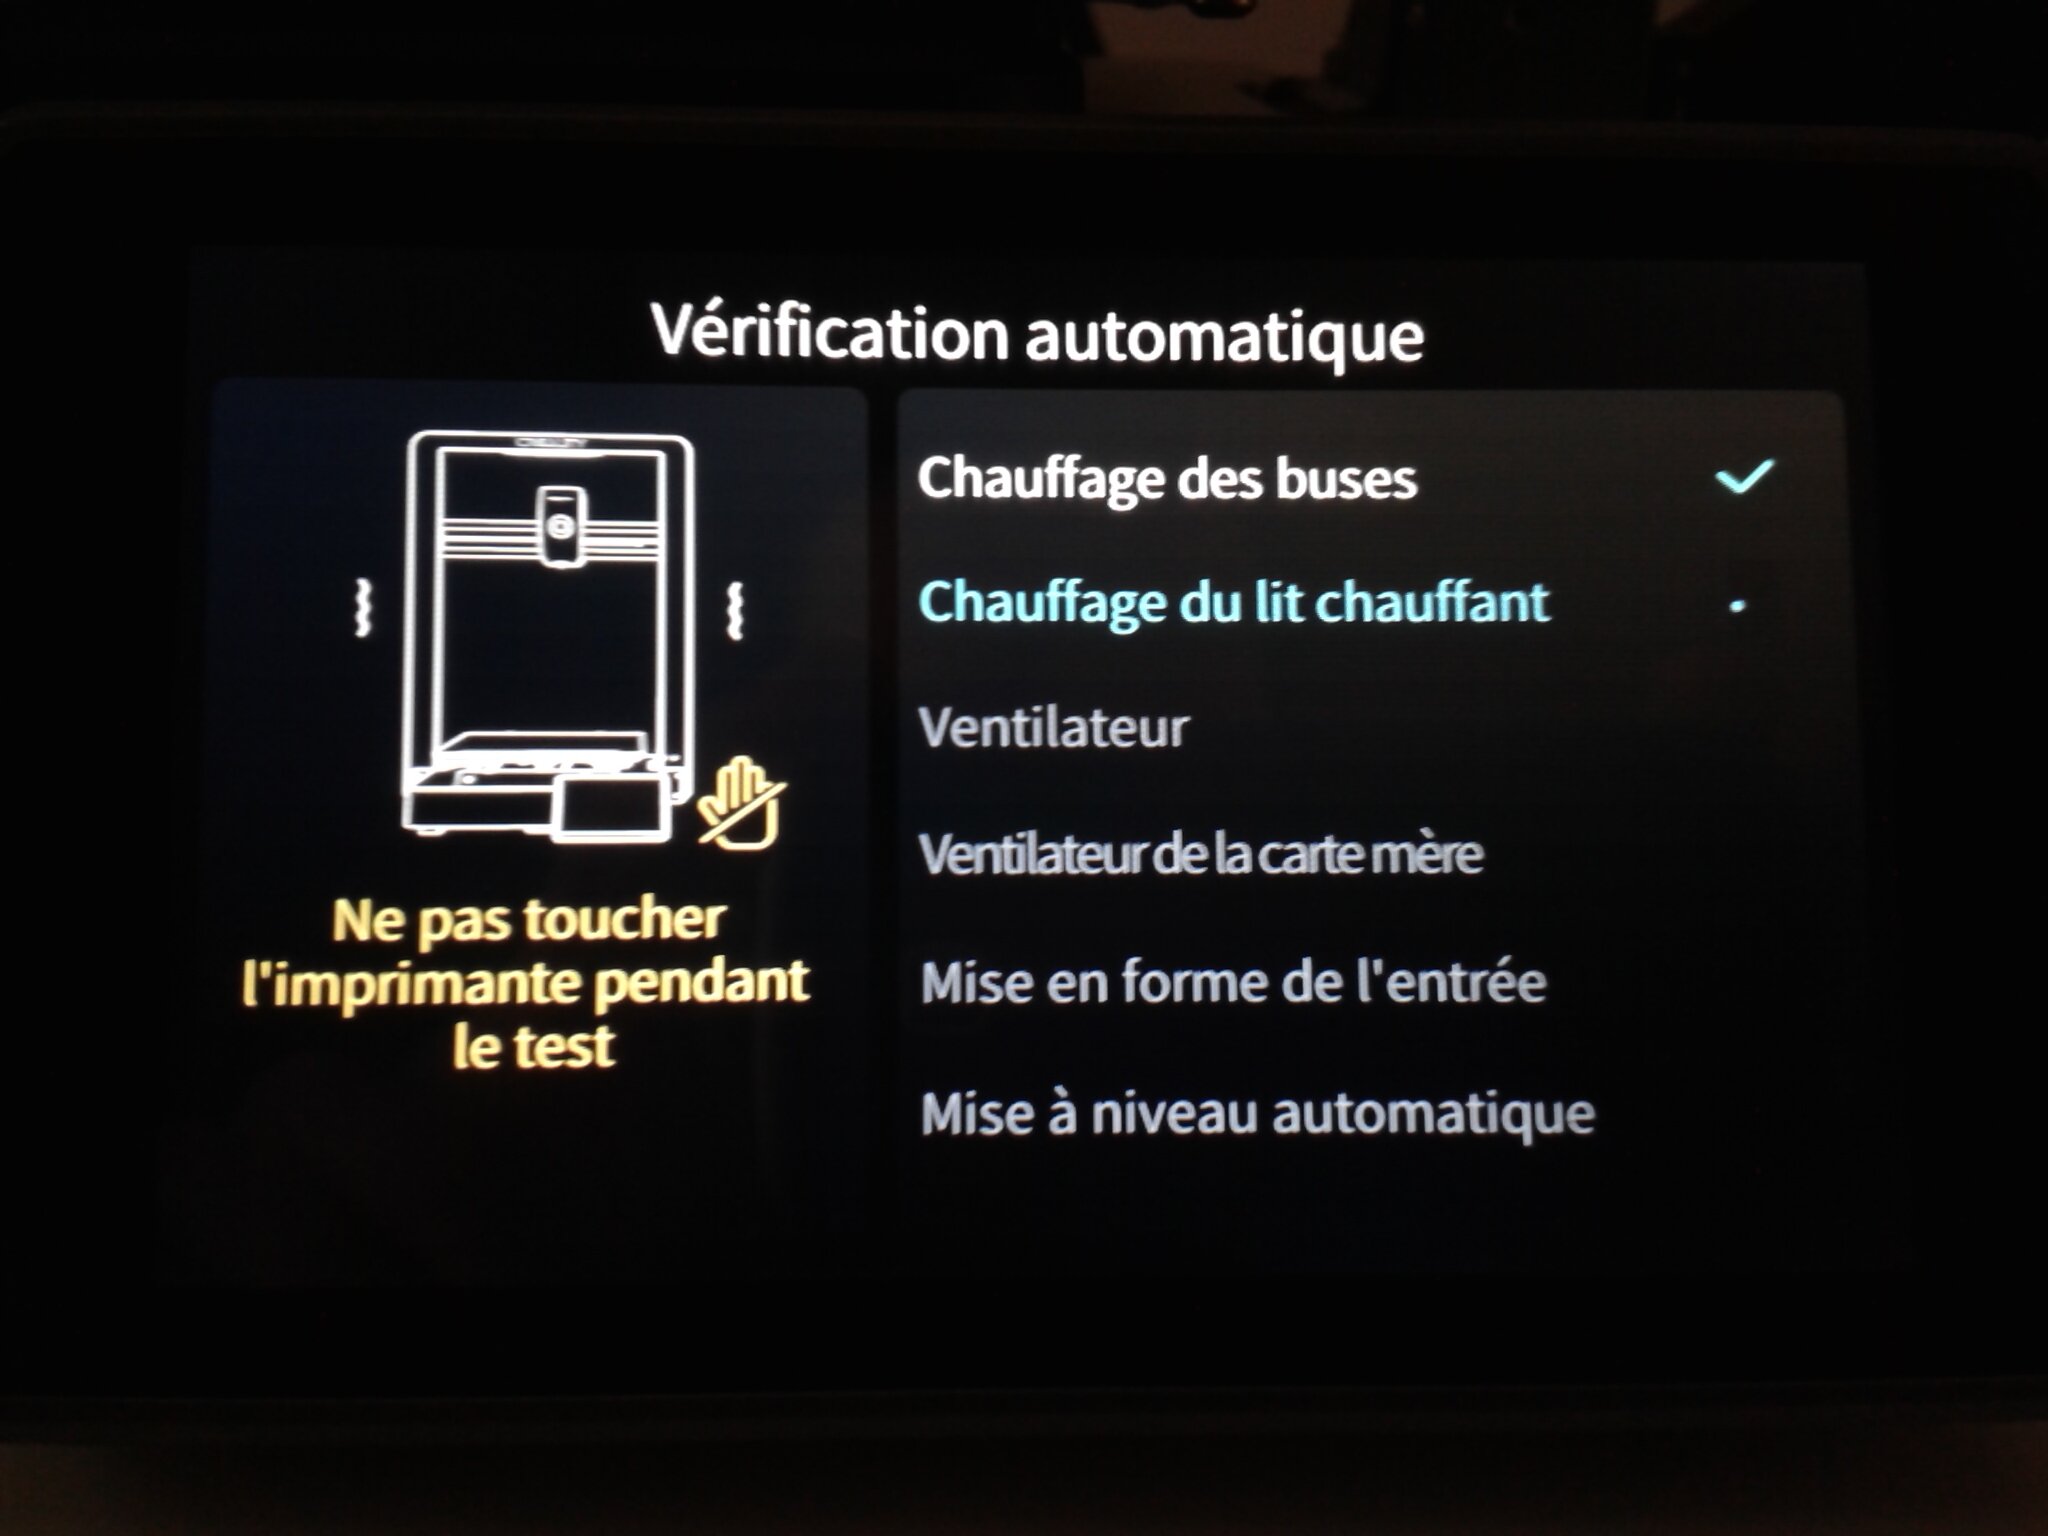
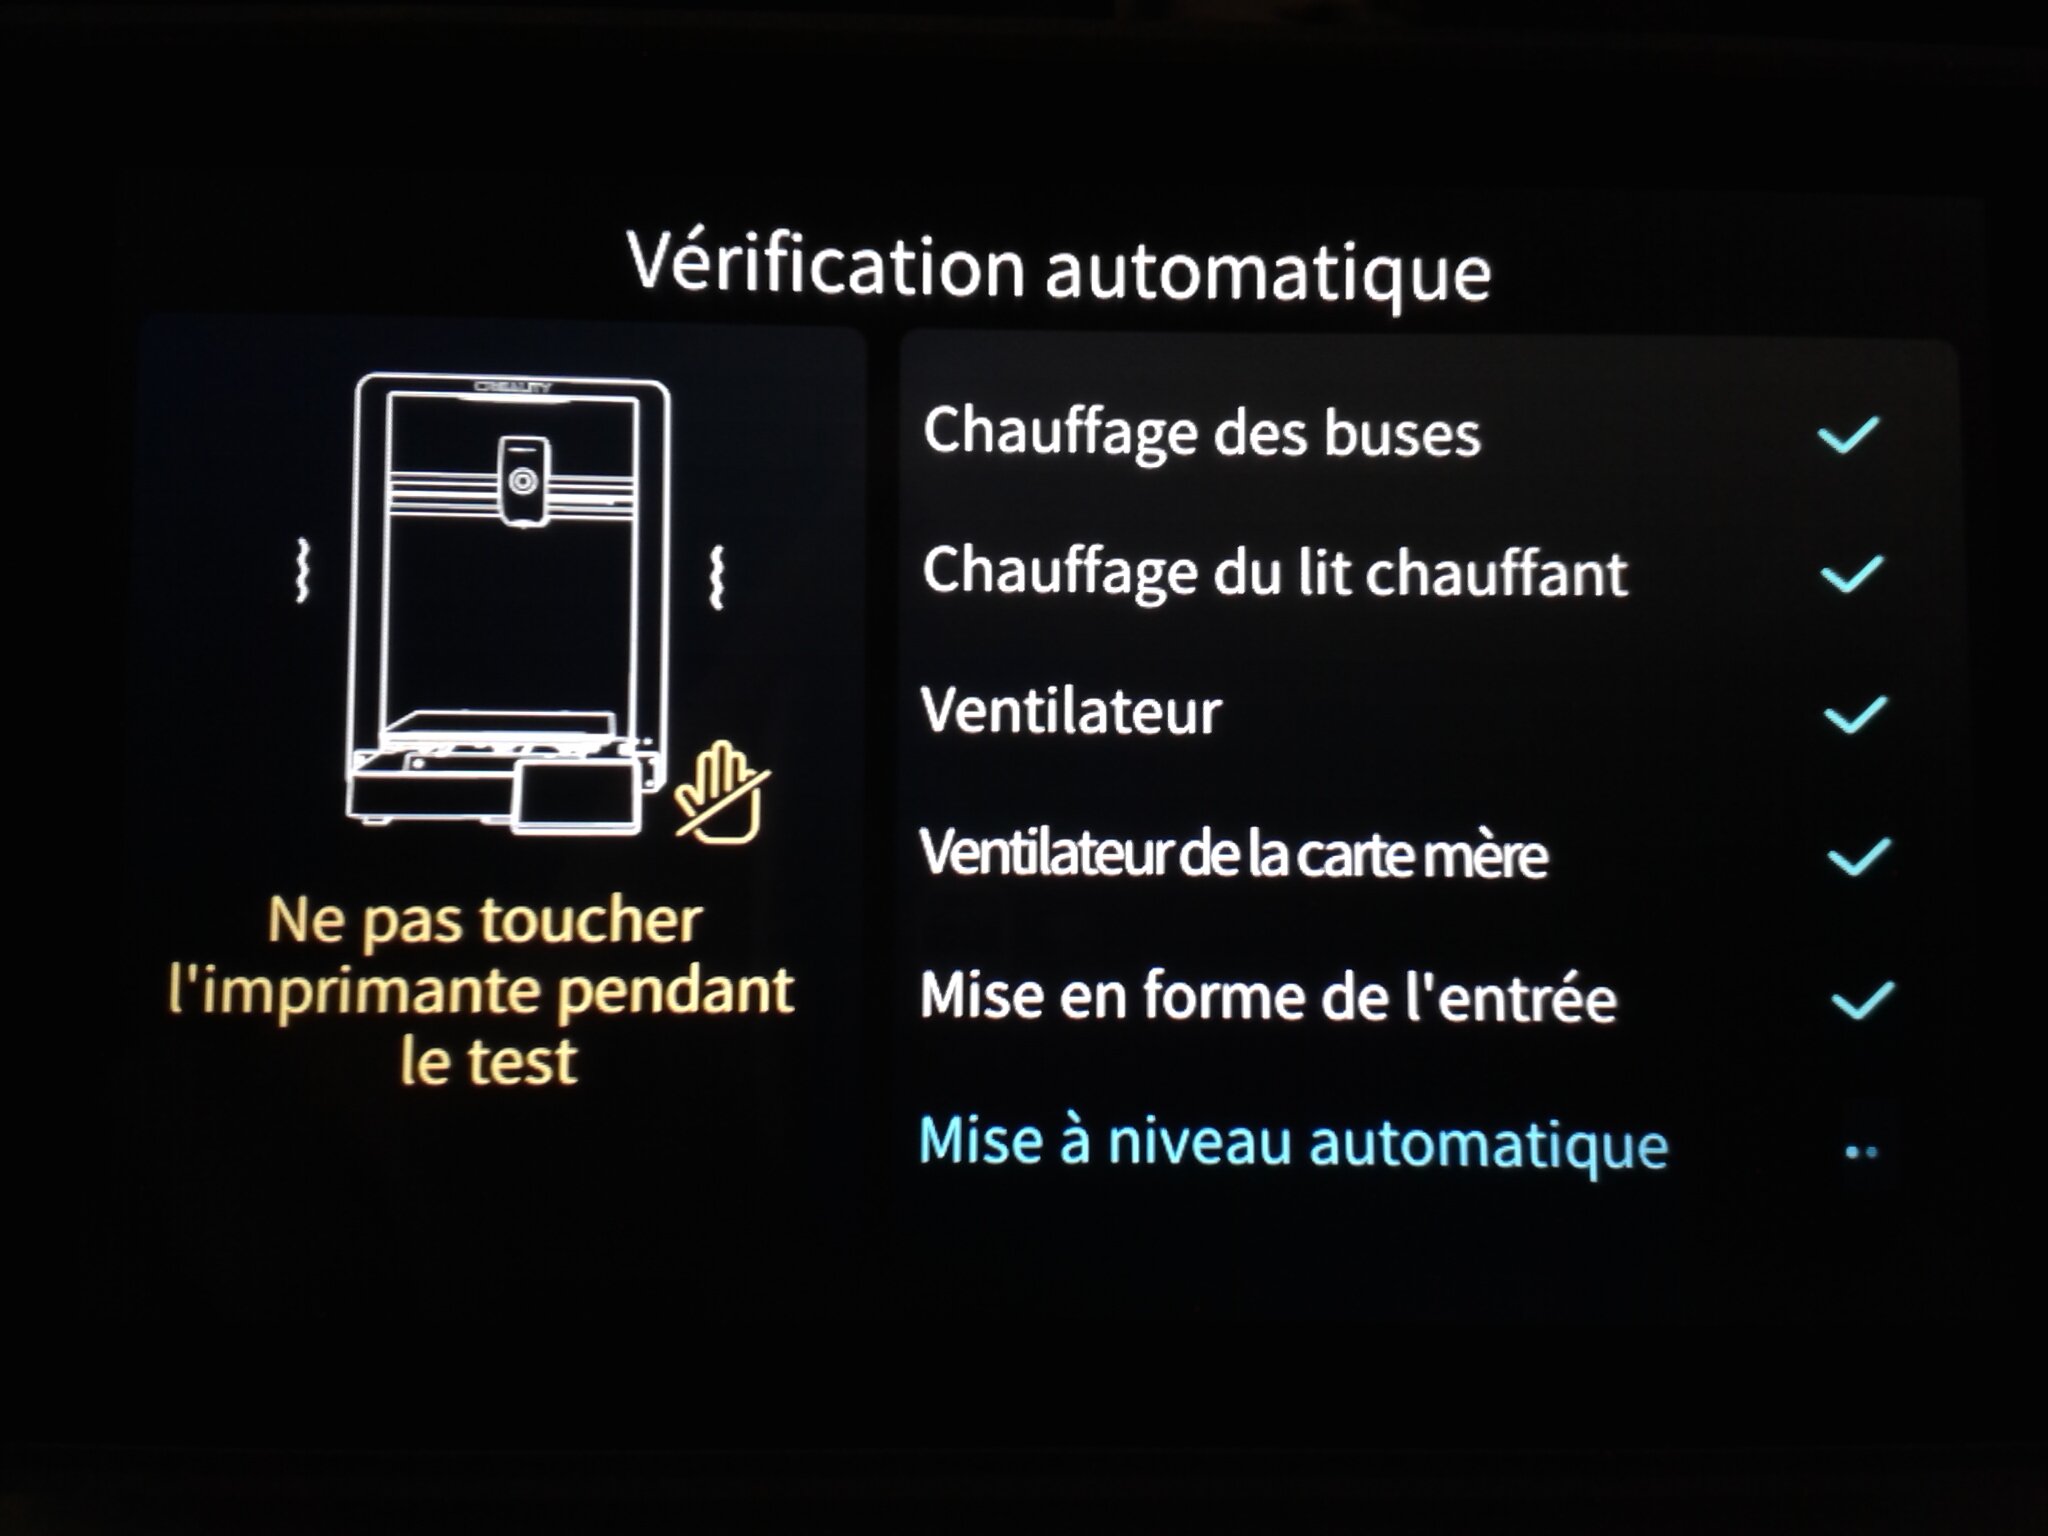
- Lancer les vérifications automatiques,
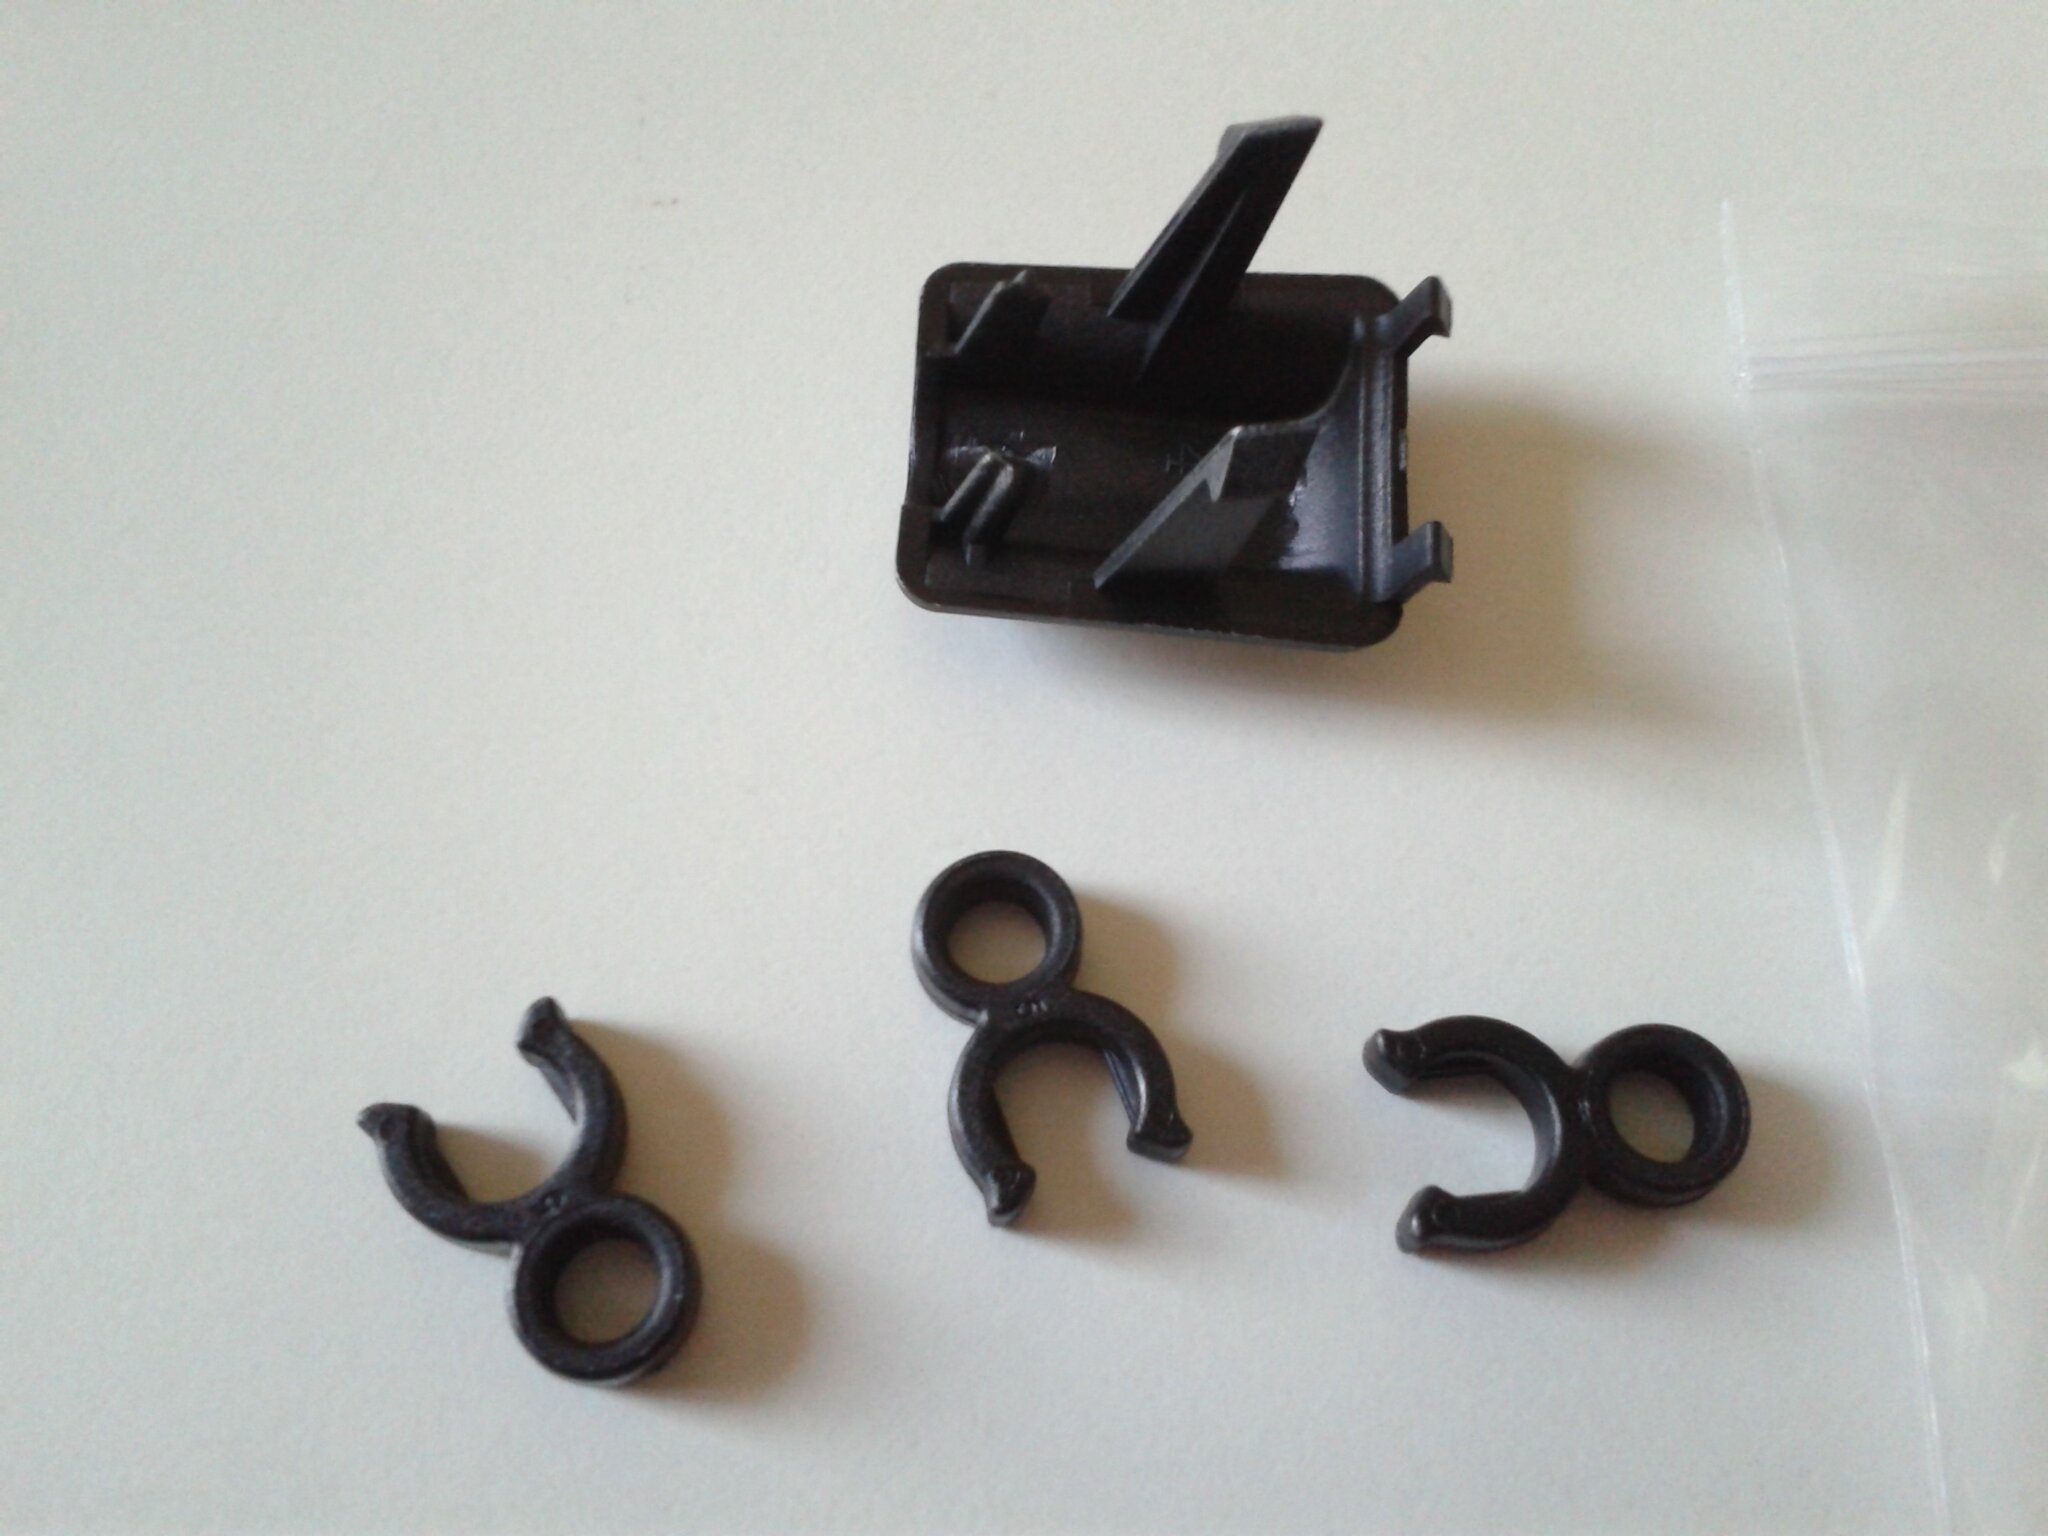
- Mettre en place le tube PTFE pour guider le filament du capteur de fin de filament à la tête d’impression,
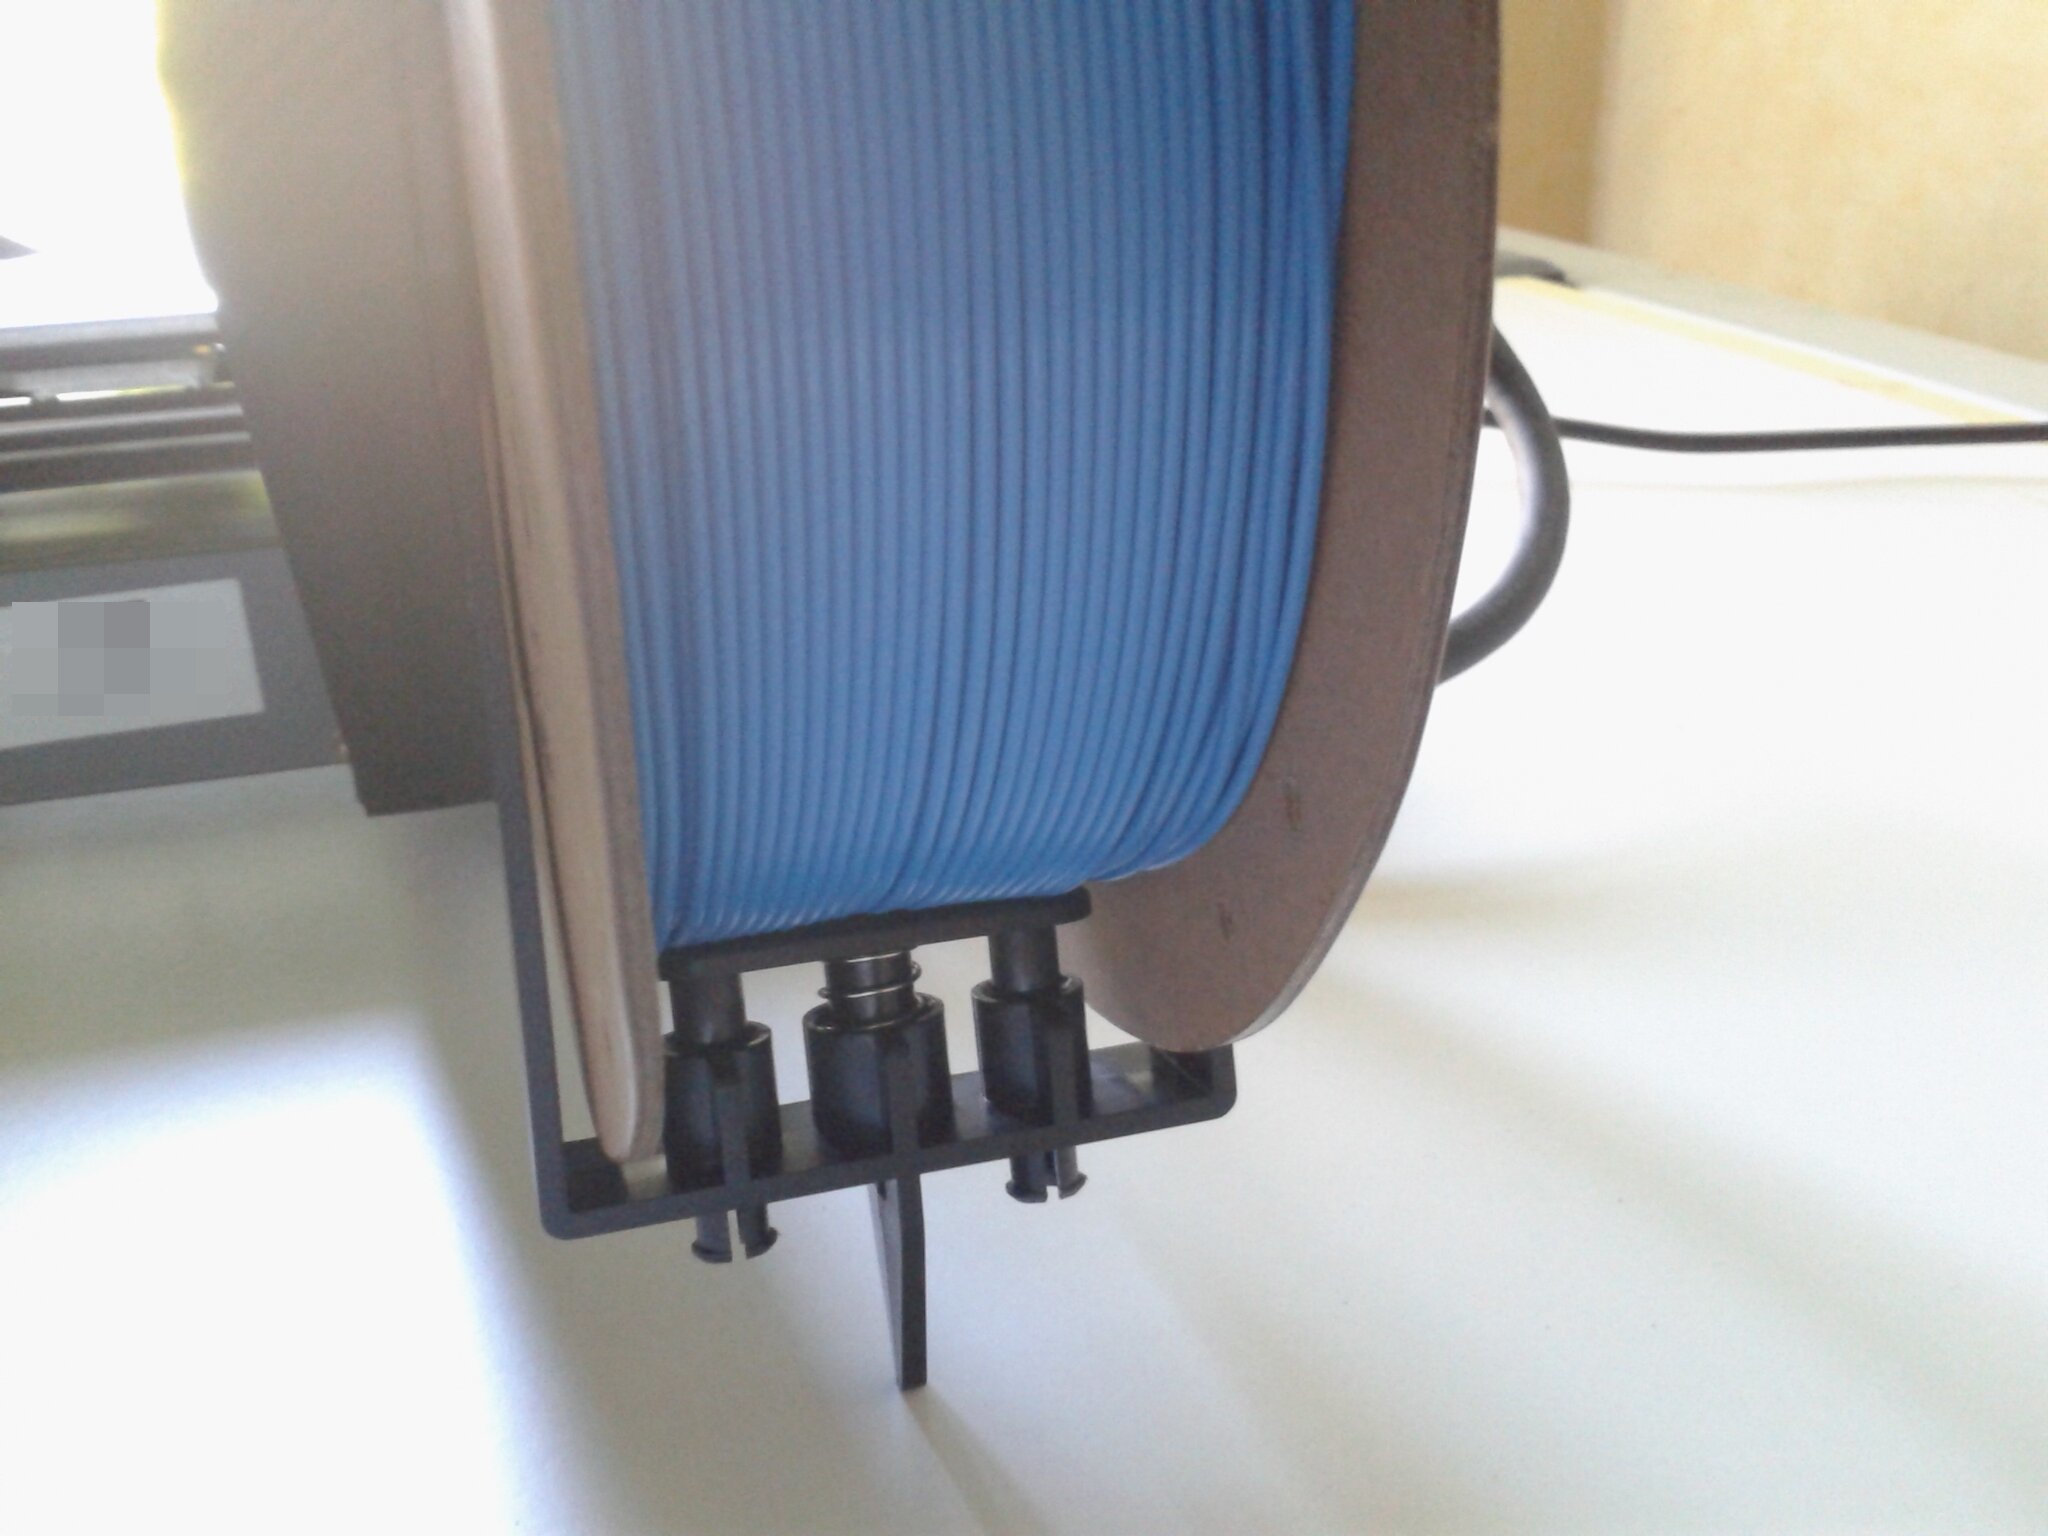
- Mettre en place une bobine et le système anti-enchevêtrement du filament sur la bobine,
- Amener le filament jusqu’à la tête d’impression,
- Mettre le levier de l’extrudeur en position verrouillée,
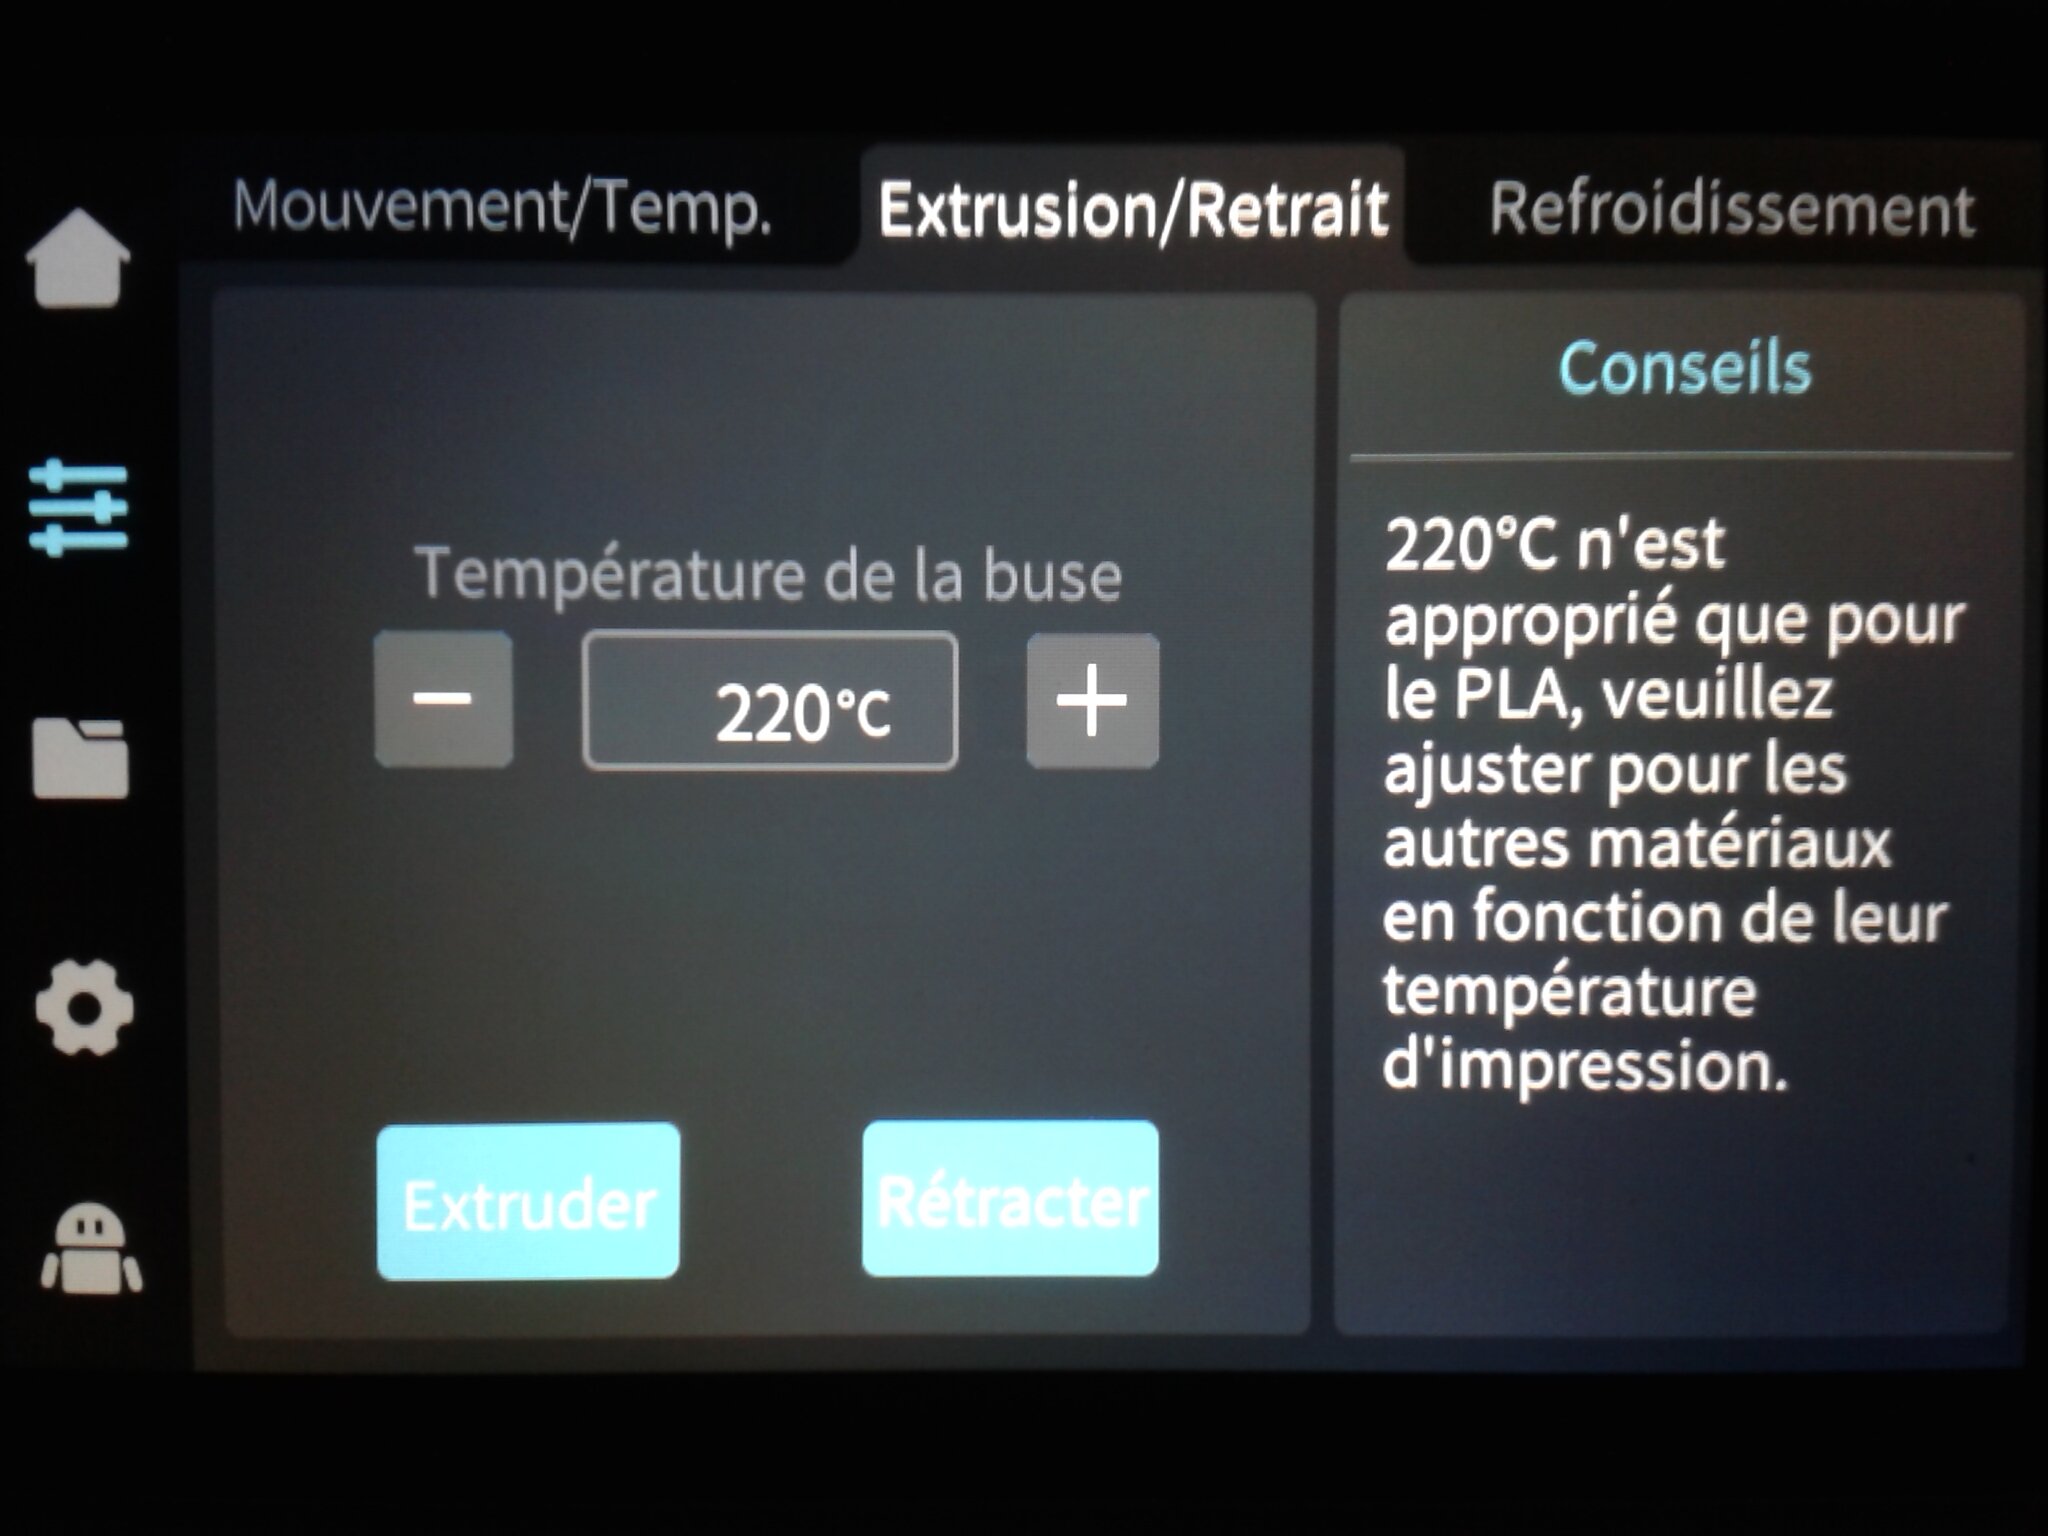
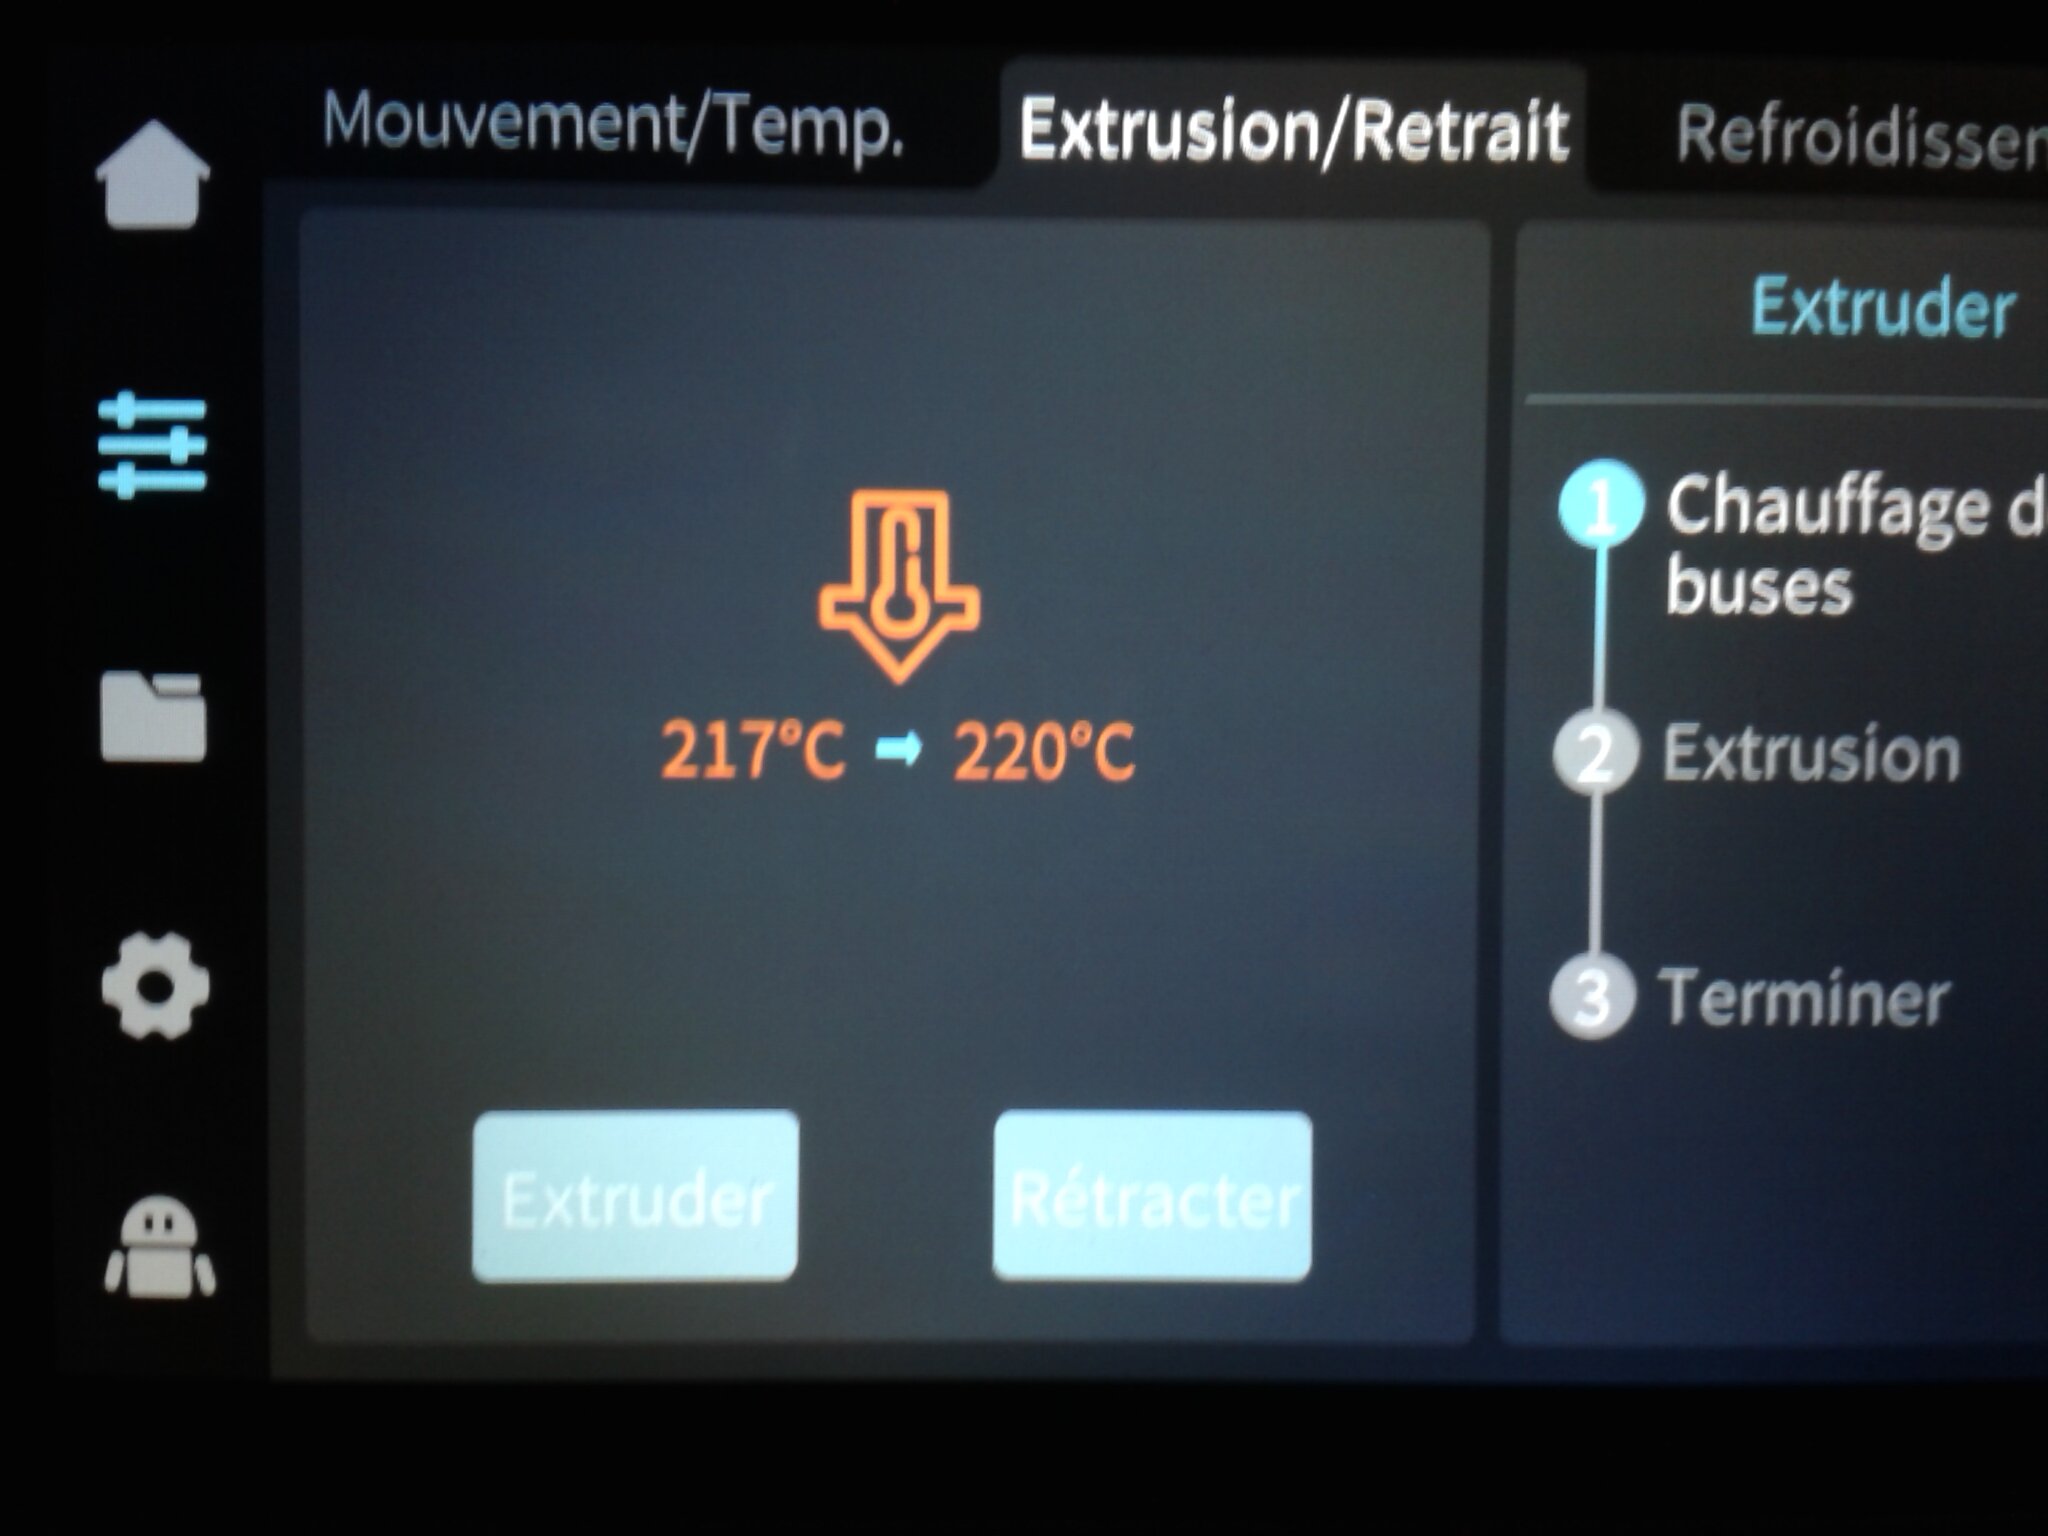
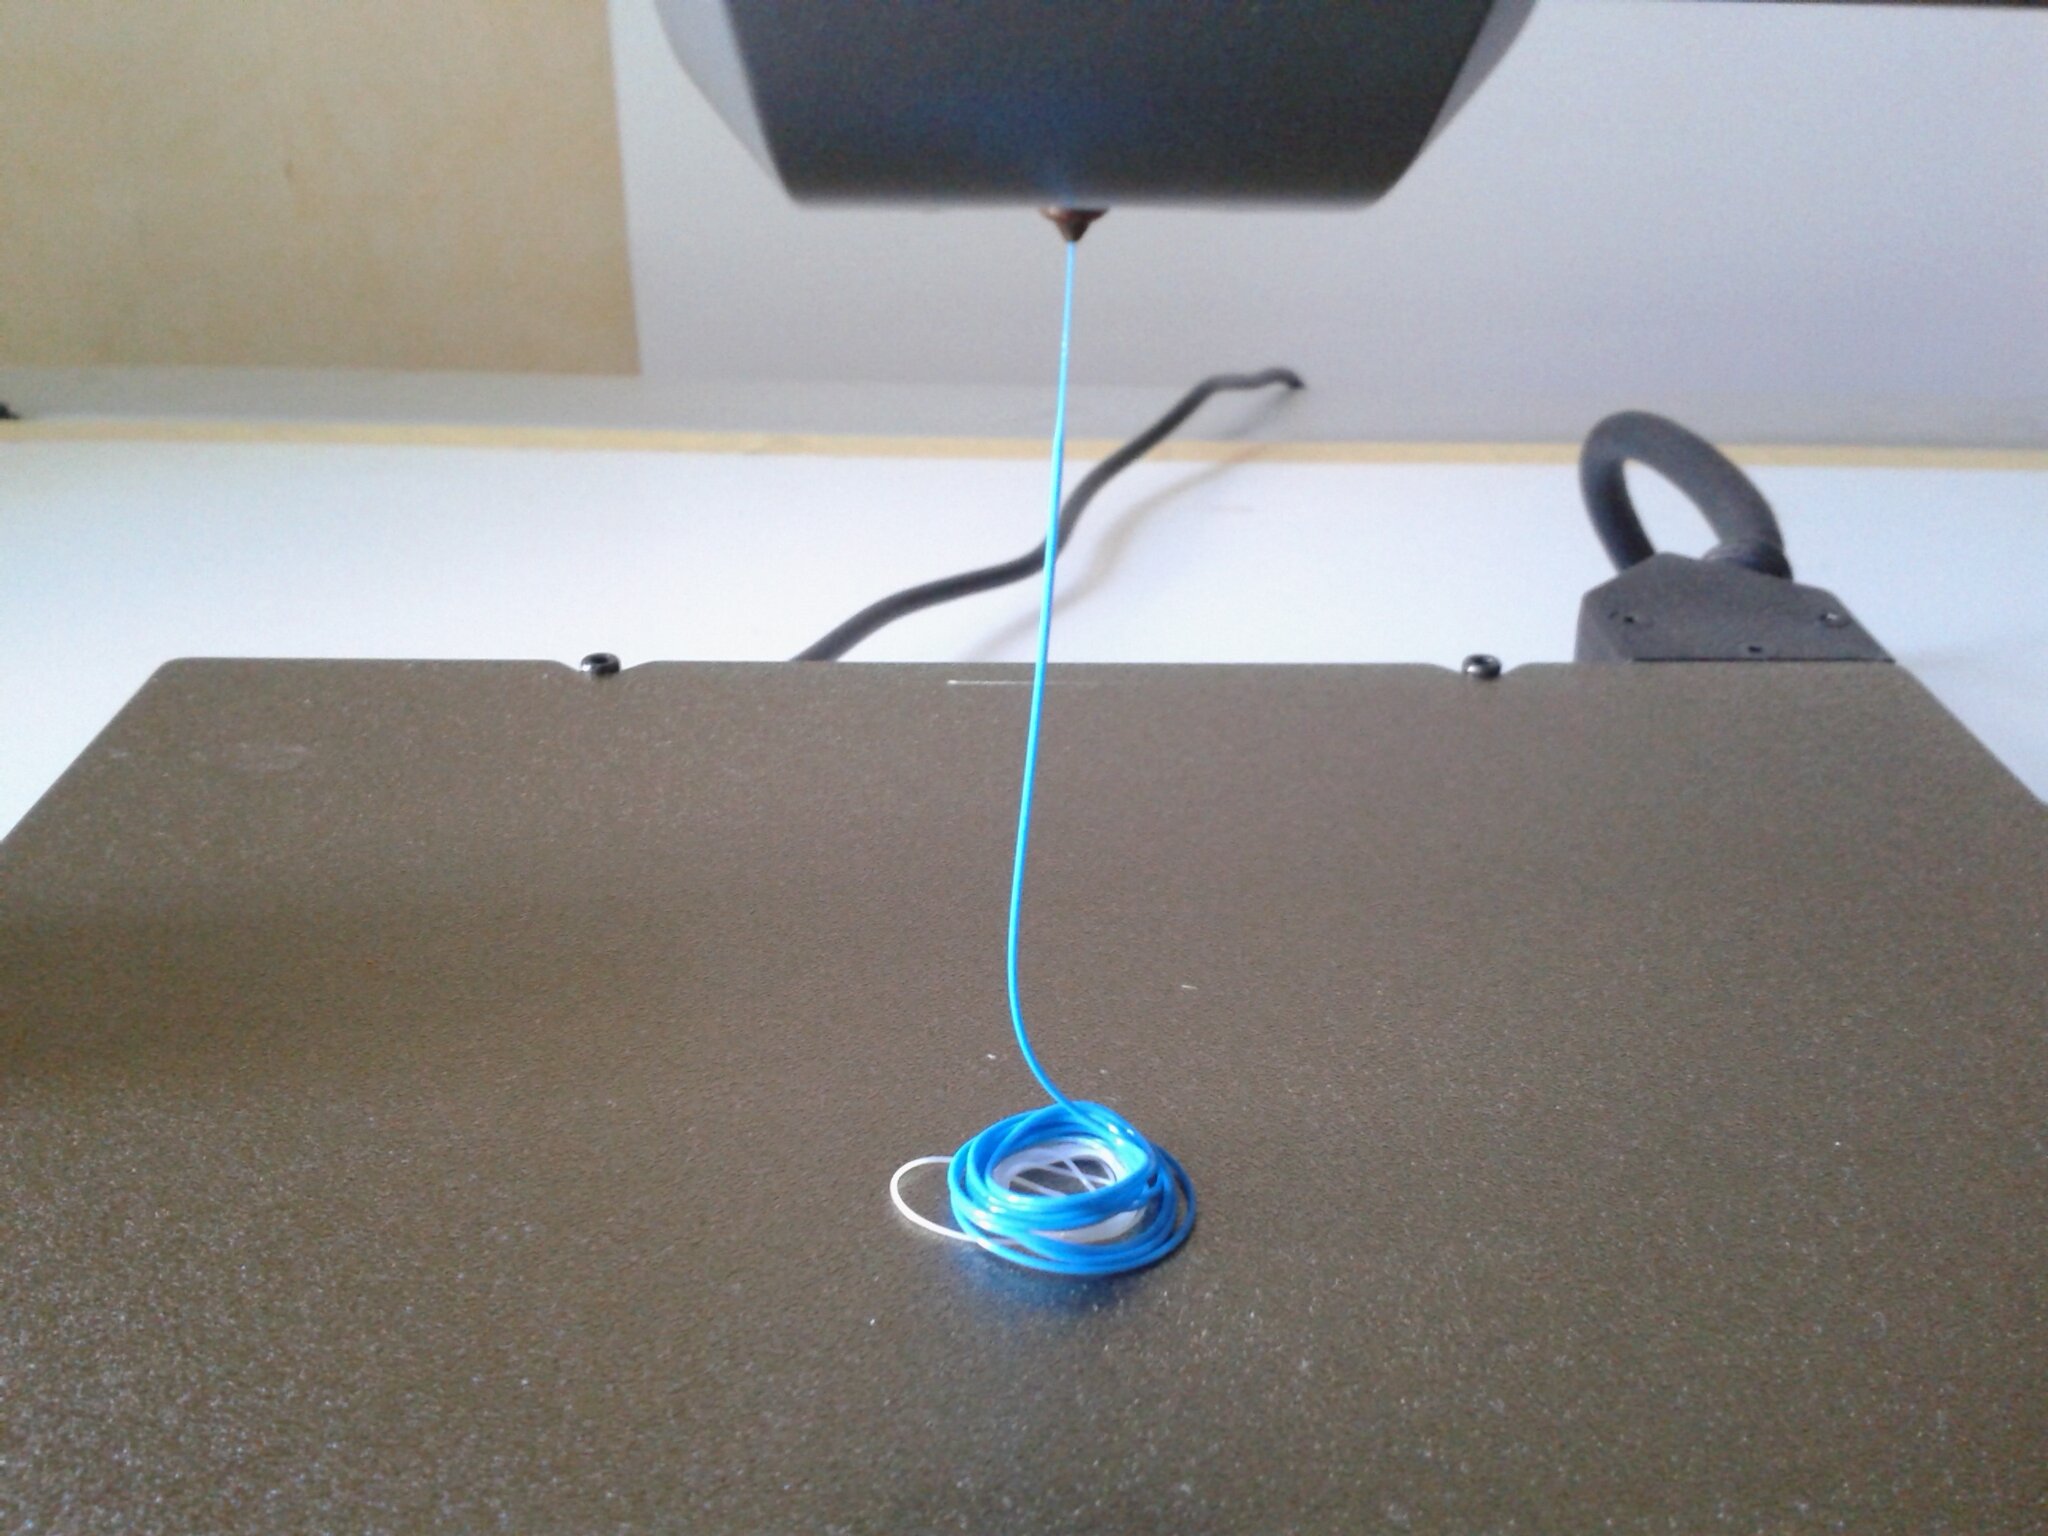
- Et enfin terminer le chargement du filament via une demande d’extrusion.


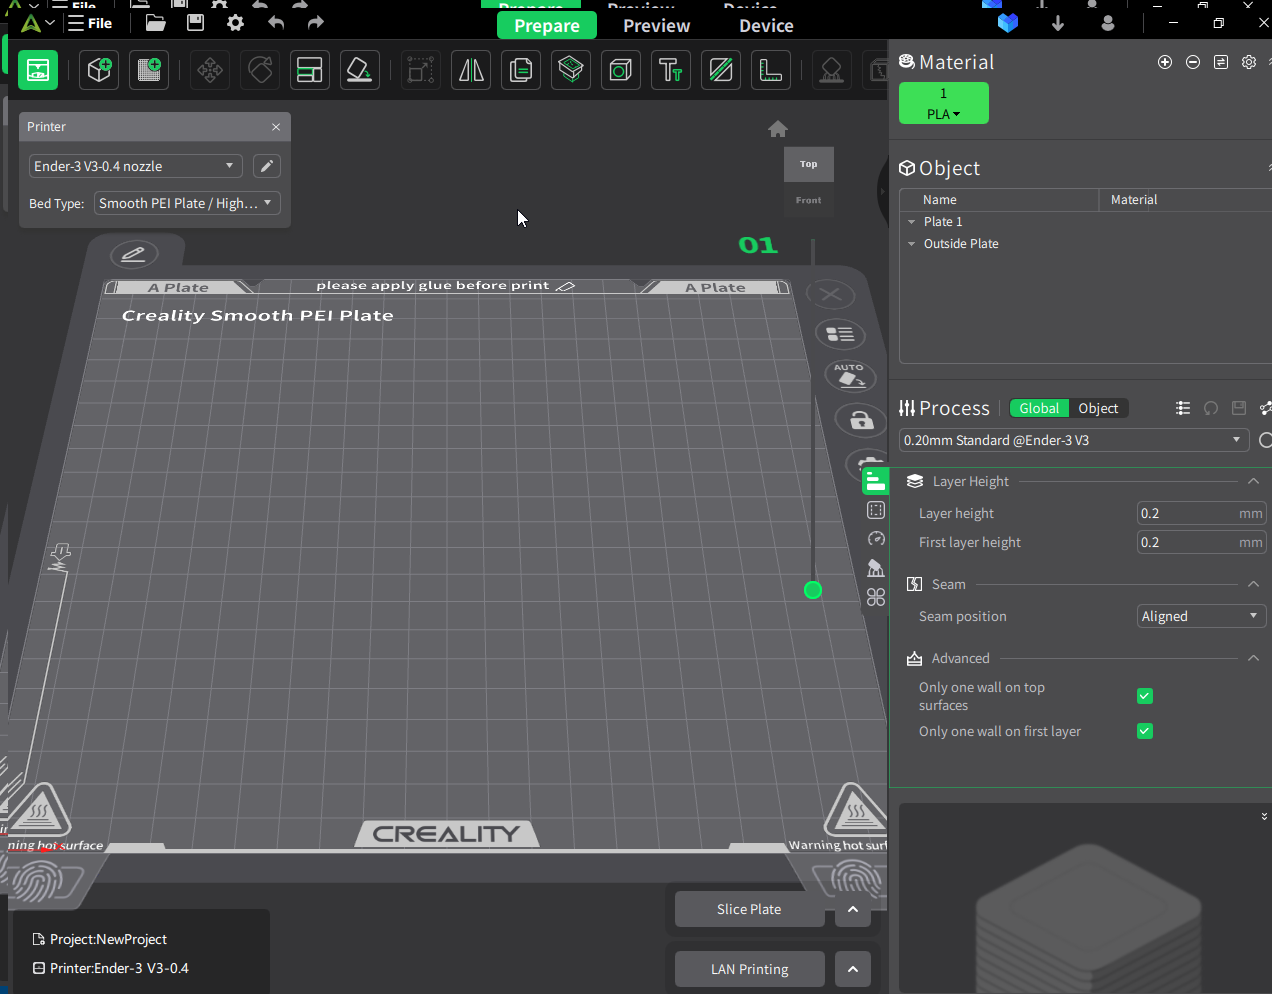
Logiciel slicer
Creality Print
Sur la clé USB fournie, dans l’archive “Ender-3 V3__supplementary files_EN_V1.1.rar” on trouve :
- Creality_Print-v4.3.8.7021-win64-Release.exe (~168.4 MB, en date du 23 janv. 2024)
Bien remarquer qu’il s’agit de la build 7021 de la version 4.3.8 avec plus de profils matériaux et qualités que les autres builds de la version 4.3.8 que l’on peut actuellement trouver en téléchargement sur les pages de Creality, de Creality Cloud ou (hors version “Pre-Release” équivalente à une bêta) dans les “releases” du github de Creality Print.


Creality Print v5.0.0 vient de sortir. Par conséquent, je ne l’ai pas encore vraiment testé. Il semble être un dérivé (“fork”) de PrusaSlicer / OrcaSlicer / Bambu Studio, proposant enfin la possibilité de faire des changements de filaments (par objet, par sous-objet ou par couche). Il vous faudra pour cela légèrement modifier le profil de la Ender-3 V3 actuellement embarqué par cette version (ajouter “PAUSE” comme g-code de changement de filament).
Orca Slicer
Orca Slicer est un dérivé de Prusa Slicer, très proche de Bambu Studio en terme d’ergonomie.
Sur les pages du wiki Creality de la Ender-3 V3, on trouve un profil de la Ender-3 V3 pour OrcaSlicer, et des détails pour l’installer et l’utiliser.
L’intérêt du logiciel Orca Slicer est qu’il permet simplement d’insérer des changements de filaments (par objets ou lors de changement de couches) et facilite donc le tranchage d’impression multi-couleurs. Une possibilité déjà offerte avant la sortie de Creality Print 5.


Impression de test (PLA) avec la Ender-3 V3 de Creality
Pour l’ensemble de ces impressions de test, j’ai utilisé du filament Hyper PLA bleu Creality.
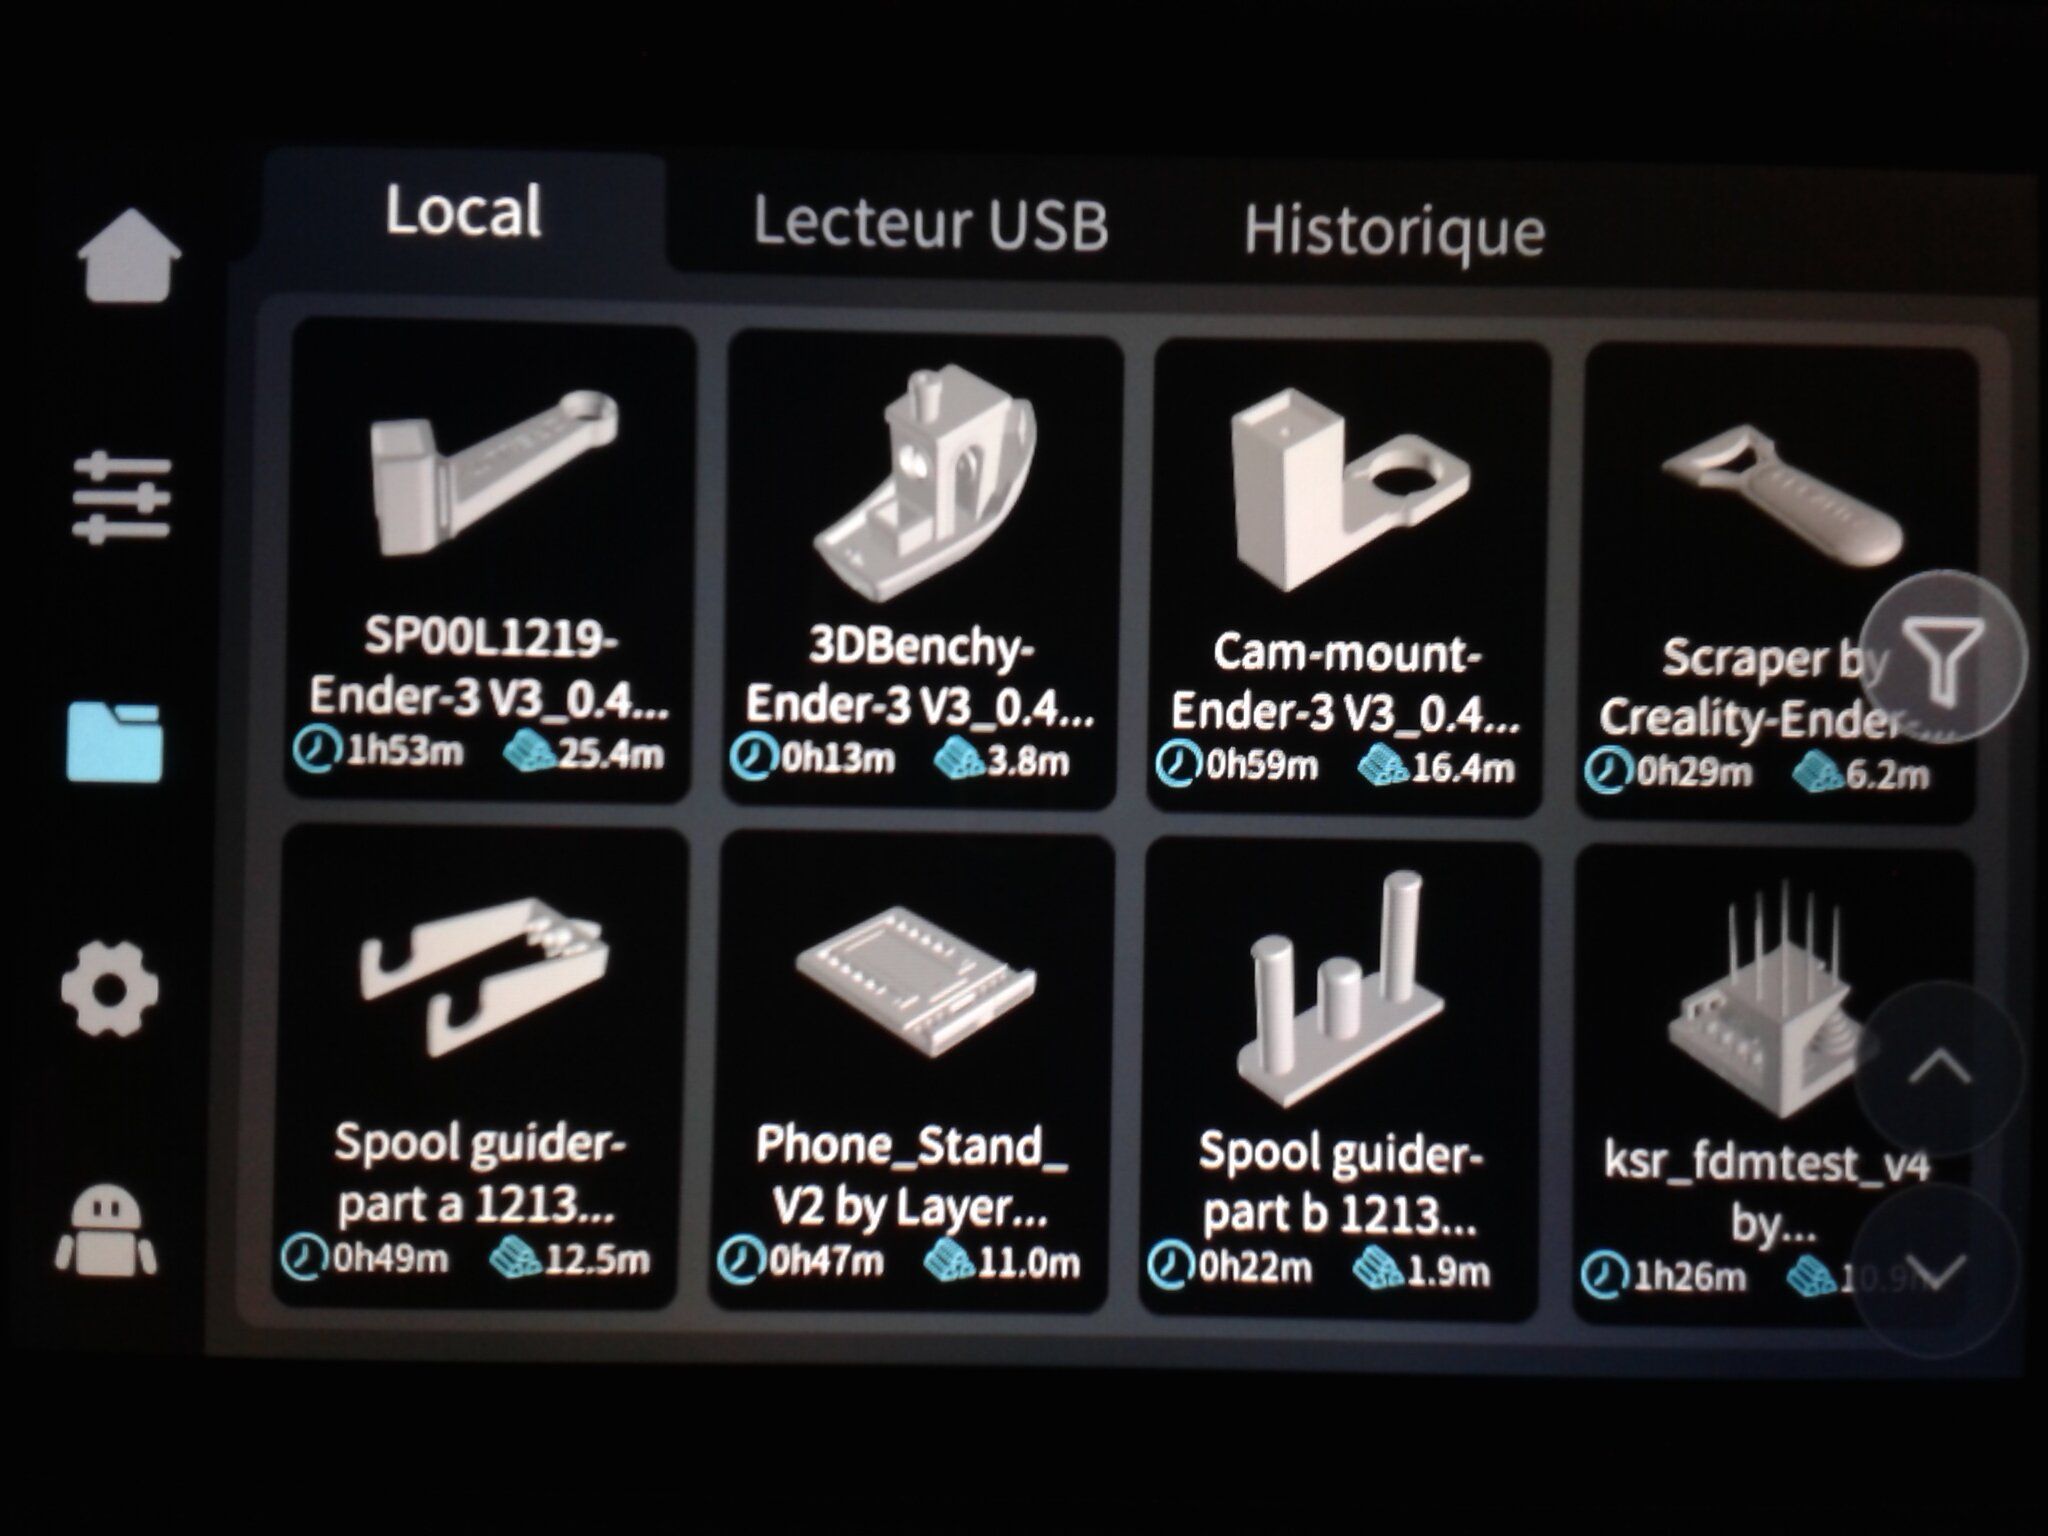
3DBenchy-Ender-3 V3_0.4_Hyper PLA_13m.gcode
Durée : 13 min 47 s. Pour permettre ce temps, le Benchy est pré-tranché avec des hauteurs de couche de 0.3 mm).
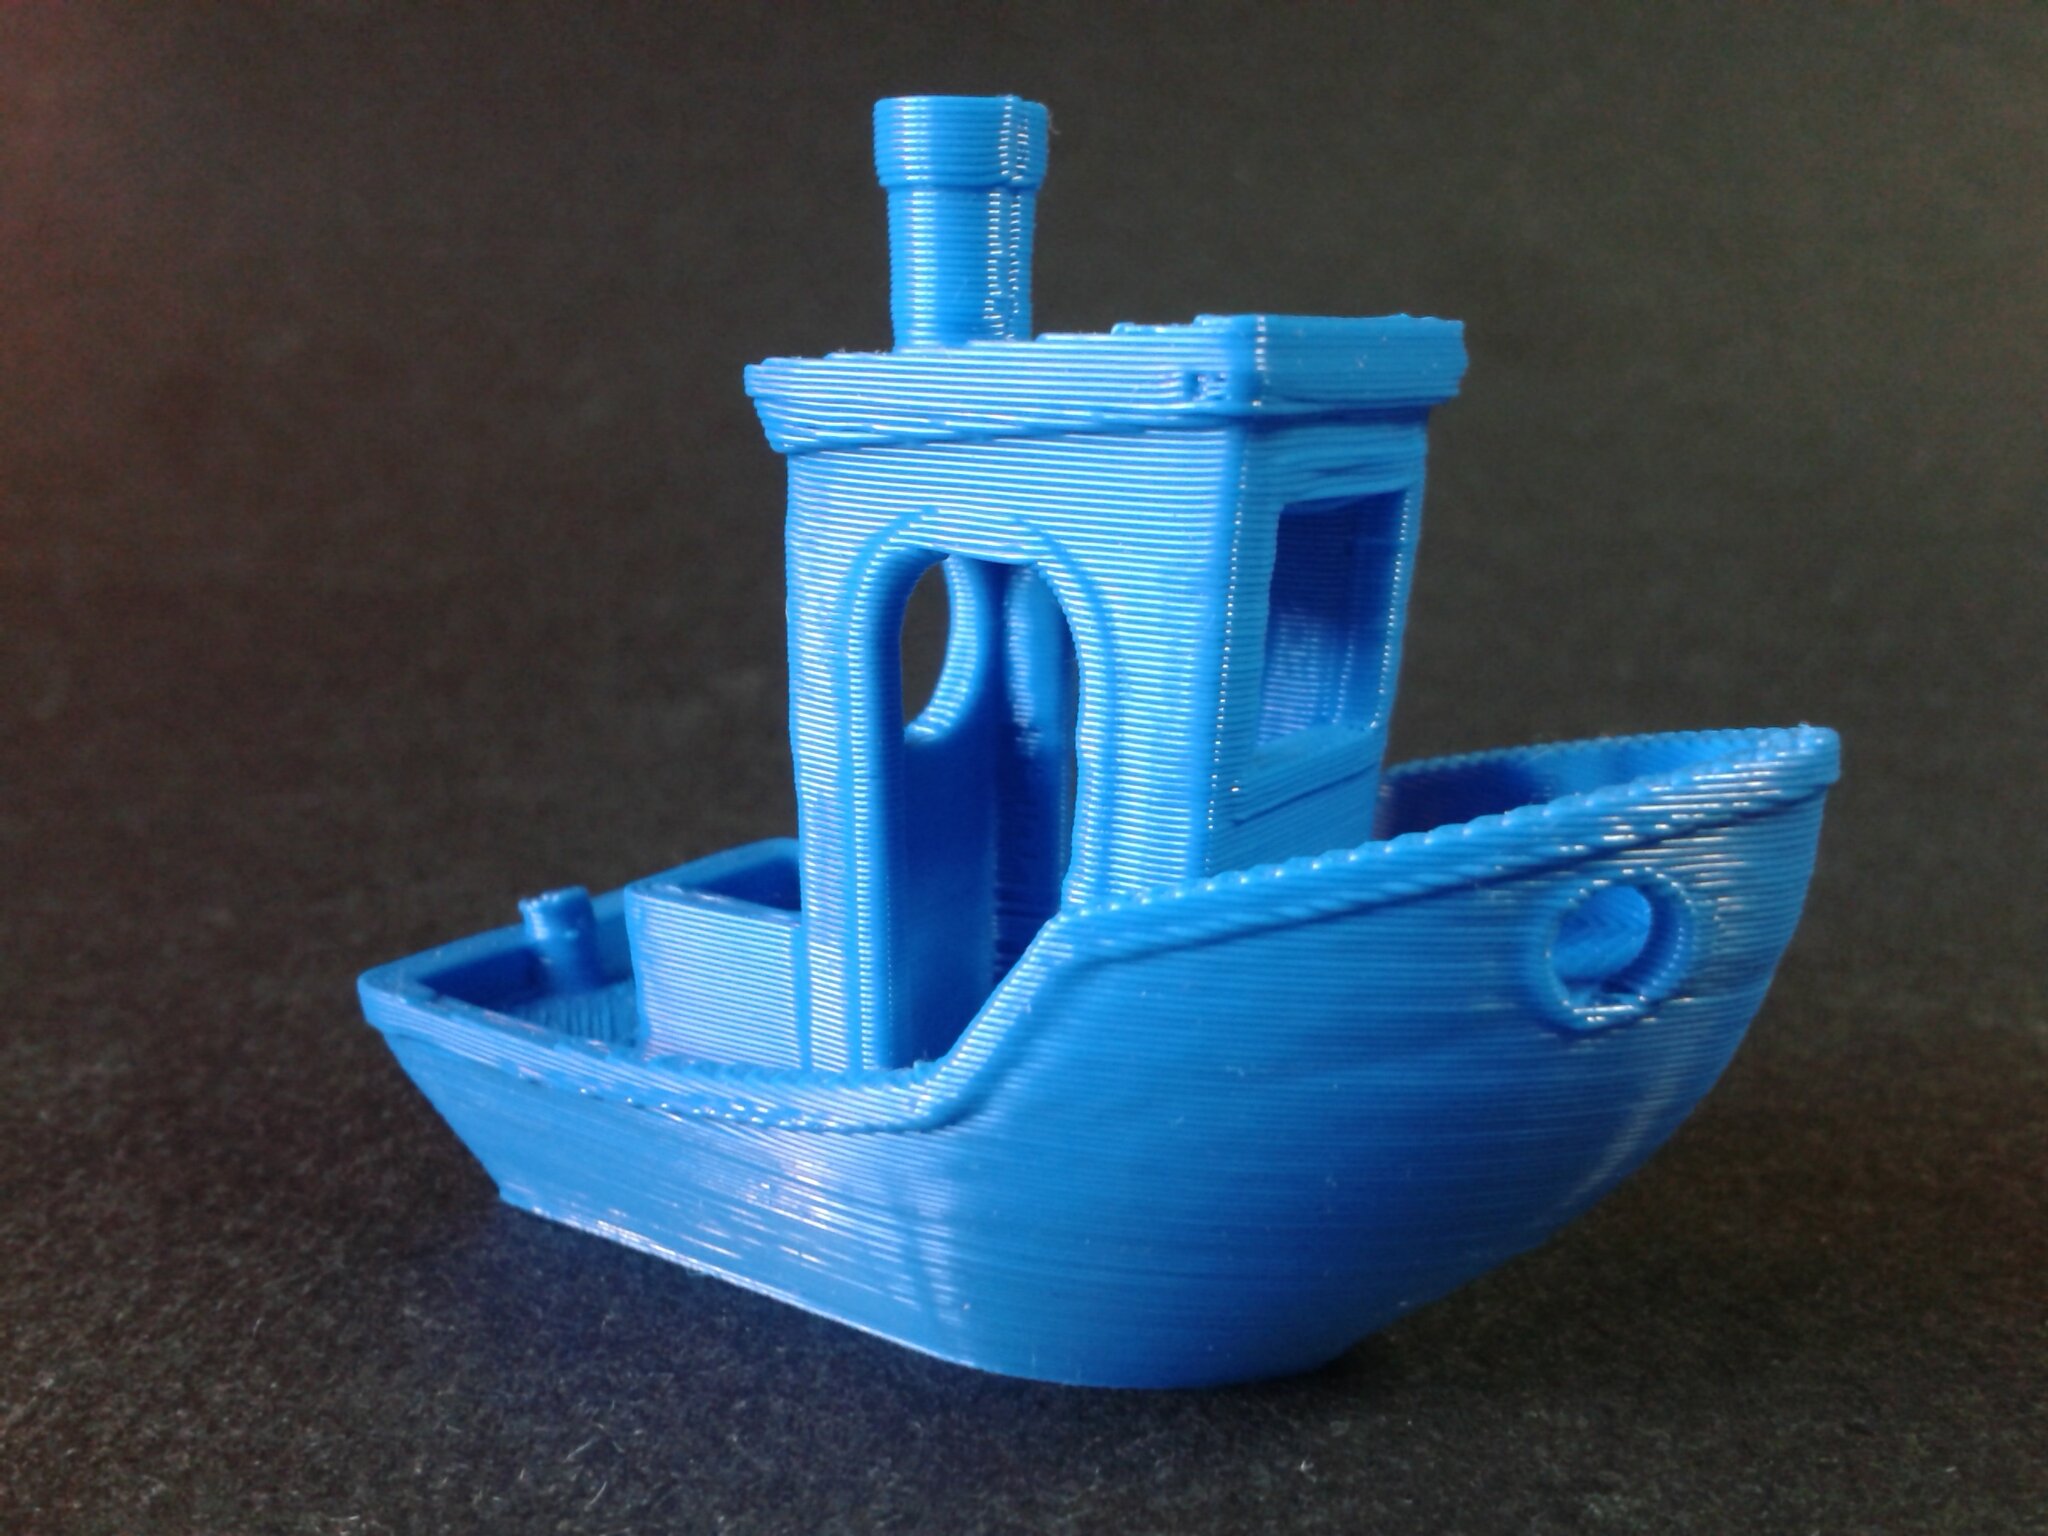
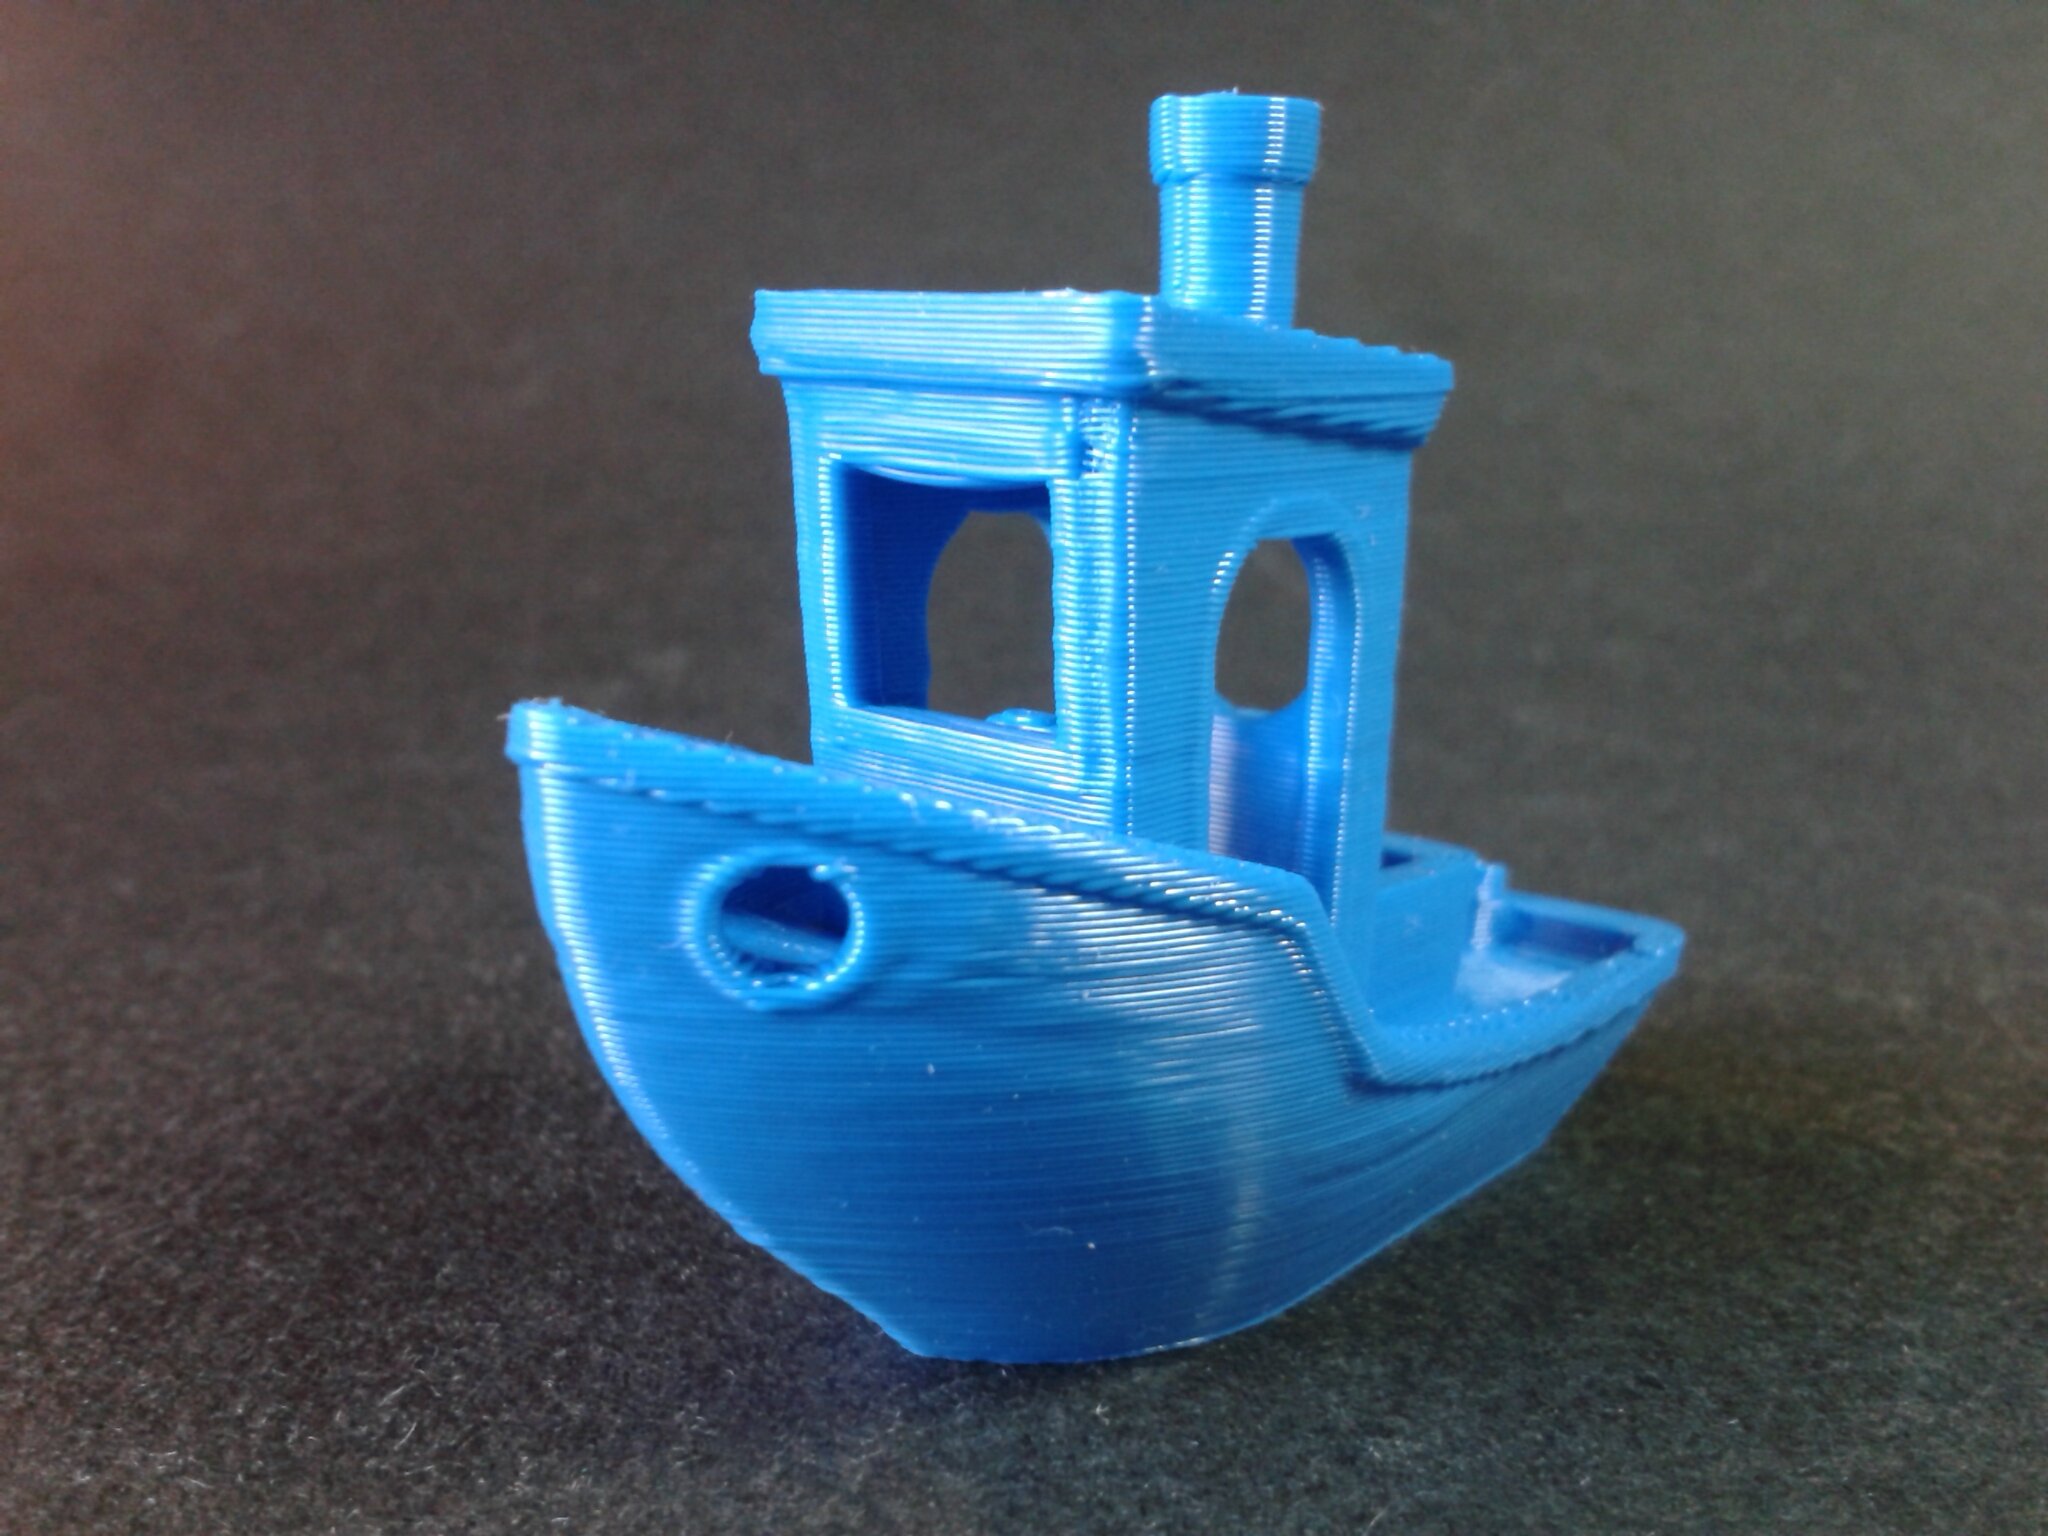
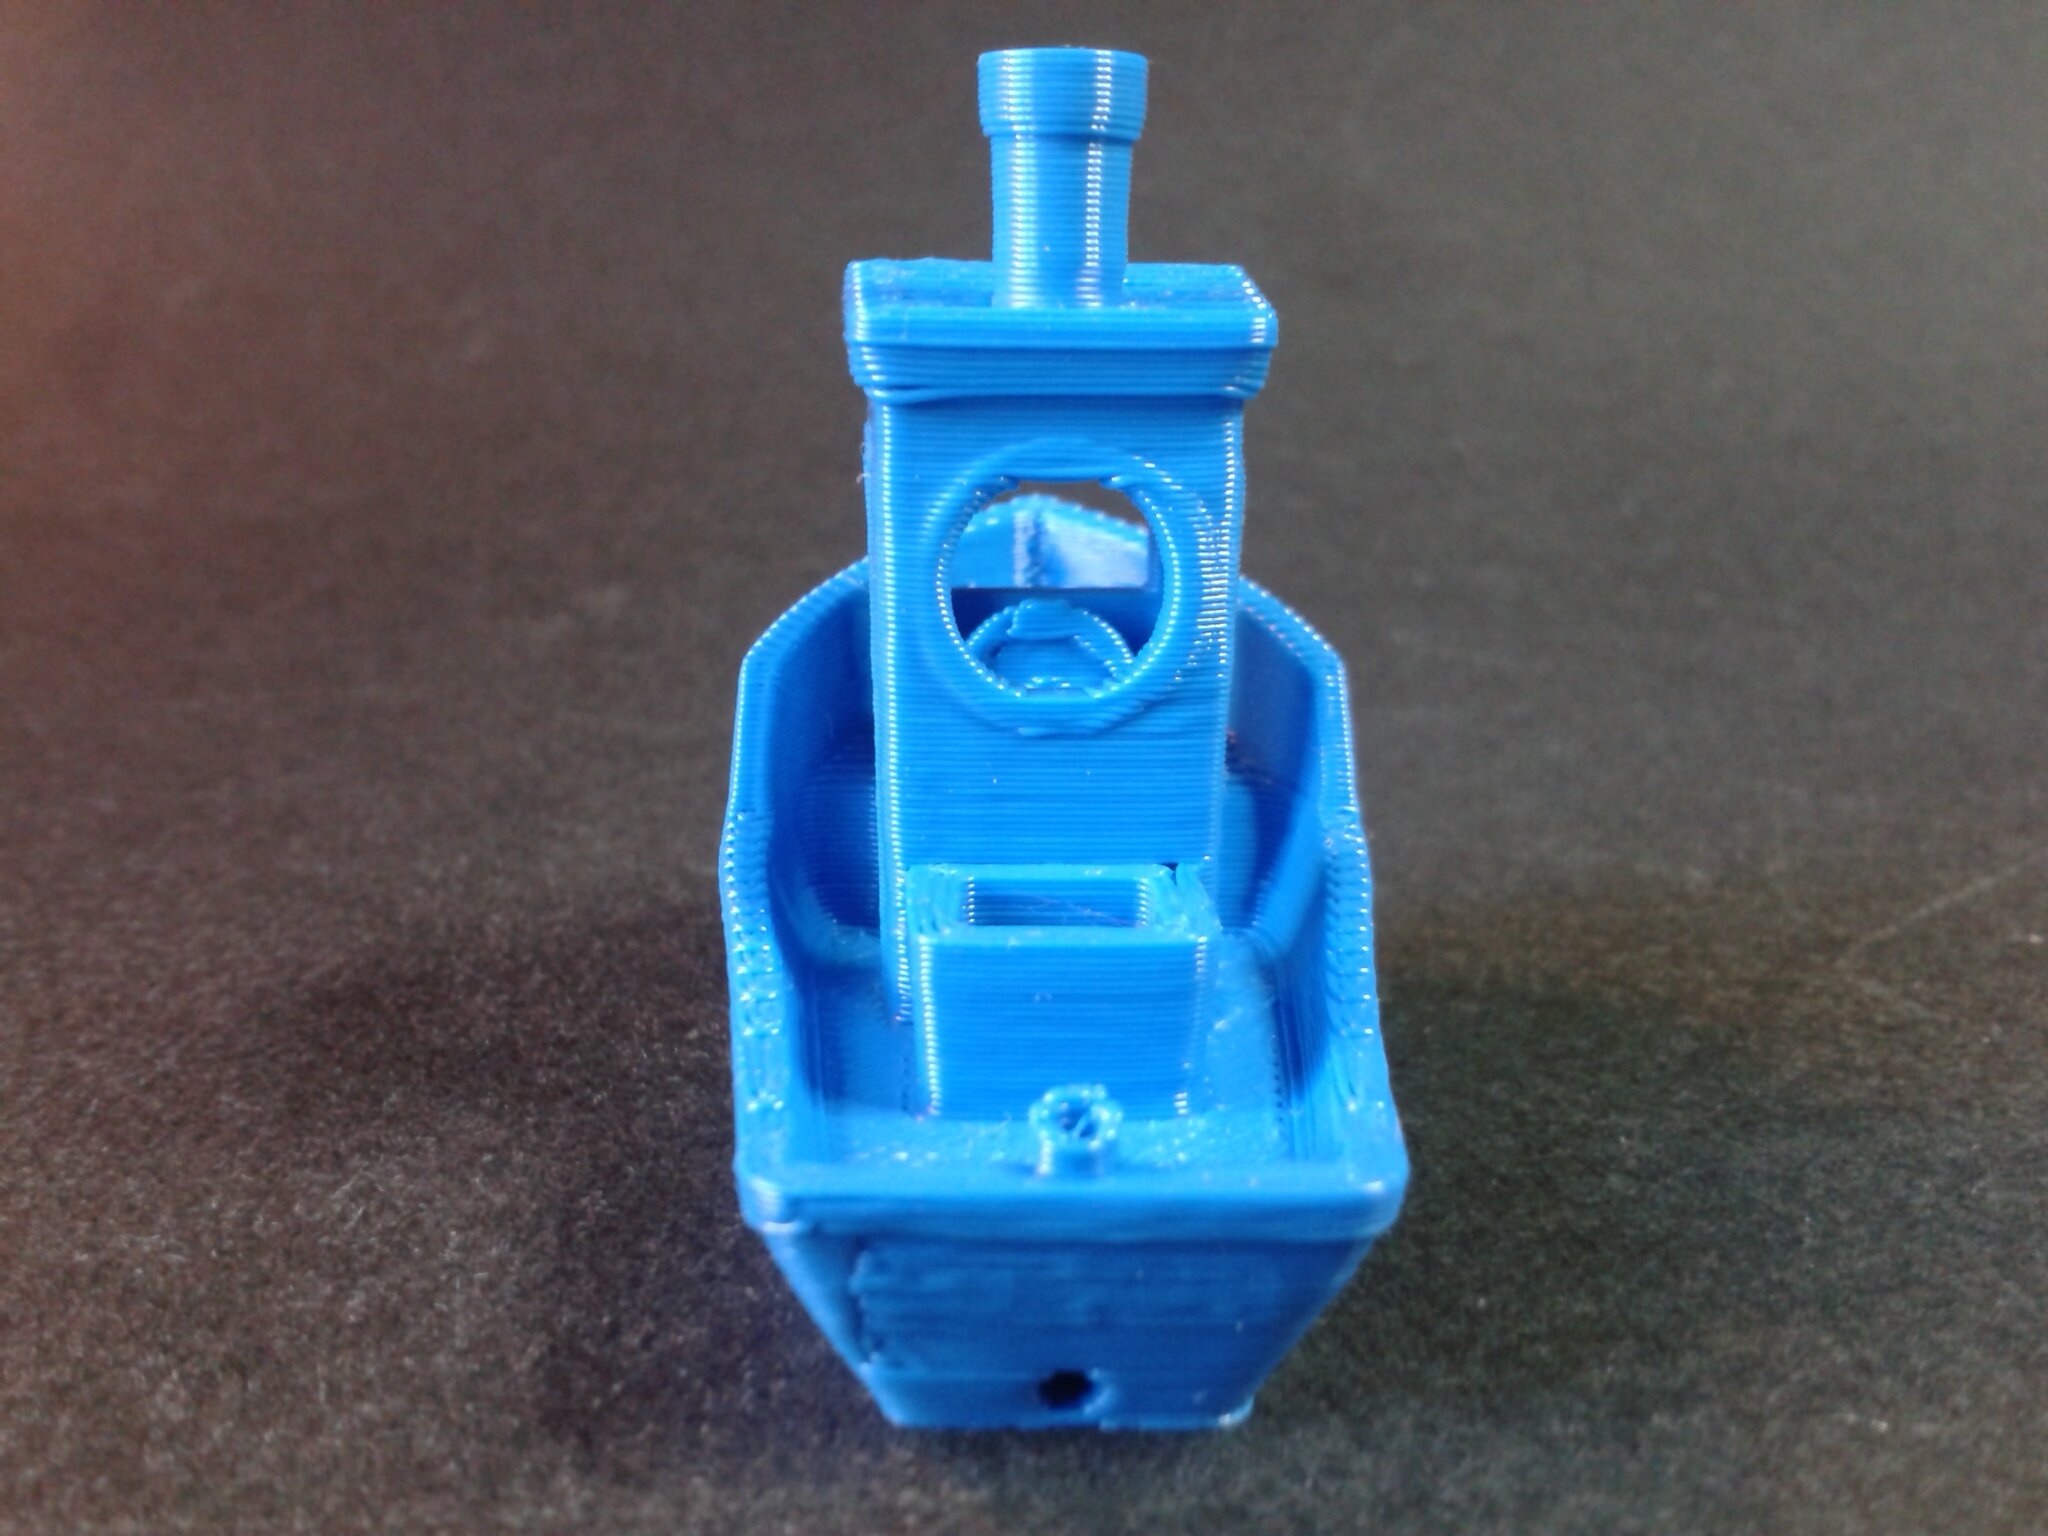
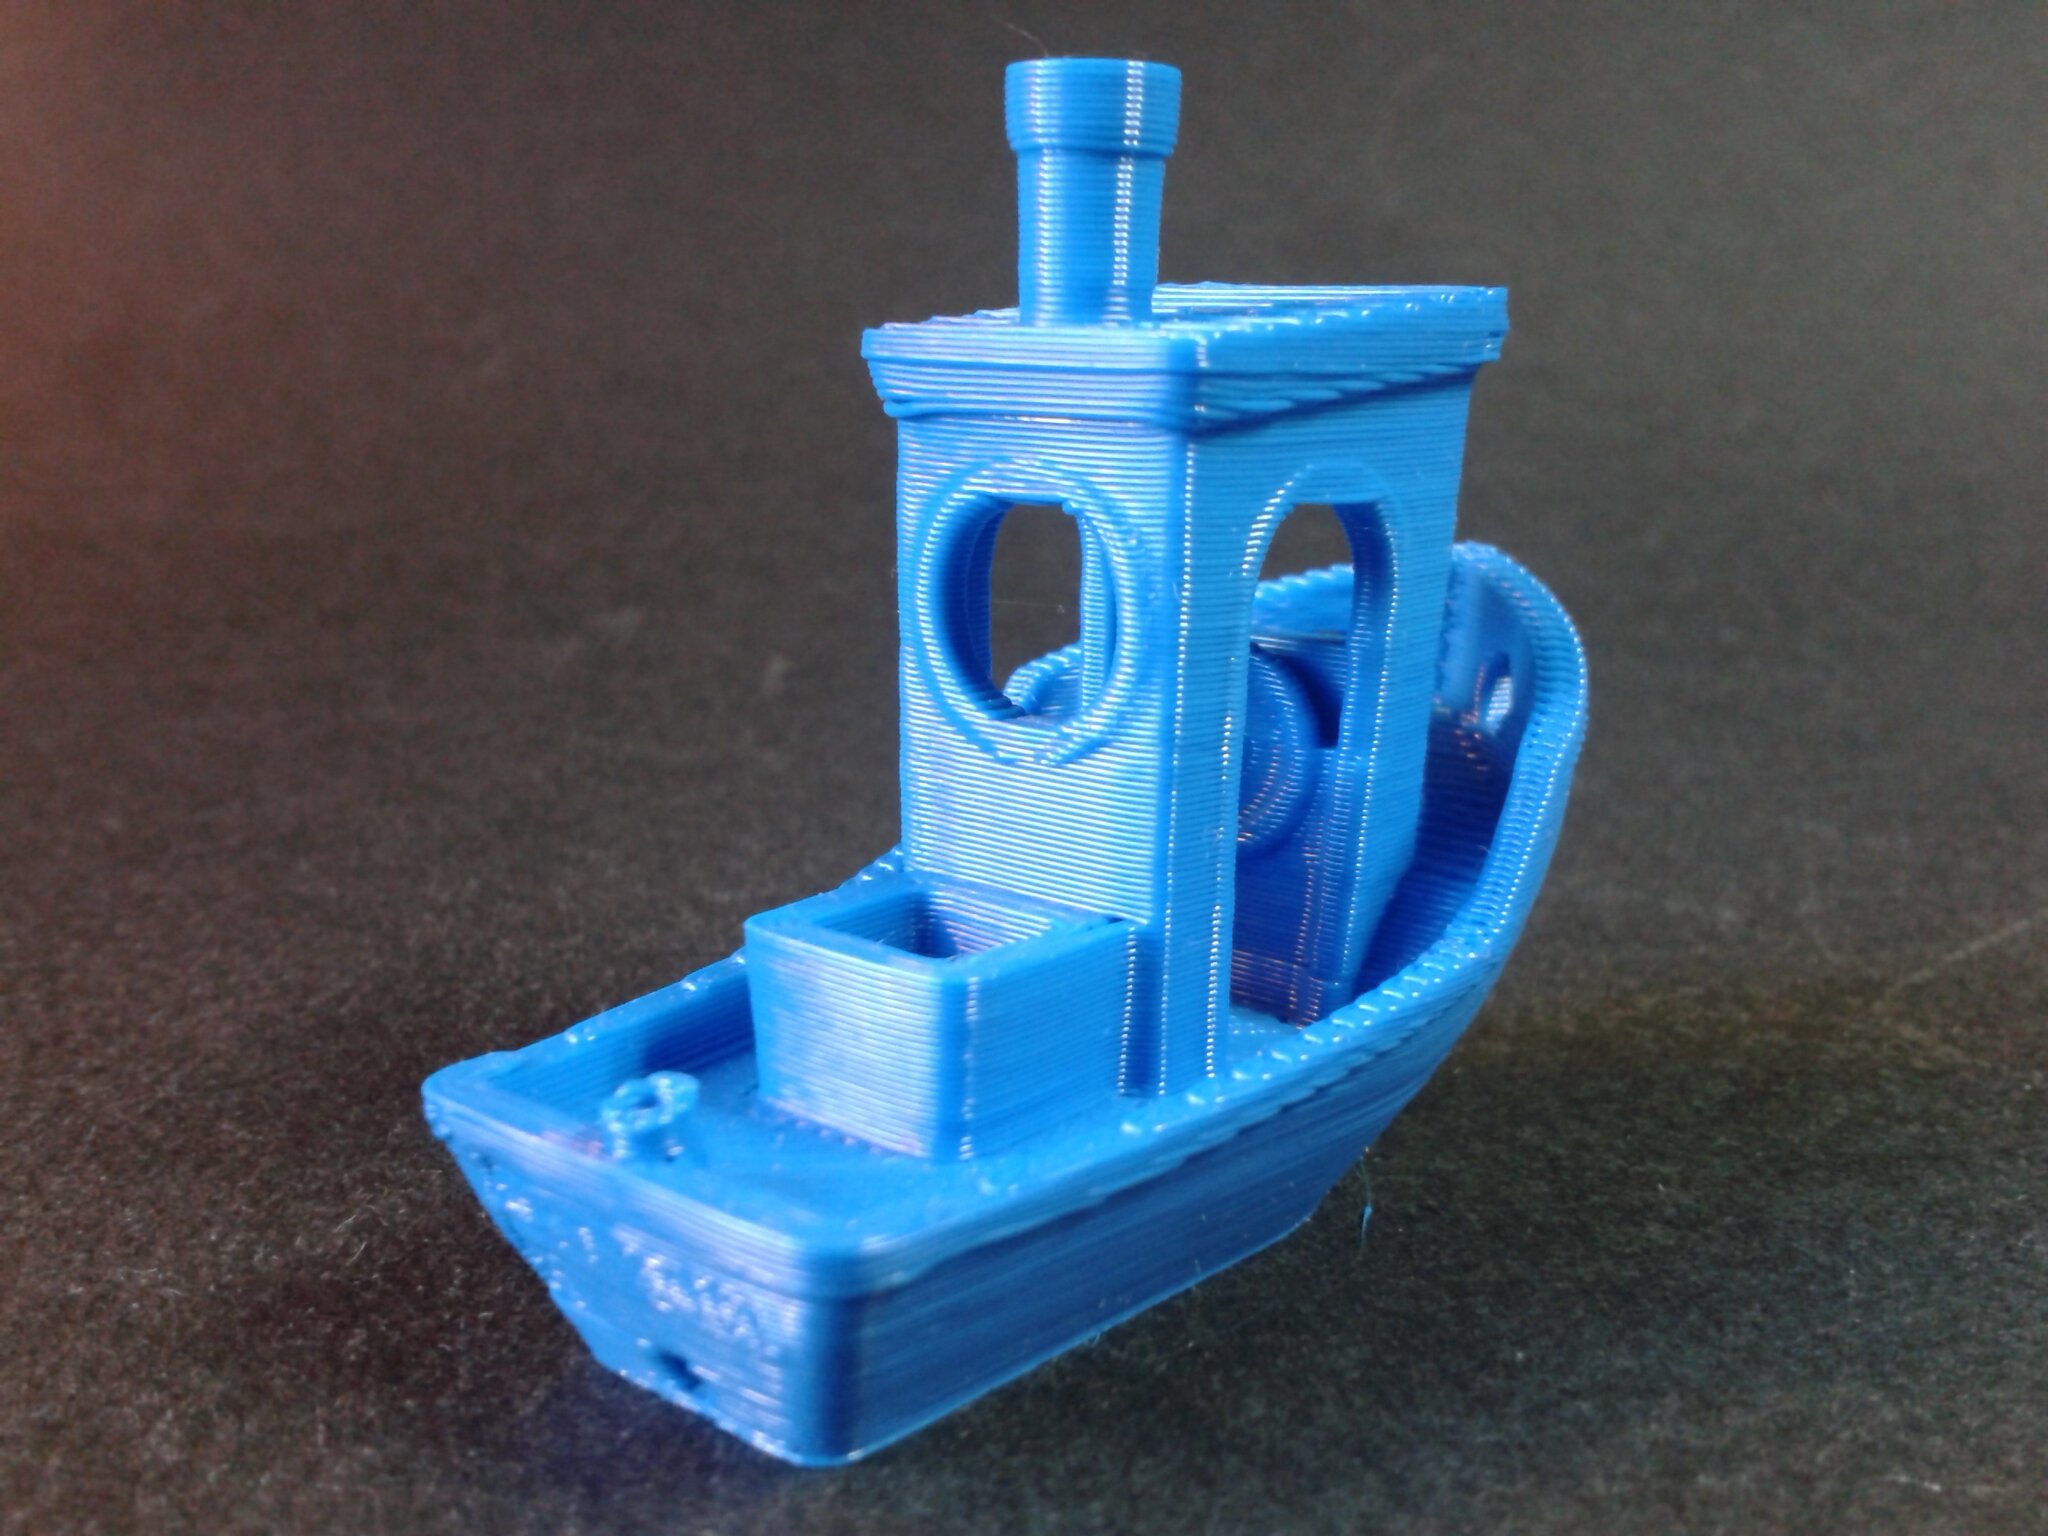
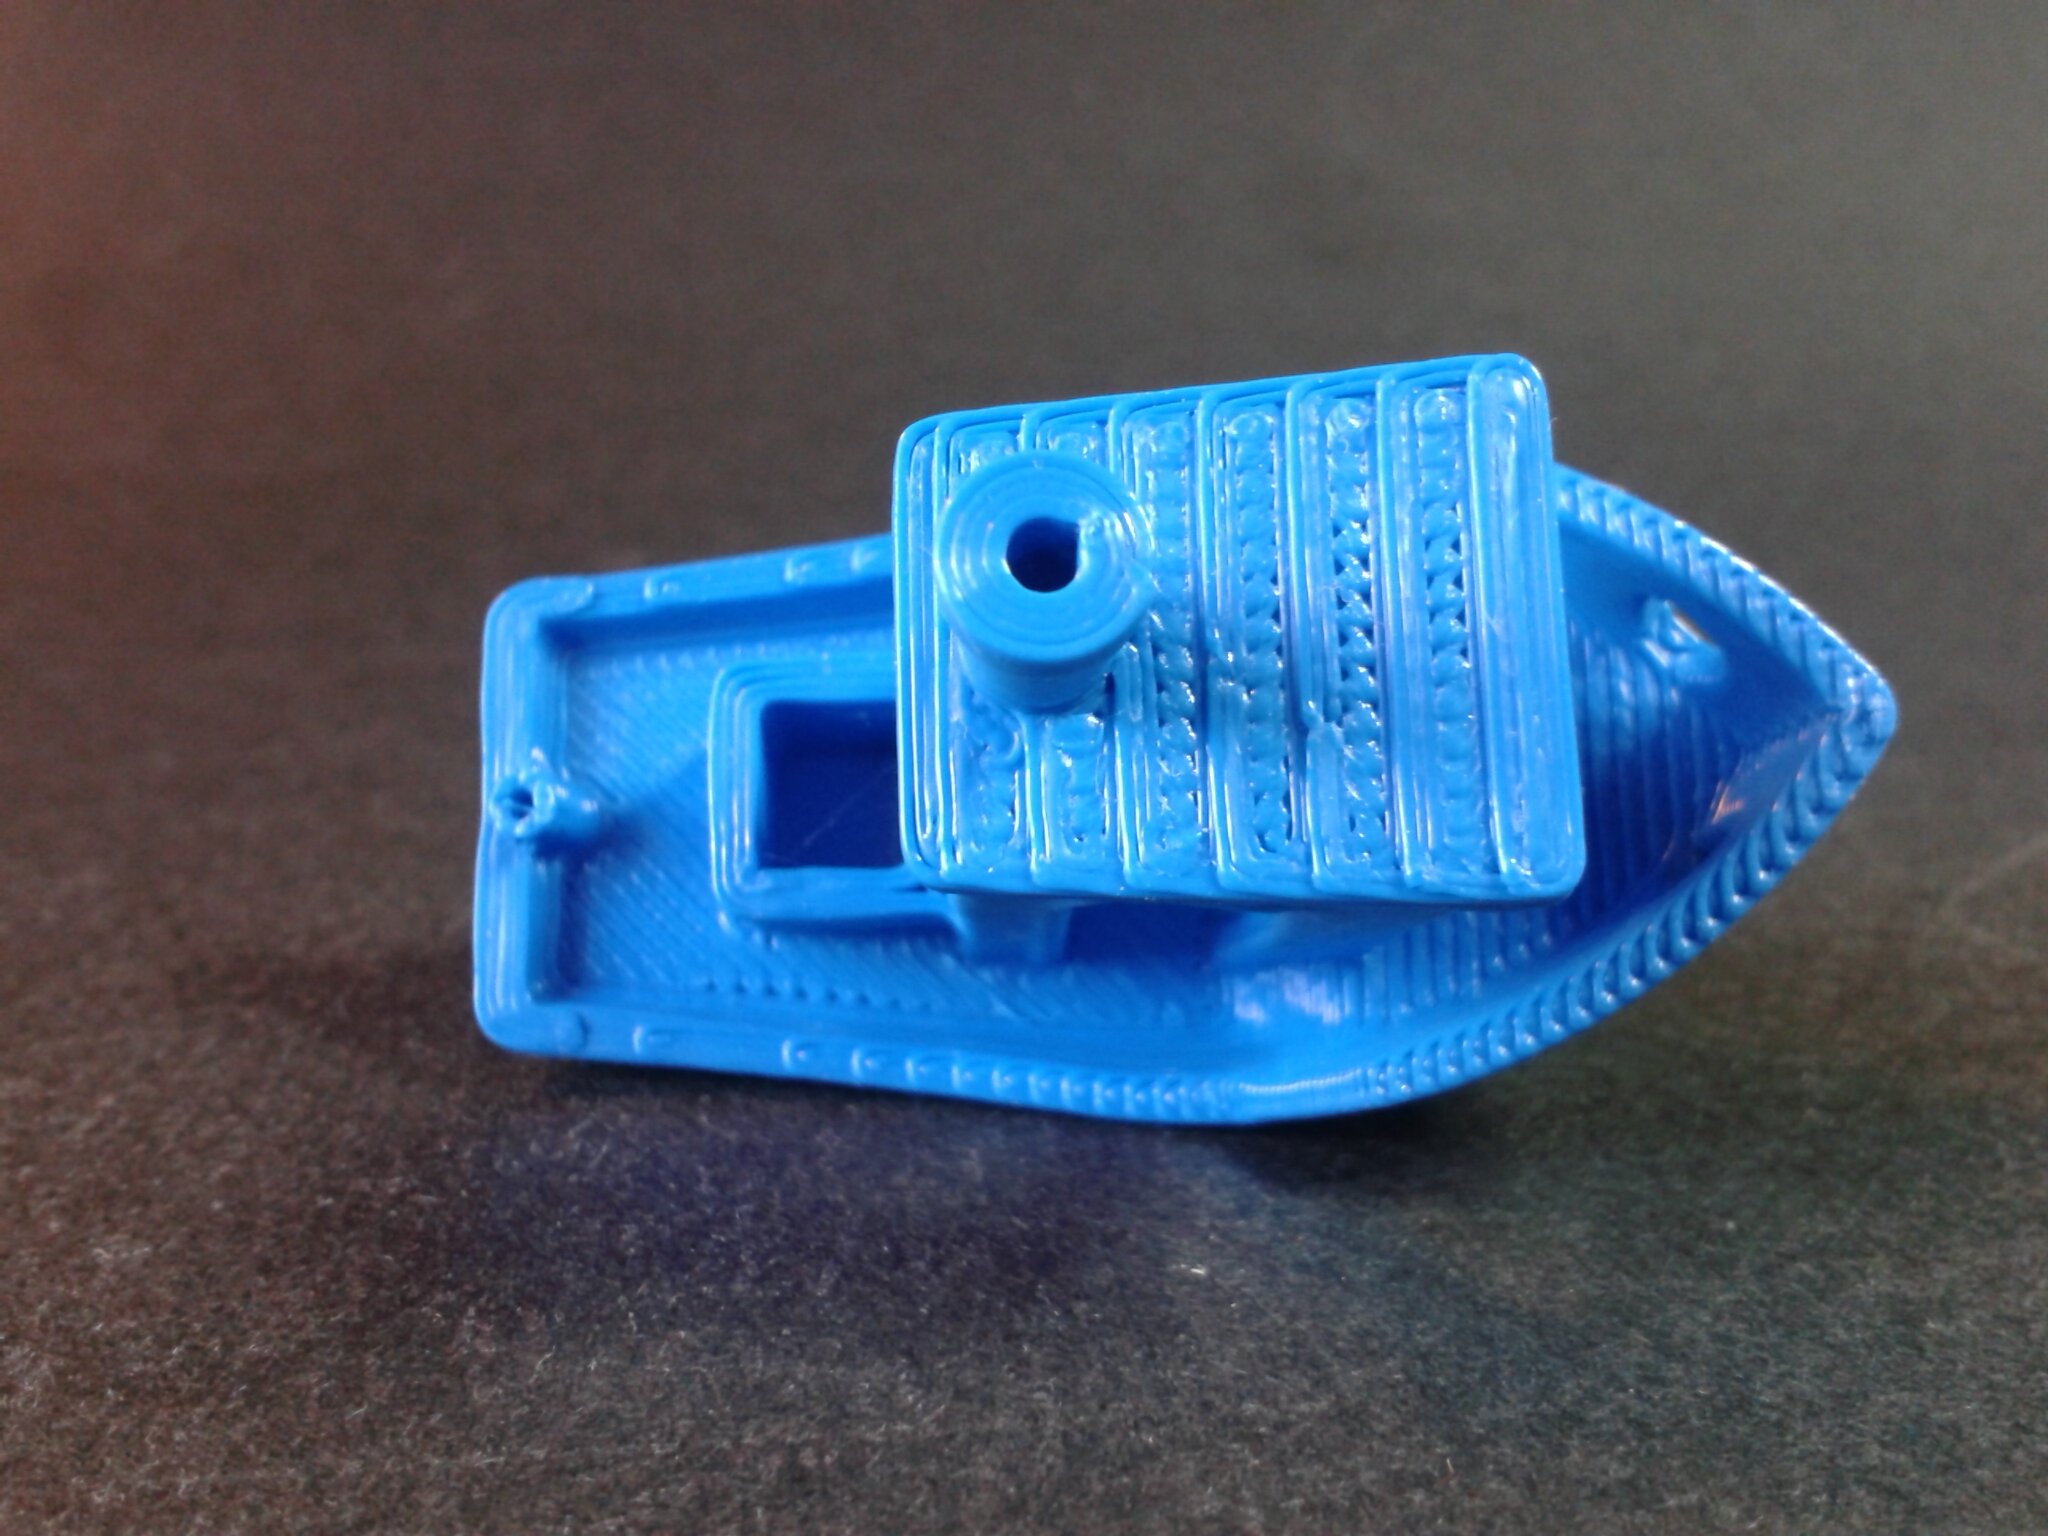
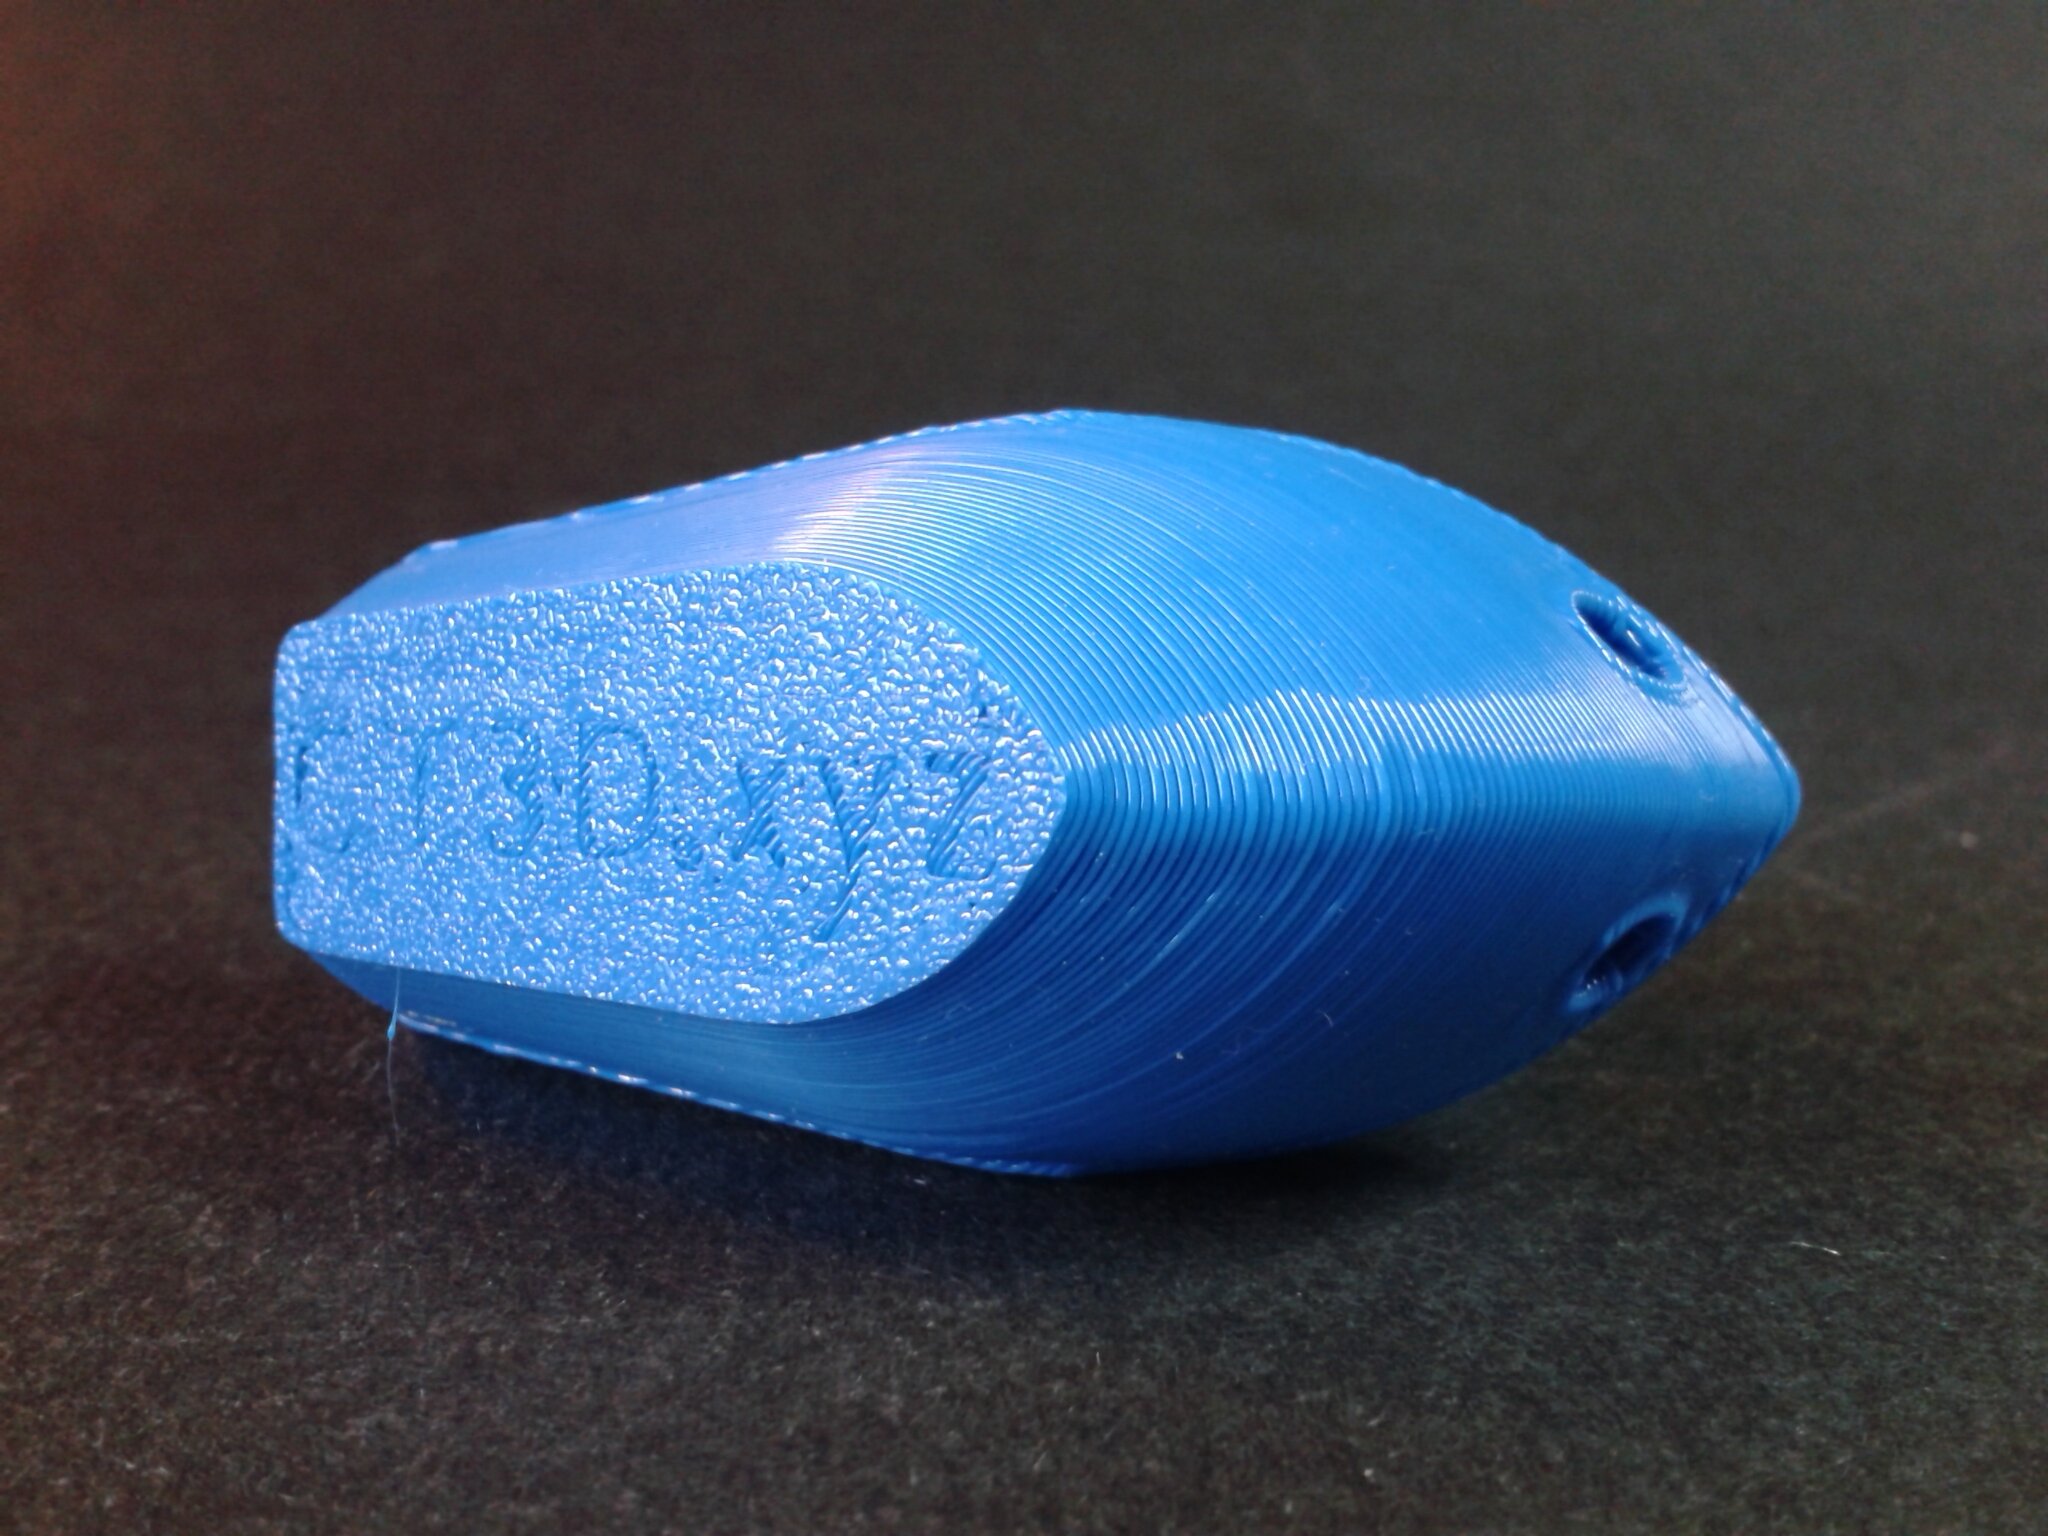
Pour une première impression, à cette vitesse, sur une machine fraîchement montée et sans ajustements matériel ni logiciel, je trouve le résultat de bonne qualité. De plus, la première couche est parfaitement écrasée sur la surface d’impression et cela sans avoir eu à ajuster le “Z-Offset”.
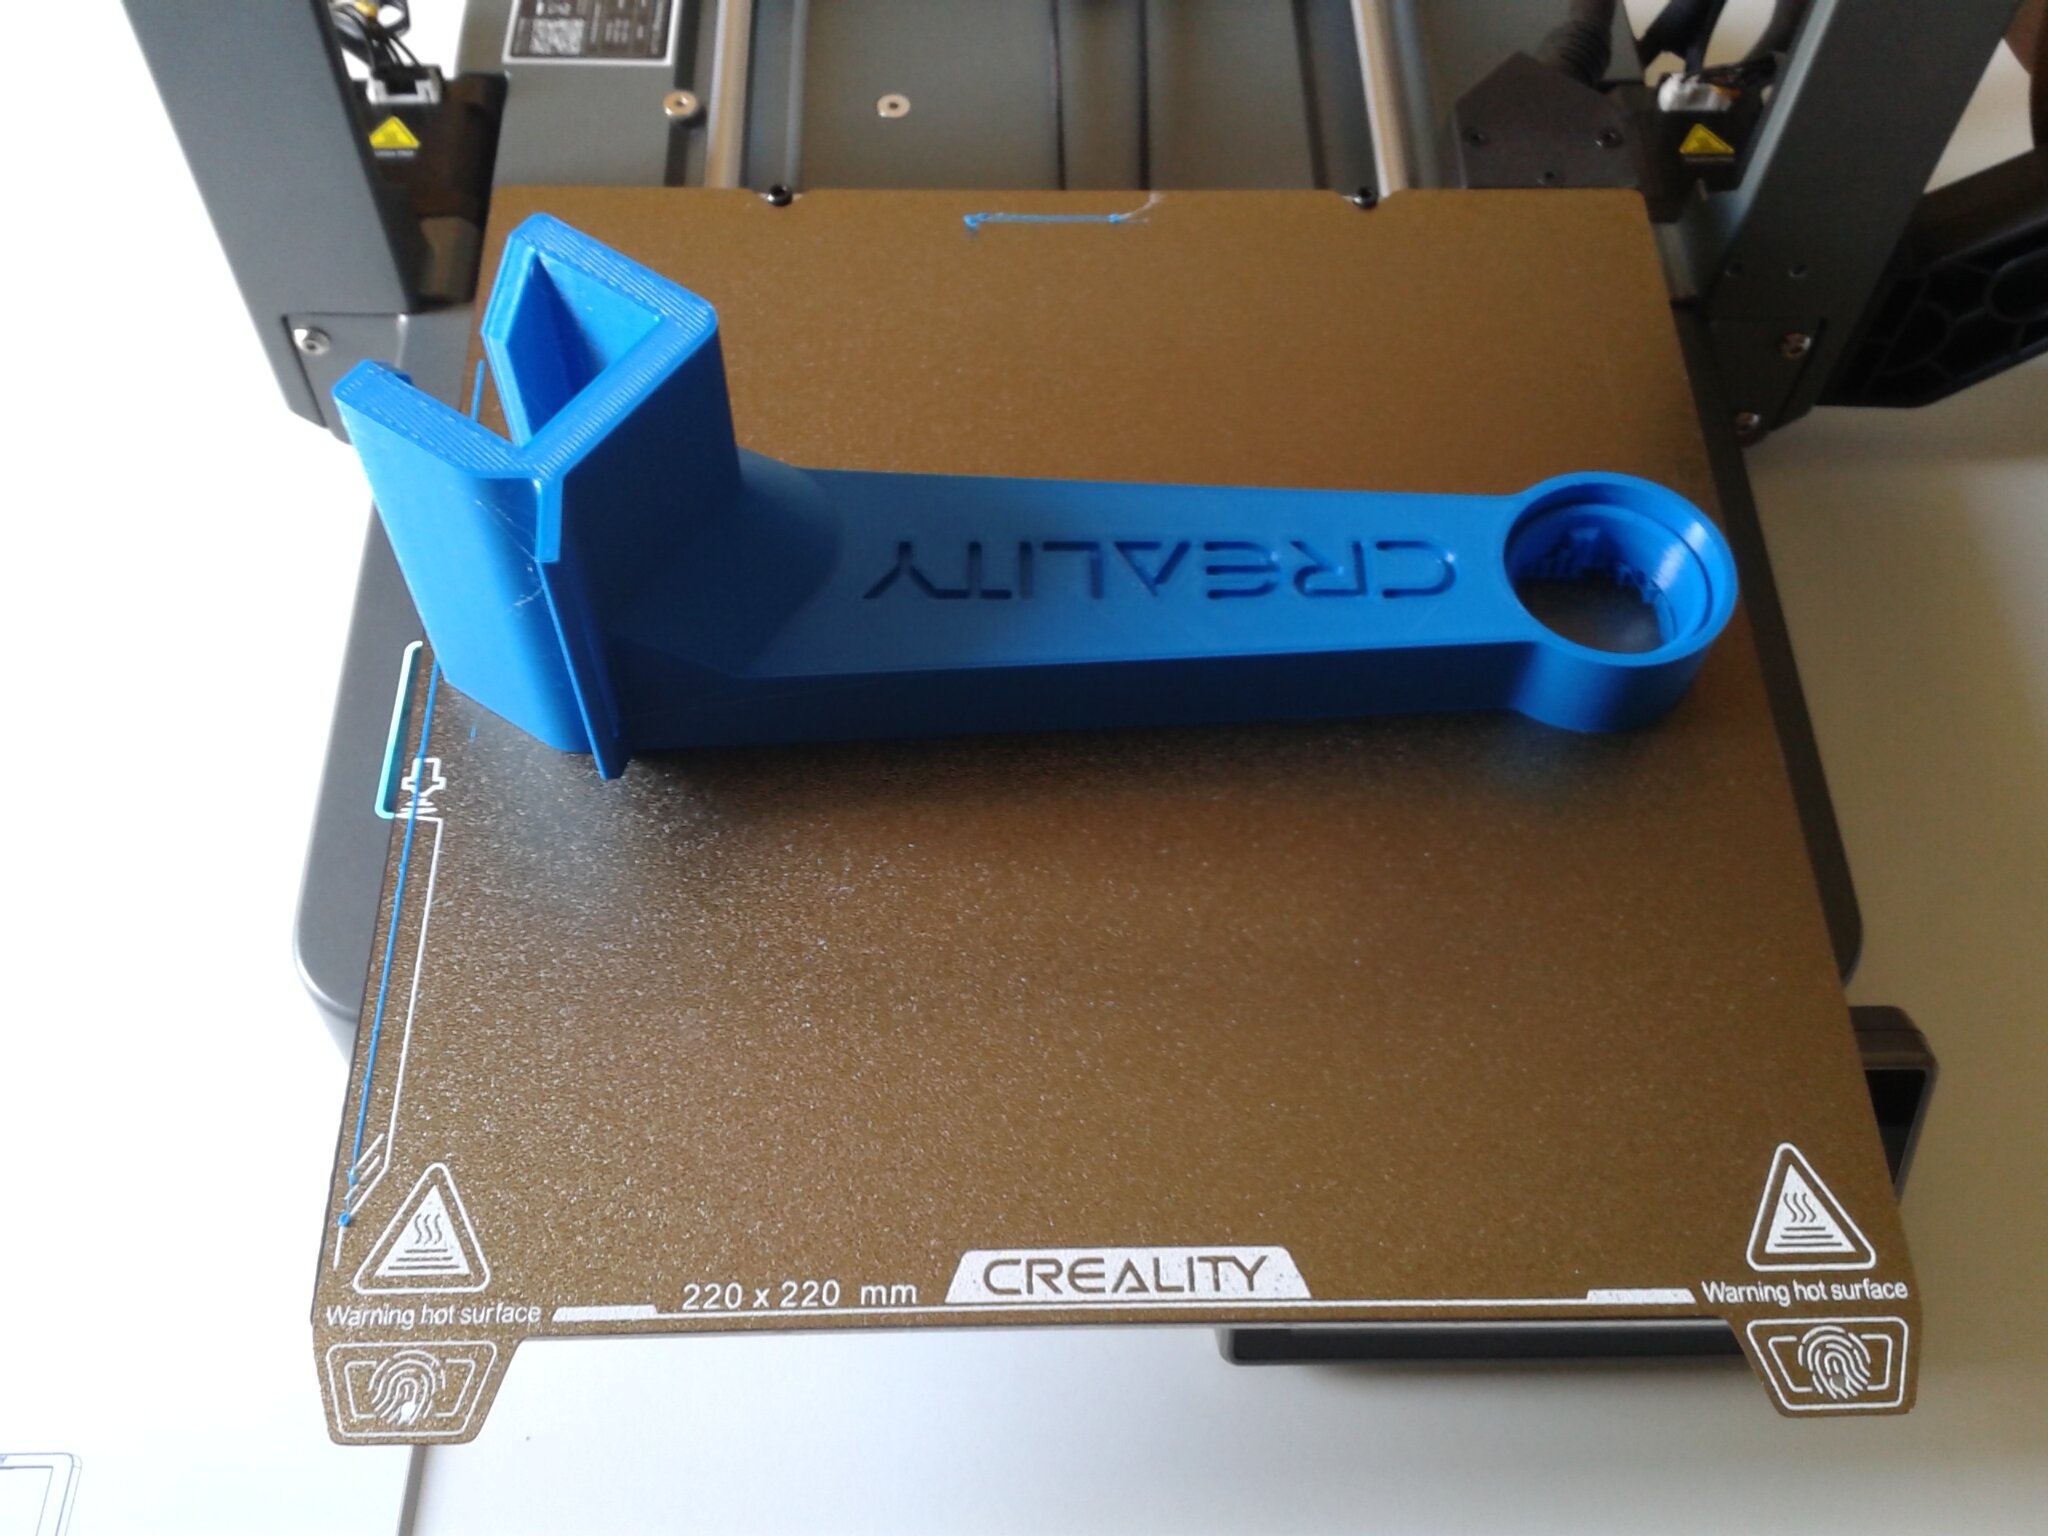
Scraper by Creality-Ender-3 V3_0.4_Hyper PLA_29m.gcode
Durée : 28 m 59 s (ne pas faire attention au fait que j’ai abîmé le biseau de la lame, j’ai utilisé plusieurs fois cette spatule avant de la prendre en photo).


Cette spatule bien imprimée peut dépanner mais elle ne remplacera pas une fine lame émoussée en métal pour décrocher les impressions du plateau. Toutefois, ça ne devrait pas se produire trop souvent car l’impression se décolle presque d’elle même quand la plaque flexible avec revêtement en PEI texturé retombe à température ambiante.
Phone_Stand_V2 by Layer_Adder-Ender-3 V3_0.4_Hyper PLA_47m.gcode
Durée : 52 m 03 s.


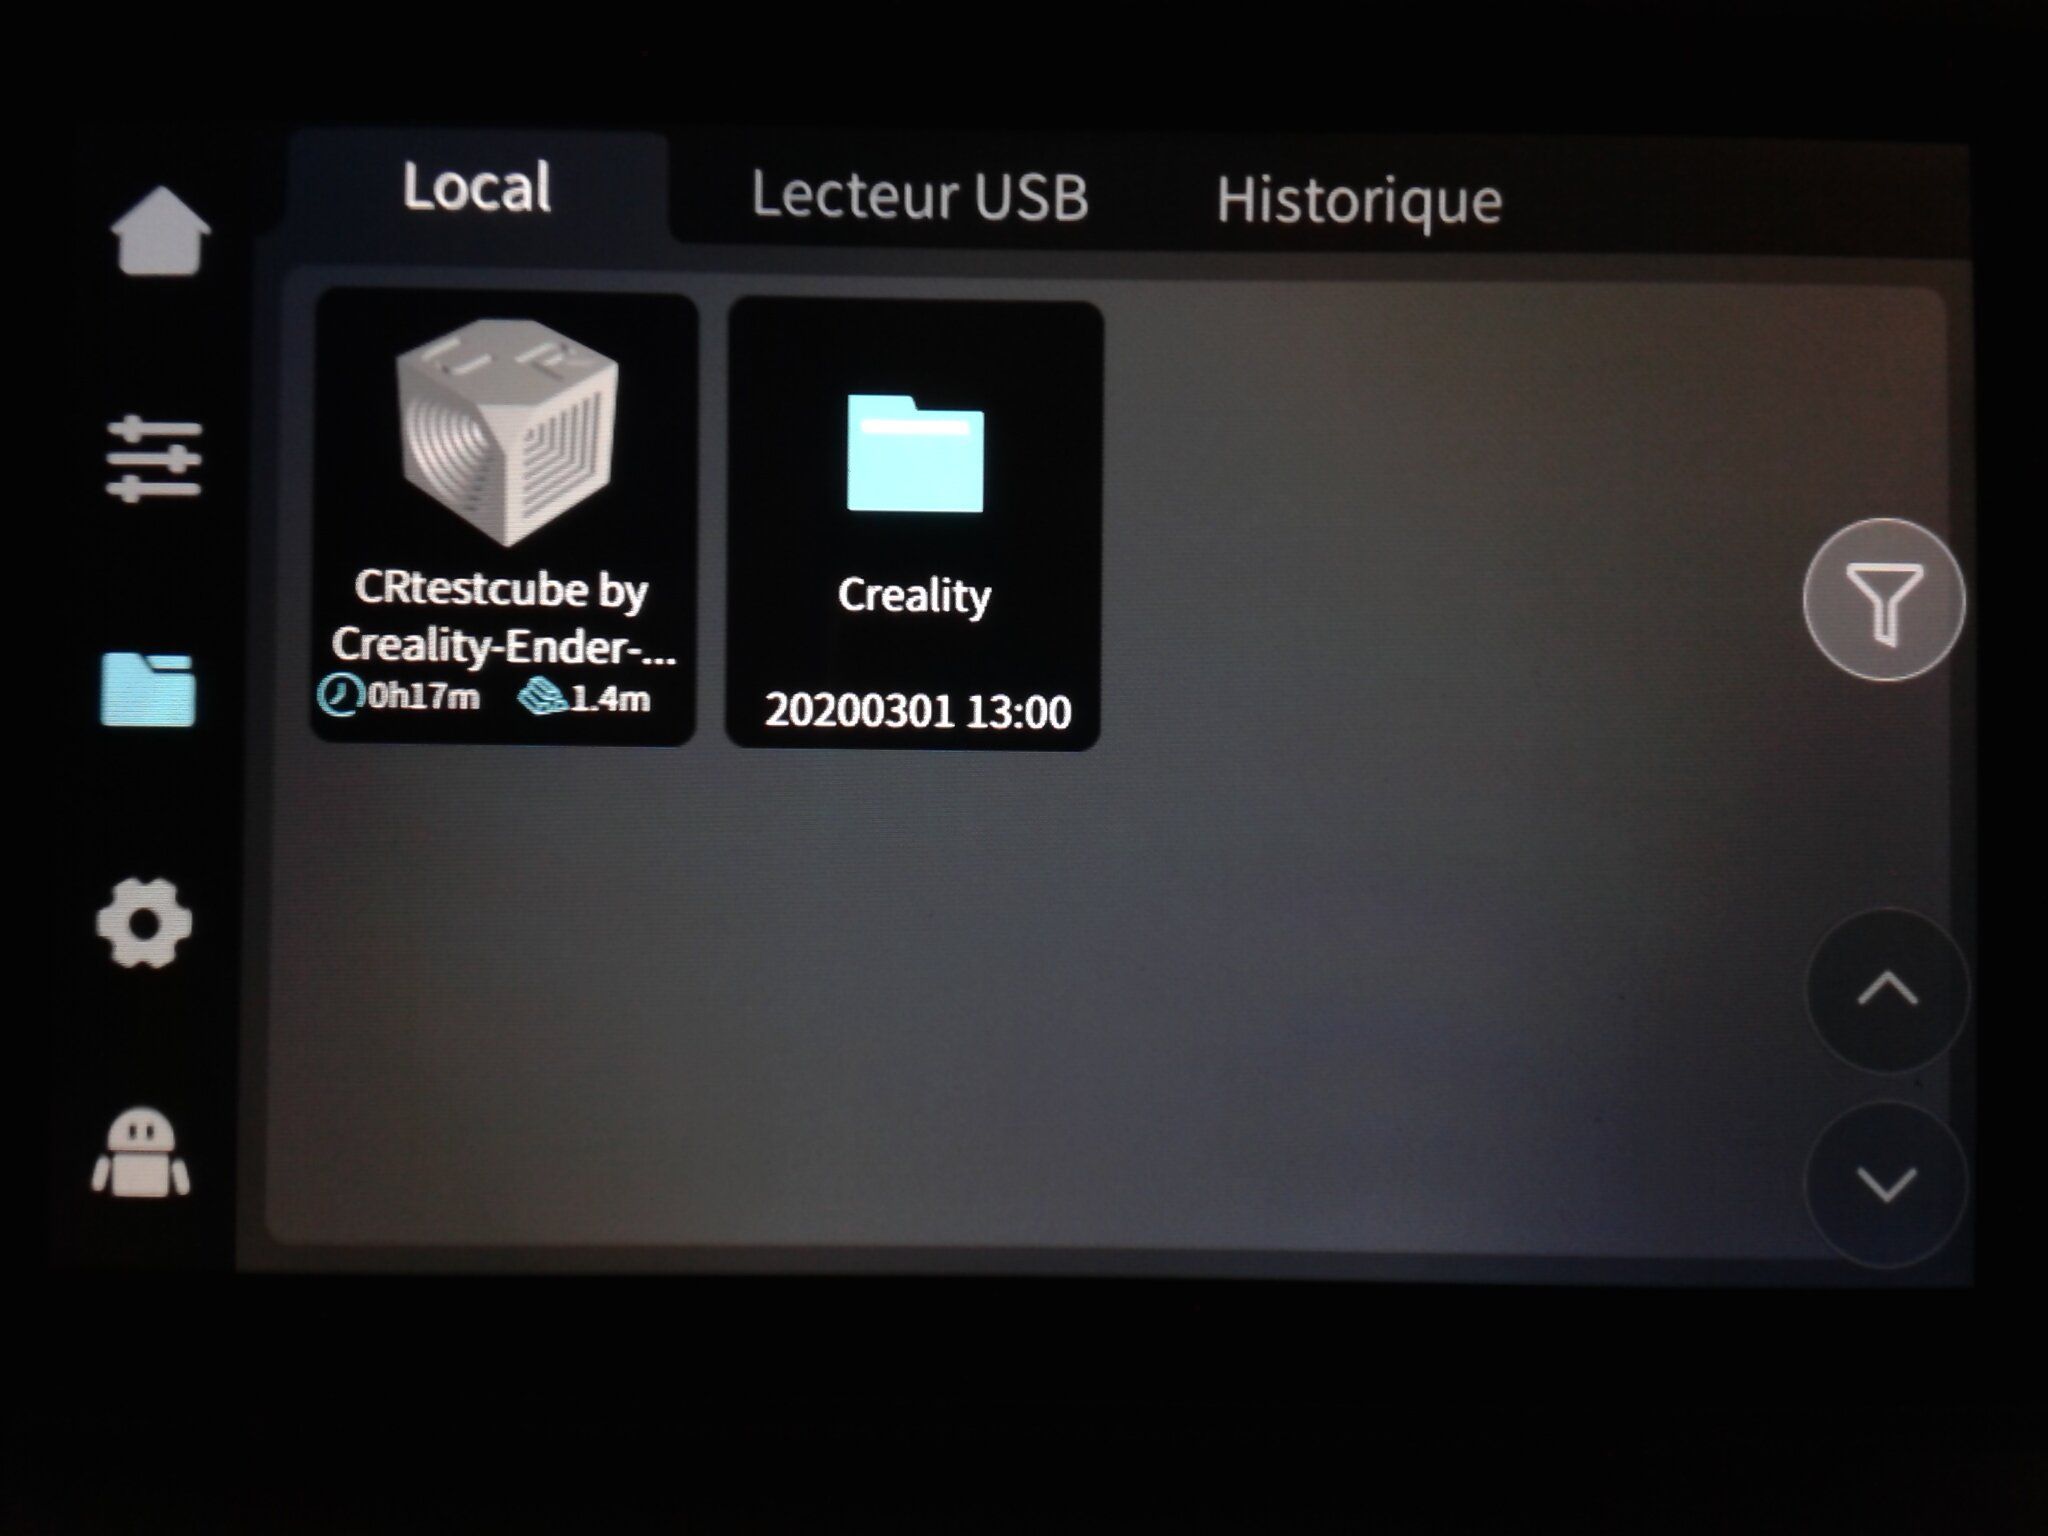
CRtestcube by Creality-Ender-3 V3_0.4_Hyper PLA_17m.gcode
Durée : 16 m 18 s.


ksr_fdmtest_v4 by Autodesk&kickstart-Ender-3 V3_0.4_Hyper PLA_1h26m.gcode
Durée : 01 h 29 m 06 s.


SP00L1219-Ender-3 V3_0.4_Hyper PLA_1h53m.gcode
Durée : 01 h 49 m 51 s.
Pour mettre en place ce support de bobine de filament (incompatible avec le capteur de fin de filament et le tube PTFE de guidage), Creality a publié une procédure sur son wiki.
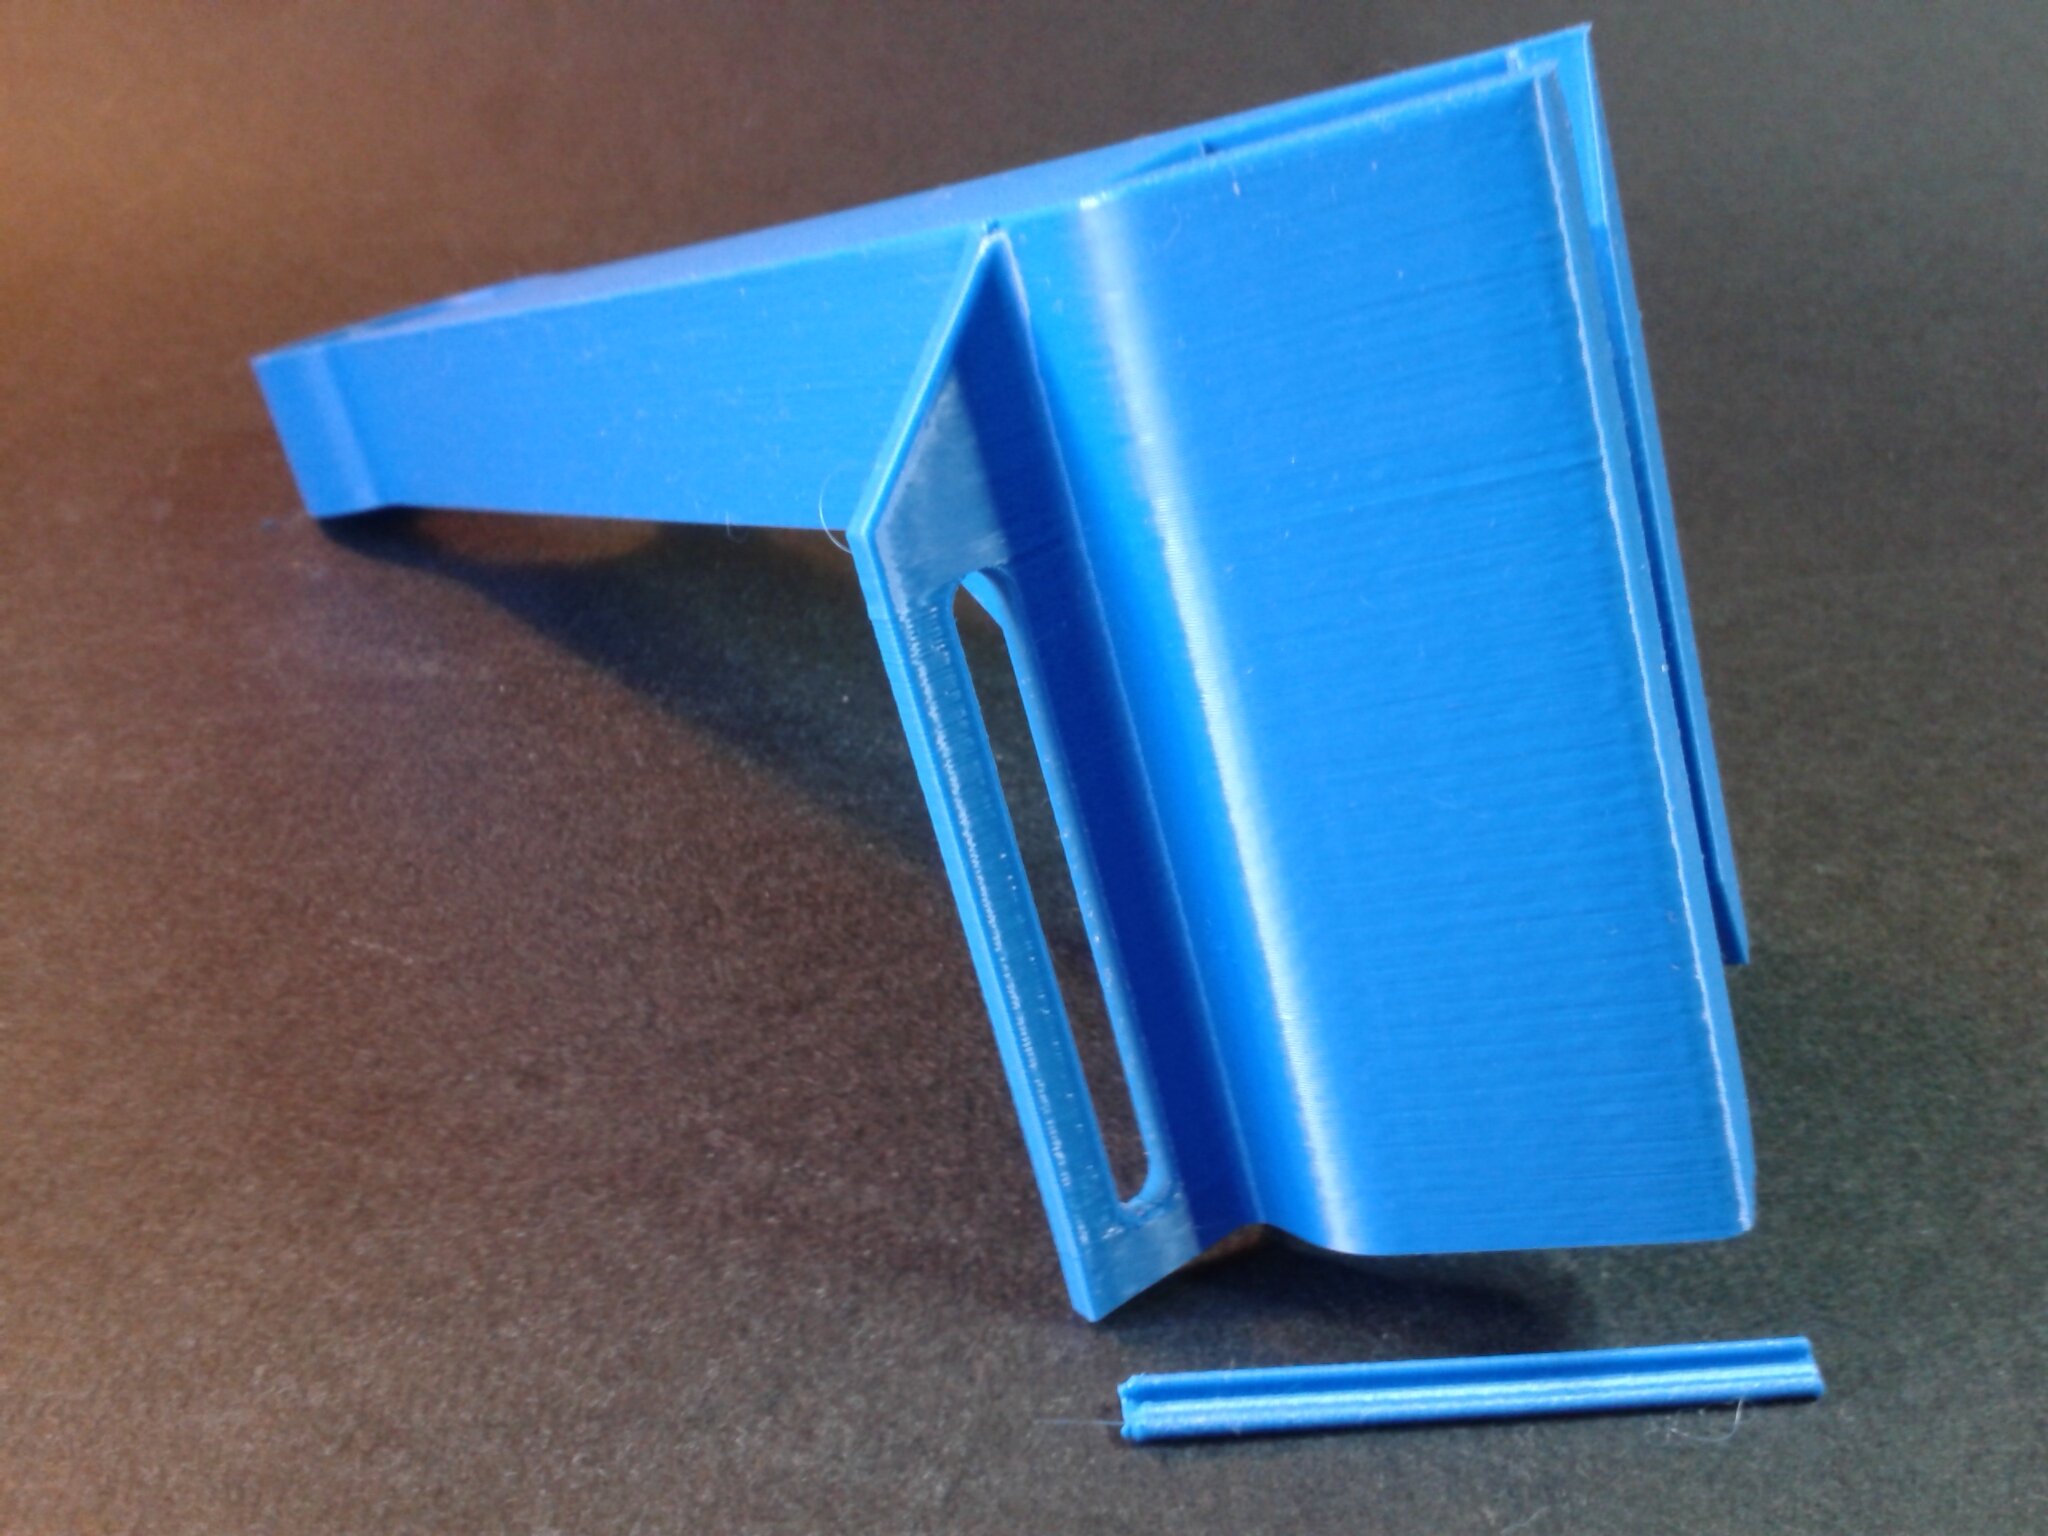
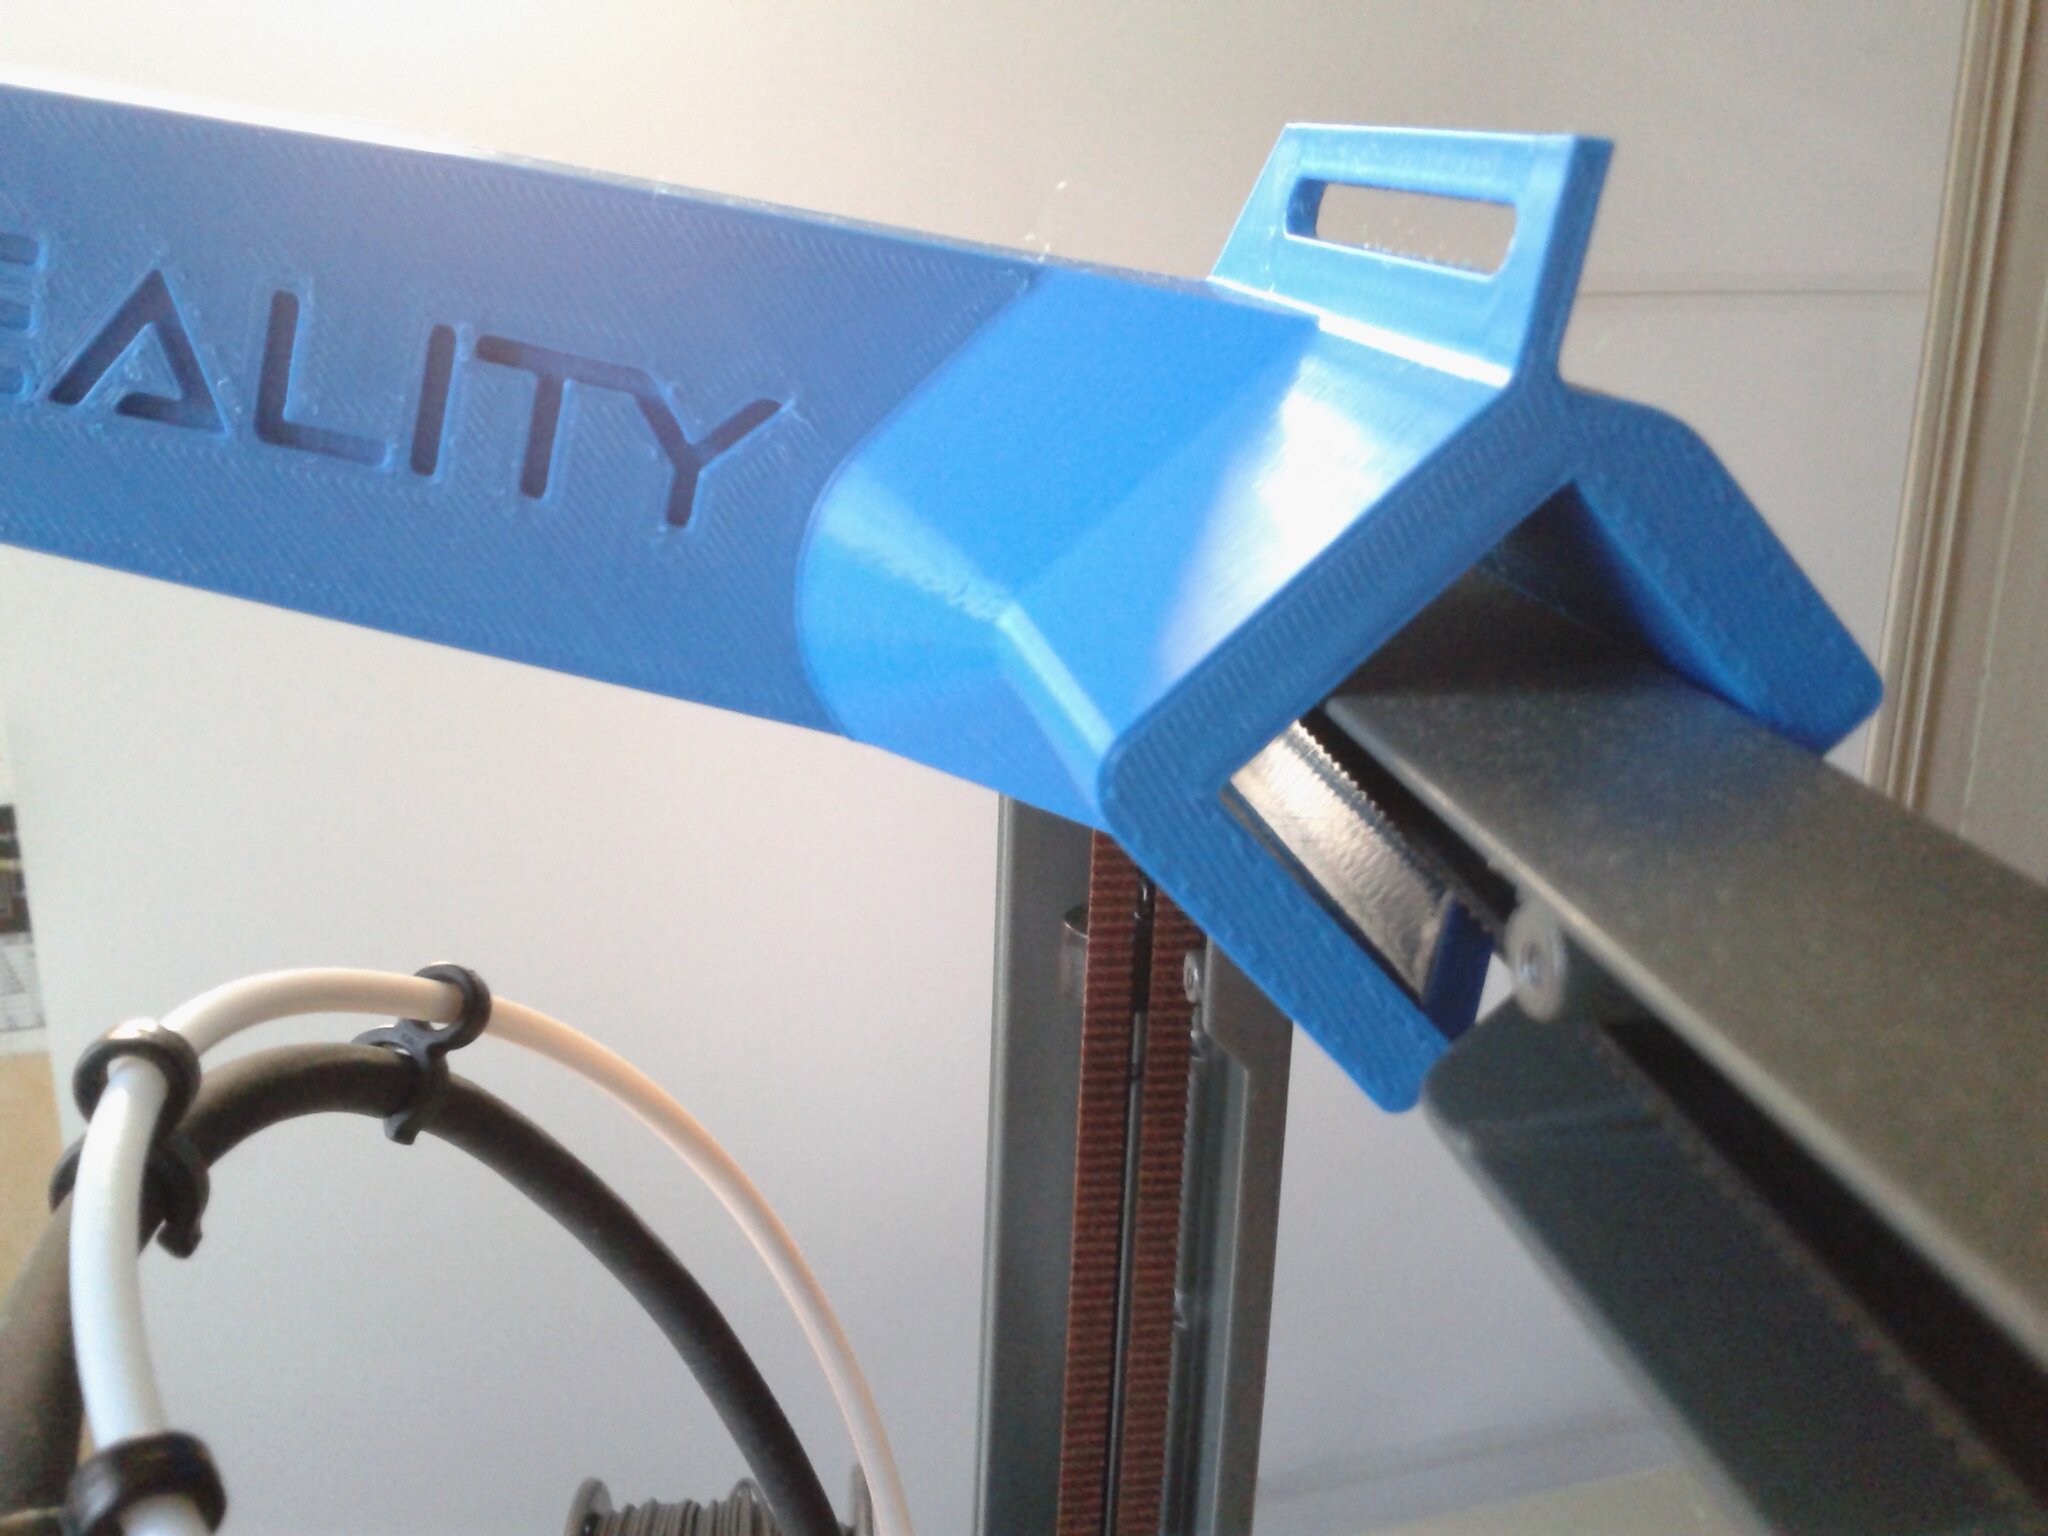
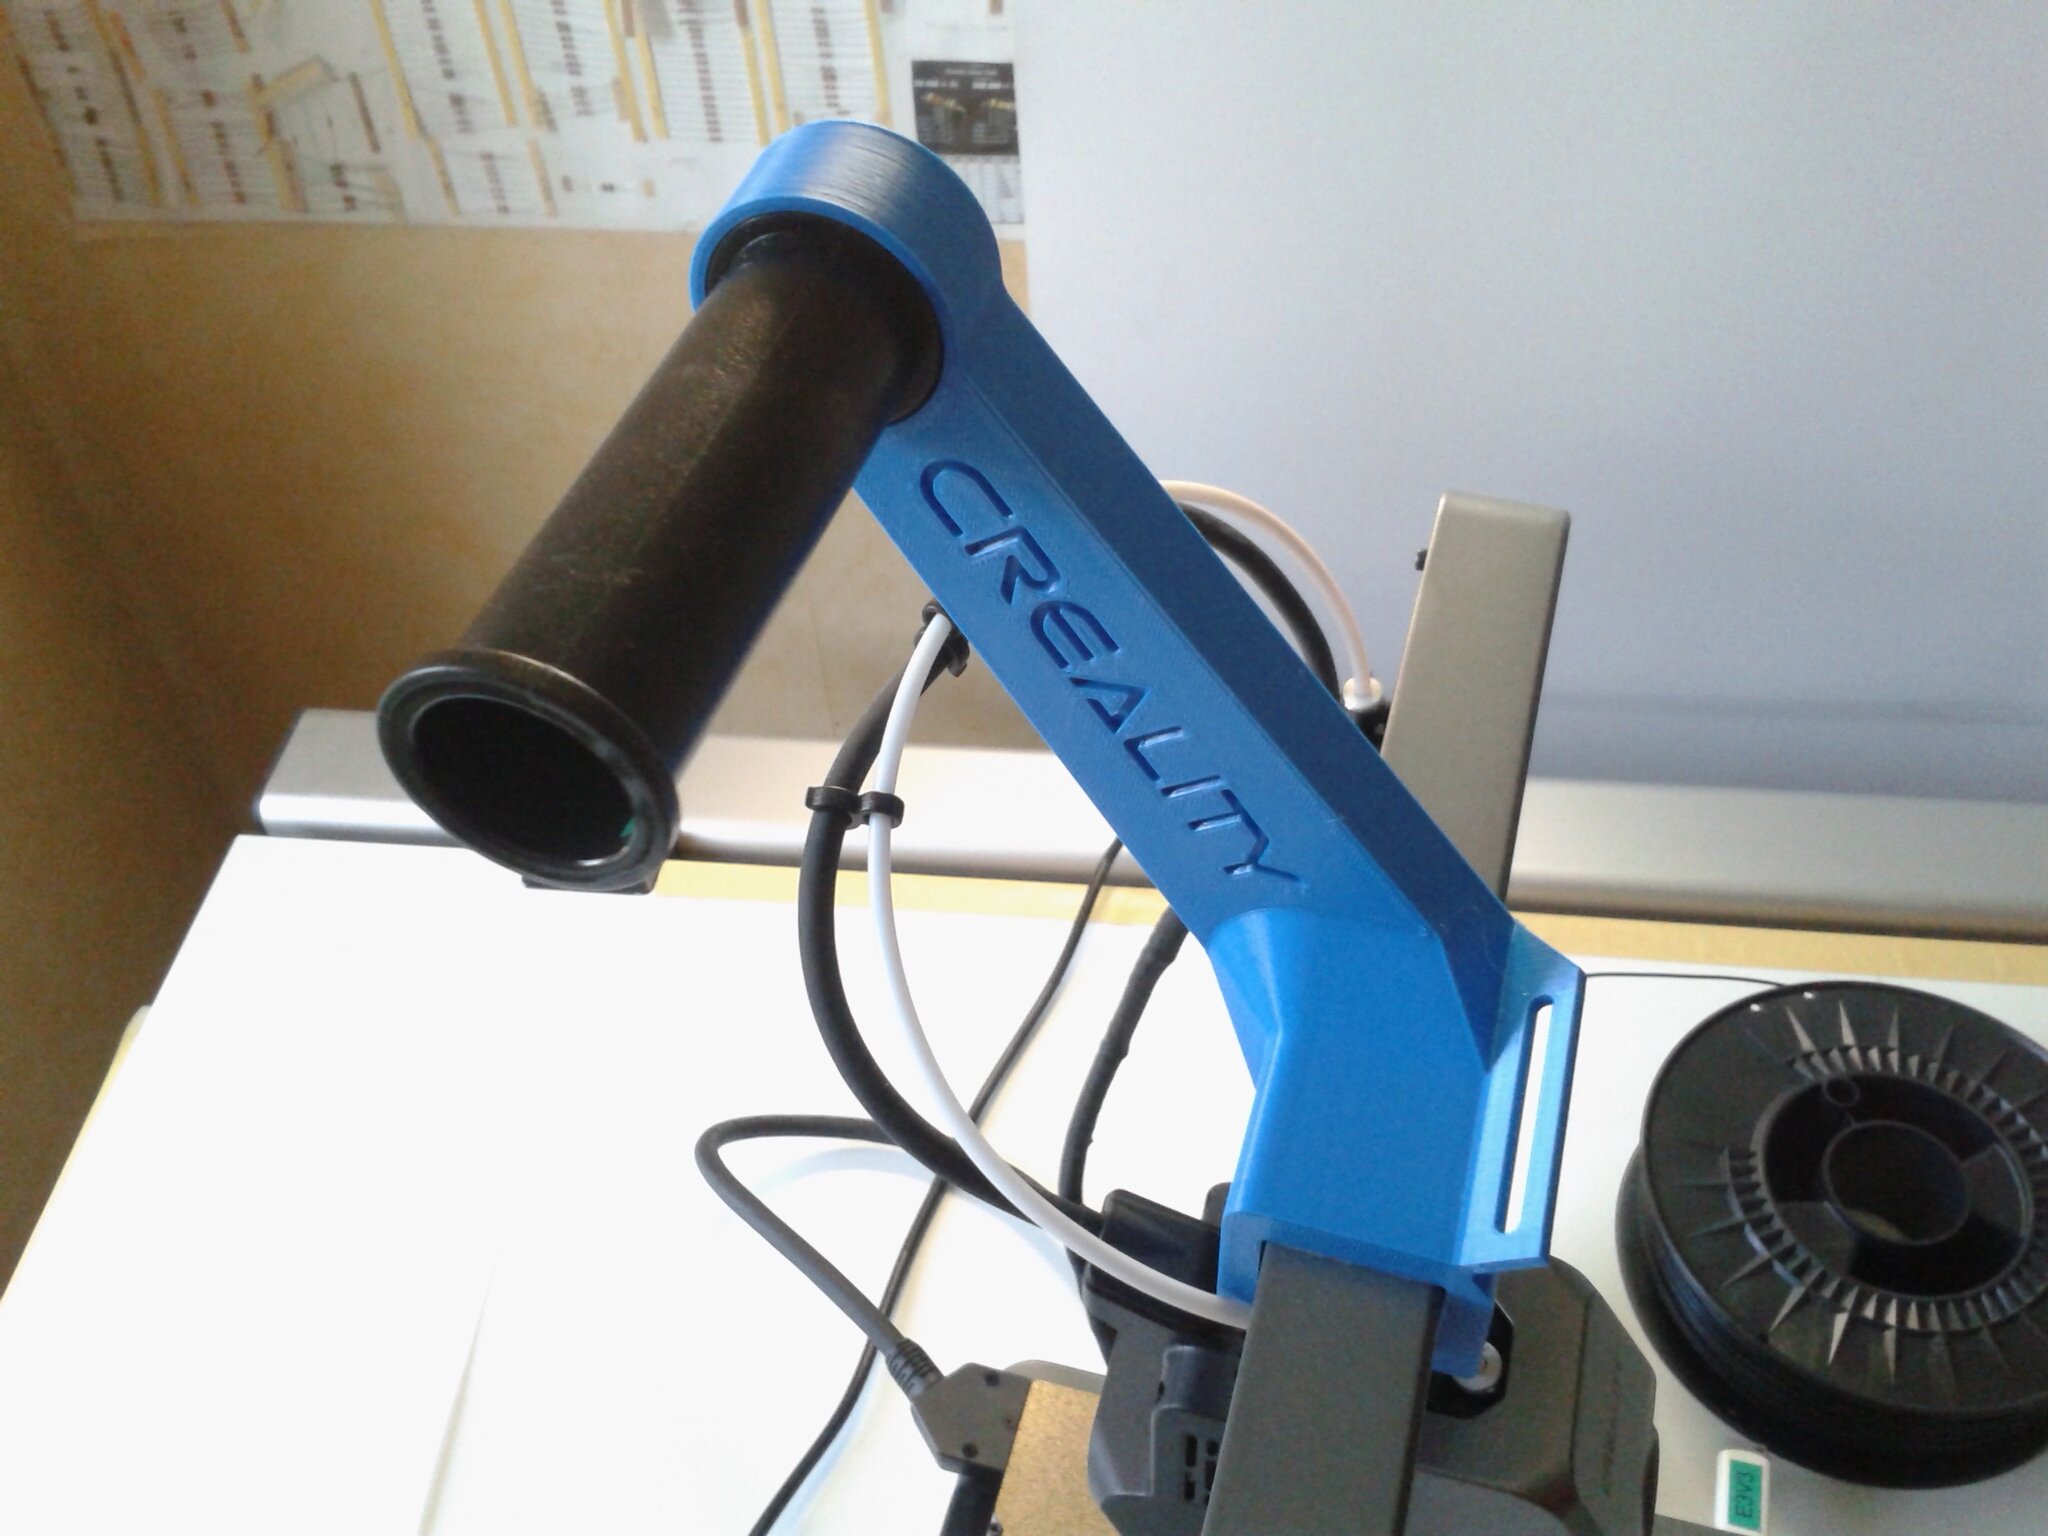
Cam-mount-Ender-3 V3_0.4_Hyper PLA_59m.gcode
Durée : 01 h 00 m 14 s.
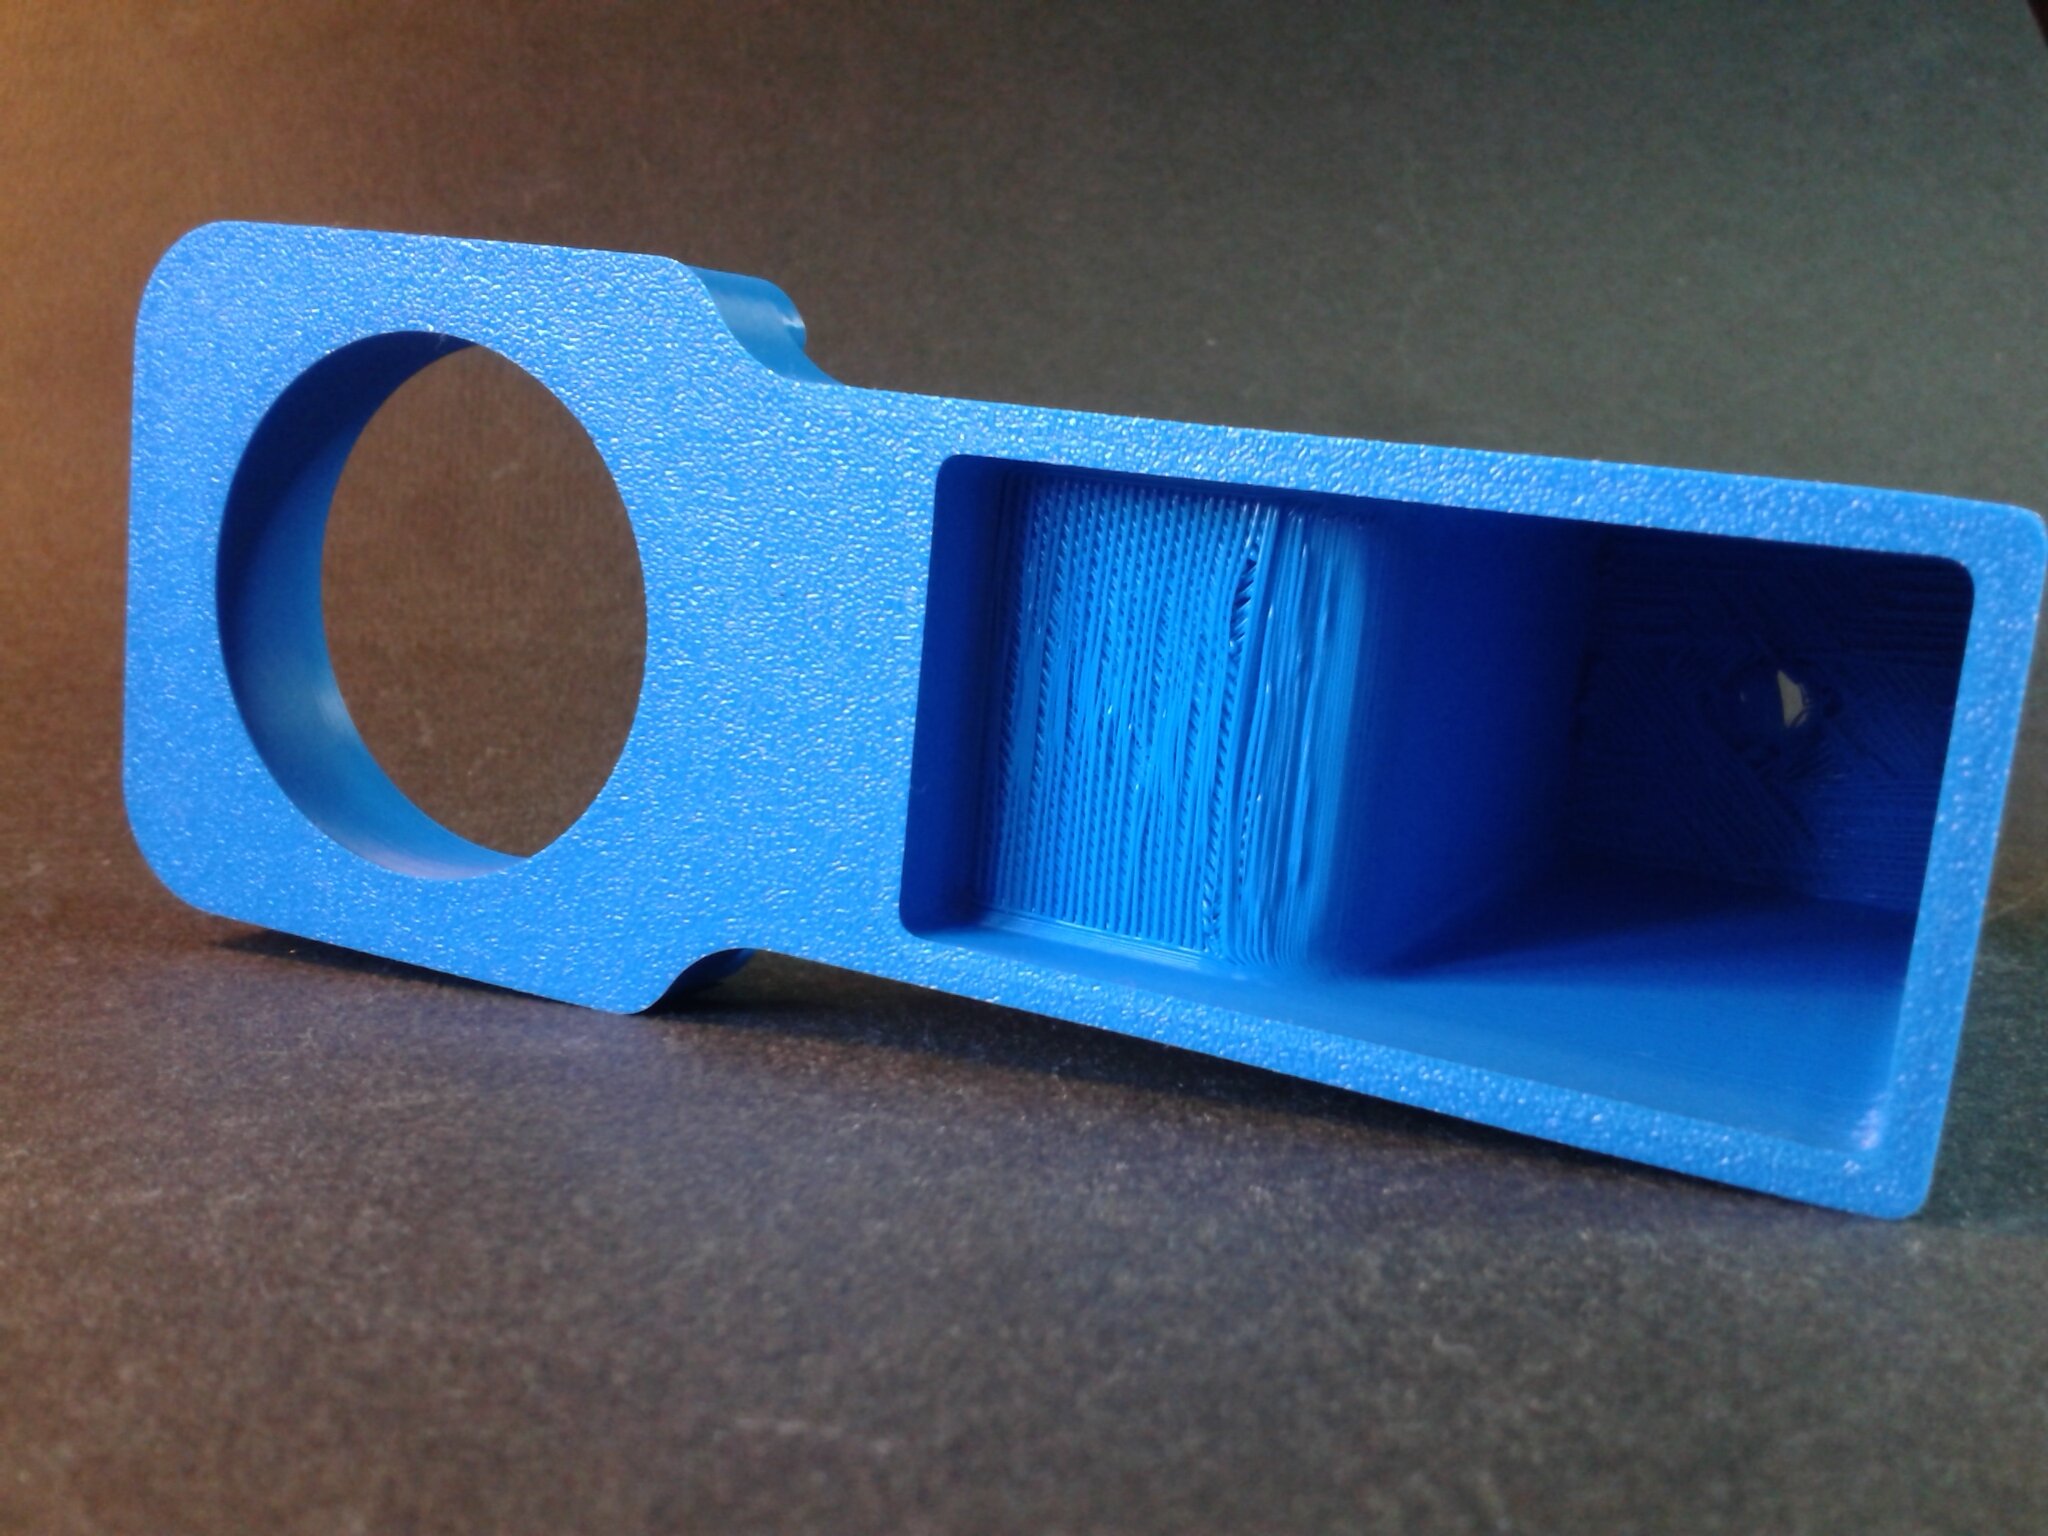
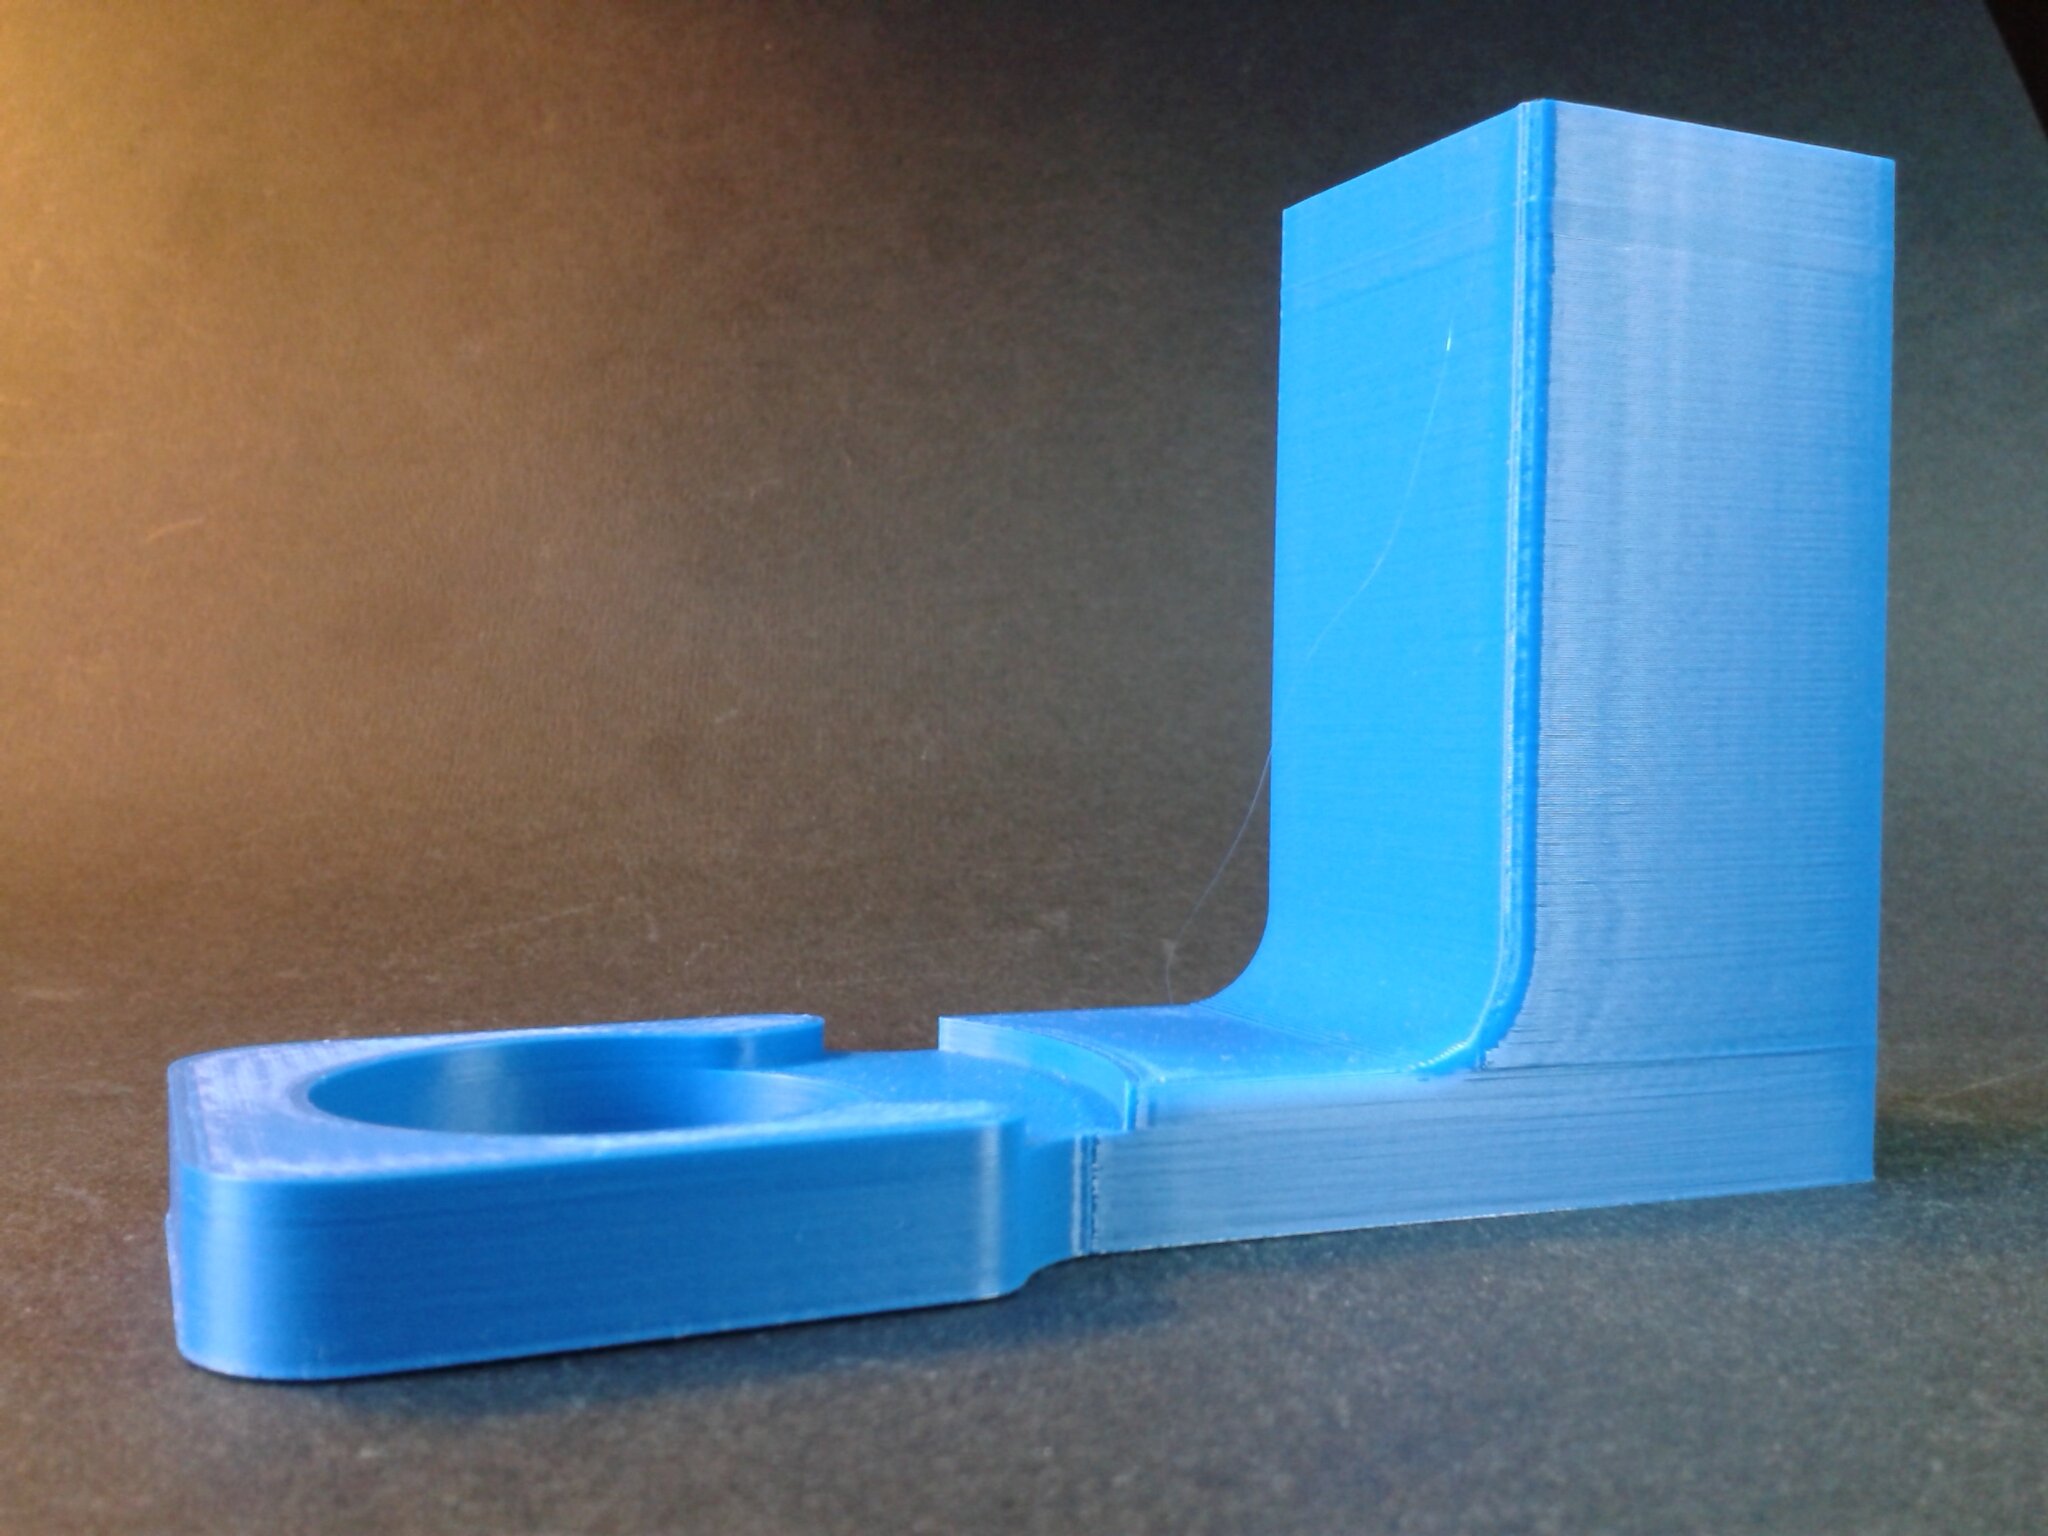
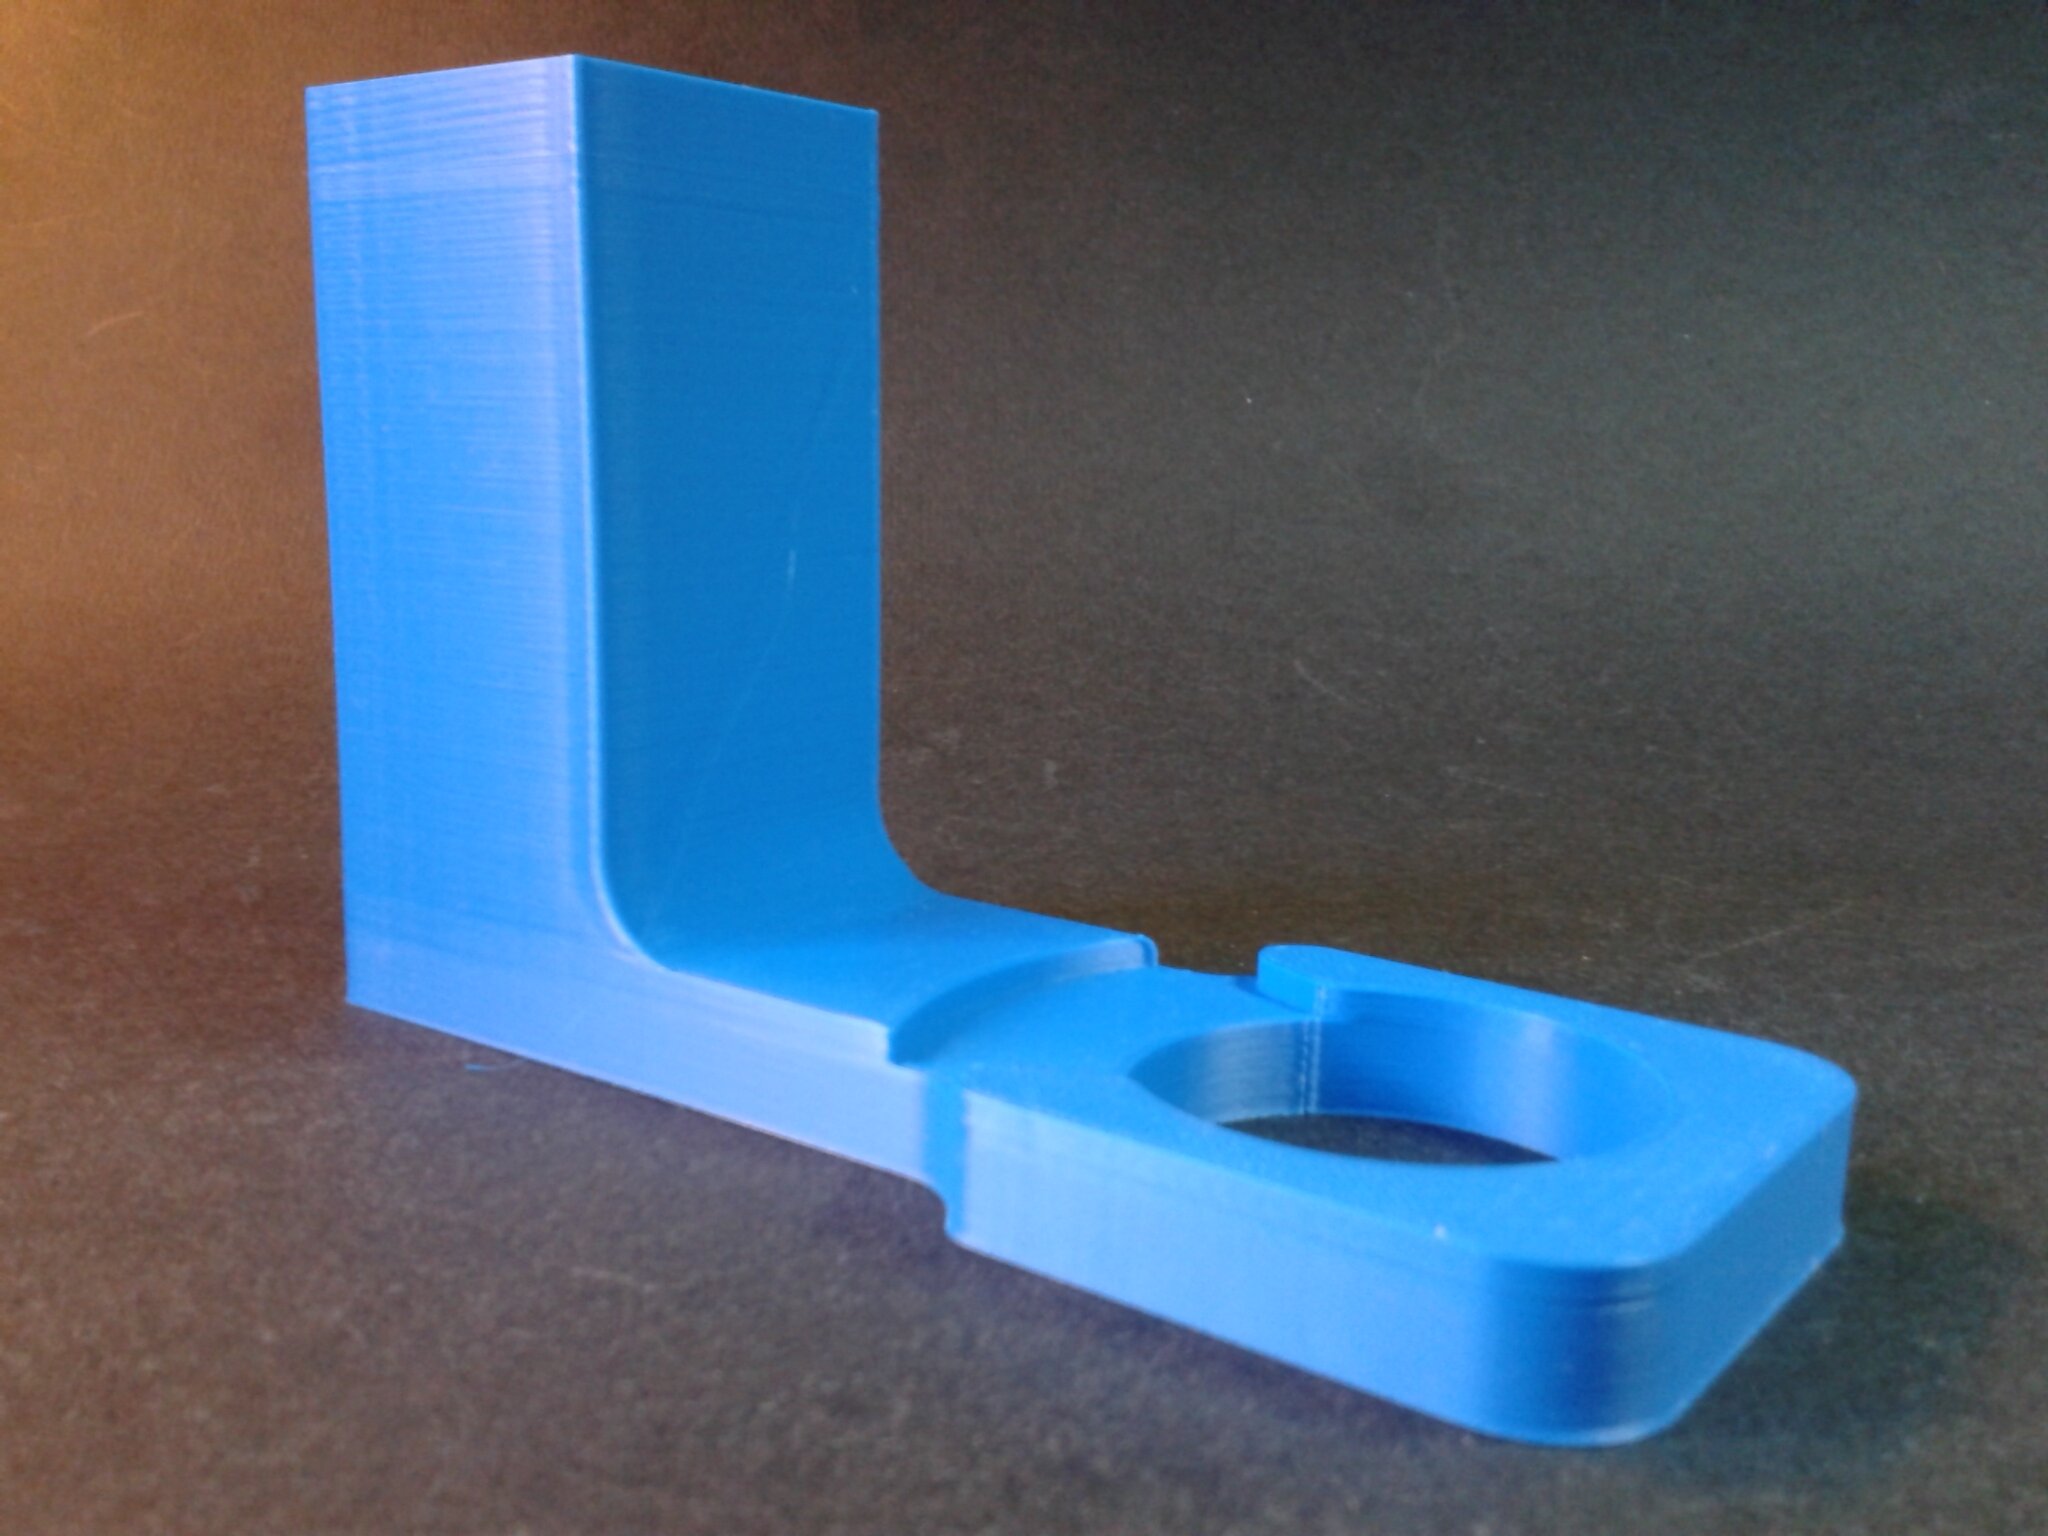
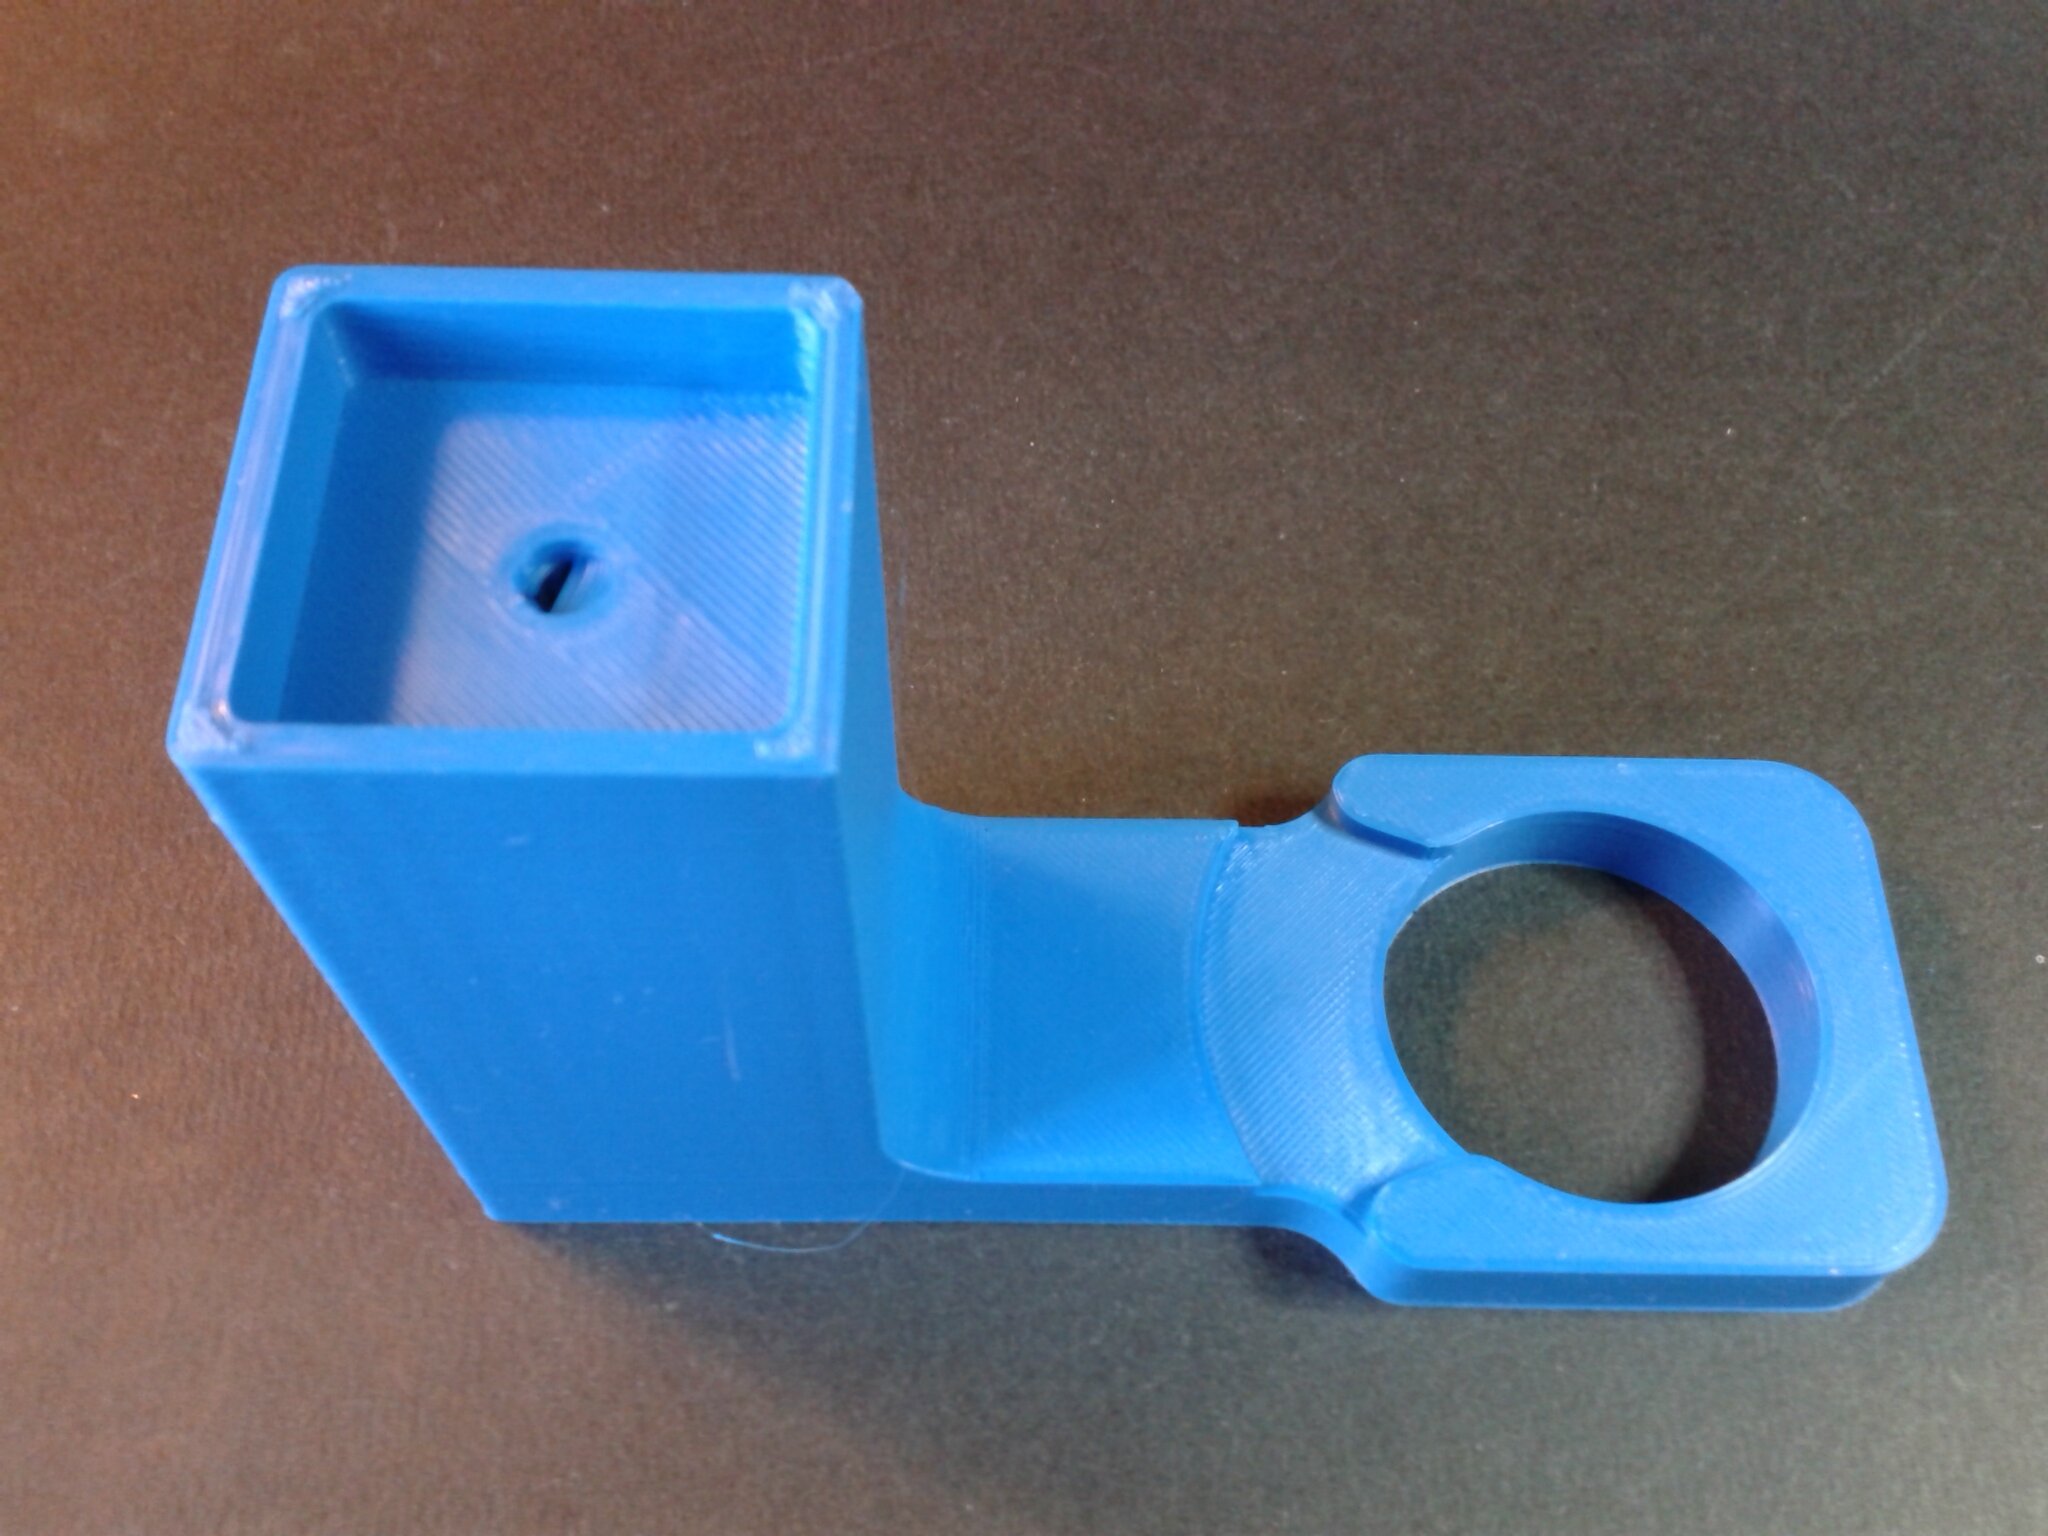
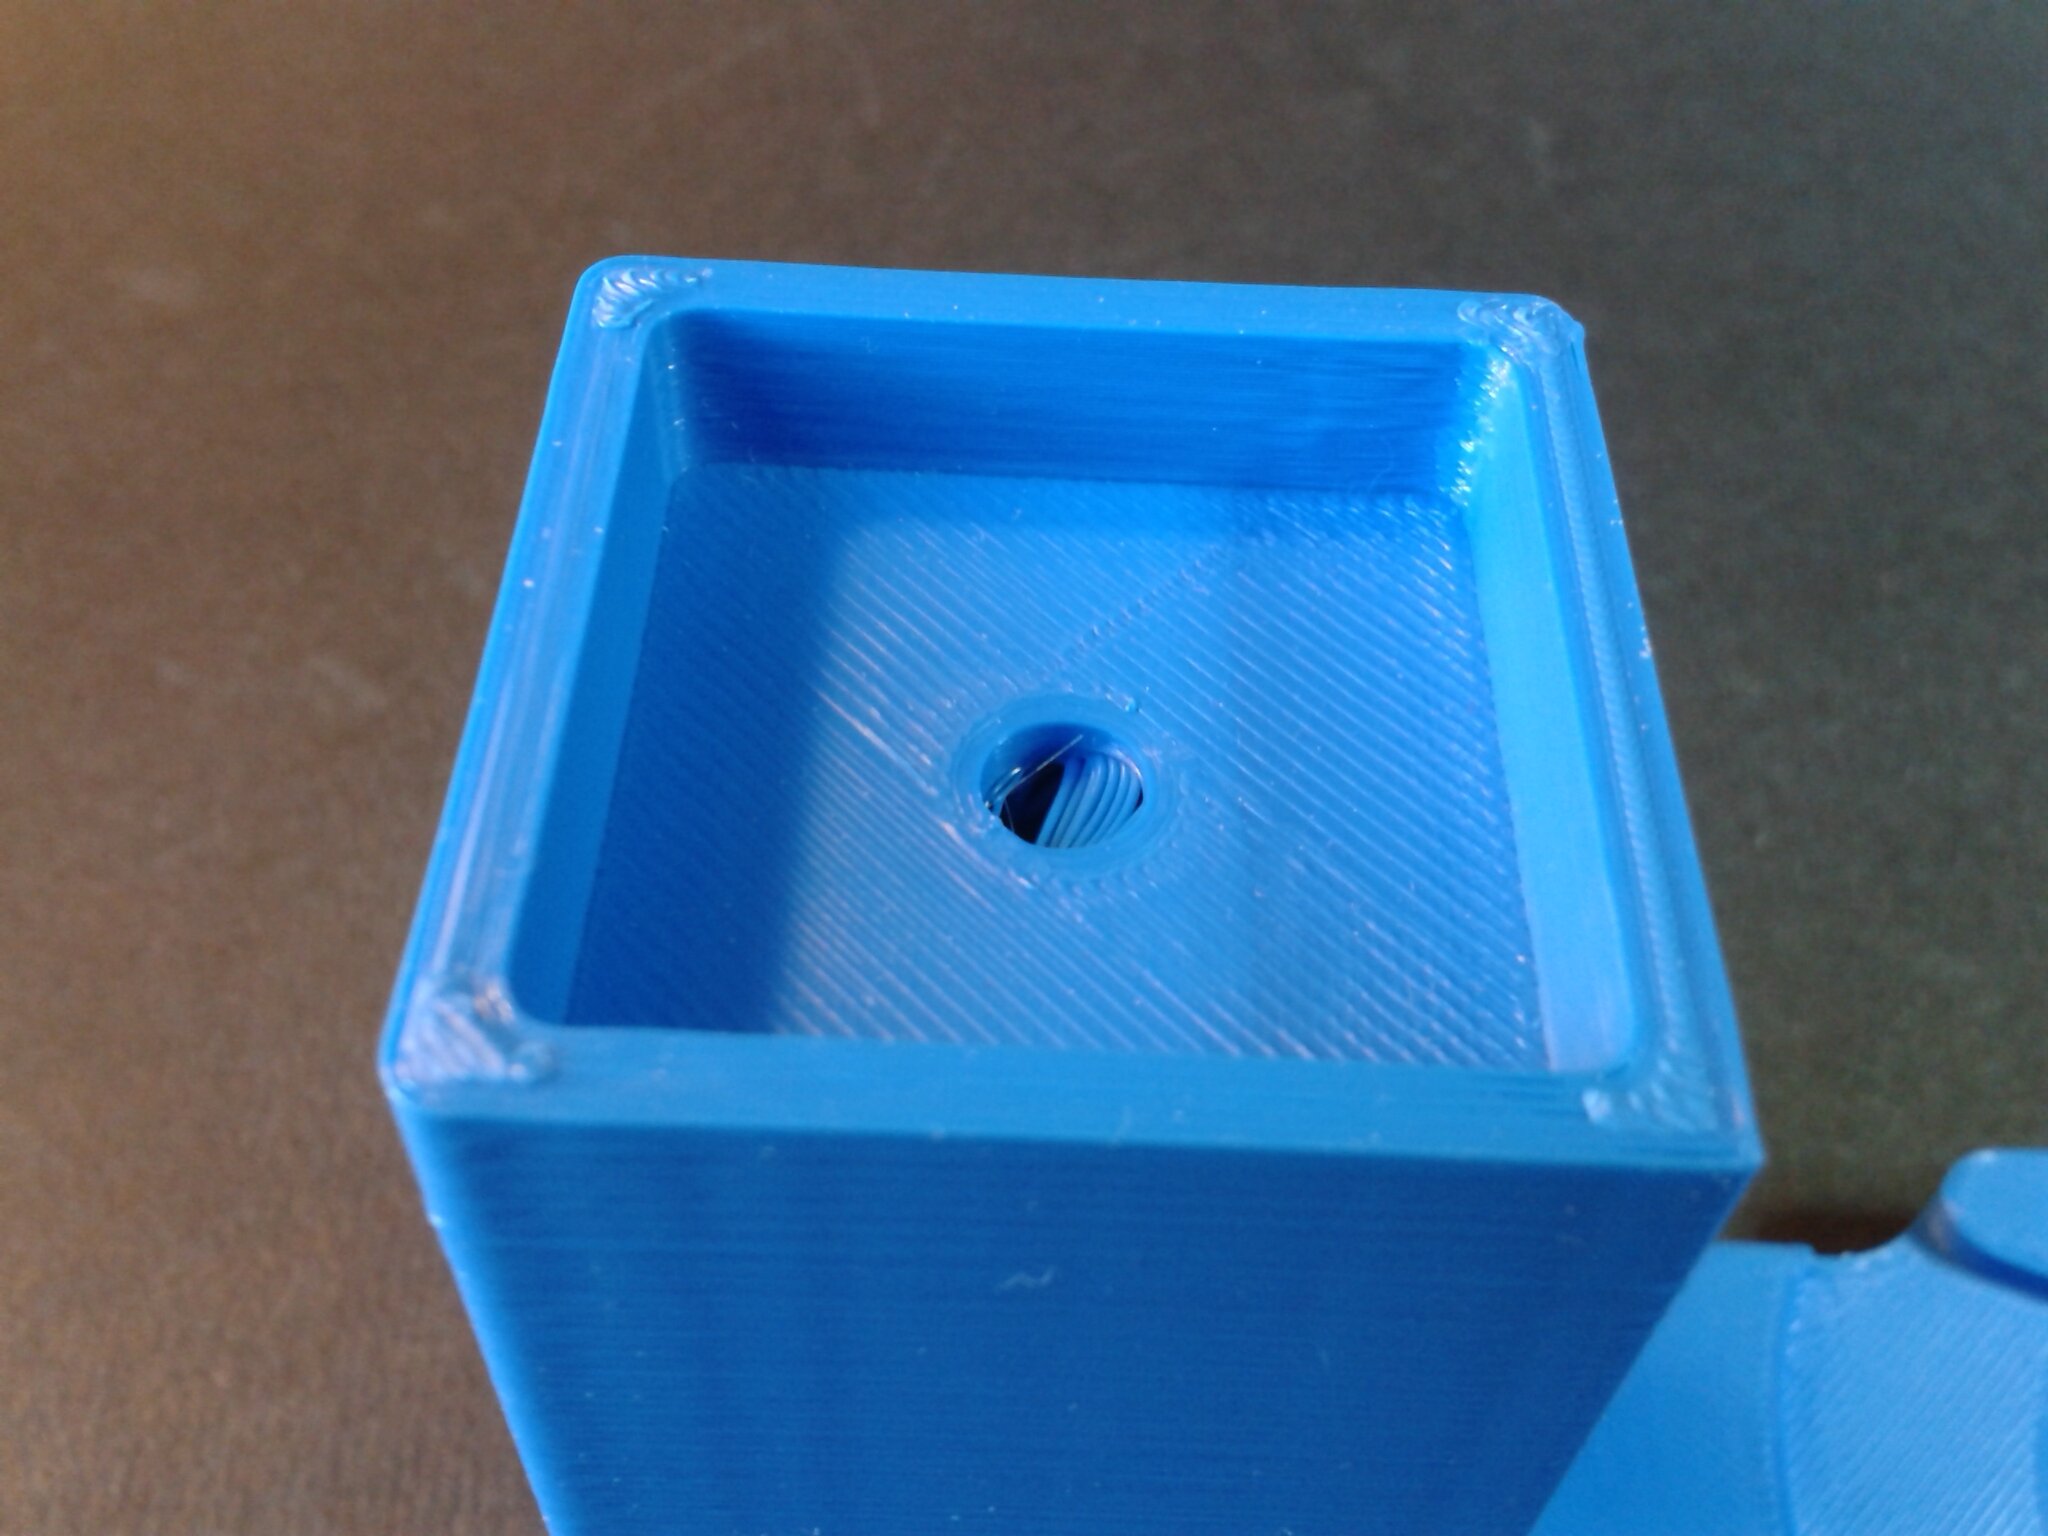
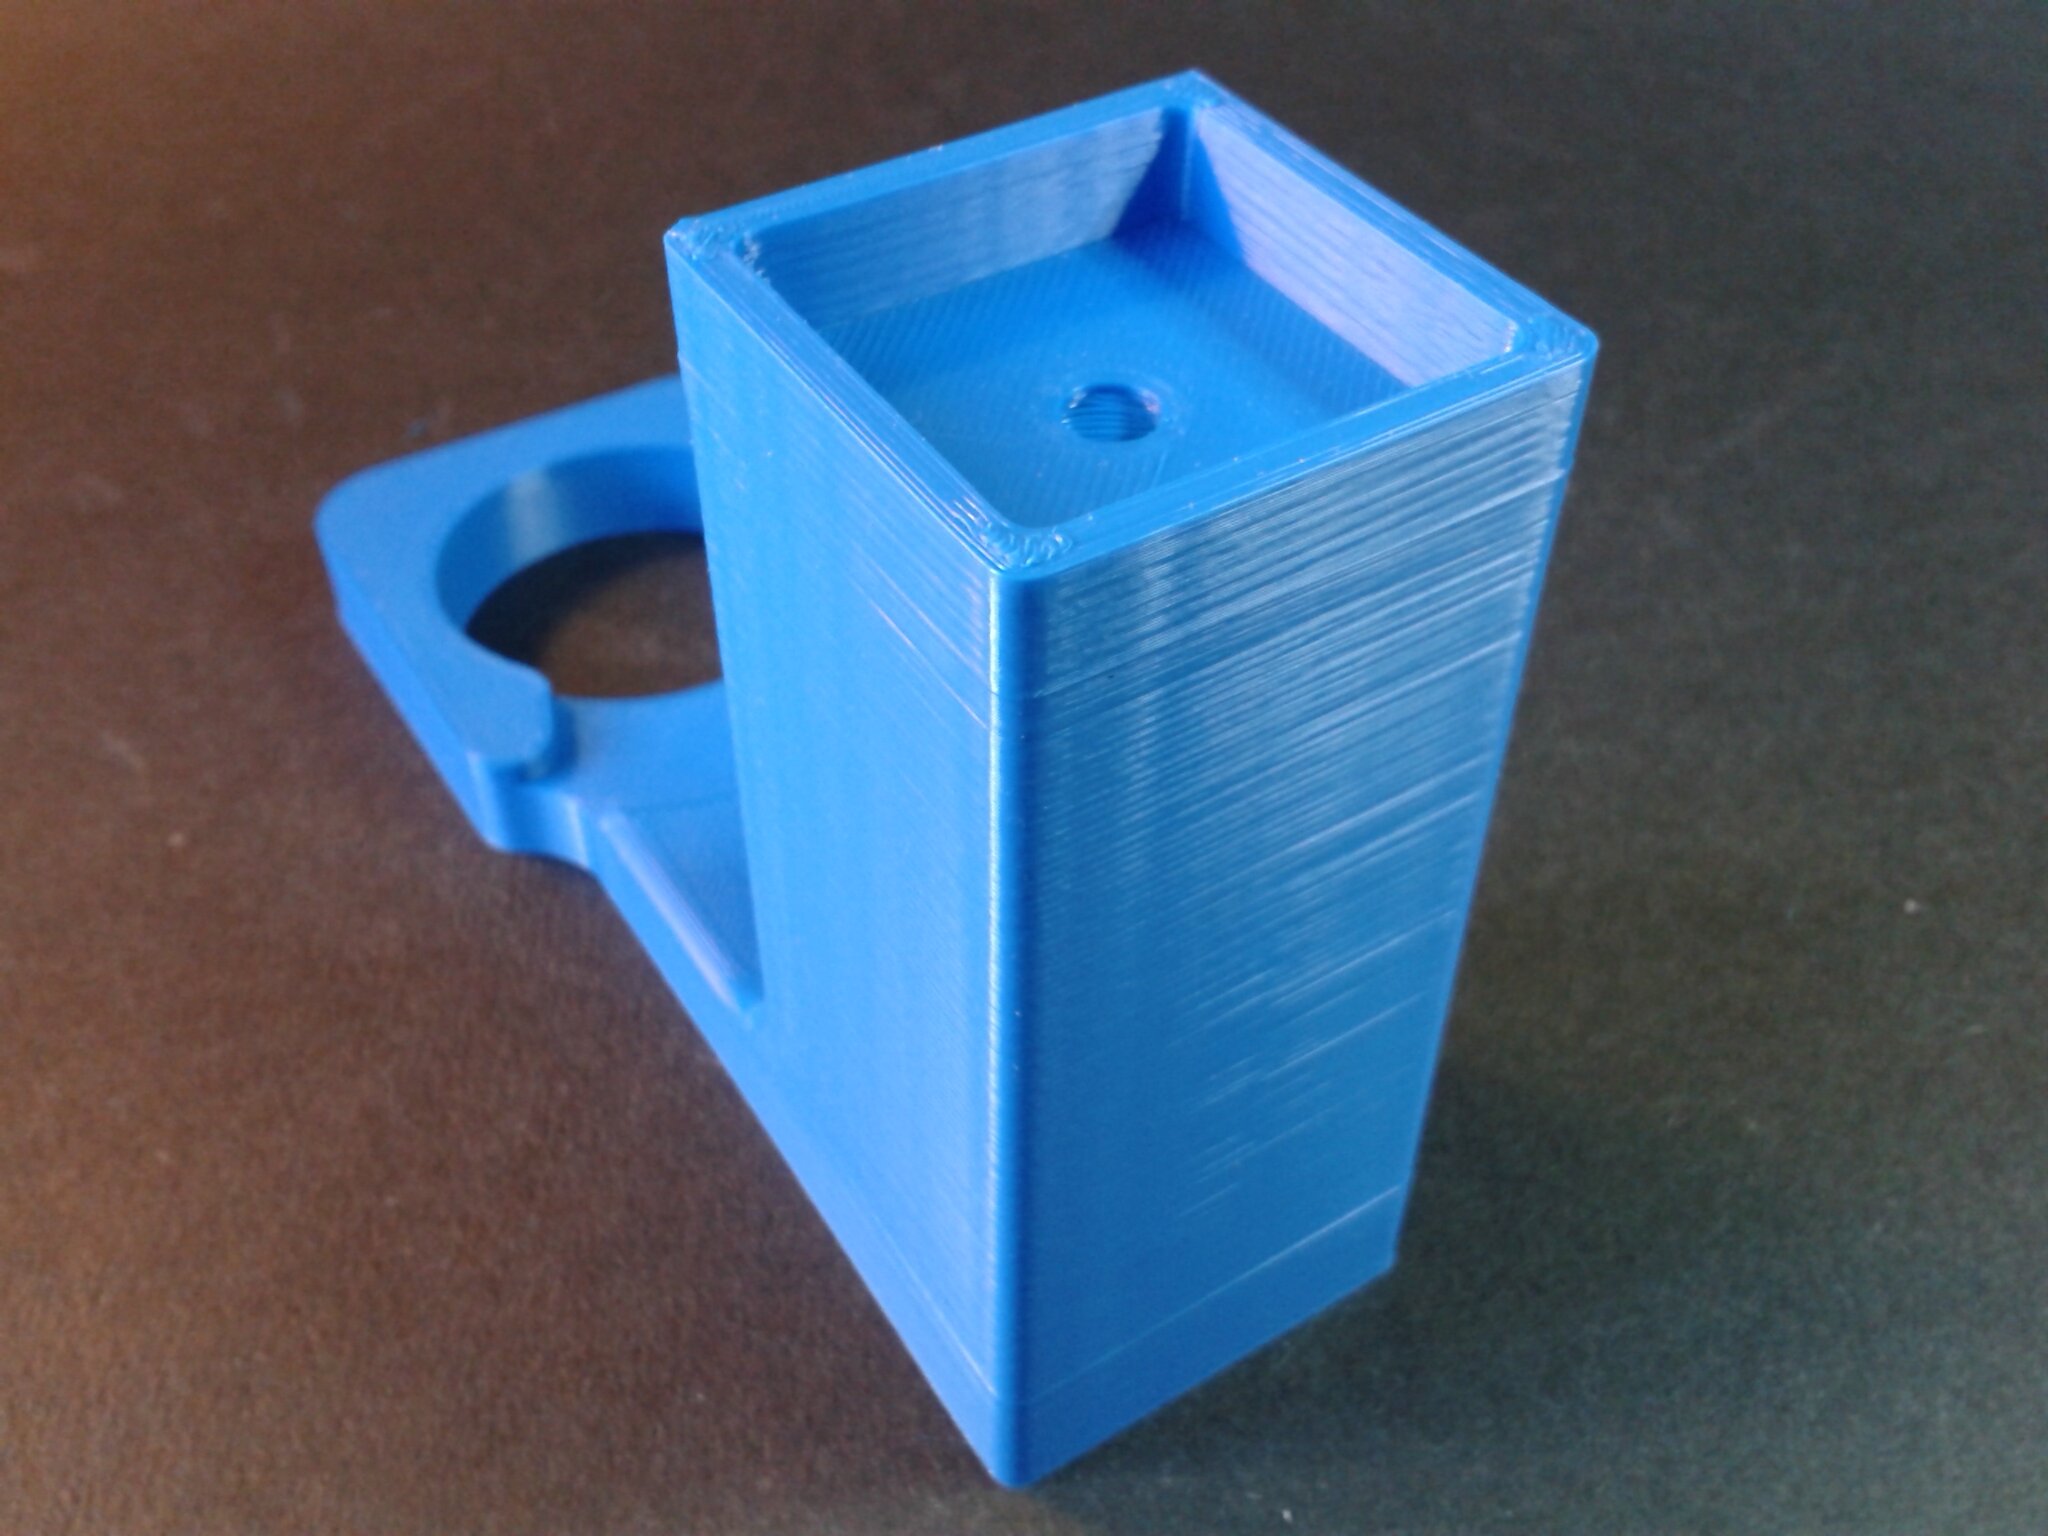
Pour utiliser ce support de Nebula Camera, voir ici.
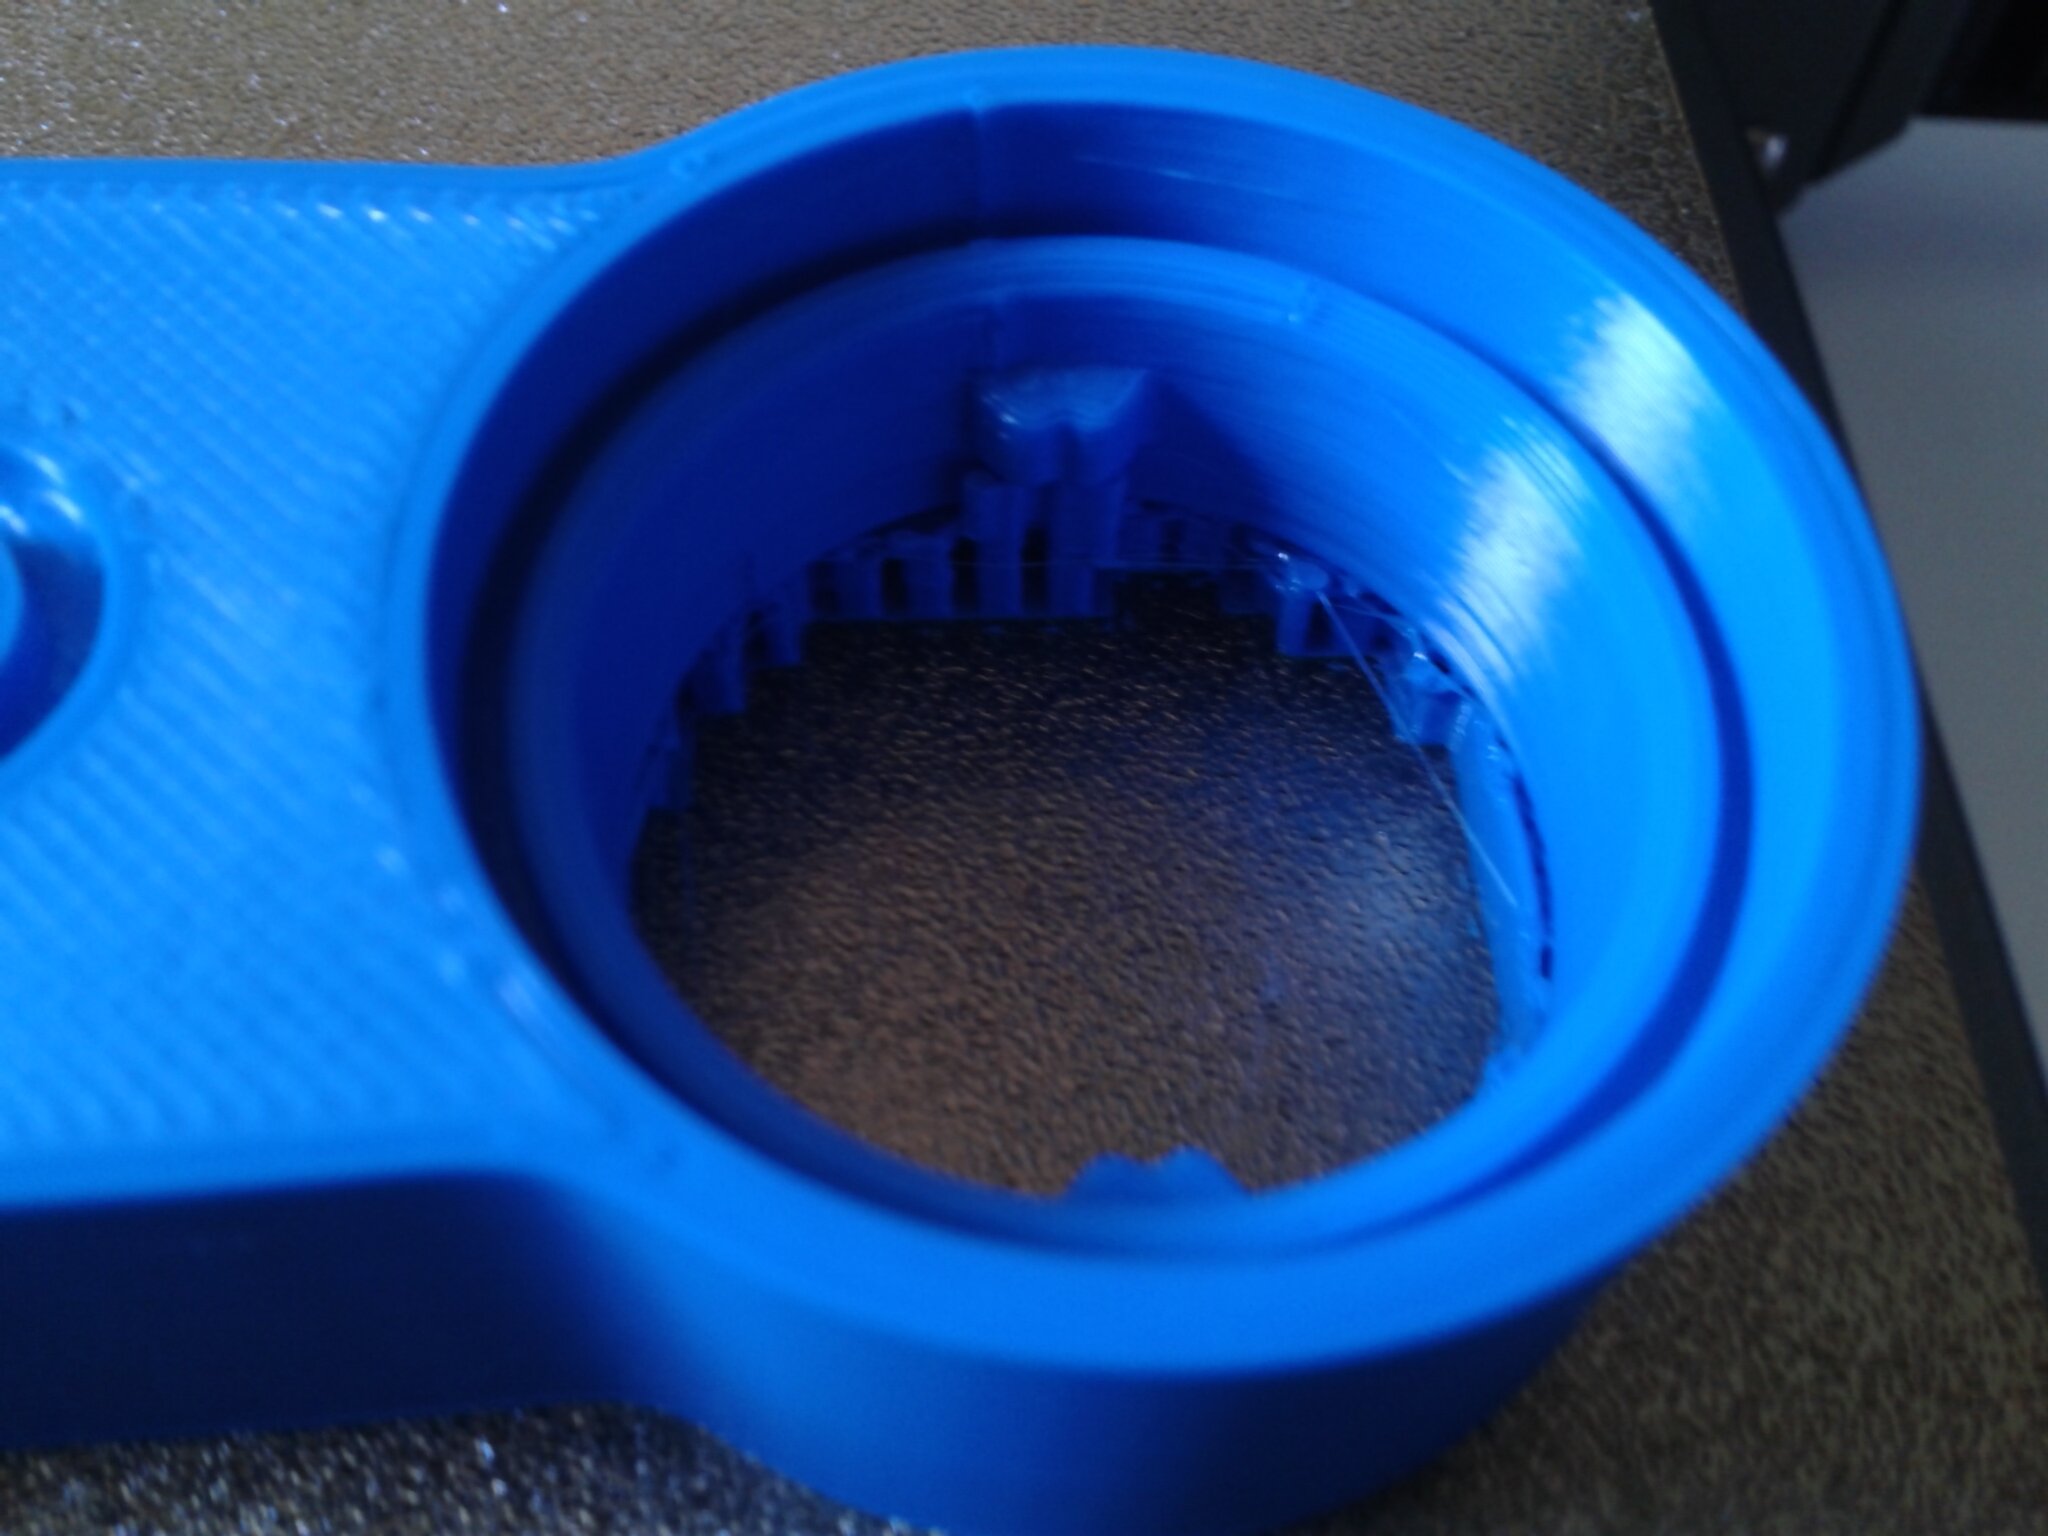
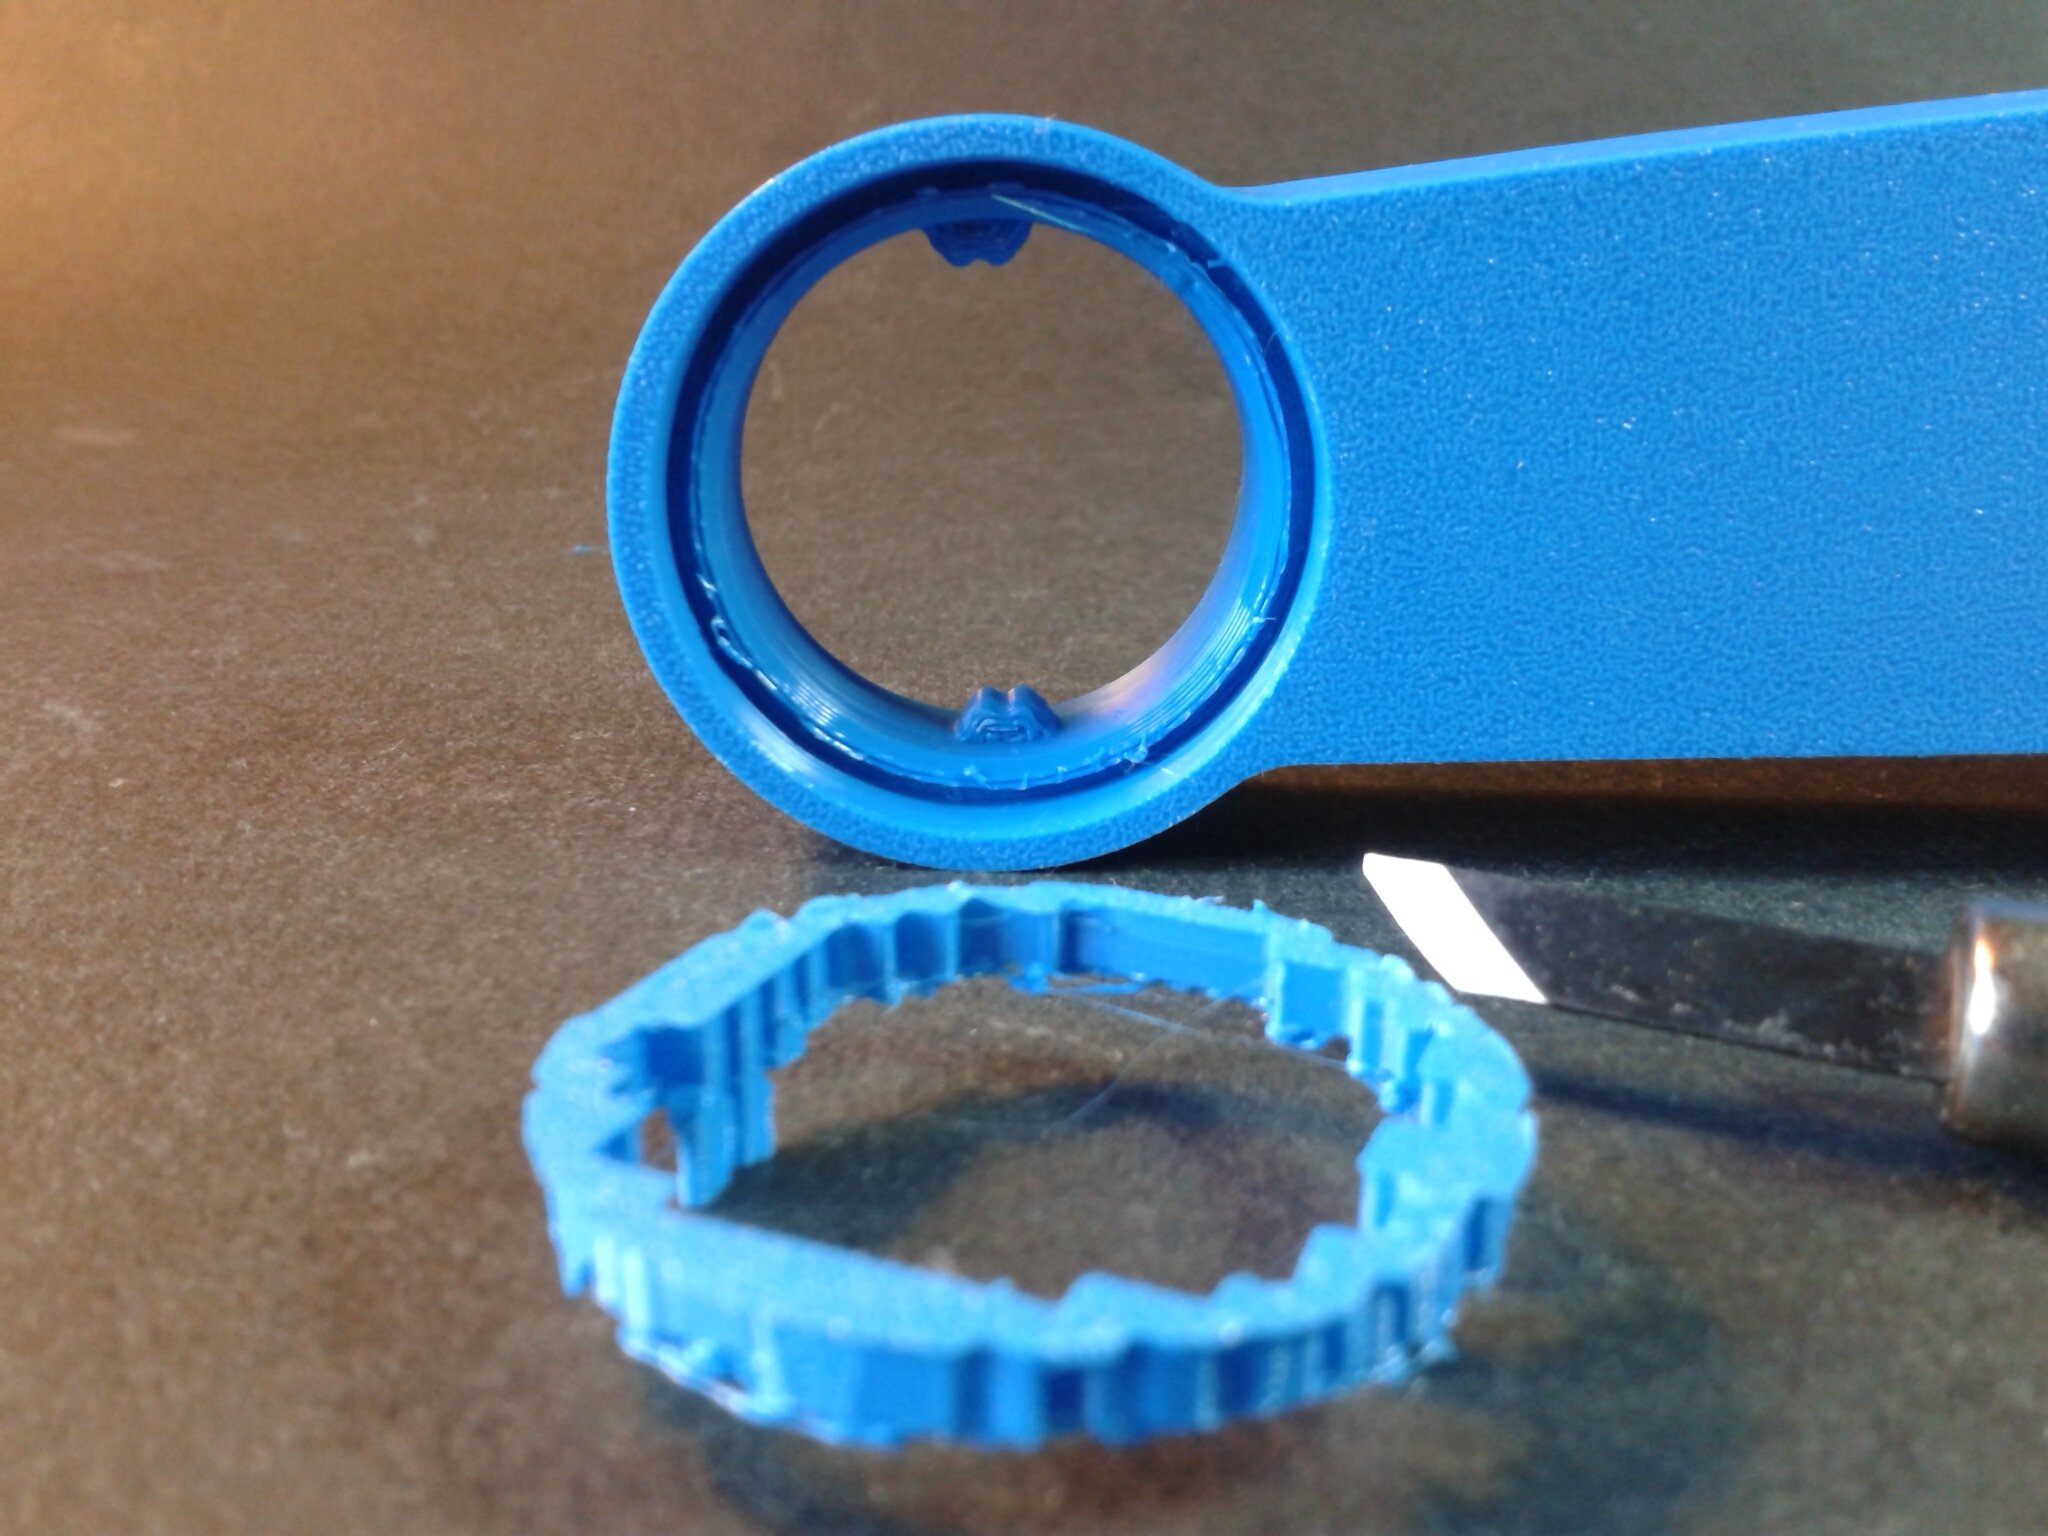
Spool guider-part a 1213-Ender-3 V3_0.4_Hyper PLA_49m.gcode
Durée : 49 m 36 s.


Spool guider-part b 1213-Ender-3 V3_0.4_Hyper PLA_22m.gcode
Durée : 21 m 33 s.


Pour assembler et mettre en place ce système anti enchevêtrement du filament sur la bobine en conservant le support de bobine d’origine, il faut suivre cette documentation.


D’autres impressions en PLA
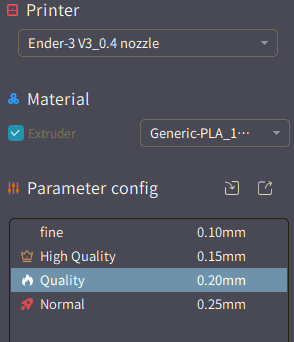
Sauf autres mentions, voici les réglages communs de ces prints dans Creality Print v4.3.8.7021 :
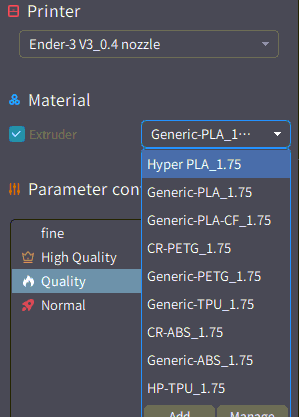
- Ender-3 V3_0.4 nozzle
- Generic-PLA_1.75
- MVS : 18.00 mm³/s
- Buse : 230°C
- Plateau : 45°C ou 60°C
- Quality : 0.20 mm
- Print Speed : 300.00 mm/s
- Build Plate Adhesion Type : autobrim ou none
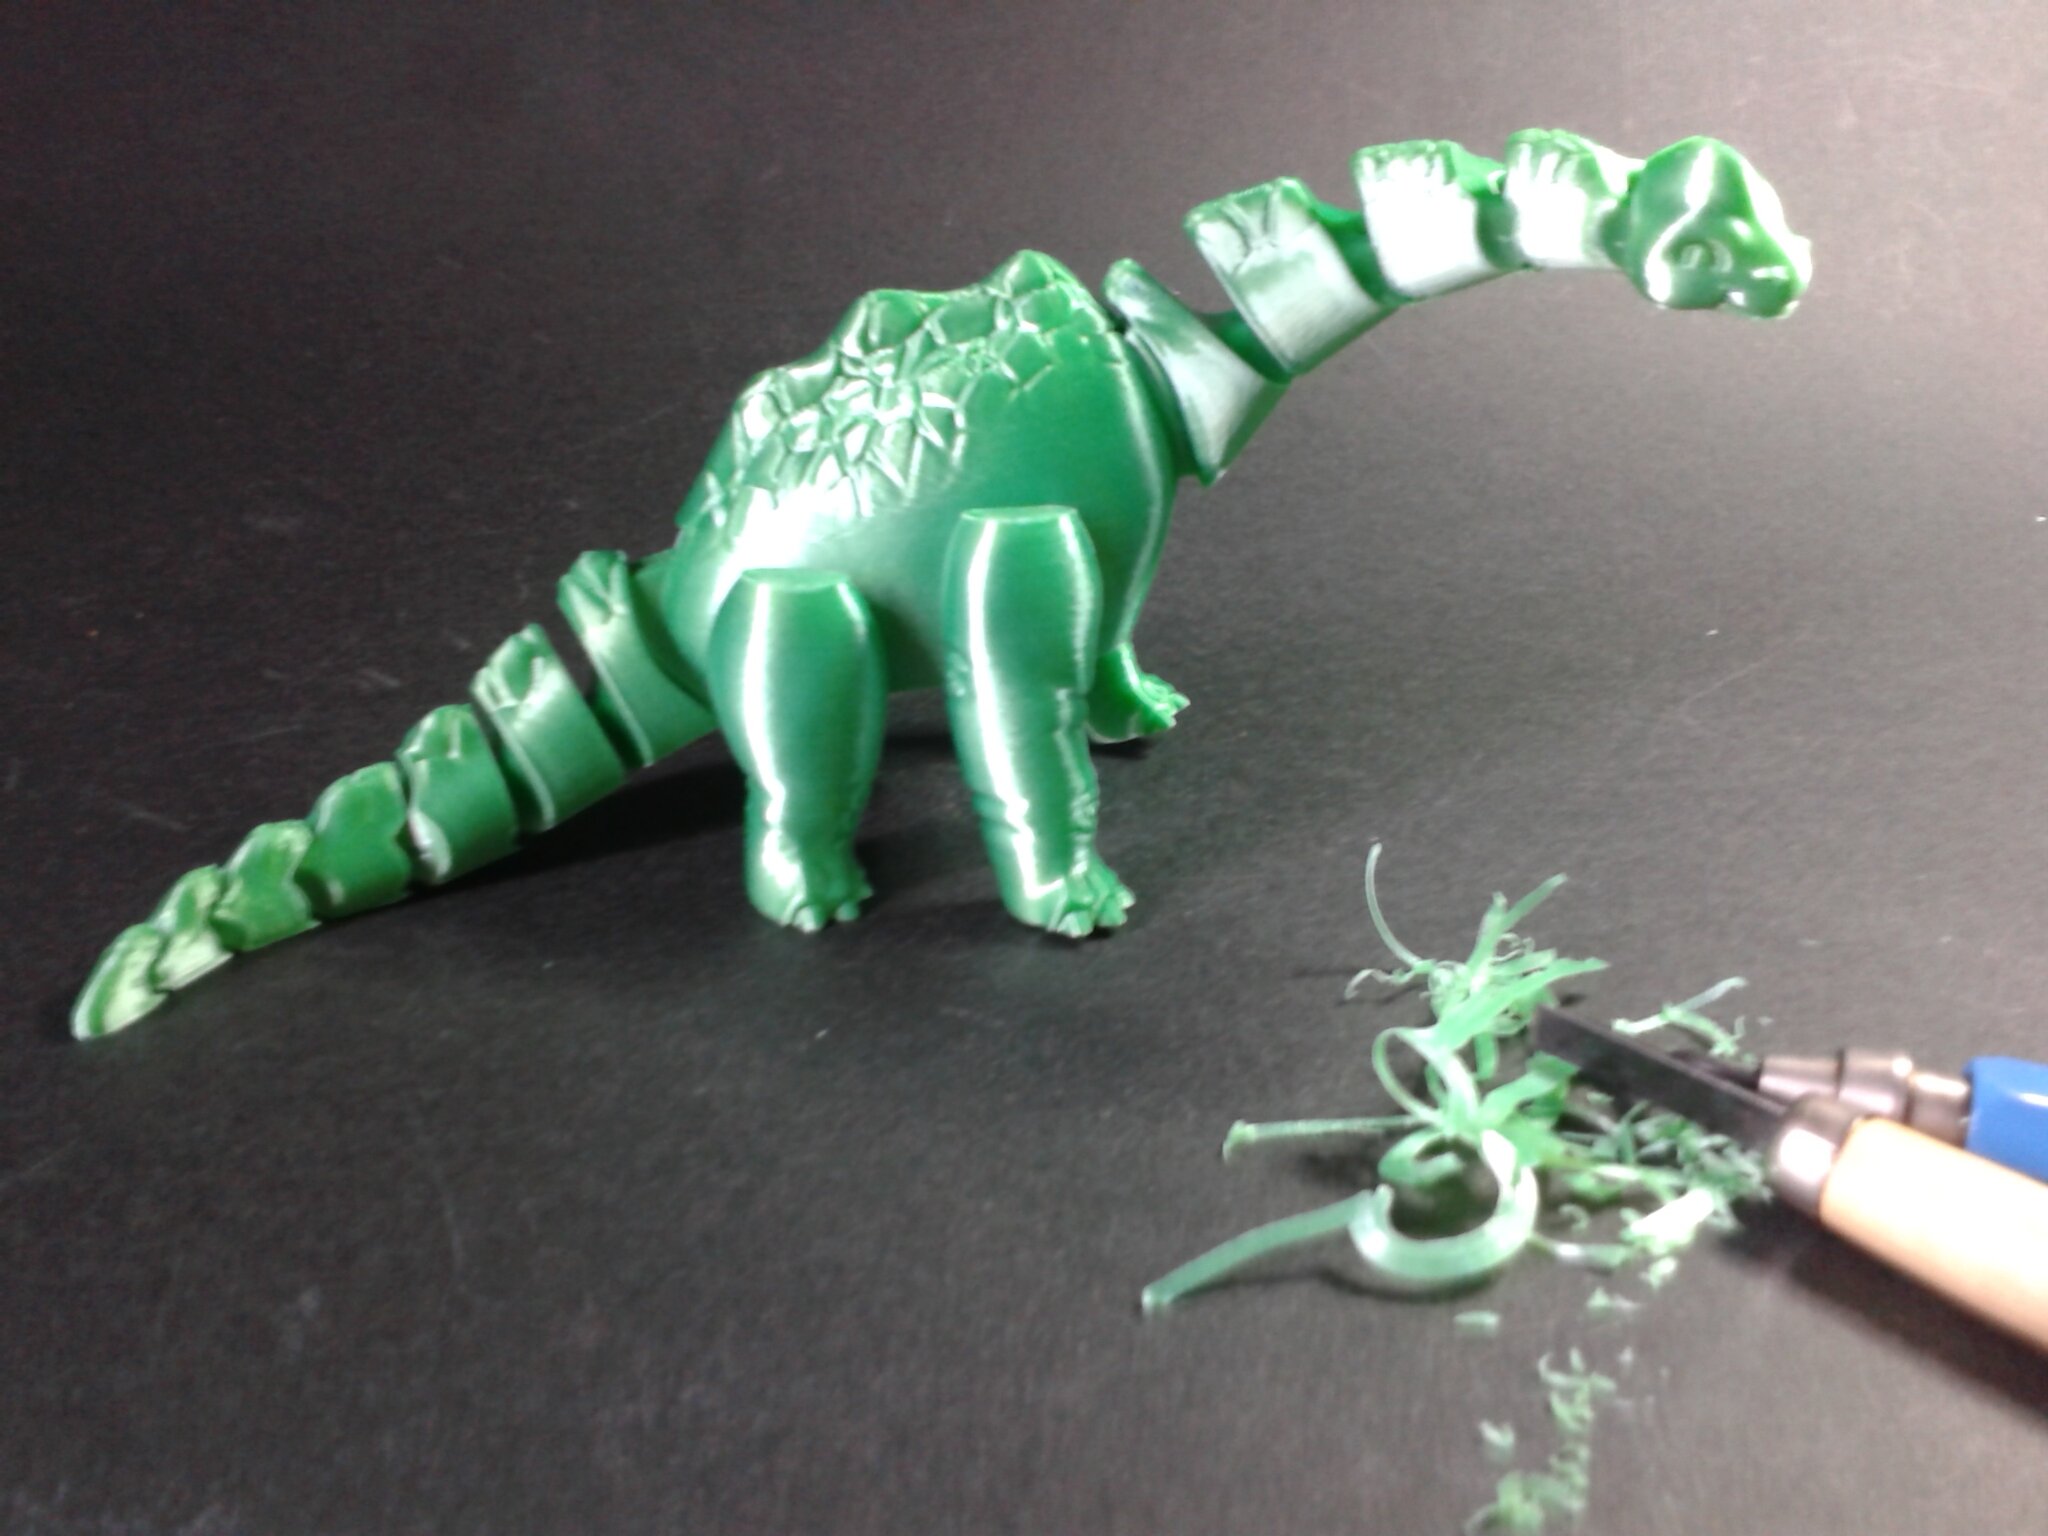
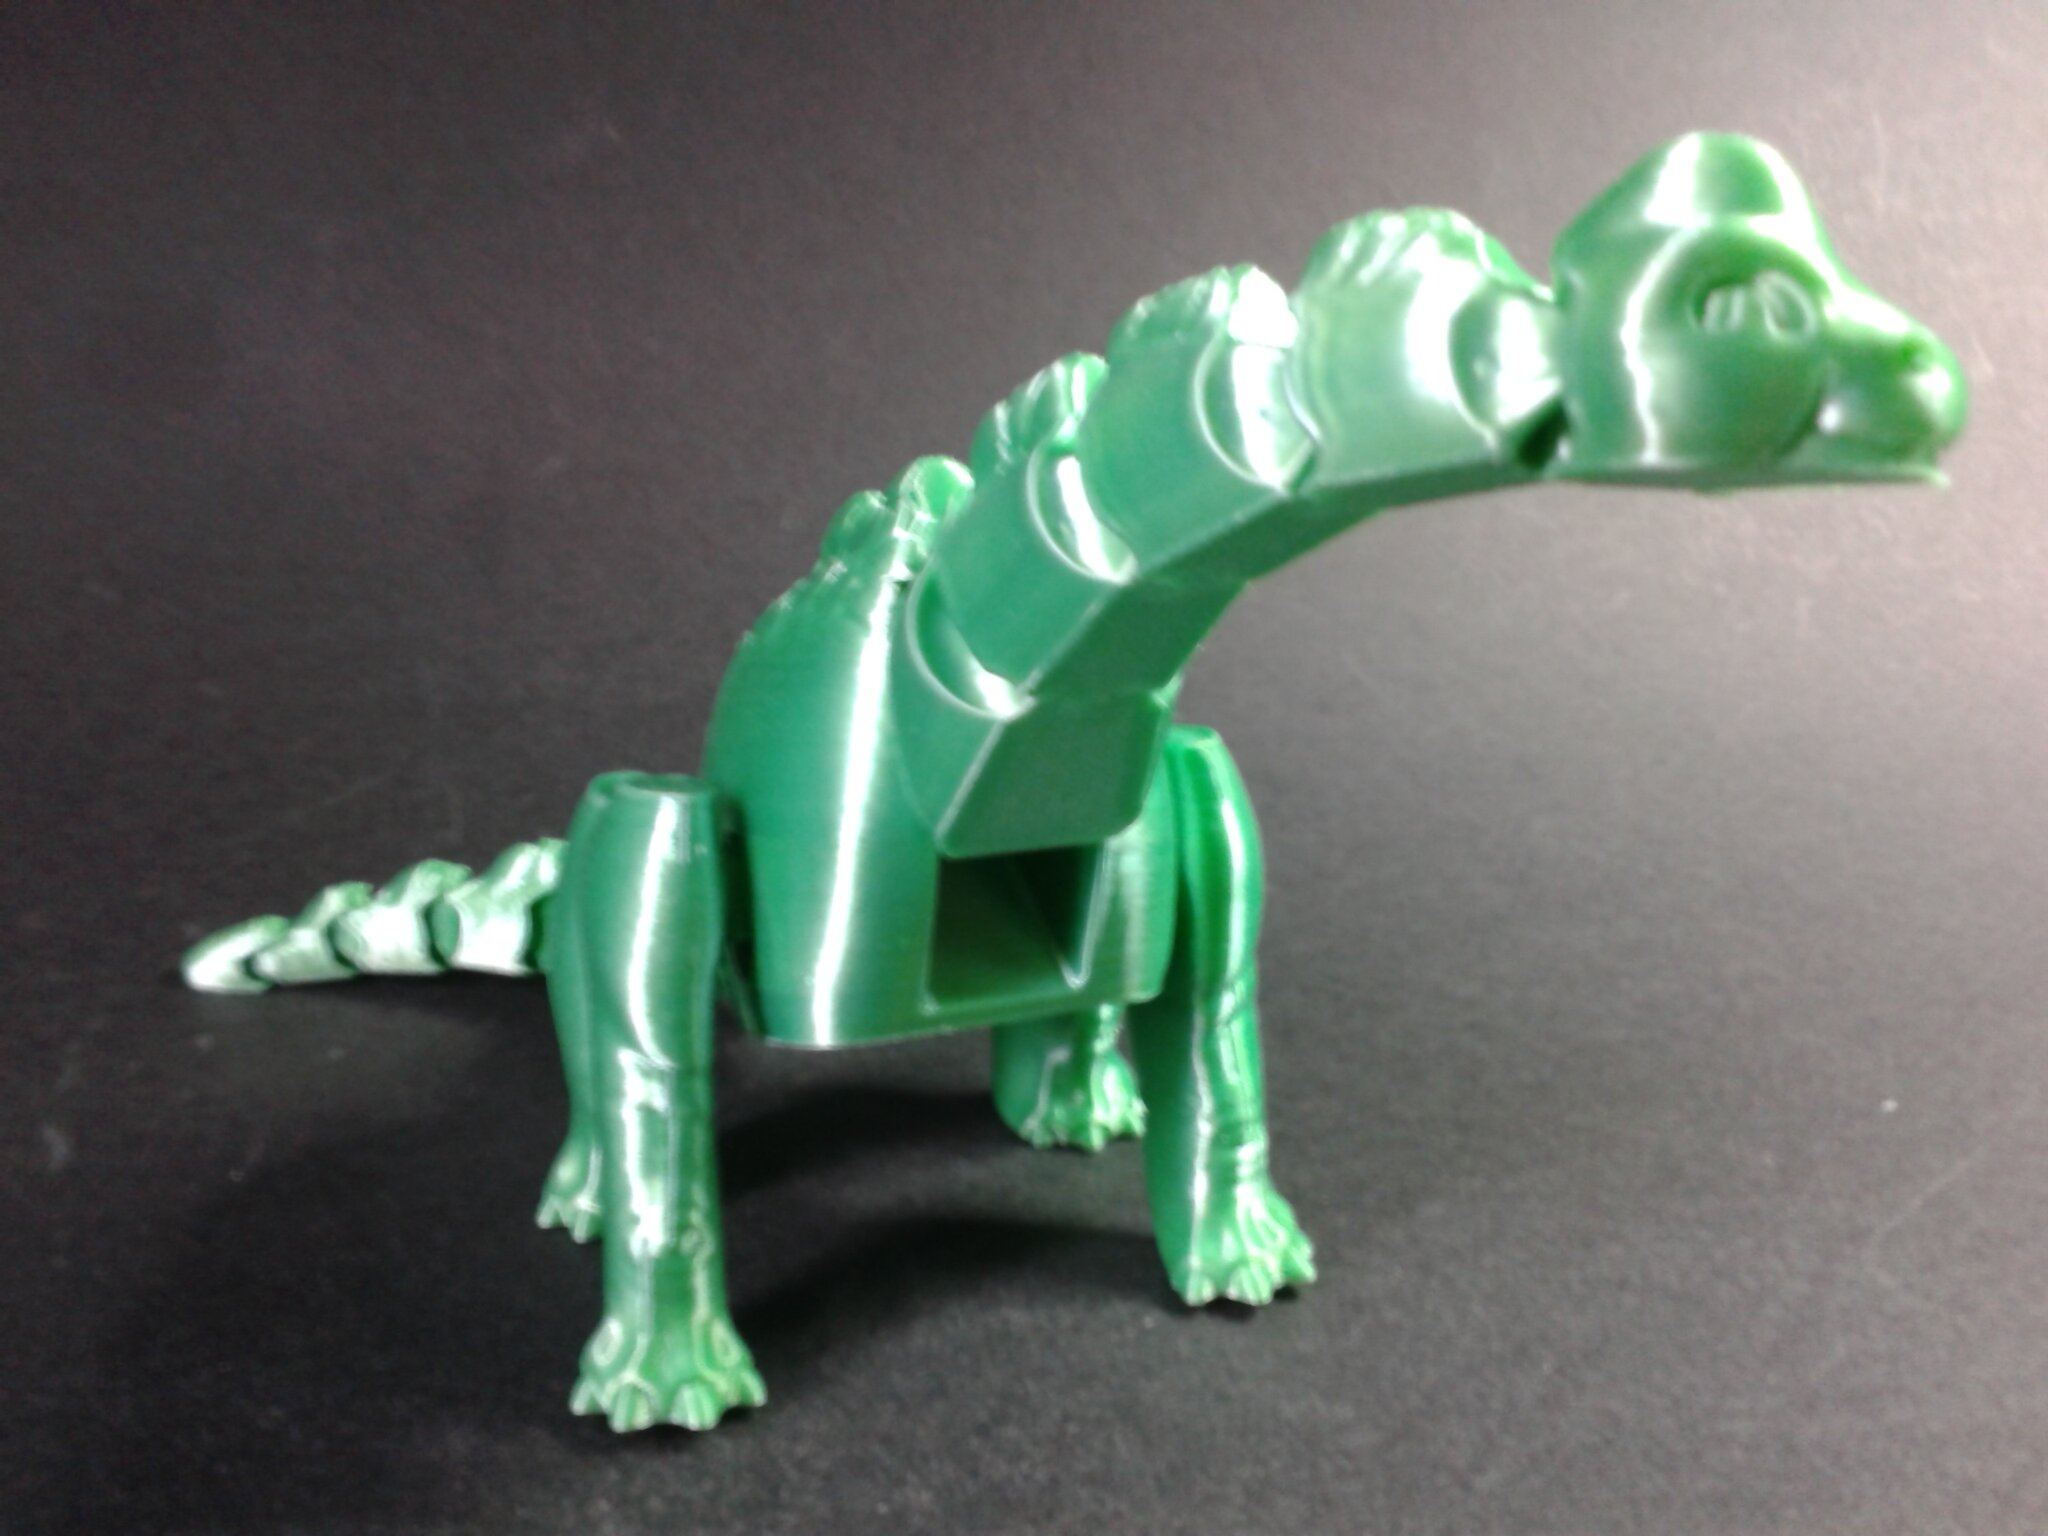
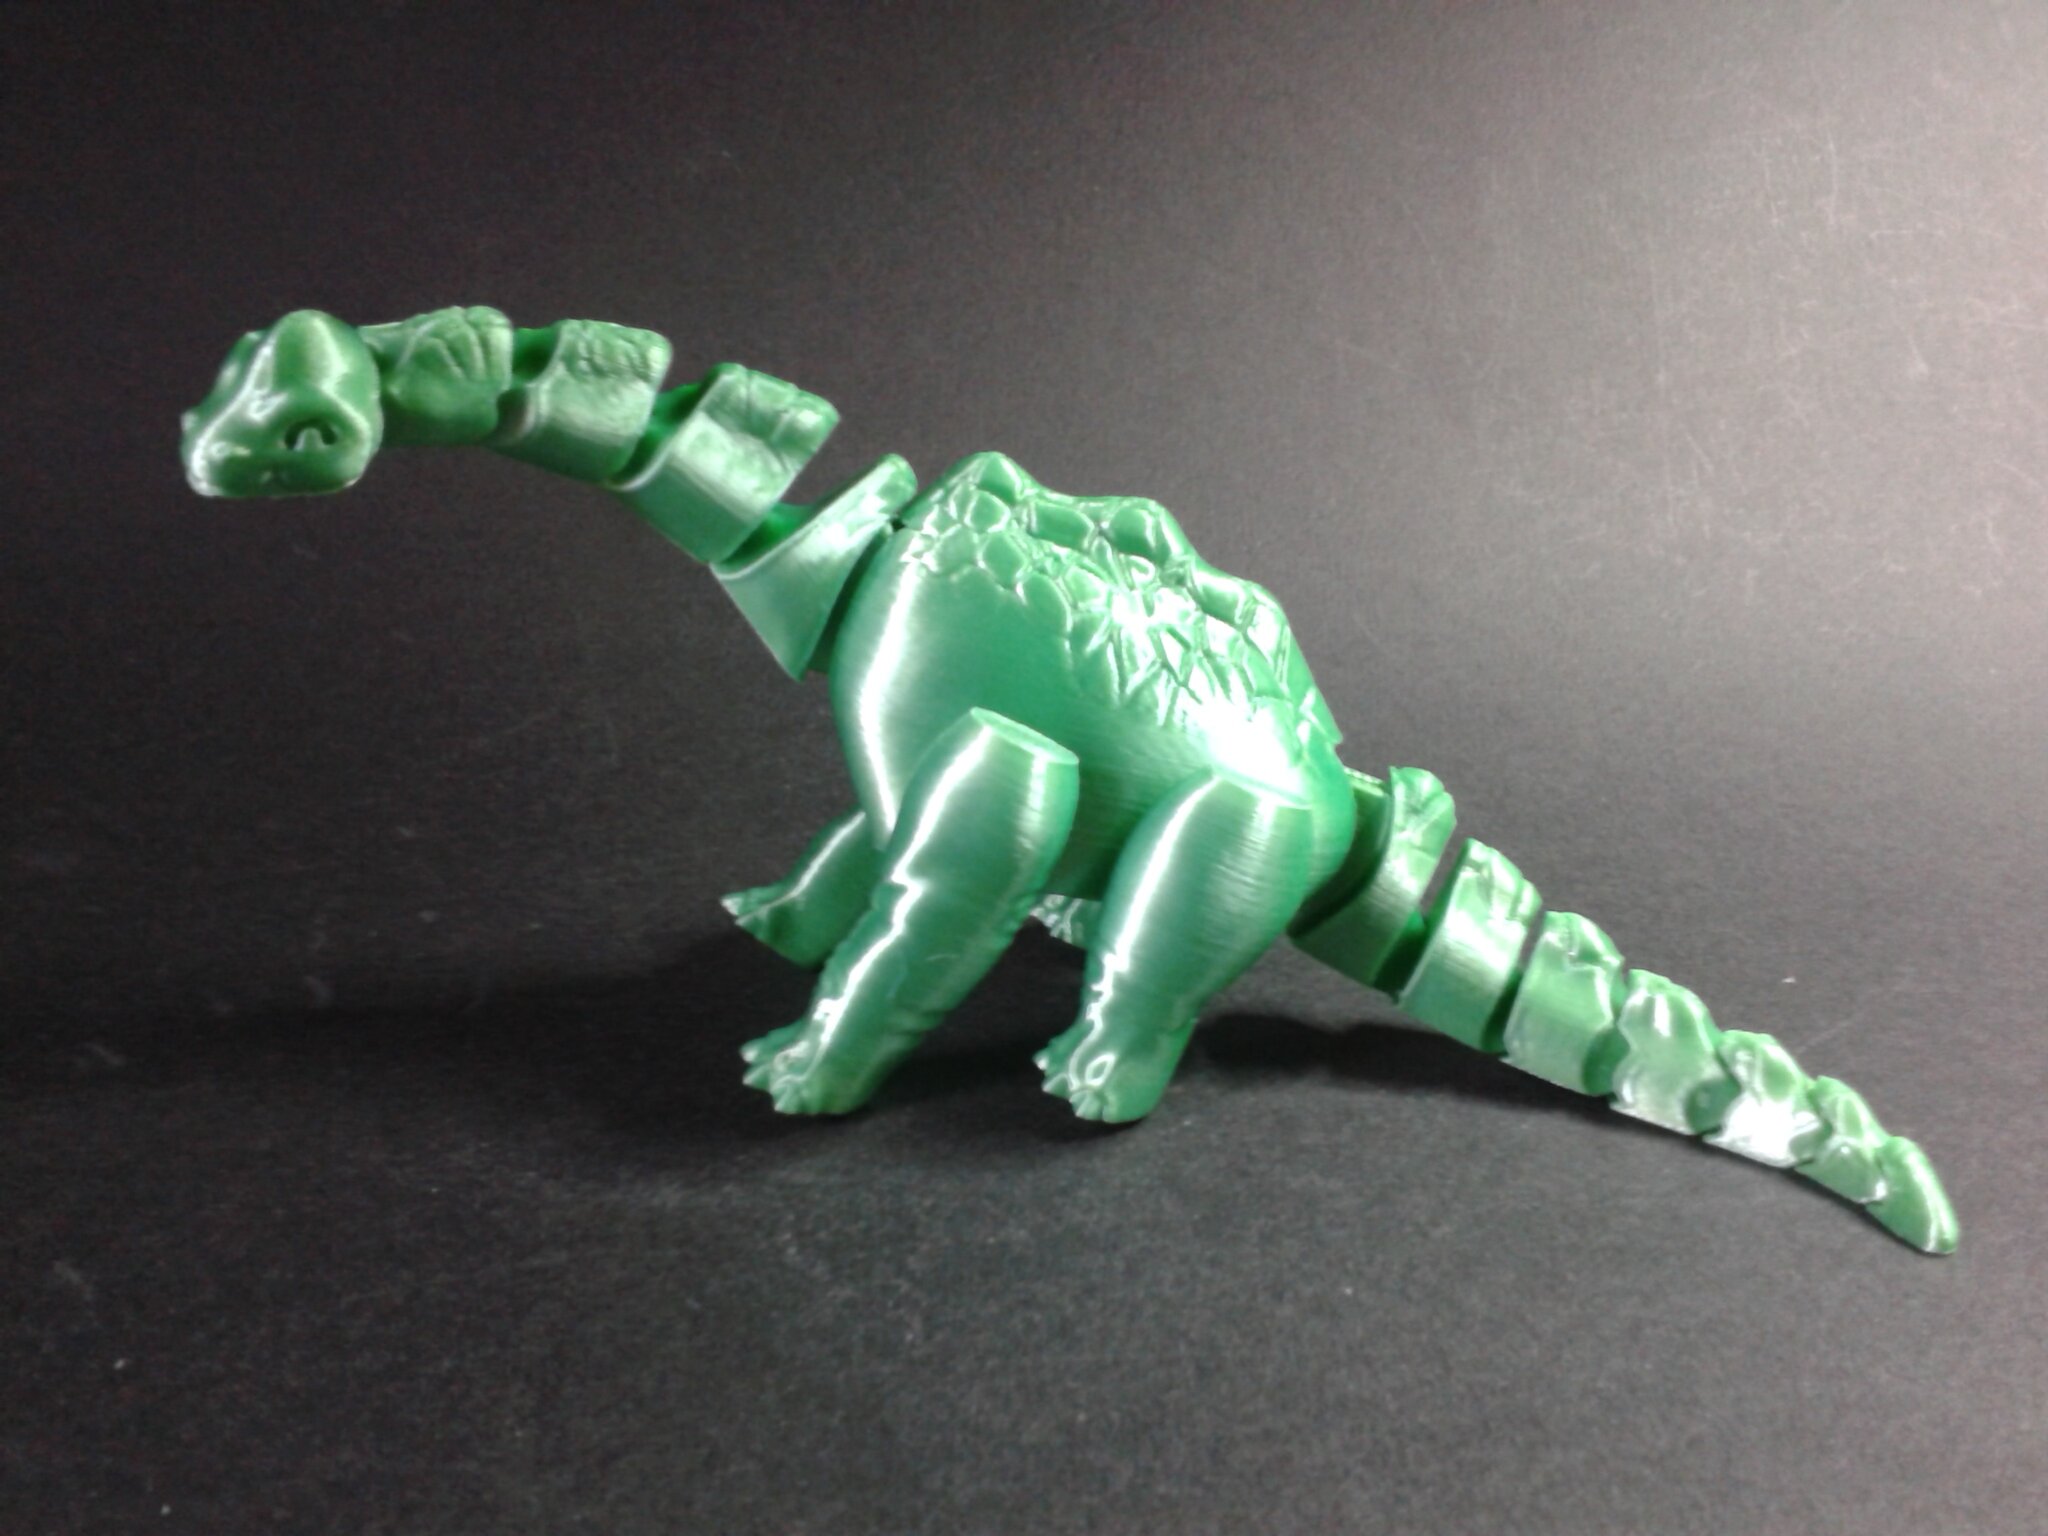
Dinosaure articulé
- “Arti-Brachi” de “McGybeer” (gratuit si Creality Cloud Premium)
- Échelle 100%, en 2 plateaux, pour un total d’environ 2 h 17 min d’impression
- Filament PLA Silk Vert ArianePlast
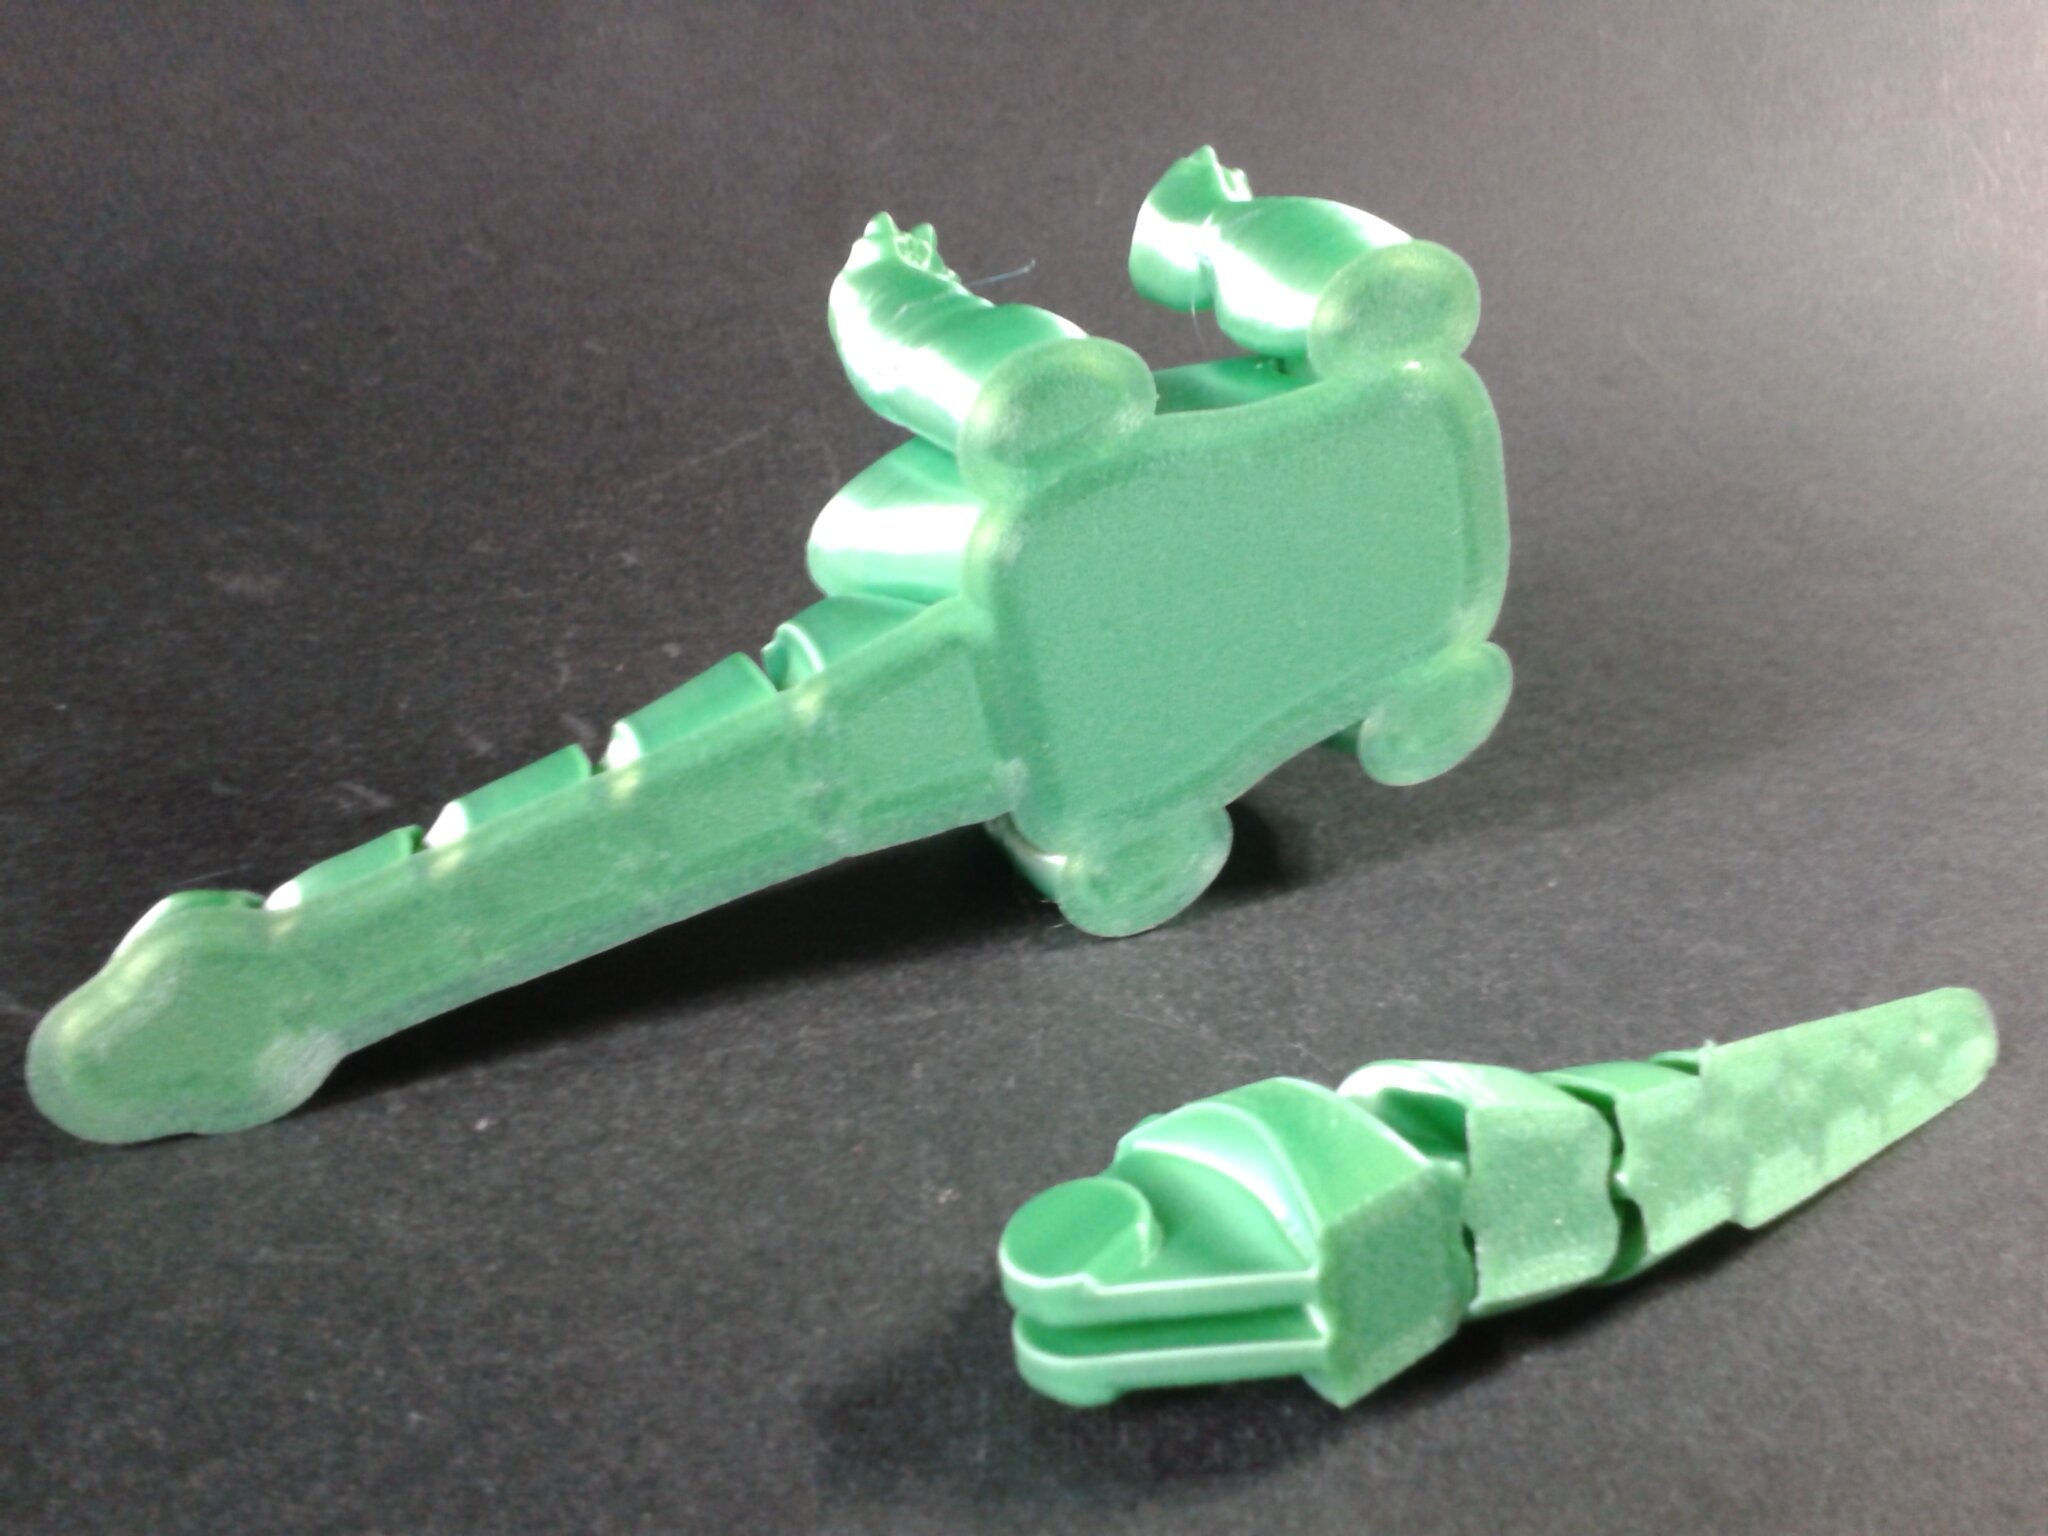
Alligators articulés
- “Articulated Alligator” de “McGybeer” (gratuit si Creality Cloud Premium)
- Échelle 100%, environ 1 h 43 min d’impression
- Filament PLA Silk Vert ArianePlast


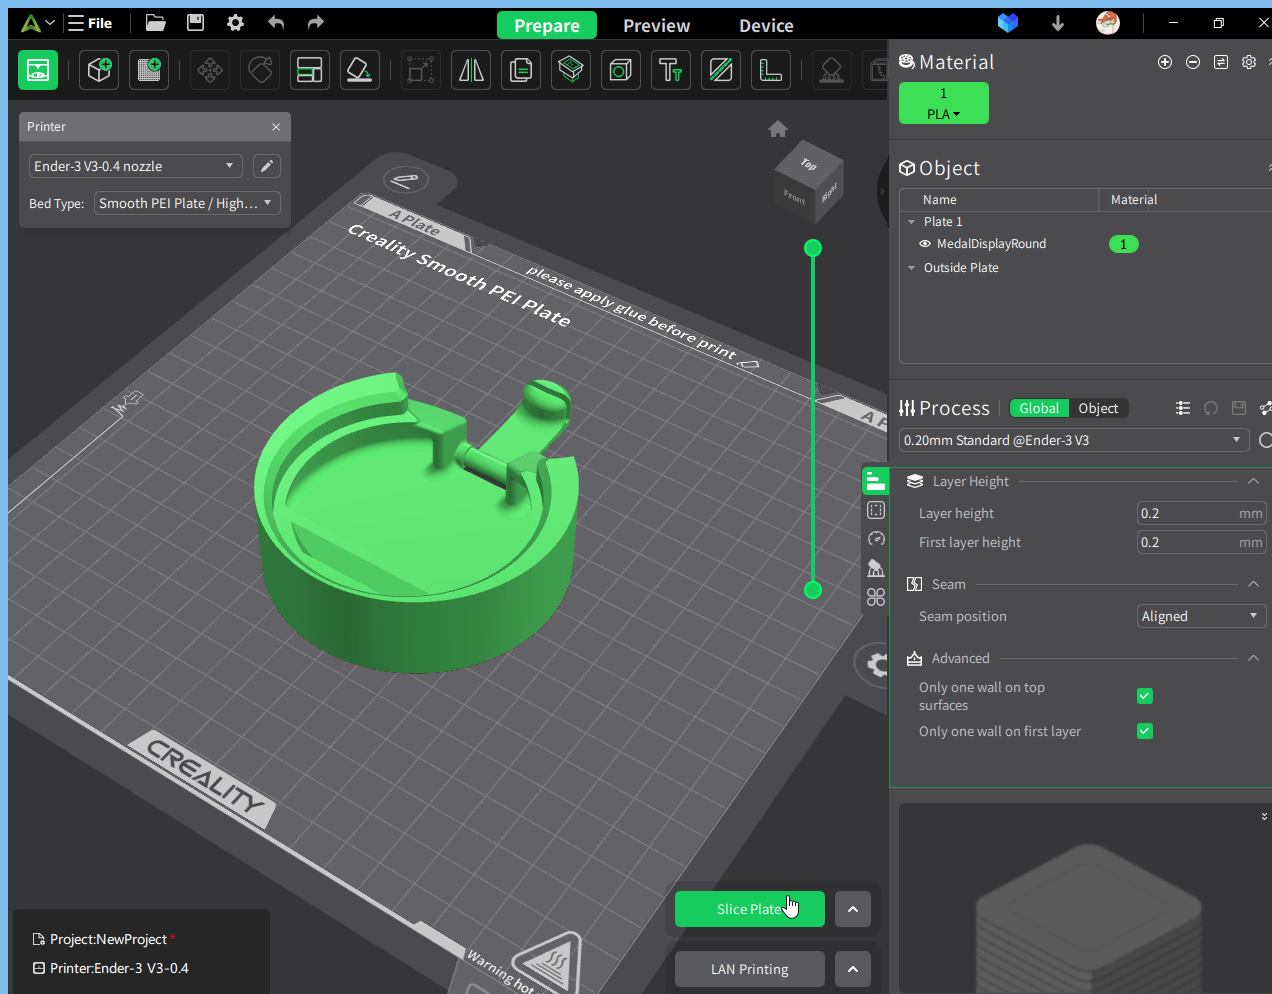
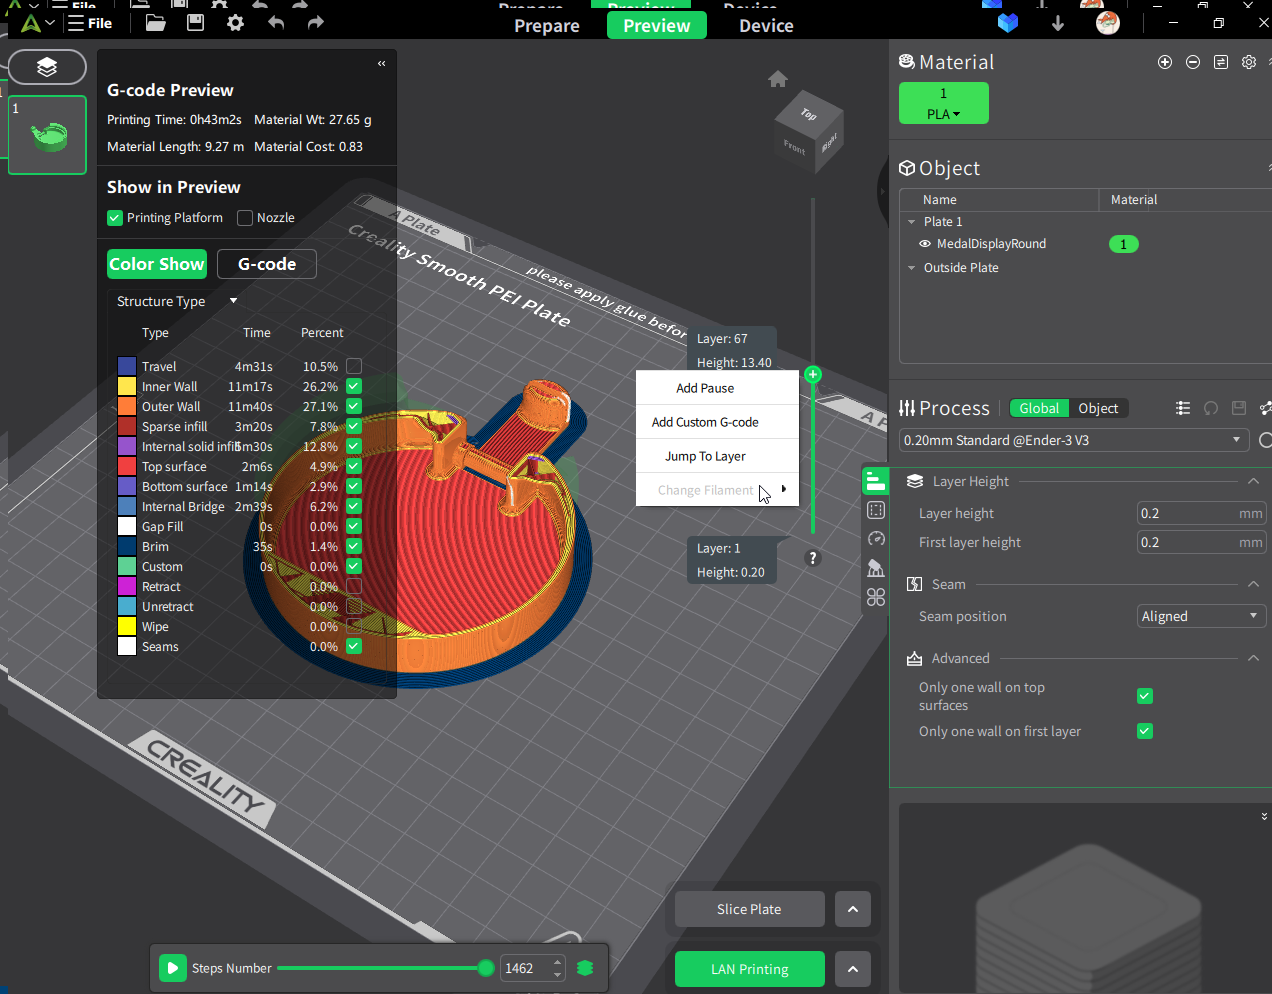
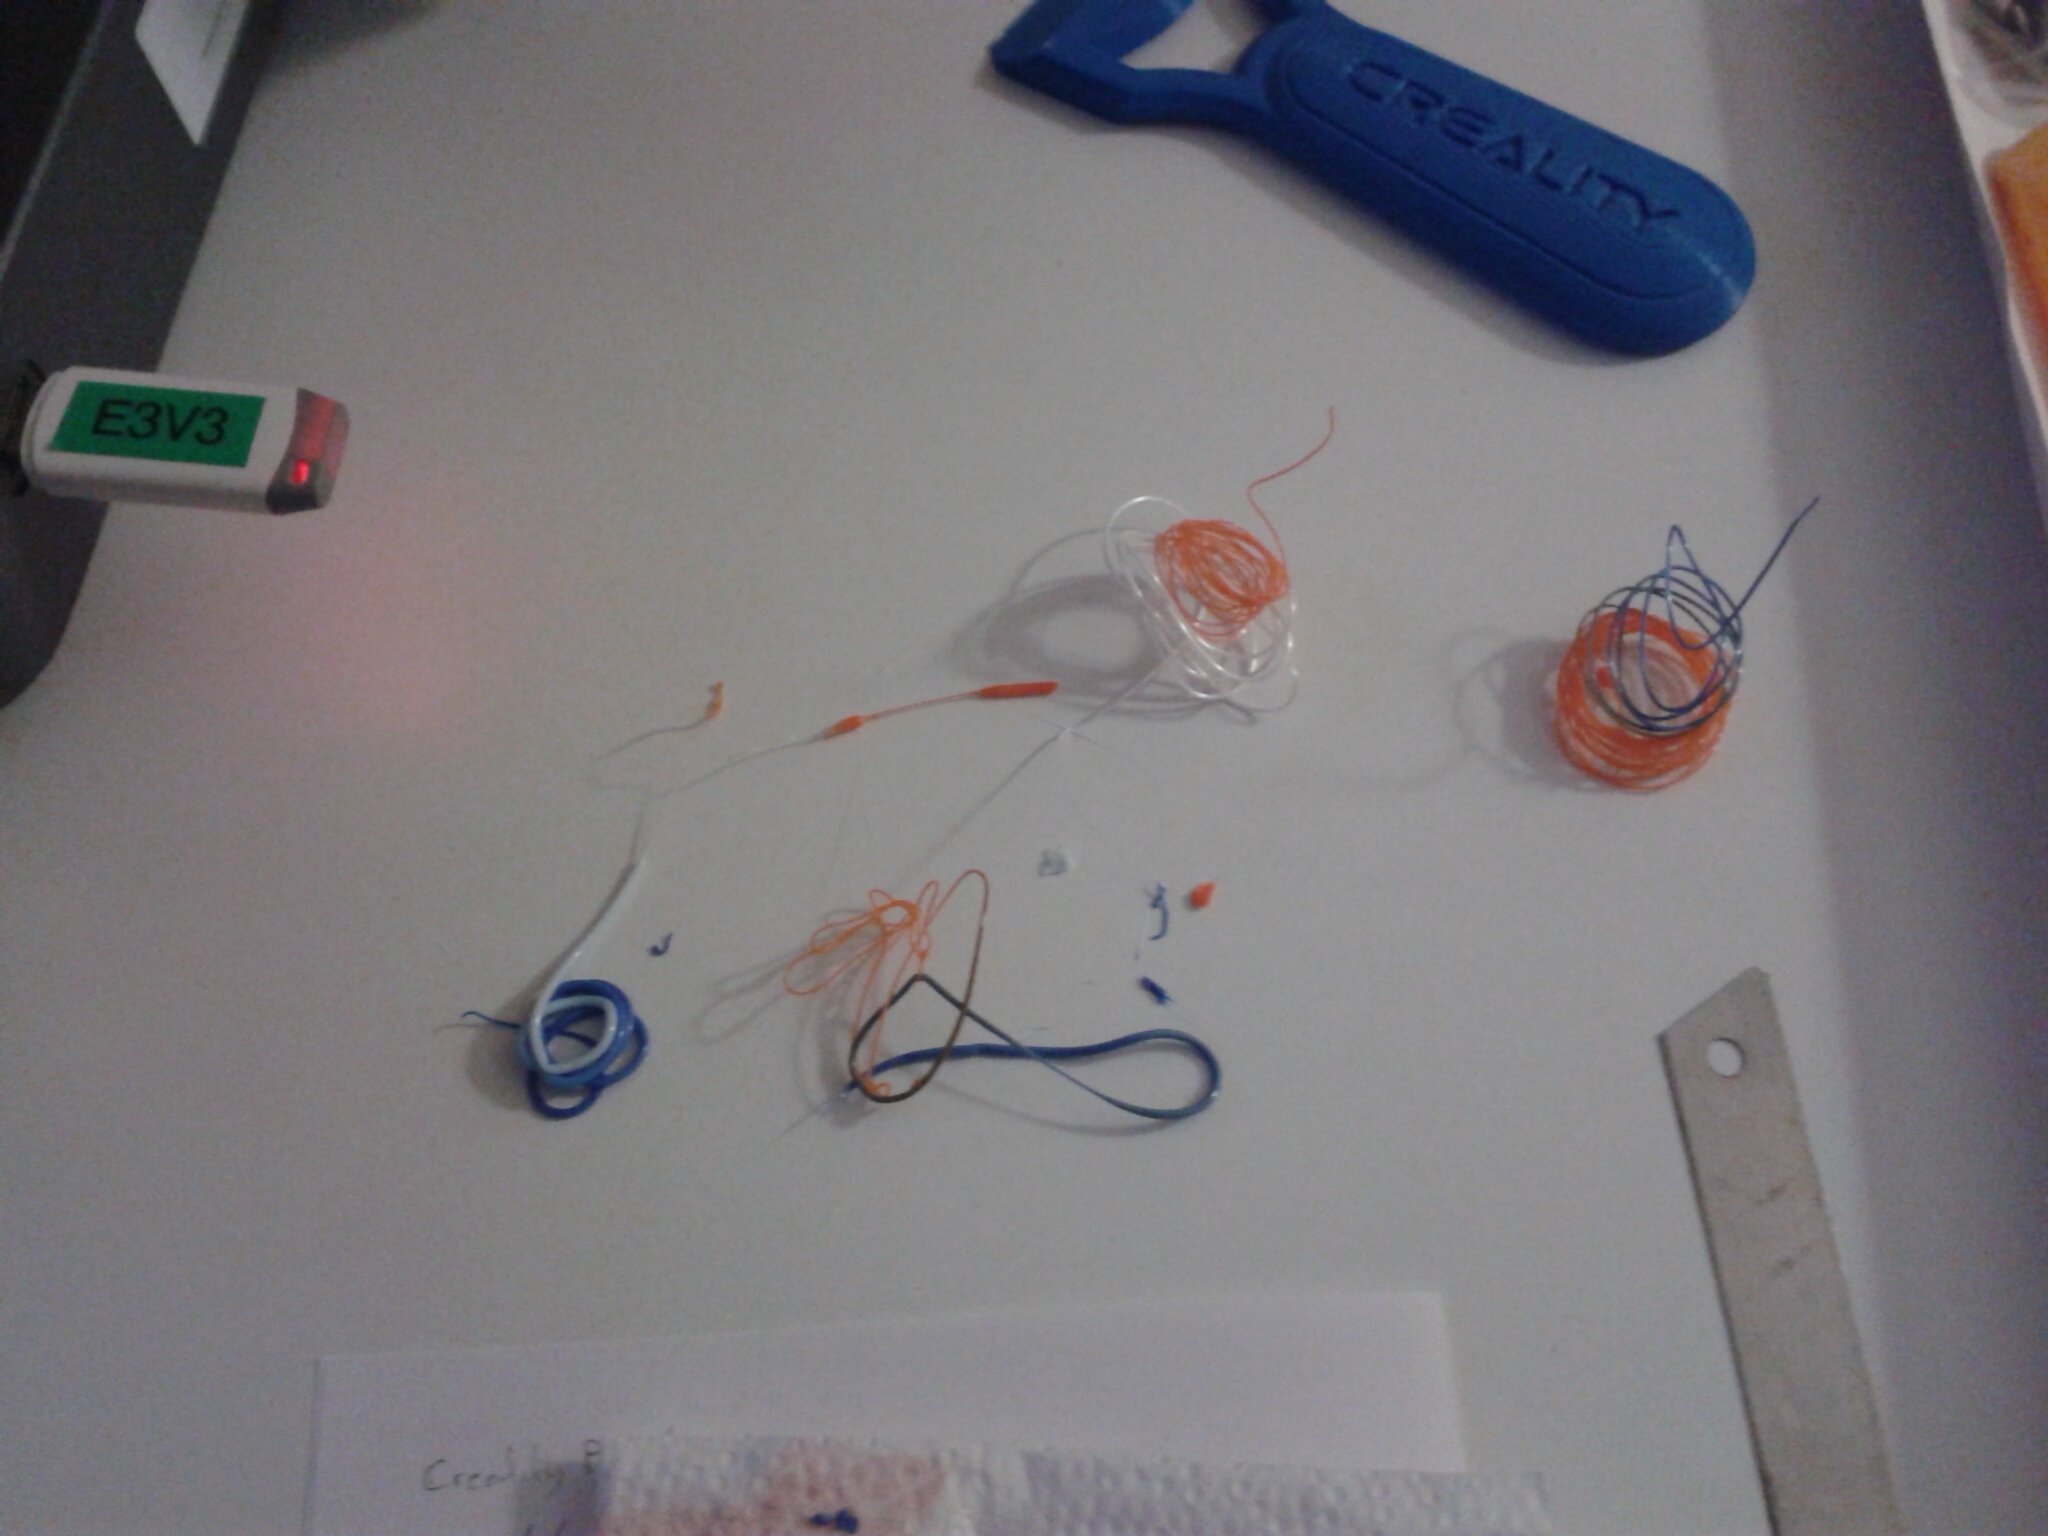
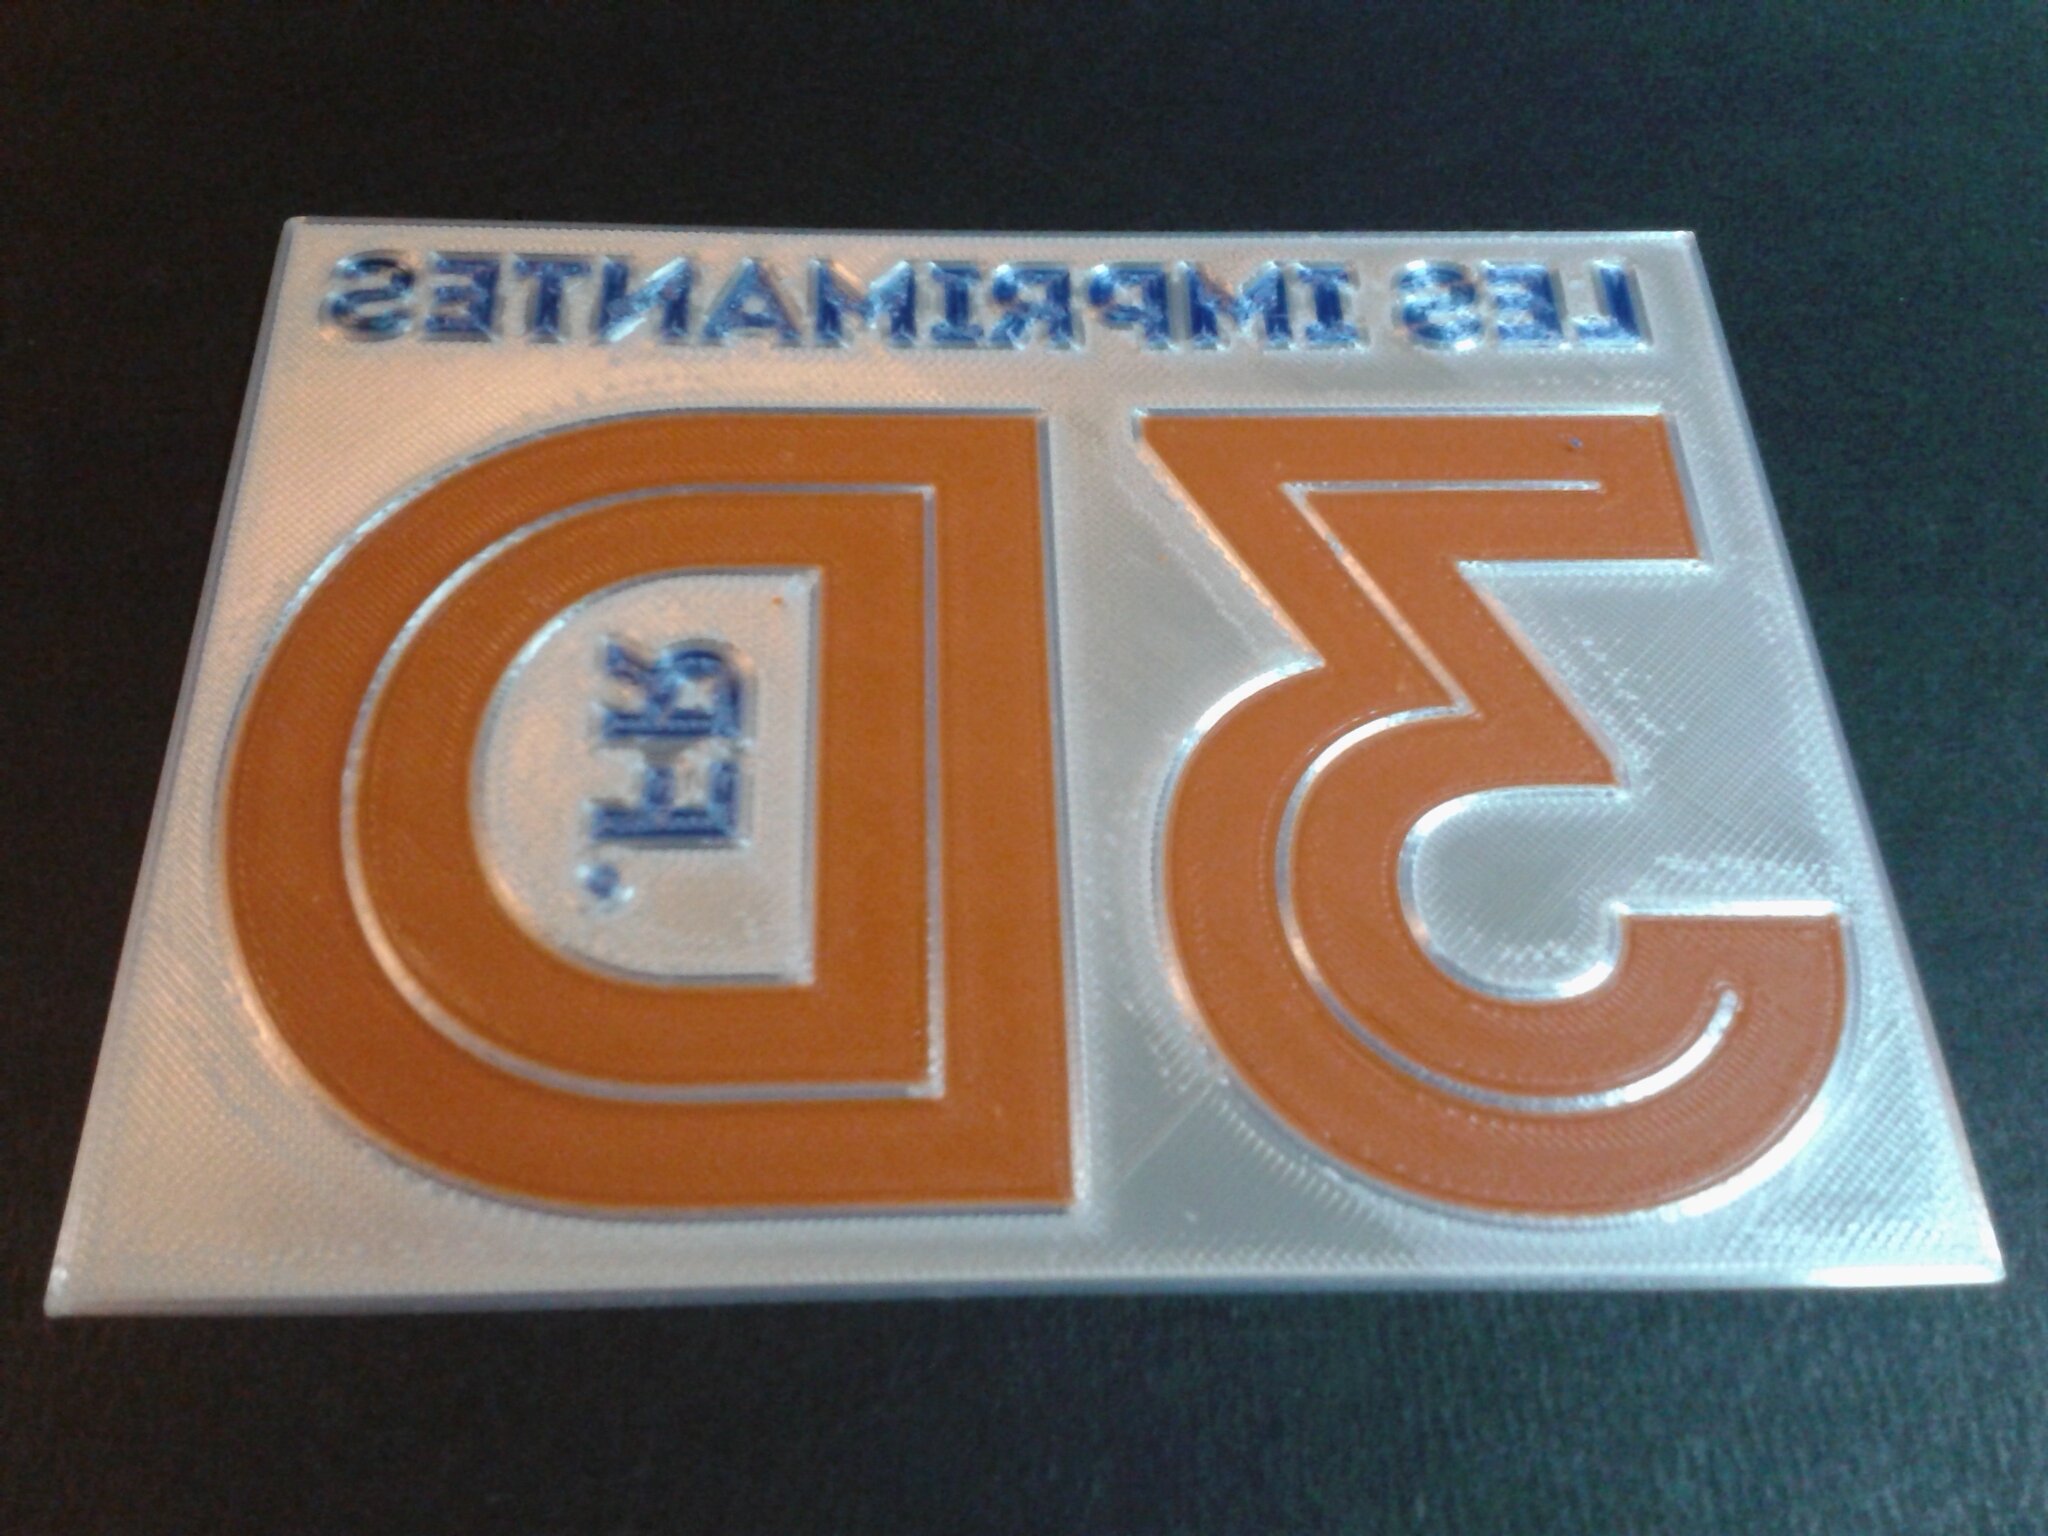
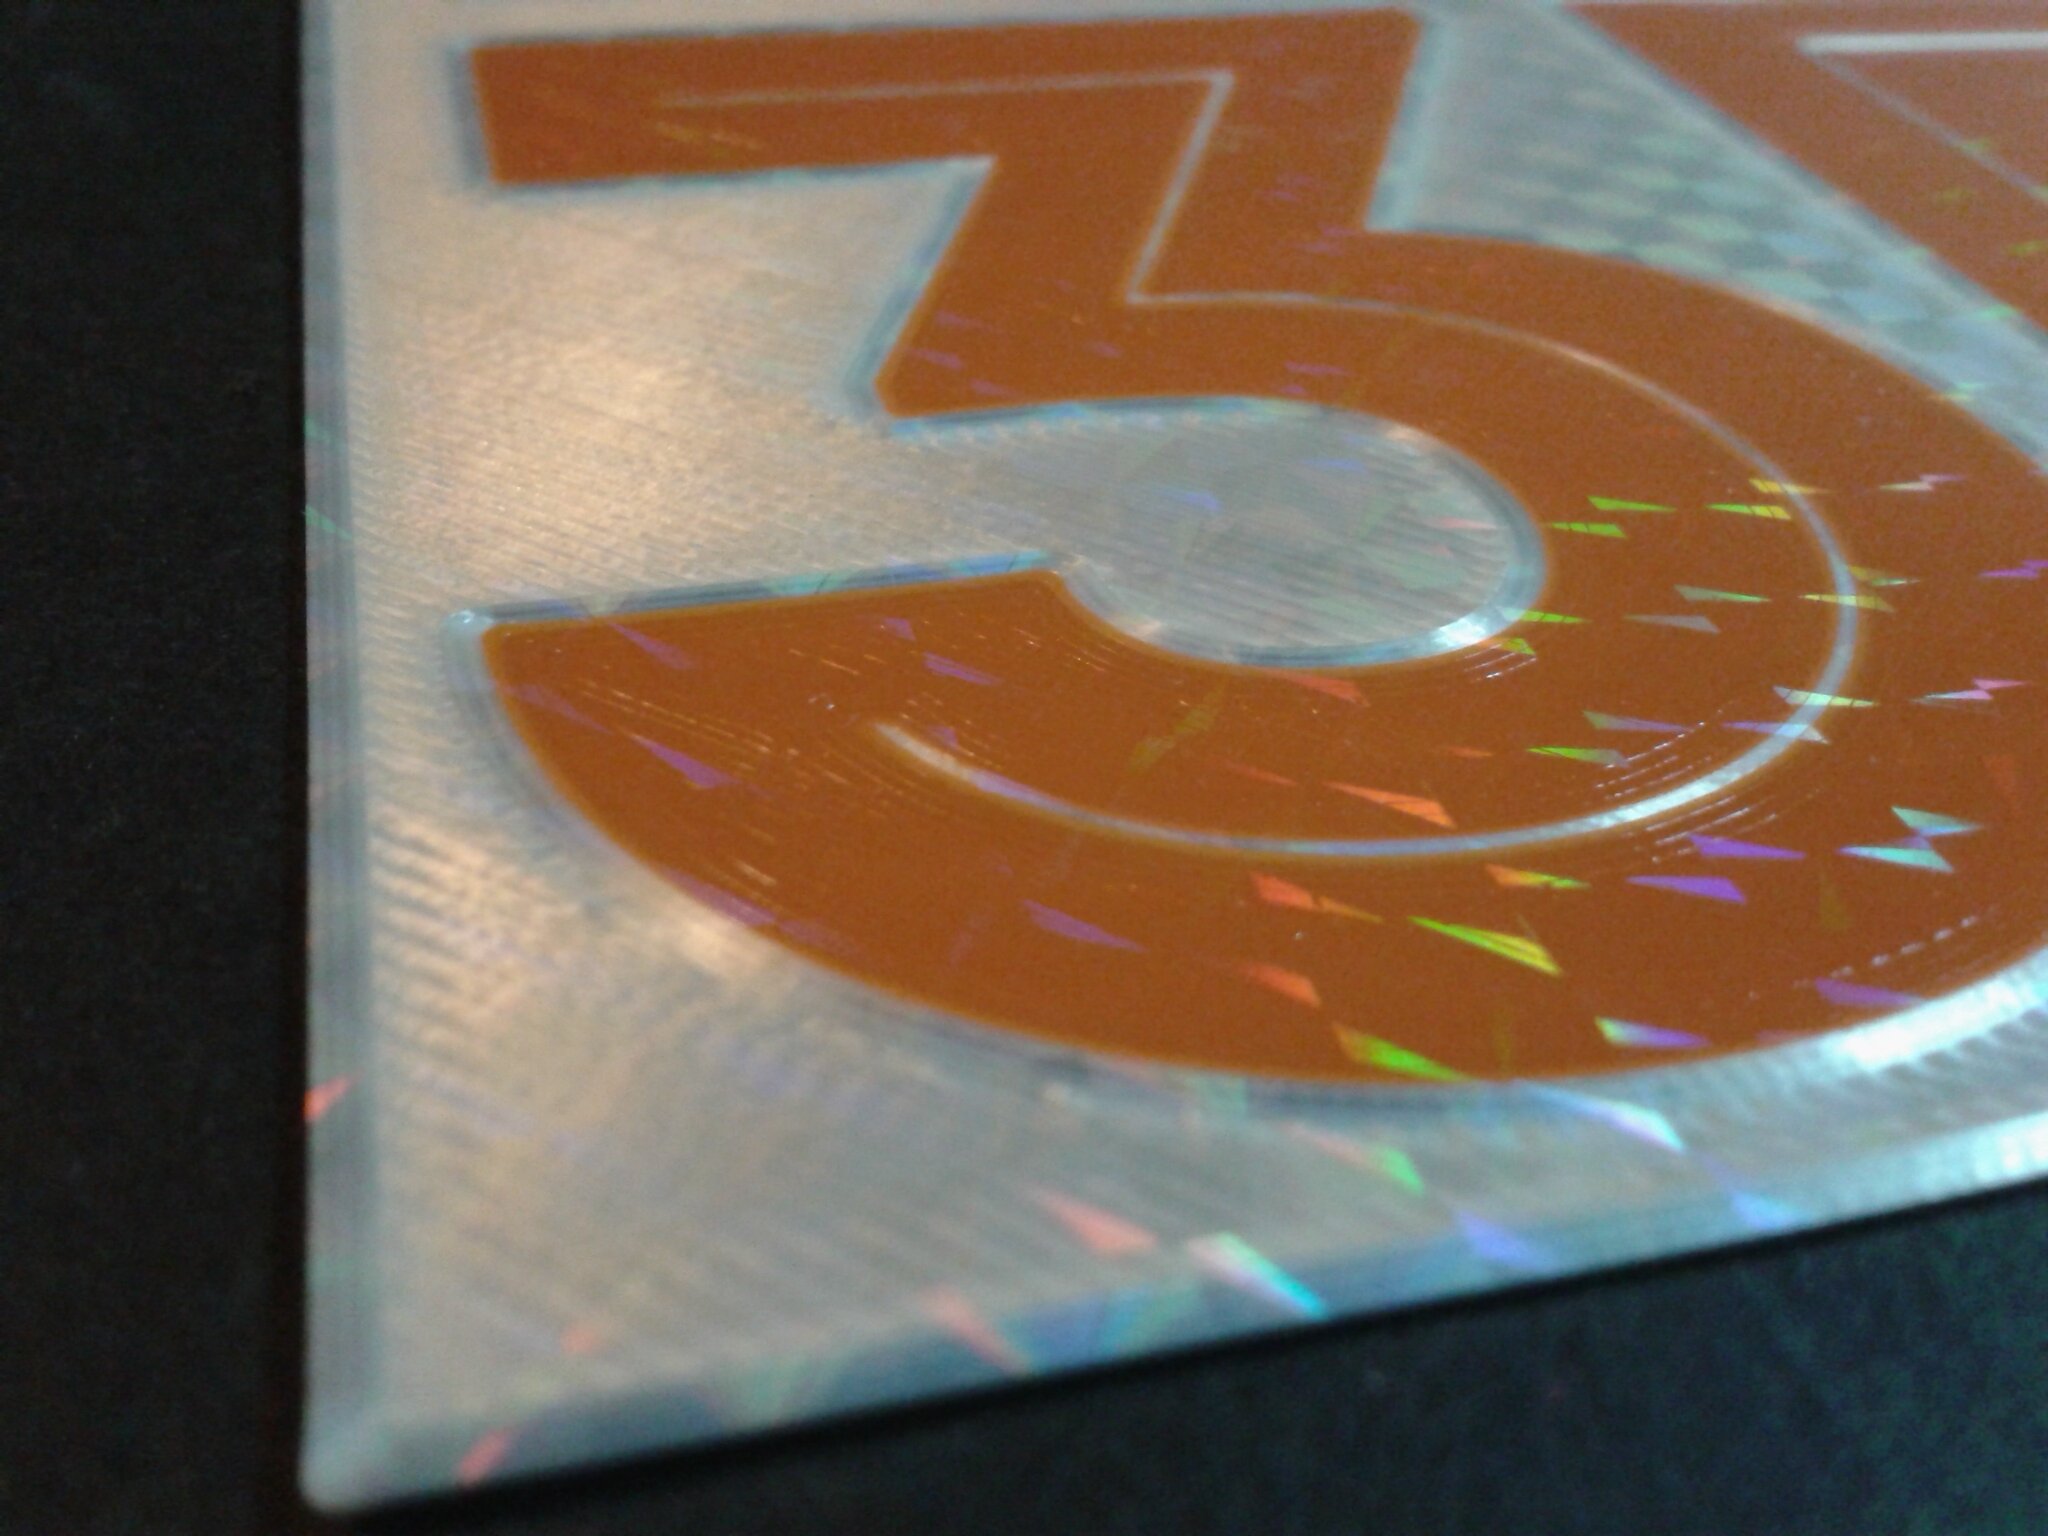
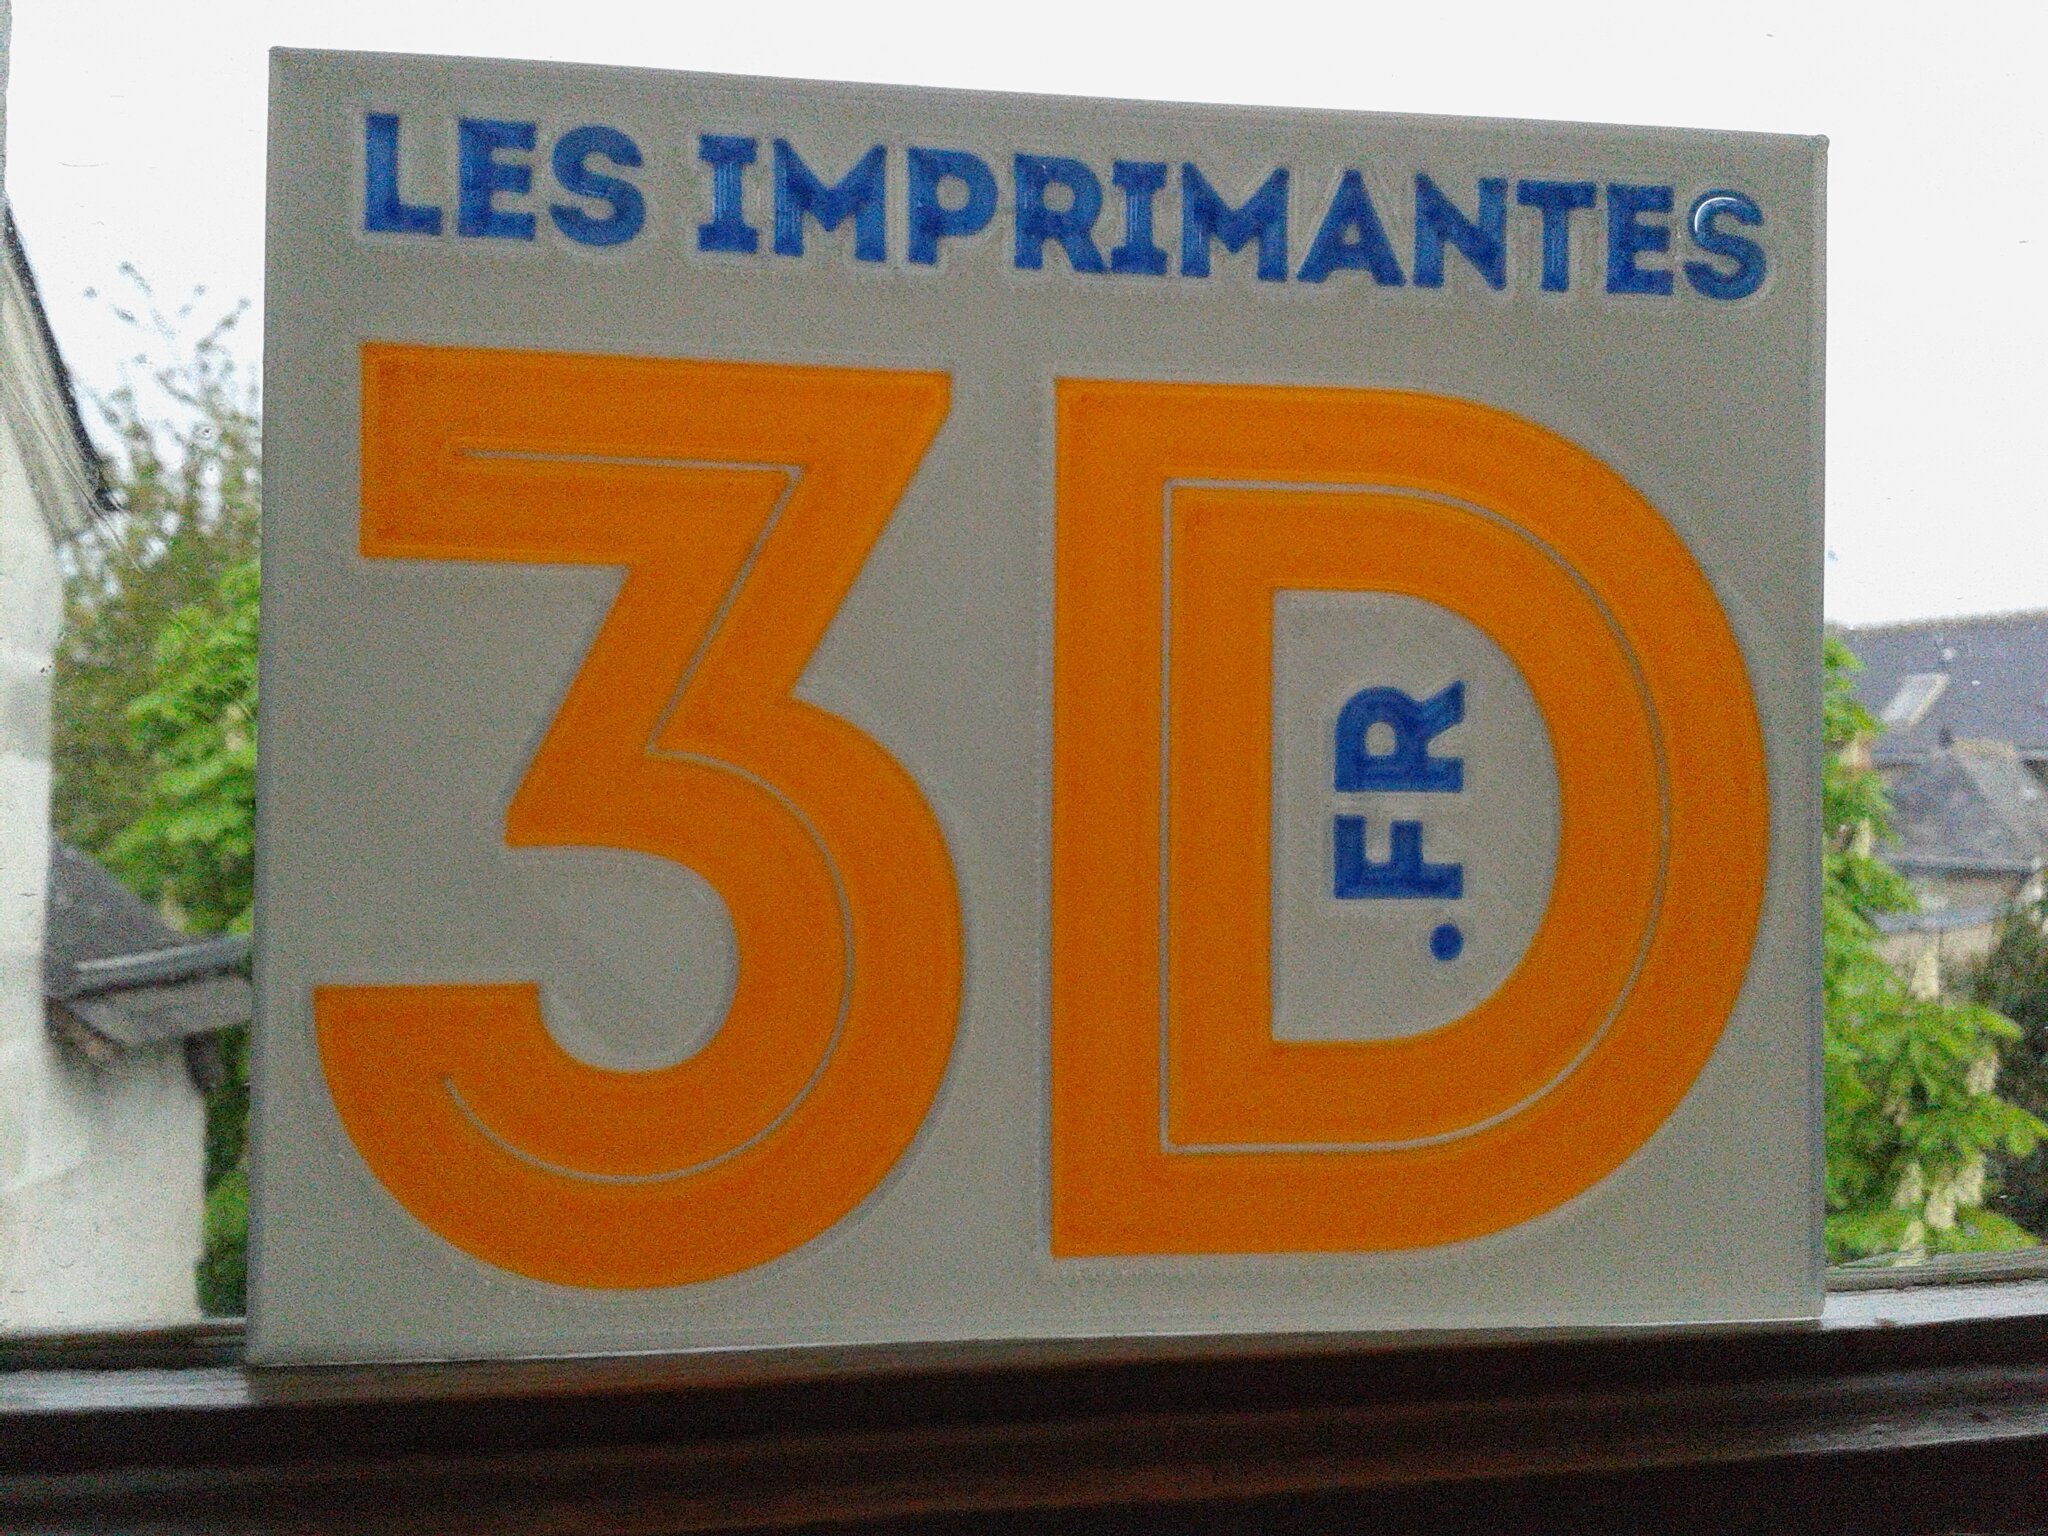
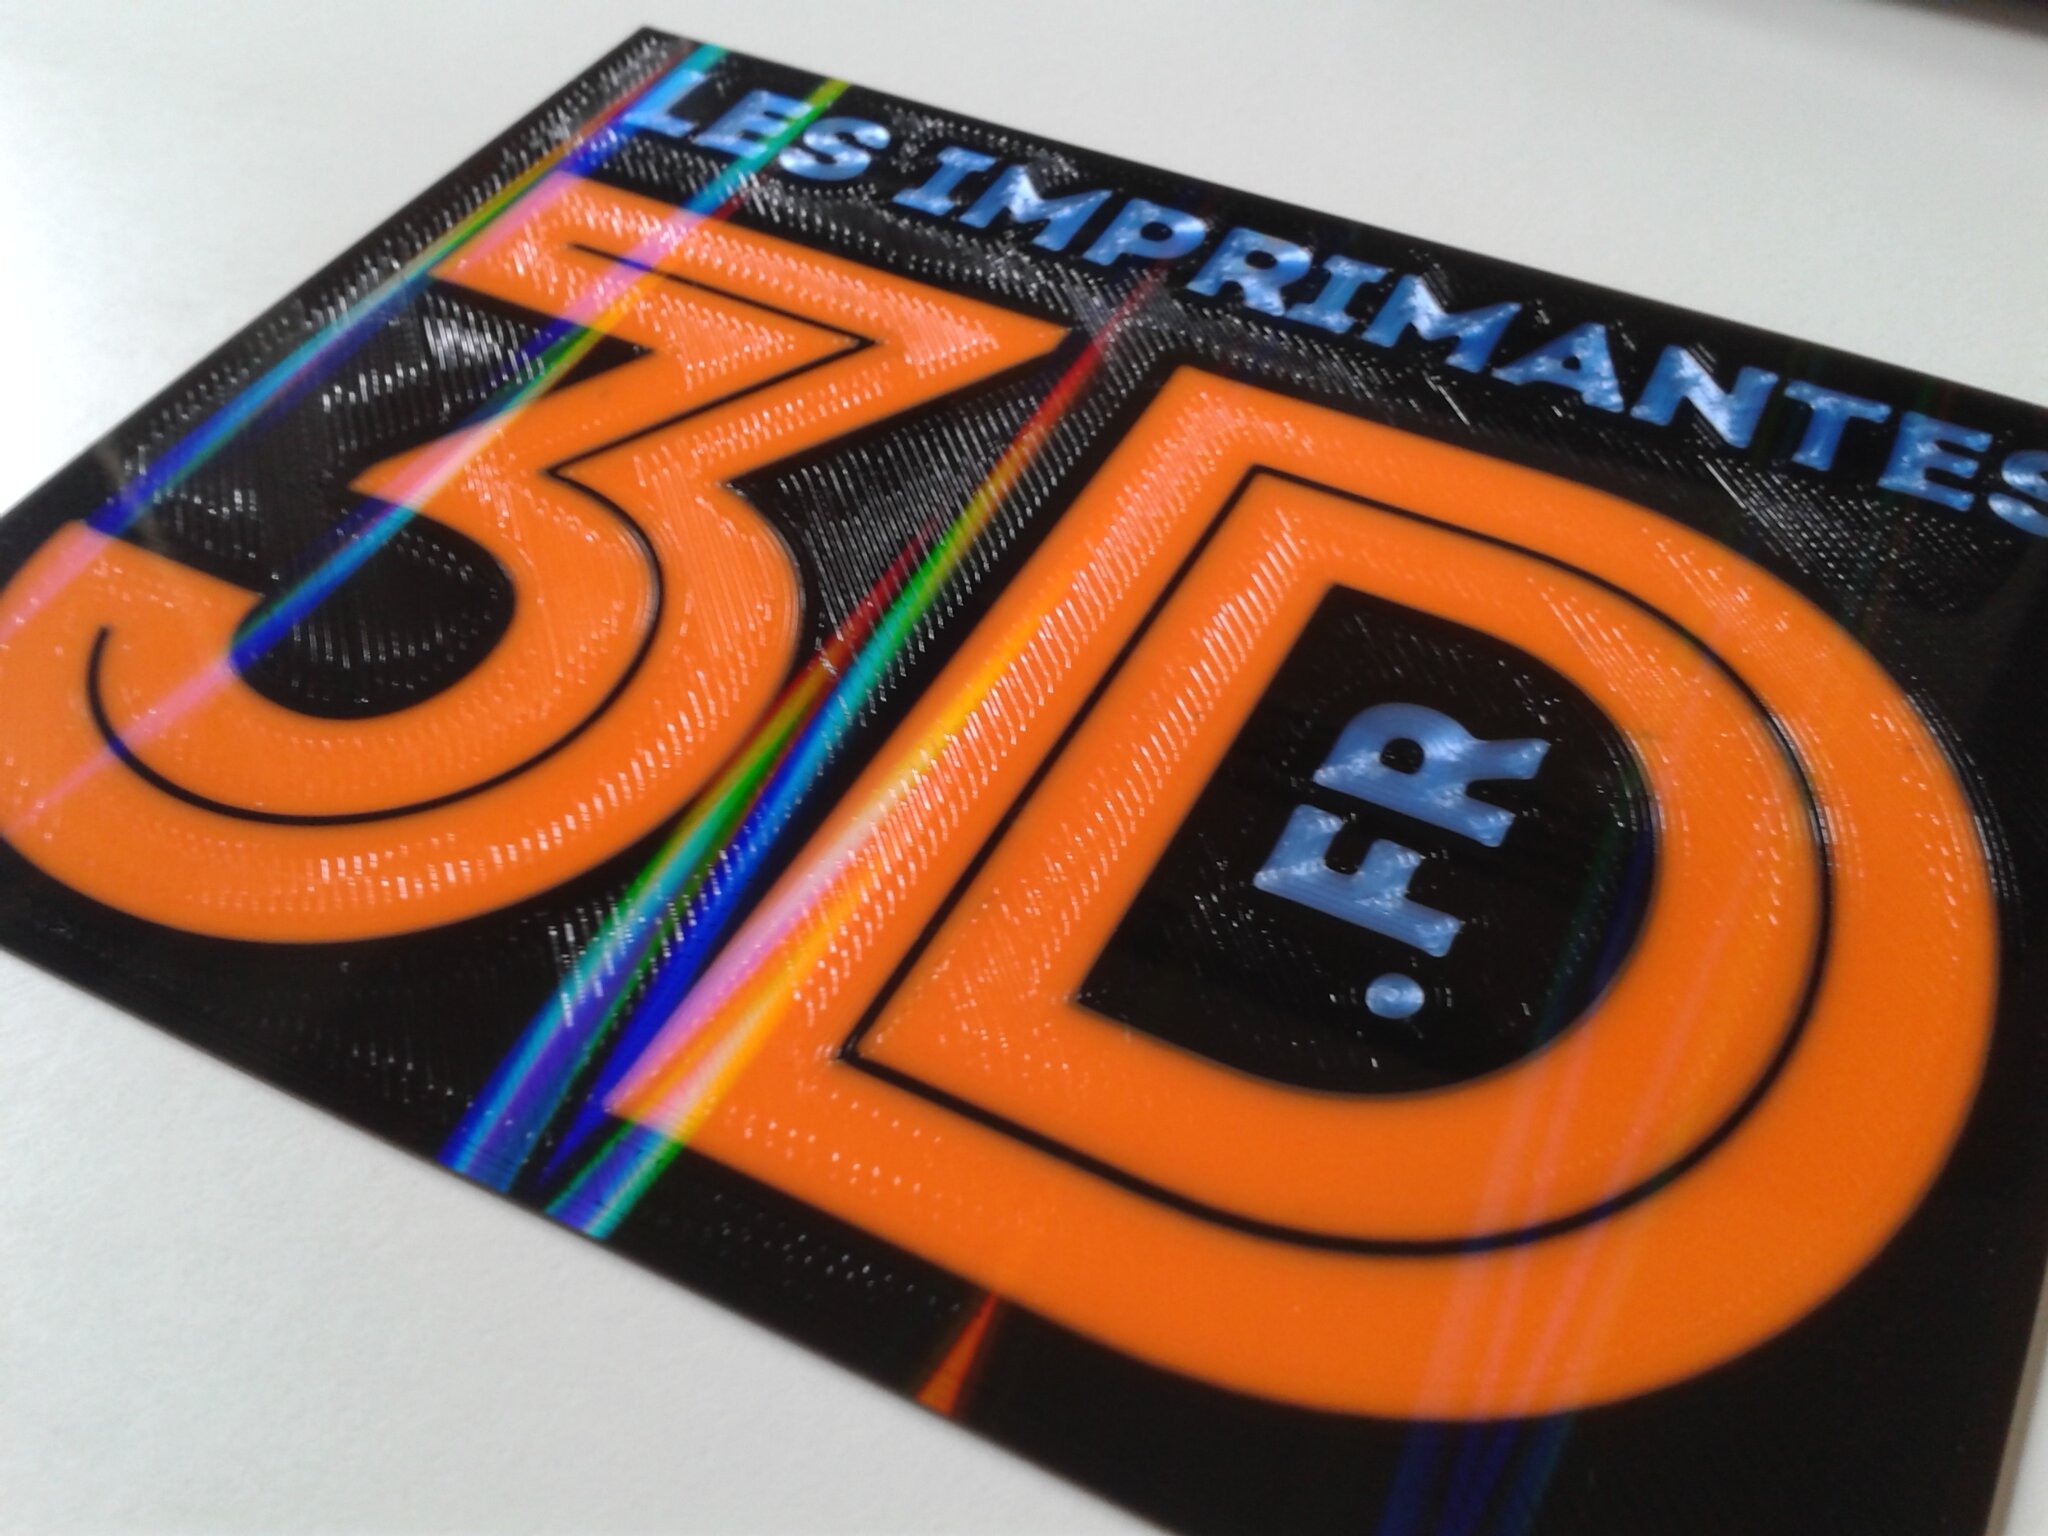
Logo LesImprimantes3D.fr multi-couleurs
- Une de mes versions du “logo lesimprimantes3d.fr essai 04 (scindable Multi Couleur)” (gratuit)
- Échelle 100%, environ 28 min d’impression
- Filaments utilisés : PLA orange Eryone, PLA Silk bleu Ariane Plast et CR-PLA Silk White Creality
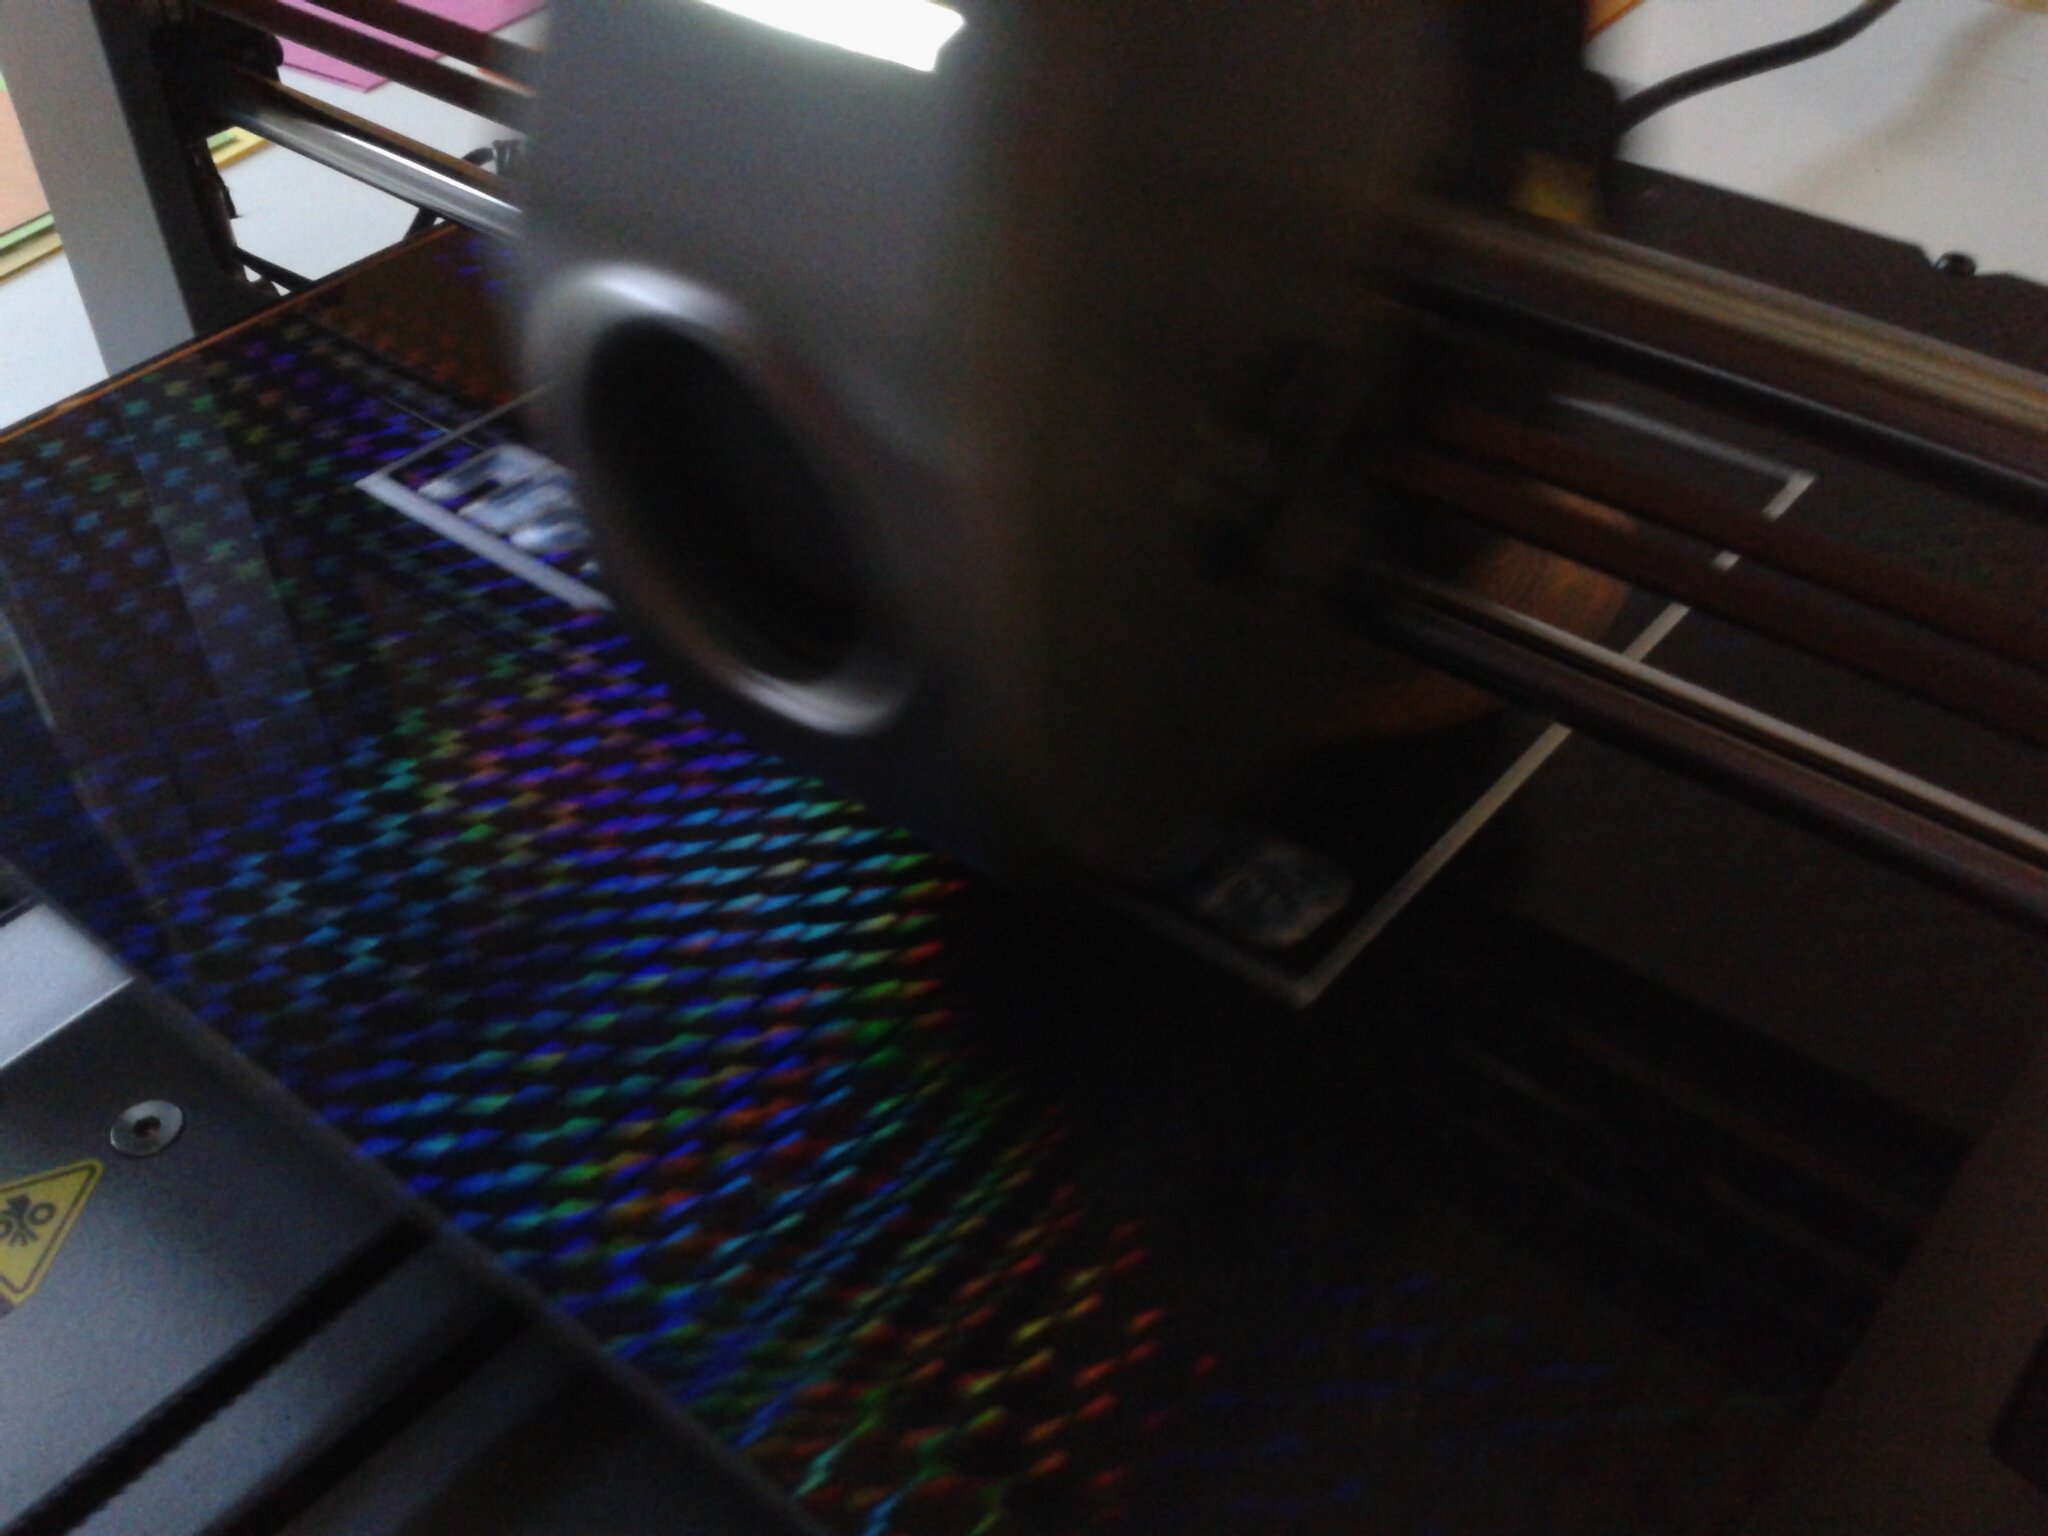
- Imprimé sur un plateau “H1H” coté motif “Phantom” (qui permet d’obtenir un effet de diffraction de la lumière sur la face de l’impression en contact avec la surface de la plaque “H1H”)
- Trancheur Orca Slicer
Il s’agit d’une impression avec changement de filament selon les sous-parties. J’ai donc utilisé Orca Slicer dont j’ai modifié le profil de la Ender-3 V3 pour utiliser la macro PAUSE lors des demandes de changement de filament et pour éviter des extrusions supplémentaires lors de ces derniers. Mes réglages utilisent aussi une vitesse plus lente pour la couche initiale afin d’obtenir de meilleurs résultats avec les plateaux ayant une surface d’impression “exotique” comme celui que j’ai utilisé ici.
Creality n’a pas pensé à ajouter une macro M600, on doit donc utiliser la macro PAUSE pour effectuer un changement de filament mais il vous faudra aussi modifier la macro RESUME pour éviter une extrusion de 3 mm de filament lors de la reprise.


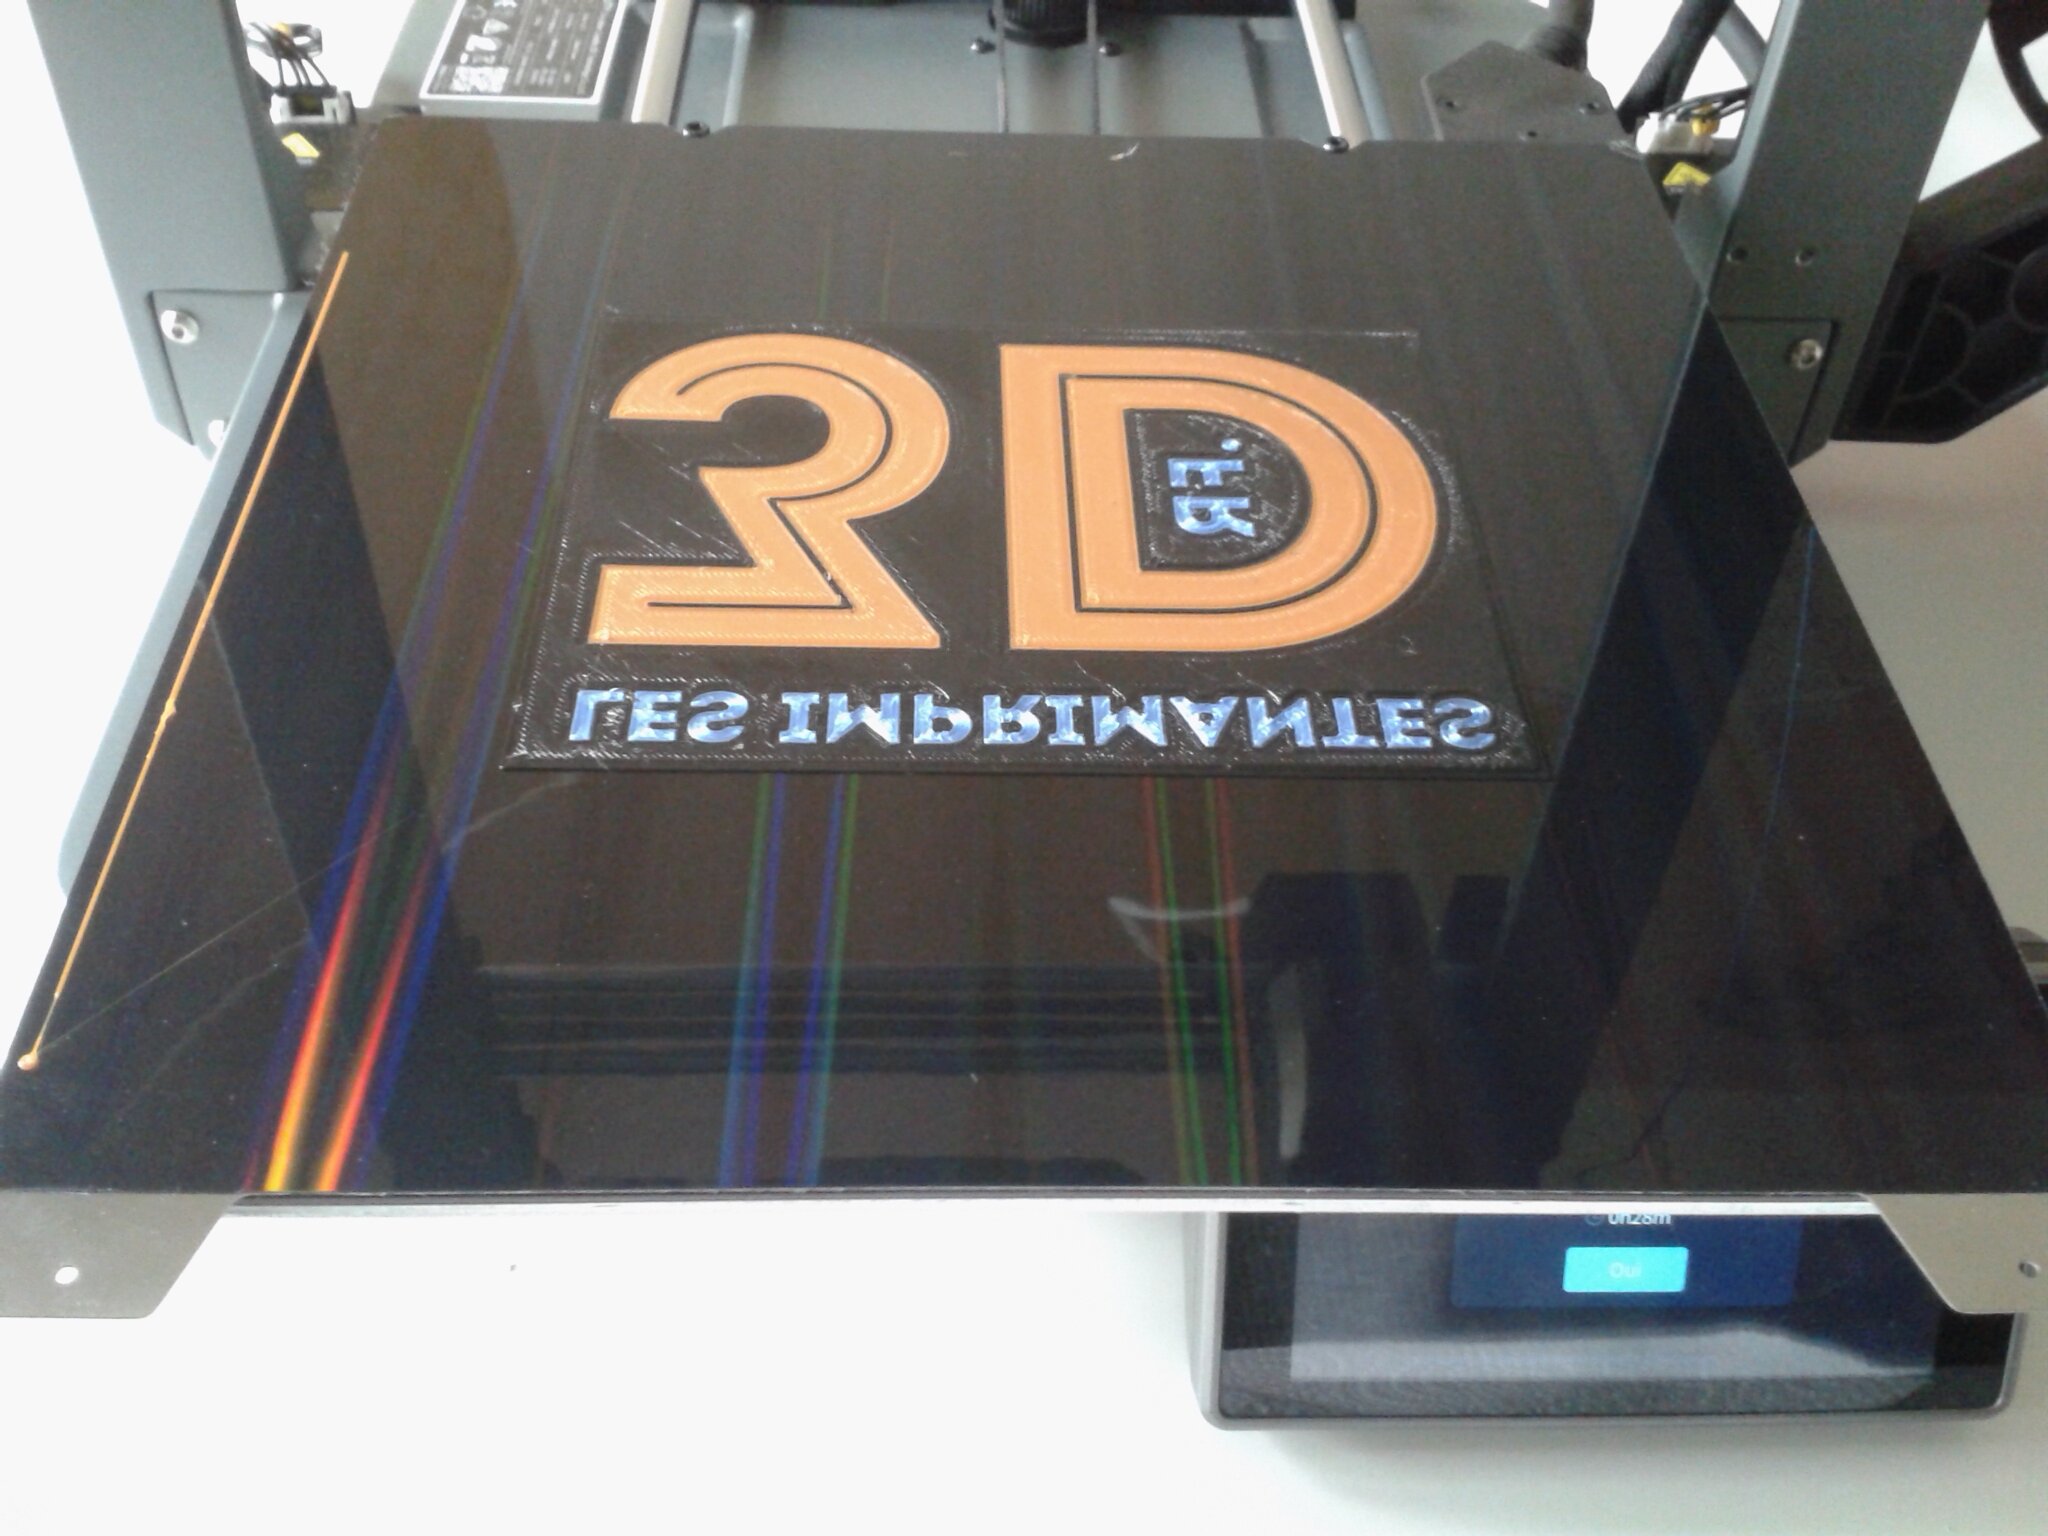
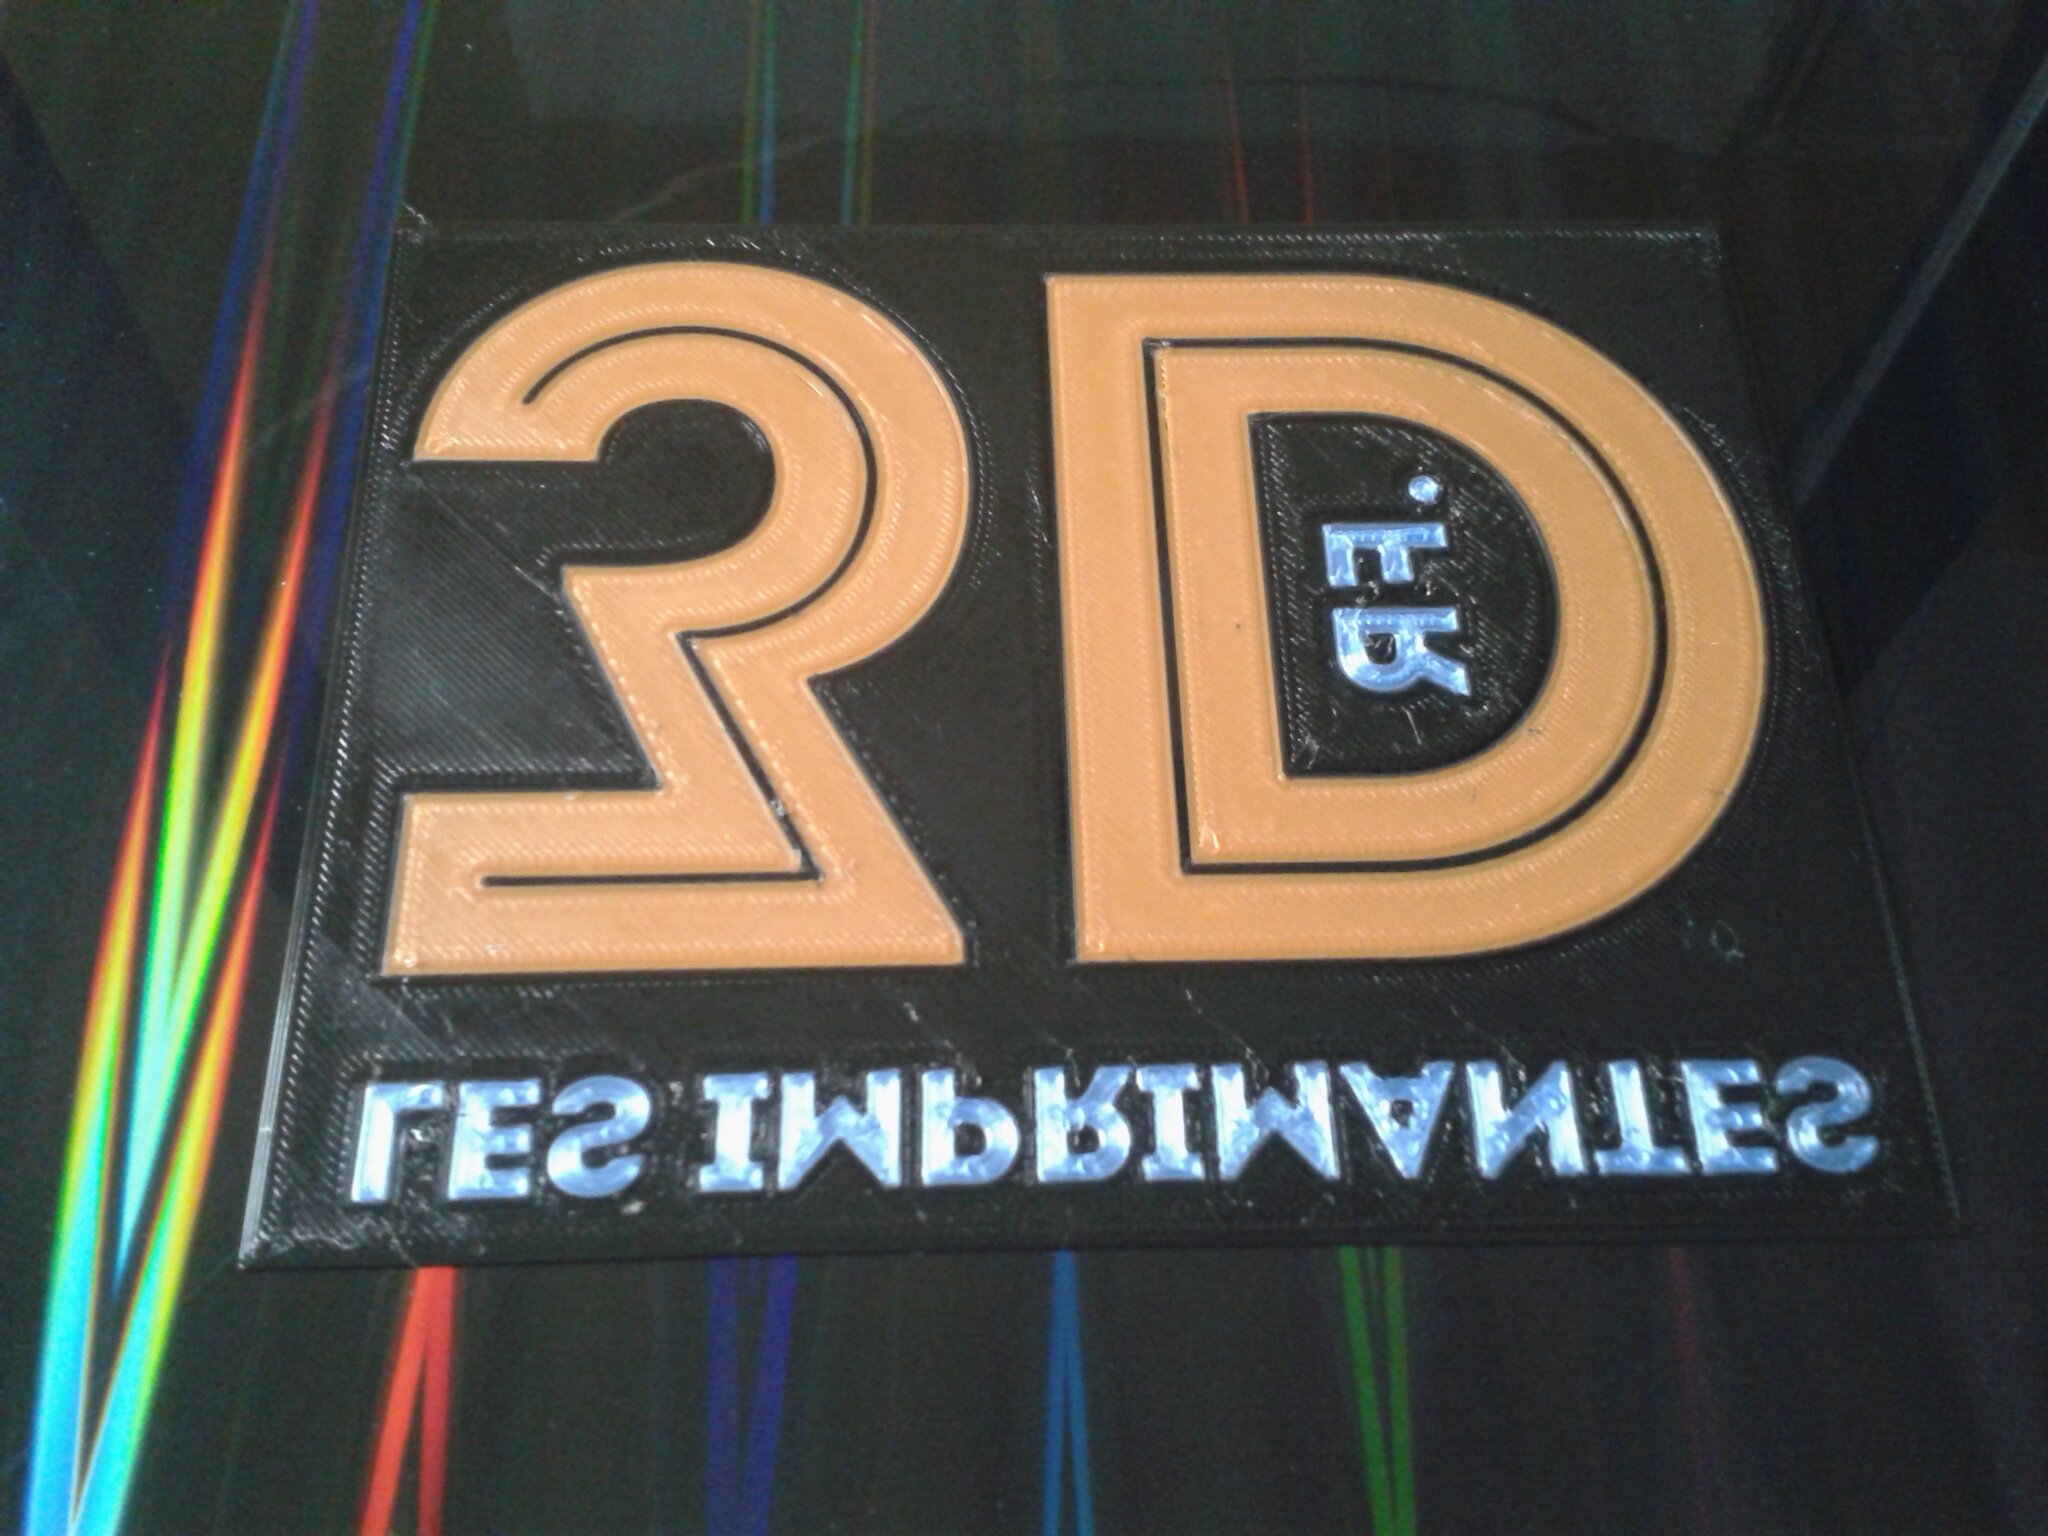
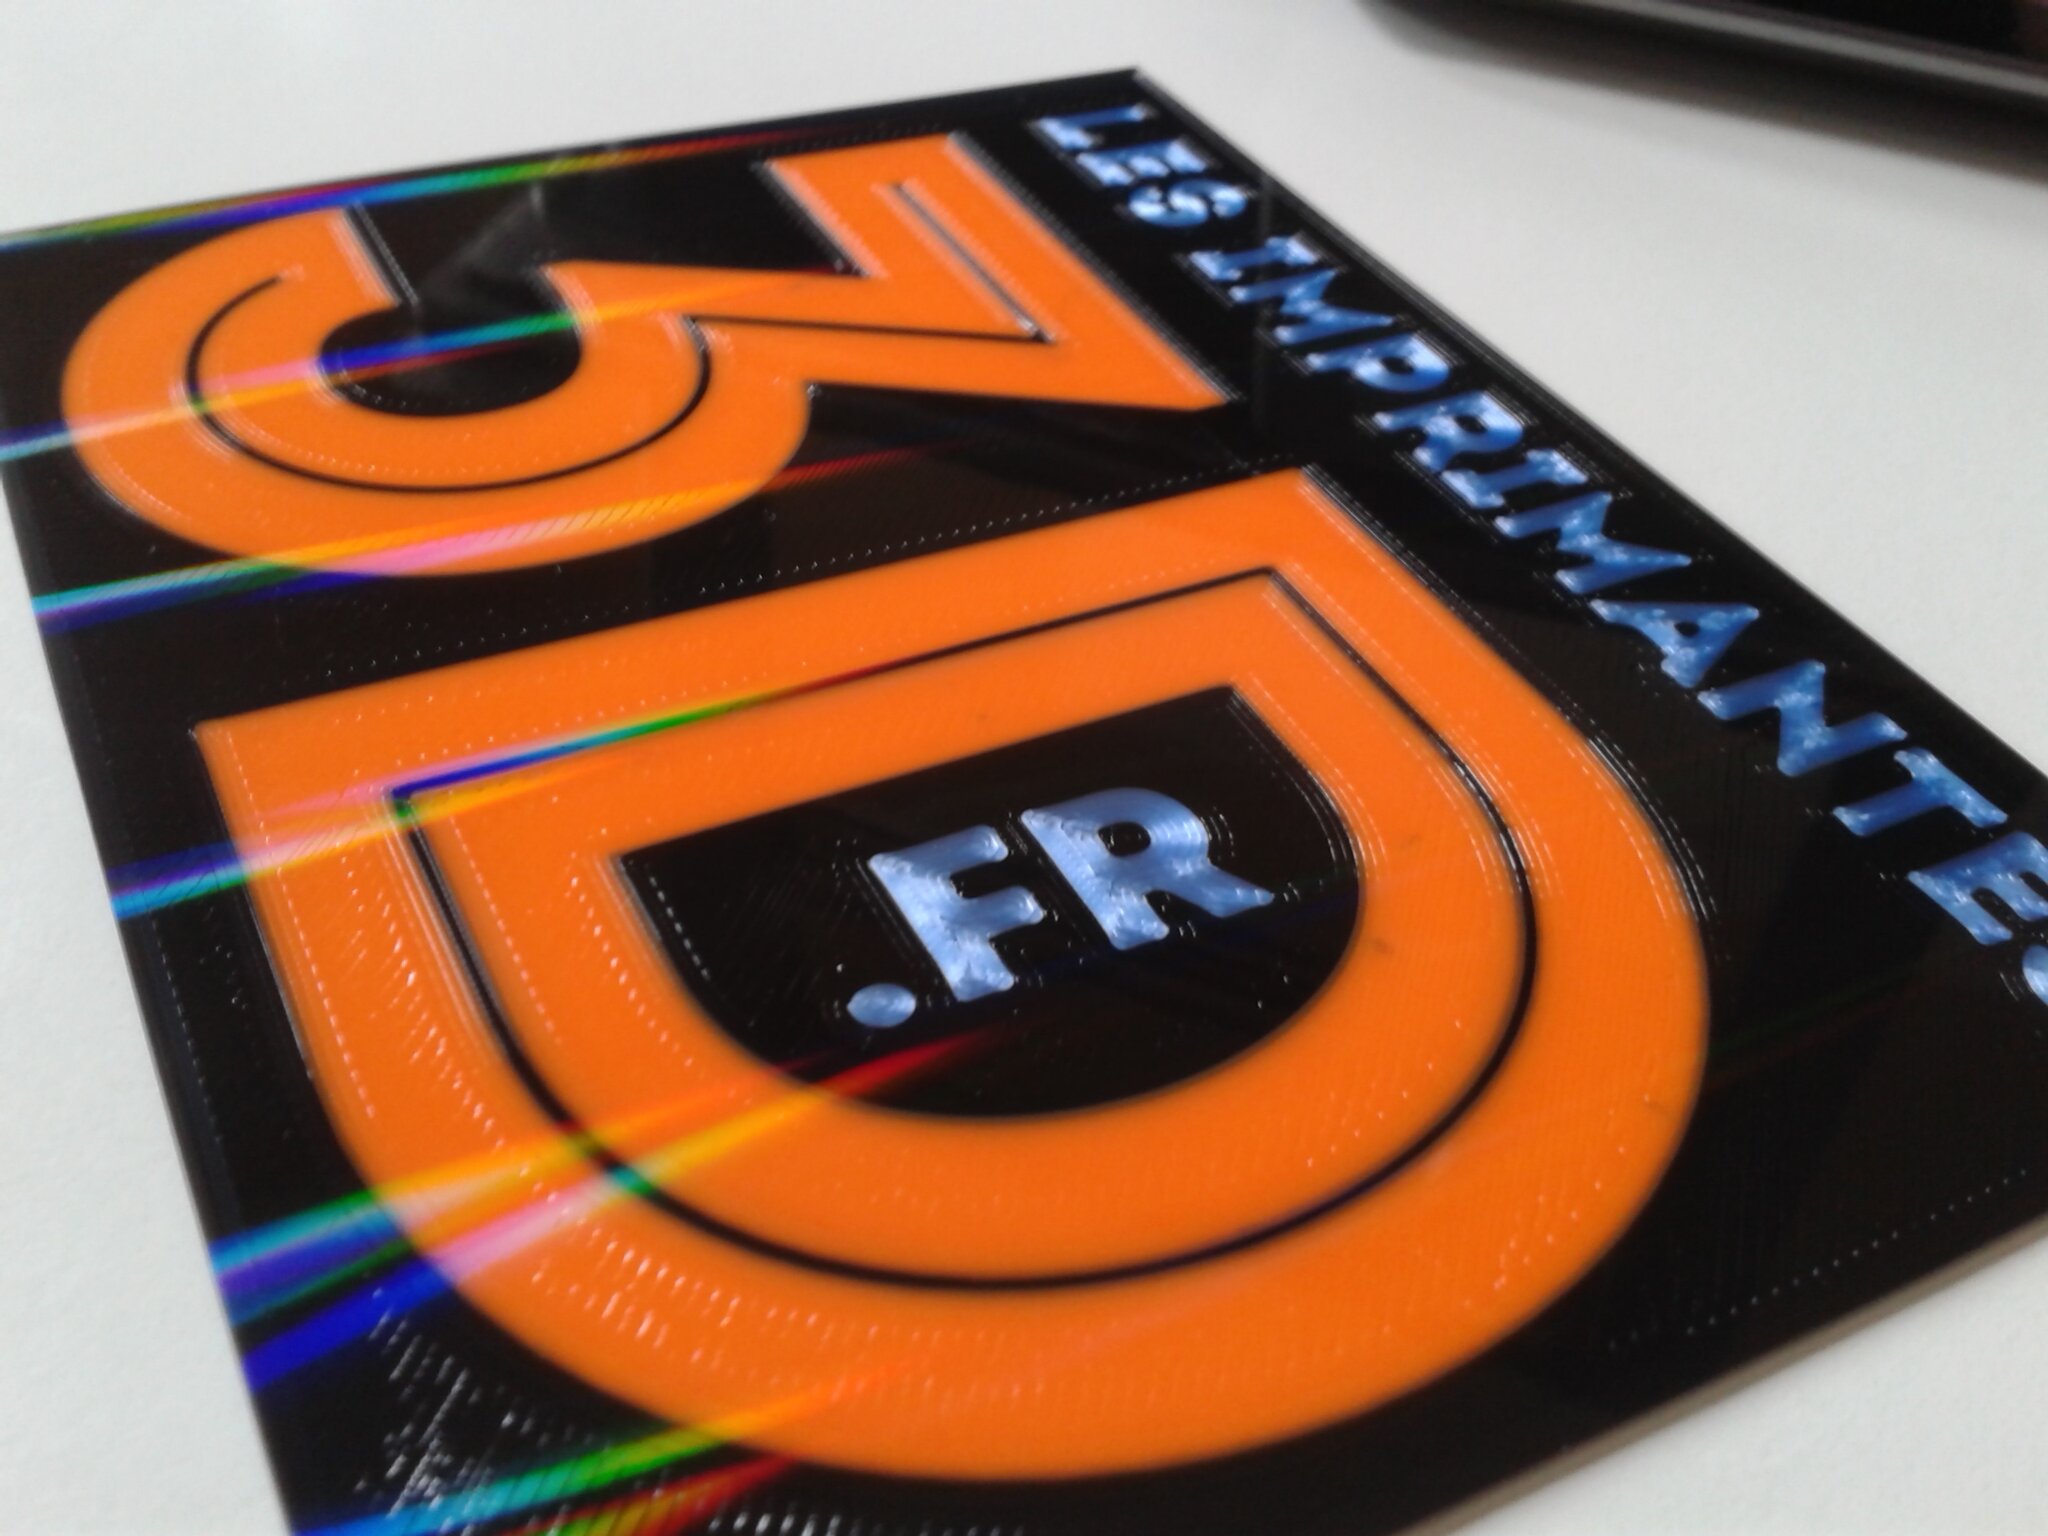
- Même fichier d’impression, sur la face motif “Light Beam” du plateau “H1H“
- Filaments utilisés PLA orange Eryone, PLA Silk bleu Ariane Plast et PLA+ Noir ArianePlast
Dame en robe Hanfu
- Un de mes modèle “8 bit lady in a Hanfu dress by arts.of.win, 2 filament change” (gratuit) basé sur une image de Pixel Art de l’artiste “arts.of.win“
- Trancheur OrcaSlicer v2.0.0, échelle 100%, environ 1 h 41 min d’impression
- Filaments CR-PLA Silk white Creality, PLA Silk bleu Ariane Plast, PLA+ noir ArianePlast


Souris avec boîte fromage
- “Cheese Boxed Mouse” de “McGybeer” (gratuit si Creality Cloud Premium)
- Échelle 100%, en 2 plateaux, pour un total d’environ 3 h 33 min d’impression
- Filaments PLA Yellow Polymaker, PLA+ Noir ArianePlast


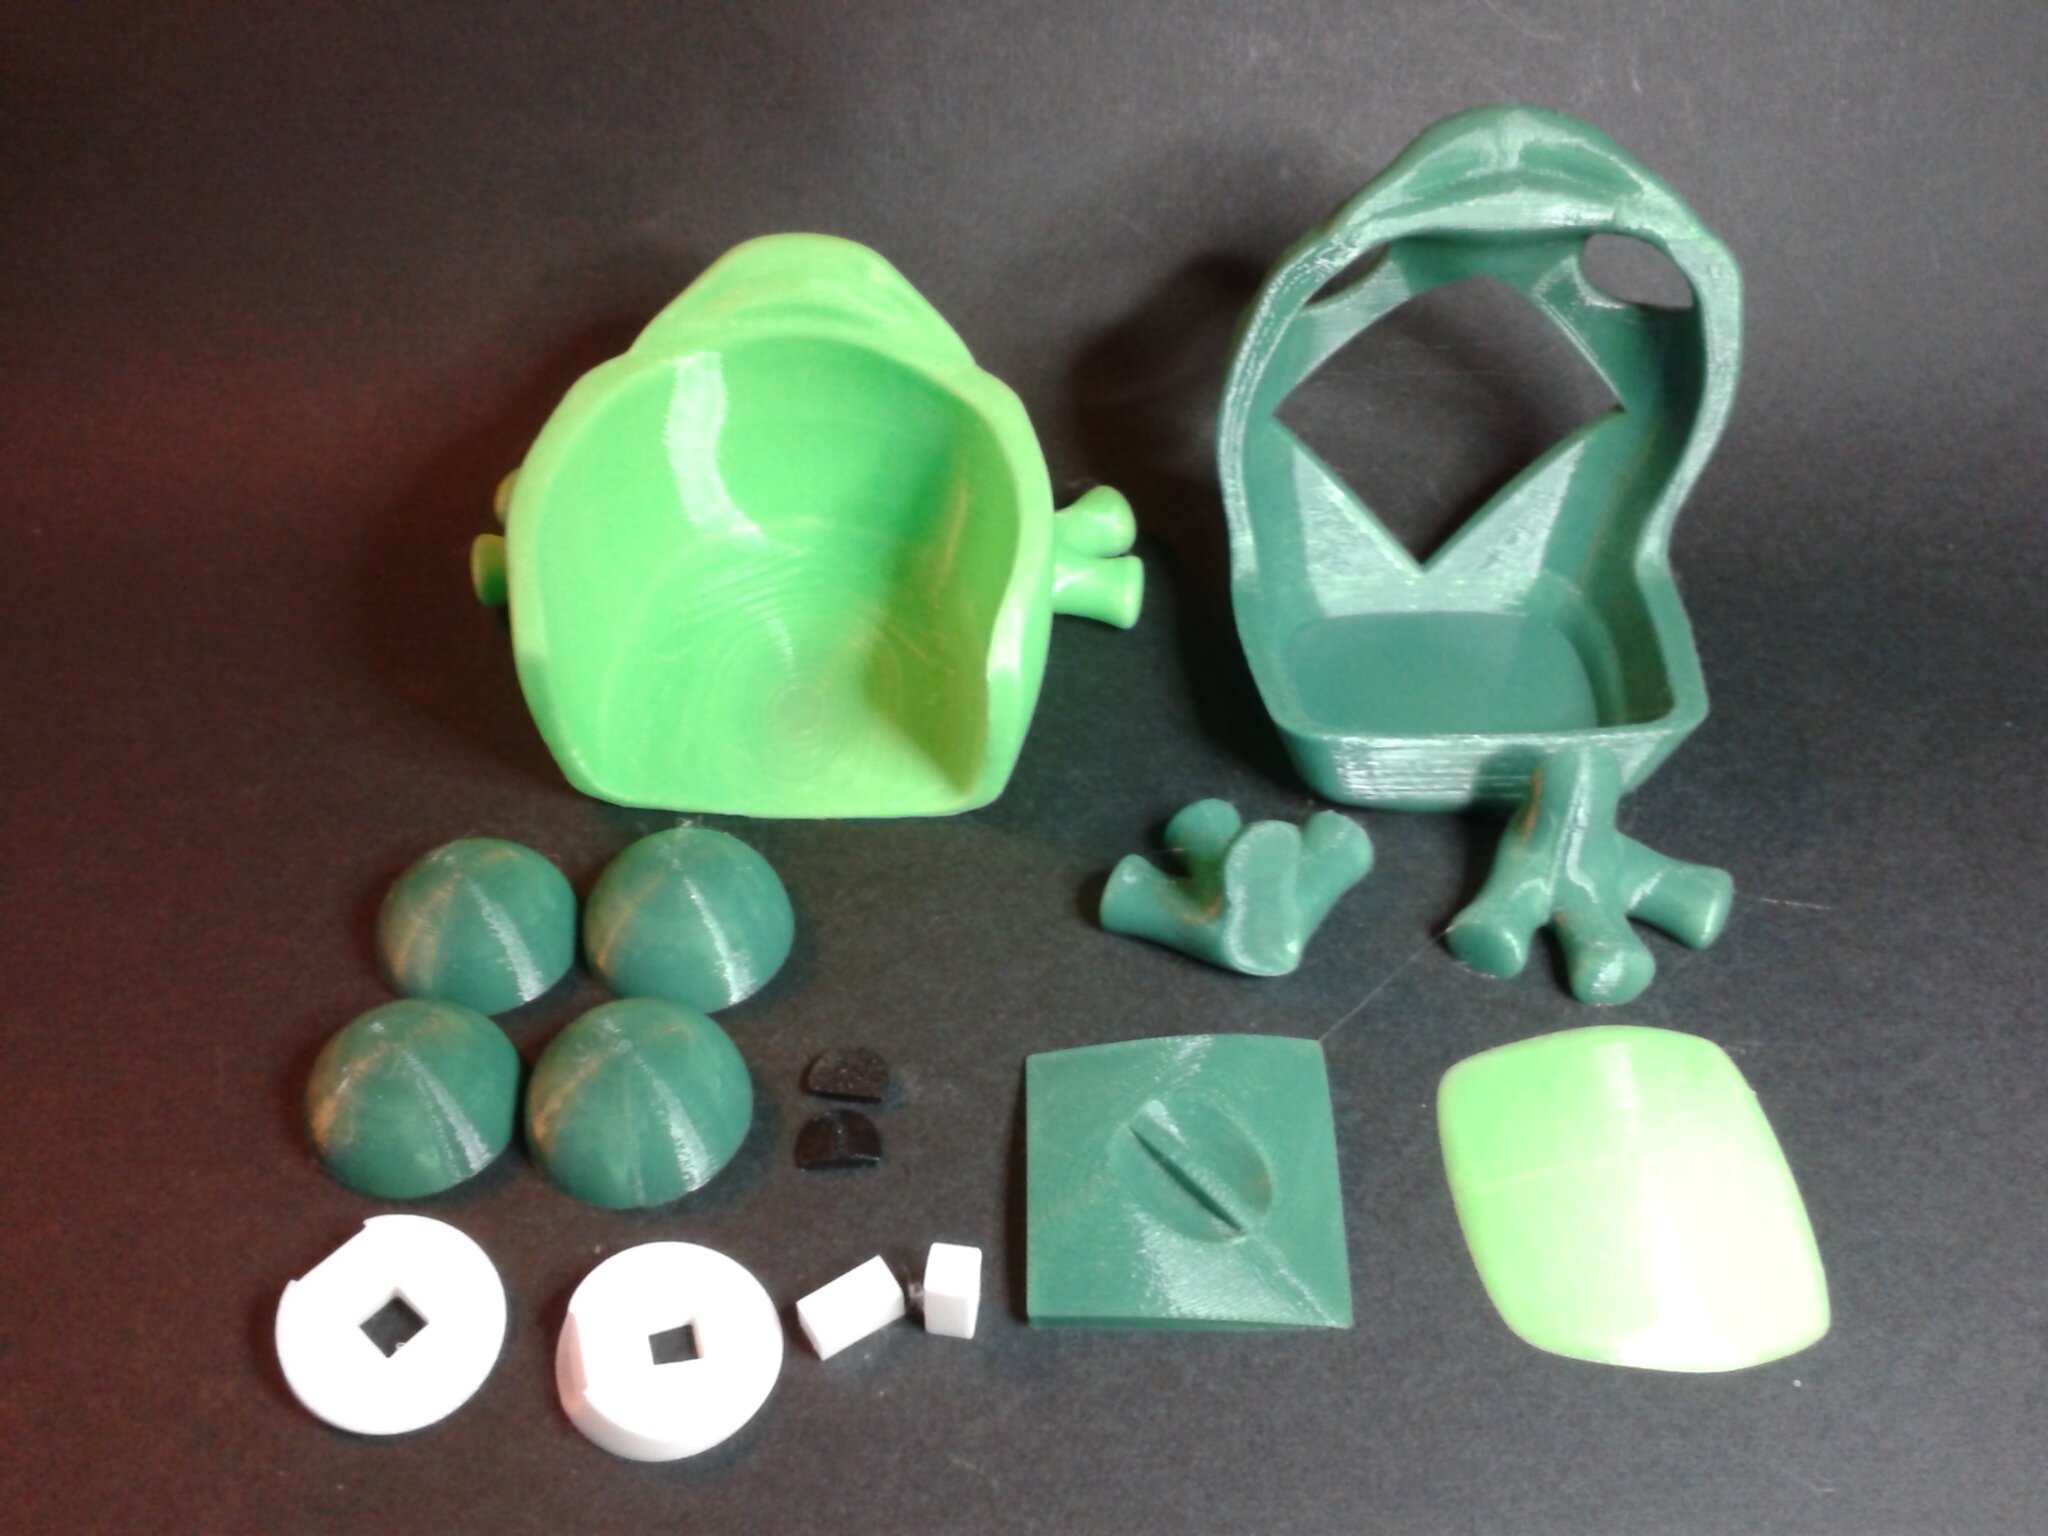
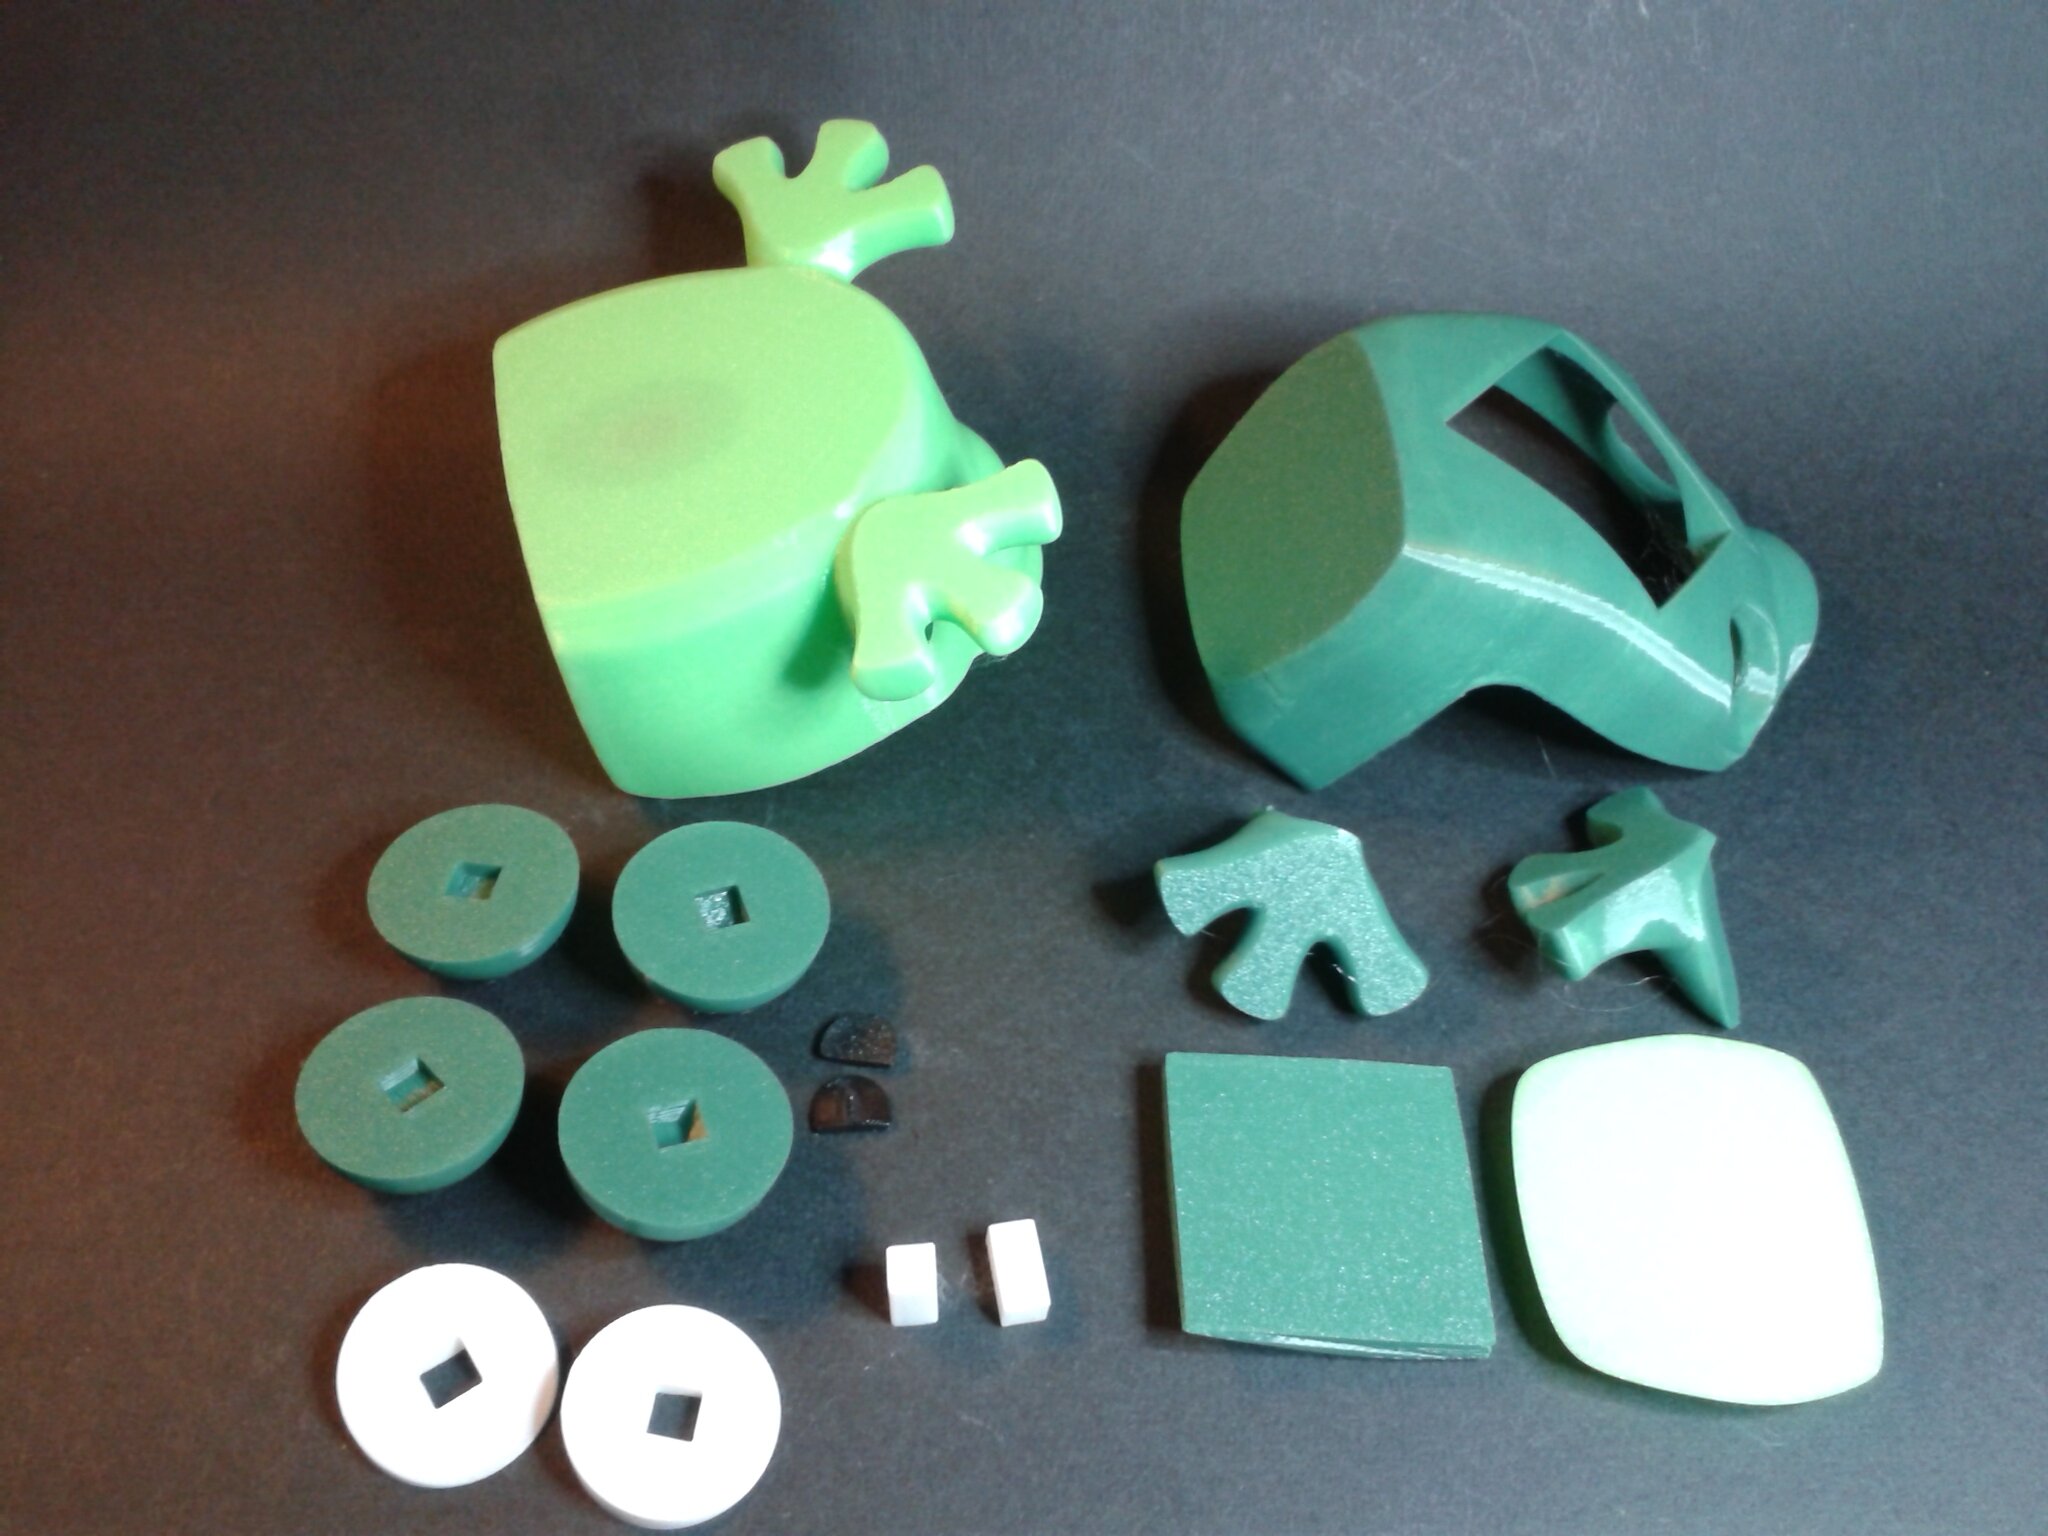
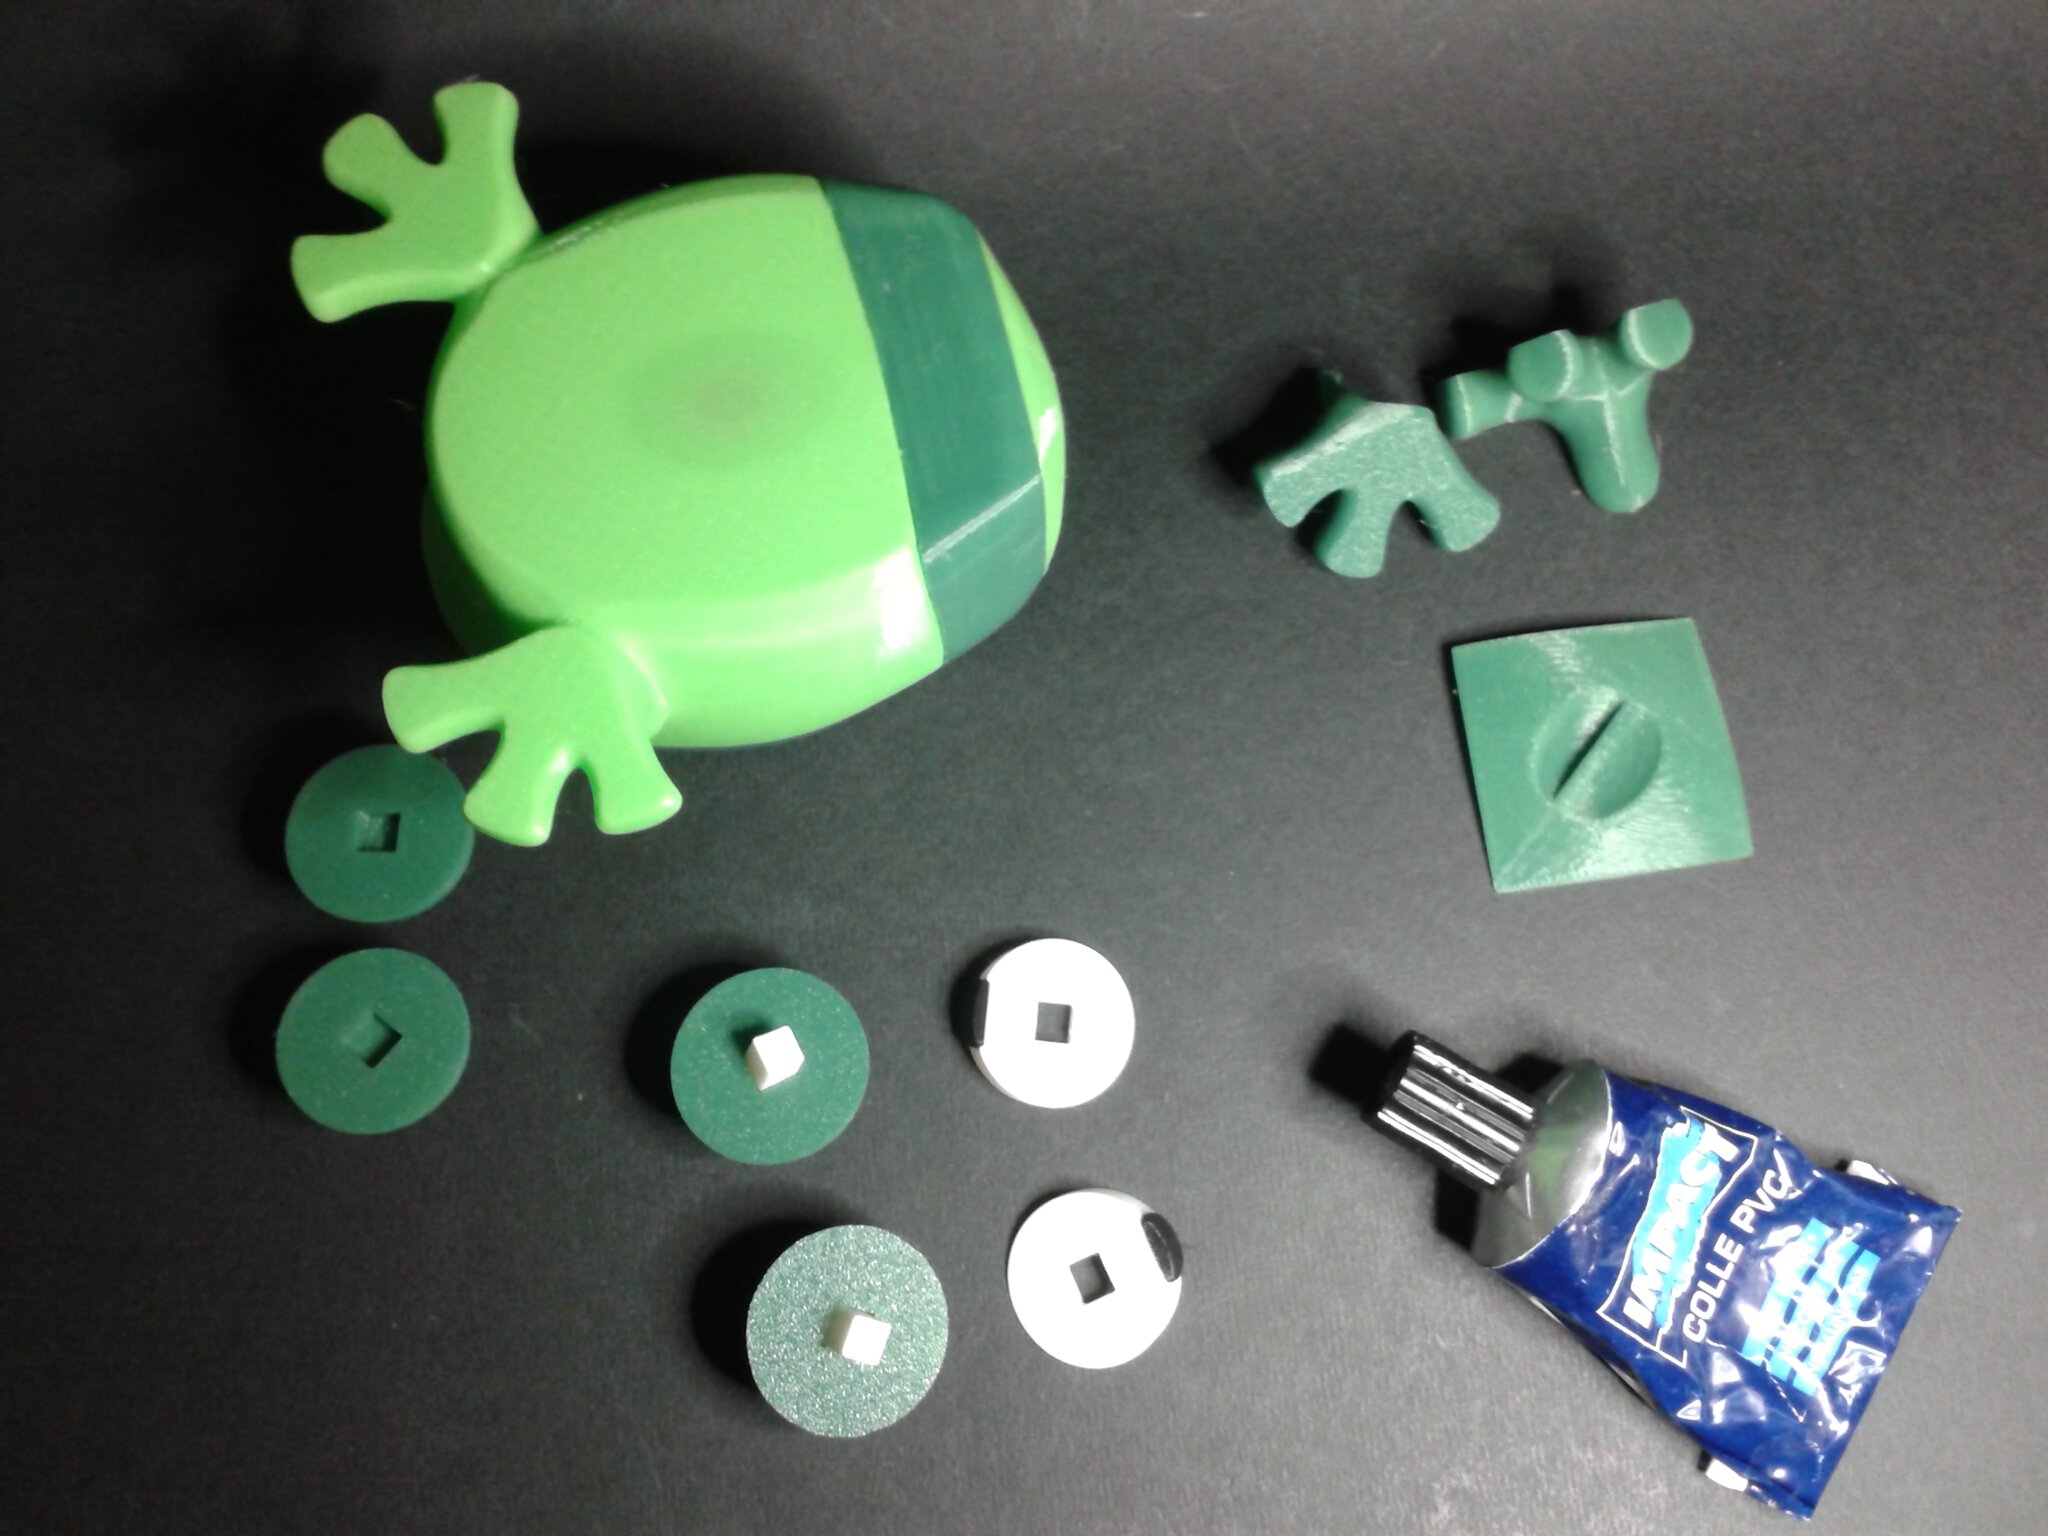
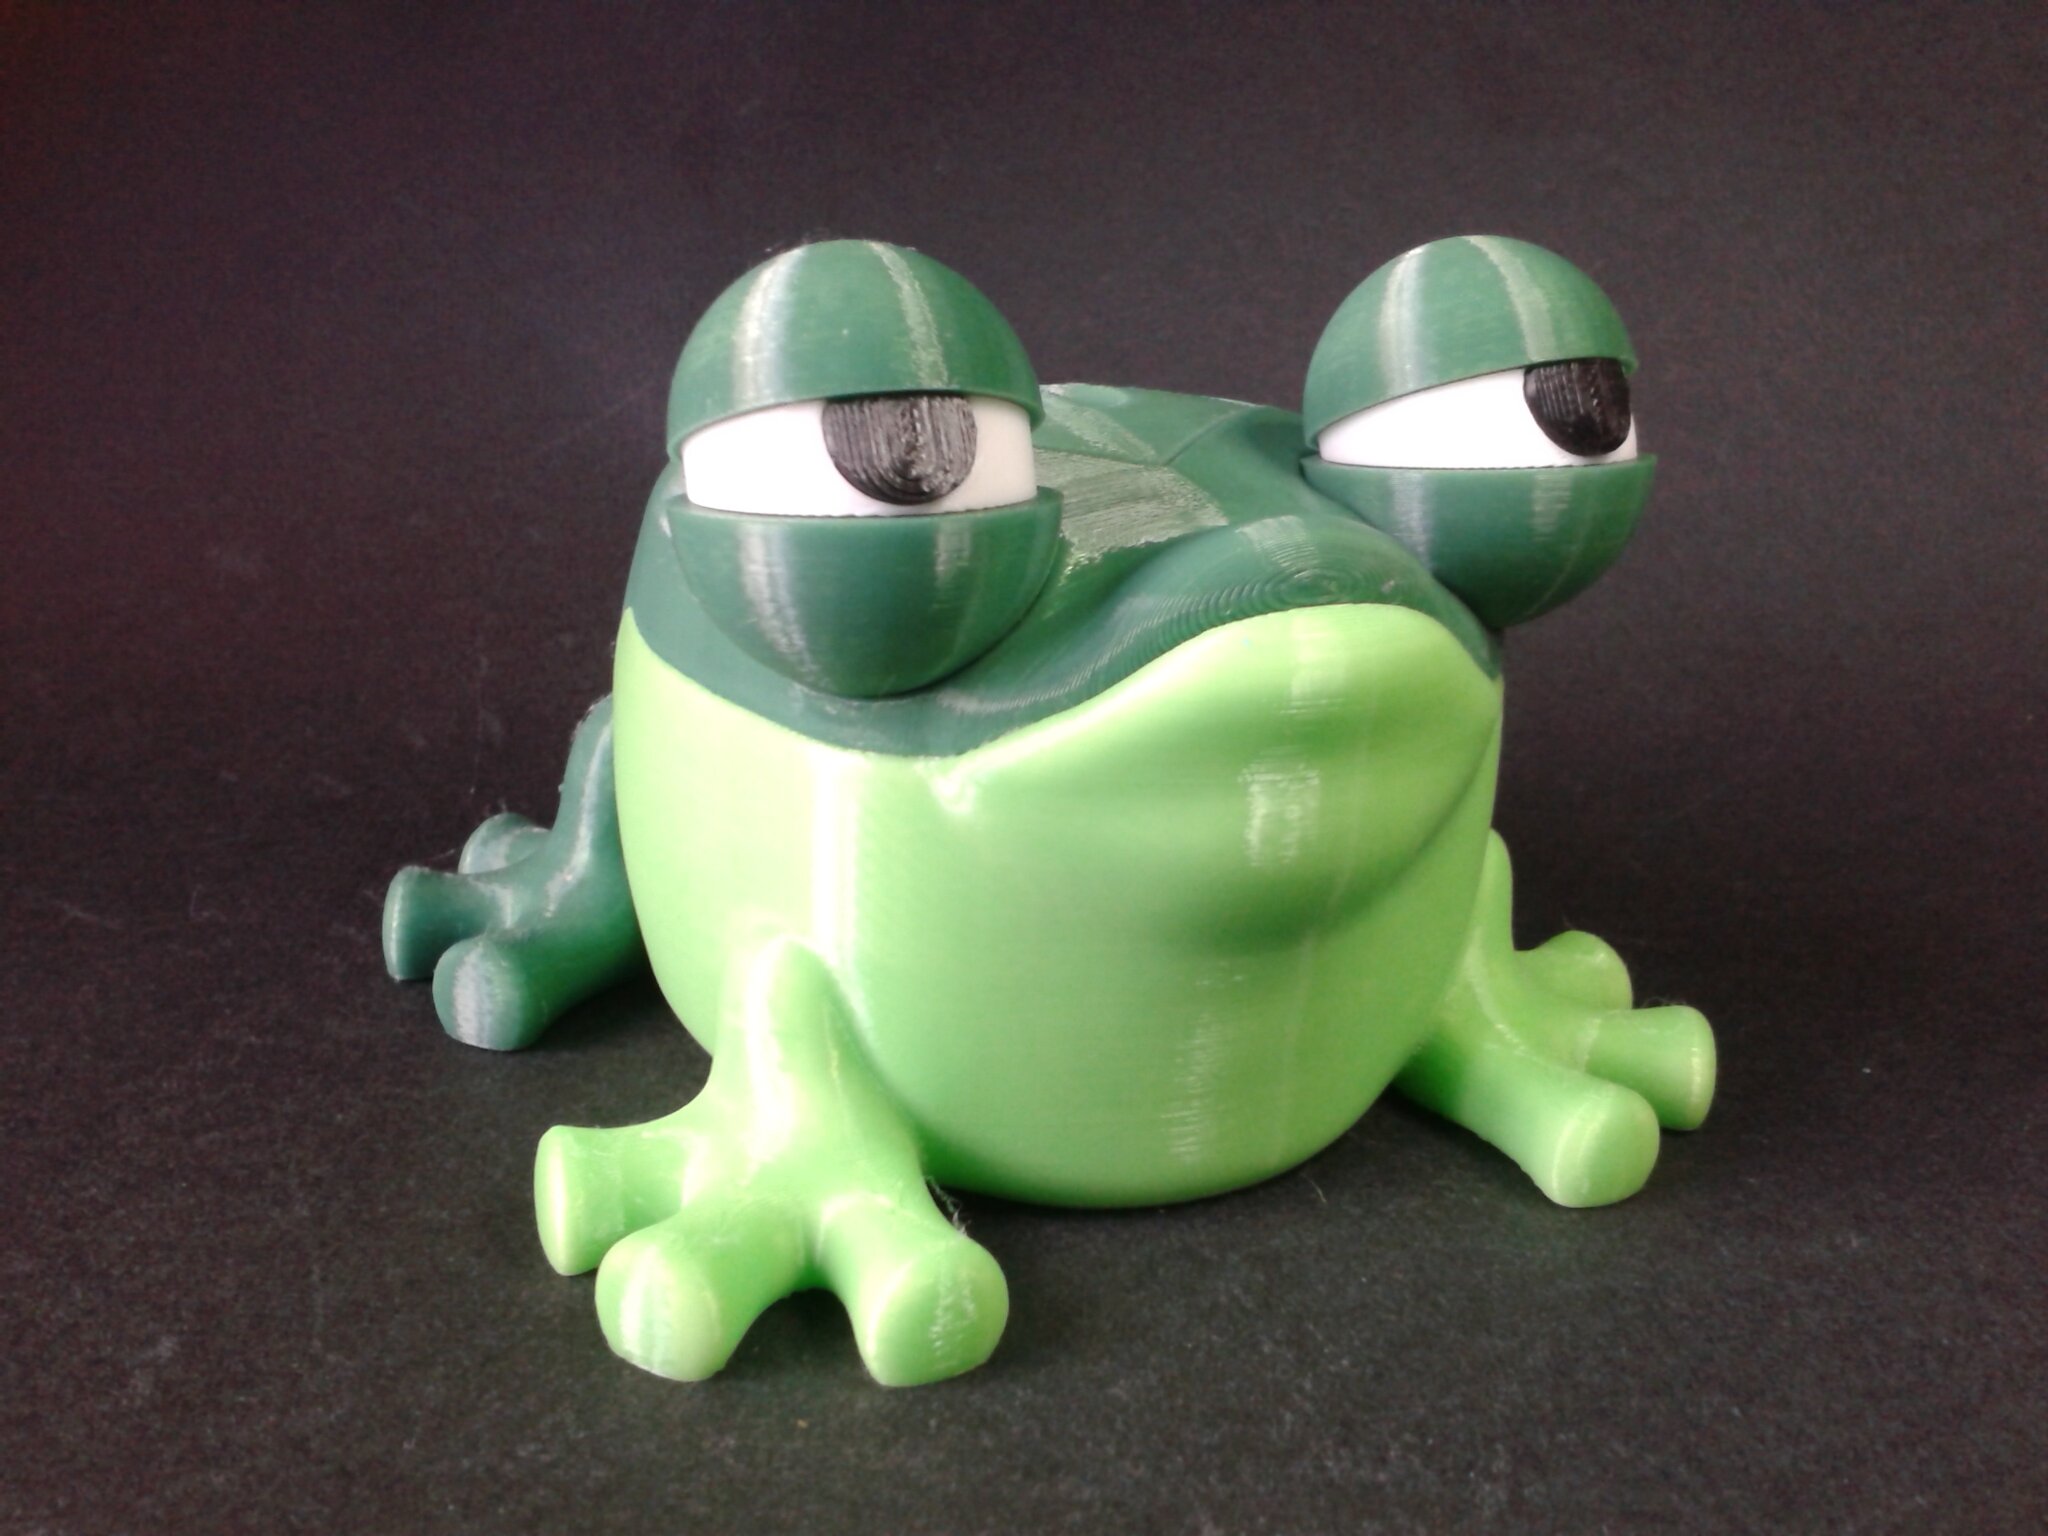
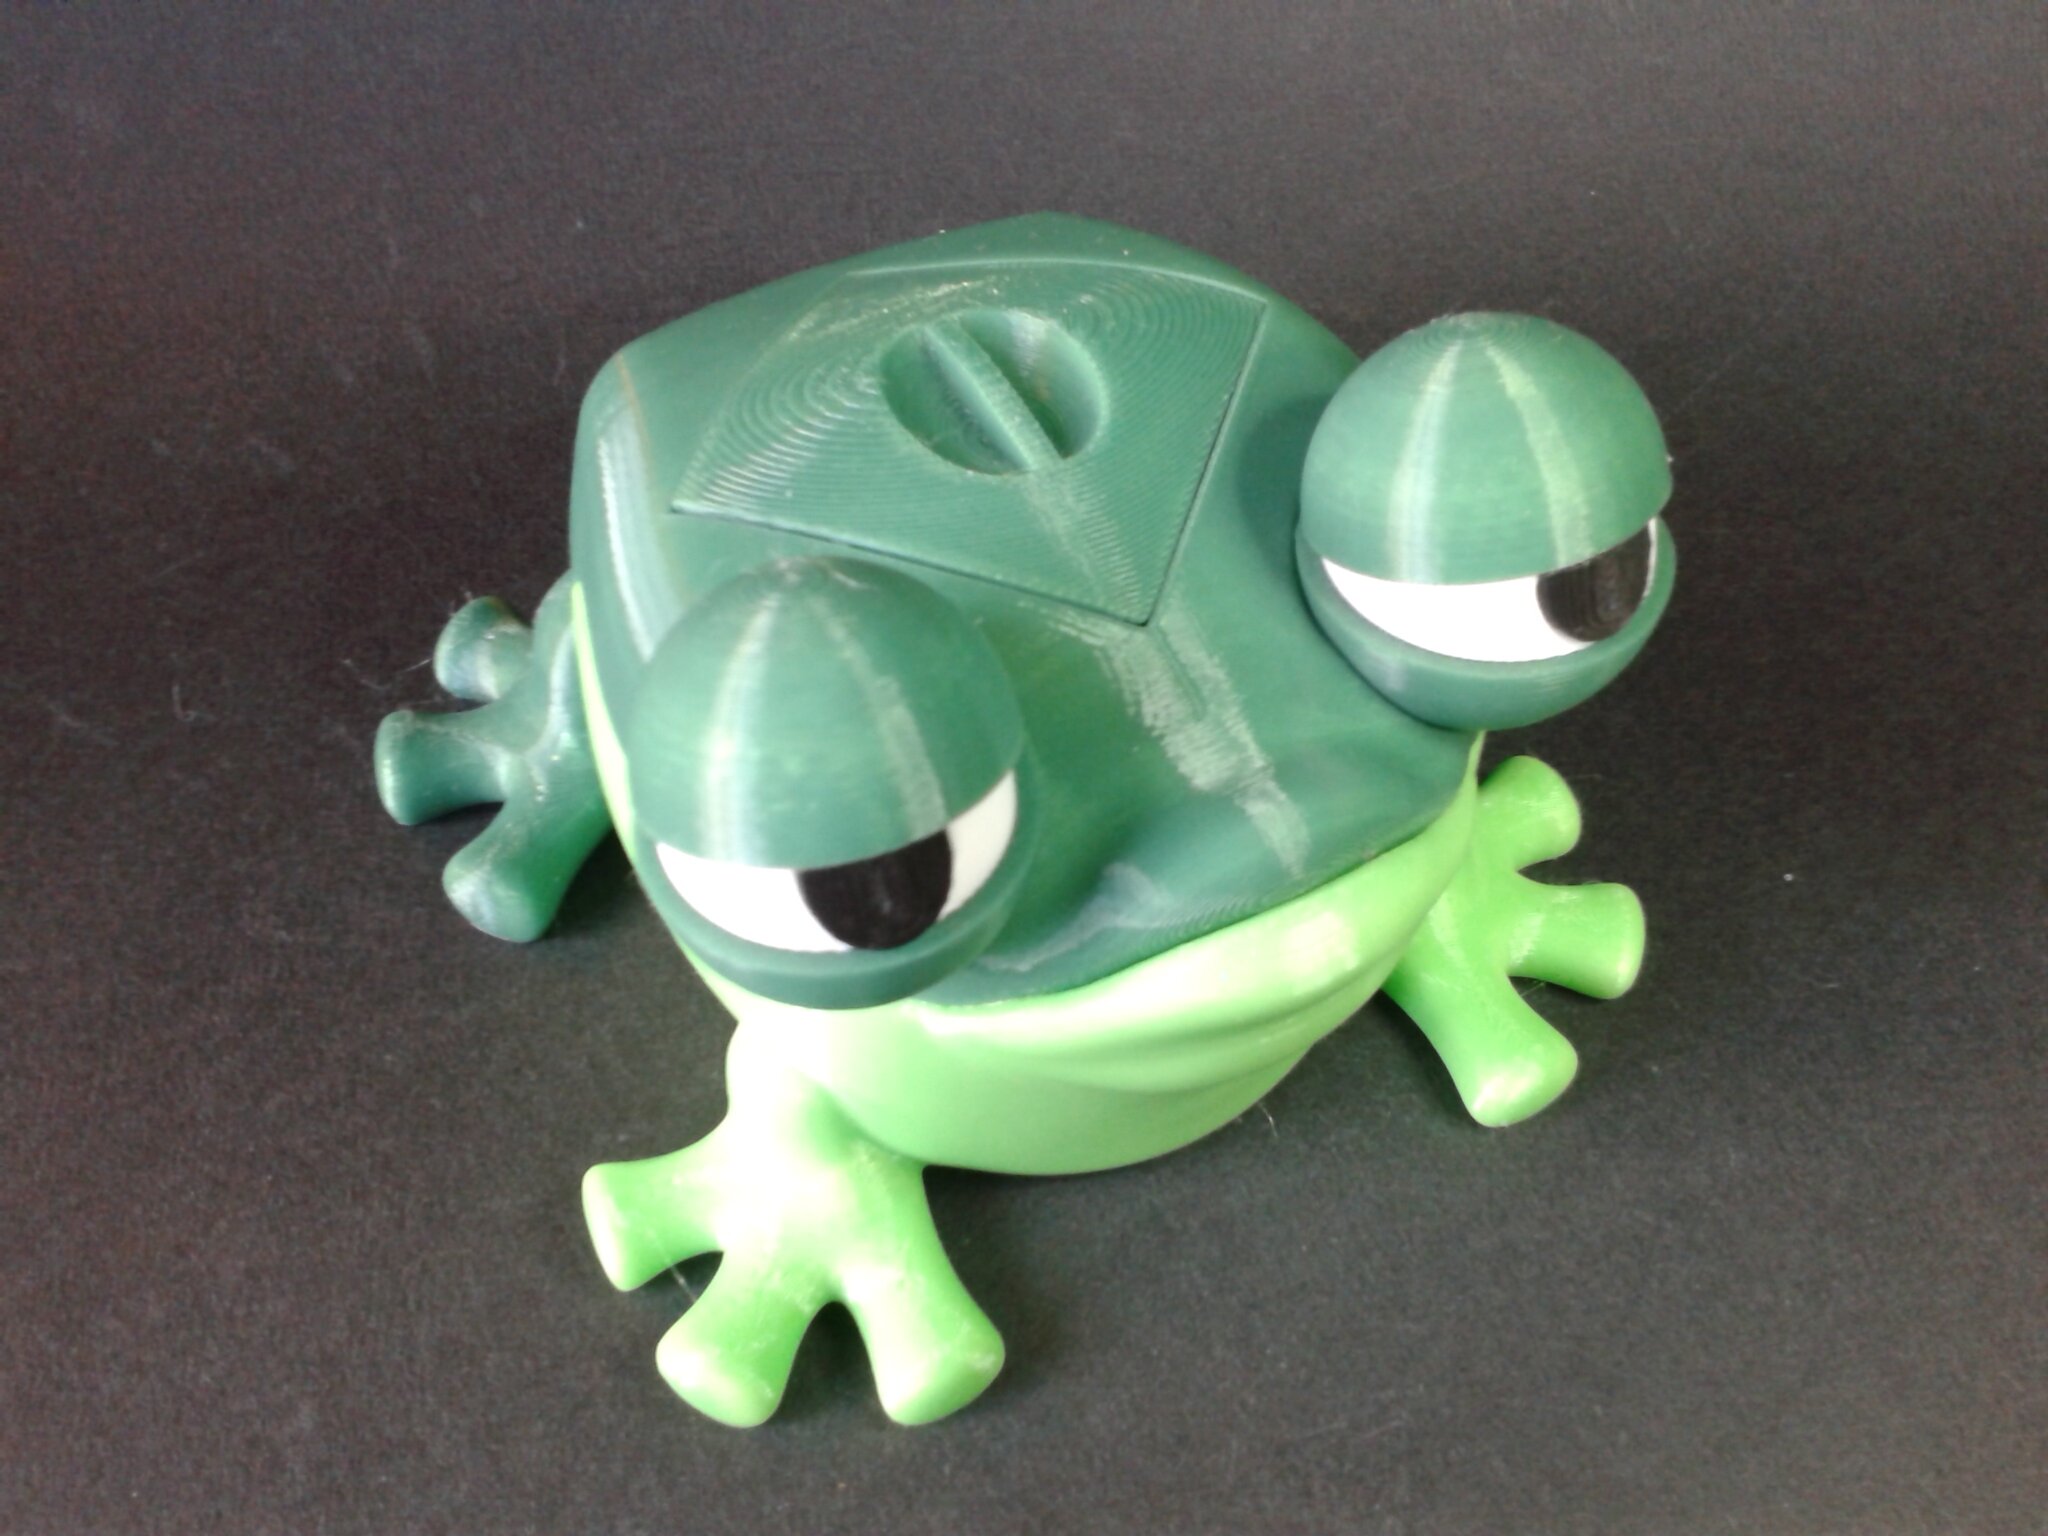
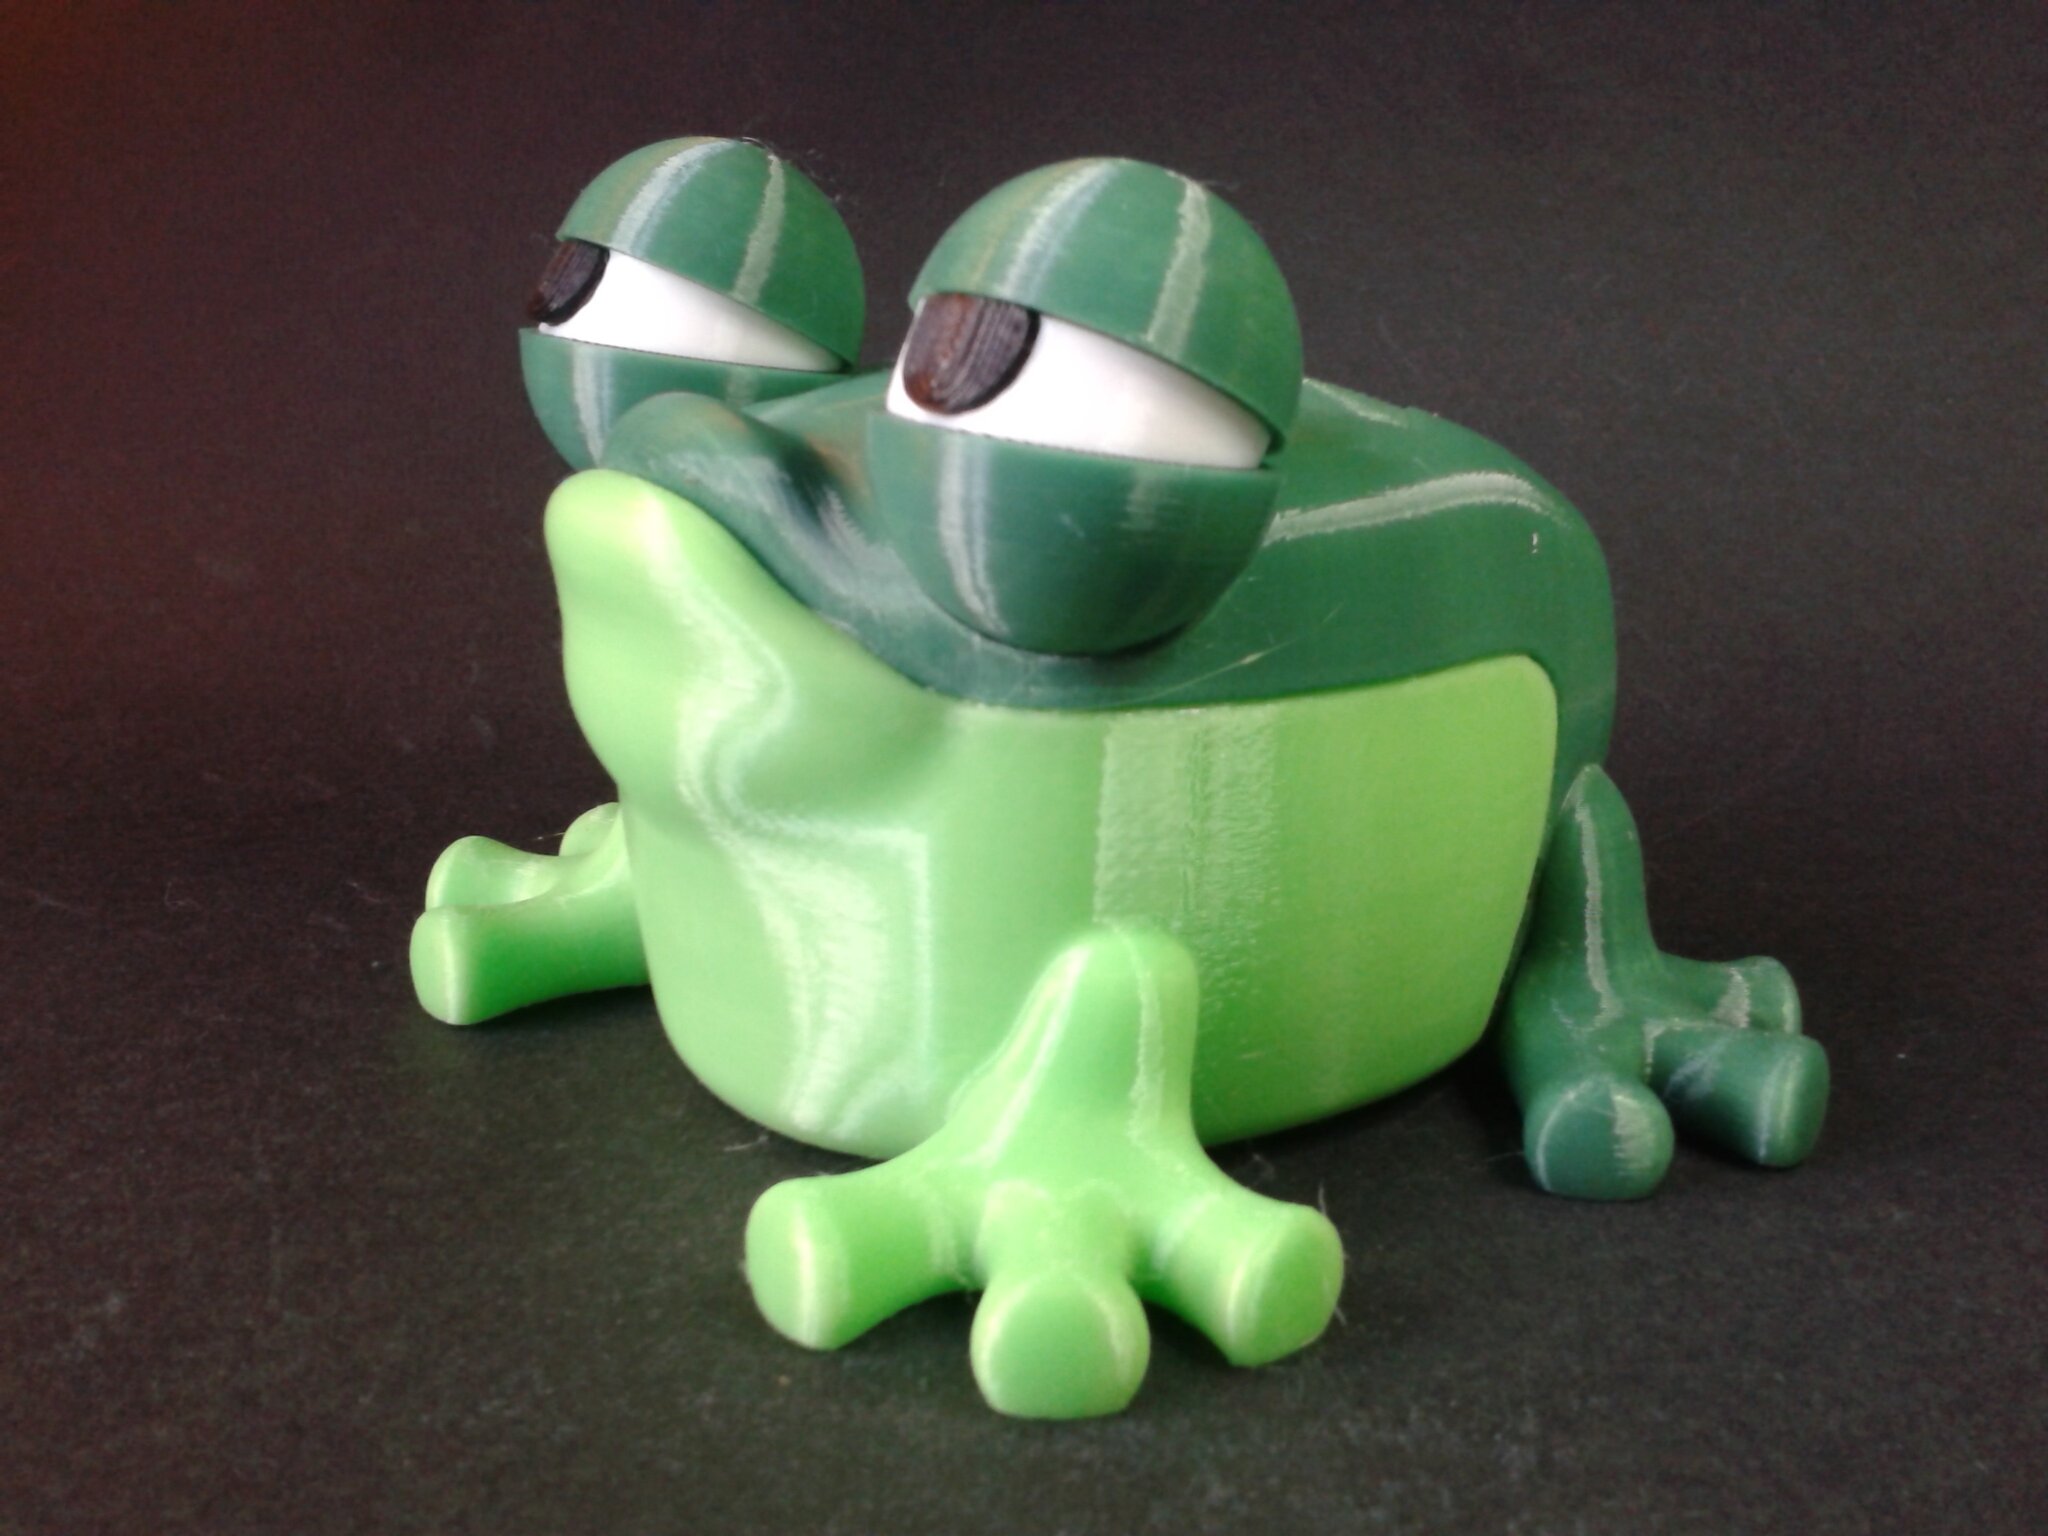
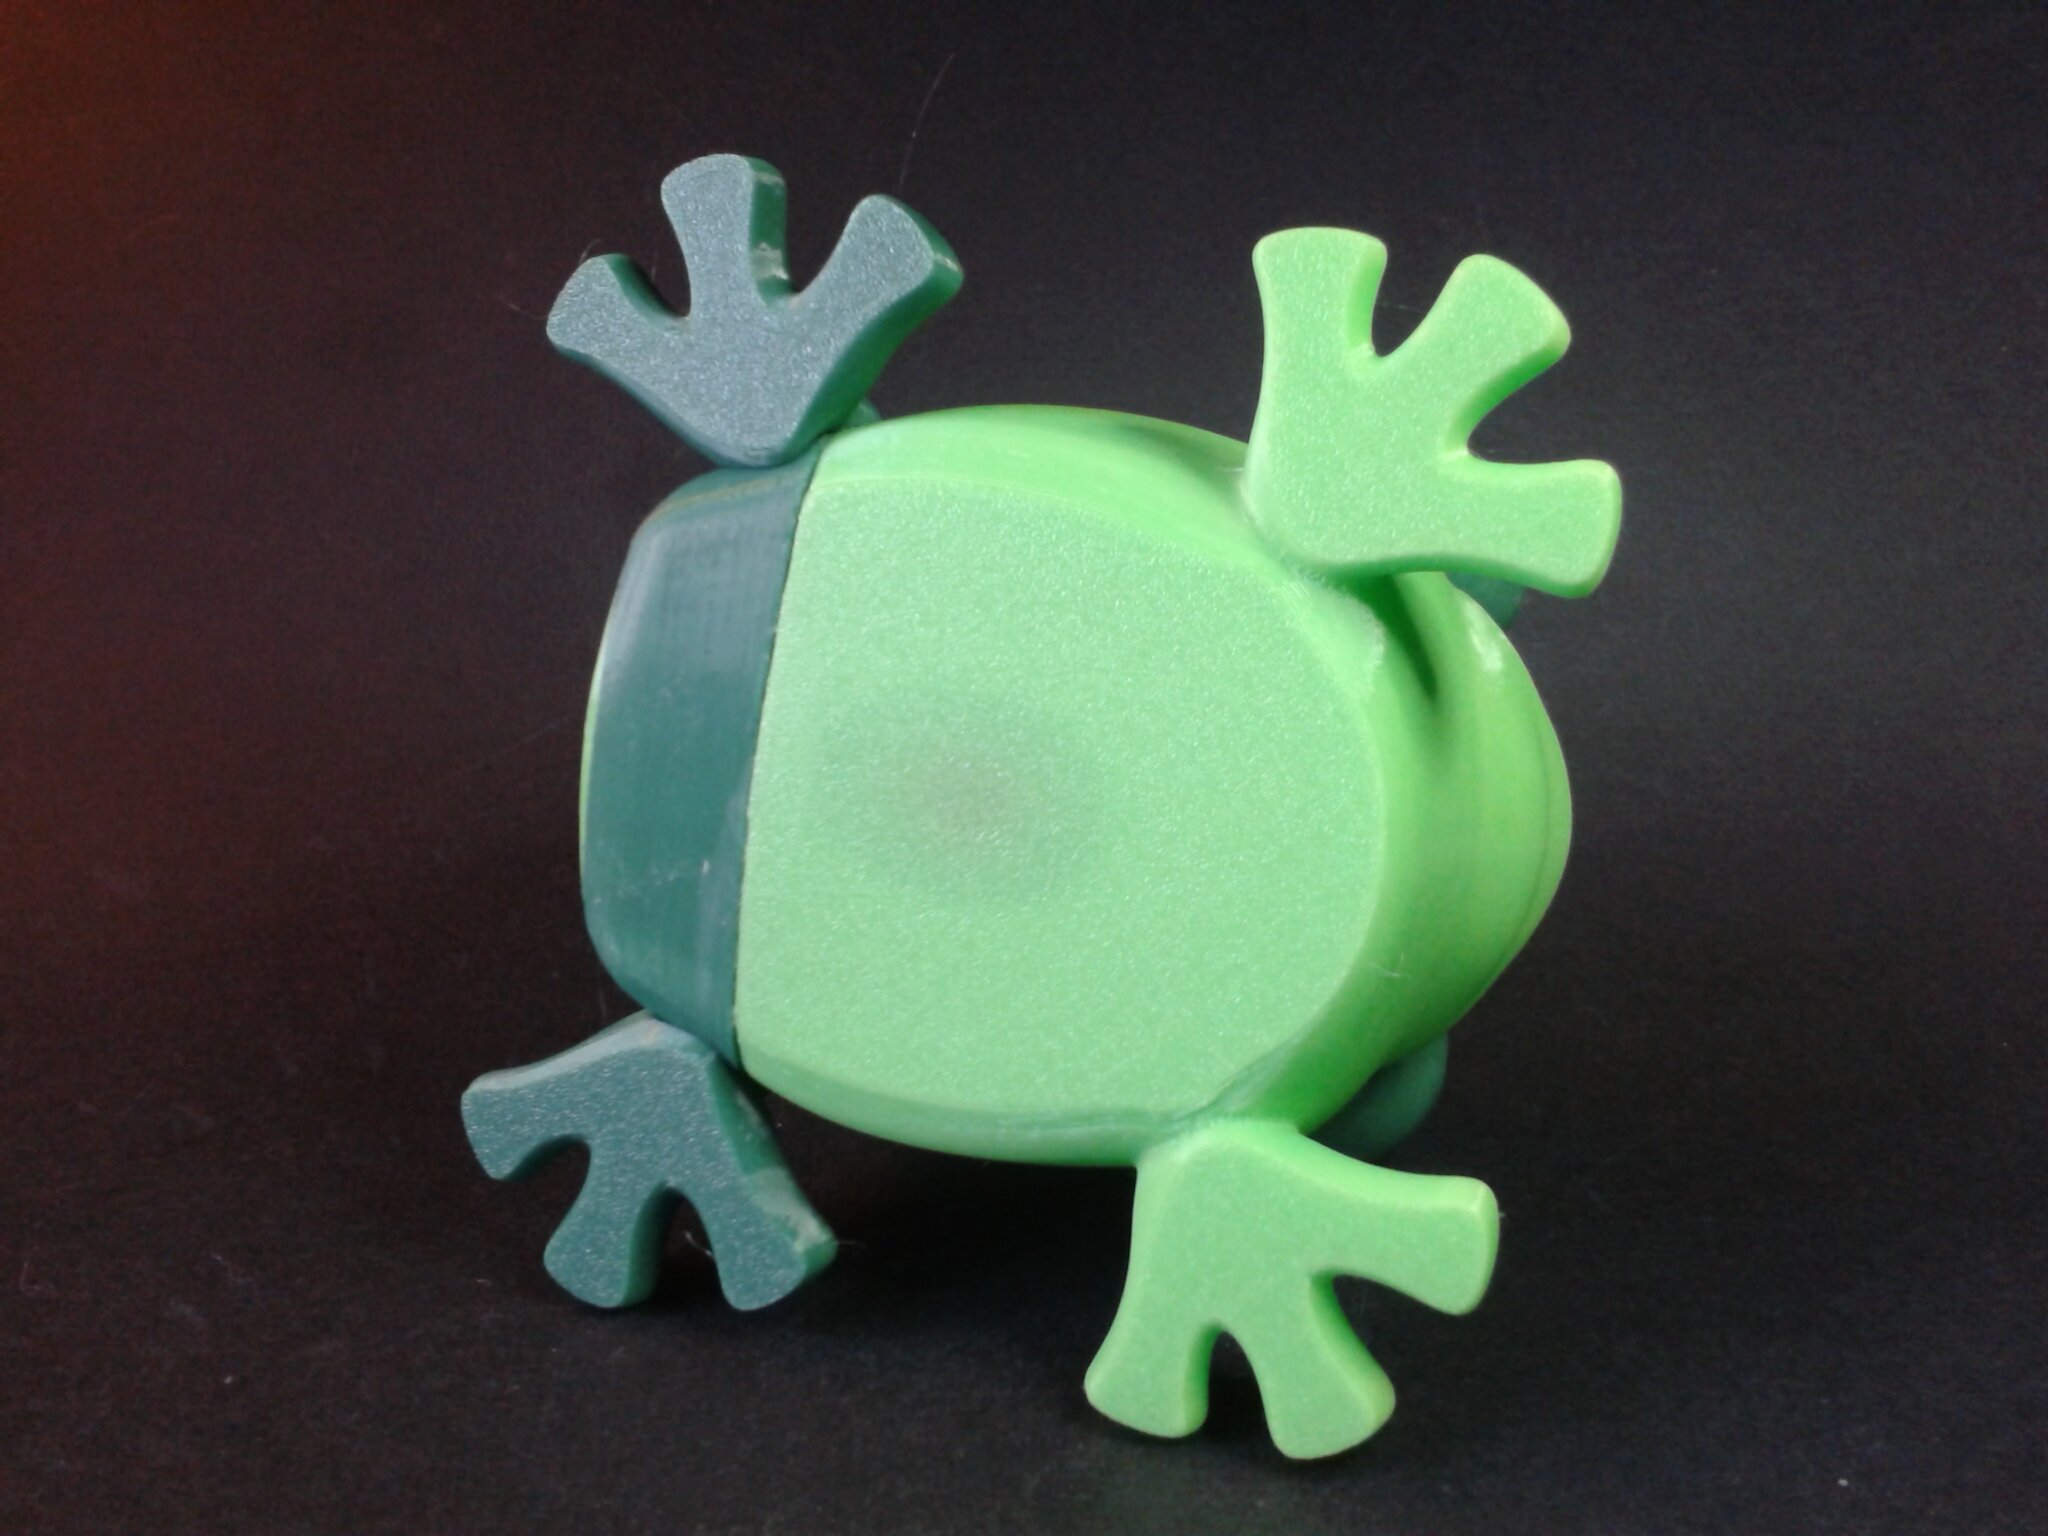
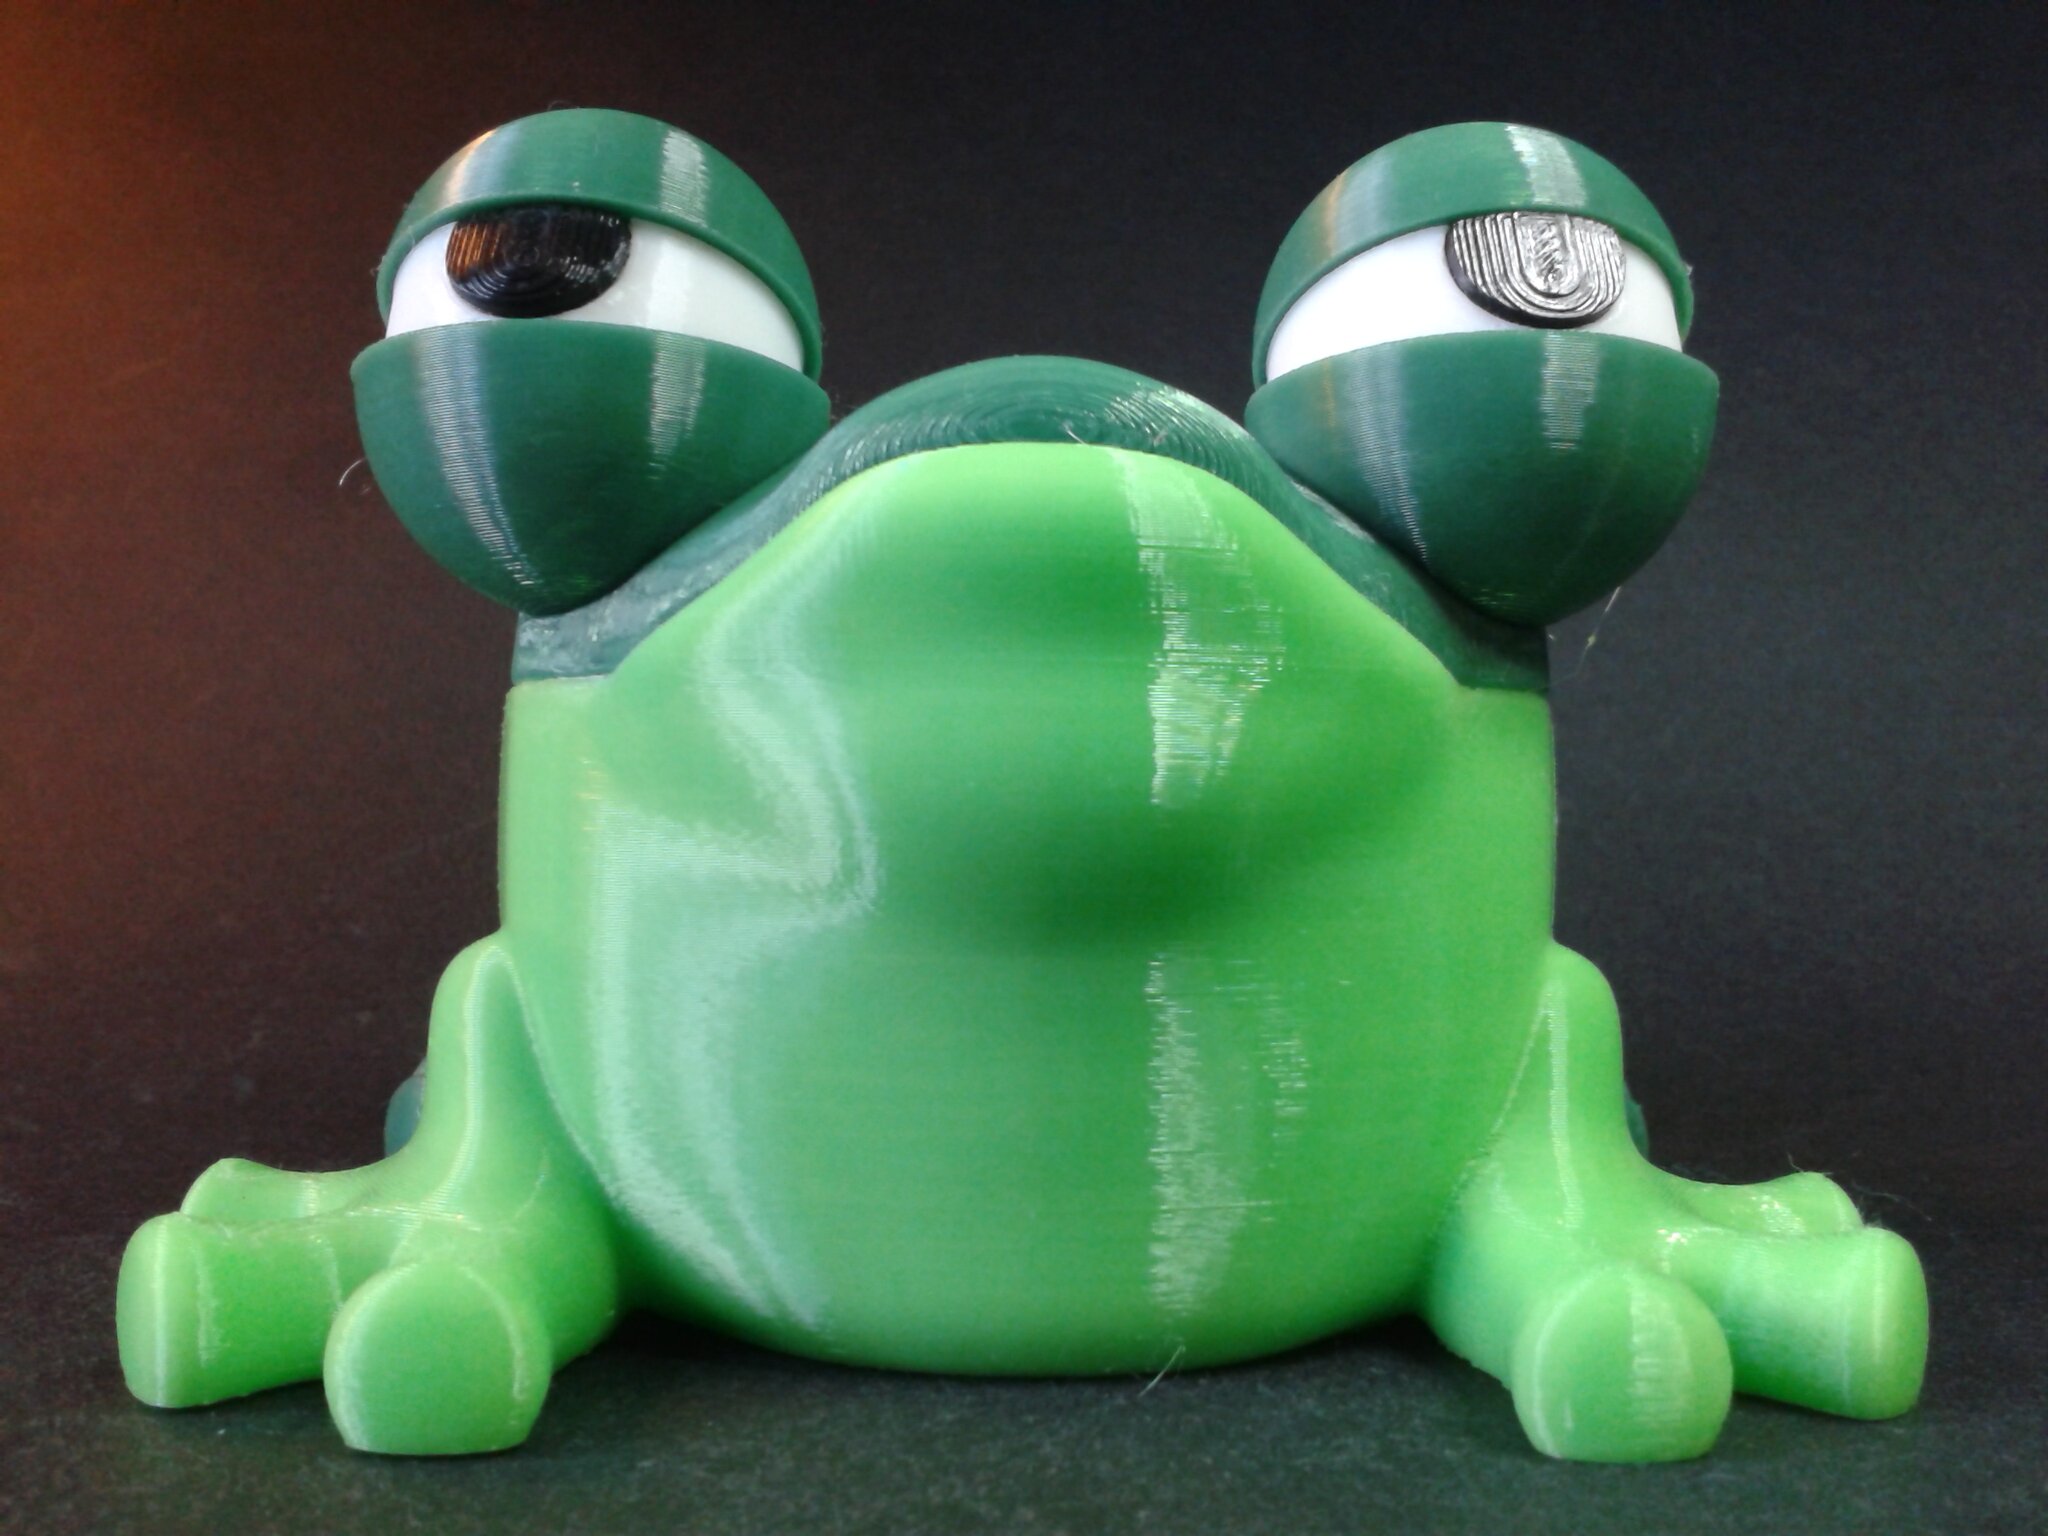
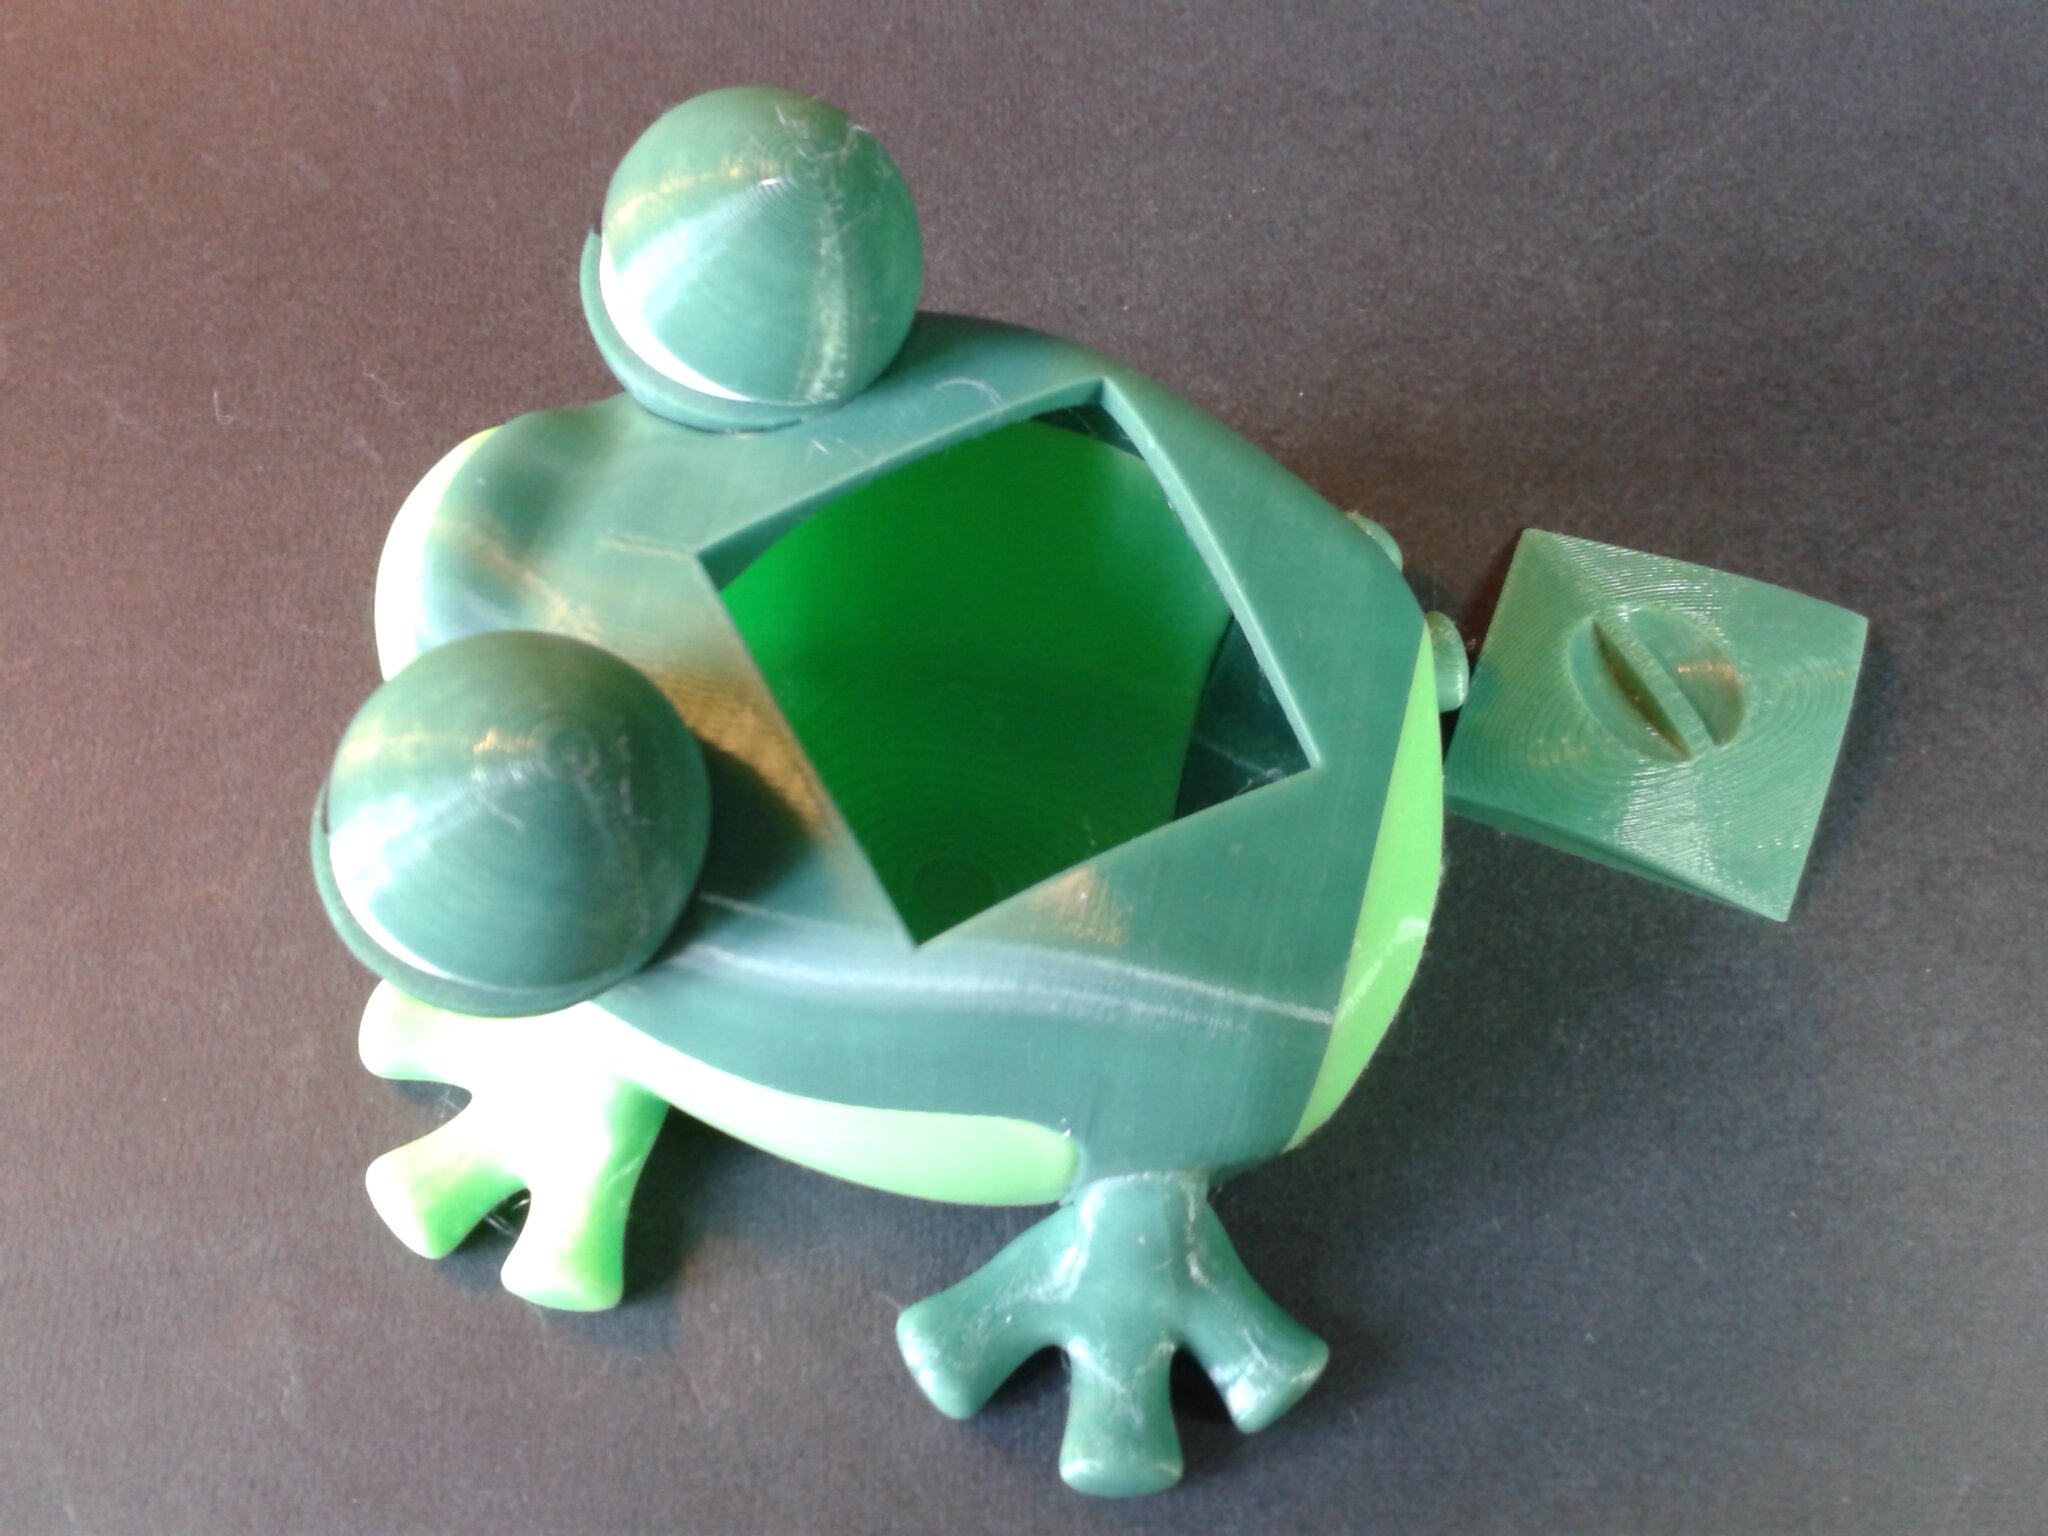
Boîte grenouille
- “Grenouille boîte, tirelire, décoration” de “didoff” (payant, 4€ + TVA)
- Échelle 100%, en 4 plateaux, pour un total d’environ 4 h 16 min d’impression
- Filaments PLA+ Noir ArianePlast, PLA Pine Green Velleman, PLA Green Velleman, Hyper PLA white Creality
Grande roue
- “Ferris wheel” de “kot vsapogah” (gratuit)
- Échelle 100%, en 11 plateaux, pour un total d’environ 8 h 51 min d’impression
- Filaments PLA ciel ArianePlast, PLA+ Blanc ArianePlast


Décoration murale bonsaï
- “Bonsai wall art” de “Lego74j” (payant, 0.49 USD).
- Échelle non uniforme (X 200,00 mm ou 112,6 %, Y 200,08 mm ou 112,6 %, Z 0,8 mm ou 8 %)
- Vitesse d’impression de la couche initiale réduite à 50 mm/s pour favoriser l’accroche sur ce plateau “exotique”
- Environ 39 min d’impression
- Filament PLA+ noir ArianePlast
- Imprimé sur un plateau flexible “PEY circle” (qui permet d’obtenir un effet de diffraction de la lumière sur la face de l’impression en contact avec la surface de la plaque PEY)


Impression en TPU 95A avec la Ender 3 V3
- Trancheur Creality Print 4.3.8.7021
- Generic-TPU_1.75
- Quality : 0.20mm
Souris articulée
- Juste la souris de “Cheese Boxed Mouse” de “McGybeer”
- Échelle 100%, pour un total d’environ 1 h 54 min d’impression
- Filament CR-TPU Vert Creality


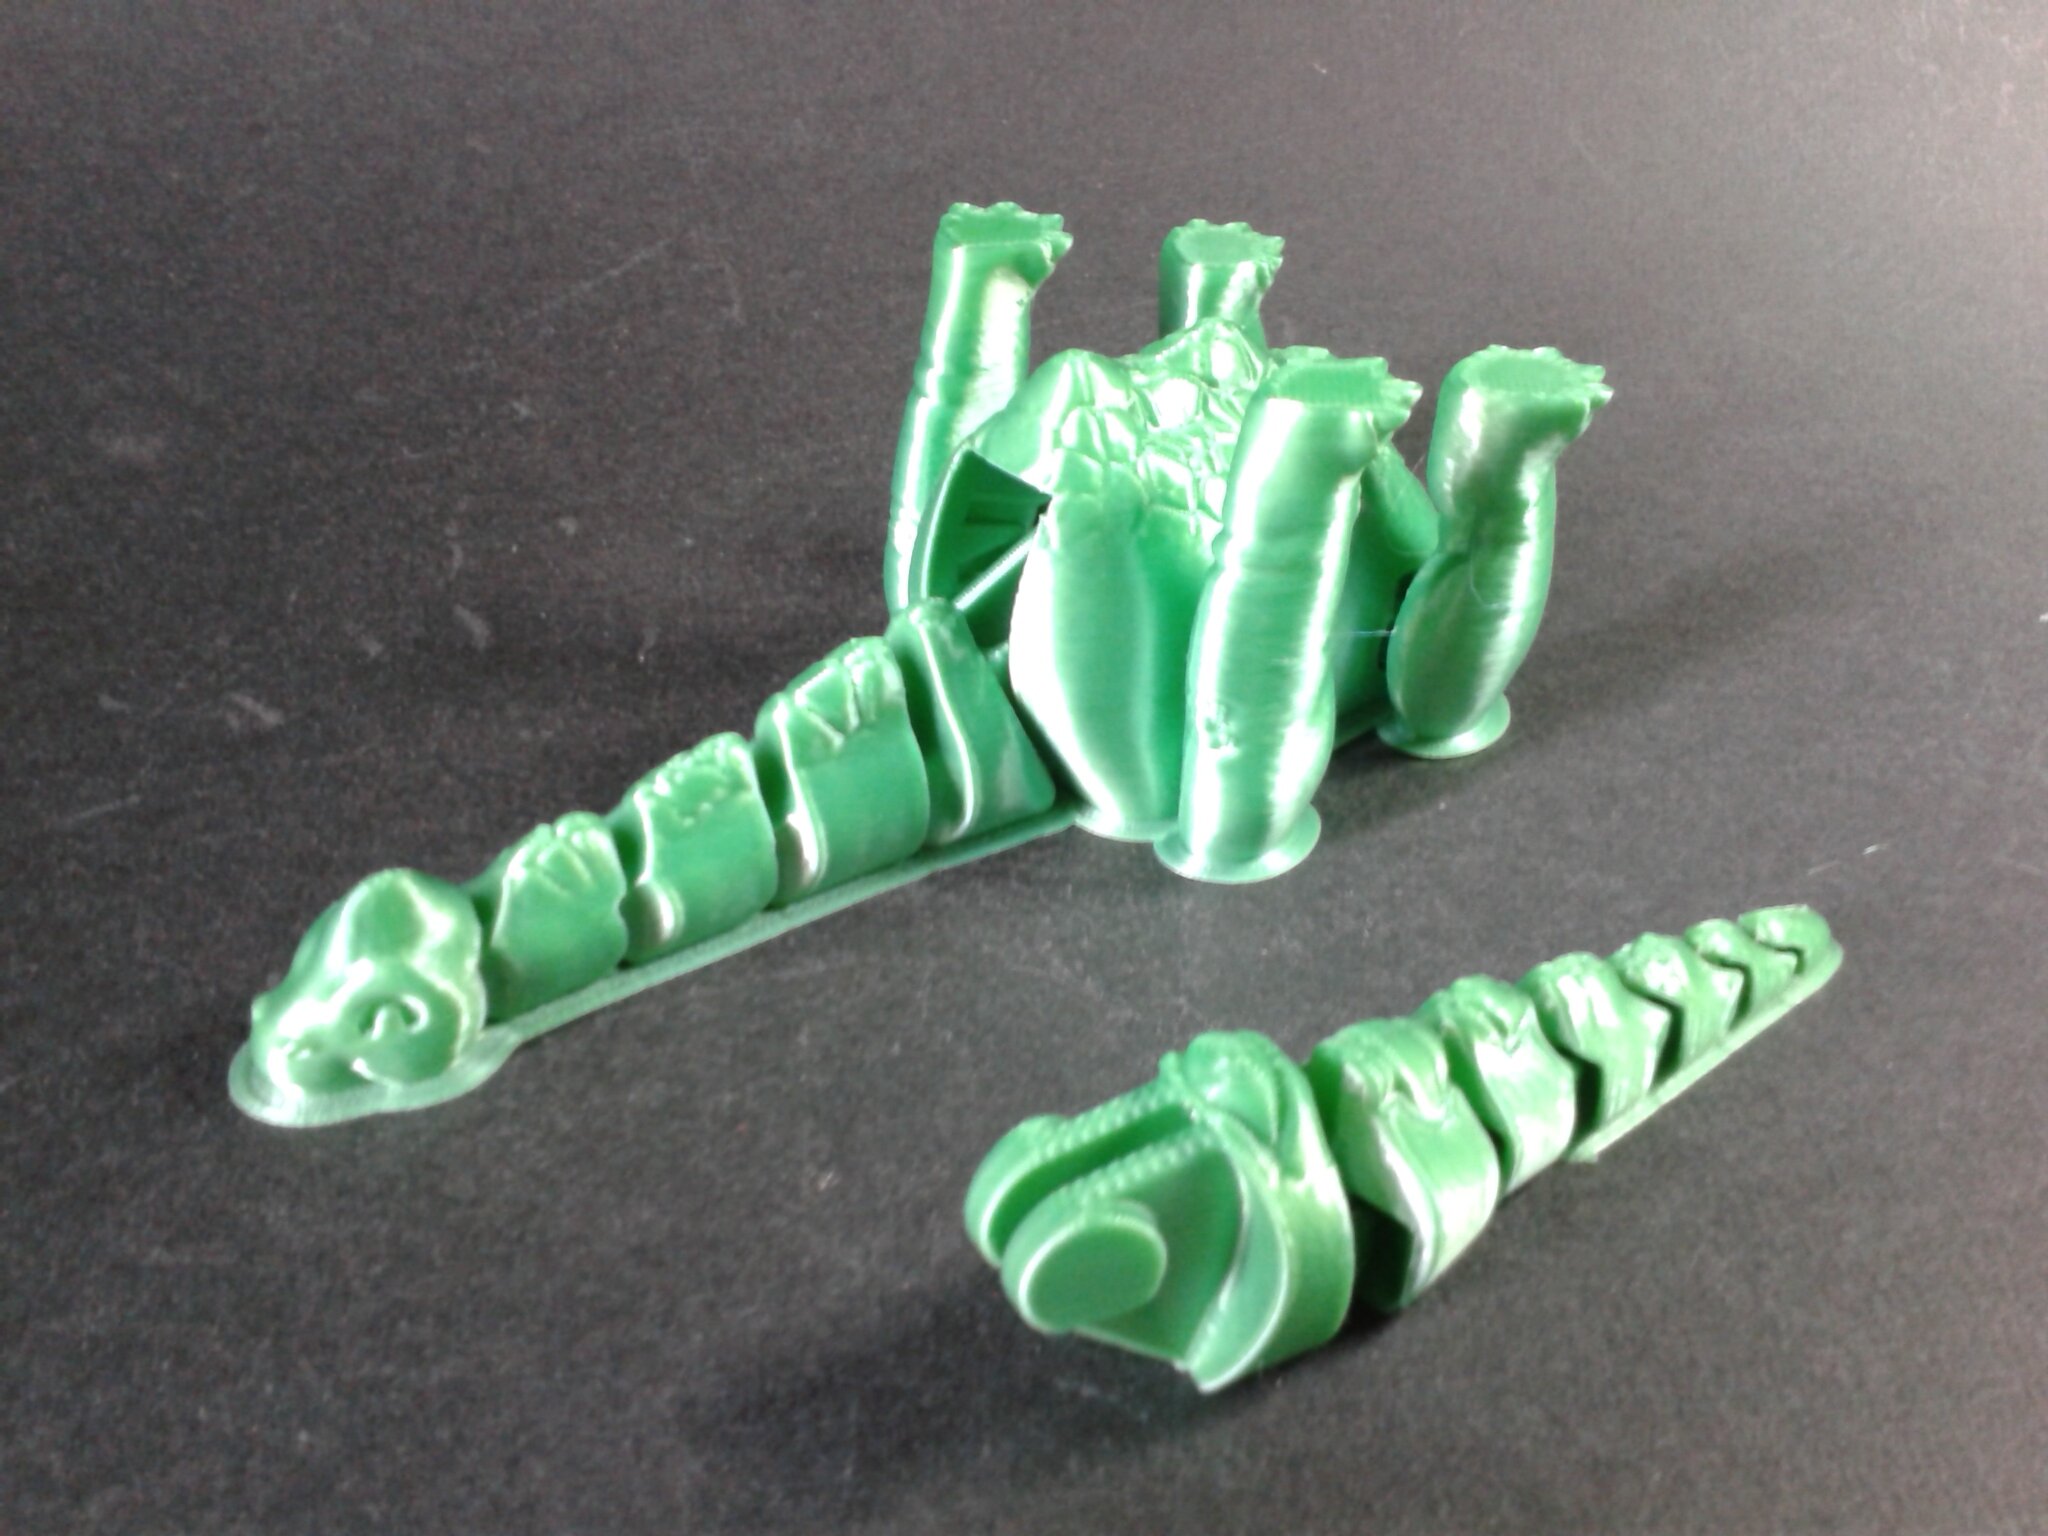
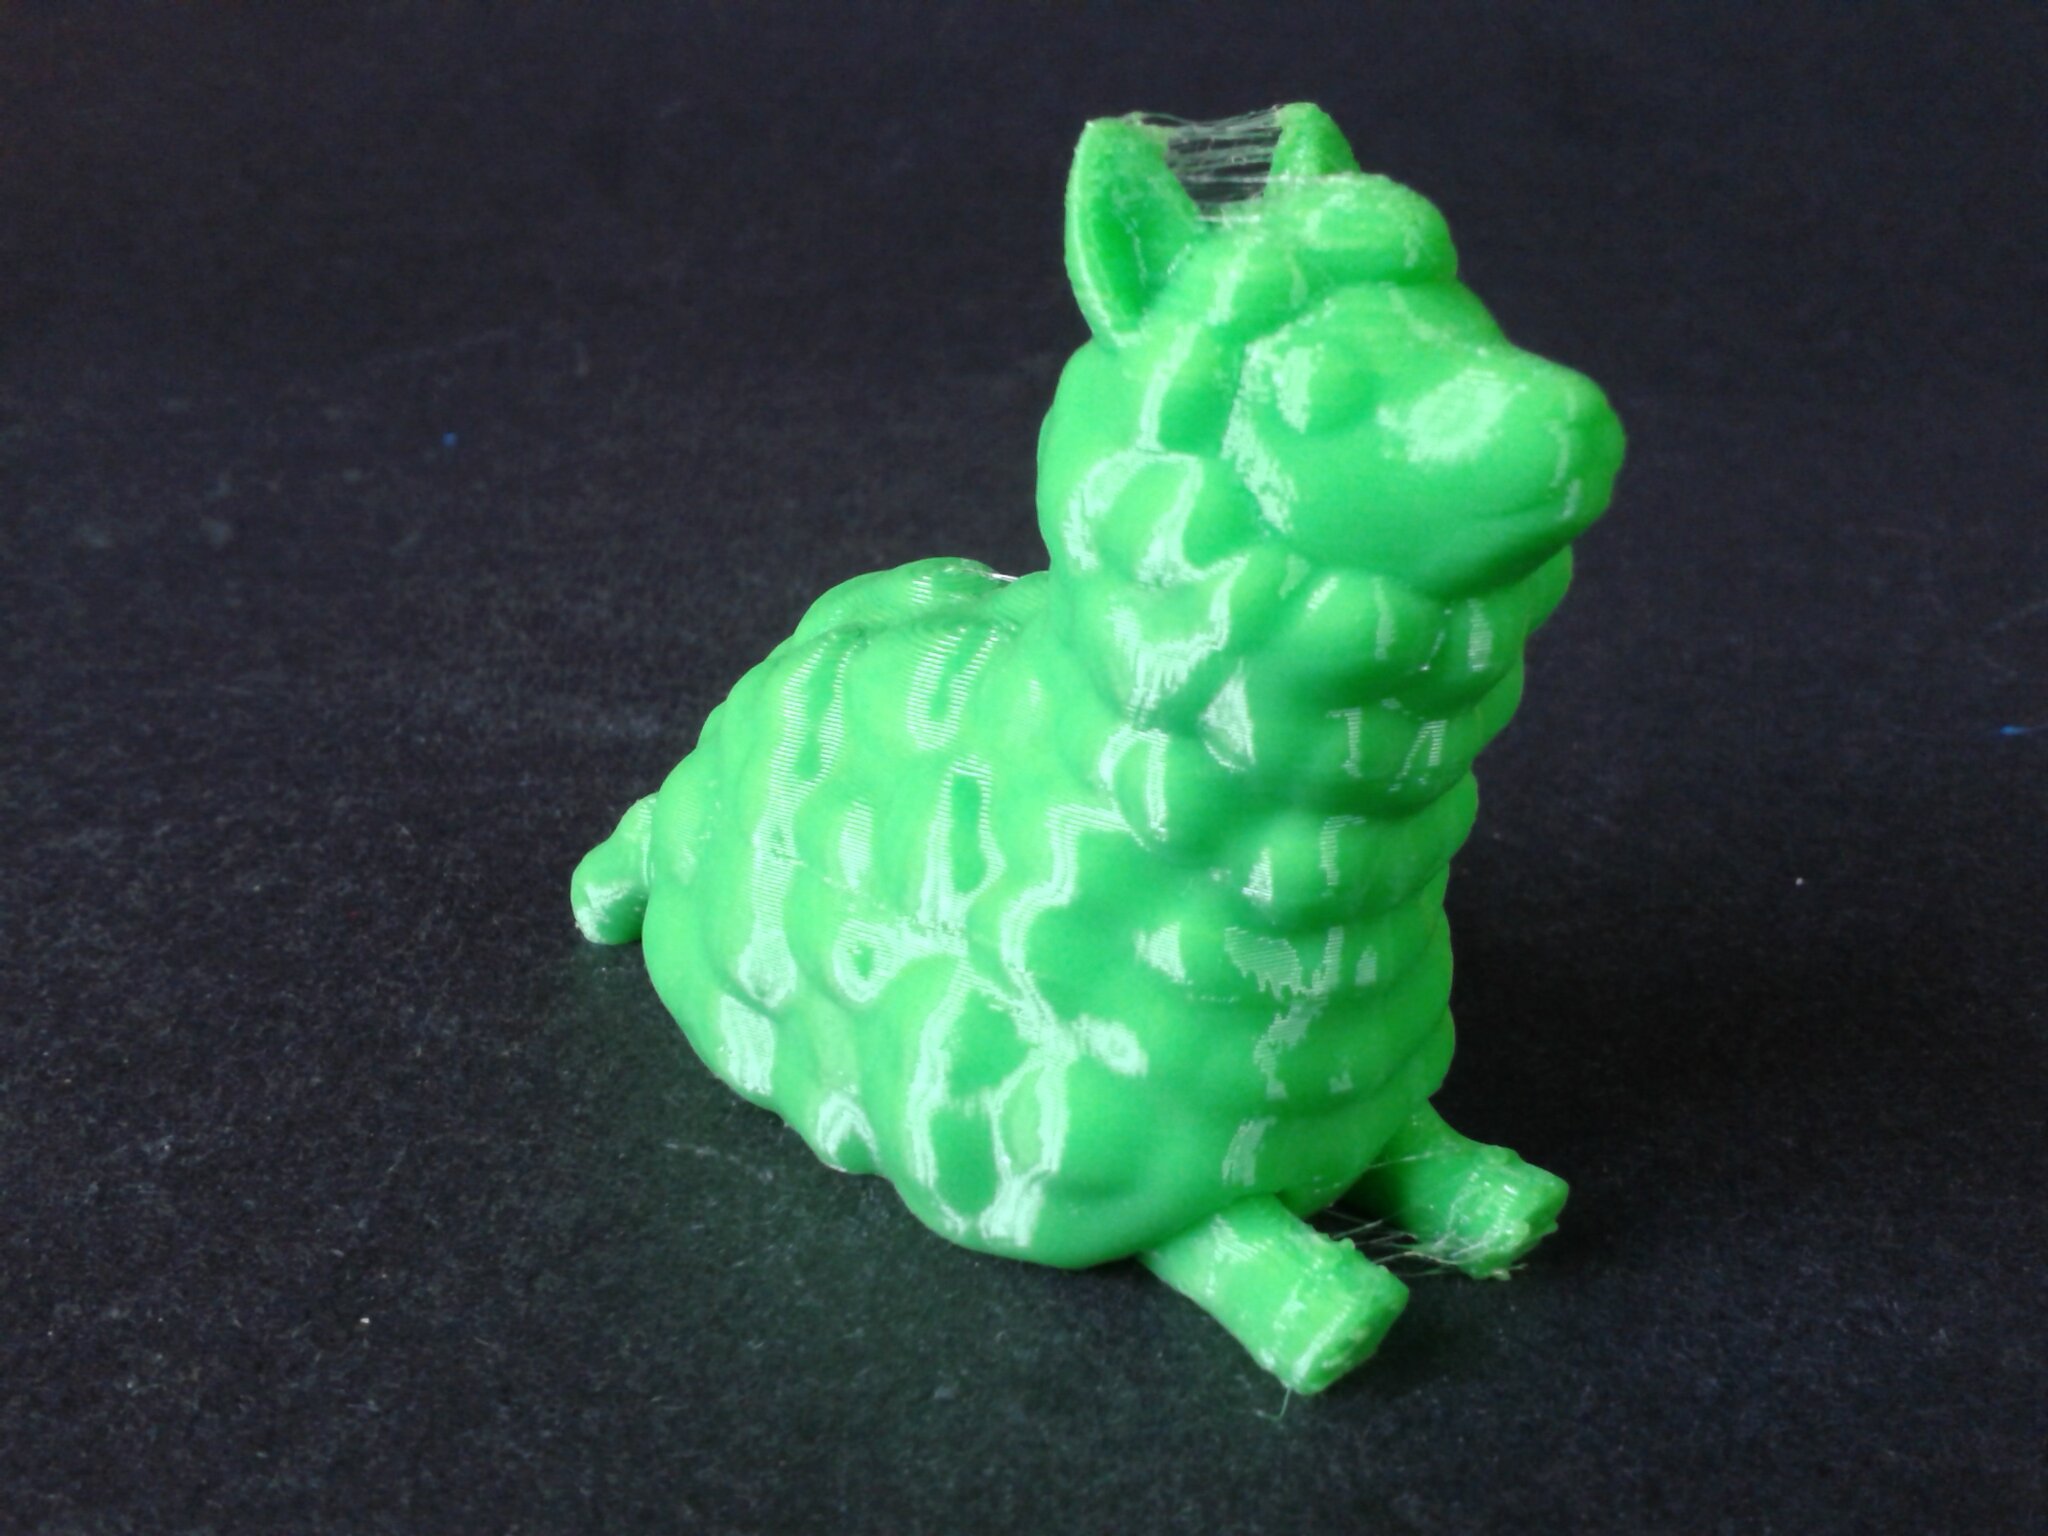
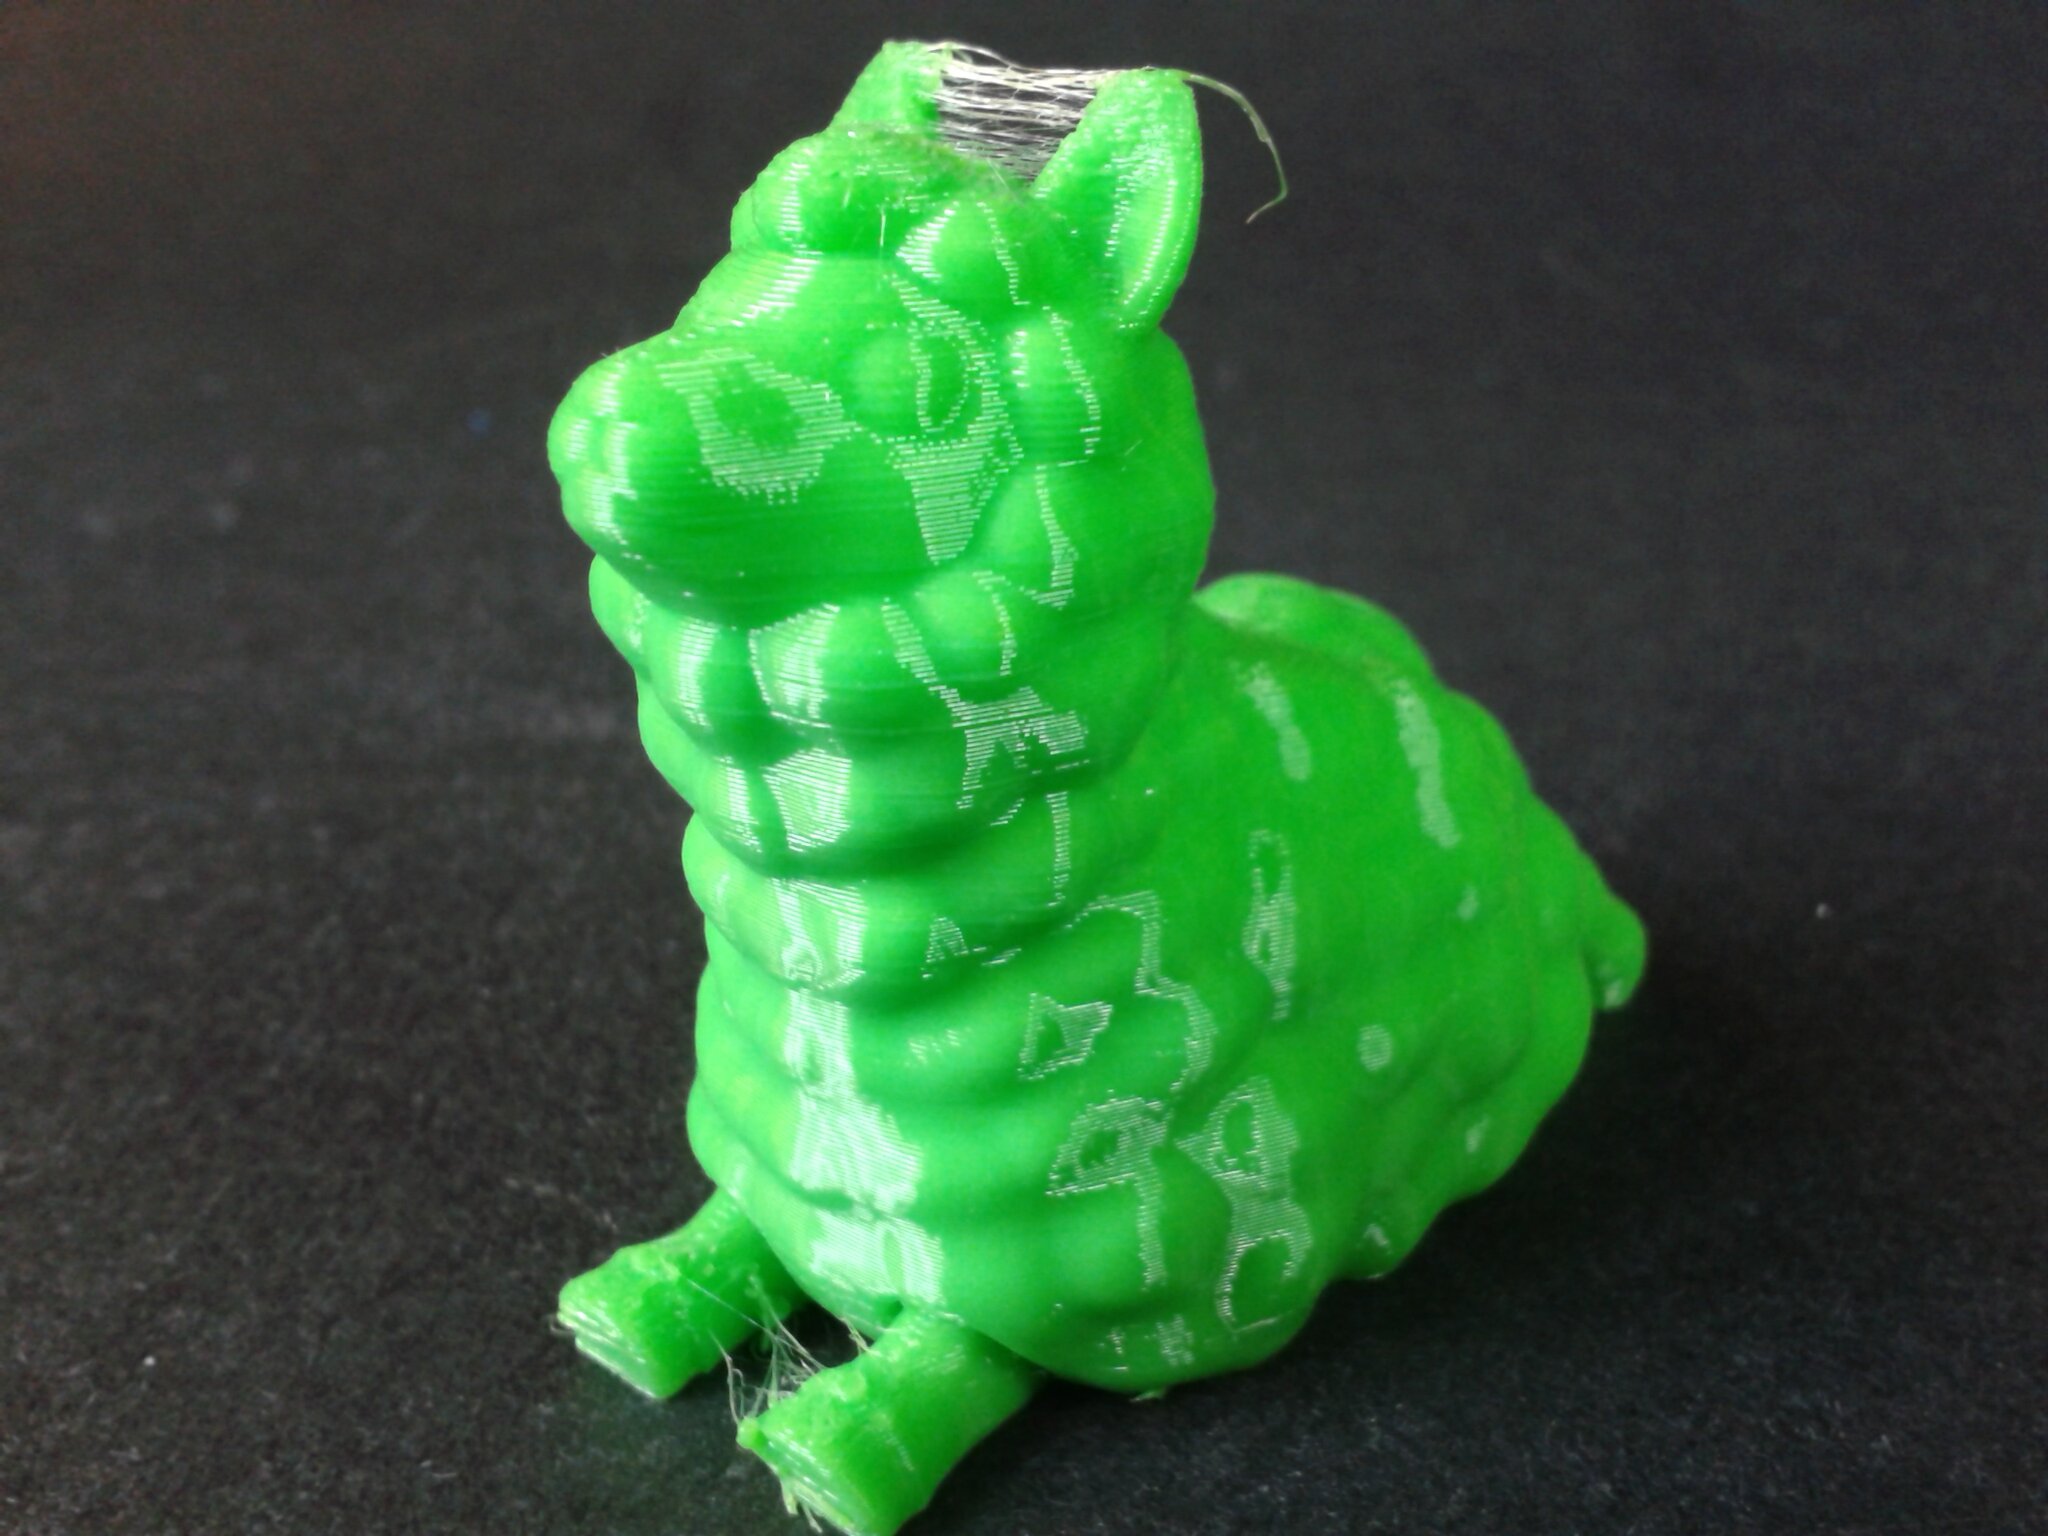
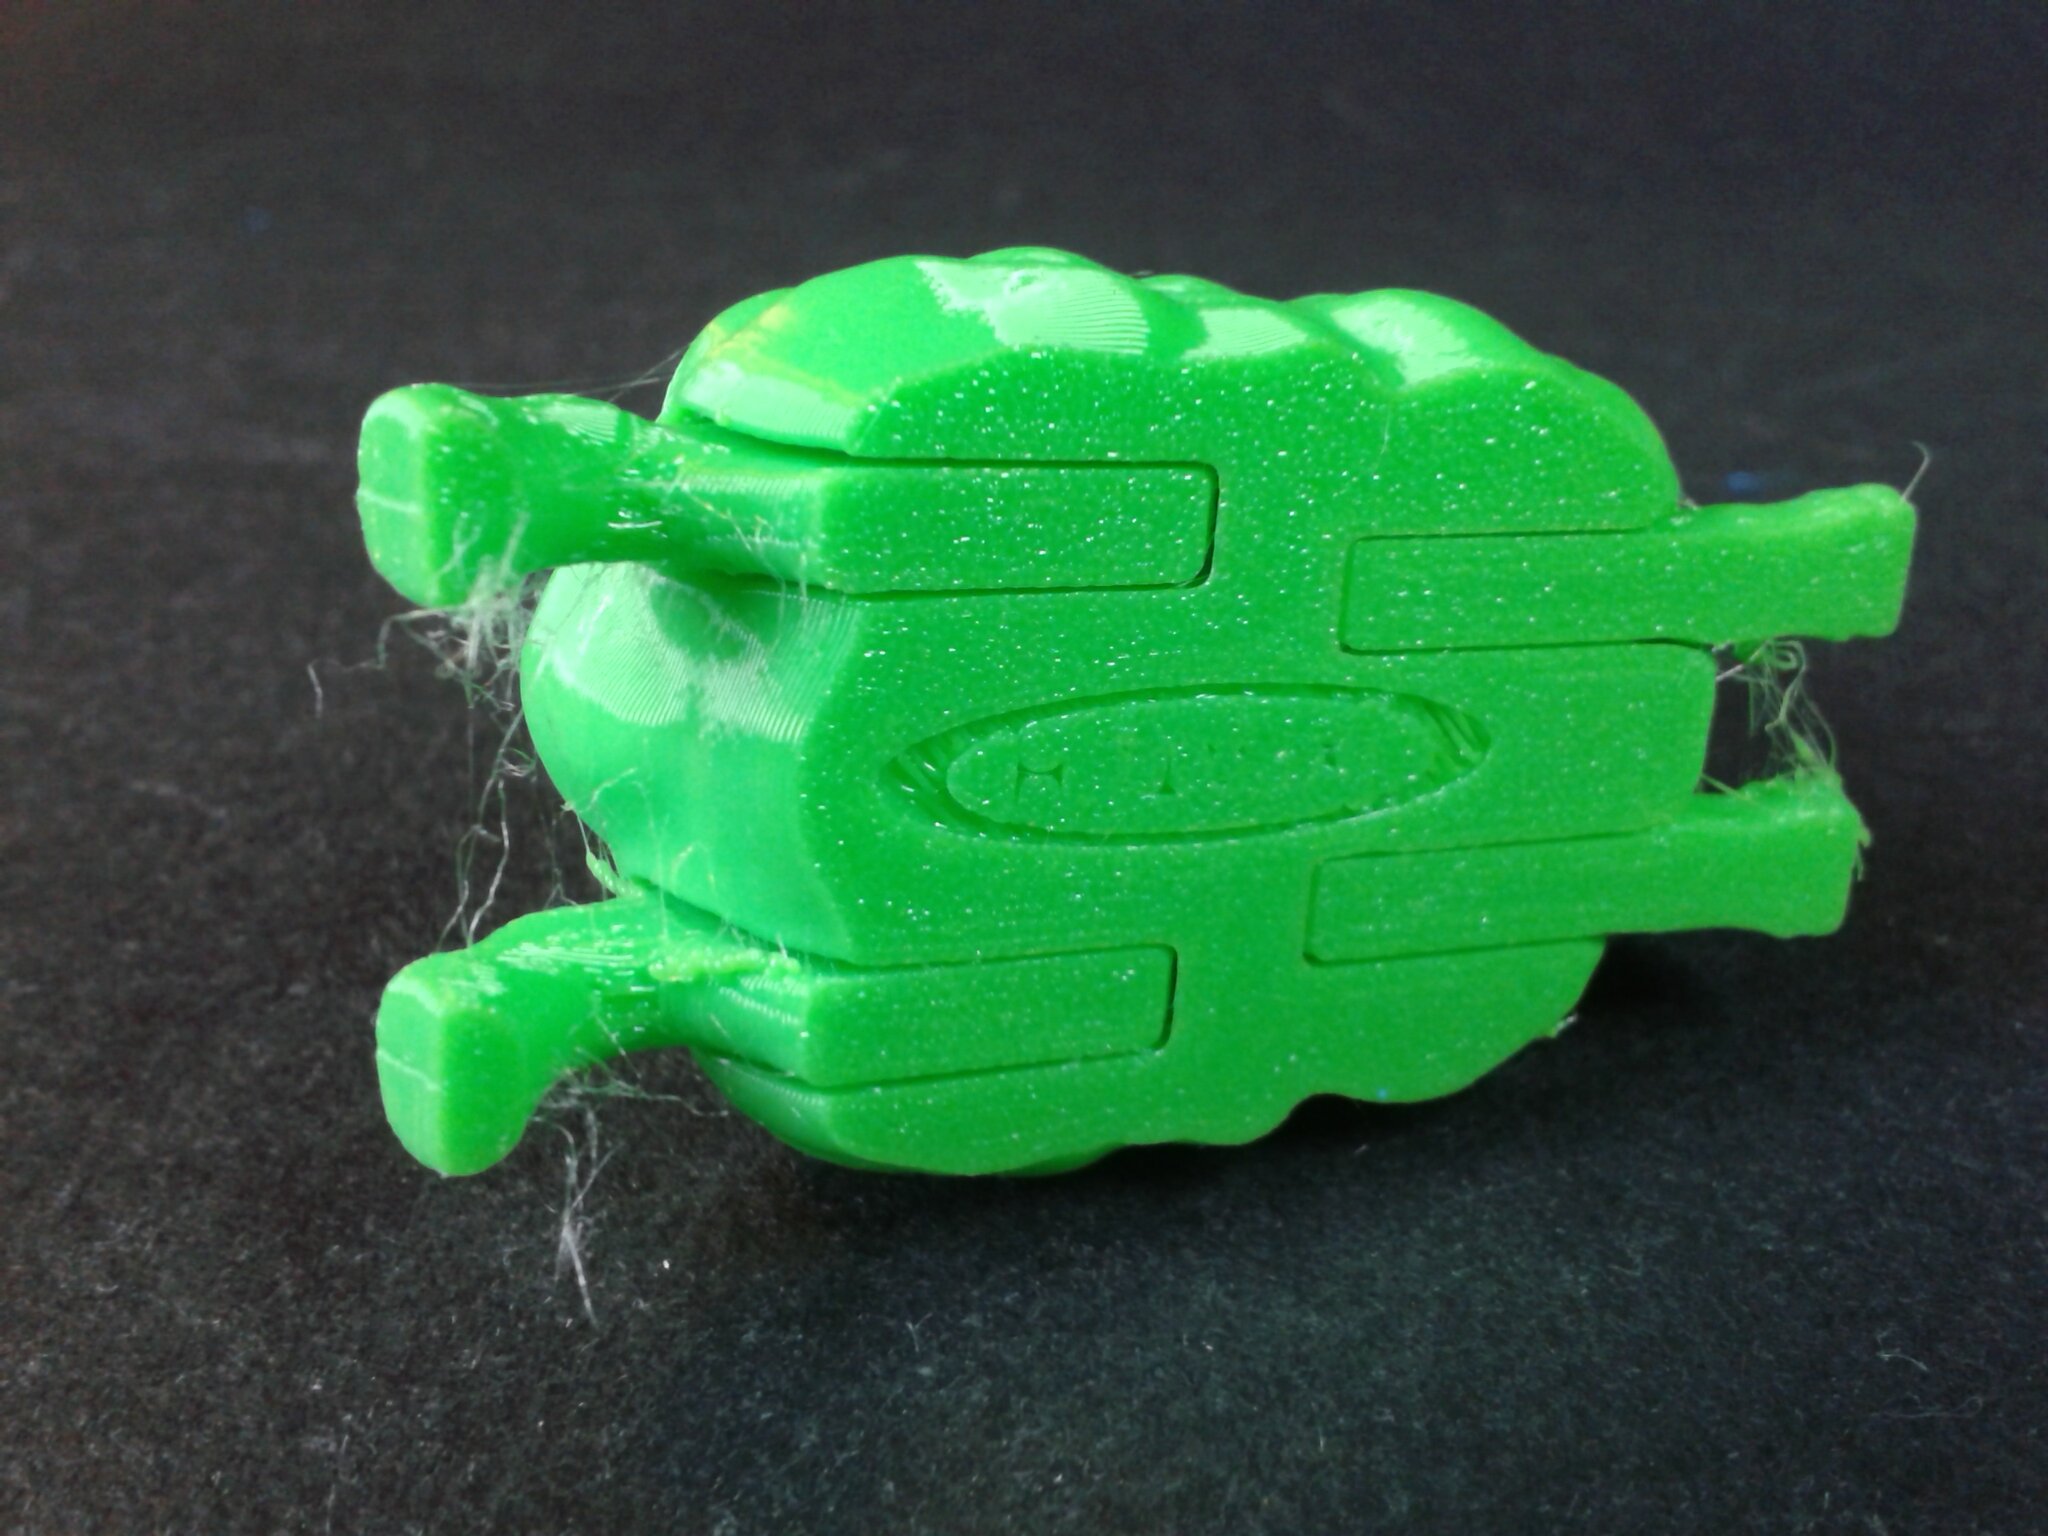
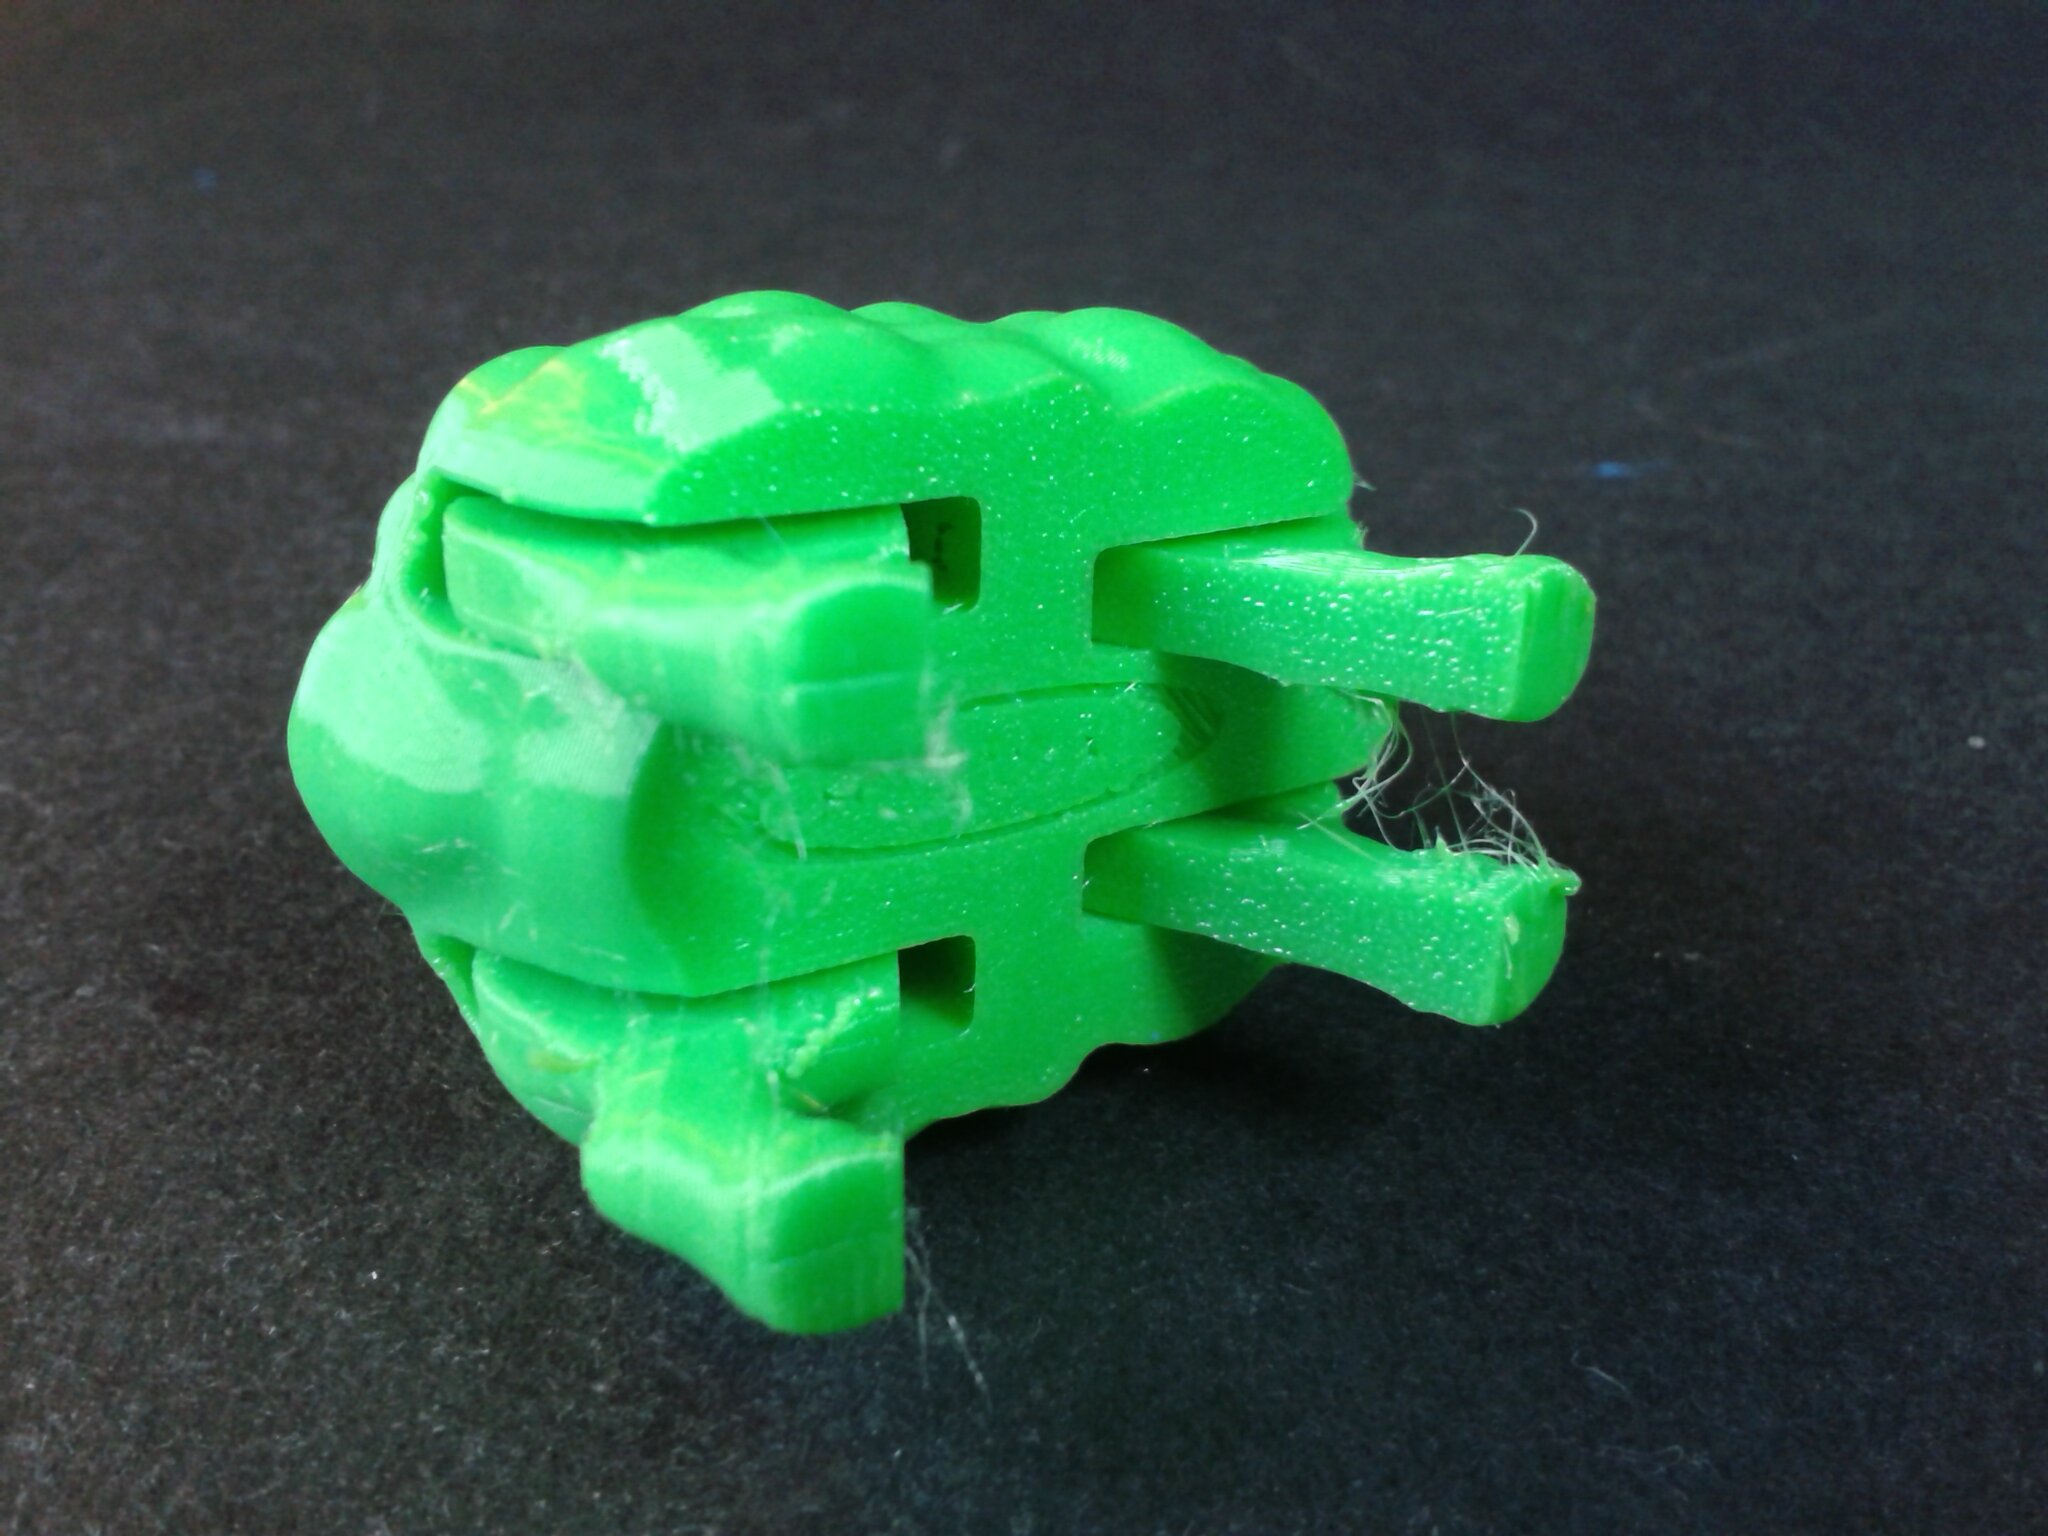
Lama articulé
- “Cute Llama – Articulated Animal – print in place” de “IXPatch” (gratuit)
- Échelle 100%, d’environ 1 h 46 min d’impression.
- Filament CR-TPU Vert Creality

Même fichier d’impression, filament TPU 95A translucide ArianePlast :
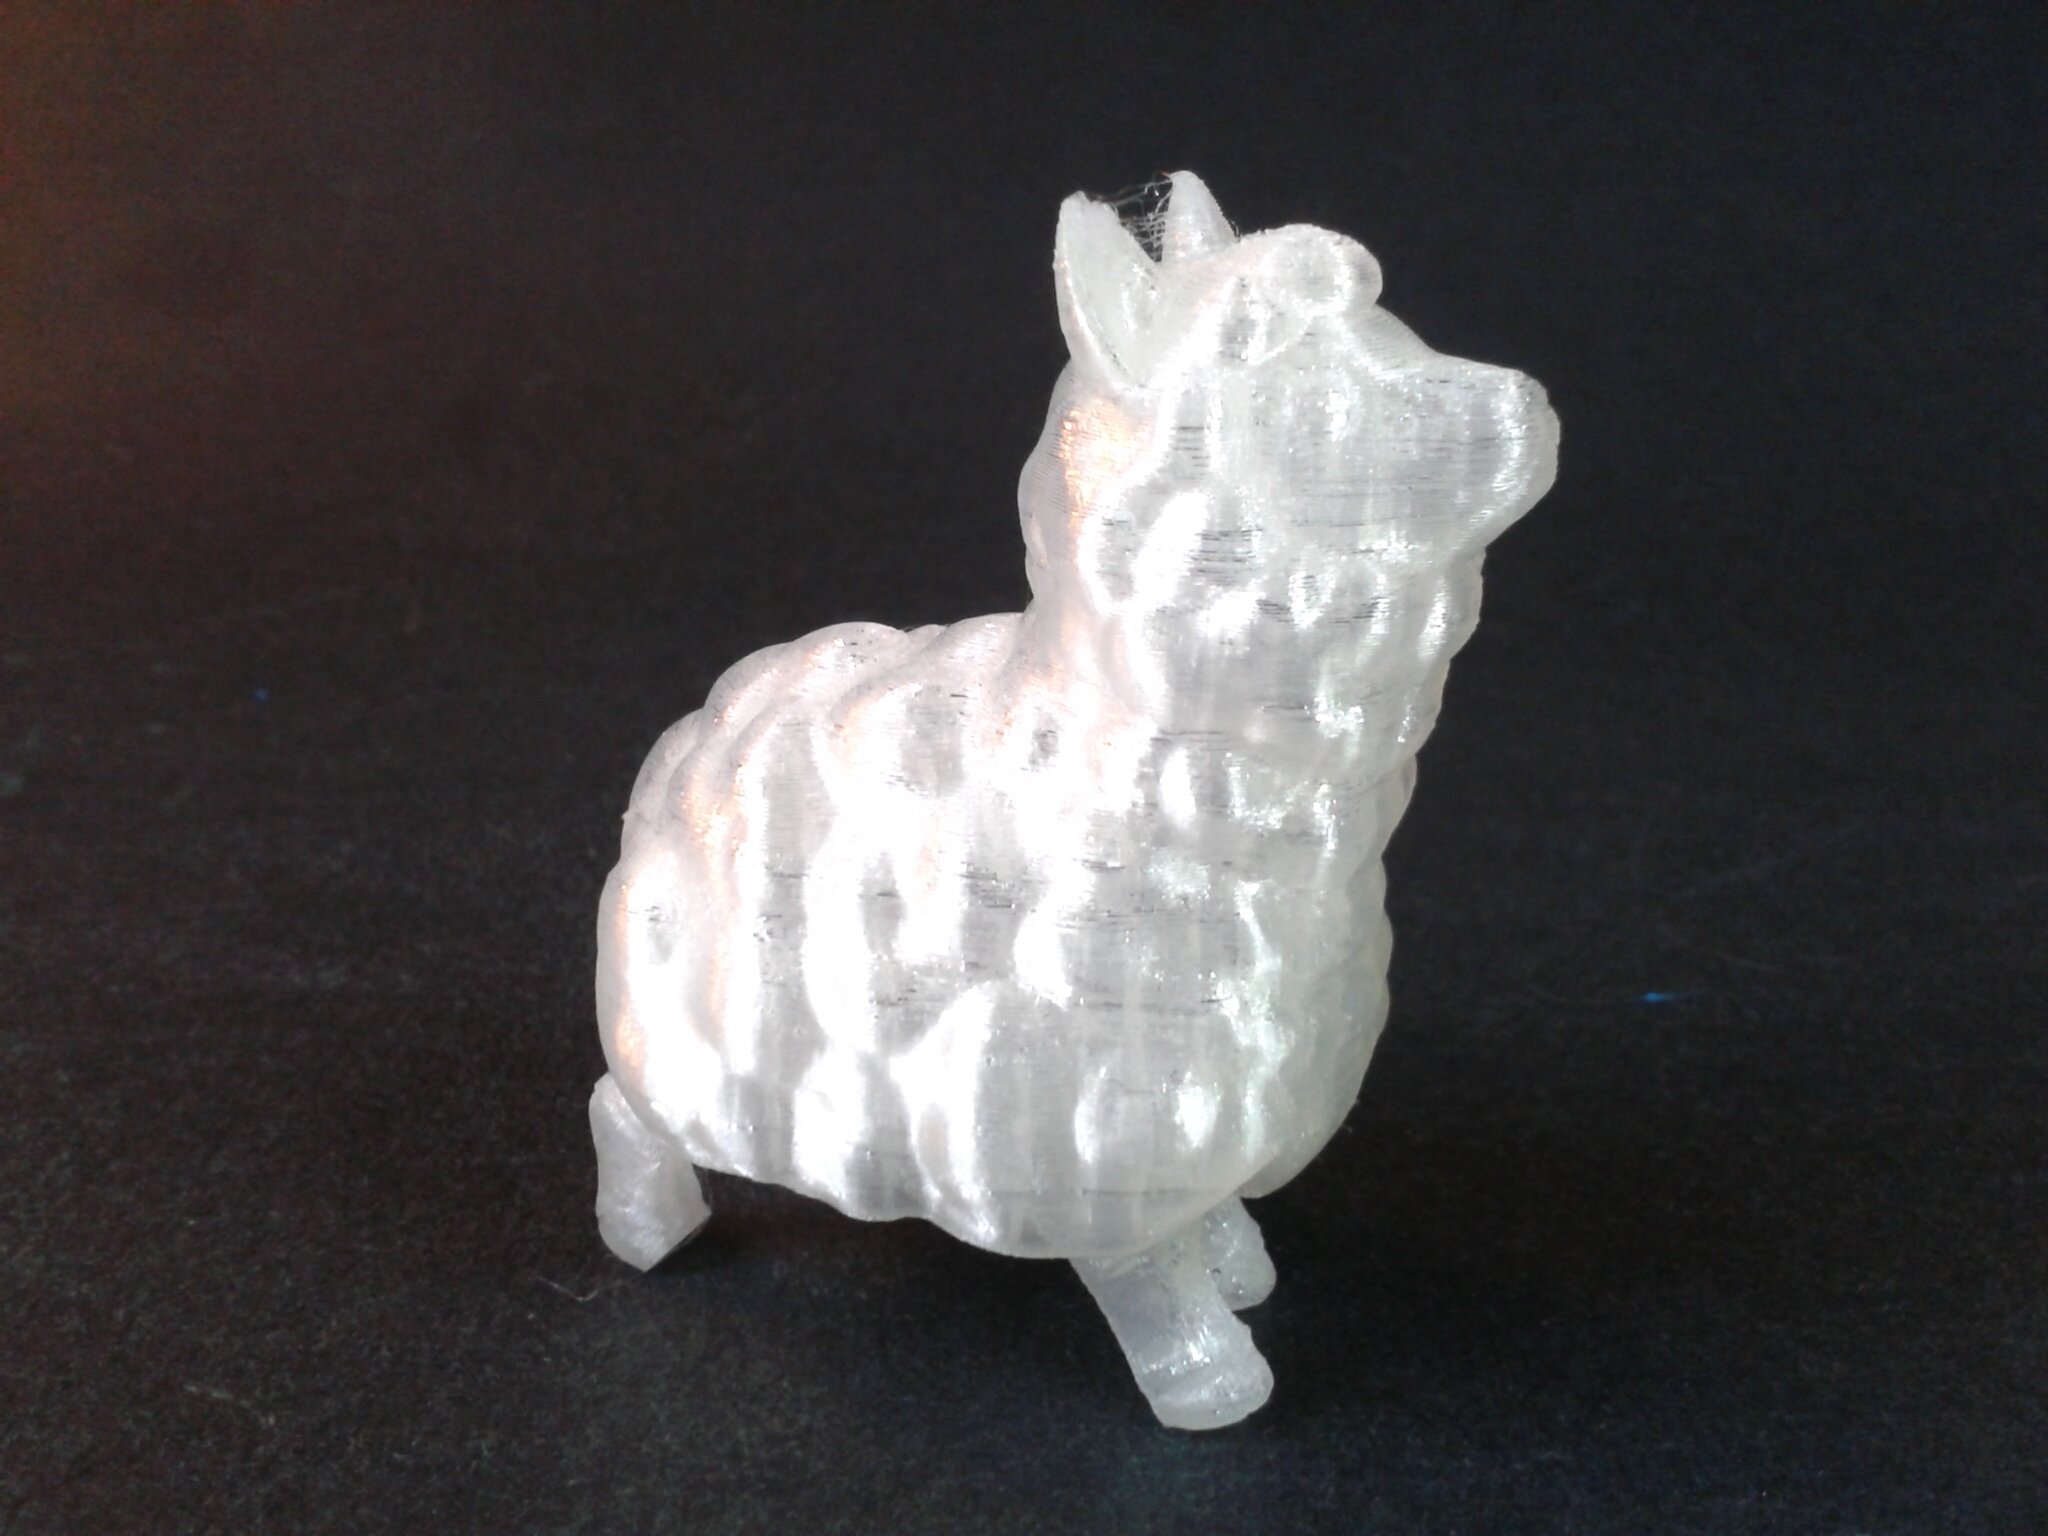
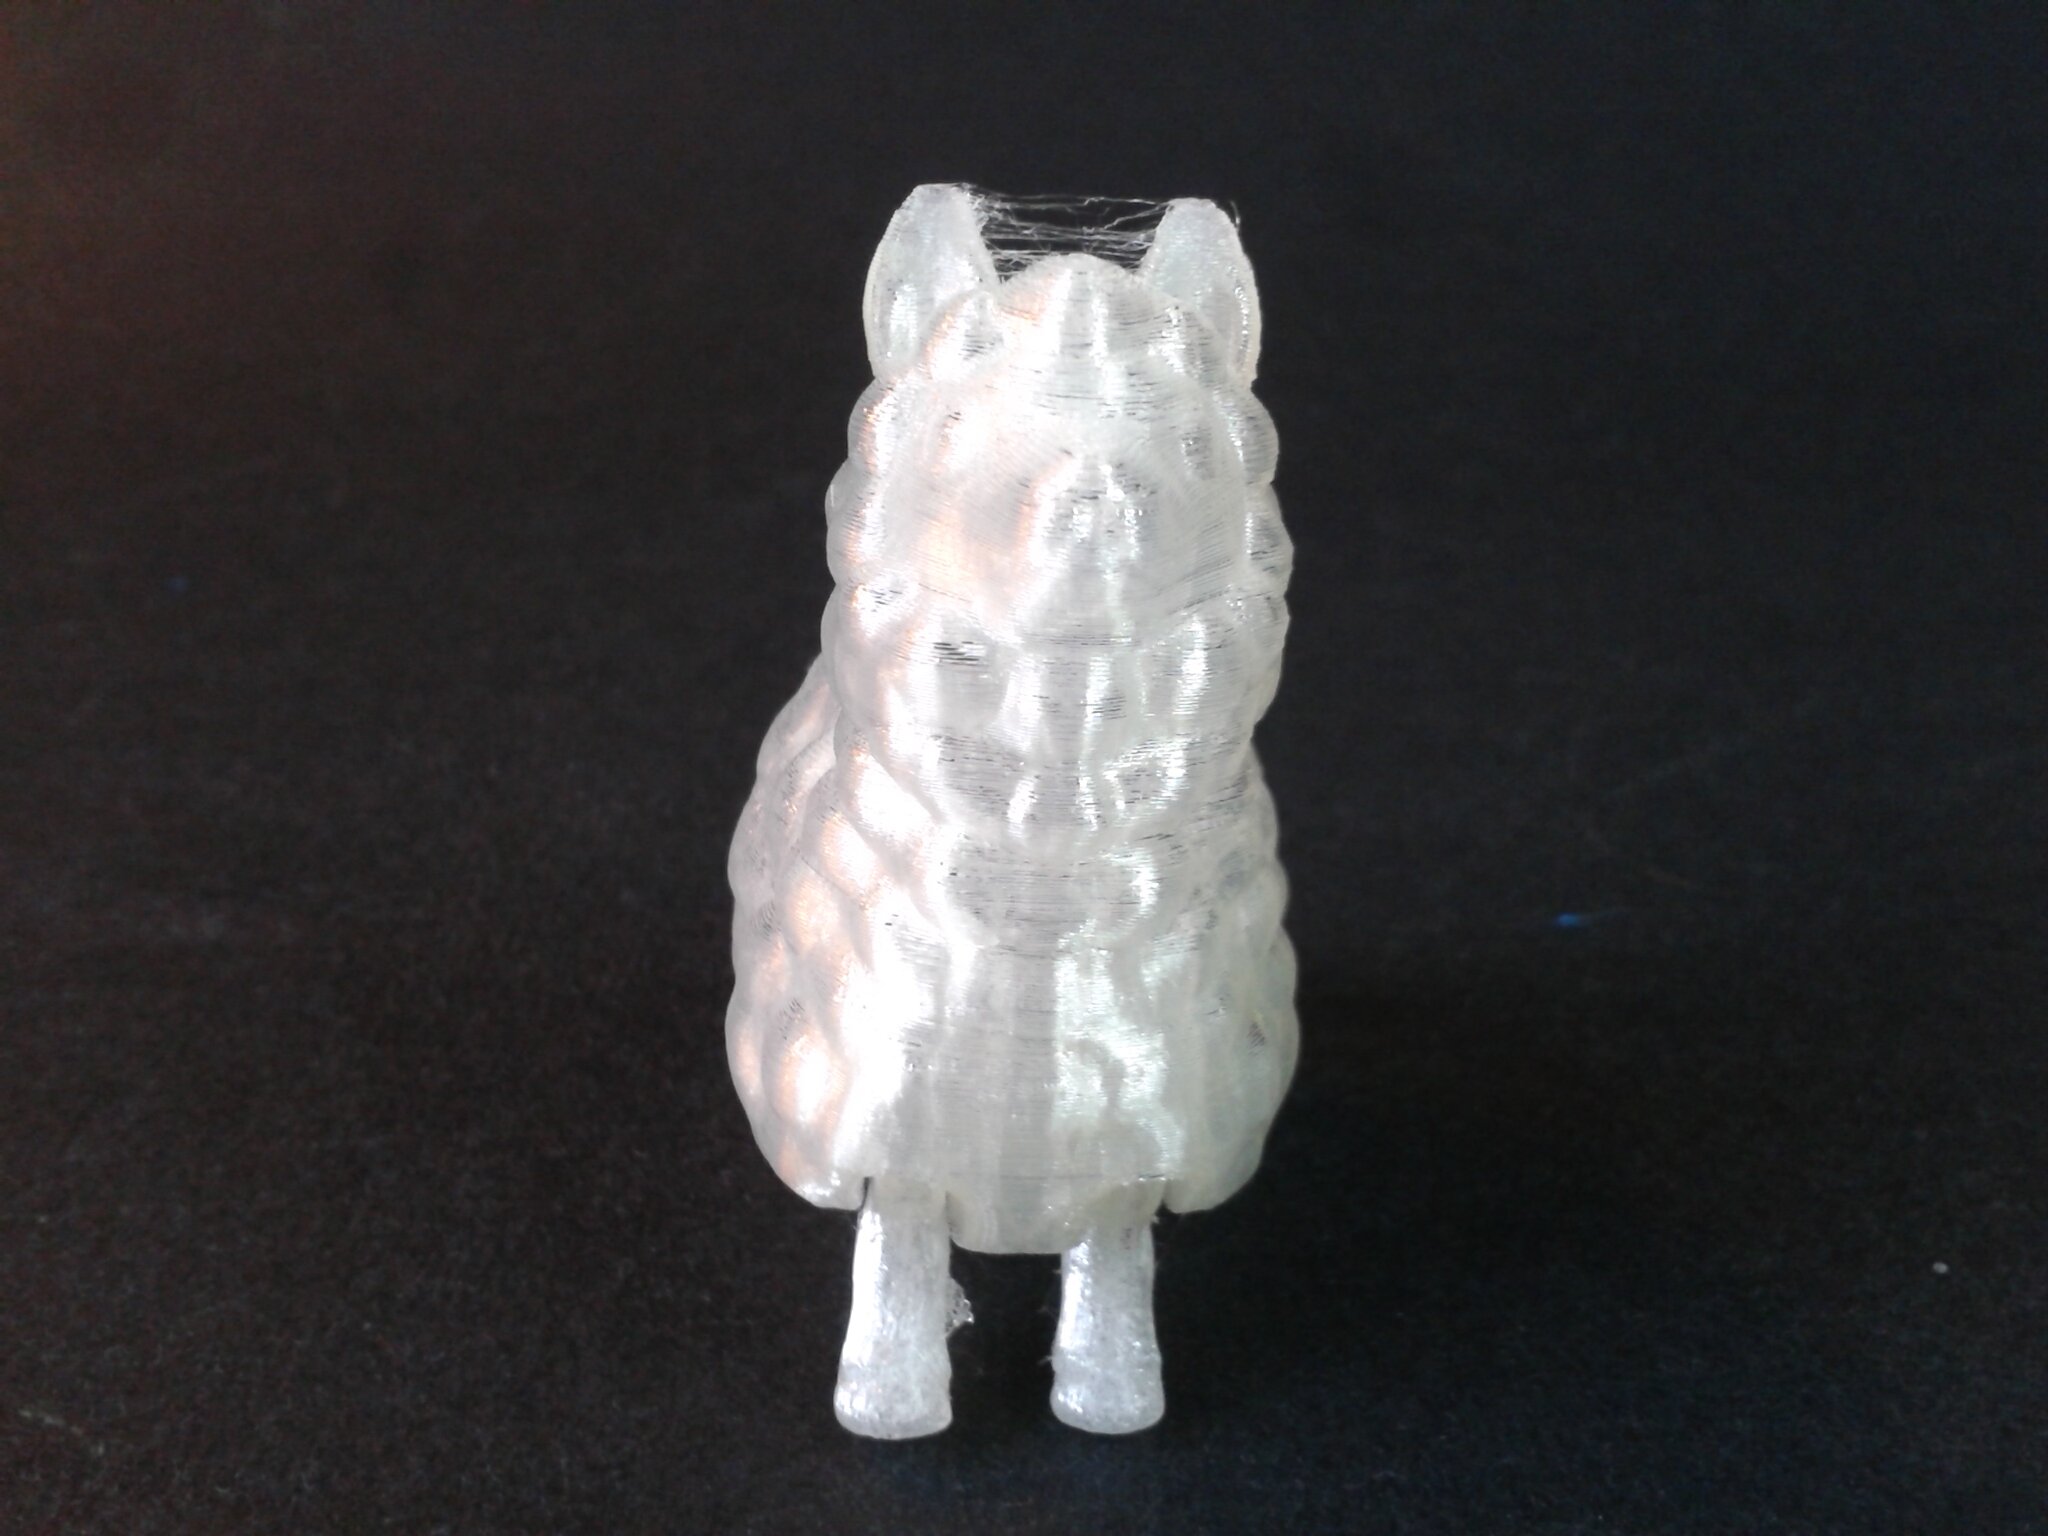
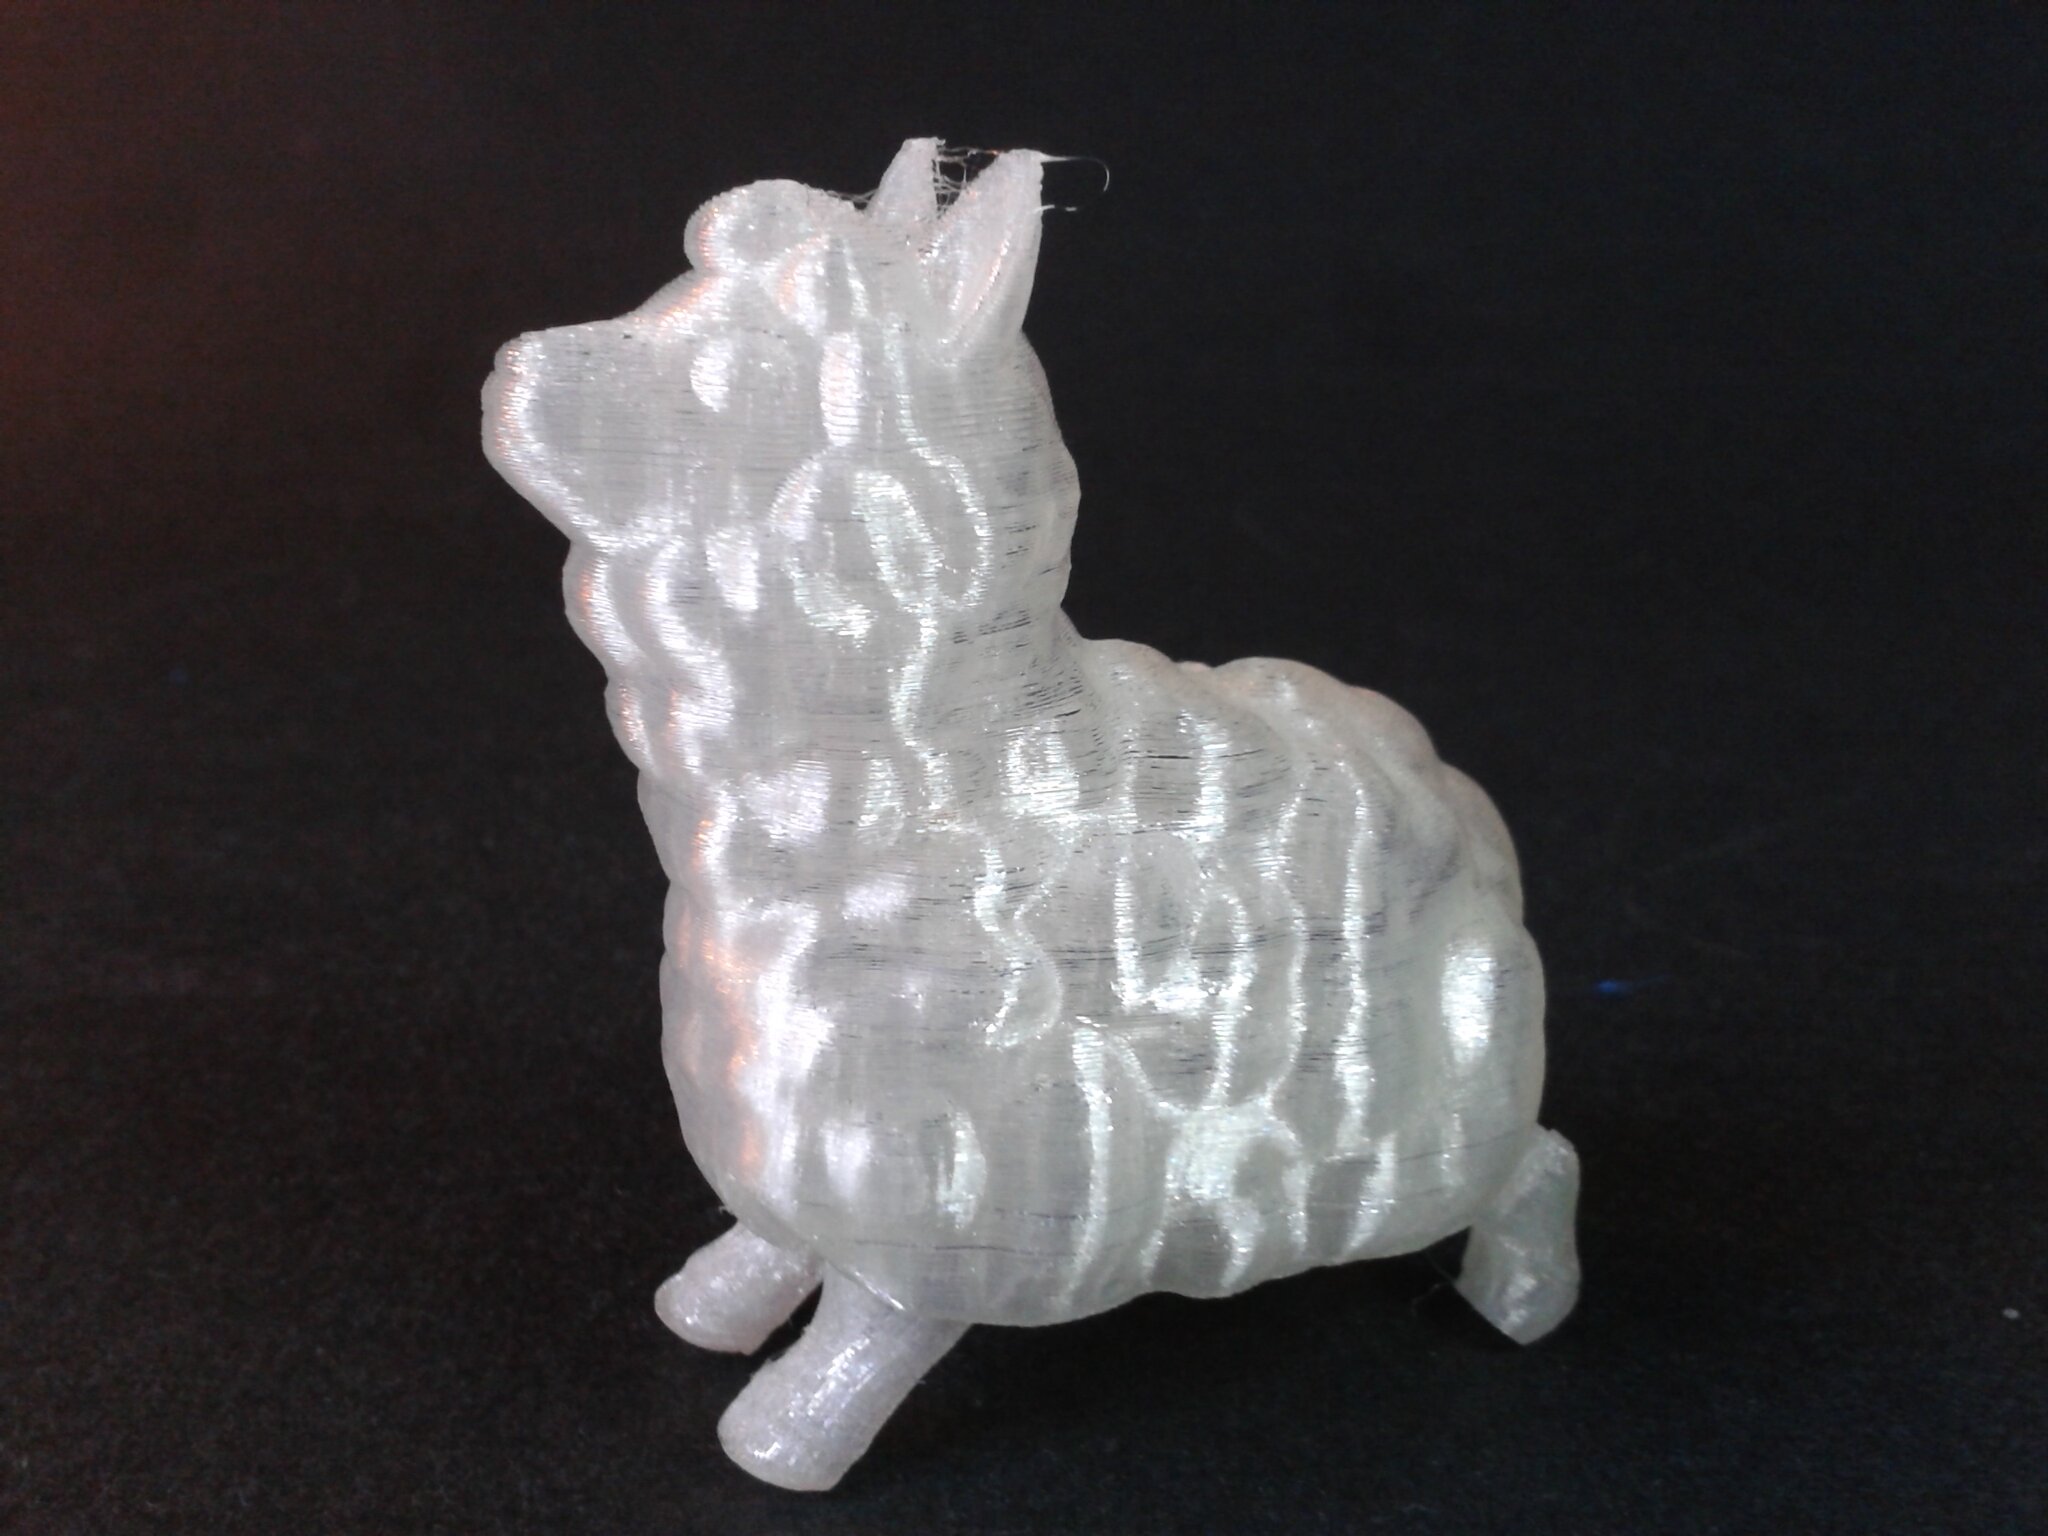
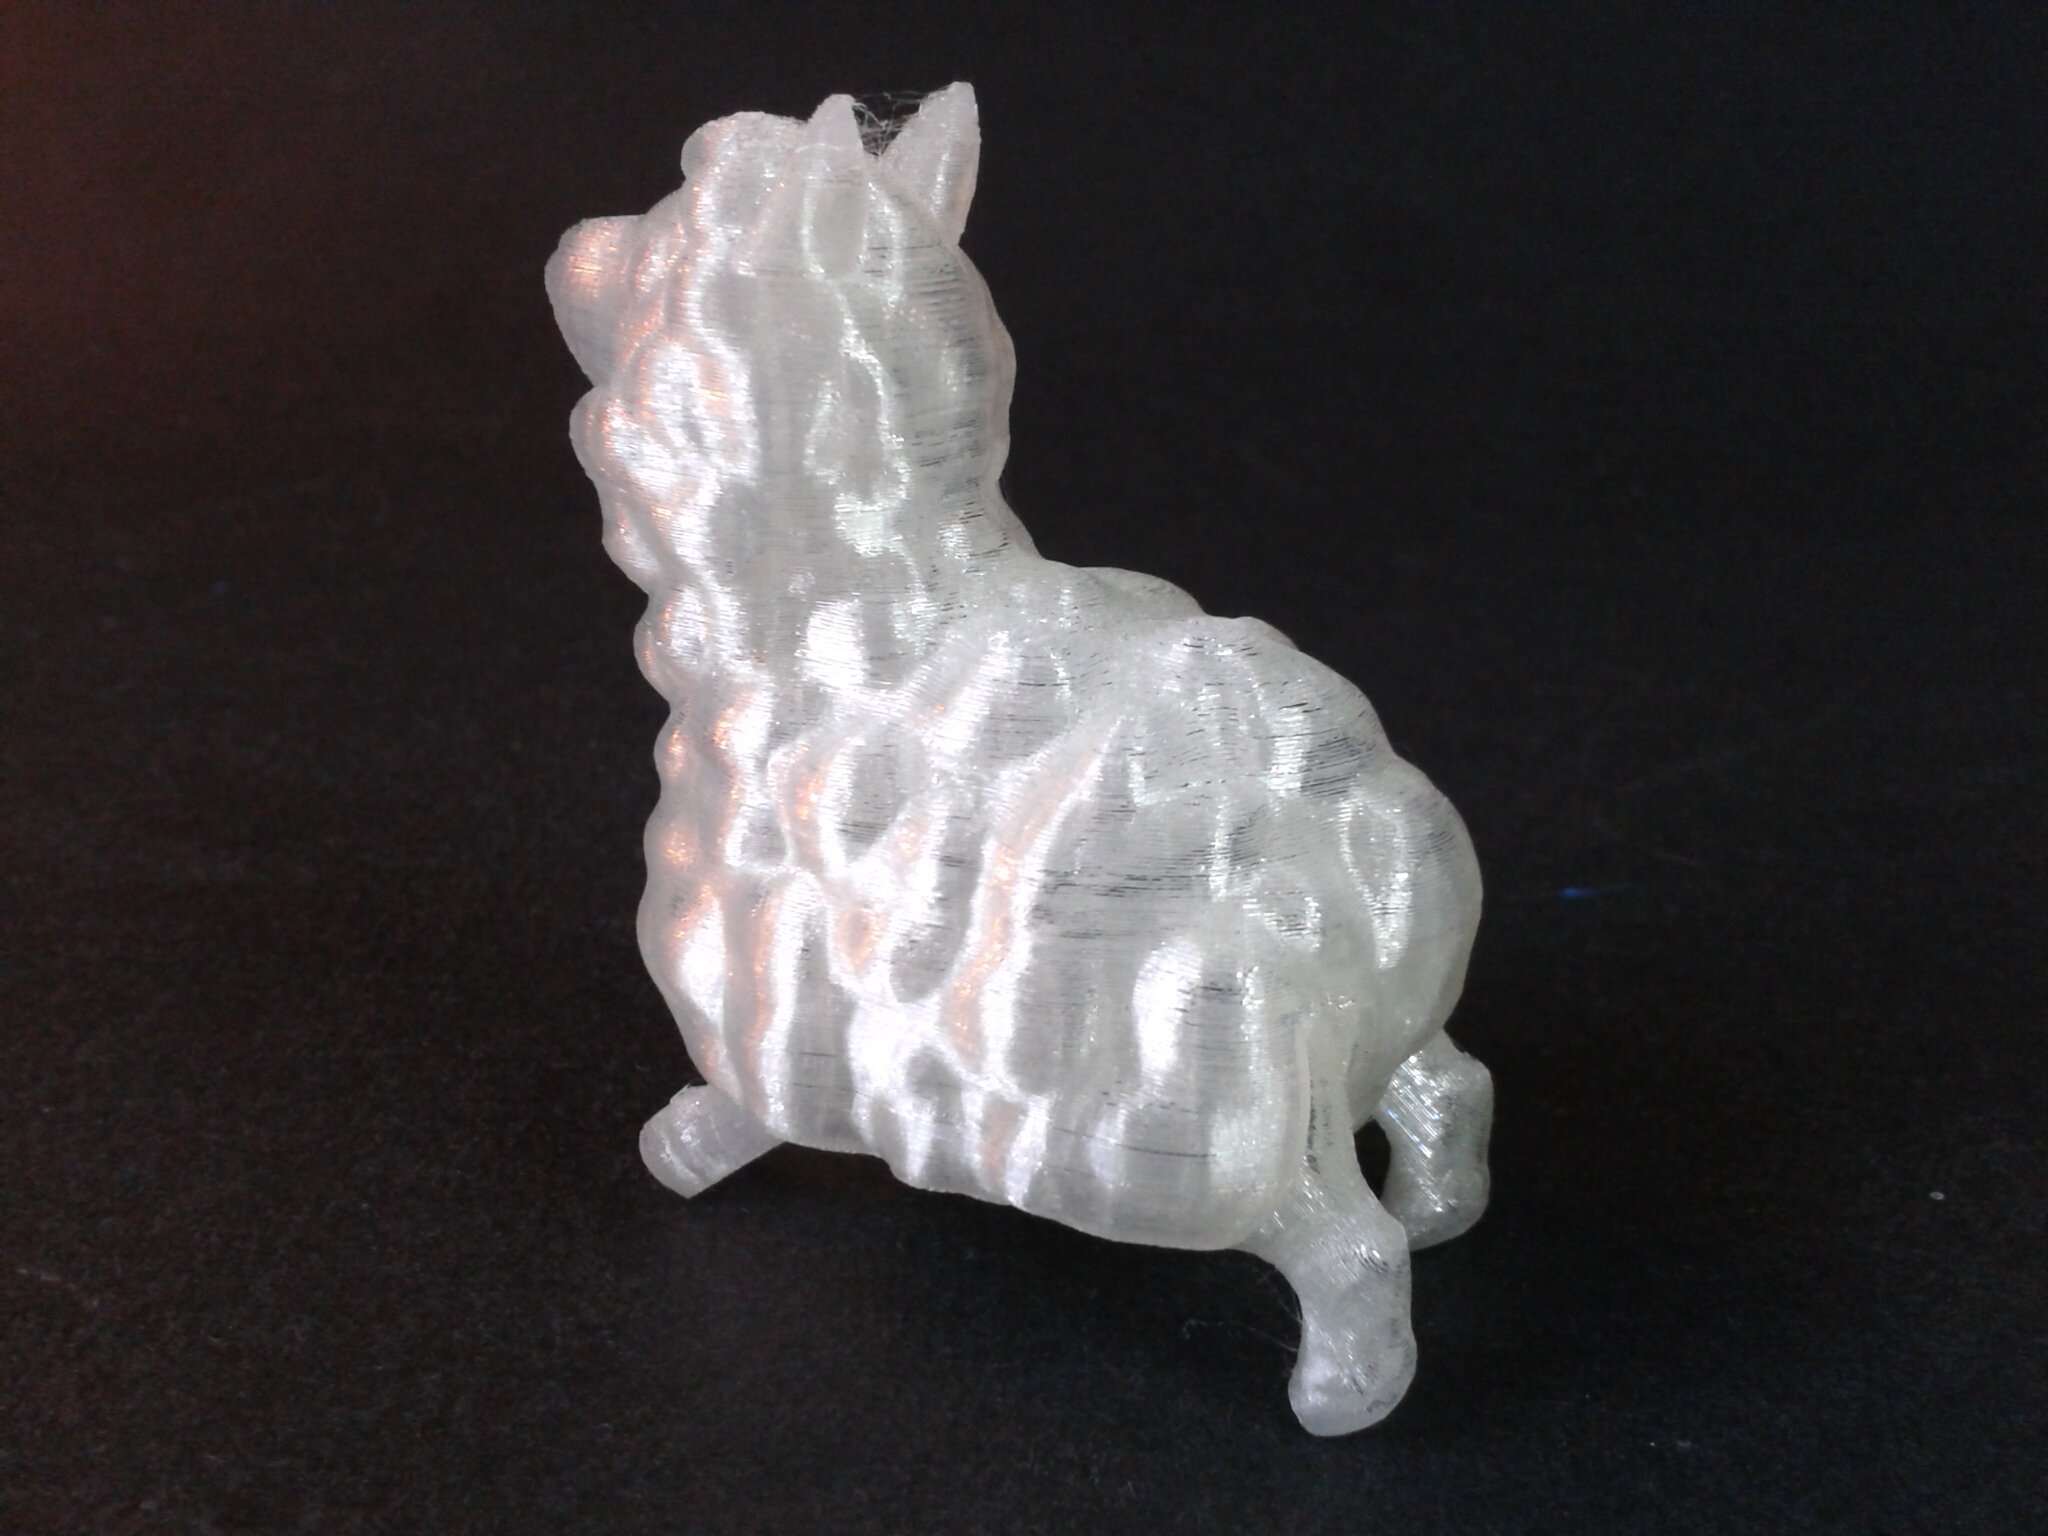
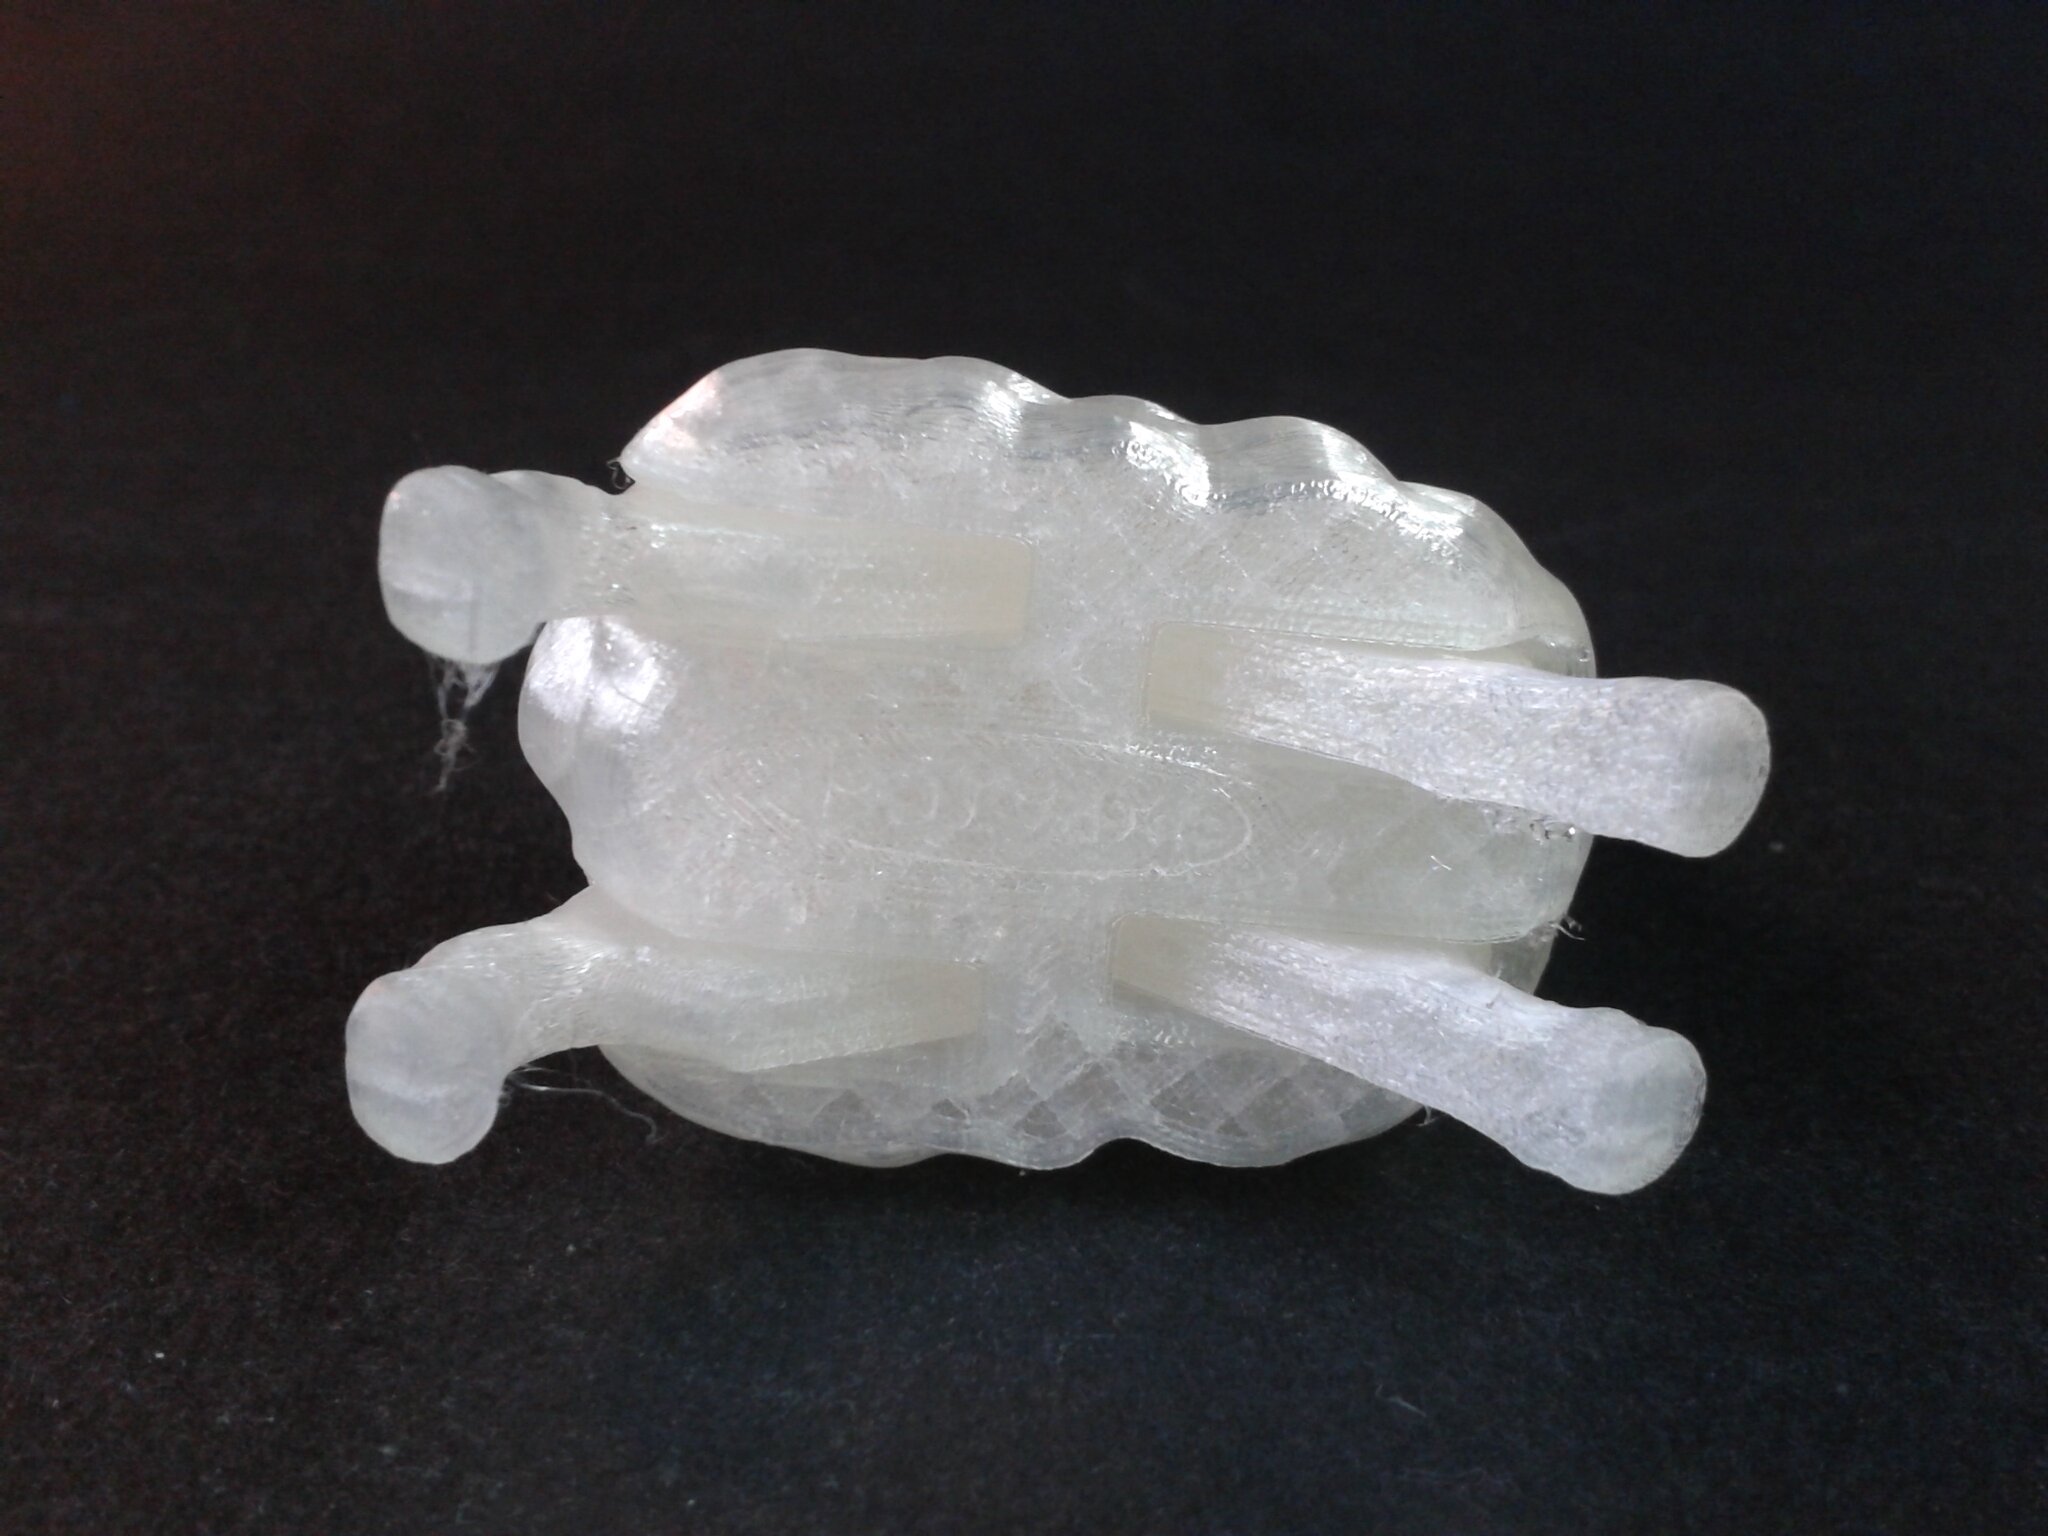
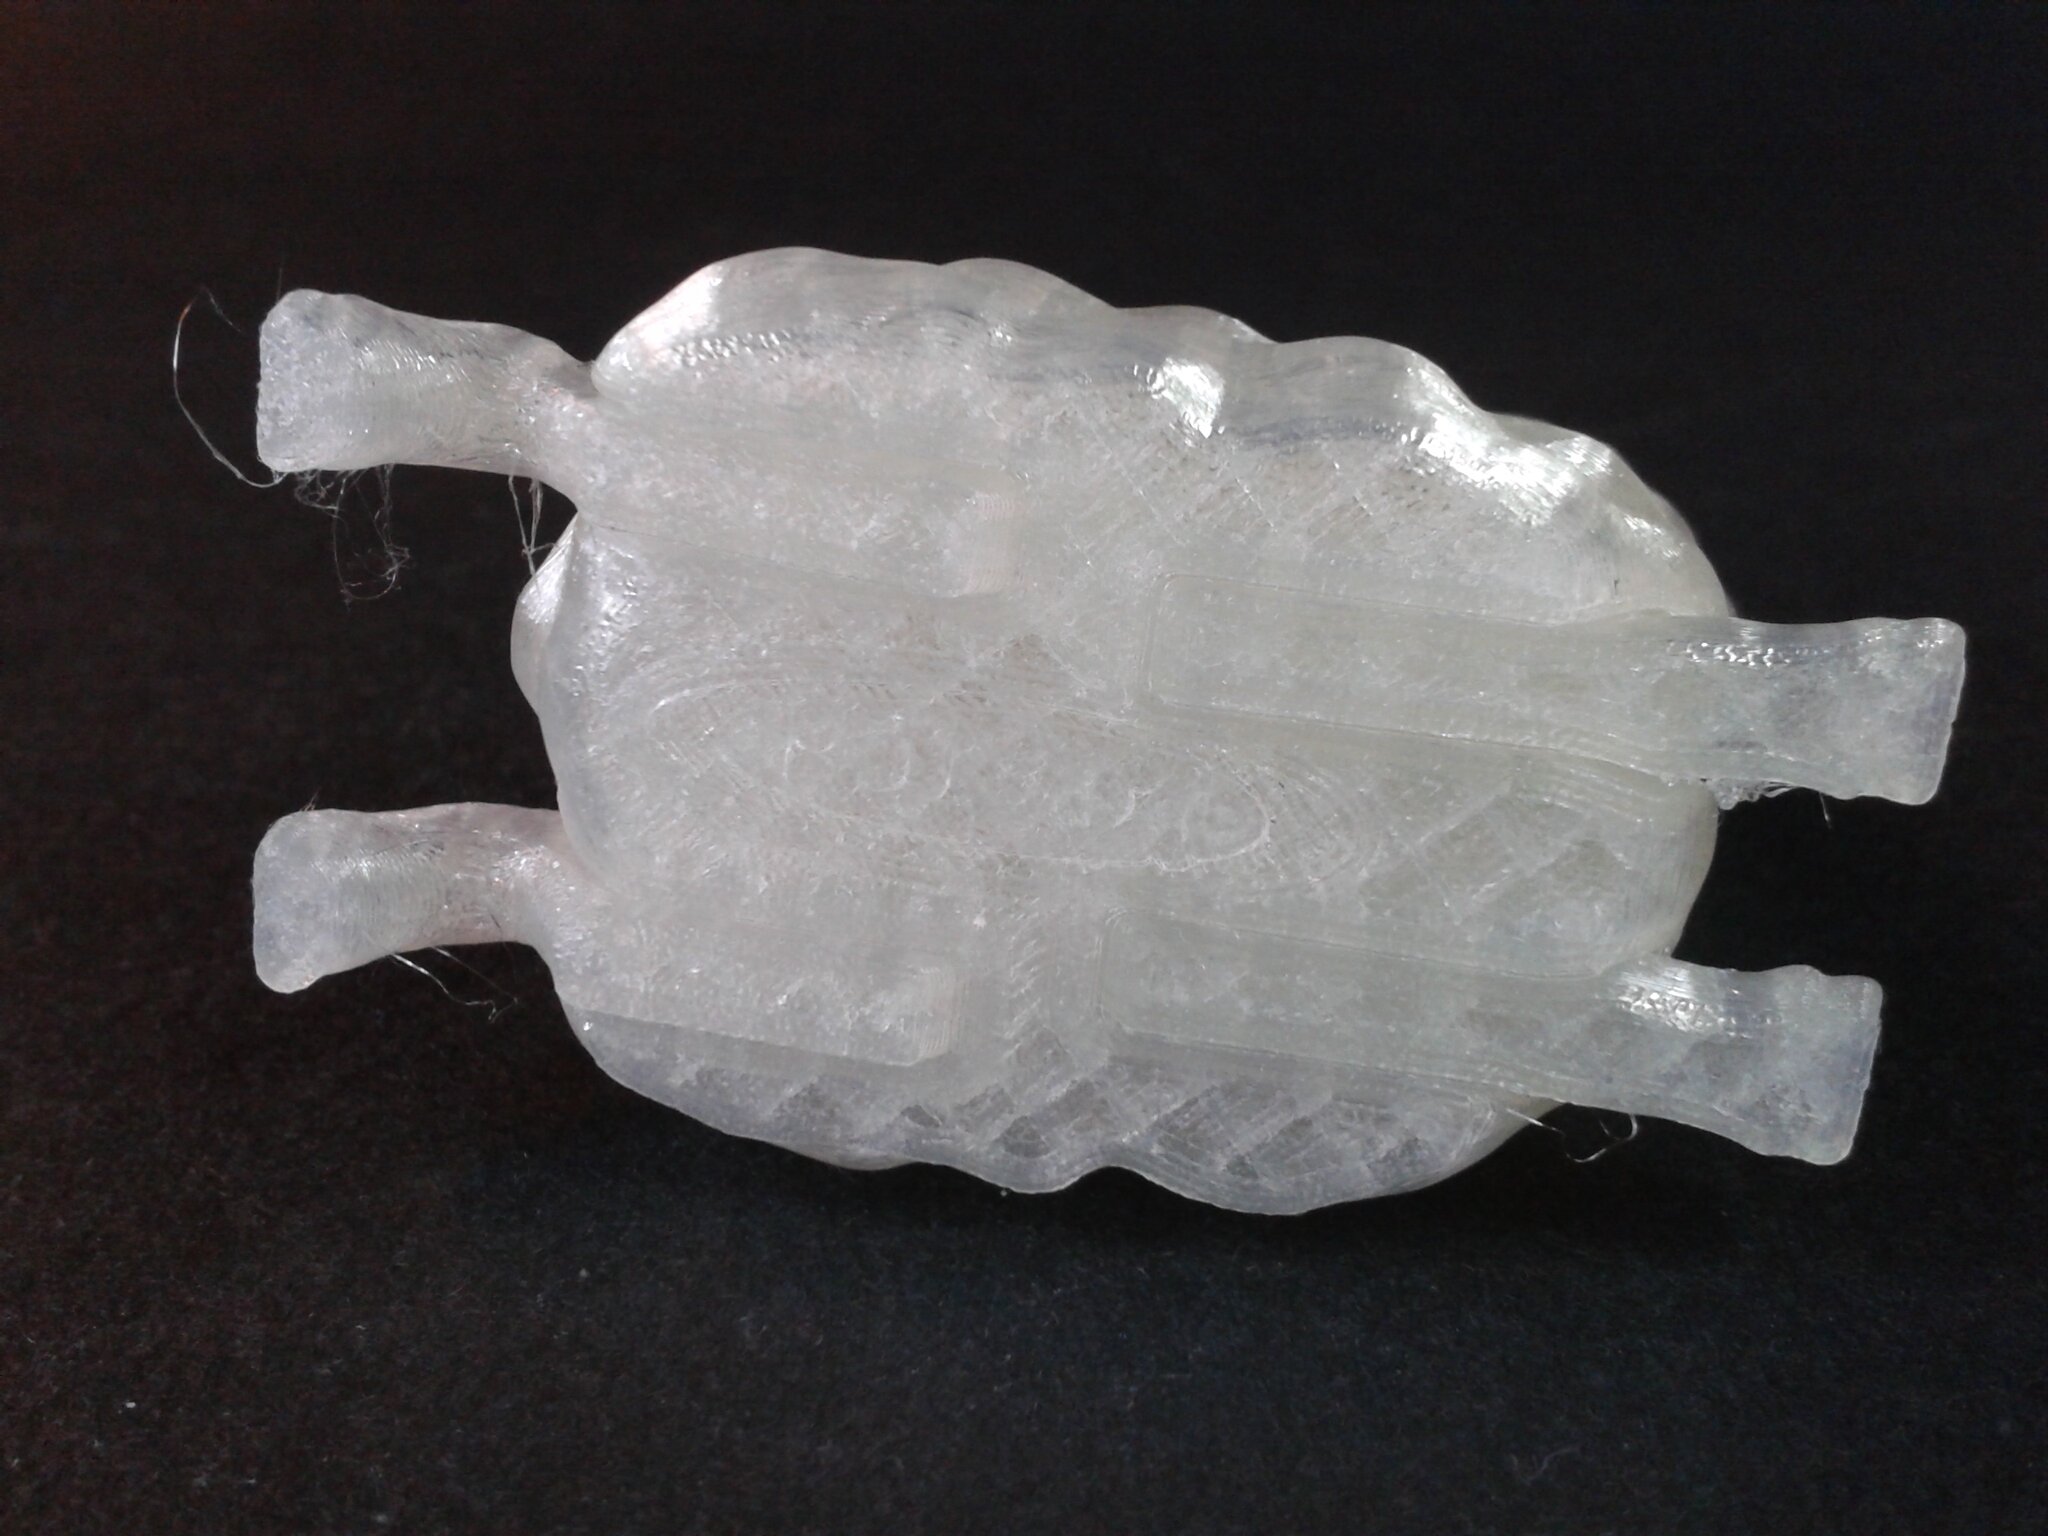
Avec ce filament TPU 95A translucide ArianePlast, j’ai eu besoin de déconnecter le capteur de fin de filament. En effet, avec ce filament souple, j’ai eu plusieurs fausses détections de fin de filament, ce qui déclenche une mise en pause de l’impression jusqu’à intervention de l’opérateur.


Impression en PETG sur la Creality Ender-3 V3
- Trancheur Creality Print 4.3.8.7021
- CR-PETG_1.75
- Quality : 0.20mm
Petite mallette avec le nouveau logo de Creality
- “Creality New Logo Box” de “Frikarte3D” (gratuit)
- Échelle 100%, en 5 plateaux, pour un total d’environ 6 h 50 min d’impression
- Filament CR-PETG blanc Creality et PETG noir Sunlu
Les éléments en vert ont été imprimés en PLA Silk Vert ArianePlast et tranchés avec un profil “Generic-PLA_1.75”.
Acheter la Ender-3 V3 directement chez Creality
Améliorations, upgrades et accessoires pour la Ender 3 V3
La Creality Ender-3 V3 fonctionne bien d’origine, il n’y a pas pas vraiment d’upgrade majeure, officielle ou non qui soit nécessaire pour l’optimiser davantage.
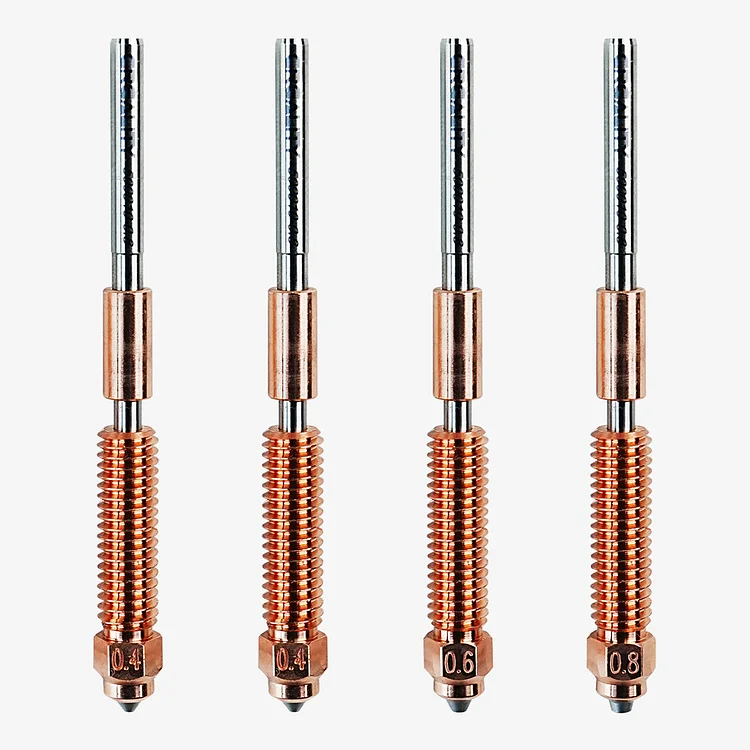
Creality propose l’achat de buses “Licornes” (“Unicorn”), pour l’instant uniquement sur son store américain. Elles sont vendues par lot de quatre buses (deux de 0.4 mm, une de 0.6 mm et une de 0.8 mm de diamètre).
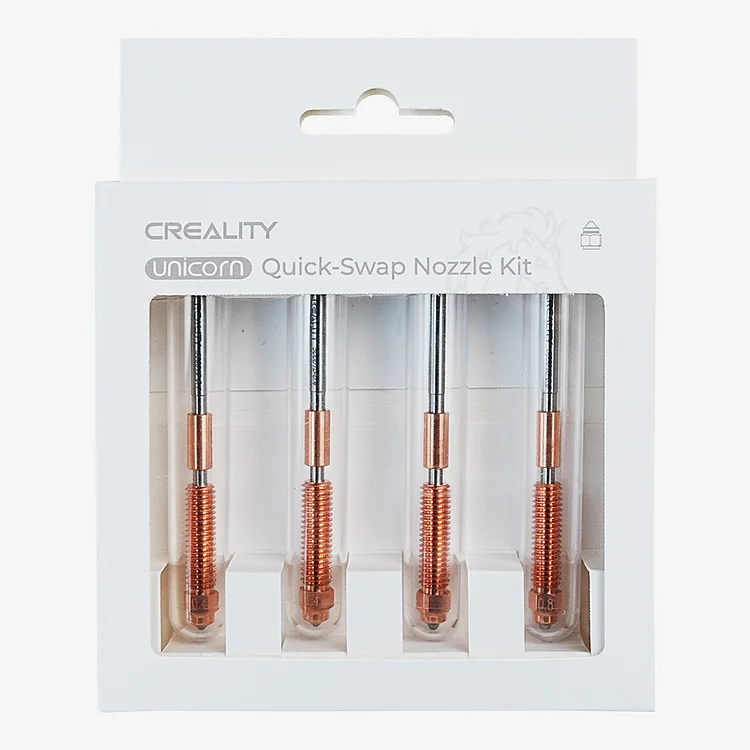
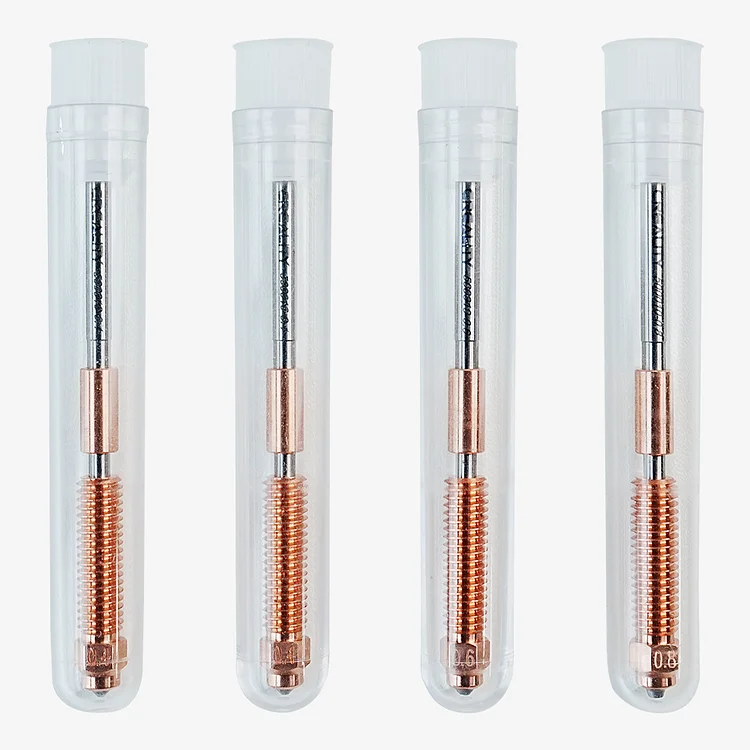
Creality vante ses buses “Licorne” comme étant “à changement rapide” (voir la vidéo officiel “Service Tutorial Ender 3 V3 Replace the Nozzle“). Notez tout de même que cela n’est pas aussi rapide que certains systèmes dits “Quick Swap ( ou “Hot Swap” mais pas à chaud) que l’on peut trouver sur des imprimantes 3D FDM de certains concurrents.
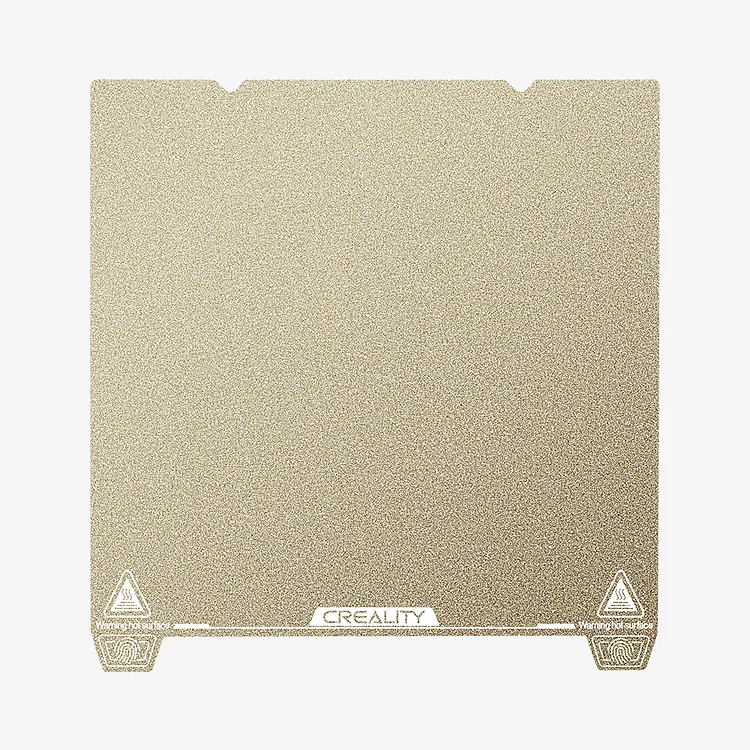
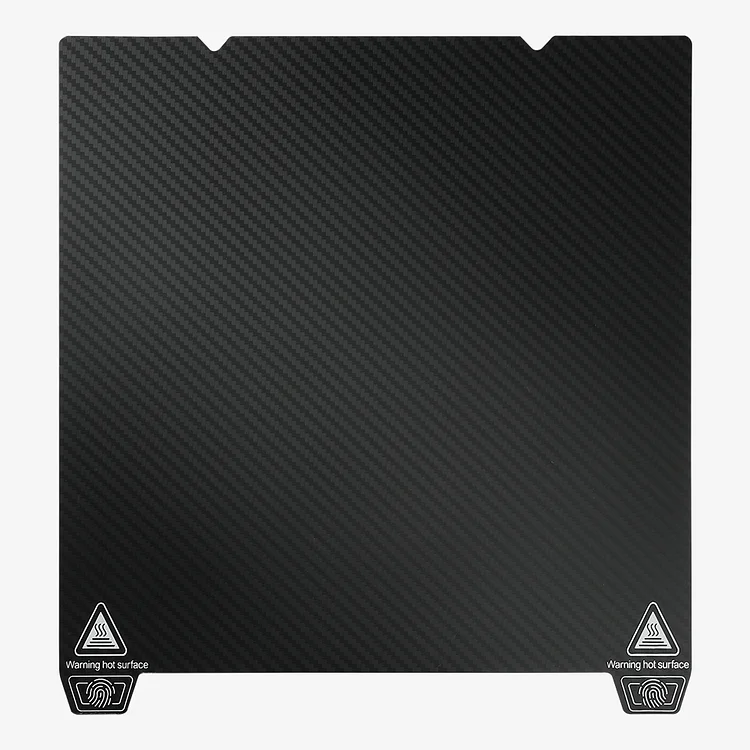
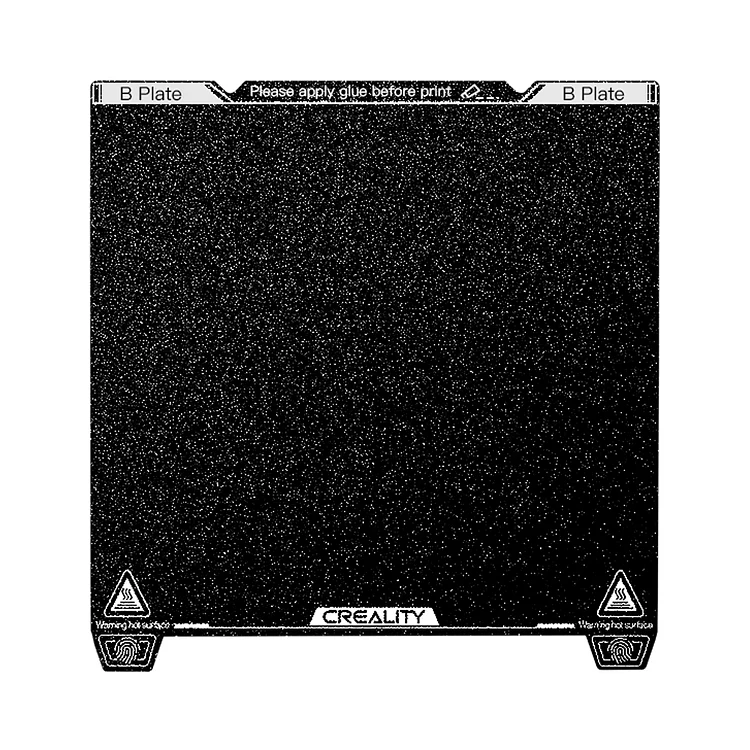
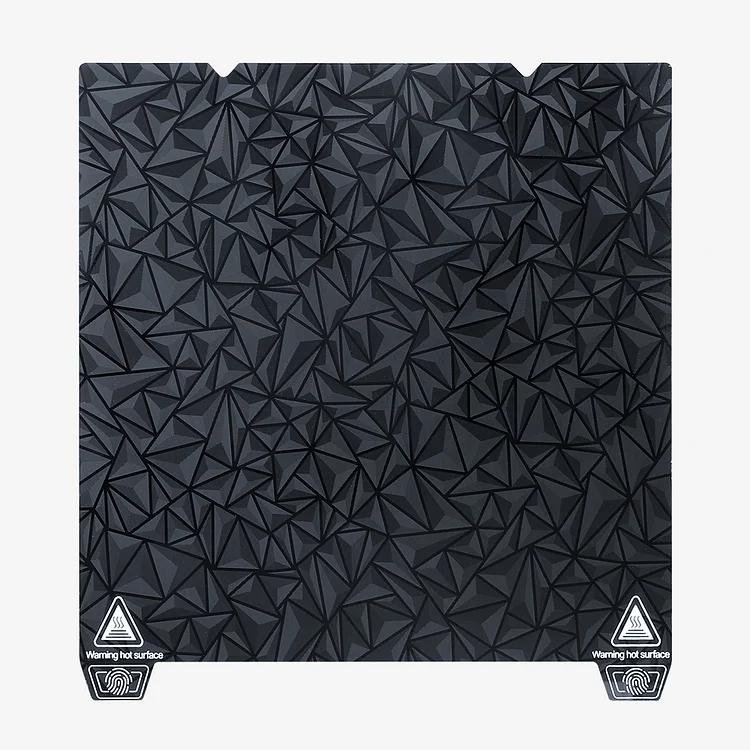
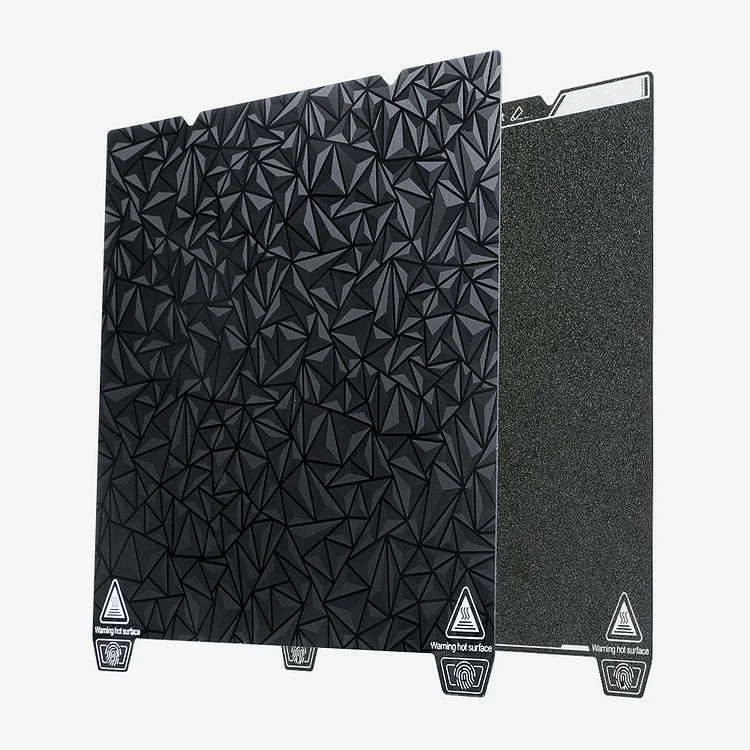
Comme d’autres machines du constructeur, la plaque magnétique flexible mesure 235 x 235 mm. On trouve donc déjà différents types de revêtements de plaque flexible (PEI lisse, PEI texturé, double face “Glossy PEO” et “Coated PEI”,etc.) sur la boutique officielle, mais aussi chez des revendeurs et des marques tierces.
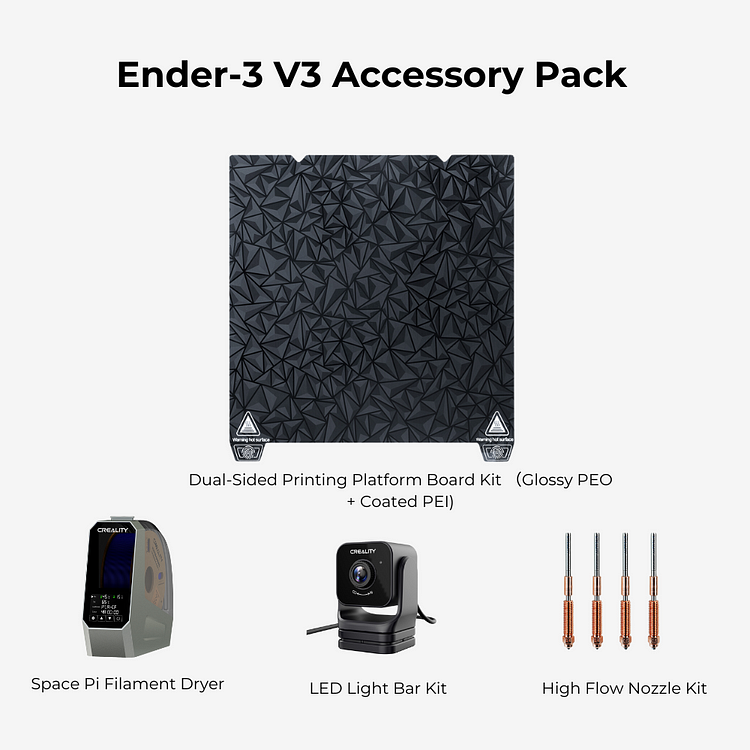
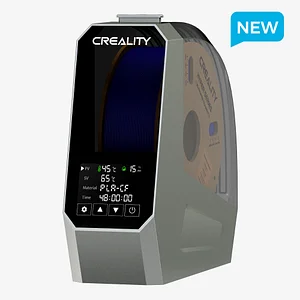
Toujours sur le store US de Creality pour le moment, on peut trouver le “pack d’accessoires” de la série Ender avec une variante spécifique pour la Ender-3 V3. Il contient une plaque flexible double face “Glossy PEO” et “Coated PEI”, un “Space Pi Filament Dryer“, une Nebula Camera et un lot de quatre buses “Licorne”.
L’utilisation d’un système multi-filaments qui automatise les changement de filament semble difficilement envisageable avec la tête d’impression actuelle. Et pour cause, il faudrait lui ajouter un système pour couper le filament. De plus, la version 3.4.8 de Creality Print semble nécessiter un gros effort de développement pour permettre les tranchages avec changement de filaments par objets et ou par couches, ainsi que pour la gestion de plusieurs filaments de différentes couleurs. La version 5 devrait solutionner cela.
Niveau firmware :
- J’apprécie grandement le mode root et l’interface Fluidd disponible de base pour les utilisateurs expérimentés
- J’espère que Creality va dans une prochaine mise à jour :
- ajouter une macro M600 (changement de filament) pour proposer une alternative à l’utilisation des macro PAUSE et RESUME (qui font actuellement d’origine – si non modifiées – une extrusion de 3 mm de filament supplémentaire lors des reprises),
- rendre fonctionnelle la possibilité de reprise après une coupure de courant (testée et non fonctionnelle faute d’absence de message de proposition de reprise après une coupure de courant lors d’une impression avec le firmware 1.2.1.3),
- Voire éventuellement ajouter une macro M300 pour permettre de signaler les pauses et/ou terminer nos impressions avec des bips à modulation de fréquence.
On espère que la communauté pourra s’accommoder de certains choix d’architecture logicielle faits par Creality, comme de mettre les instances de Mainsail et Fluidd dans un fichier de swap de taille limitée au sein de Creality OS, pour, par exemple, permettre de mettre à jour ces instances via le “Helper Script Installation” de Guilouz.
Notes et conclusion
Qualité d'impression - 9.5
Fiabilité - 9.5
Logiciel - 9
Utilisation - 9.5
Rapport qualité / prix - 9
9.3
/10
- Facile à assembler
- Simple à mettre en fonction grâce au leveling automatique via capteurs de pression
- Qualité d'impression avec les réglages standards
- Capteur de fin de filament et capteur de résonance
- Plaque flexible texturée PEI
- Les profils de matériaux dans Creality Print et le profil OrcaSlicer
- Code source du firmware (devrait bientôt être) disponible sur GitHub
- Mise à jour en ligne (OTA)
- Mode root pour se connecter en SSH
- La connectivité Wi-Fi
- Bonne qualité et vitesse d'impression
- Communauté active sur notre forum et Facebook
- SAV constructeur réactif et Wiki complet
- Porte bobine latéral avec système anti-enchevêtrement du filament sur la bobine
- Bruit des ventilateurs et des déplacements de la tête d'impression
- Vibrations et secousses de l'imprimante en impression haute vitesse
- Reprise sur coupure de courant actuellement non fonctionnelle (firmware v1.2.1.3)
- Pas de macro pour la gestion du g-code M600 pour demander un changement de filament durant une impression (firmware v1.2.1.3)
- Pas de macro pour la gestion du g-code M300 pour les bip sonores